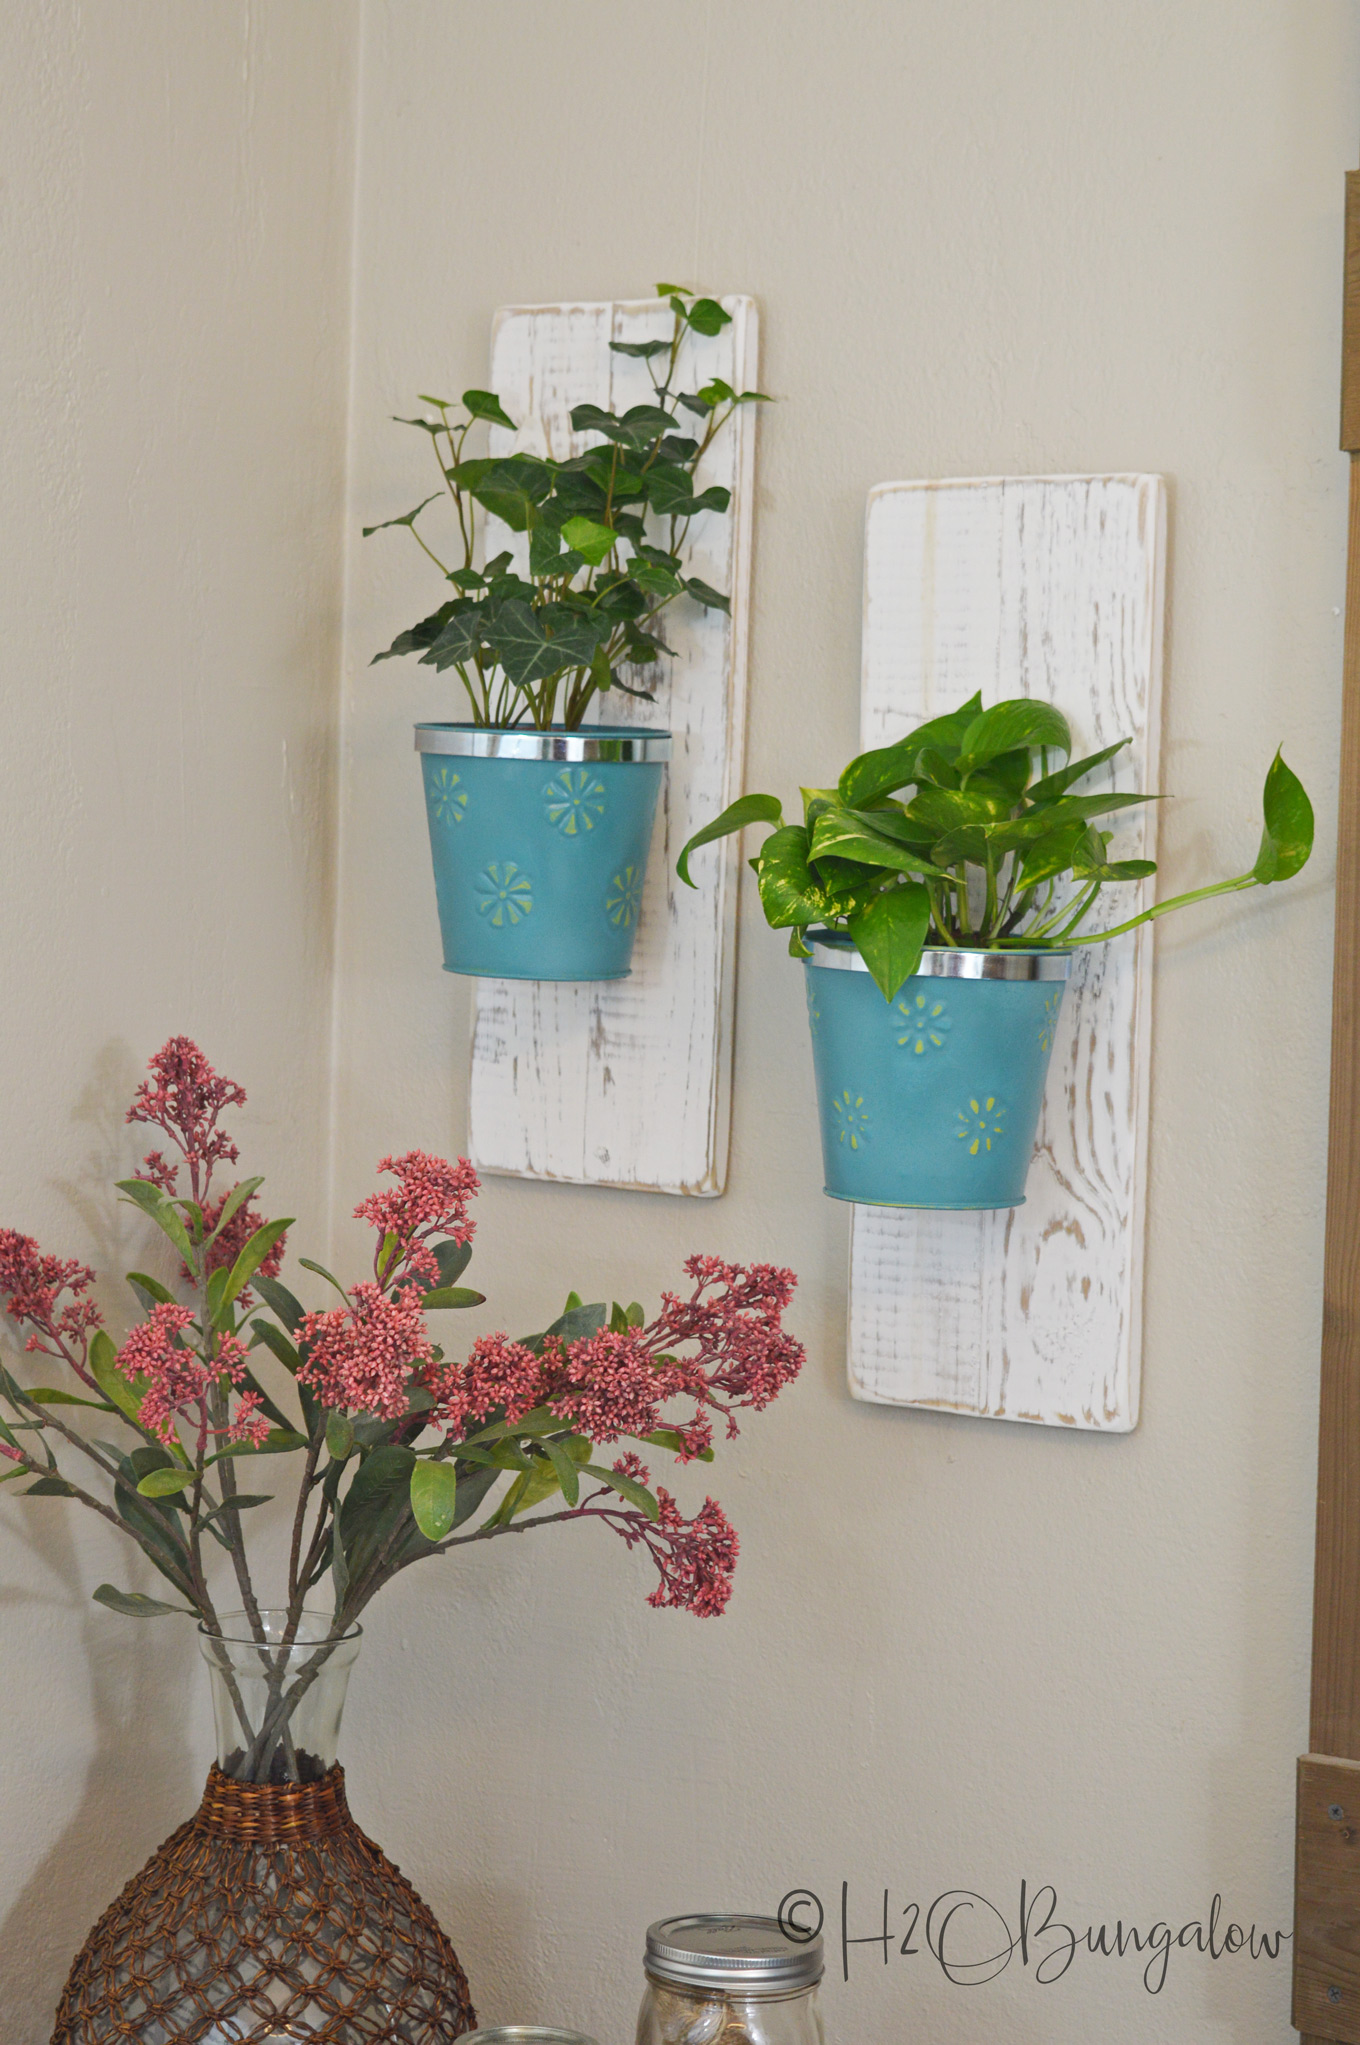
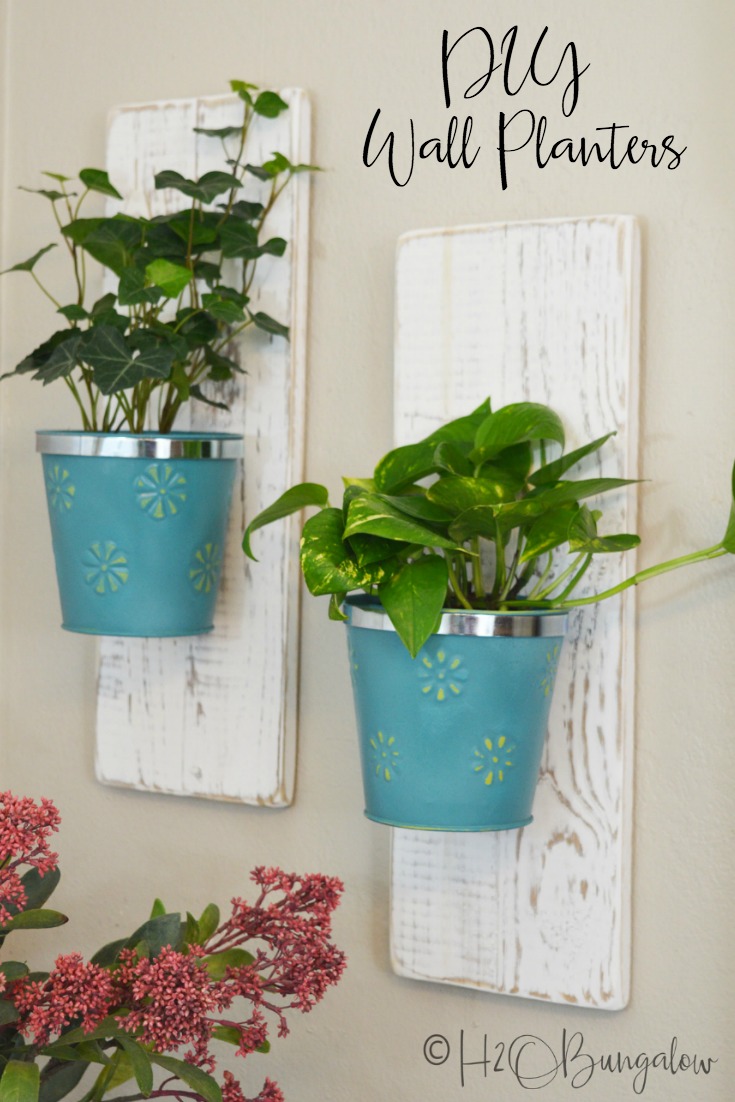
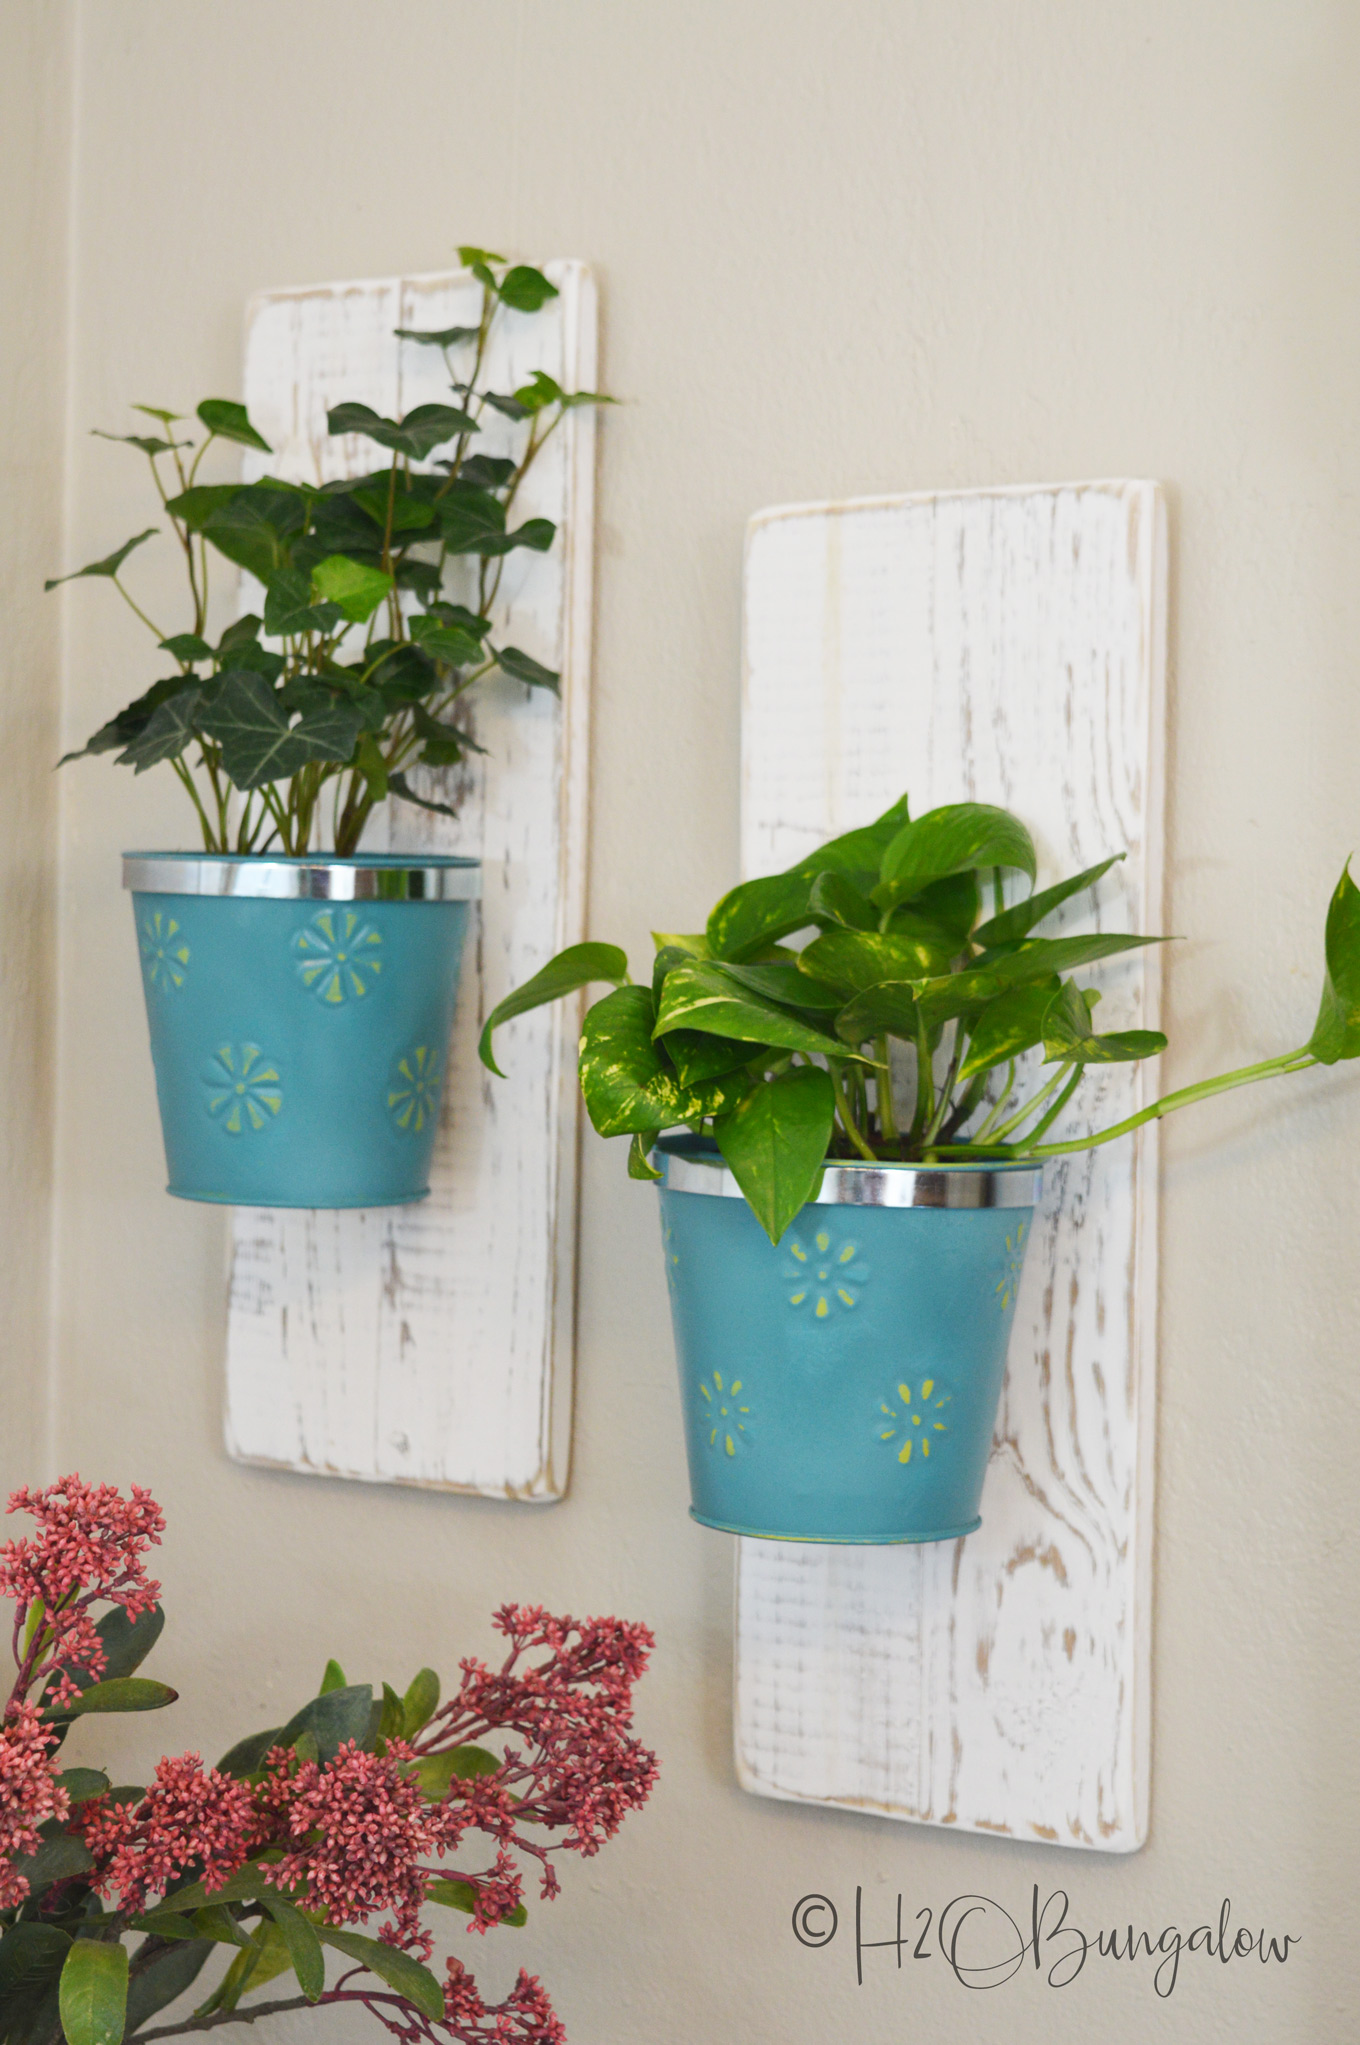
I made this set of DIY wall hanging planters out of odds and ends I had on hand and metal pails from the dollar store. I wanted to find a way to easily hang my plants on the walls to brighten up the office. The metal buckets are the perfect size for small plants. The hanging wall planters are easy to make.
I recently read that vine plants are the next big trend in plants. I made a set of three hanging wall planters for my vine plants to cascade down the wall in my office. I bet that any of these 13 tough low light indoor plants would work well to in these planters.
Today is also the Dollar Store Design Squad’s first post of the season. A group of us were challenged to come up with a something creative using supplies from our local dollar stores. Scroll down to see what everyone came up with!
Here’s how I made my hanging wall planters.
How to Make DIY Wall Hanging Planters
I use affiliate links to help you find the supplies I used. You can read my full disclosure policy here.
Supplies you’ll need to make one planter
- 6″ metal bucket
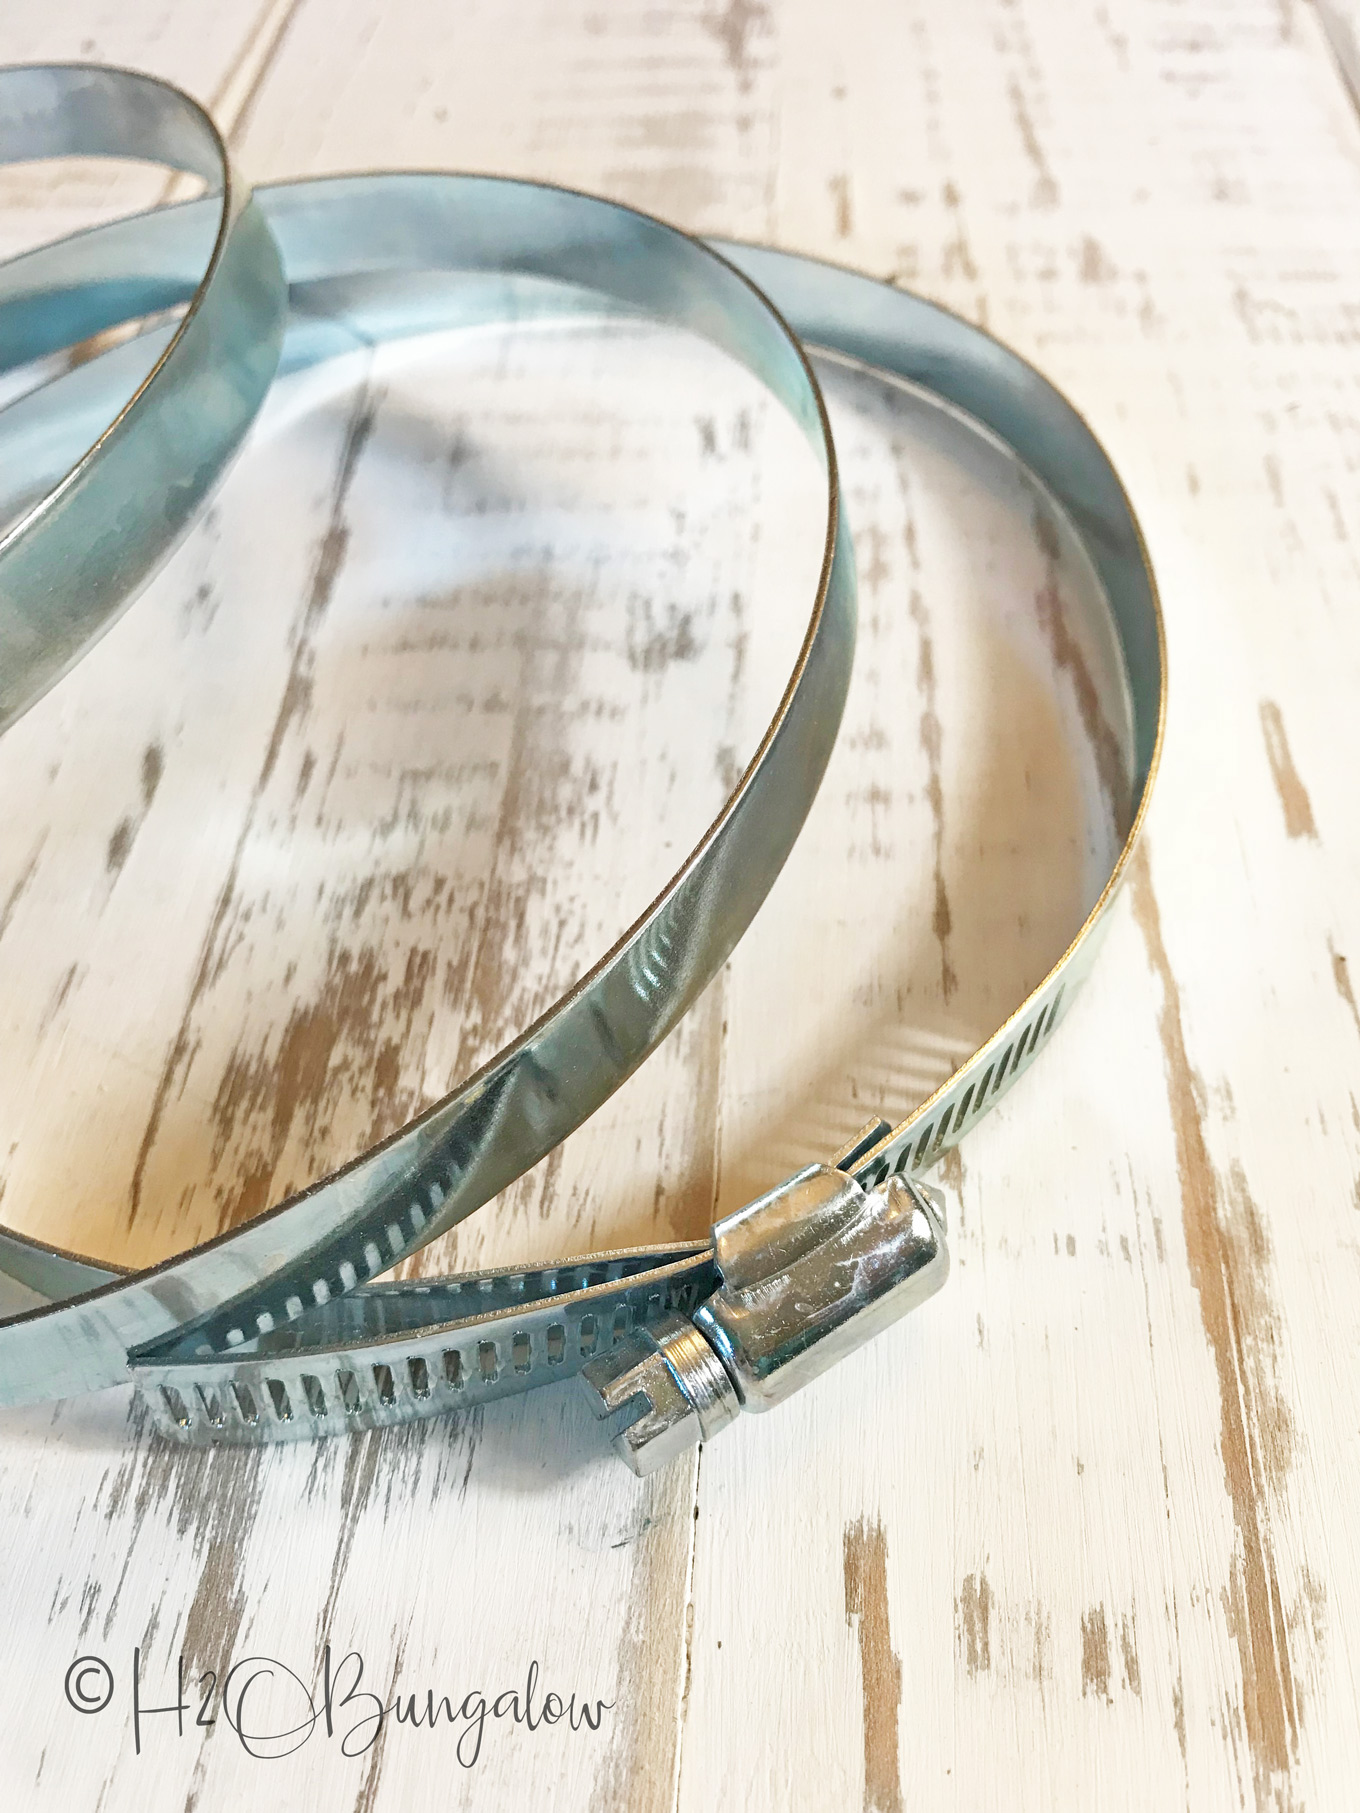
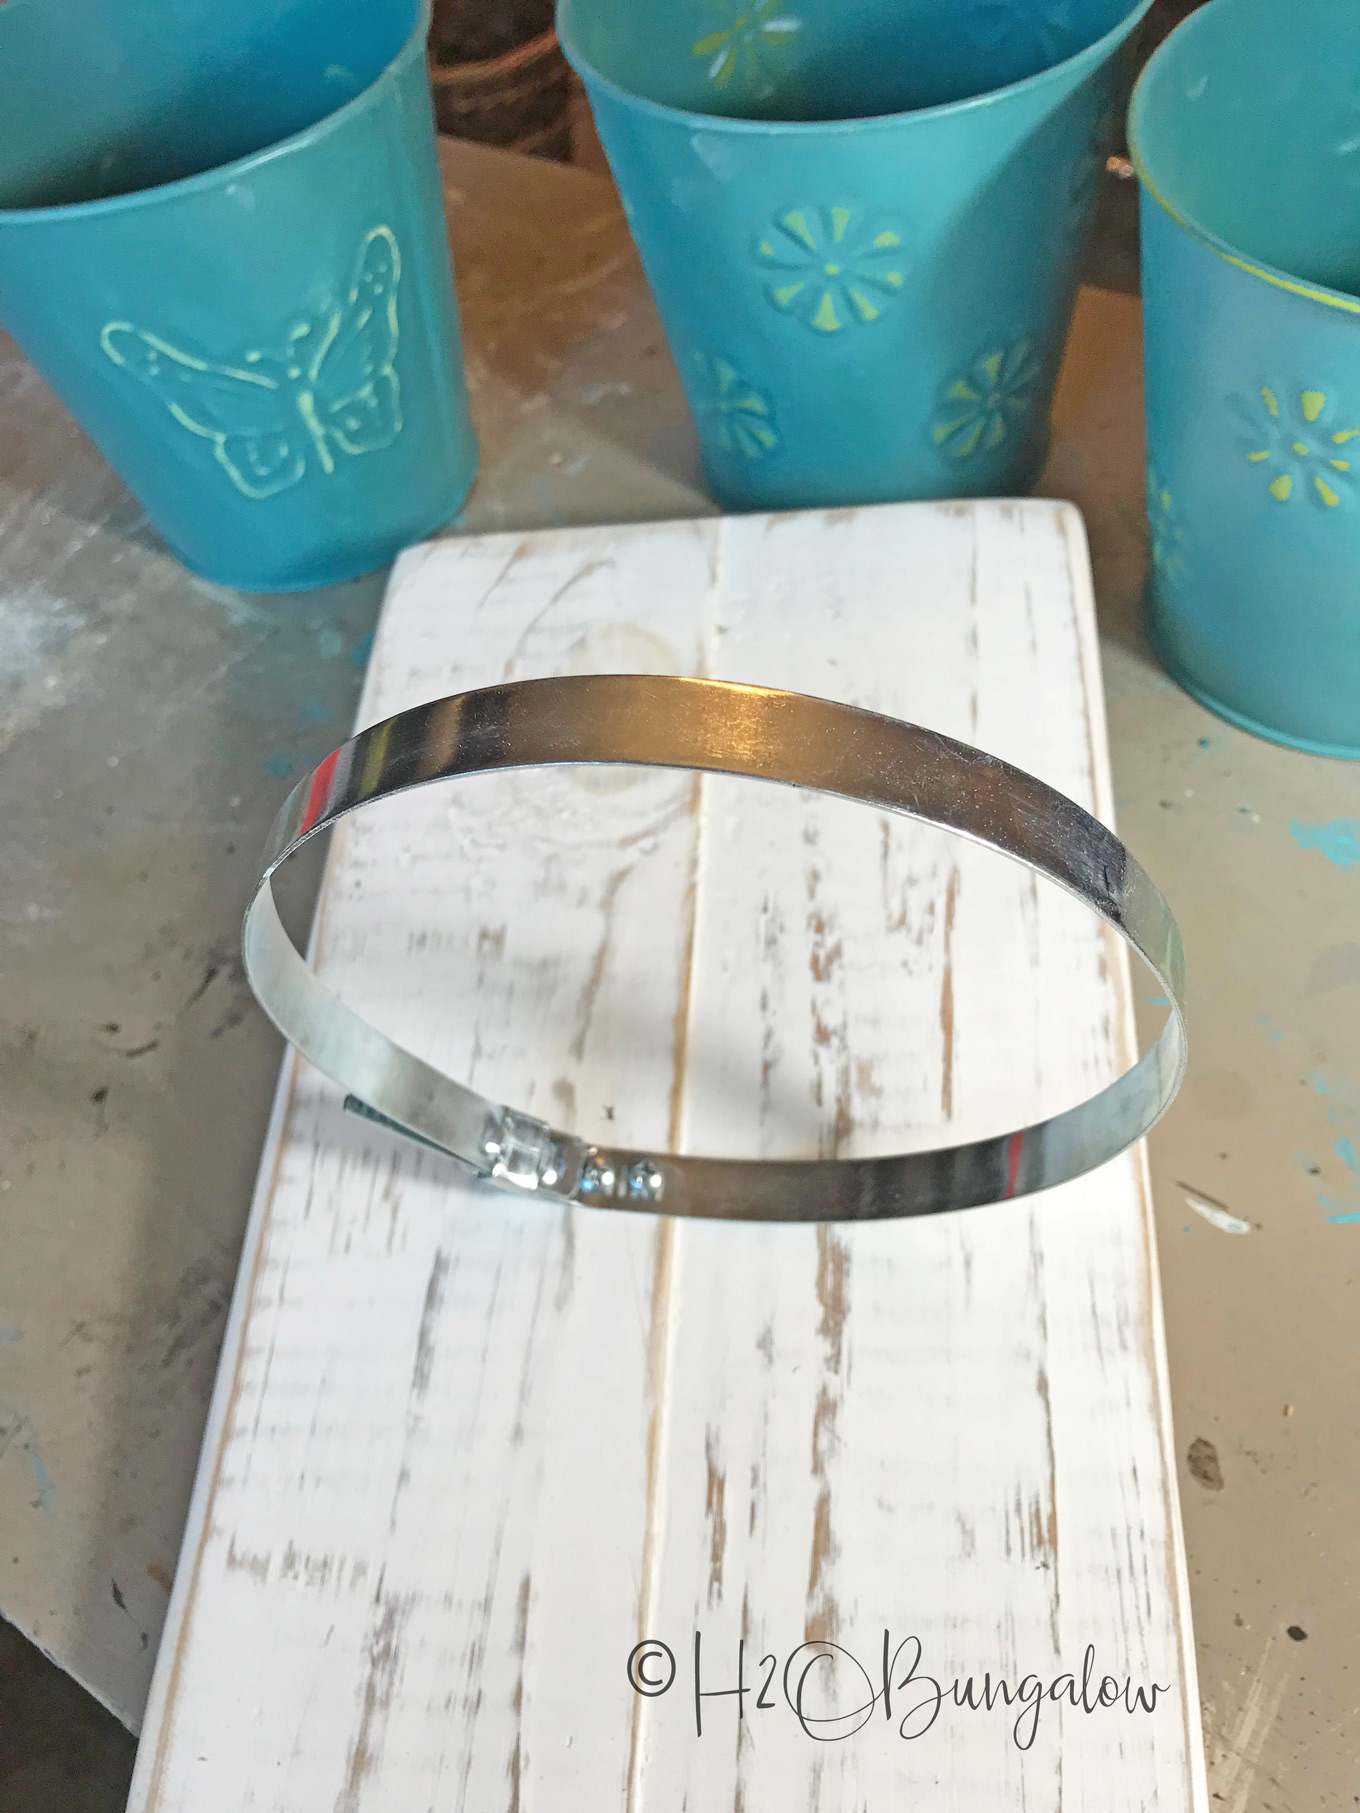
- 6″ hose clamp
- Vintage Teal Rustoleum Painters Touch Spray Paint
- 2 – #6 3/4″ screws
- wood board for backing, painted or not
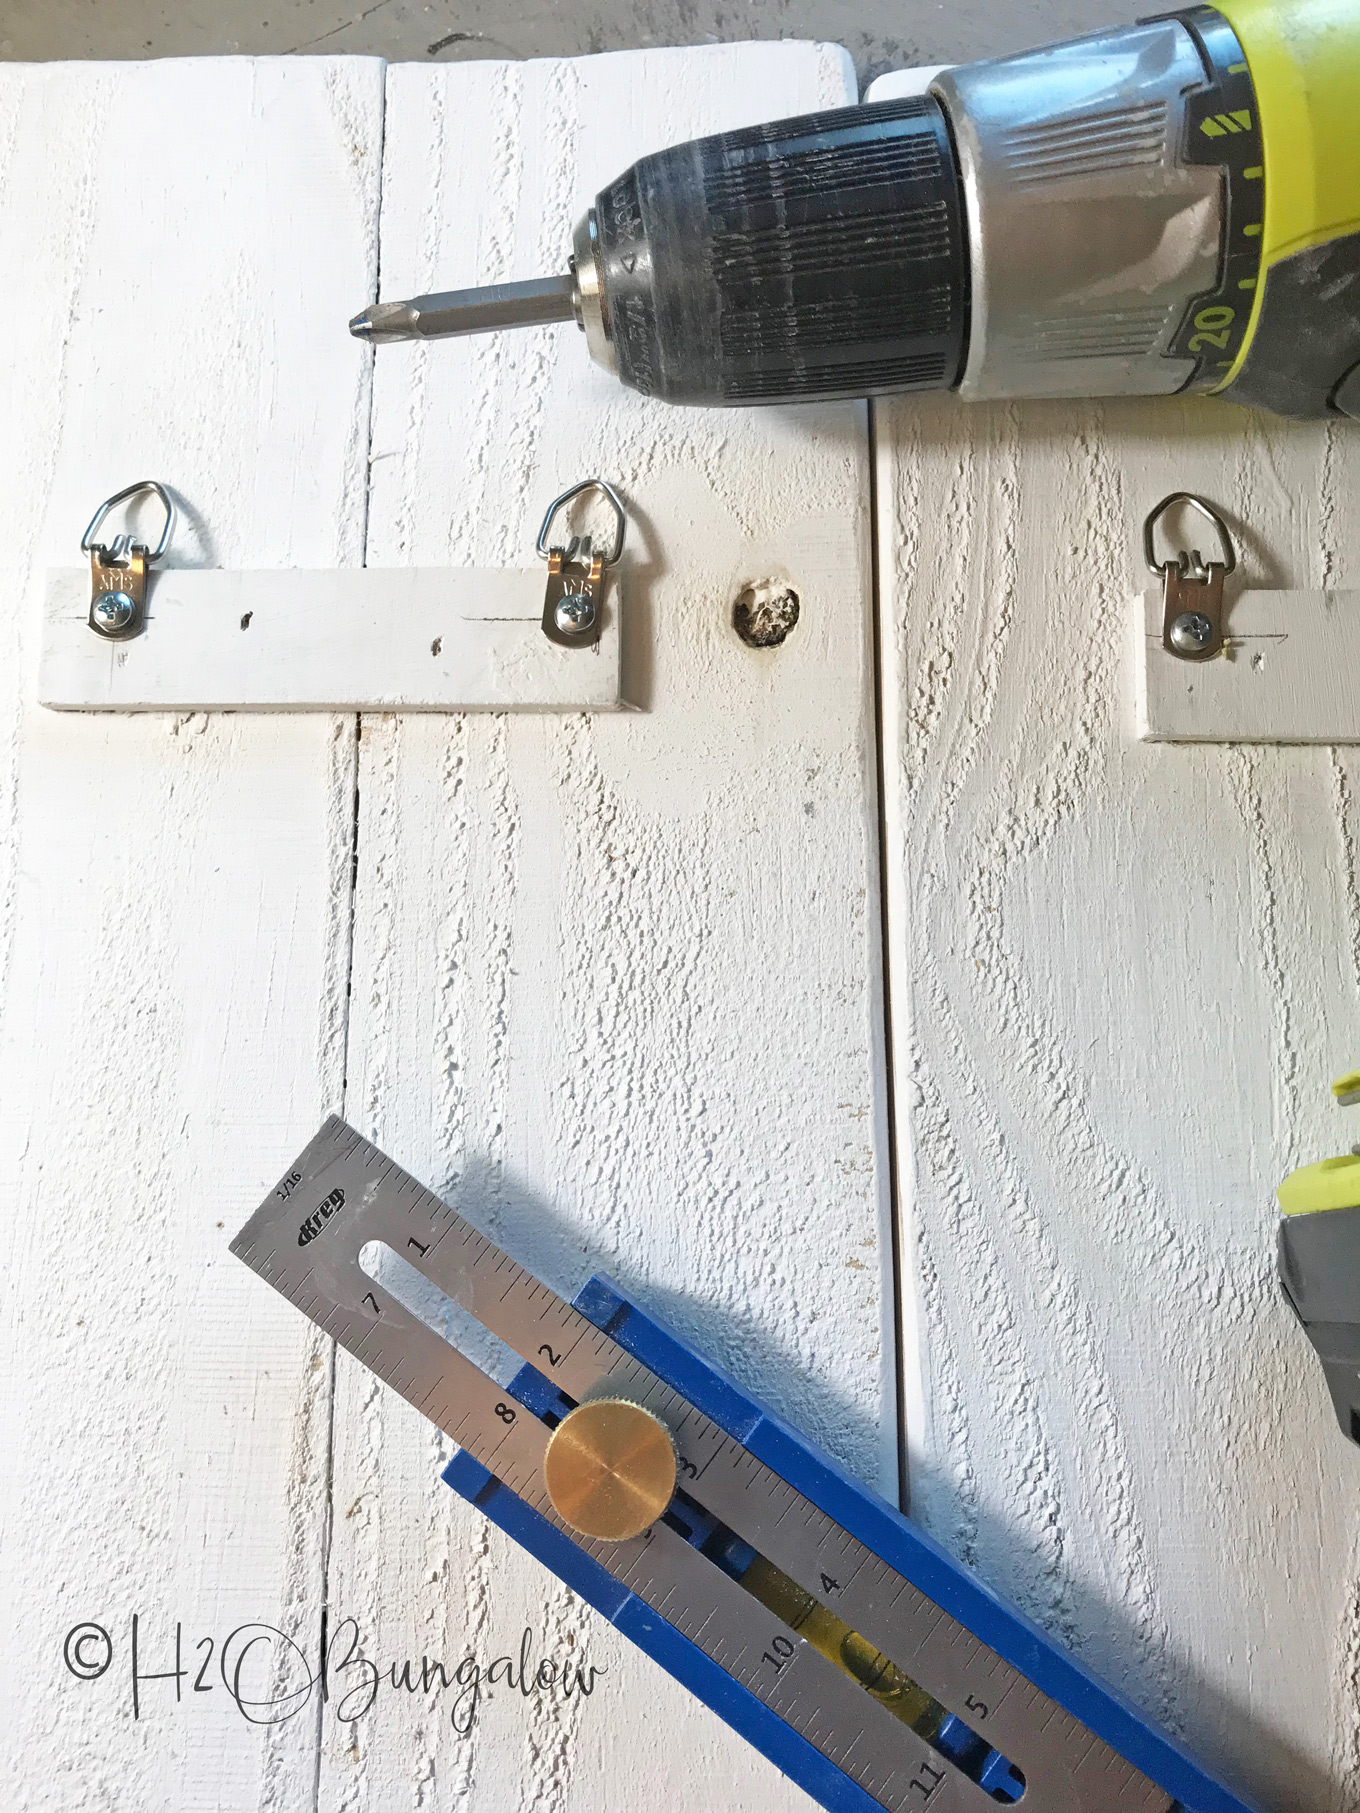
- 2 – d-rings for hanging these are great deal in bulk
Step 1. Find a wood board for the wall plaque. I used these boards I’d assembled for another project that never got done for the back. A single 6″ board, some driftwood an old pallet or any kind of creative wood backing will work just fine. I gave mine a coat of white chalk paint and then sanded the daylights out of it.
My back is actually two 1 x 3′ boards held together with an old paint stirrer pieces at the top and bottom.
Step 2. Attach the hanging hardware. I used two d-rings on the back of each plaque for stability. My Kreg Multi Mark Measuring Tool is a lifesaver for these kind of jobs. It makes even measuring quick, easy and perfect every time. I learned about this tool from Gail, our Dollar Store Design Squad leader!
Step 3. Attach the hose clamp. Adjust the hose clamp so you can slide the metal pail into it up to the pail lip. Attach it to the front of the board with two #6 – 3/4″ screws. I used the slotted section of the clamp to place the screws. If needed, cut the extra metal from the clamp off with tin snips.
Step 4. Spray paint the metal pails. I gave the pails two coats of the Vintage Teal by Rustoleum. I loved that color as soon as I spotted it! I used a little sand paper to lightly buff off the high areas around the flowers and butterfly on the pails to bring out the original yellow and green color underneath.
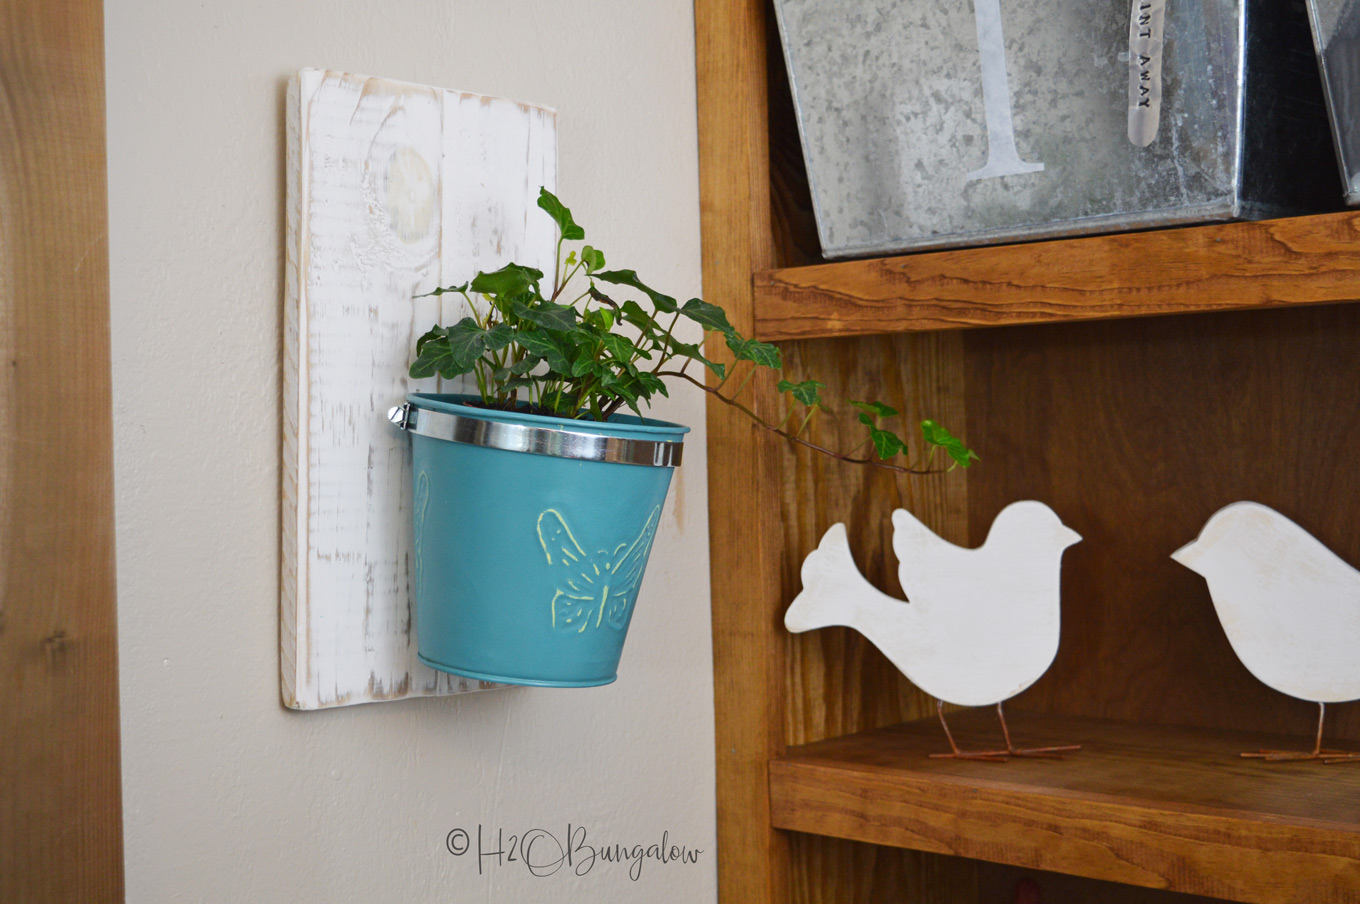
Step 5. Hang your DY wall hanging planters on the wall and add the planter pail and plants. I have a great post that shares how to perfectly hang pictures with two hooks straight every time. You’ll never be intimidated by two hook projects again! 🙂
How’s that for an easy tutorial for DIY wall hanging planters using dollar store items? This is a great way to easily hang plants on walls, fences, outside walls or mount several on a board for a living wall.
So…that’s my dollar store DIY. Don’t for get to pin it for later!
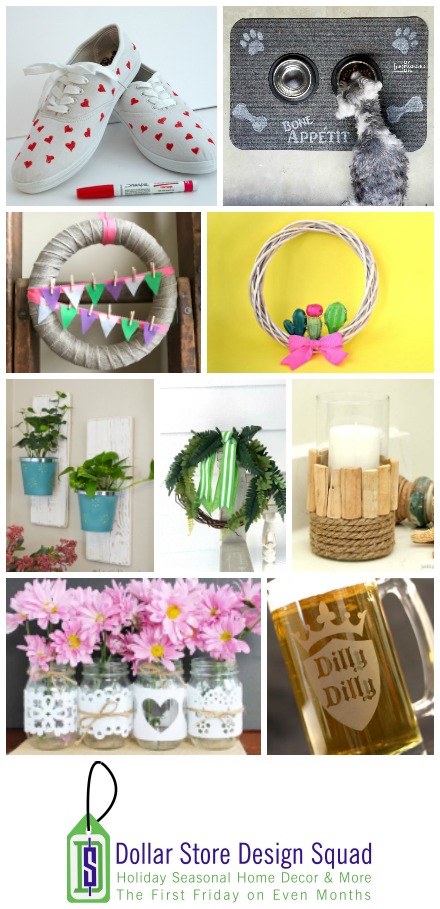
Let’s take a look at what the rest of the team made with goodies from their stores.
These are all so creative. Who knew you could do so much with just a few dollars!
Dollar Store Sneakers Create And Babble
Dog Bowl Mat My Repurposed Life
Spring Bunting Wreath The DIY Village
DIY Cactus Wreath Mad in Crafts
Hanging Planters H2O Bungalow- that’s me!
Fern Wreath Refresh Restyle
Nautical Style Candle Holder Petticoat Junktion
Wedding Mason Jars The Country Chic Cottage
Dilly Dilly Etched Beer Steins The Kim Six Fix
Pin this for later too! 🙂
I’m loving my new DIY wall hanging planters next to my windows. I’m also putting a few of my team mates awesome projects on my own want to do list.
Don’t you love the dollar store? What’s your favorite thing to pick up there?

JaneEllen says
So many wonderful and affordable projects to make. Gotta love $tree.We have 3 $tree stores so what I can’t find at one just jet over to others.. They’re spread all over area so means some driving but on nice day it’s worth it, (except for the gas prices).
These are so pretty and decorative,really want to make some. Think will hang them in kitchen by window, plants do so well there.
Happy weekend
Wendi says
Hi JaneEllen and thank you! I love Dollar Tree too! We have one here at the beach and it’s always packed and packed full of goodies. I’m so glad you like my plant holders, they were easy to make and look so pretty with like plants in them 🙂 Thanks so much for your visit and happy creating!
Michelle Leslie says
Oh please tell it’s true that trailing plants are becoming trendy Wendi, we have so many at home it feels like we’re in a jungle half the time 😉 I love your hanging wall planters too A living, breathing work of art on a budget always works for me.
Wendi says
Hi Michelle! I hope it’s true too! Your plants sound lovely! Yes, I read that trailing plants were coming in style. I did notice our Home Depot had a good selection of exotic looking ones when I was there. Unfortunately, they were all too large for my wall hanging planters. Thank you too….I love plants and the wall planters were a fun way of incorporating a few into the room without taking up shelf or tabletop space.
Audra @ Renewed Projects says
So pretty! I like the blue you selected for this project. Great tutorial, too.
Wendi says
Hi Audra and thank you! I’m glad I found a way to add plants to my room without taking space on a surface. I hope you make this or modify it to fit your own needs. Thanks for your visit!
gail says
Wendi,
Great job on the planters. I love how you spray painted the small buckets. So cute!
Thanks for being part of the Squad!
gail
Wendi says
Hi Gail and thank you! I’ve wanted to make something out of the small buckets for the longest time! I hope my plants live long enough to drape down the edges!
Jessica says
These planters are so sweet!
Wendi says
Hi Jessica and thank you! I’m loving all of the fun projects from this tour. Thanks so much for your visit and note!