Guess what I have for today’s project! A scalable DIY wooden snowflake that you can easily make big or small. Oh my gosh guys, where’d the time go this year? Can you believe we are making snowflakes and winter decor already?
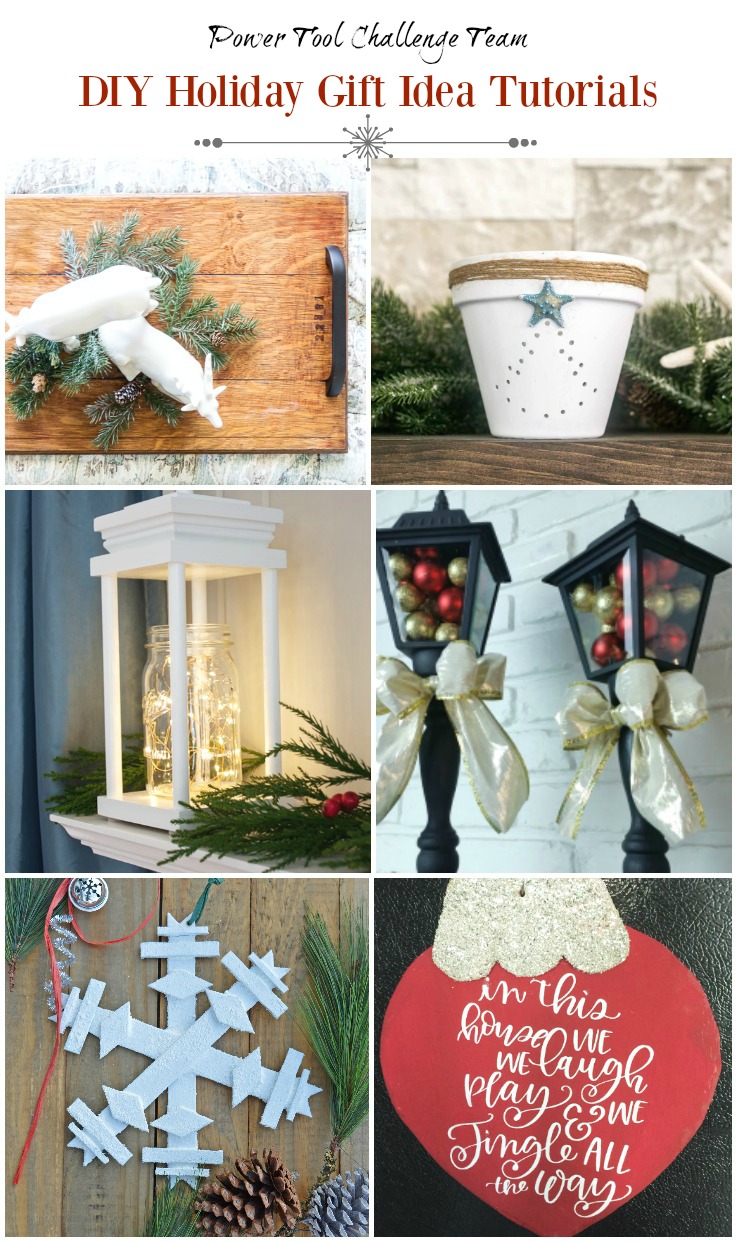
December is just around the corner and I’m not even close to ready for the gift season. My DIY wooden snowflake is the first gift I’ve tackled. Besides my gift idea, the Power Tool Challenge Team are all sharing holiday gift ideas today too and they are linked to this post.
So, grab a power tool and your gift list and let’s see which gifts may work for your list this year!
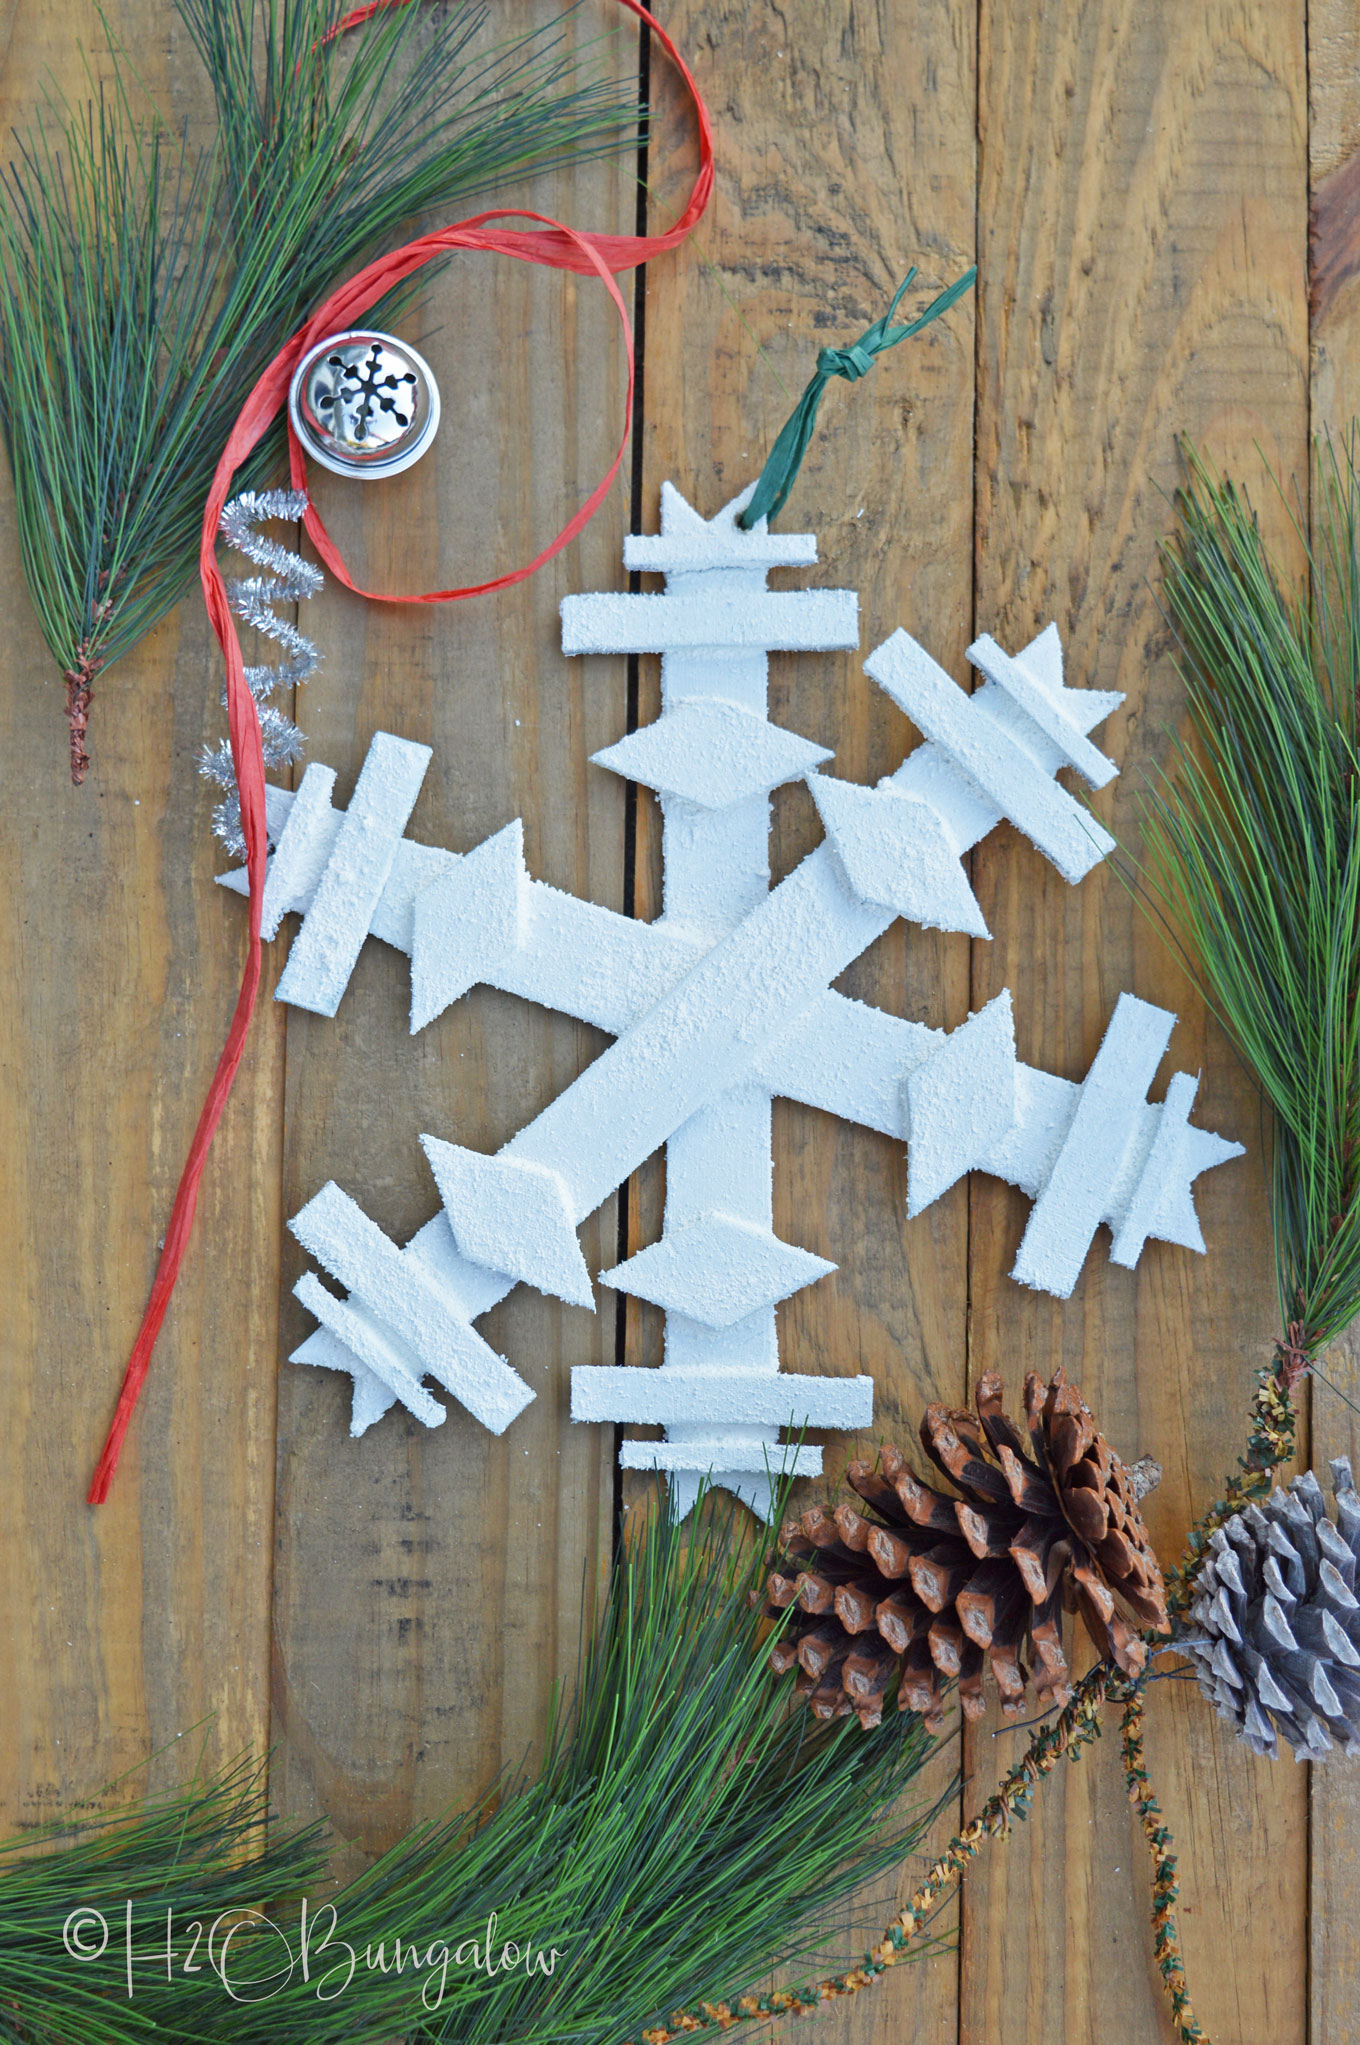
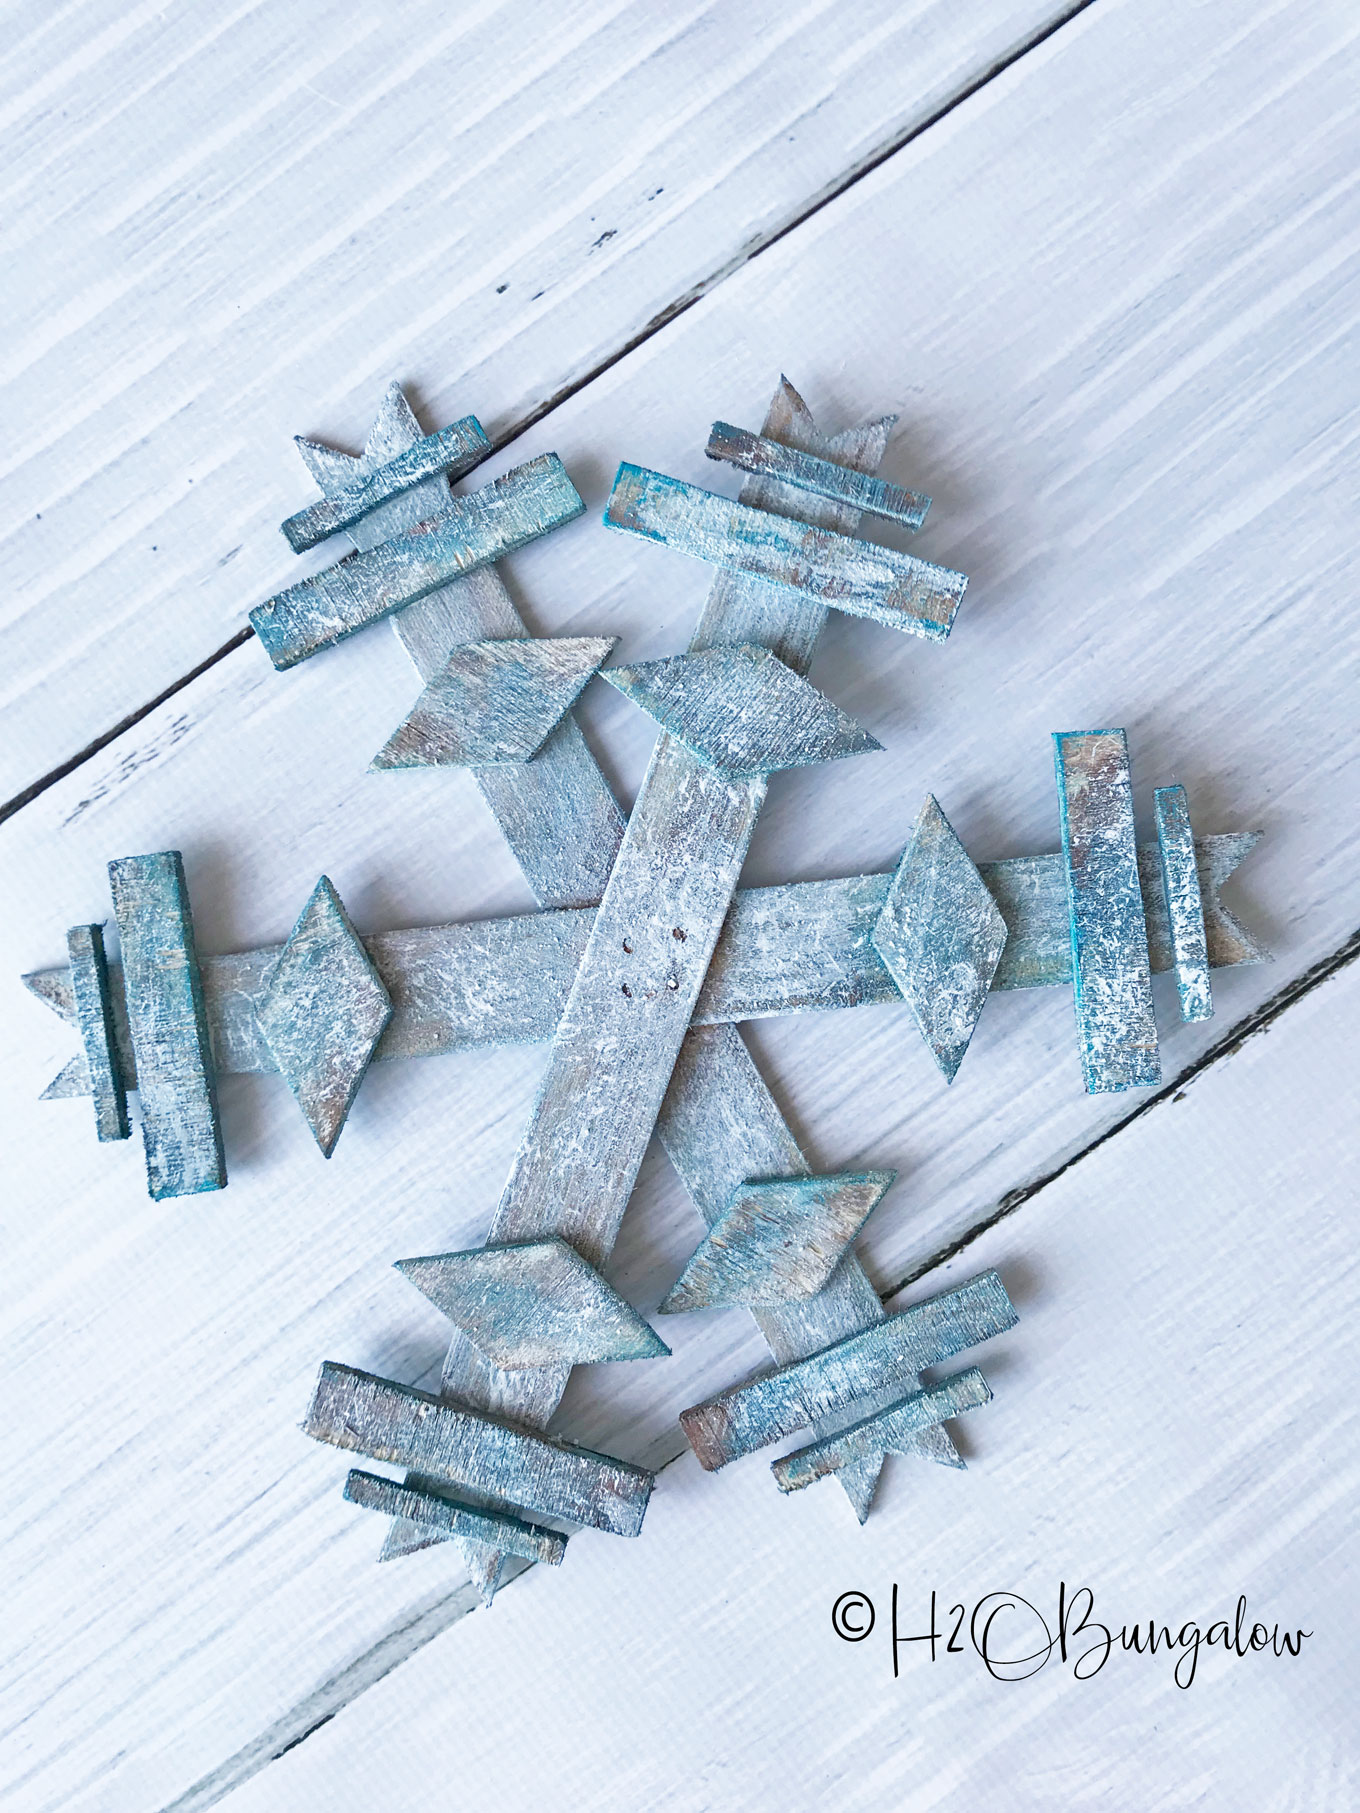
I made these twelve inch wooden snowflakes from paint stirrers and finished them in two styles. One coastal with blues and the other with a faux snow coating.
Scroll down to the bottom of the post to read my tutorial on how to make these wood DIY snowflakes.
In the meantime, let’s take a look at what the rest of the team made this month.
Designed Decor – Repurposed Wood Serving Tray
Domestically Speaking – Coastal Terra Cotta Christmas Lantern
Virginia Sweet Pea – DIY Wood Lanterns for Christmas
My Repurposed Life – DIY Christmas Lanterns Made from Porch Lights
H2OBungalow – DIY Large Wooden Snowflake – That’s me!
Create and Babble – Oversized Wooden Magnetic Christmas Ornament
Ready to make a wood snowflake?
How to Make a DIY Wooden Snowflake
I use affiliate links to help you find the supplies I used. You can read my full disclosure policy here.
The best part about this project is it’s easy to make a large or small snowflake out of wood or other materials.
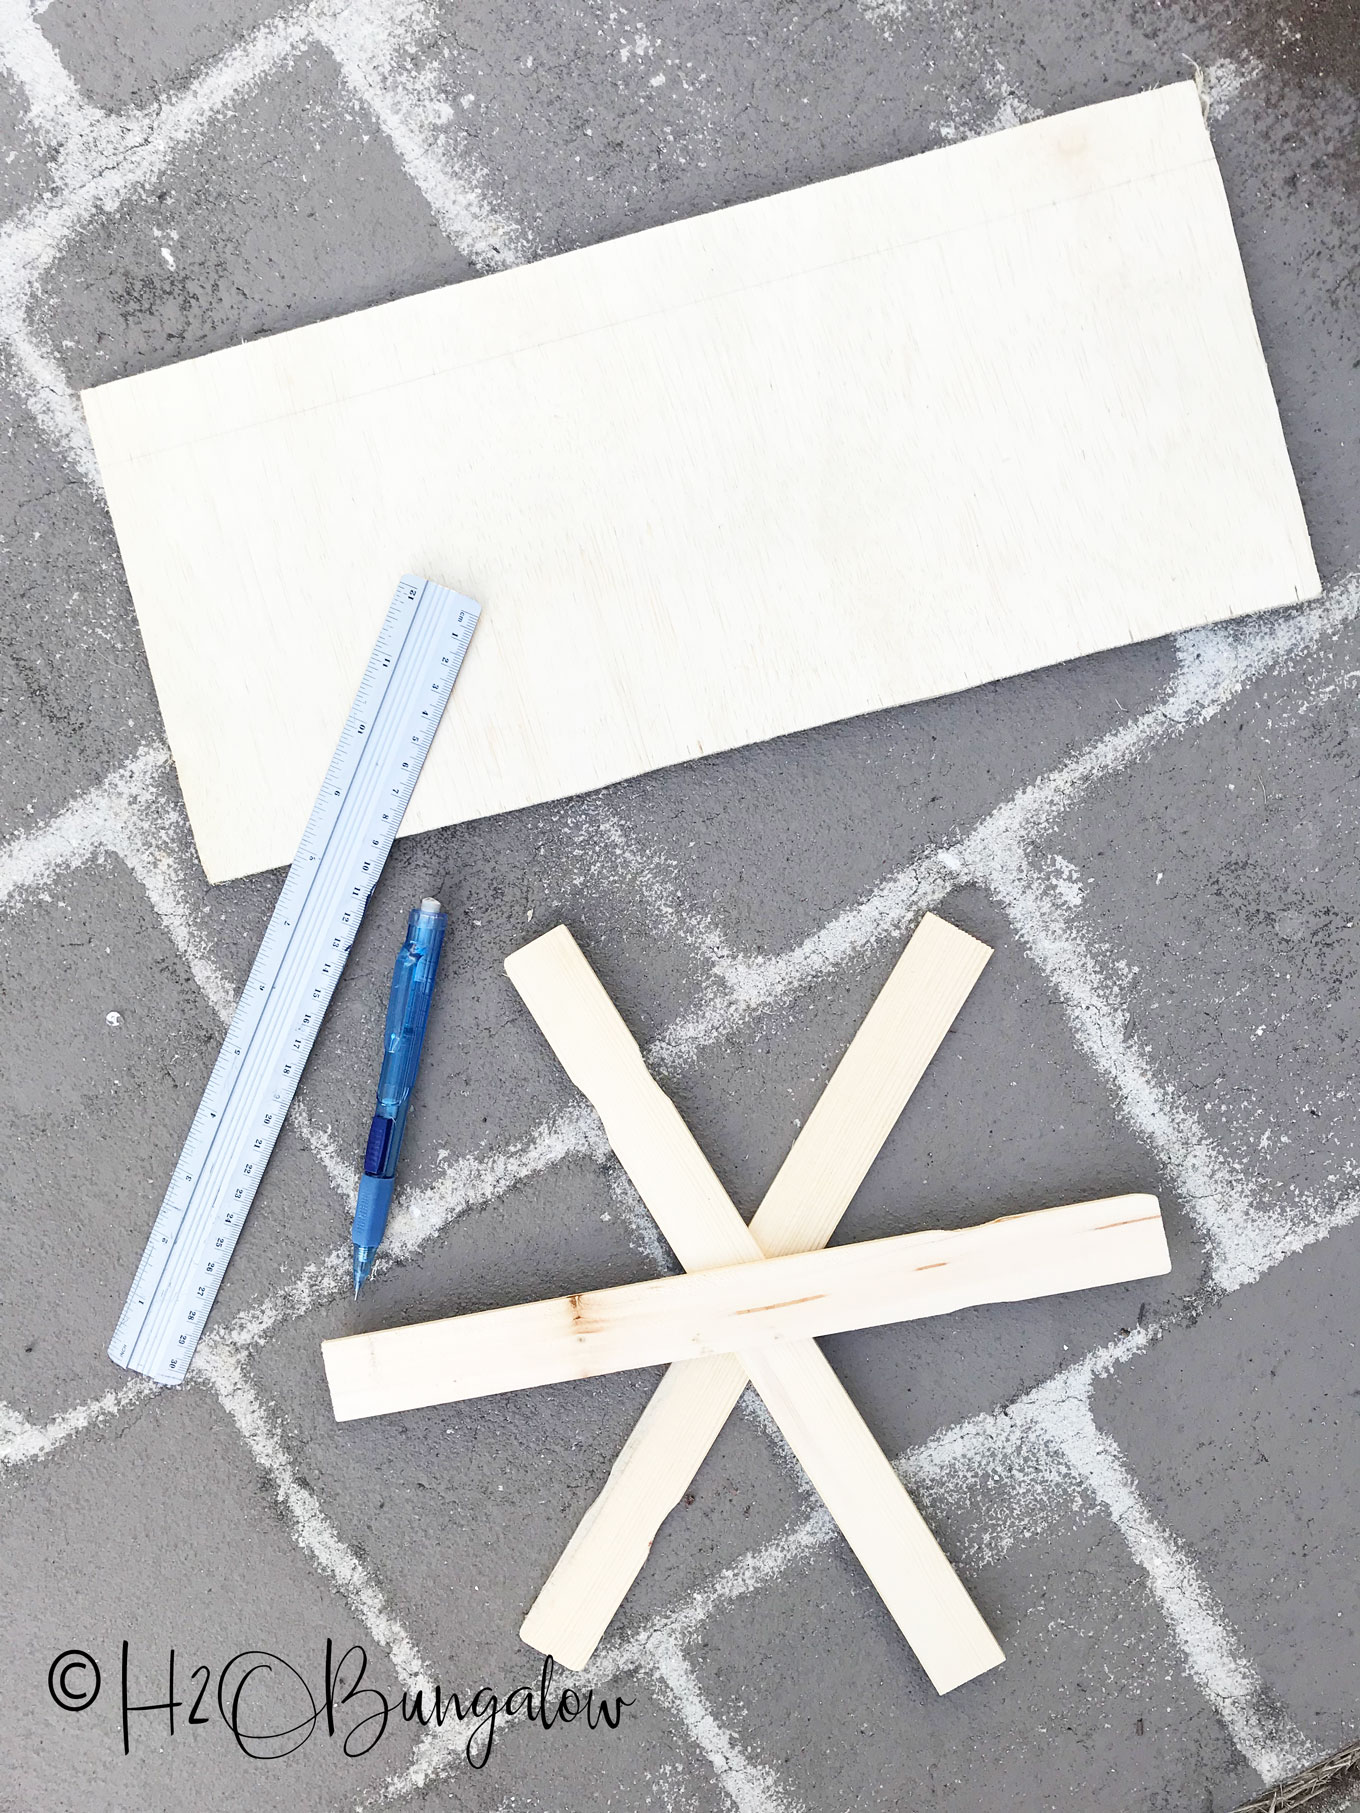
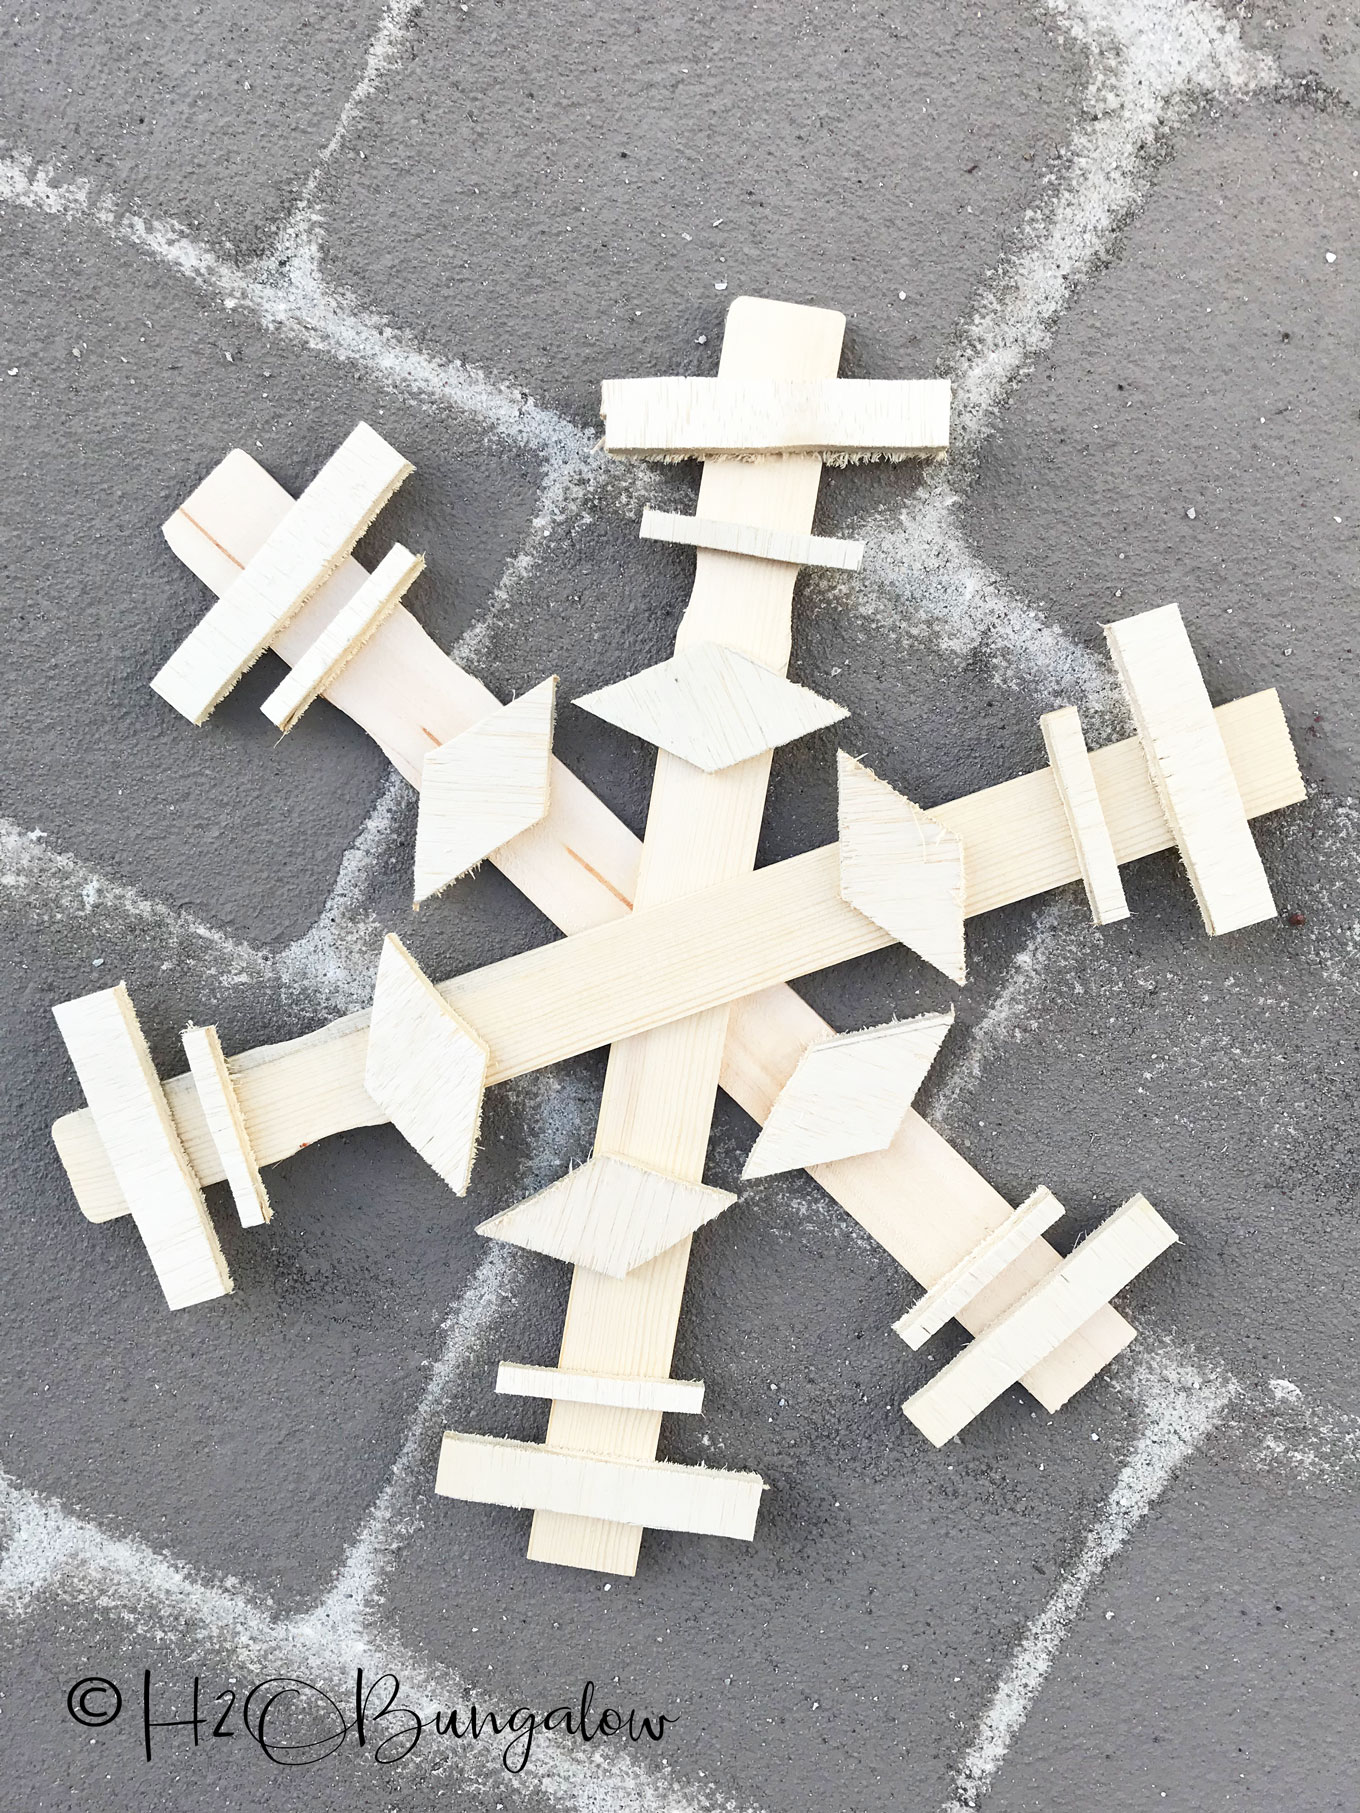
I used paint stirrers and a 1/4″ piece of plywood to make this twelve inch wood snowflake.
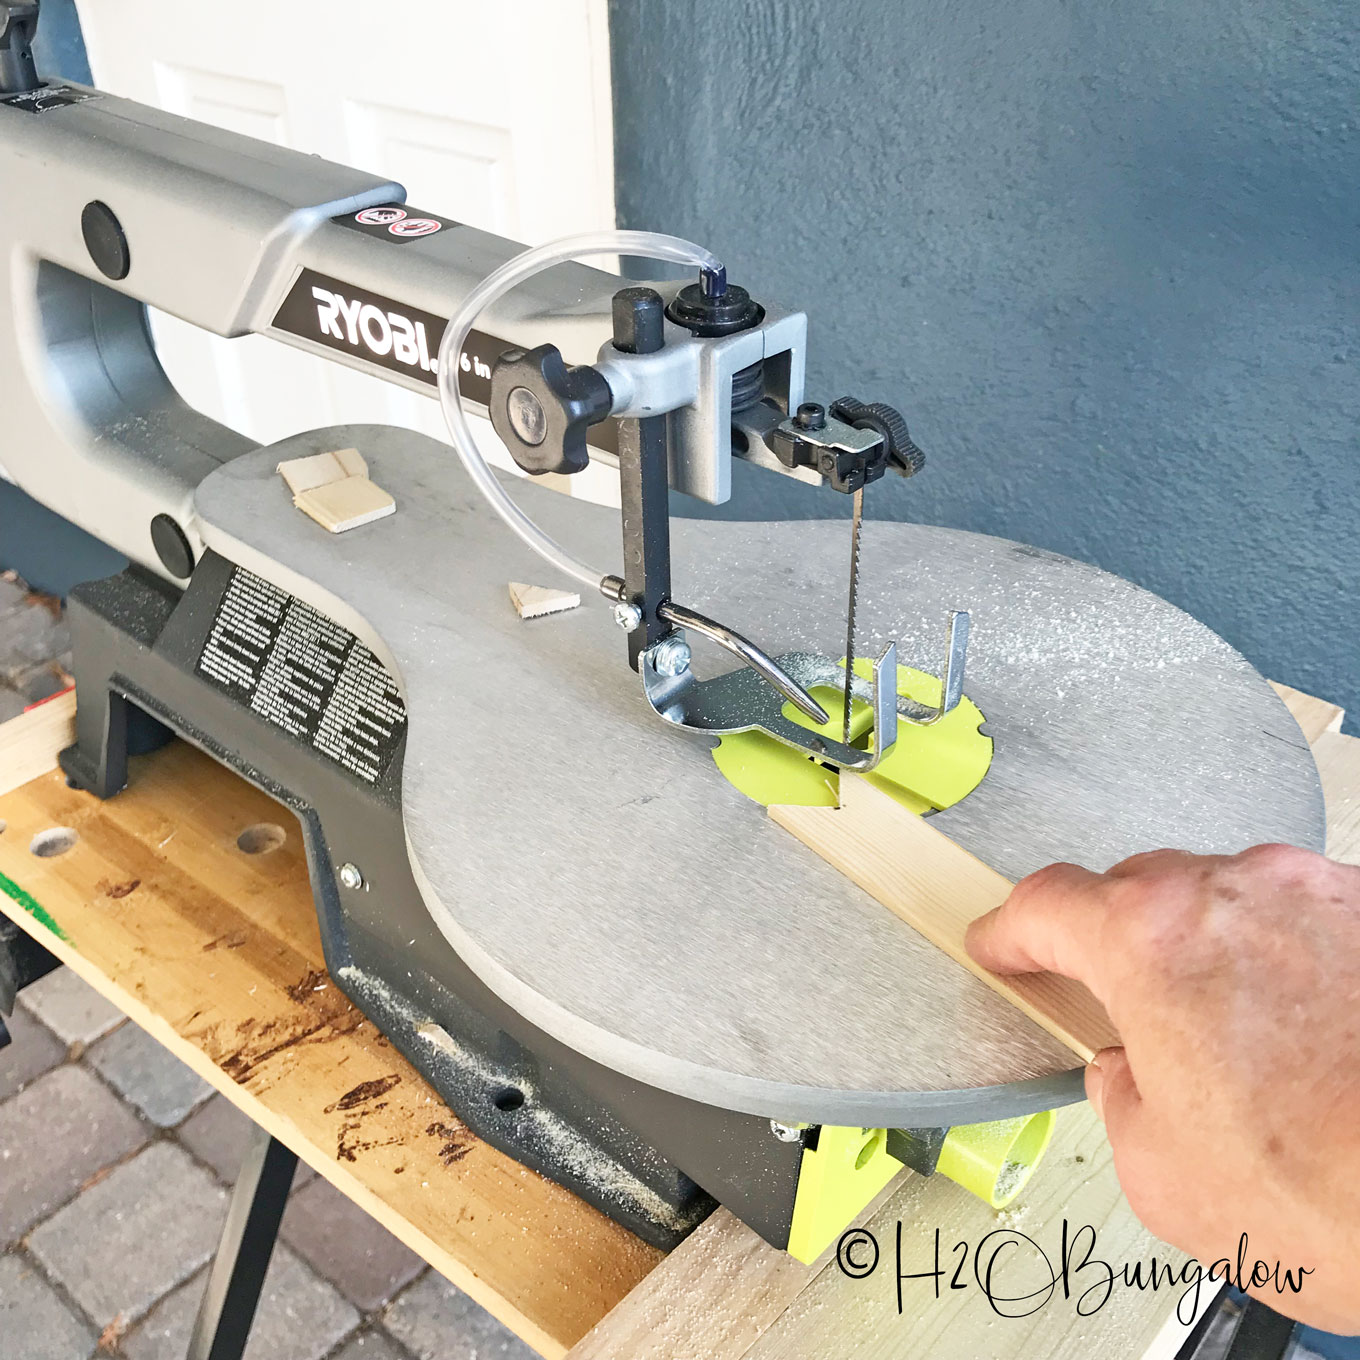
I cut six pieces of each design for the cross pieces. I used my scroll saw, but a jigsaw would work fine. I like the scroll saw because it operates almost like a sewing machine, it’s kind of quiet and very easy to manipulate the wood with two hands.
My biggest challenge when I pull out my scroll saw is putting it away! It’s so much fun to work on I want to keep making stuff 🙂
Use a sanding block to smooth the edges of the cuts.
I glued and secured the center of the three paint stirrers with 1/2″ brad nails. The rest of the pieces are just held with clear Gorilla Glue which I’ve been loving lately.
Coastal style painted snowflake
To make my coastal style snowflake I first stained the wood with a water based brown stain and let it dry. If I’d had any of my home-made Tea stain I would have used that as the base color. After, I layered by dry brushing Blue Turquoise and then white paint on to it.
Traditional snowy painted snowflake
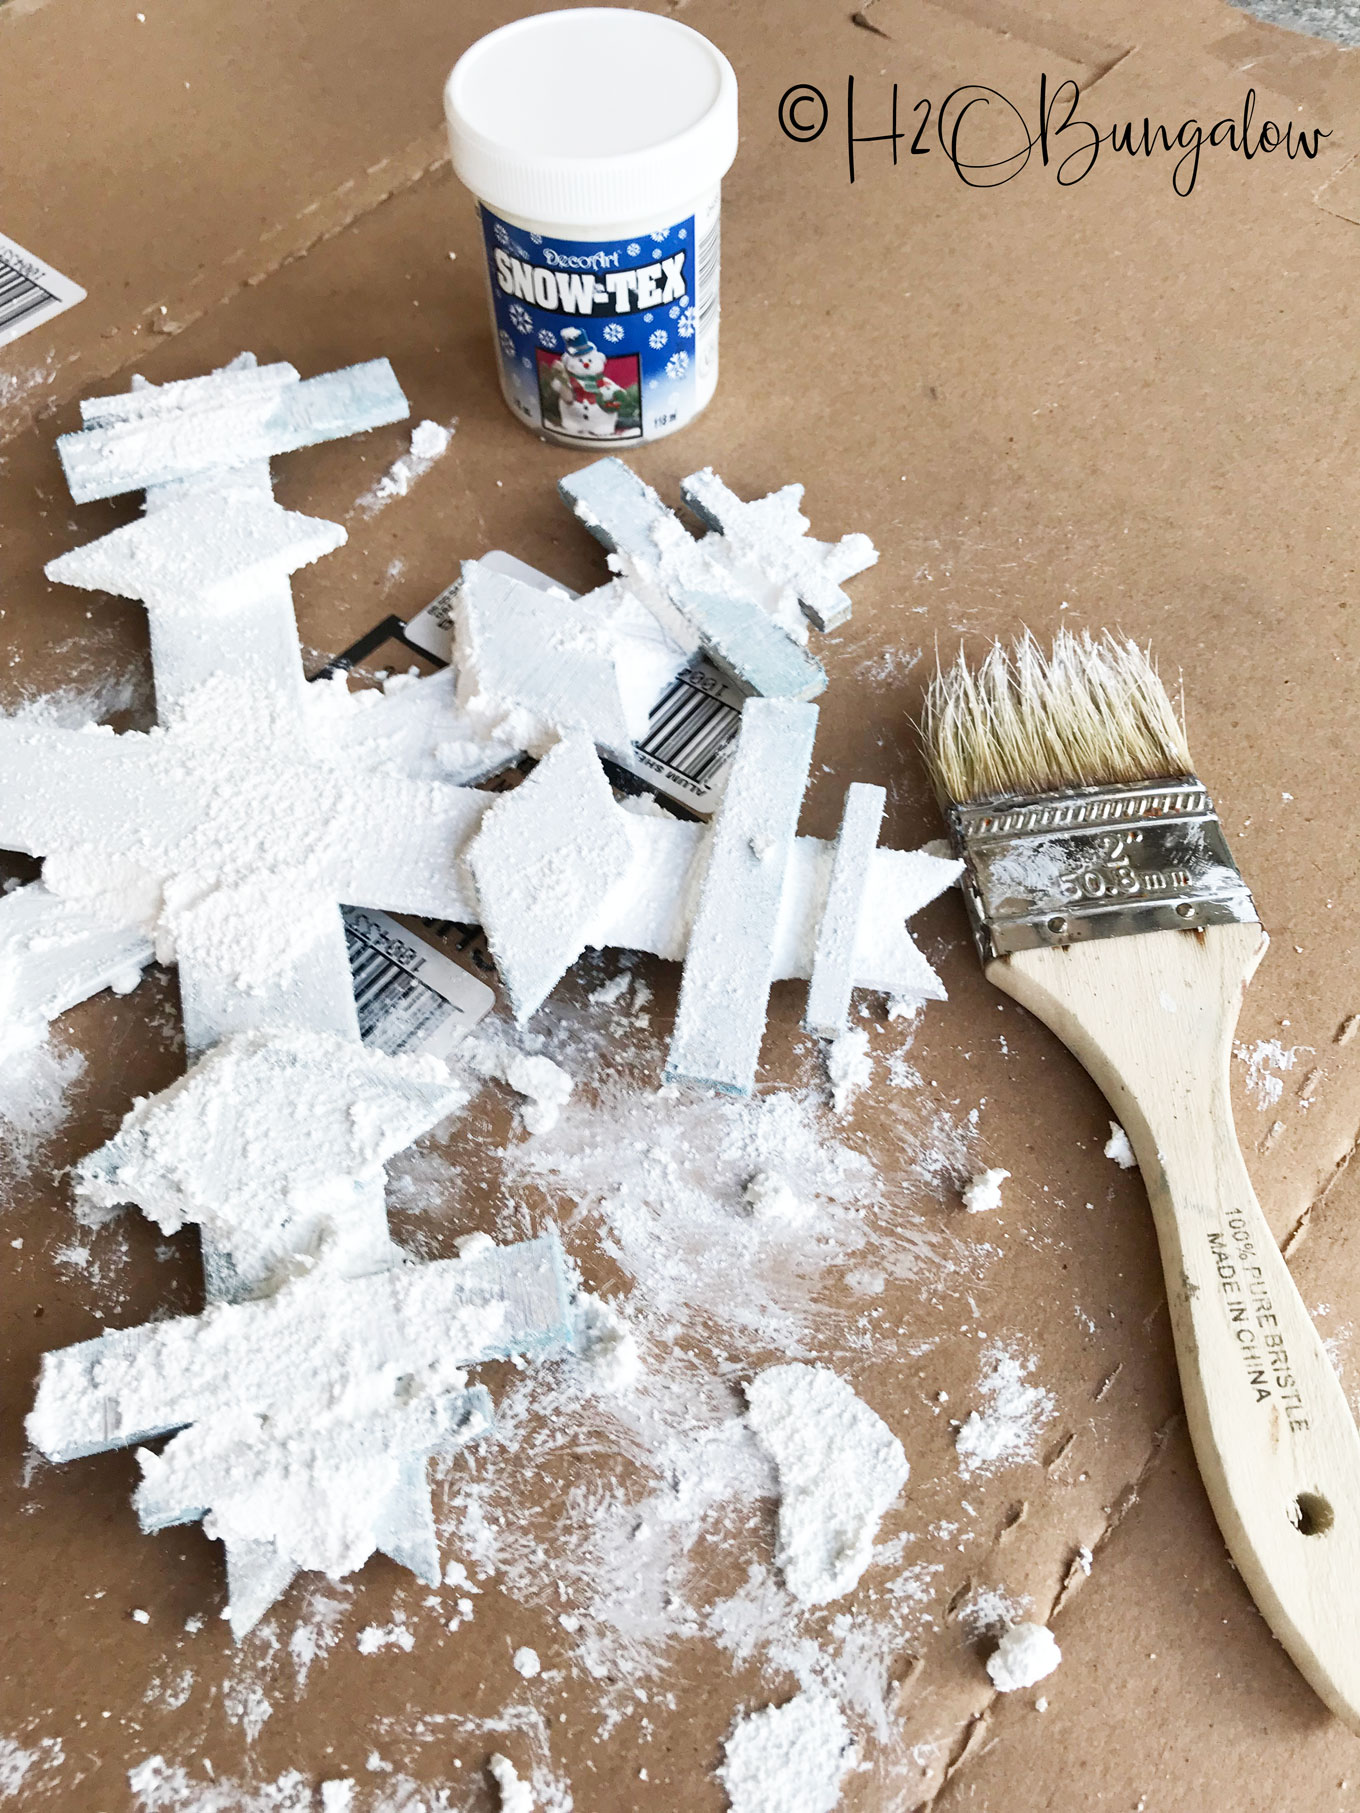
To make the snow covered snowflake I layered on Snow-Tex with a plastic knife and then smoothed and spread it out with one of my favorite cheapo chip brushes. This stuff is a bit messy but it’s great for adding texture like real snow.
The best part about my DIY wooden snowflake is you can make it any size you want. Just use longer sticks and make more snowflake pieces for the stems. I’d love to see a set of three wood snowflakes in different sizes.
I would have made really big ones but I need to mail my snowflake. The team does a Secret Santa gift swap with these projects. We all pull names and then send our gifts off to the team member whose name we pulled.
Want more handmade gift ideas? I’m sharing my Florida Coastal Holiday Home Tour next. You’ll find lots more decor and gift ideas on Tuesday!
So…which style did you like best? The coastal or traditional wooden snowflake?

Rebekah Purnell says
Great! I have some experience in making the snowflake. I recommend painting the pieces before assembling the wooden snowflake
Wendi says
Hi Rebekah… Good advice on painting the parts separate. It is a time save for sure. Thanks for sharing your knowledge!
Marie says
Your DIY wooden snowflakes are awesome, Wendi! Happy Holidays to you and yours ♥
Wendi says
Happy Holidays Marie! These were fun to make. I really wanted to make a few huge ones and couldn’t figure out how to mail them. I do love these though and they were easy! I think the hardest part was deciding which style to paint them in!
Jeanie says
I love them both! And my scroll saw too. I need to use it more often!
Wendi says
Hi Jeanie! We both need to use our scroll saws more often! I see all of these fabulous projects on Pinterest and FB and think that all the time! Hopefully in the new year 🙂 Thanks so much for your visit!
gail says
Wendi,
What a tough choice! I love both of them. Blue is my favorite color, so I sort of lean toward that one. But you can send me the white one, cause it’s pretty too! LOL just kidding. I’m so curious which of these fabulous gifts (from the challenge) I’m going to get.
pinning!
gail
Wendi says
Hi Gail and thank you! I like them both but am probably more partial to the blue one too since I was in FL when I made them. It’s been too fun keeping it a secret on which gift goes where this year! Thanks so much for jumping in on the fun and participating!
DeDe Designed Decor says
Great idea! That snow tex looks messy but I love how it looks on the snowflake!
Wendi says
Hi Dede…the Snow-Tex is a bit messy and that’s why I added the picture. Plus, I’ve had it for a few years and had yet to find a project to use it on! I love the effect and it dries hard. I’ll use it again, just not sure on what 🙂 Thanks for your visit and comment!
Maryann @ Domestically Speaking says
Super fun!!! What a great idea and love that you could make giant ones to hang outside!
Wendi says
I do too Maryann! All I’d need was a real tree instead of the palm trees we have out front! LOL
Paula says
I love your snowflakes, Wendi! The great thing about these is that they can be enjoyed for Christmas and also all winter. I like both snowflakes that you made and now need some Snow-Tex in my craft closet. And I also need to get my husband to fix the scroll saw that his dad gave us so that I can make some snowflakes of my own.
Wendi says
Thanks so much Paula! Good point on the snowflakes, they will last for the season. The Snow-Tex was fun to tinker with. I’d use it a agin and love the effect. Yes, get that scroll saw working! I can see you making all kinds of fun projects with it!
DIY Home Sweet Home says
Love the snow covered one. These would be a perfect addition to my dining room. Thank you for sharing.
Jamie
Wendi says
Hi Jamie and thank you! I think the snowflakes would be perfect in a winter vignette too. I’d love to see a set of these in different sizes on a mantel. They’d be just right for winter. Thanks so much for your visit and sweet comment!