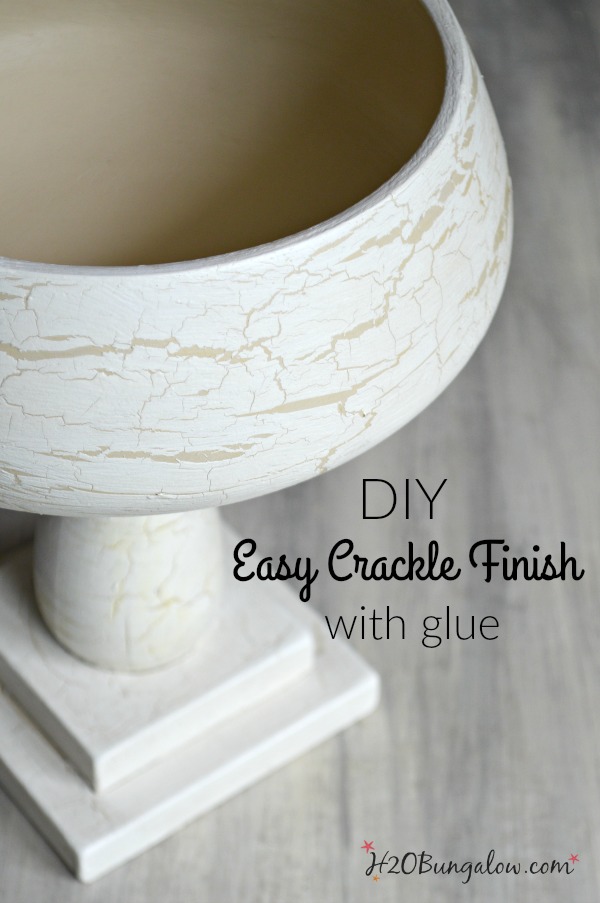
A few weeks ago when I was working on my pedestal bowl project, I started thinking about how I’d finish the outside of it. Of course I wanted a finish that would knock this project out of the ballpark. If done right, my $3 pedestal bowl could look like an upscale home decor item costing way more, and look awesome in my house. After tossing a few ideas, I decided to try a crackled finish with white glue and layered colors. I loved it, and I think you will too. Today, I’m sharing the steps to make a simple DIY crackle finish using glue that looks anything but simple and cheap.
We aren’t talking expensive glue here friends…
I’m talking cheapo white runny glue at $1 a bottle from a dollar store glue and how to make a simple DIY crackle finish using glue and paint.
In part, you guys can thank my good friend Penelope for this tutorial. You see, she loved my bowl project. So much so, that she sent me a note telling me this. Her note also said my bowl would be perfect for a gift for one of her friends, and she wanted it.
My bowl?
Nope. You can’t have it. So sorry dear friend, I love my upscale bowl with its $1 finish far too much to let it go.
But, guess what?
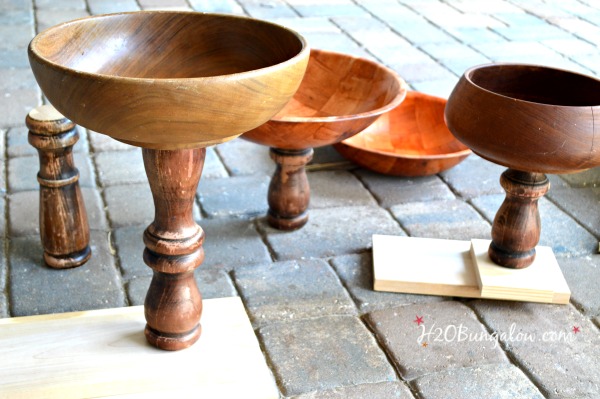
When I was making that fabulous Pedestal bowl project a few weeks ago, I made several bowls. Why? I don’t know. But, I’m sure I have a bowl that you will love too, because I have three more sitting on my filing cabinet:)
She did! She found a bowl she was happy with.
Of course there was a catch, she had to come and paint it 😉
And she brought Kelly too. Which meant another bowl would be rehomed:)
It also meant I’d get fresh photos for my DIY crackled finish using glue tutorial that I needed for this post!
How to make a DIY crackle finish using glue
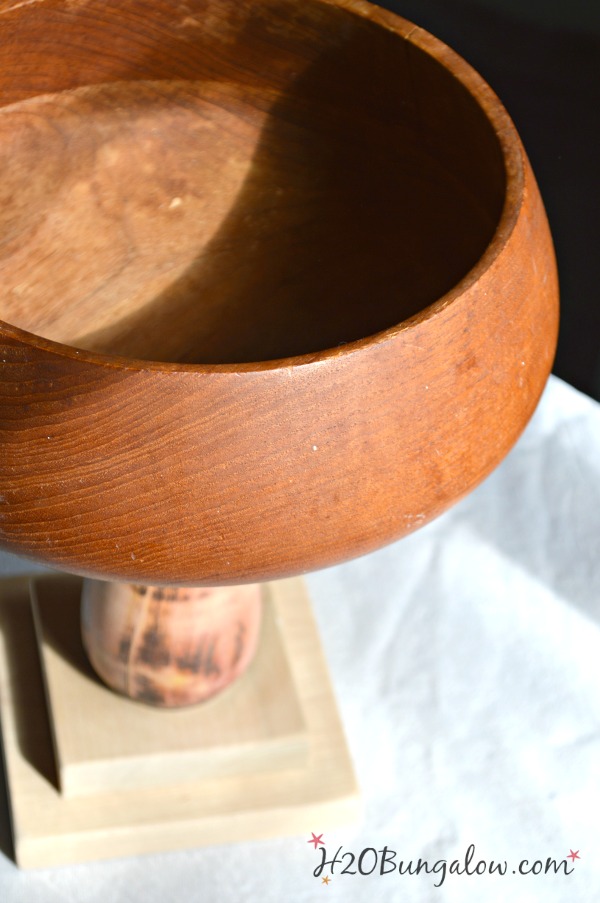
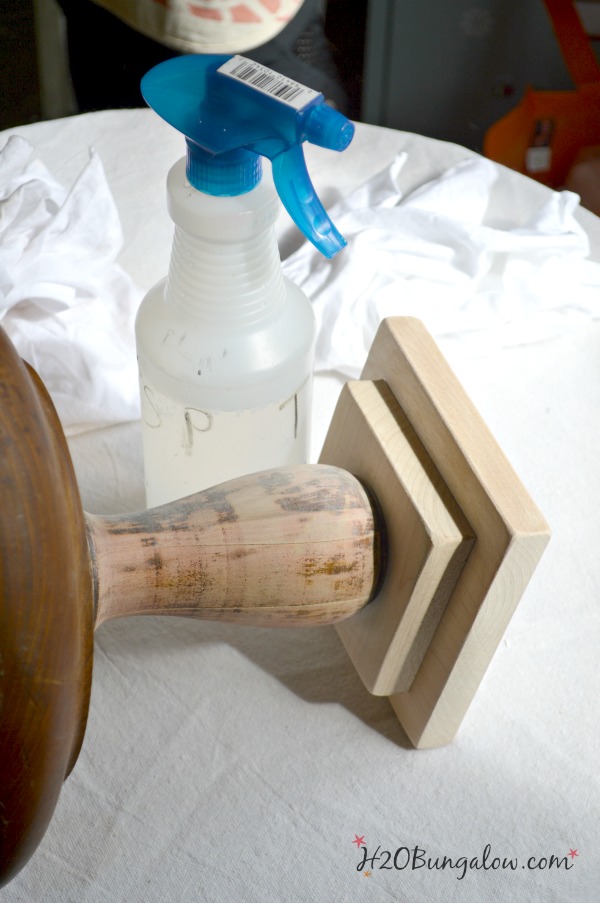
Just like any painted furniture project, we started with a light sanding to knock off any old varnish on the spindle parts, and a good wiping down with TSP to degloss and clean the wood.
You’ll find lots more useful tips in my How To Prepare Furniture For Painting post.
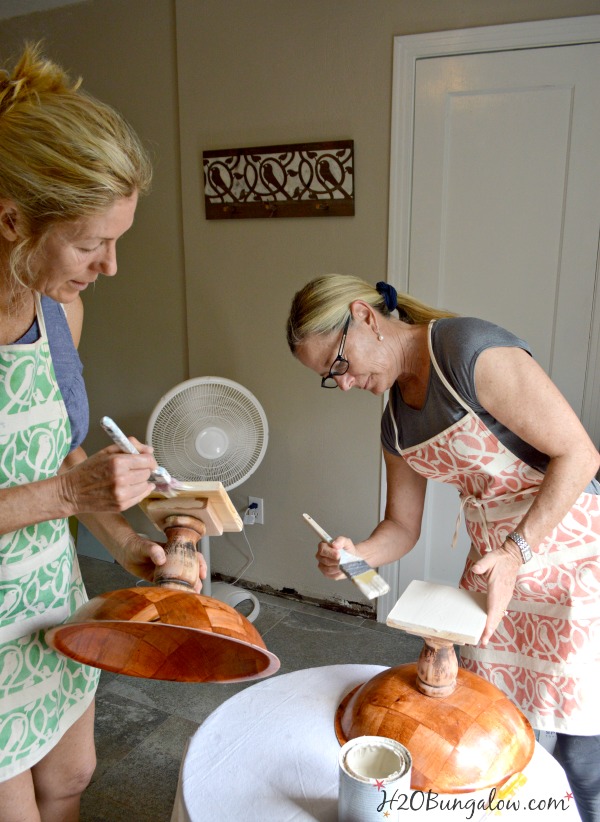
My favorite Birdie Aprons got some use while we gave the bowls a light basecoat of paint. We used Annie Sloan’s Old Ochre.
Tip ~ paint will dry faster on hot or humid days with a fan set at a low-med speed in the background:)
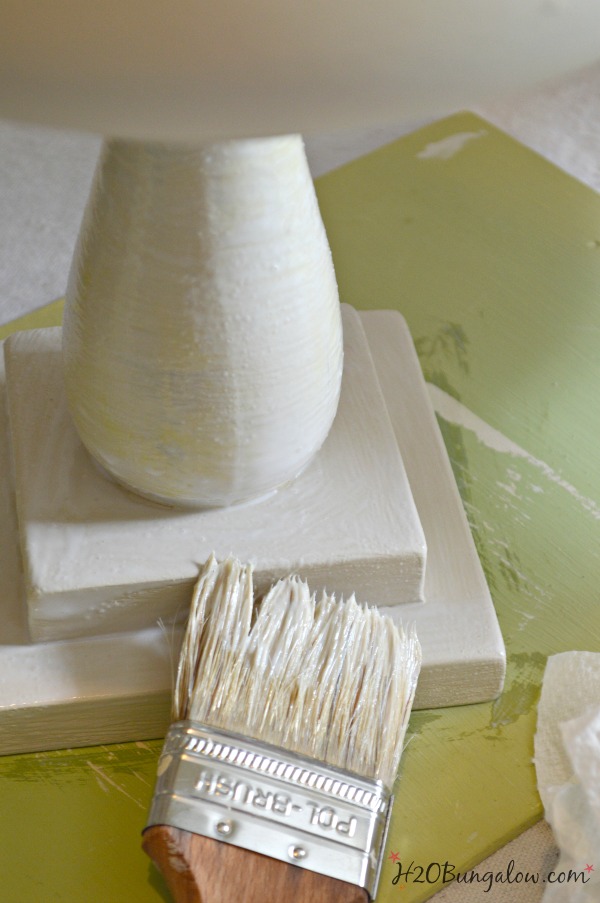
Once the basecoat was dry, we brushed on a coat of a cheap white knock off Elmers glue we found at a dollar store. We used just over one bottle for 3 pedestal bowls.
Brush it on quickly and evenly all over. A thinner application will give finer crackle lines and thicker application will make a bigger crackle pattern. I’ll share examples of both below.
This is the thick application.
Wait for the glue to get sticky and begin to dry. You don’t want it to be dry so keep testing it with your fingers. It may only take a few minutes.
When the glue is tacky but still wet, brush on a top coat of paint over the glue. We used Pure White by Annie Sloan. Unfortunately as friends usually do, we got to talking and having fun and I forgot to get a picture of this step.
Ooops 😉
Don’t work your brush over the paint or go back over a painted area. Just apply it and move on to the next spot. If you work an area too much it won’t crackle well. I used the fan on our bowls, turning them every 15-30 minutes while they were drying to speed up the process. It took about 2-3 hours to dry.
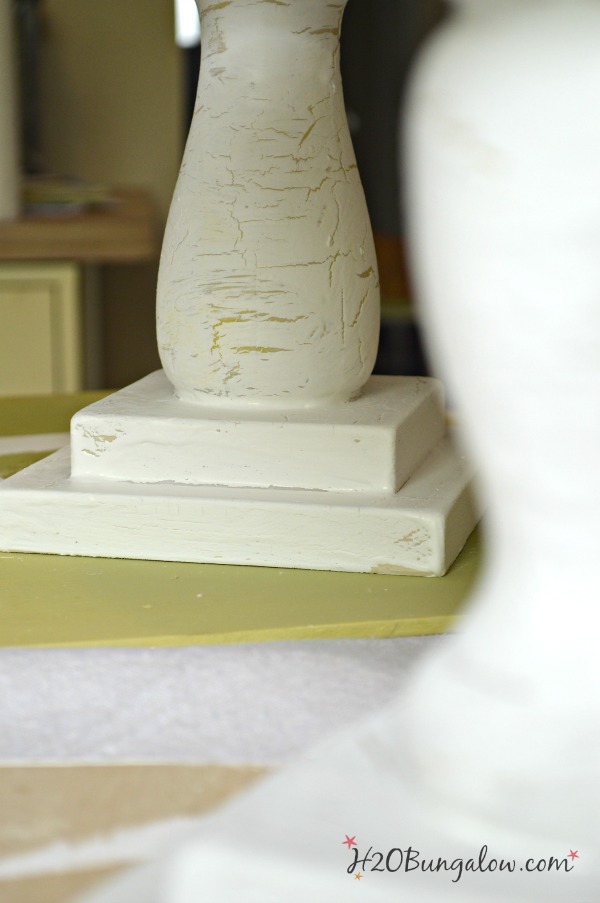
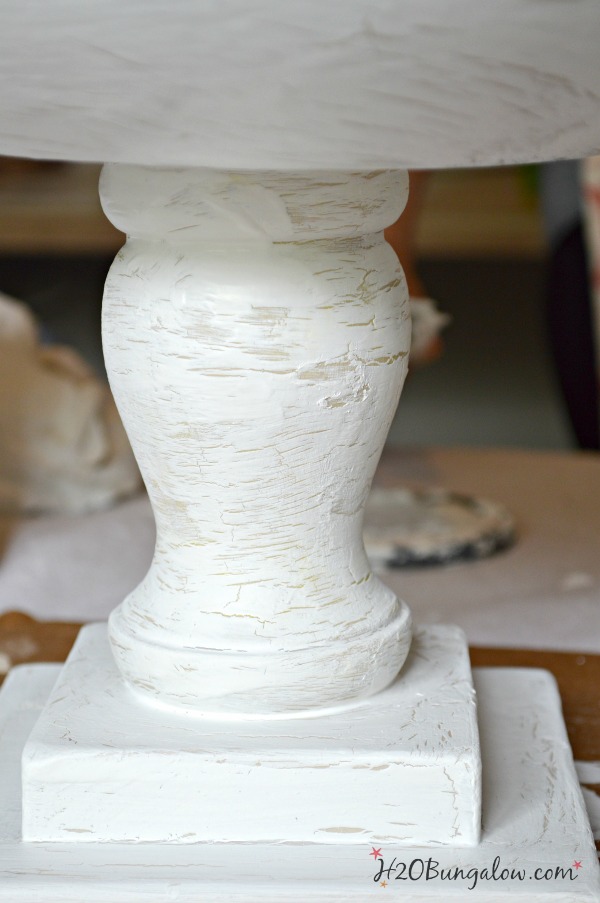
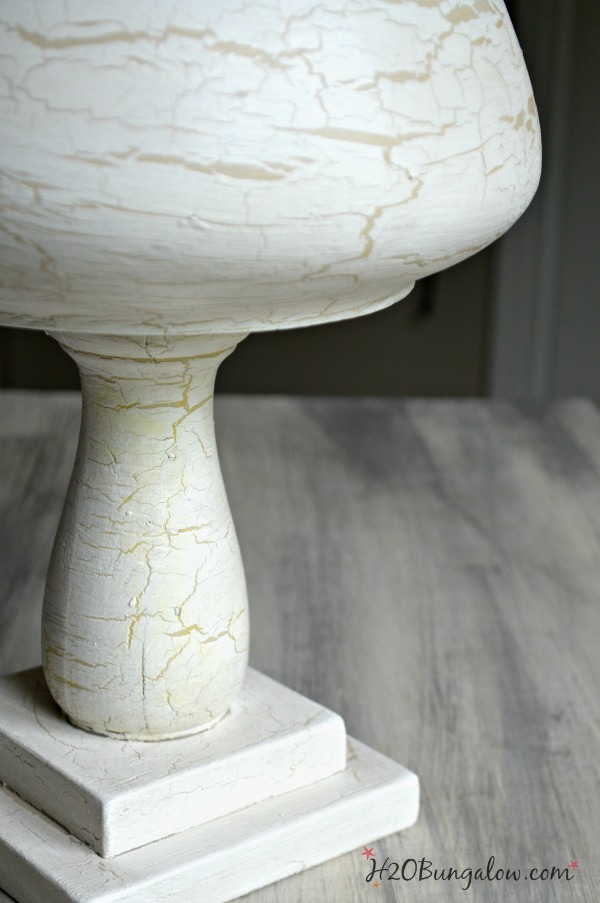
The paint begins to crackle as the glue dries and shrinks. Use contrasting colors for a good effect.
A thin layer of glue will make small crackles.
A thicker layer of glue will make a bigger crackle pattern.
When the crackle finished bowls were dry, we gave them a coat of wax. We used Amy Howards Light Antiquing Wax. One of my favorite waxes, because it gives a nice subtle aged effect to paint. It’s one of those finishes that you feel more than see, and looks terrific.
As you can see, we didn’t crackle the insides of the bowls and left them the base coat color for contrast. When I tried this initially, I was surprised to see that I could get a good crackle finish using white glue for the crackle medium. I’ll definitely use this again.
A crackled finish is a great method to use on small home decor items like frames, painted accessories, DIY pedestal bowls ;), etc. I wouldn’t trust it on a furniture makeover. I’d use a good crackle product like Amy Howards Cracked Gesso to get a consistent high quality finish that furniture projects require.
Are you loving my simple crackle finish using glue tutorial?
The best compliment you can give me is to share it on Facebook with your friends, and pin it on Pinterest!
Are you ready to try this simple DIY crackle finish on a project yourself? Have you used it before? Do you have any tips to share with me and your fellow readers?
Lets’s talk guys, use the comment section below!
You’ll find my project linked up to these fabulous parties!
Love a good dose of DIY home decor, home improvement, the challenge of woodworking and creative ways to make your home look fabulous?
Me too!
I’d love to share mine with you. Click here to sign up for my post emails and I’ll send a quick note when I have a new project to share.
Disclosure: I may have been compensated, given product or tools that I used in this DIY post. All opinions that I share are always 100% my own. I use affiliate links in my posts. If you should make a purchase I will receive an itty bitty commission at no cost to you. Thank you in advance for supporting my blog and two fur-ball cats who believe they are privileged.

Sherry says
Unfortunately this technique is not giving me the crackle look. I am doing exactly as the tutorial says, however NEVER no cracks
Wendi says
Hi Sherry…I’m SO sorry you’re not getting the same results. I understand how frustrating that can be. I’ve done this many times and with perfect results. It must be the product, either the paint or the glue you’re using that’s not working well with this step.
Crystal Green says
This is very pretty! I like how it turned out. Thanks for giving us this trick.
Thank you for sharing this with us on the #HomeMattersParty. We hope to see you when we open our doors on Friday at 12 AM EST.
Wendi says
Hi Crystal and thank you! This finish was so easy and inexpensive I had to share it!
Sara says
Looks so great! I have never used glue to create a crackle finish. I will have to add it to my toolbelt! Thanks for sharing at Merry Monday.
Wendi says
Hi Sara and thank you:)
Bre @ Average But Inspired says
This is a CRAZY tip! Thank you so much!!
Wendi says
Hi Bre, I know! Who would have thought, right? I’ll definately use this finish again on something… maybe lots of somethings since it’s so easy! Thanks so much for your visit:)
Paula@SweetPea says
I’m so glad that you posted this tutorial. I found a piece at Goodwill yesterday and your technique will be perfect for it.
Debrashoppeno5 says
I will need to try doing this with the glue. Generally I use the crackle finish medium from Sherwin-Williams. I really love the crackle effect.
Wendi says
Hi Debra, I noticed you do a lot of art and work to sell in your darling shoppe. You’ll probably be able to get a consistent finish on your projects using the glue. It’s definately less expensive. I’d still reccomend a quality crackle meduim for furniture and larger surfaces. I haven’t used a crackle finish in a long time. I forgot how pretty it is! Thanks so much for your visit and please let me know how the white glue works for you:)
gail says
super tips Wendi! I have used this before, a long, long time ago on some birdhouses and on a window project. I’d have to check my blog posts, but I think I remember diluting the glue a little bit.
Funny–I’m about to do this on a chalkboard project as soon as it stops raining. We had about 2.5 sunny days, now we’re in a wet period again. 🙁
gail
Wendi says
Hi Gail..ugh rainy days, you’ve had your fill of them! This is the easiest cheapest way to get a fun finish, I loved it. I’m not surprised you have it on your blog too, you’re a treasure trove of info! Thanks so much for your visit friend:)
Terry says
I have never tried crackle with white glue! Definitely going to try it! It turned out perfectly! Thank you for sharing! I hope you have a great day!
Smiles!
Terry
Wendi says
Hi Terry, you should, and I can’t wait to see what you do with it! I’m sure a fantatsic and creative project:) As always, thanks so much for your visit!
Patty says
Love this crackle finish. I had heard of using glue for this, but I had never seen it done before.
This is something I will try, I’m going to start looking for wooden bowls at the thrift shops.
Wendi says
Hi Patty, You have to try this! It’s such an easy and fun project, besides being crazy inexpensive! Please share a picture on the H2OBungalow Facebook page when you do:) Have a great weekend!
Mary-the boondocks blog says
Wendi this is a beautiful finish. I love the subtle effect of the crackle. Can I try this on a metal bowl? Do you think it will work? If I apply chalk paint first and then the glue and then another layer of chalk paint? You’ve inspired me!
Wendi says
Hi Mary and thank you! I’d use a good primer on the metal first. Most primers come white, just have the paint store tint it with the color you want the base coat color to be. Let it dry for at least a day. Then add the glue and a layer of chalkpaint. Otherwise I don’t think the paint will stick well to the metal and last. Have fun with this! Thanks or your visit and sweet note friend!