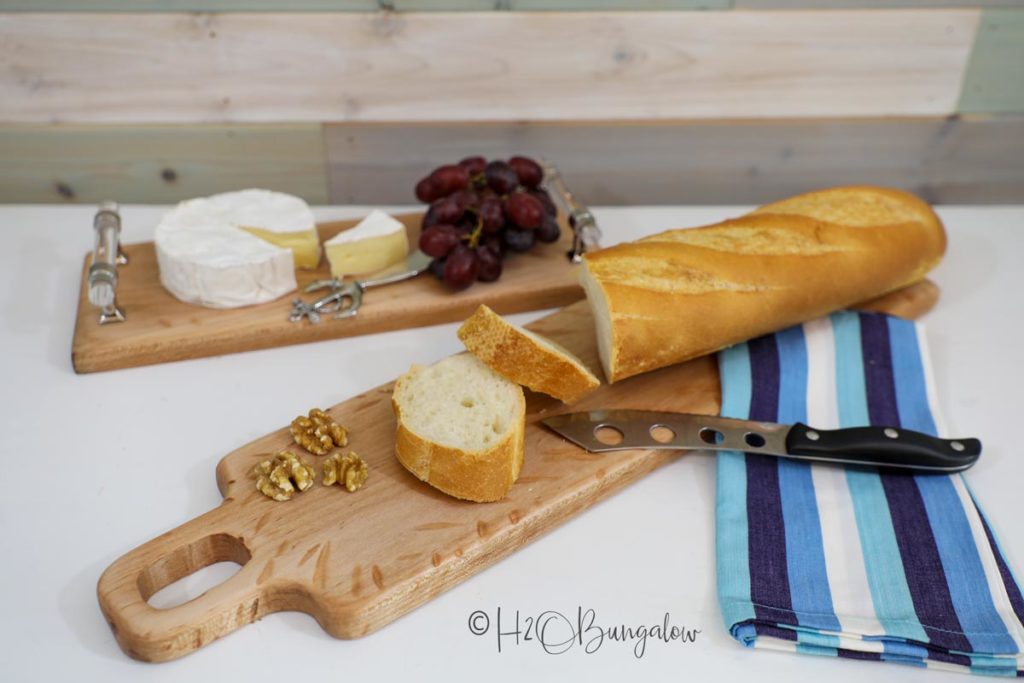
Today’s project is an easy DIY cutting board from scrap wood. You can make a trendy serving board like mine in a few hours with as little as two common hand tools and a scrap piece of wood. If I didn’t know cutting boards and wood serving trays were so easy to make, I wouldn’t believe it myself. I cannot wait to start using them!
Even the simplest of meals or snacks look better when served with a pretty presentation! I’ve made serving trays before like my DIY Coastal Rope Handle Tray and repurposed and my Coastal Picture Frame Serving Tray. but I haven’t tackled a DIY cutting board yet.
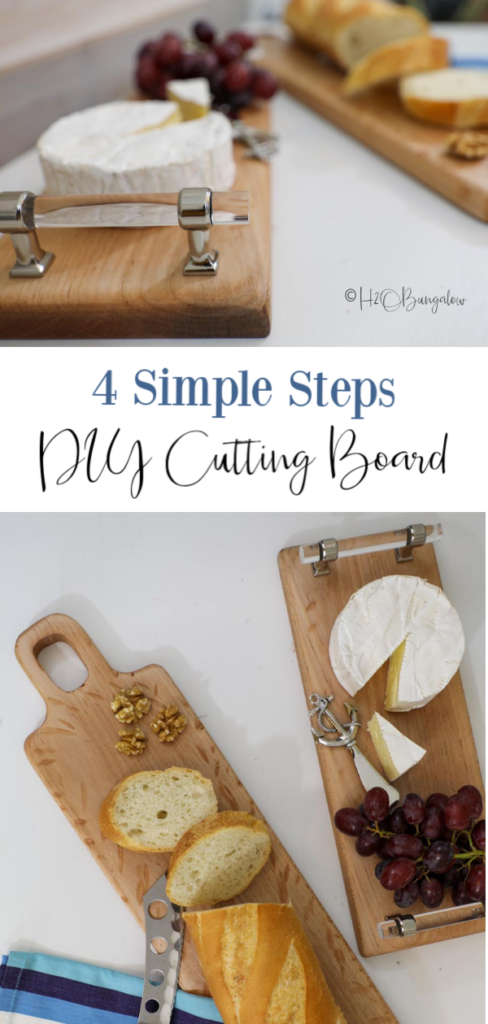
I recently realized that don’t have a cheese board or bread cutting board at the North House Lodge! Sure, I have cutting boards for vegetables and preparing dinner but none for a pretty presentation. I’ve been dulling my knives by cutting and serving on a dinner plate.
Doesn’t everything taste even better when served on the perfect platter?
Yes, you can make your own cutting boards!
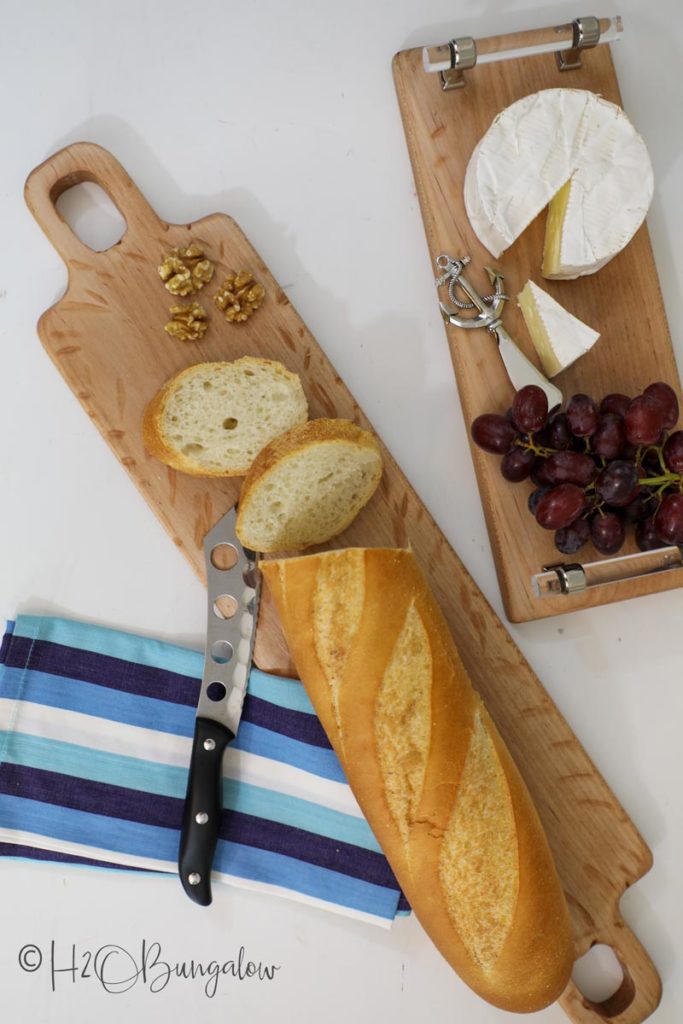
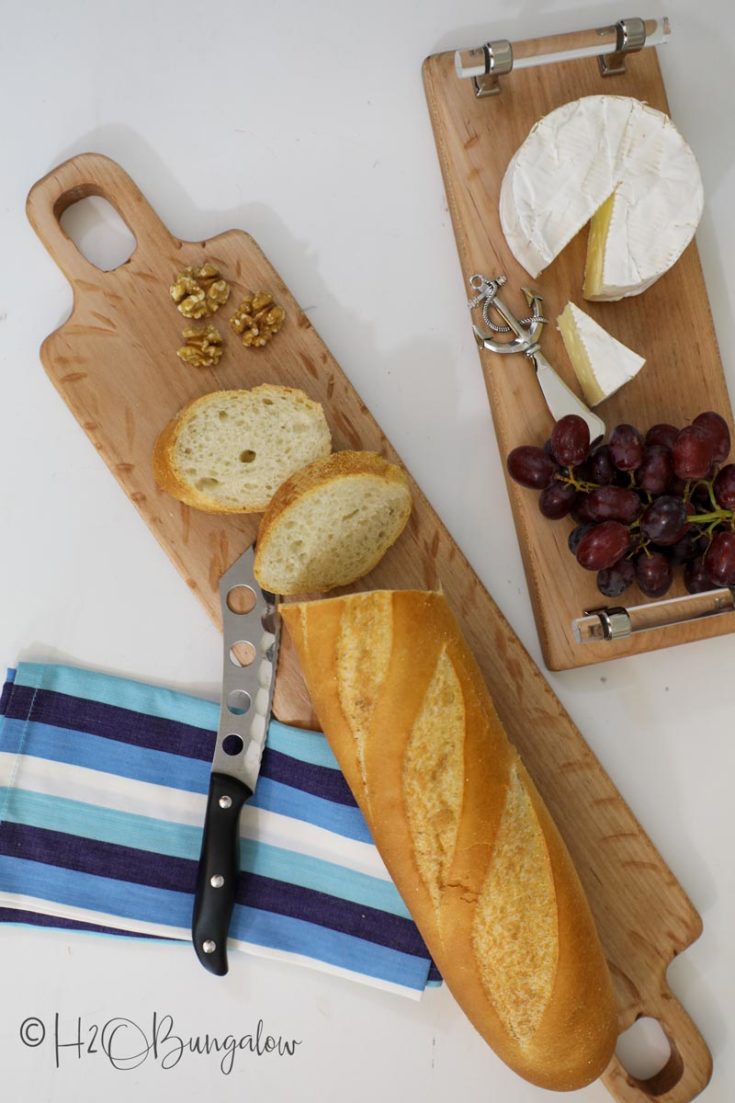
You’ll see I made two versions of this project. Being the tool nerd that I am, I pulled out a few tools I hadn’t used in a while. But, you can make this project with only 2-3 common tools most people have.
The longer flat cutting board or serving plank can be made with a jigsaw, drill and a random orbital sander.
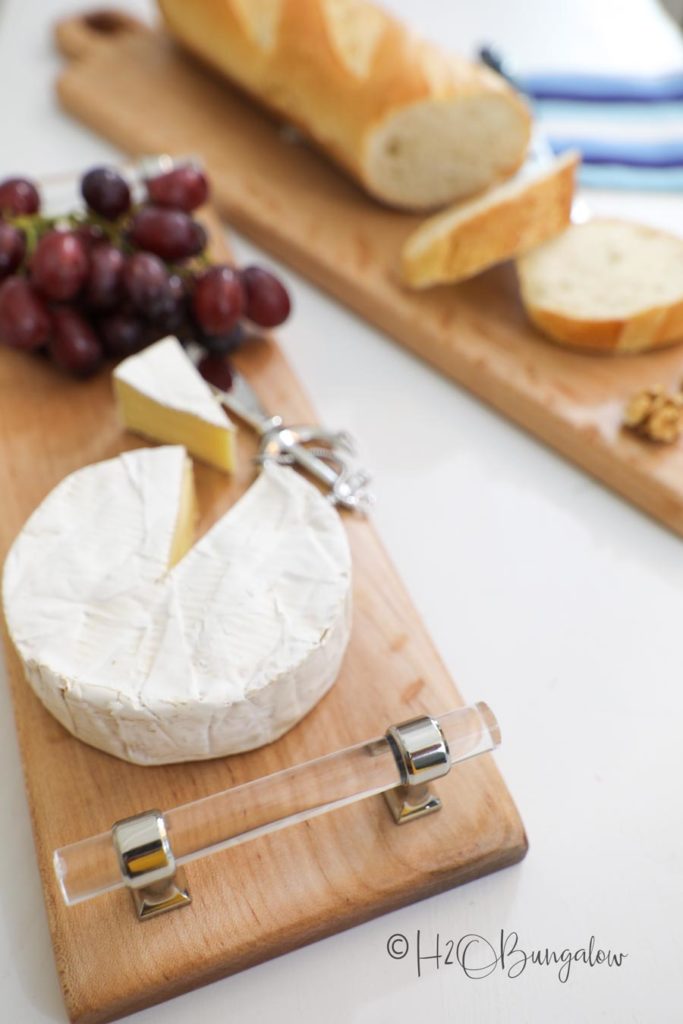
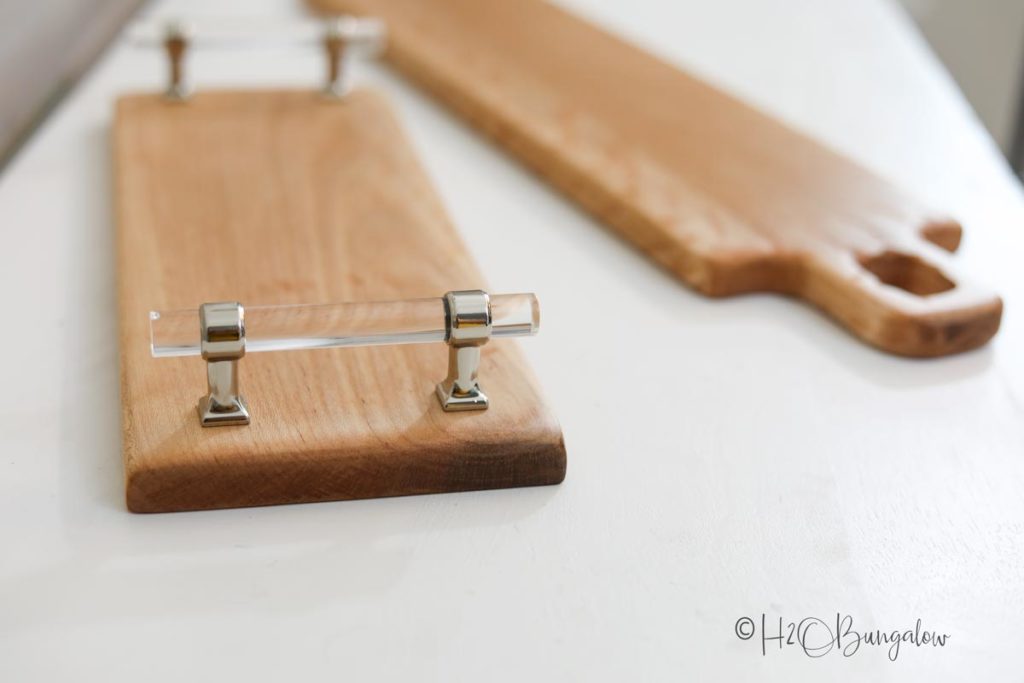
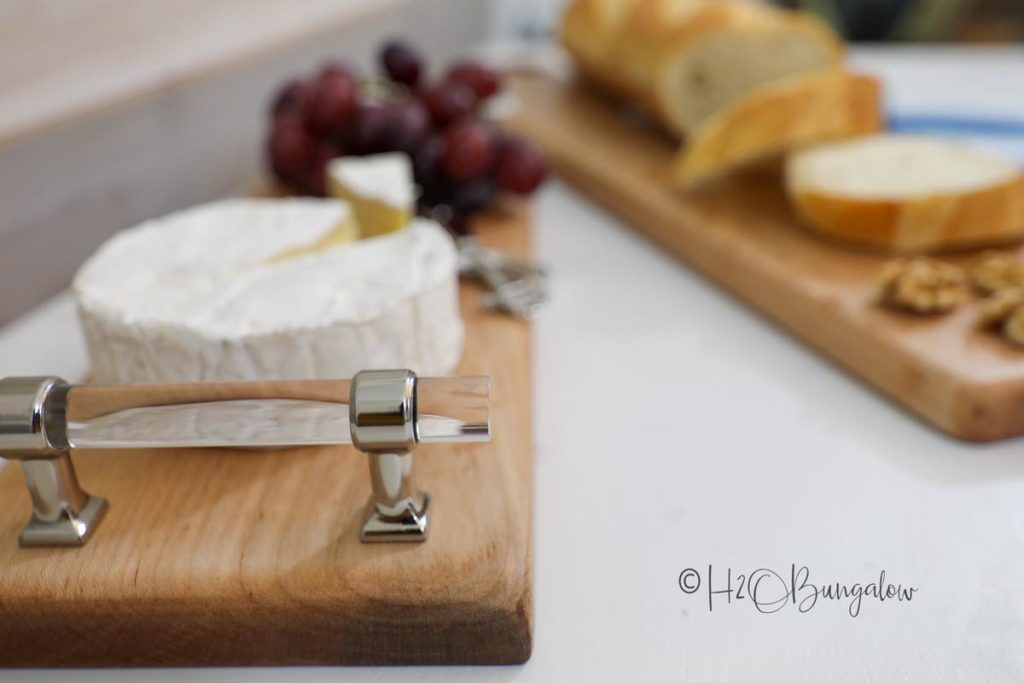
The second cheese board uses cabinet handles on a plain sanded 1″ x 6″ board and can be made with a sander and a drill if you’ve already got a length of board.
Easy, right? Let’s go!
How to Make an Easy DIY Cutting Board in 4 Steps
I use affiliate links to help you find the products I used. If you make a purchase I get a small commission at no cost to you. The affiliate money I earn helps cover the overhead costs of H2OBungalow. Thank you for your support!
Below is the basic list of what you need to make a basic DIY cutting board
- 1″ x 6″ hardwood plank
- Jigsaw or scroll saw
- Random orbital sander
- Sand paper, 120, 180 ,220 grit
- Drill
- Pure Simple Finishing oil or food grade mineral oil
- Daddy Van’s Countertop Care Wax
- Disposable Gloves – these are my favorite
Optional supplies
- Tack cloth – optional
- Grinder – optional for extra distressing
- Flap disc, 80 grit
- Acrylic Handle Pulls
Follow me on YouTube!
Love the idea but don’t have time to make one?
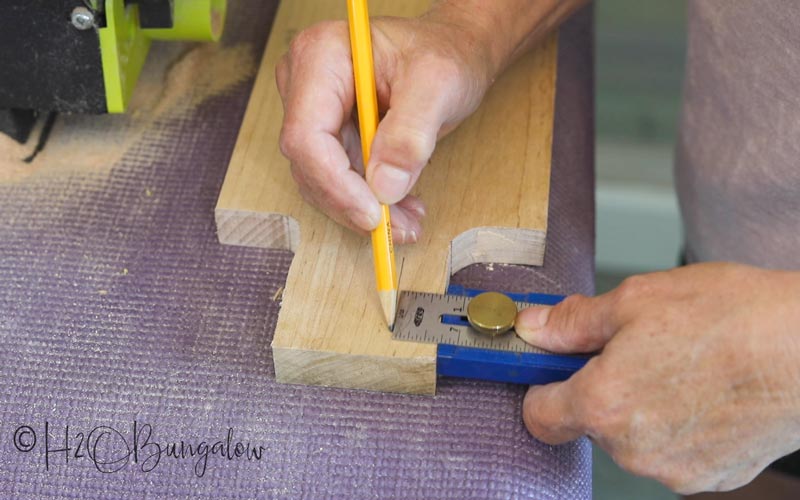
Step 1. Trace the shape of the cutting board.
Style A, Flat Plank.
Use a 6″ wide plank of wood and choose how long you want the serving or cutting area in the center to be. Allow 3 inches at each end for the handles if you’re adding self handles. My cutting board is 25 inches long, including the 3 inch handles at each end. You’ll see my non-fancy way of creating the handles and finger holes in the video.
Tip: Before you make your first cut, look over your board and find the side with the prettier wood grain pattern. That’s the side you’ll want to face up.
Style B, With Lucite Handles. Choose how long you want your board serving area to be, add 1 inch at each end to attach handles.
Step 2. Cut out the handles
Style A: Cut the center circles out first. Make a pilot hole on each side of the inner circle, it’s easier when you only need to cut 1/2 circle at a time. Use a bit large enough for the jigsaw blade to fit into it. Cut out the center hole. Next, cut the outside handle shape.
Tip: Using the right blade makes a huge difference. If you’re using a jigsaw, use fast cut reverse tooth blades on hardwood, it helps! If you’re using a scroll saw, this set has a fast cut blade for thicker wood even if you’re cutting a 1″ board.
Style B: Skip to sanding.
Step 3. Sand and and some more
Style B only: Drill holes for cabinet handles 1 inch from each end.
Do for both Style A and B.
Hardwood is called hardwood for a reason! If you want to shape your cutting boards quickly, use a low grit (like 80) sandpaper on an orbital sander or a flap disk on a grinder to get the bulk of your work done first. You’ll see in my video I wanted my cheeseboard to look older and distressed so I really went to town with the grinder.
Distress or not? After doing all the grinding and distressing, I liked the cutting boards better without the distressing. I could have saved a lot of time just sanding the board smoother with my random orbital sander….it’s a preference!
Following the grain of the wood, sand until the wood feels super smooth to the touch. I started with 80 grit and worked my way up using 120 grit, 180, 220 and finished with a 500 grit by hand.
Step 4. Add a wood sealer and finish
Do for both Style A and B.
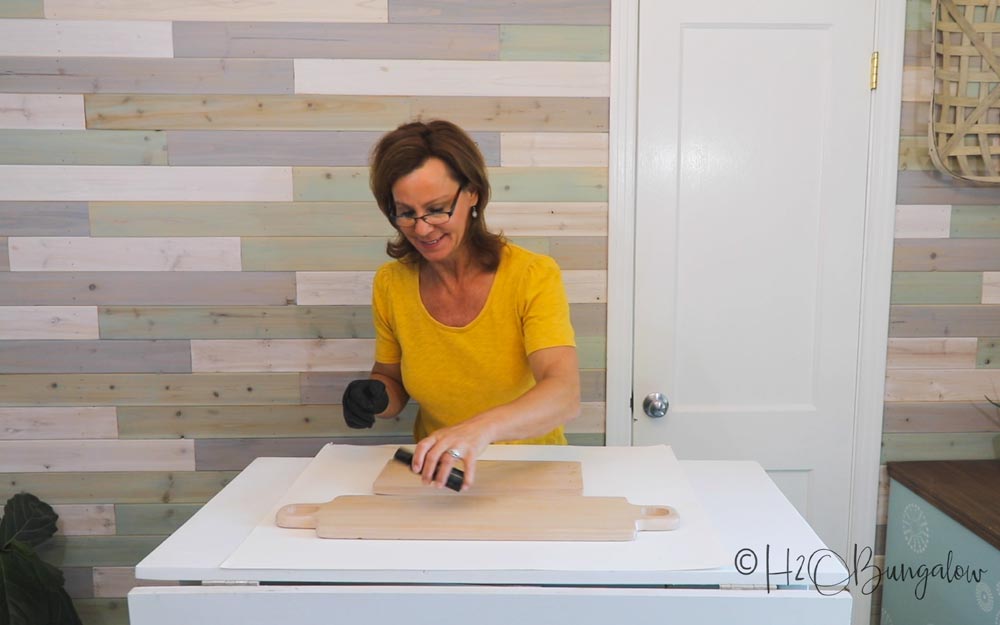
Wipe all of the sanding dust off and run a tack cloth over the entire board to get tiny particles off before sealing. If you don’t have a tack cloth, just use a clean painters rag. Apply the finishing oil by pouring a quarter size amount onto the board and work it into the wood. You’ll see this in the video.
Tip: Apply and the finishing oil with just gloves . You won’t waste any oil soaking into a rag or sponge applicator.
Let the finish cure for at least 3 days and rub on a layer of Countertop Wax to add an extra layer of protection to your new cutting boards.
Last, add the handles if you’ve made the handled version.
FAQ About Handmade Wooden Serving Boards
If you’re taking the time to make your own cheese board, DIY cutting board or serving plank, chances are you want it to last a long time so you get to enjoy the beautiful project you’ve made. Below you’ll find some common questions about making a cutting board and how to take care of your new handmade wood plank server too.
What is the best wood to make a serving or cutting board from?
Hardwoods are best for durability . I was surprised to read softer woods may pick up the flavor of the food. Good hardwoods for cutting boards are maple, birch (great, because that’s what our new countertops are made of), olive wood, cherry and teak. I read that walnut is more porous, but have seen several beautiful walnut cutting boards before.
In short, if you’re only planning on making a serving plank, I think even medium hard woods would be fine. I’d probably stay away from pine all together.
Where do I find hardwood?
DIY cutting boards are prettiest when there’s an interesting wood grain pattern. You can usually find the best selection of hardwoods at a local lumber mill.
I have to warn you though, you may have a hard time resisting all of the gorgeous wood and leave with an armful of future project material! Projects like my Live Edge Cookie Coat Rack or my Hairpin Leg Live Edge Coffee Table all started from a trip to the lumber mill for a different project!
Big box stores often have a select section of lumber as well and usually stock a small amount of hardwood.
How do you care for wood serving boards and cutting boards?
Always wash a cutting board by hand with a non-abrasive sponge in warm soapy water, rinse and hand dry with a dishtowel. Stand it upright to dry. Never put a cutting board in the dishwasher.
Do a quick search on how to maintain wood cutting boards, serving planks or cheese boards and the information you receive back is overwhelming. In short, you’ll need to keep your cutting board oiled or waxed so it doesn’t dry out. Treat the wood periodically so it doesn’t dry out.
I’ve been very happy with Daddy Van’s Countertop Care, it’s inexpensive and has lasted a long time on my concrete counters and it works on wood counters too. So I’ll use that.
In short, be sure what you are using is food safe if you will eat off of or serve from your cutting board. This article on What Types of Oils Are Safe to Use on Your Cutting Board, is a good reference.
Don’t forget to pin this project and share with your friends on Facebook!

Which of my DIY cutting boards do you like better? The one with the acrylic handles or the long plank with handles ? I’m on the fence, I like them both.
Over the past 3 years of working in VT, I’ve become a big cheese lover and local cheeses are a staple when I’m in town.
I’m thrilled I get to bring both of my new DIY cutting boards to the North House Lodge and I won’t be using a dinner plate and plain knife to serve cheese and apps anymore!
DIY Cutting Board
The easiest DIY cutting board to make from scrap wood with only 2-3 tools for a trendy serving board for cheese or bread from a plank of wood in a few hours
Materials
Tools
- Jigsaw or scroll saw
- Random orbital sander
- Sand paper, 120, 180 ,220 grit
- Drill
- Tack cloth
- Flap disc, 80 grit
Instructions
Trace the cutting board shape.
Before you make your first cut, look over your board and find the side with the prettier wood grain pattern. That's the side you'll want to face up.
Style A, Flat Plank.
Use a 6" wide plank of wood and choose how long you want the serving or cutting area in the center to be. Allow 3 inches at each end for the handles if you're adding self handles.
Style B, With Lucite Handles.
Choose how long you want your board serving area to be, add 1 inch at each end to attach handles.
Cut out the handles
Style A: Cut the center circles out first.
Make a pilot hole on each side of the inner circle, it's easier when you only need to cut 1/2 circle at a time.
Use a bit large enough for the jigsaw blade to fit into it. Cut out the center hole.
Next, cut the outside handle shape.
Style B: Skip to Sanding
Sand and sand some more
Style B only:
Before sanding, drill holes for cabinet handles 1 inch from each end.
Style A and Style B
If you want to shape your cutting boards quickly, use a low grit (like 80) sandpaper on an orbital sander or a flap disk on a grinder to get the bulk of your work done first.
Following the grain of the wood, sand until the wood feels super smooth to the touch. I started with 80 grit and worked my way up using 120 grit, 180, 220.
Finished with a 500 grit by hand.
Add a wood sealer and finish
Do for both Style A and B.
Wipe all of the sanding dust off and run a tack cloth over the entire board to get tiny particles off before sealing.
Apply the finishing oil by pouring a quarter size amount onto the board and work it into the wood.
Apply and the finishing oil with just gloves . You won't waste any oil soaking into a rag or sponge applicator.
Let the finish cure for at least 3 days and rub on a layer of Countertop Wax to add an extra layer of protection to your new cutting boards.
Last, add the handles if you've made the handled version.
