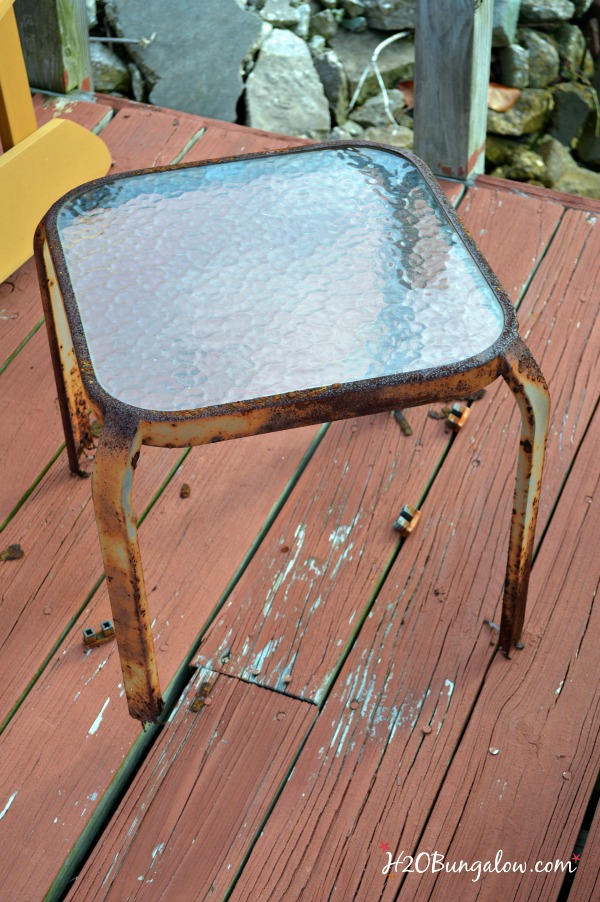
I’m thrilled to share how to build easy DIY patio table plans to make outdoor tables on a budget. My motivation for this project? Rust. Old rusty things are really cool. Like a trendy farmhouse vignette, or on a vintage metal sign. Rust is not so cool on a couple of little tables in my backyard.
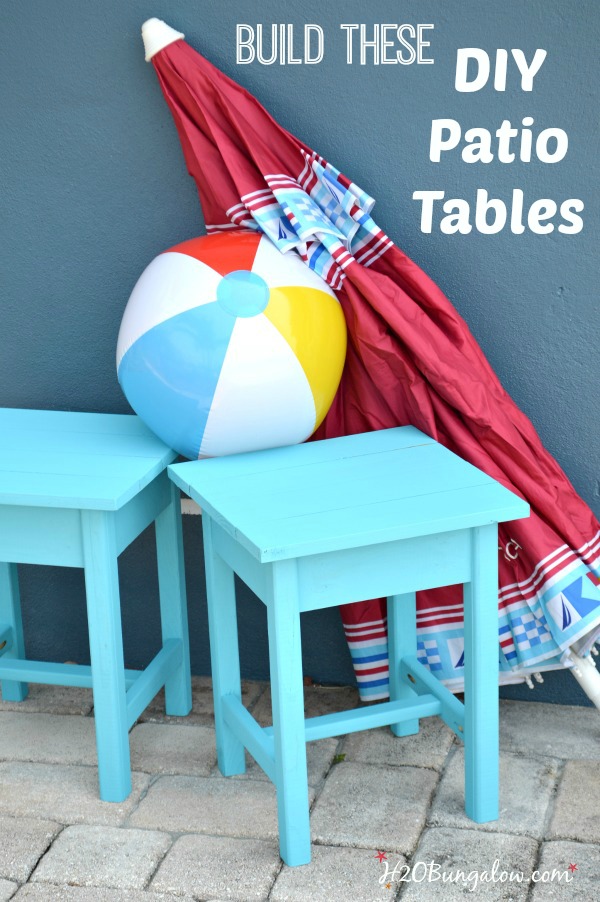
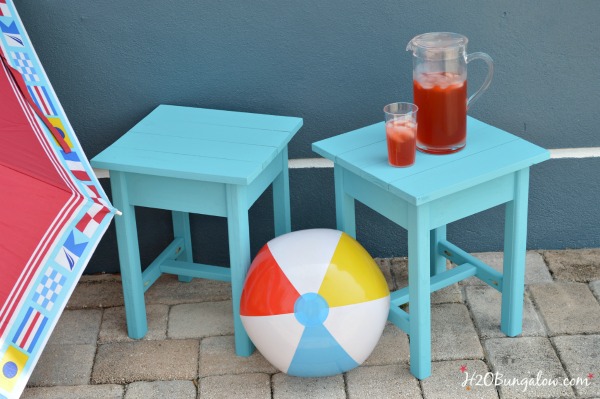
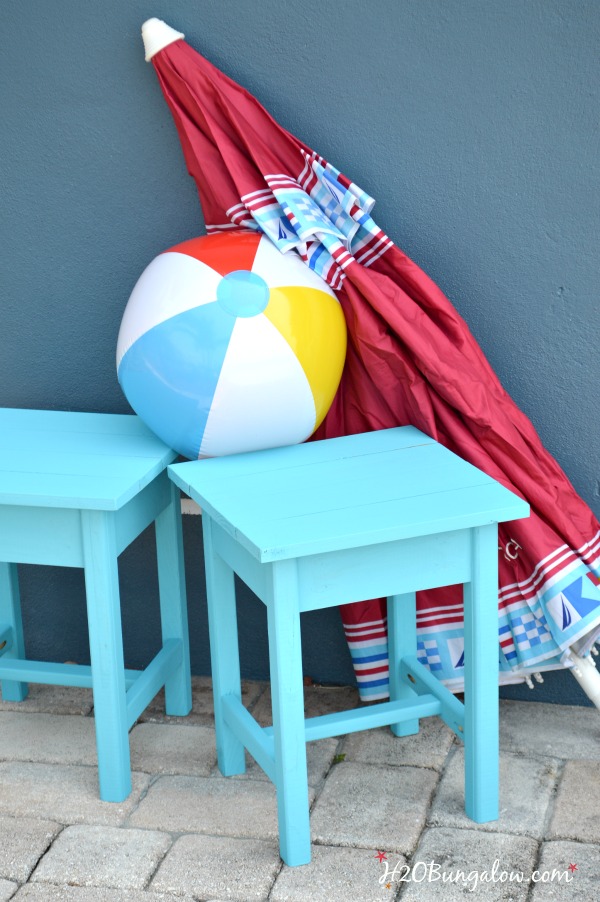
I replaced my old rusty patio tables with the cutest little bright blue wood Adirondack style tables I made. I’m going to share how to Build DIY patio tables for about $20 in an afternoon.
I’m loving the colorful outdoor furniture in the stores right now. Our neighbors just had some delivered for their back yard and dock. I was peeking over the fence to see them…loving the happy color! I know it cost them a pretty penny. But since we have a huge list of practical “to dos” waiting for my pennies, I choose to build DIY patio tables instead.
This little eyesore of a rusted heap had a twin on the other side of the dock. We’re social people and I know DH was cringing each time we had friends or family walk by. He’d catch my eye with the dreaded eyebrow raise that said “really?
Can we dispose of these rusted heaps of garbage now?”
I’d smile and shake my head no and told him I was going to build a set of new dock tables. He’d mention something about me having a million projects in the works already. We had that conversation so many time that it became funny 🙂
But, I get the last laugh, because I can finally say yes! Let’s throw out the “old” tables.
I used free building plans from Anna White which you can find and use here. I have a few tips to make this project easier to make. I share the same type of info with the plans I used to build my DIY Open Shelf Vanity.
Start by choosing good quality wood. I used treated wood for exterior projects.
When selecting wood, hold it on one end and look down the board to be sure you’ve selected straight boards. Stay away from knots in boards too. The 8 foot boards the plans called for wouldn’t fit in my mini-SUV, so I had my favorite guys at Home Depot cut them in half. I made two tables and doubled the wood I needed.
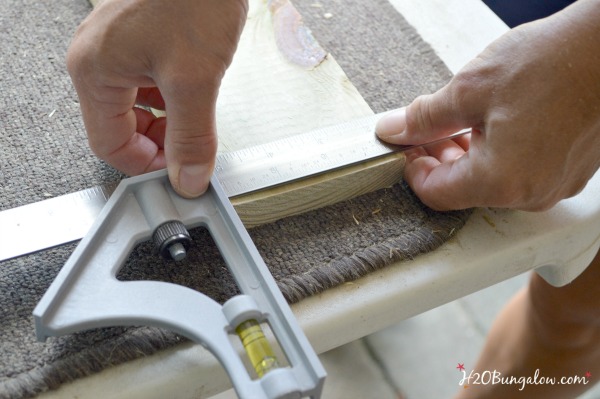
Before measuring and cutting a length of board, check the end and trim it square. My favorite measuring tool is the combination square, I use this one every time I’m build something.
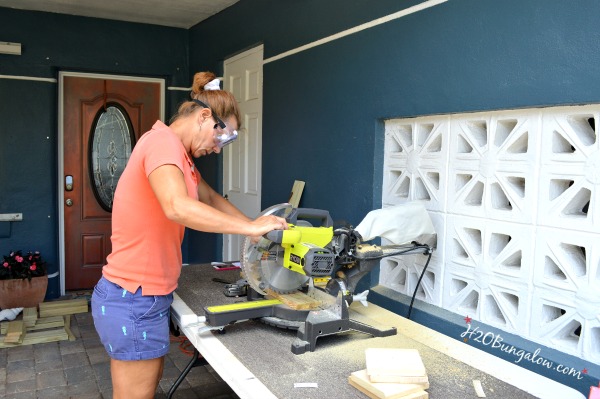
A Ryobi 10″ compound miter saw is my tool of choice for this type of project. It’s easy to use and I can carry it where need to set up.
Following the plans, I cut the pieces I needed. I tend to be scattered. My solution is numbered pieces in like piles 🙂 I mark 1 of 4, 2 of 4 and so on and keep each like part together.
See the pile behind me by the door?
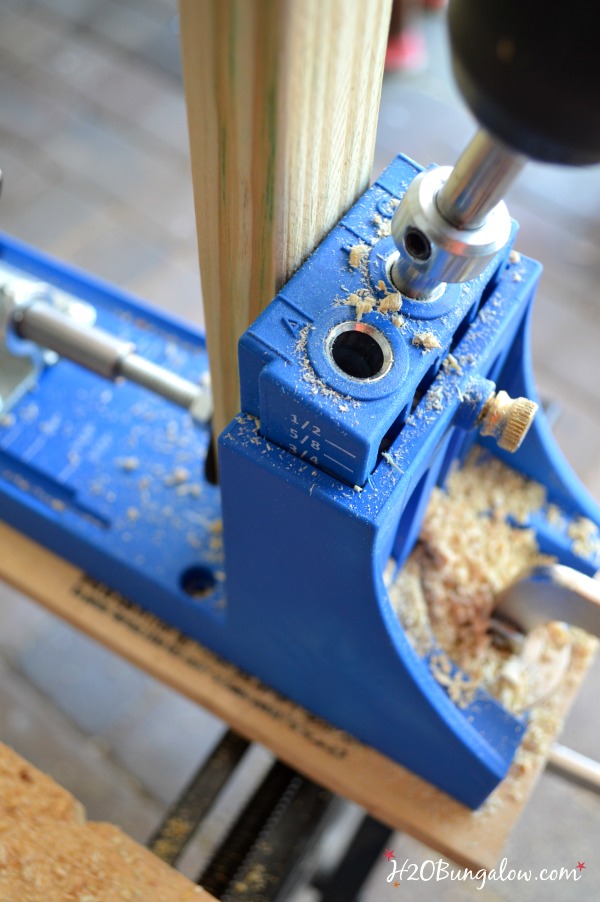
Use a Kreg Jig to make pocket holes per the plans. The Kreg Jig makes connecting two pieces of wood so easy!
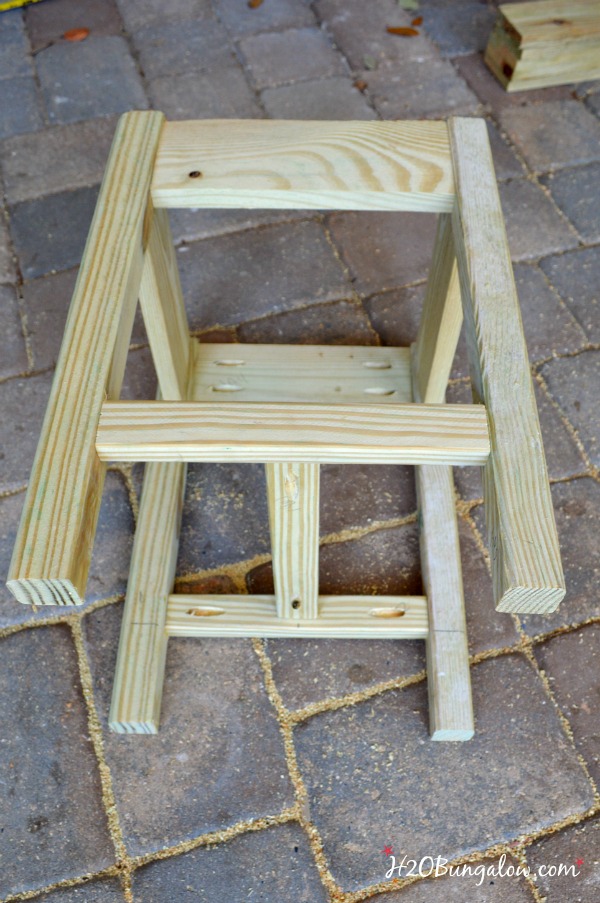
Following the plan steps, assemble the skirts onto the legs.
After all four legs and the skirts are attached, add the two supports on the bottom of the legs. Measure from the bottom of each leg and mark where the supports will attach to the leg.
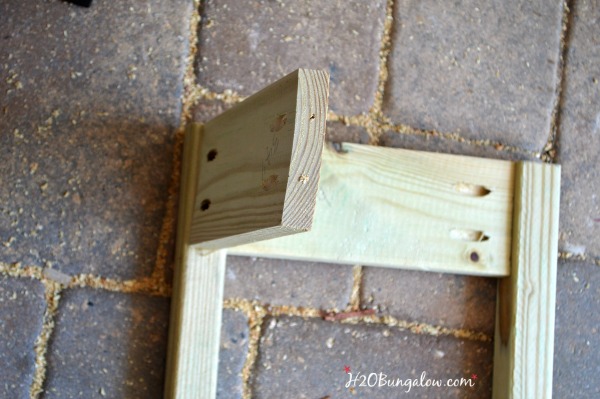
The spreader is the last piece that is screwed onto the two supports. The plans don’t say anything about this step so I’ll share a tip here. The pocket holes go underneath like the picture below.
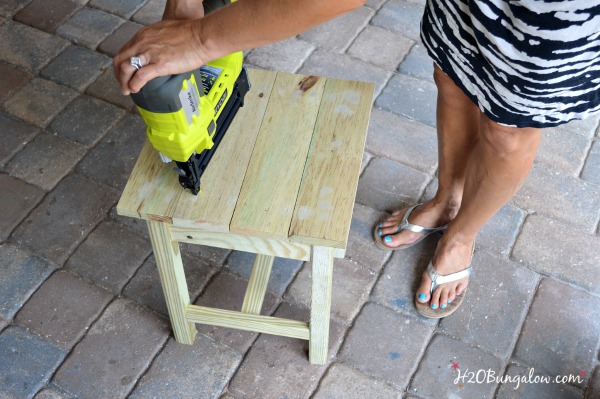
I used 1 1/4 inch brad nails and my Ryobi Airstrike Brad Nailer. I ran out of brad nails and needed to run out to pick up another box to finish attaching my top. Note to self… check supplies before starting the project 🙂 Use wood putty to fill in the holes and let it dry. Sand any rough edges and the wood filled areas before painting.
This beautiful blue is Baltimore Sky from Benjamin Moore.
I love how they turned out and yes, DH is much happier! I know he isn’t secretly cringing as our friends walk by thinking that his DIY obsessed wife won’t spend a few dollars and purchase patio tables because she can make them herself 🙂
I always look at things and think what else. Another really awesome feature about these plans is how versatile they are. Make the legs longer for a bar stool, make the seat wider and its a bench, make two of the legs extend up and add slats for a chair. You get the idea.
Anyhoo…
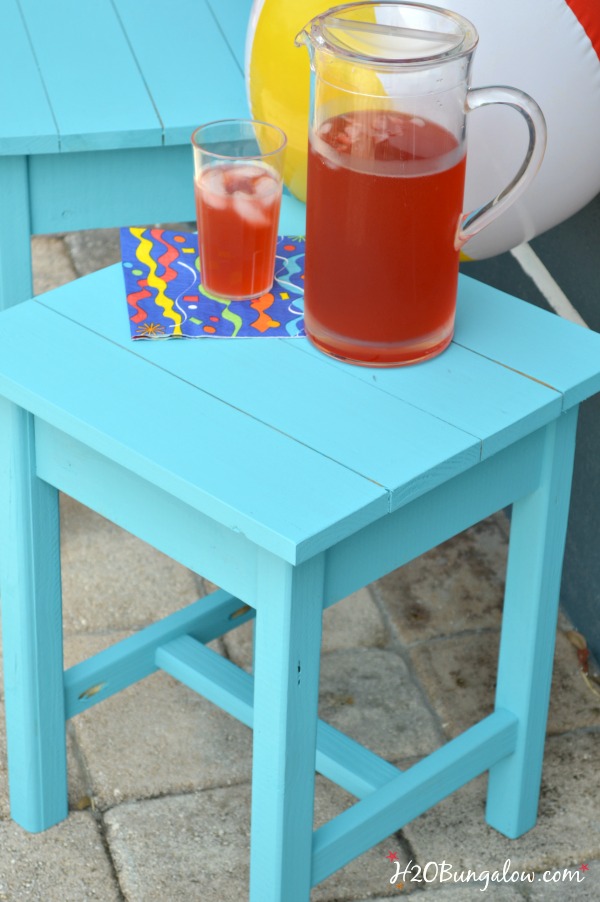
I’m off to put these little cuties on my dock. Maybe I’ll sit in the Adirondack chairs with a cool glass of raspberry iced tea and watch the boats go by for a little while and enjoy my new tables!
And you? Are you ready to build DIY patio tables for your backyard and welcome in the outdoor season?

Megan Chamberlin says
Those tables turned out beautifully! And the plans seem simple enough for the average DIYer, even me! Thanks for sharing at Merry Monday!
Wendi says
Hi Megan, Thanks so much! The plans are simple and I’ve used this same concept multiple times for building other items too:) Thanks so much for your visit!