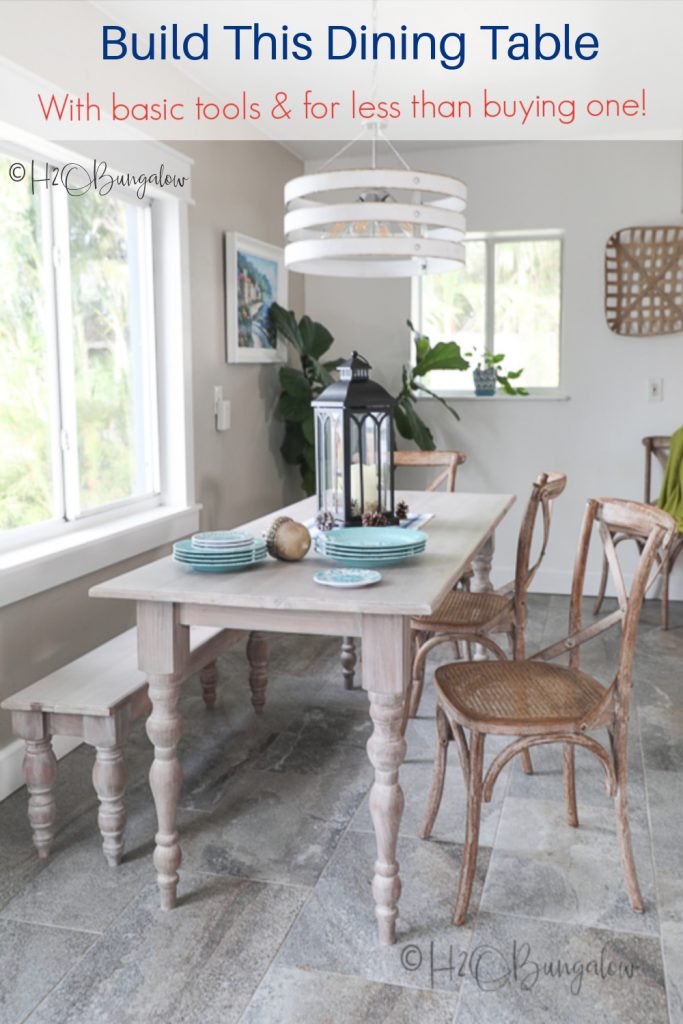
Today I’m sharing how to build a dining table with a bench. It’s the perfect DIY kitchen table for small spaces, it can seat either 4 or 6 people!
Best of all, building this dining room table is pretty inexpensive and you don’t need a lot of fancy tools to make it. You can build this table with just 4 basic tools! I’ll share basic instructions to build a dining table and add options for those who want to go one step further to add more detail.
Oh! Did I mention it’s pretty easy to build too?
You might also like How to Build a DIY Farmhouse Table. This is part of my quest to update our kitchen and dining area. Be sure to see How To Makeover A Kitchen Island on a Budget and DIY Blue Painted Kitchen Cabinet Reveal.
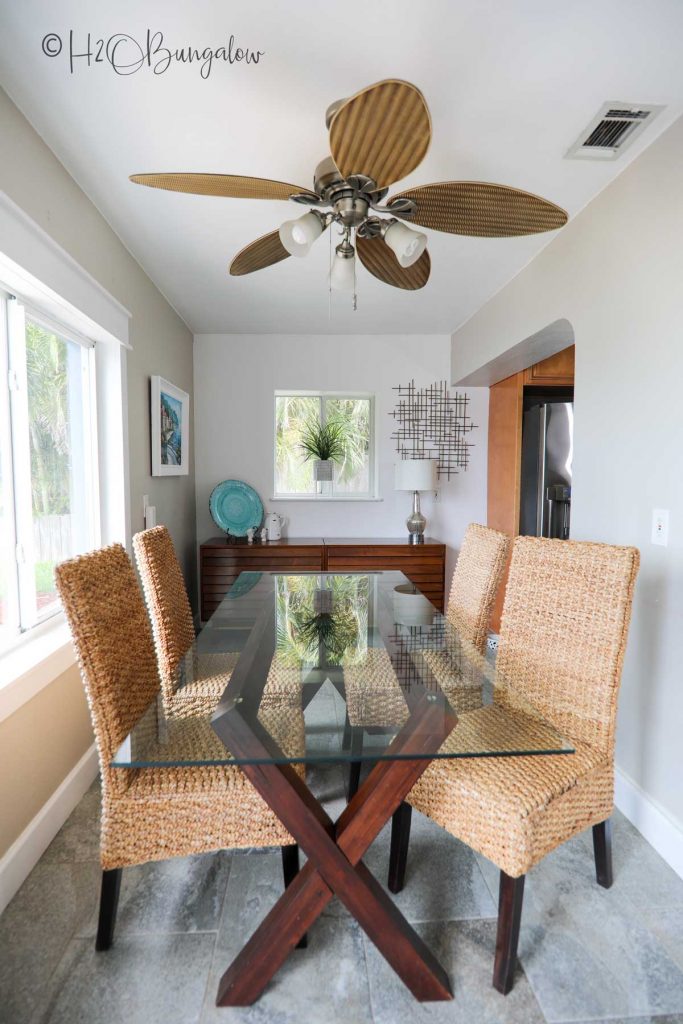
Our temporary dinner table was much too large and bulky for this space. When I started thinking about building a dining table, I put some thought into several items before starting.
For more kitchen updates check out my How To Makeover A Kitchen Island on a Budget, my Organize a Pantry And Get More Space, how to Make A DIY Wood Spice Rack, and How To Make Wall Mounted Paper Roll Note Holder, this Hollow Core Door Makeover On A Budget , and my free-standing pantry cabinet!
How To Build A Dining Table
What to plan for when building a dining table with bench seating.
There’s nothing so stressful as putting your heart and soul into a build only to find it doesn’t fit into your space the way it did in your mind’s eye when thinking of building your own kitchen table set.
Our dining area is really small and an odd size. We have just 7 feet of space across and about 11 feet of depth. You can see how small it is from the picture above!
Before you start building your dream table there are a few things you’ll need to figure out in advance.
Things like how big should a dining table be?
A basic rule of thumb is that you need a minimum of 18″ of space along the table for the chair to pull out.
How big you build a dining table depends on how many people you want the table to seat. I built this table to seat four people, two on each side. My table is 30 wide x 72″ long which seats four people comfortably, two on each side.
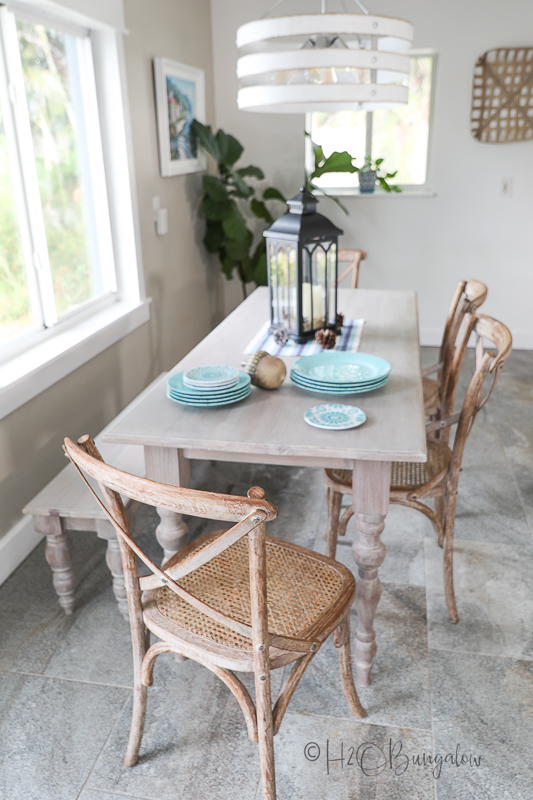
But, in a pinch I can add the bench on one side, put a chair at each end and then it seats six.
Before starting, ask yourself, how much room do I have for a table? What other furniture will also be in the room is important.
TIP: If you’ll put a chair at each end of your DIY dining table, make sure it’s wide enough between the end legs for the chair to easily fit under.
How tall should a dining table be?
Most dining tables are about 30″ high. How tall the legs will be and how thick the table top will be both affect the table height.
What kind of wood should I use to build a dining room table?
You can use a hardwood or softwood. I used white pine. I choose pine knowing it would get marred over time but that’s what I wanted. I wanted to mimic and old farmhouse or coastal table that did not look new or factory made.
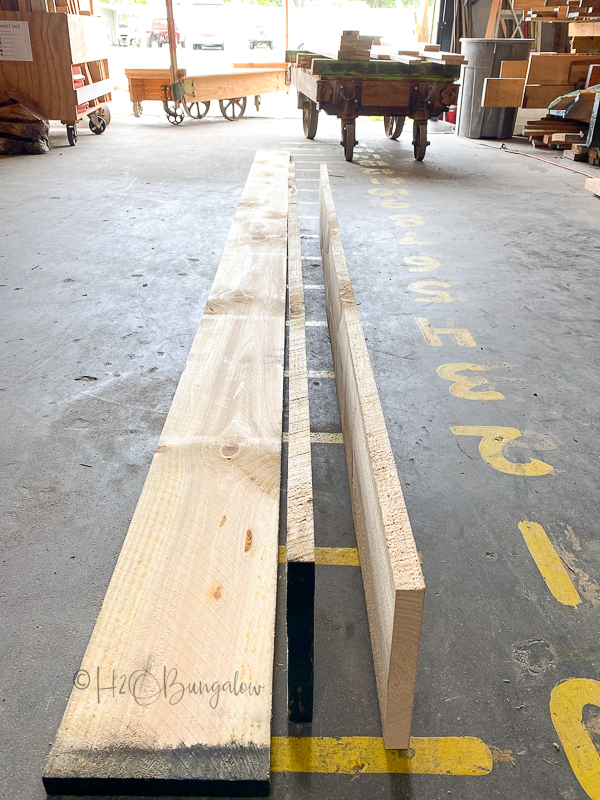
I bought my wood at a local lumber yard and had it milled. Basically, that just means they cut the rough lumber into the dimensions I needed. I had them only plane one side which made my boards a little thicker. My 1 x 6 x 72 ” boards were actually 7/8″ x 6″ x 72″ which gave me a smidgen of a thicker table top. Also, by having them milled, I was able to get 6″ boards. Otherwise, precut would be nominal sized at 5 1/2″ wide.
All of the wood I used to build my table and the bench came to $172. It is a much higher quality wood than I’d find in a local big box store.
Now that you have an idea of what you need to know to build a dining table with a bench, let’s get started. This tutorial makes a table 30″ wide by 71 3/4″ long and 30 1/8″ high. My bench is 12″ wide by 50″ long and 17″ tall. Modify your own table and bench as needed.
Supplies needed to build a dining table with a bench
- 4 Prefab dining table table legs, 30″
- 4 prefab bench legs, 18″
- 1 x 6 @ 72″ white pine boards
- Table top brackets
- Wood glue
- Pocket hole jig
- Softwood pocket screws, 3/4″
- Softwood pocket screws, 2″
- Wood screws, 3/4″ #6
Tools needed:
- Chop saw
- Jig saw
- Drill
- Circular saw, table saw or plunge saw
- Bar clamps
- Safety goggles
Optional tools:
- Router for round over edges
- biscuit joiner
Step 1 . Build the table and bench base.
Rip 3 of the 1 x 6″ boards in half to 3″ for the aprons of the table base and bench.
- Table base cut 2 boards at 17 1/8″ length and 2 boards at 58 3/4″ length for the side aprons.
- Bench base cut 2 boards at 4 1/2″ length and 2 boards at 40 1/4″ length for the side aprons.
I used my 18Volt Ryobi plunge saw, clamped the wood to a bench, set the width guide to 3″ and made a pass on the wood. It was a quick and easy way to rip a few boards without me having to lug the big table saw outside.
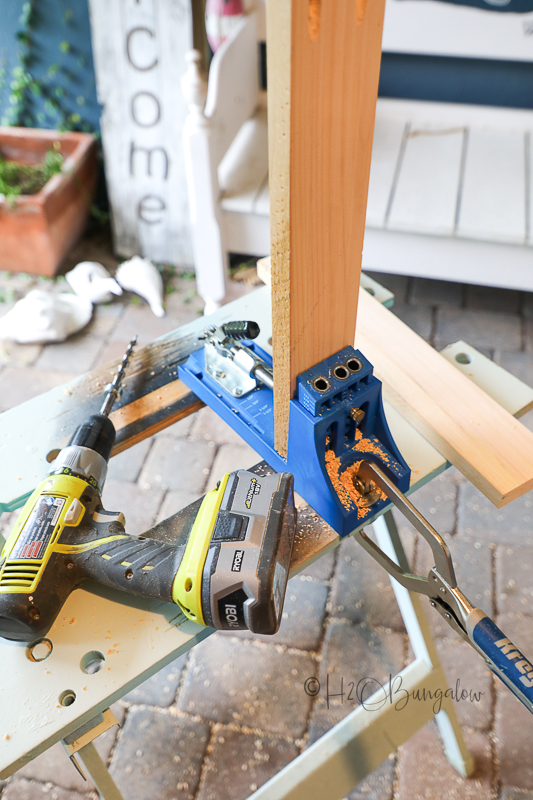
Add two pocket holes to each end of the table and bench aprons. I used the A and C positions.
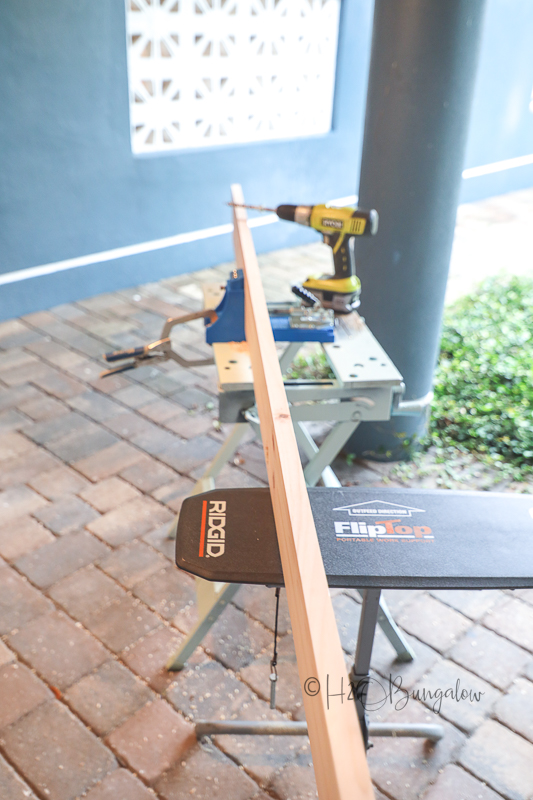
It helps to have a support for long boards. I use my Ridgid Flip Top all the time for projects like this. It’s like having an extra set of hands!
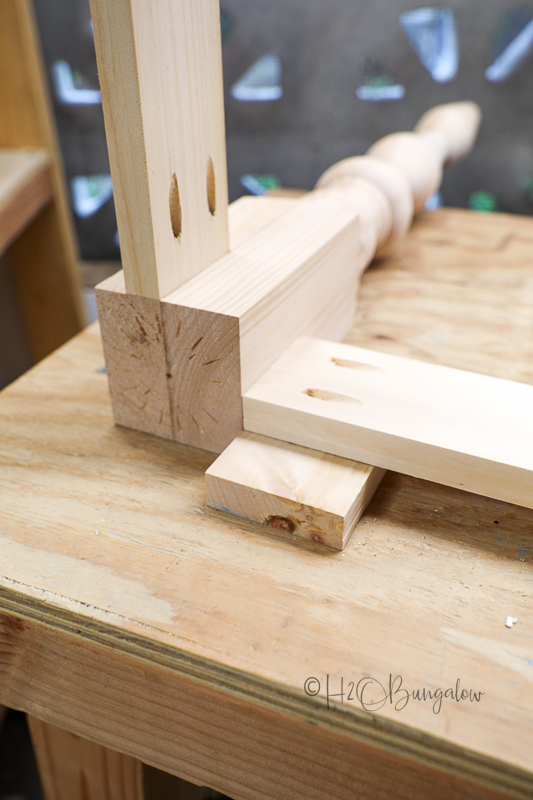
The steps are the same to assemble the table and bench base. Lay a scrap 3/4″ board under the apron, line it flush with the top of the leg and attach with 2″ pocket screws. Do this for all four legs until each base is built.
Using the scrap 3/4″ gives a nice setback to the legs. It’s also a huge timesaver since you skip measuring the setback on each leg.
Step 2 Build the wood table top and the bench seat top.
Place 5 – 1 x 6″ boards top side down on a flat surface.
You’ll avoid a lot of confusion if you number the boards and mark where you’ll add pockets holes and pocket screws in advance. I placed four sets of pocket holes along the underside of the table top.
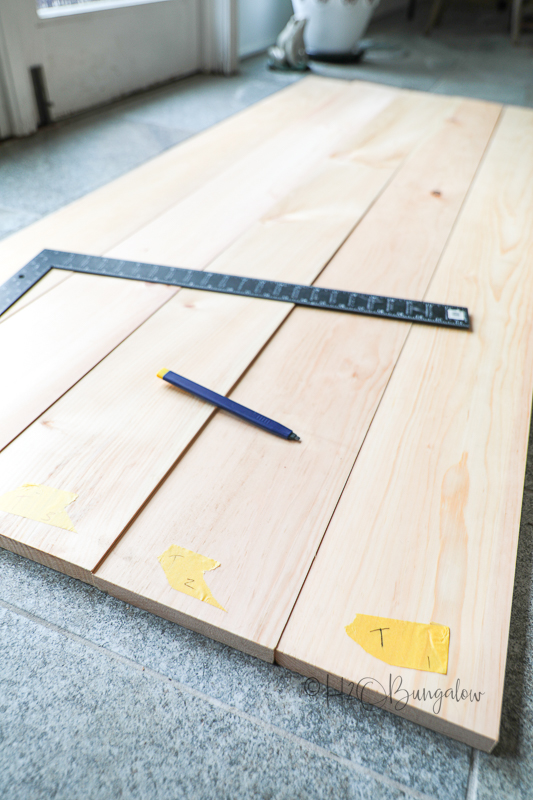
Tip: lay boards so the direction of growth is going in opposite directions for every other board. It will help keep the boards from cupping over time.
Add 6 sets of pocket holes along the top spacing evenly across.
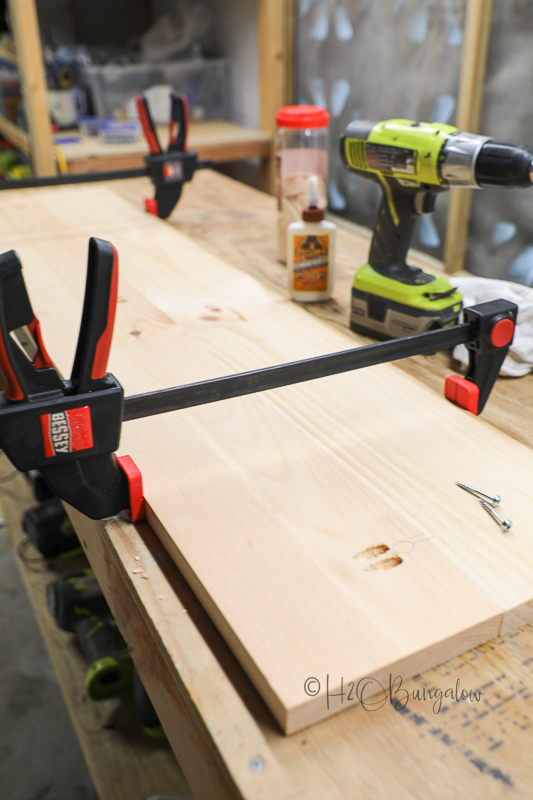
Use wood glue and 3/4″ pocket screws to join the table top boards together. Bar clamps are helpful since they help align the boards so they are joined flat.
I also used a biscuit joiner on my table and bench top. It isn’t necessary to use both but I was curious to see if using the biscuit joiner would make joining the table top boards easier. I wouldn’t do it again. One or the other is just fine. Pocket screws are easier.
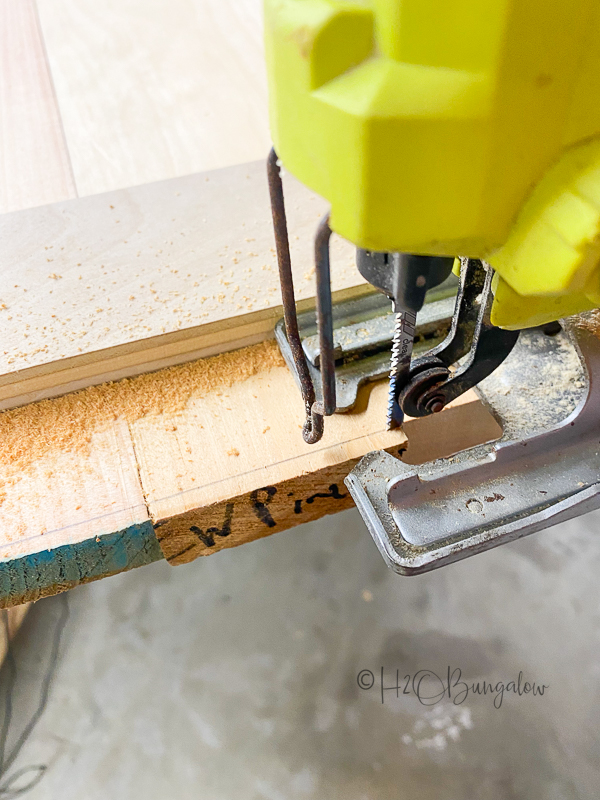
Make the table ends square and boards flush by trimming a small amount off the two ends of the table. Use a bar clamp to hold a long piece of wood or other straight object across the end and trim with a jigsaw.
Step 3 Build the bench seat top.
My bench seat is 12″ wide. Benches are often up to 14″ wide. Since I only wanted to use 2- 6″ boards for the bench seat I chose to make my bench seat 12″ wide.
To make the bench top, follow the same steps and for the table top but with only 2 boards.
Optional: Use a round over bit with a router to edge the table and bench top.
Step 4. Attach the table top to the table base
You’ll want to use table top brackets when attaching a wood table top to a table base. The clips allow the table top to expand and contract without compromising the build or buckling boards. I used
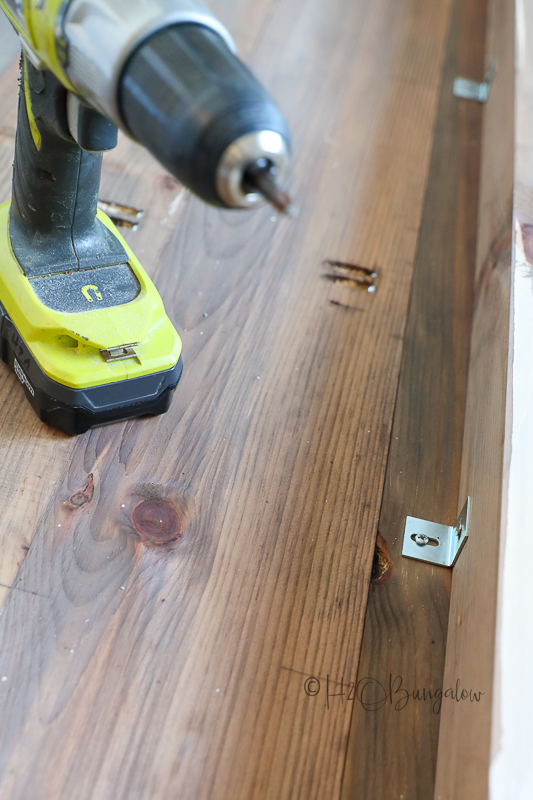
There are several choices of table top brackets on the market. Since I was trying to show how to build an easy dining table, I of course chose the easiest method.
You’ll notice the brackets leave room for movement once attached to the table base and top with screws.
Since I don’t have much space to work in my garage and it’s almost 100 degrees in FL during summer, I finished building the table in place on the floor. I also worked on part of the finish before assembling my table. keep this tutorial simple, I’m sharing how I made the table finish in a later post.
Lay the top side down on a flat surface. Place the base side down, center it to the table top and attach the brackets with 3/4″ screws. I used two ate each end about 3″ from the leg and 3 on each side evenly spaced.
TIP: Only use 3/4″ screws if your table top thickness is 7/8″ or thicker. If you’re using 3/4″ thick wood use a smaller screw.
Step 5. Attach the bench top to the bench base.
Follow the same steps as above to attach the dining table bench to to the base.
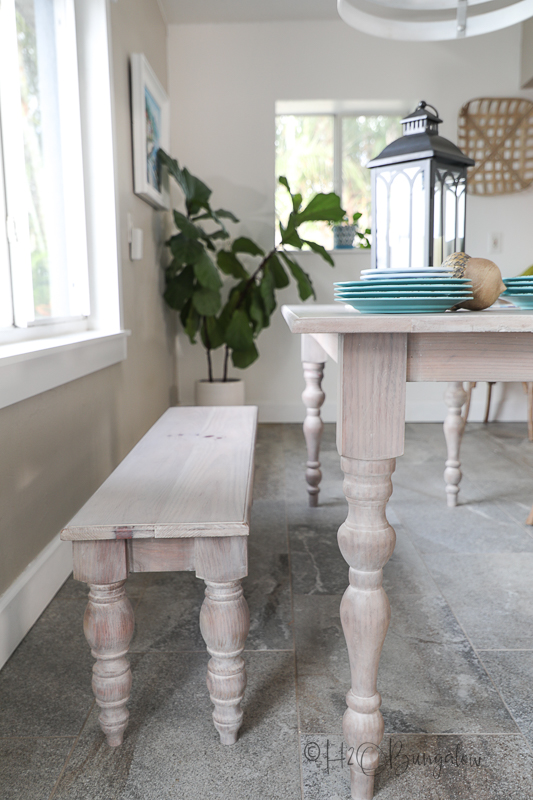
Again, for the sake of keeping this tutorial simple, I’ll share how to finish the DIY dining table and bench in a few weeks.
Pin this now and share with your friends on Facebook!

I’ve spent the better part of this year updating this part of my house. You can see all my projects in my DIY Blue Painted Kitchen Cabinet Reveal I shared a few weeks ago. The dining room makeover was next and I’m almost done. You can see the old color of the cabinets along the back wall.
Next week I’ll share my free standing pantry/storage that will go against that wall.
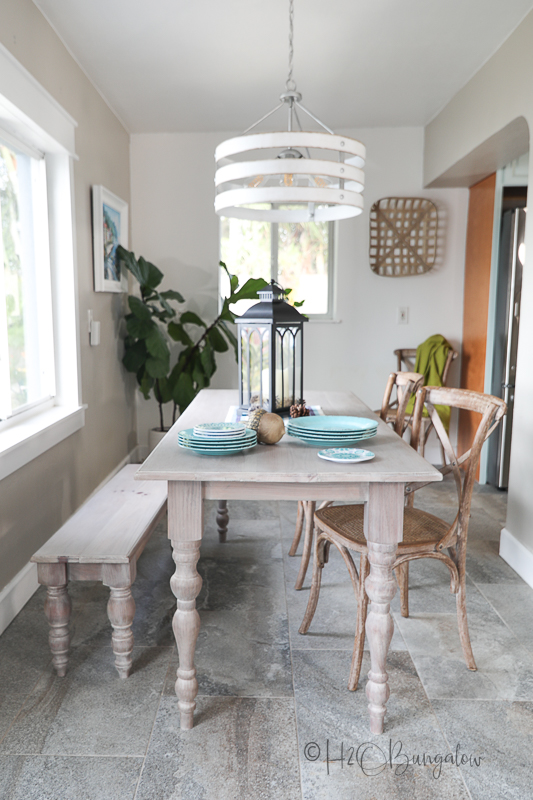
…And those awesome chairs? I found them at a local thrift store for a steal!
Now that I’ve gone over how to build a dining table with a bench with just a few tools are you ready to tackle your own easy DIY dining table too?
