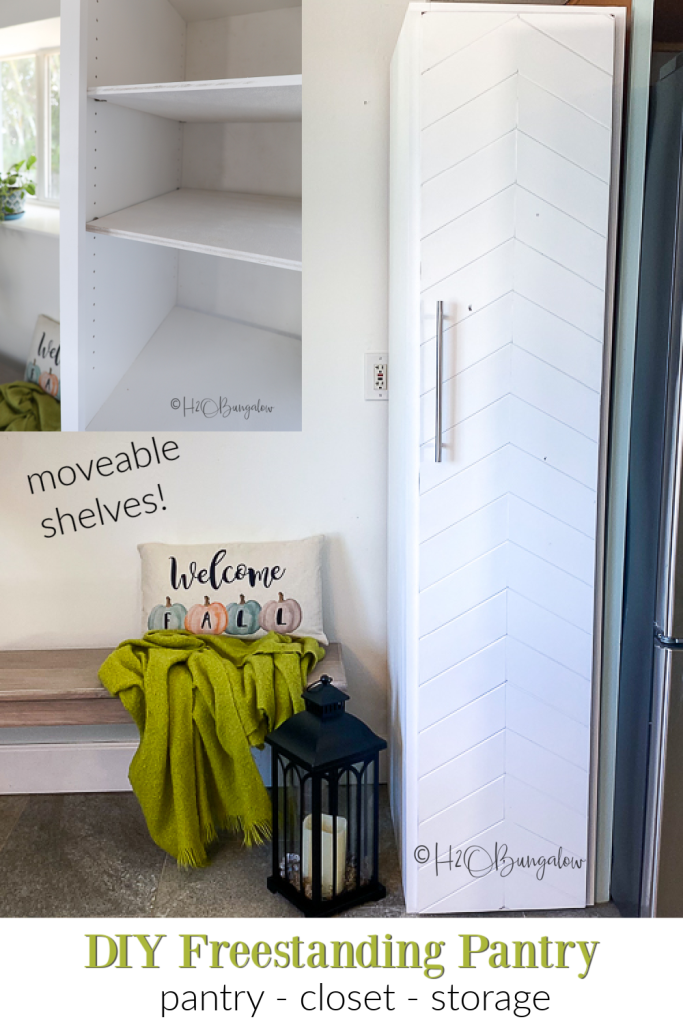
I’m excited to share how to build a freestanding pantry, closet or storage cabinet with moveable shelves today! You can use my easy plans to build a pantry or other type of storage like a cabinet, clothes closet or anything kind of storage that uses shelves.
Sending out a big thank you to HomeRight and Wagner for sponsoring this post! I also use affiliate links, as an Amazon affiliate I earn a fee from qualifying purchases at no additional cost to you.
If you’ve been following my projects you know I’ve been working with both HomeRight and Wagner to make over my kitchen and dining area for the better part of this year.
It all started when I updated my kitchen island. Then I decided to add a fancy chevron faux front to my hollow core pantry door makeover. Of course project creep set in so I had to paint the rest of my kitchen cabinets next. You can see all of these and several more kitchen DIYs in my DIY Blue Painted Kitchen Cabinets reveal.
I sold all of the furniture in my dining area including my storage. Now that I’ve built a new dining table that fits our small space much better that the old one.
After all this work I was still missing storage! Yes, I built this DIY freestanding pantry with moveable shelves to hold placemats and napkins. It also gives me a place to stash my husbands work items since this area also doubles as his work space.
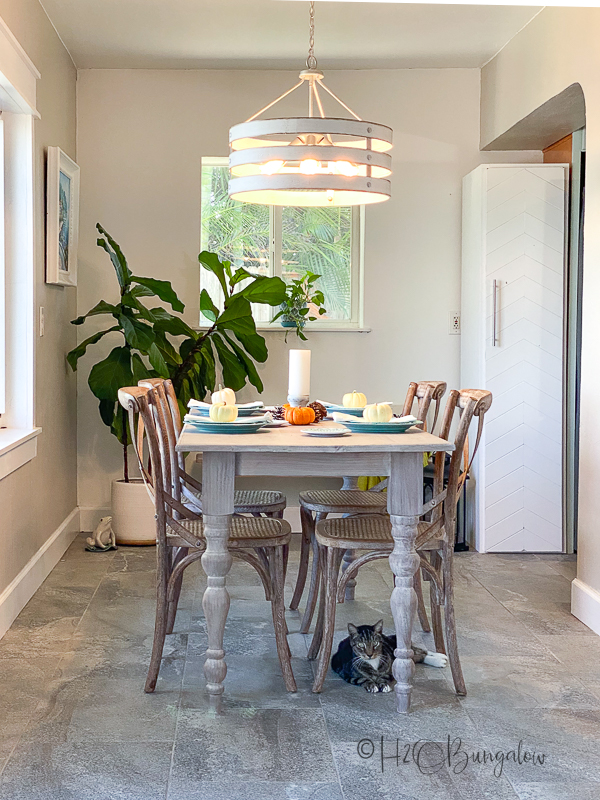
I’m sharing how to build a freestanding pantry in this tutorial. Like I mentioned above, these are the basic instructions. You can jazz up the look of your new storage cabinet in several ways. Try adding furniture feet to the bottom, add a chevron door overlay like I did, add fancy cabinet pulls or leave space in the back of the shelves like I did for cords and charging stations.
For more kitchen updates check out my How To Makeover A Kitchen Island on a Budget, my Organize a Pantry And Get More Space, how to Make A DIY Wood Spice Rack, and How To Make Wall Mounted Paper Roll Note Holder, my new dining table that I love, and my Hollow Core Door Makeover On A Budget !
Watch my video tutorial to see how to build a freestanding pantry, cabinet or storage closet.
How to Build a Freestanding Pantry, Storage Cabinet or Closet
Here’s what you need to build a stand alone pantry:
- Plywood, 4 x 8’ @ ½”
- Plywood, 4 x 8 @ ¾”
- Wagner Flexio 3500 Paint Sprayer
- Wagner Large Paint Shelter
- Table Saw
- Drill
- Pocket hole jig – this is really good deal!
- 1” pocket screws
- Brad nailer
- 1” brad nails
- Edge banding
- Door Handle
- Clamps
- Wood glue
- Jigsaw
- Latex paint
- Drop cloths
- Eye protection
- Respirator
Step 1. Cut plywood to size.
Here’s the cut list to build a 74 x 22 x 16 3/8″ freestanding storage cabinet.
3/4″ plywood
- 2 – sides, 22 x 74″
- 2- top and bottom, 15 x 22″
1/2″ plywood
- 1 – back, 15 x 74
- 1 – door, 14 1/2 x 73″
- 1 – stationary shelf, 21 1/4 x 15″
- 4 – moveable shelves, 21 1/4 x 14 5/8″
To help keep organized, I always mark my pieces as I cut them. I note which is the outside, front back and where the pocket holes will go. Also, I’ve modified my DIY freestanding pantry plans to reflect what I should have done. Meaning better choices….I used ½” for the back and of my pantry. It would have been better to use ¾” for the entire pantry base.
Step 2. Add pocket holes
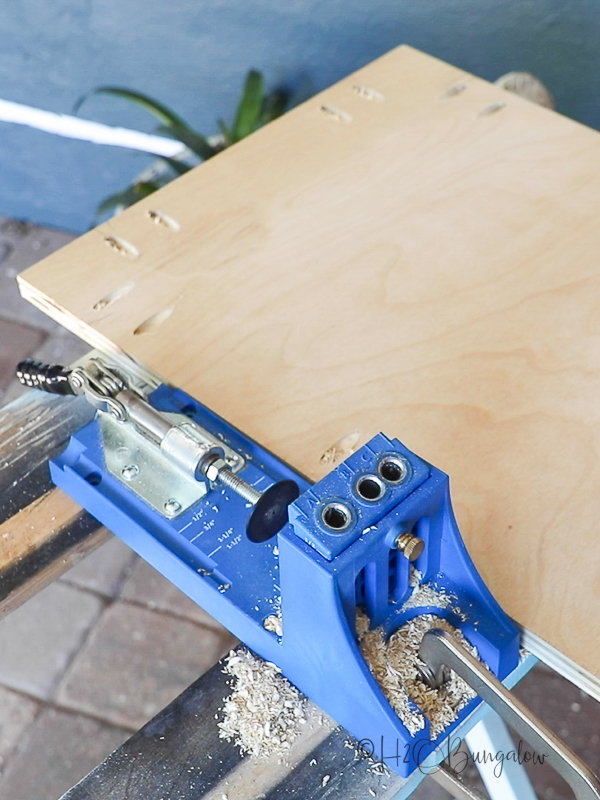
So you won’t see the pocket holes, they will be located at the top, bottom and back of the outside of the cabinet. Set the pocket hole jig to the thinnest material you are joining.
Starting with the top and bottom panels of the cabinet on the side that faces out, add 3 sets of pocket holes along the sides. Use the A and C position in the pocket hole jig.
Add 5 sets of pocket holes along each side panel and two sets at each end.
TIP: Long boards are easier to work with when they are propped up at each end, especially when working single handedly.
Step 3. Add shelf pin holes
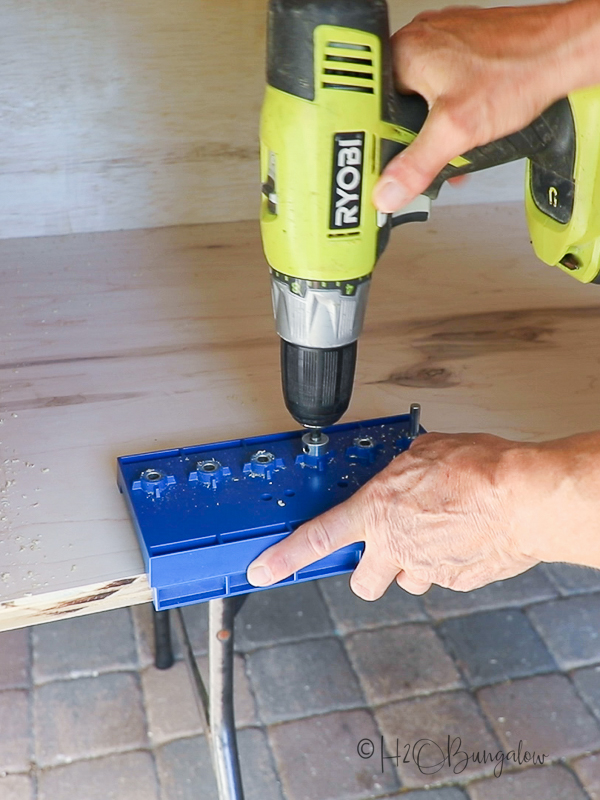
Next, Add a row of shelf pin holes to the front and rear of the inside side panels. It’s easy with a pin hole jig.
You have options when thinking about how to build a freestanding pantry for your own home. You can also use all fixed shelves in the cabinet if you don’t have a shelf pin jig.
Step 4. Assemble the freestanding pantry base
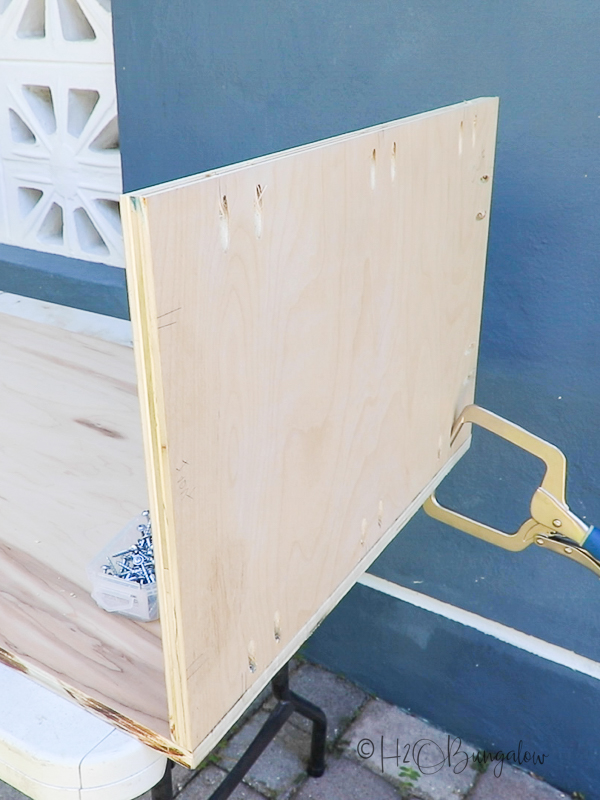
Attach the top and bottom pieces of the freestanding pantry to one of the side panels with pocket hole screws. Be sure the pocket hole are on the outside. Next, attach the back of the pantry. Last, attach the other side of the pantry.
TIP: A good trick to keeping the boards flush to connect them is to clamp a spare piece of plywood on the inside of the cabinet. It will push the back out and helps line up the boards to add the screws. You’ll see how I do this in my video.
Step 5. Add the fixed center shelf
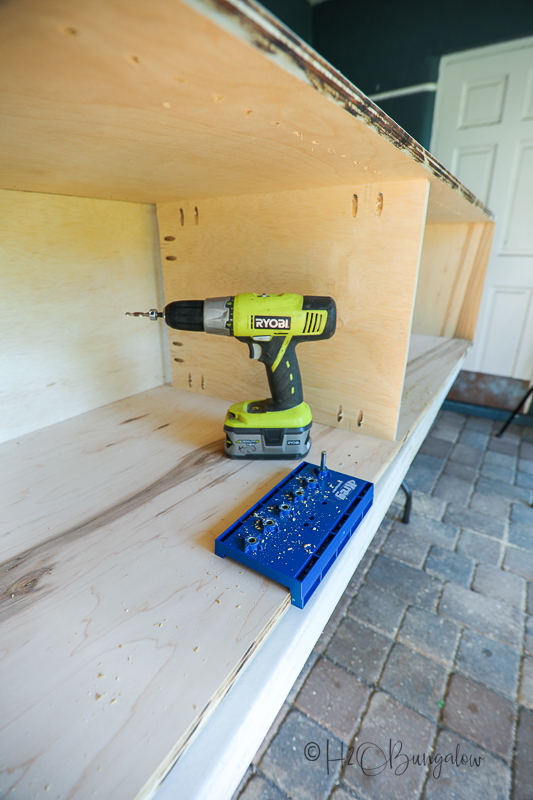
A freestanding cabinet this long needs fixed support. I added a fixed center shelf. You’ll notice there’s a space in the back because we’ll use this as storage and may have chargers and cords running down the inside back of the cabinet.
Add two sets of pocket holes to the sides and back of the center shelf and attach with pocket screws. Like I mentioned earlier, you can use all fixed shelves too.
Step 6 Add pantry face frame
I always wait to cut my trim when I get to that step when building a project.
Cut the frame facing out of 1 x 2’s to the length of the cabinet. Place the two sides first so they are flush with the outside of the cabinet base. Attach with wood glue and 1” brad nails. Measure, cut and attach the top and bottom center pieces next.
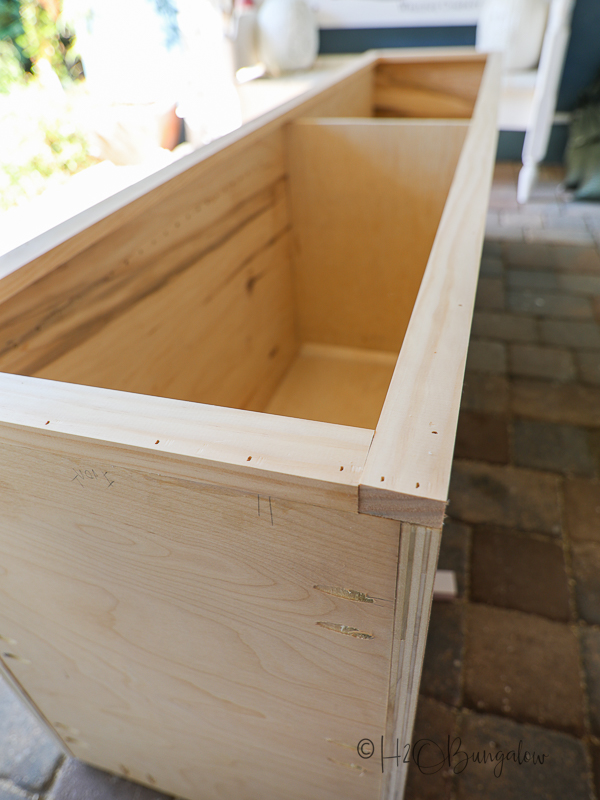
Use wood filler to fill the nail holes and lightly sand the surfaces when it dries.
Step. 7. Build the pantry door
You can use a plain piece of plywood to build a freestanding pantry door or go step further and add a chevron overlay for your door. Whether you choose to overlay your door or keep it plain, you’ll want to add edge banding to the outside of the door. It will cover up the rough edges of the plywood. Iron it on and use an edge band trimmer to take off the excess.
You’ll have 4 hinges on a door this long. I used my hinge jig to make 4 hinge placements on the inside right of my door so it would open to the right.
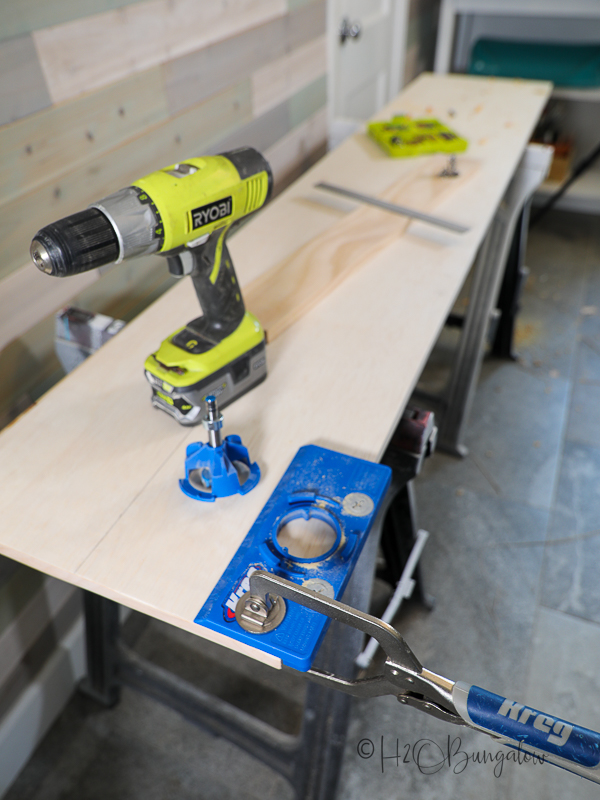
There are different types of hidden hinges you can use and not all need a hinge jig. Mine are ¾” face frame hidden hinges with a mortise. You may choose to use this type of hidden hinge. It doesn’t not need a jig. You’d install these after the door and cabinet are painted.
If you use this type of hinge, they need a little space to work on the inside of the cabinet, be sure they are not placed where the fixed shelves are located.
Step 8. Paint
After you’ve put in this amount of time and energy on building a freestanding pantry, you’ll want a perfect paint finish. The best way to get that is by using a paint sprayer.
I’m using my new Wagner Flexio 3500 paint sprayer and love the features of this new sprayer! Especially the storage box that holds the two spray nozzles: the iSpray nozzle for spraying broad surfaces like walls and a detail finish nozzle for spraying a smooth, fine finish on projects like cabinets and furniture.
Wagner has just released it and you can see a short video with all the features on Wagner’s website.
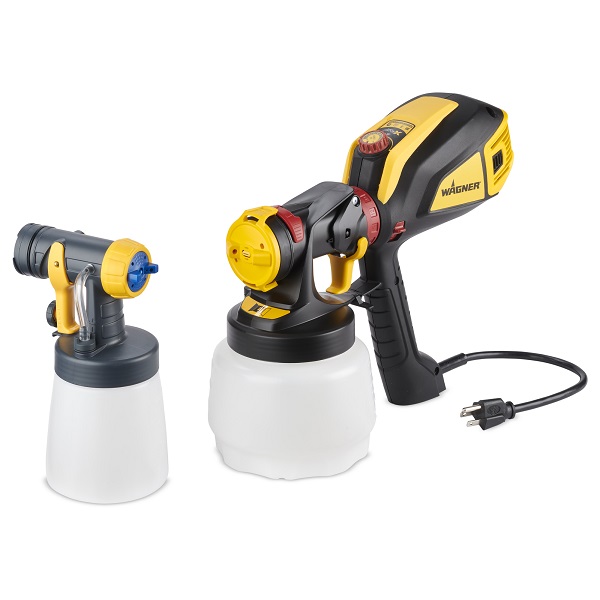
I’ll use the detail finish nozzle for this project. Using the Flexio 3500 is easy. I run through the steps in the video. Remember top always wear your safety gear when painting, a face mask and safety goggles.
DIY freestanding pantry painting tips
To prepare the pantry and door for painting, give everything a light sanding with a fine grit sandpaper. Vacuum all the surfaces with a shop vac and last, wipe everything with a tack cloth.
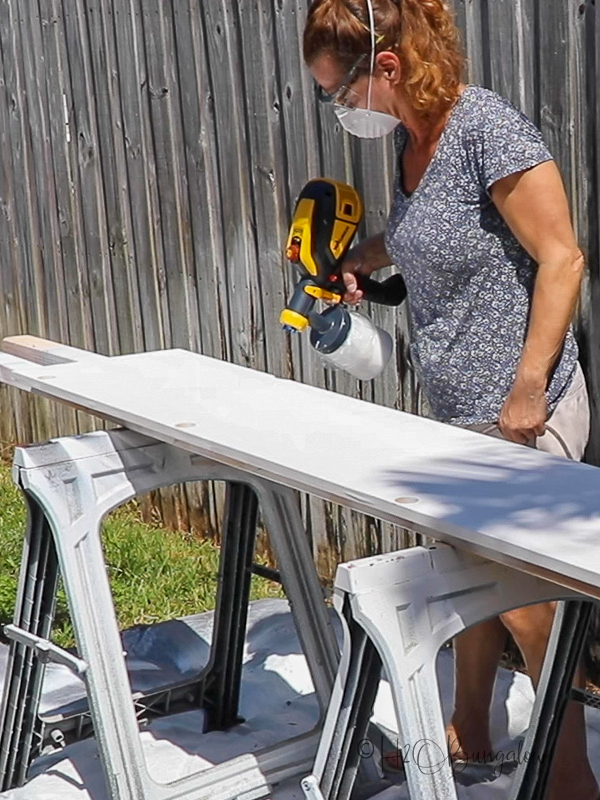
Use drop cloths and elevate the door on sawhorses with boards underneath. I used my Wagner large paint shelter to protect my newly painted cabinet base and protect the surrounding area from overspray. When elevating items to paint, be sure nothing touches the outer edge of the surface and you won’t have paint pooling at the edges.
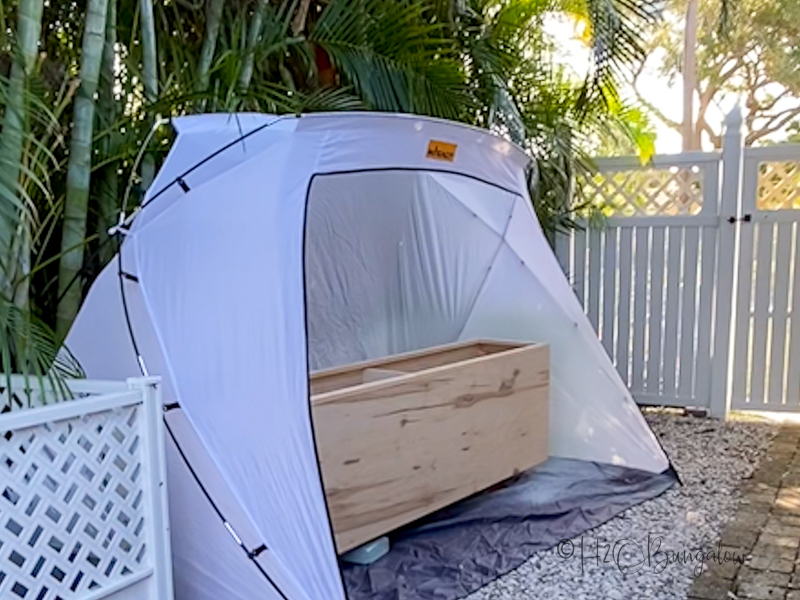
Always do a test spray to adjust the paint flow before starting to paint. I use masking paper and toss it when done.
To get a fine furniture finish on your DIY pantry hold the sprayer about 6” from the surface, move the sprayer as you move your body or arm in steady even passes from one end to the other. Paint inside the cabinet first, then the outside and last the trim at the top.
Give everything two coats of paint, including the shelves. Allow to dry and then bring indoors and let sit overnight.
Step 9. Attach door to cabinet base
Once the paint has dried overnight, add the hinges to the door according to the manufacturer’s instructions.
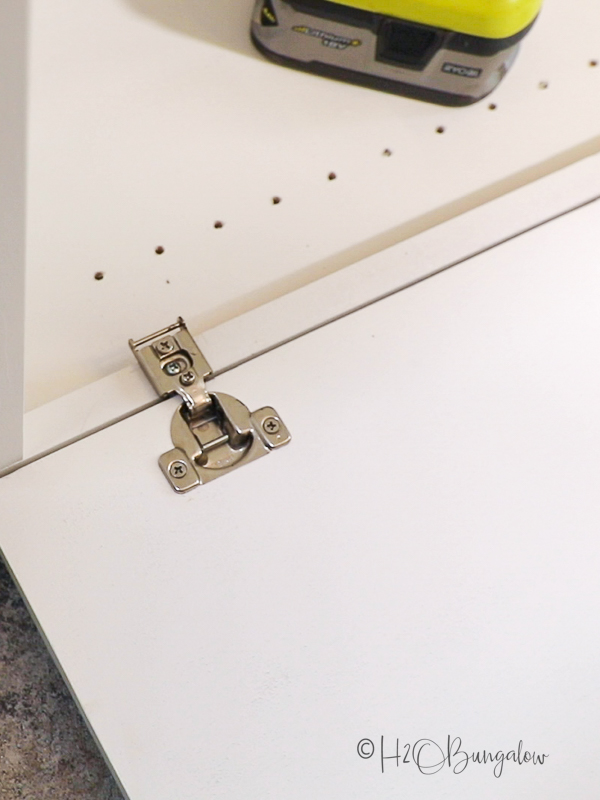
It helps to lay the cabinet on its side and place blocks of wood under the door to elevate it while connecting the hinge to the frame face.
Step 10. attach door handle
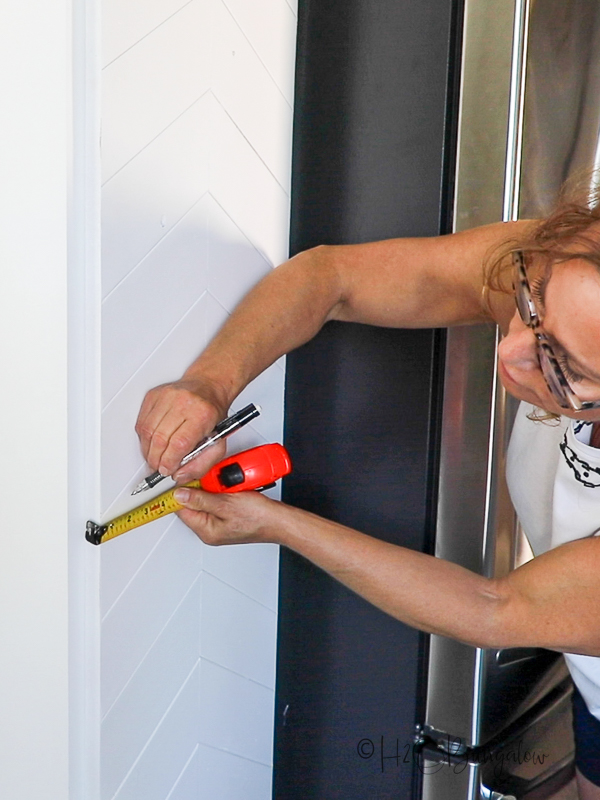
It’s easiest to stand the cabinet up to add the door handle. My handle is 41” from the floor and 1 ½” in from the door edge to match my other chevron door in the kitchen.
You’ll see my favorite time-saving trick on how to mark the perfect spots of handle screws in my video. I’ve been using it for years!
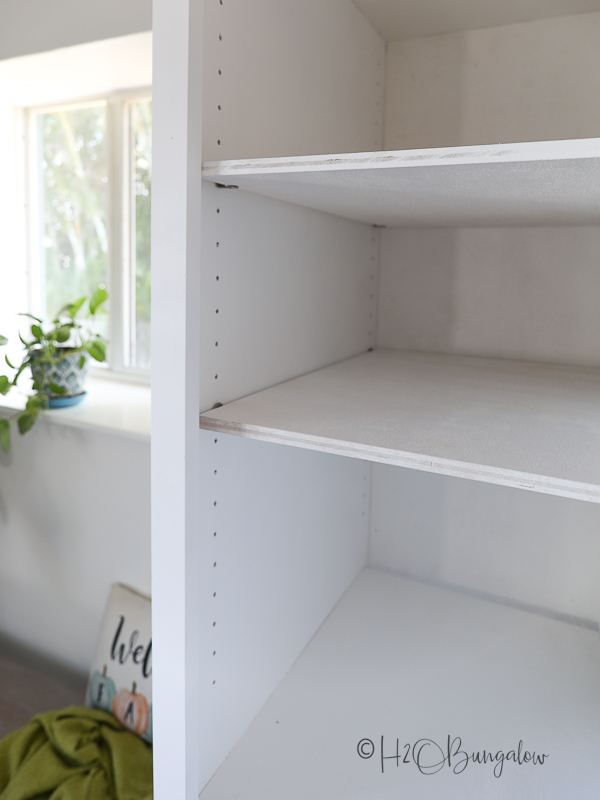
Step 11. Add shelf pins and place shelves in freestanding pantry
Last, you’ll add the shelf pins and place the shelves where you’d like them.
Pin this for later and share on Facebook!

Building a freestanding pantry is so much easier than you’d think.

Speaking of looks, I’m thinking it looks pretty awesome in this space! This weekend DIY build was the perfect solution to adding storage space to our small kitchen and dining area.
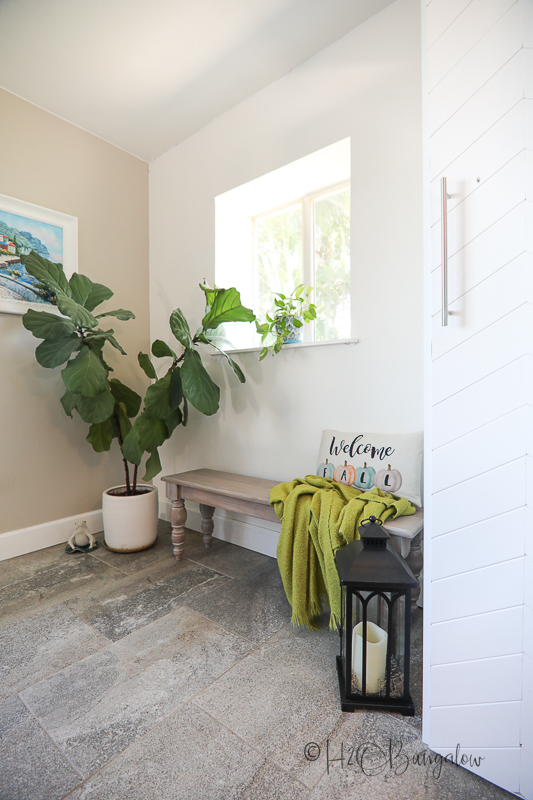
Now that I’ve shared how to build a freestanding pantry, you see how easy it is to build storage of any kind.
Think of all the uses for this basic storage. Could you use additional cabinet space too?
