Lately I’ve been on a stripe kick and thought I’d share how to easily paint stripes.
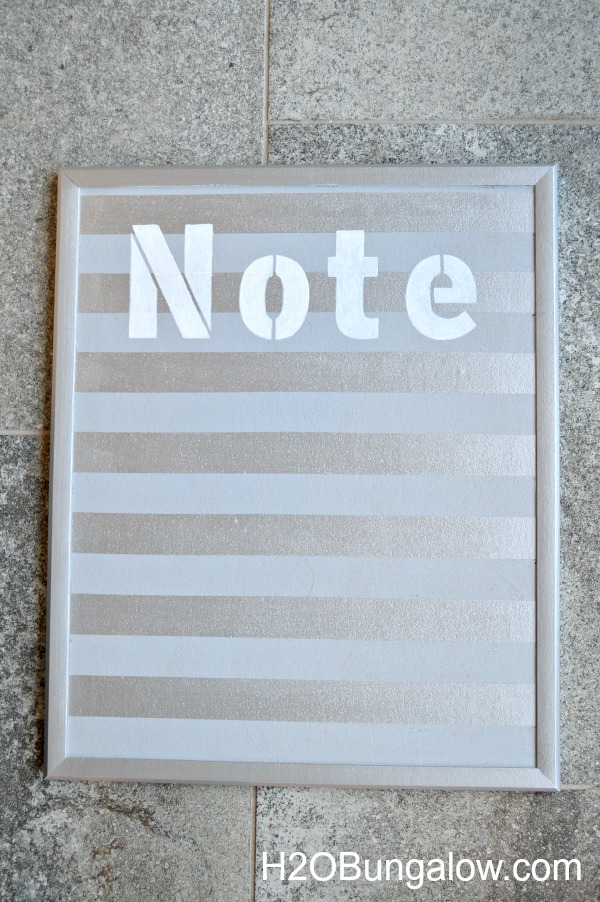
I found this little corkboard in the garage, forgotten in a bag, probably left over from a project I didn’t get to. I was painting a pretty grey nightstand for a client and thought, huh..I’ll spiffy this up and bring it down to my little H2OMarket.
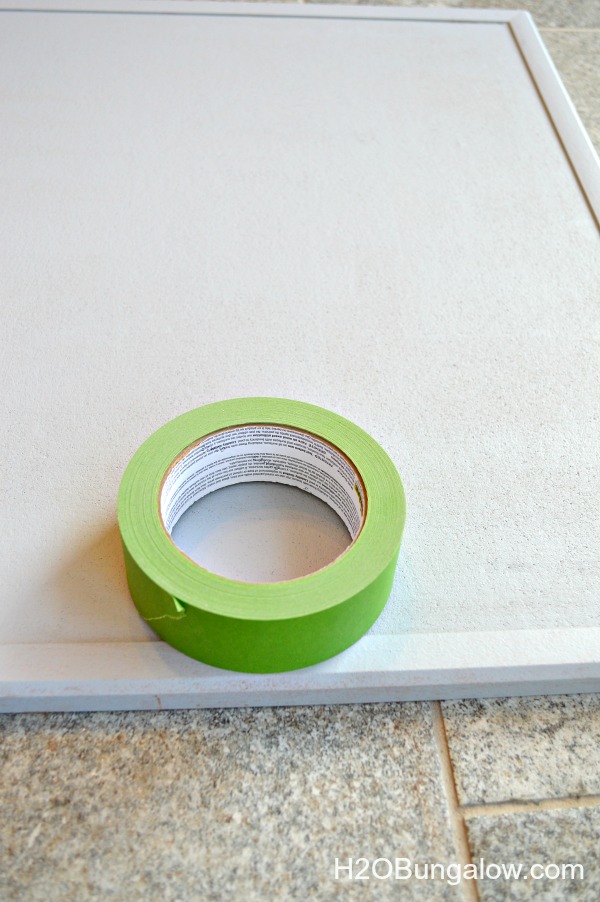
I started my painted stripe project with an all over coat of base paint. I gave this corkboard a coat of grey flat paint because it’s what I had open at the time:). You’ll want to let your base cot dry thoroughly before the next step of taping off your stripes. I love frogtape for painting stripes, it gives clean crisp edges.
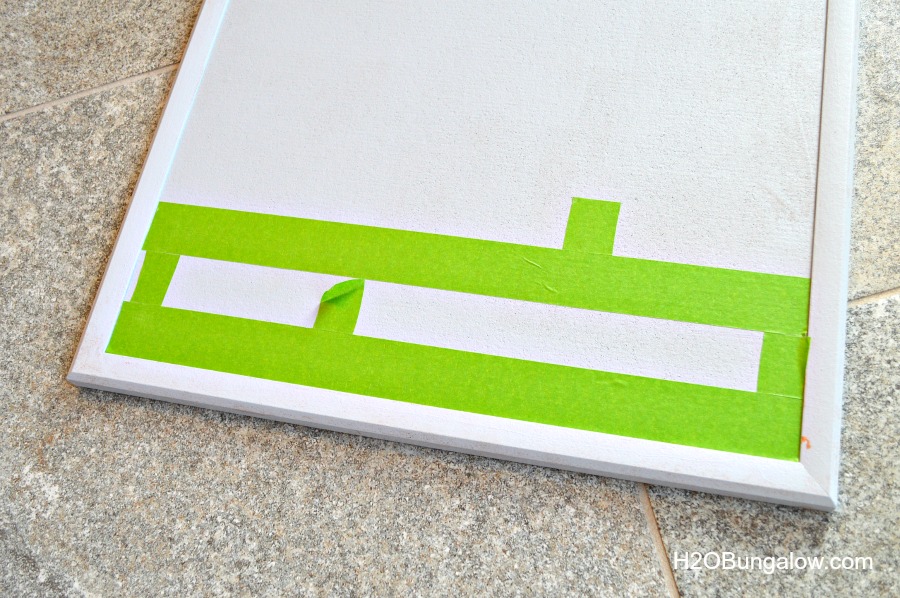
Begin with placing a strip of painters tape for your first row on your project. Next, cut several strips of tape the width of the painted second color stripe you want. My stripes are even on this project. I used the width of the tape to keep the project simple. I cut 4 strips of tape and placed them along side of the tape row. These strips of tape made a guide for my next row of tape.
Just place the new row of tape along side of the guide tape to get a perfect stripe edge.
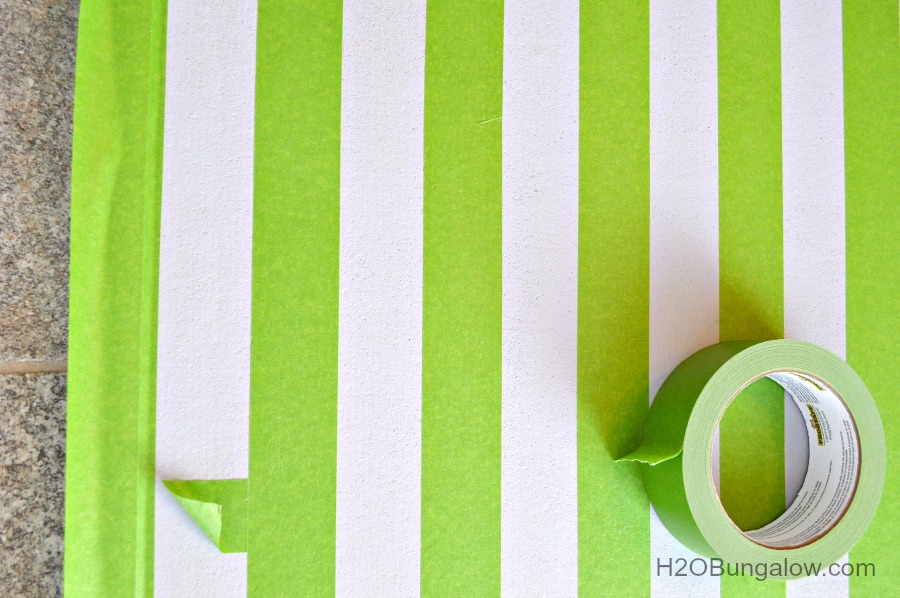
When the next row of painters tape has been placed, carefully lift the guide pieces and place them along the next area to guide your next row of tape.
Continue to fill in as many stripes as you want for your project. If you want the same sized stripes at the beginning and end of what your striping you may need to do some simple math… Start by measuring the total width of your desired striped area and divide it by the width of your stripes. Adjust your stripes as needed.
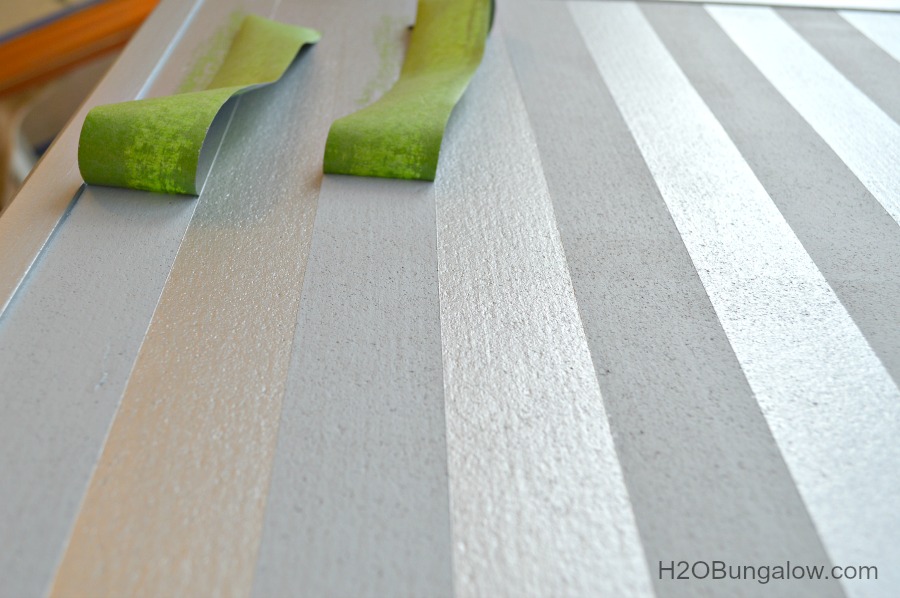
Before painting your project, rub your finger along all the edges and be sure you have a good seal. Paint your project. I like to pull my tape up when the paint is almost dry. Carefully peel back your tape.
Are you following me? Like, you know…my blog? What? Not following me yet?
Sign up for my posts via email HERE or Bloglovin HERE. Both are free!

Elizabeth Walker says
Hi Wendi – you never cease to amaze me. I love your blog. Thank you for sharing your talents. I love your mailbox. The color you chose for the exterior of your house is absolutely beautifull. I can tell you we have the same style. I love the sentimental ideas. I saved my Grandaughtets clothes, now my great grand is wearing then. Thought on golf clubs, curtain rods. Look forward to seeing your next projects. Liz
Wendi says
Elizabeth… Thank you for your wonderfully sweet and kind note. You made my day! After years of corporate work I finally get to do what I’m passionate about and create. It’s a joy and a pleasure to share with my readers and I hope that I inspire others to have some creative fun as well. Love your idea of the curtain rod for the gold clubs! Lucky you to have a great grand!
Amy @ Ms. Toody Goo Shoes says
Love this note board, and the color combo you chose for the stripes!
Wendi says
Thank you:) I was really just playing around. I’ve had the best projects come from trying out new things. I love the grey on grey too. Now I just need the right item to do it again:) Thanks so much for visiting !
Marie@The Interior Frugalista says
Love the subtly of the metallic stripes with the soft gray – very nice note board Wendi.
Wendi says
Thanks Marie! I was just playing around with the paint and tried the tone on tone. I like it too. I’m thinking of doing a furniture project like this.. just not sure what yet… 🙂