Today, I’m sharing how to clean and makeover a barbecue grill. All it took was a few products, a little elbow grease and some creativity to turn my rusty old barbecue grill into a good looking almost new looking outdoor grill. You can makeover a barbecue grill of any kind. It’s easy to modify this makeover tutorial to clean and update other types of outdoor grills, natural gas, propane grills and charcoal grills are all similar.
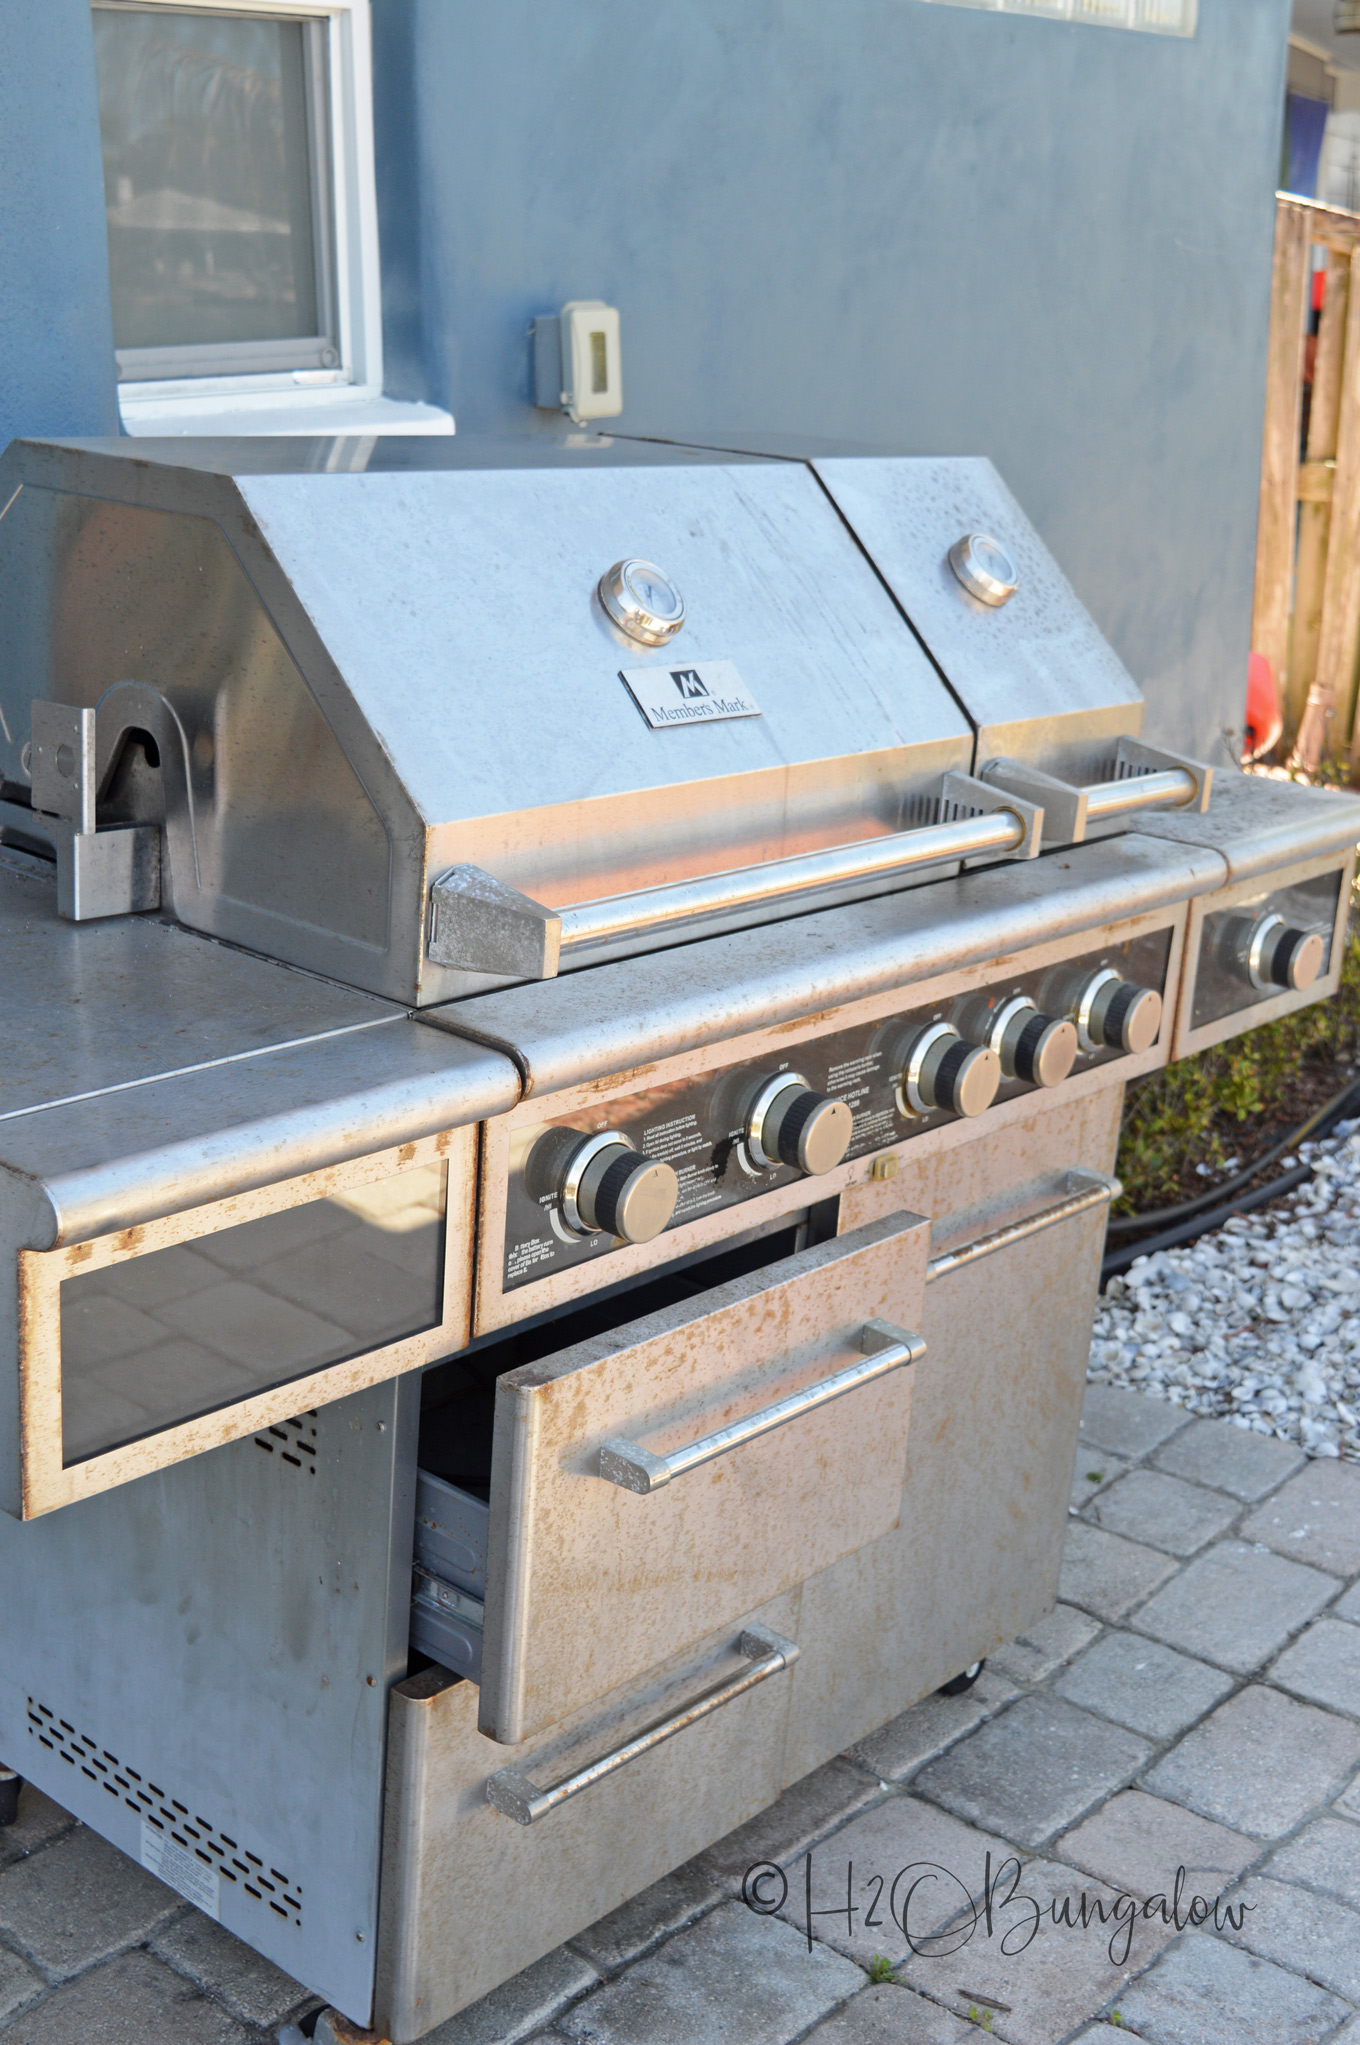
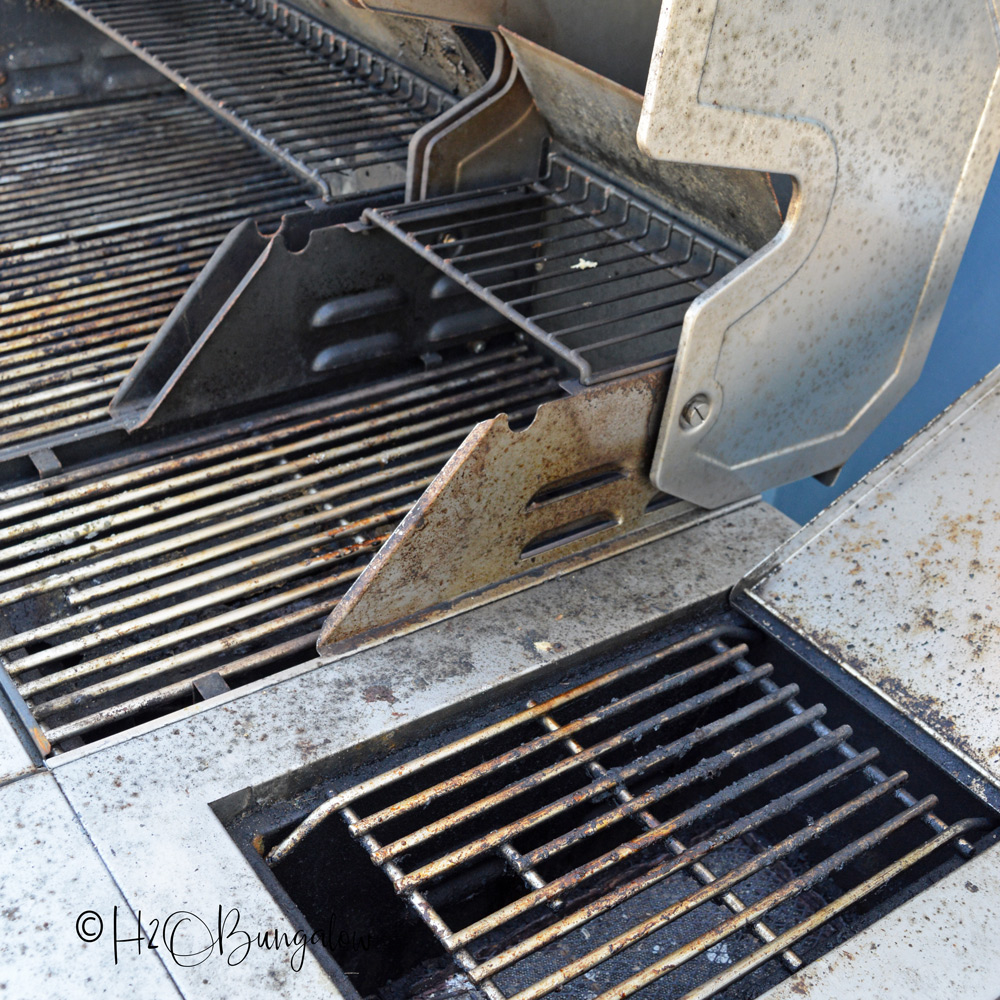
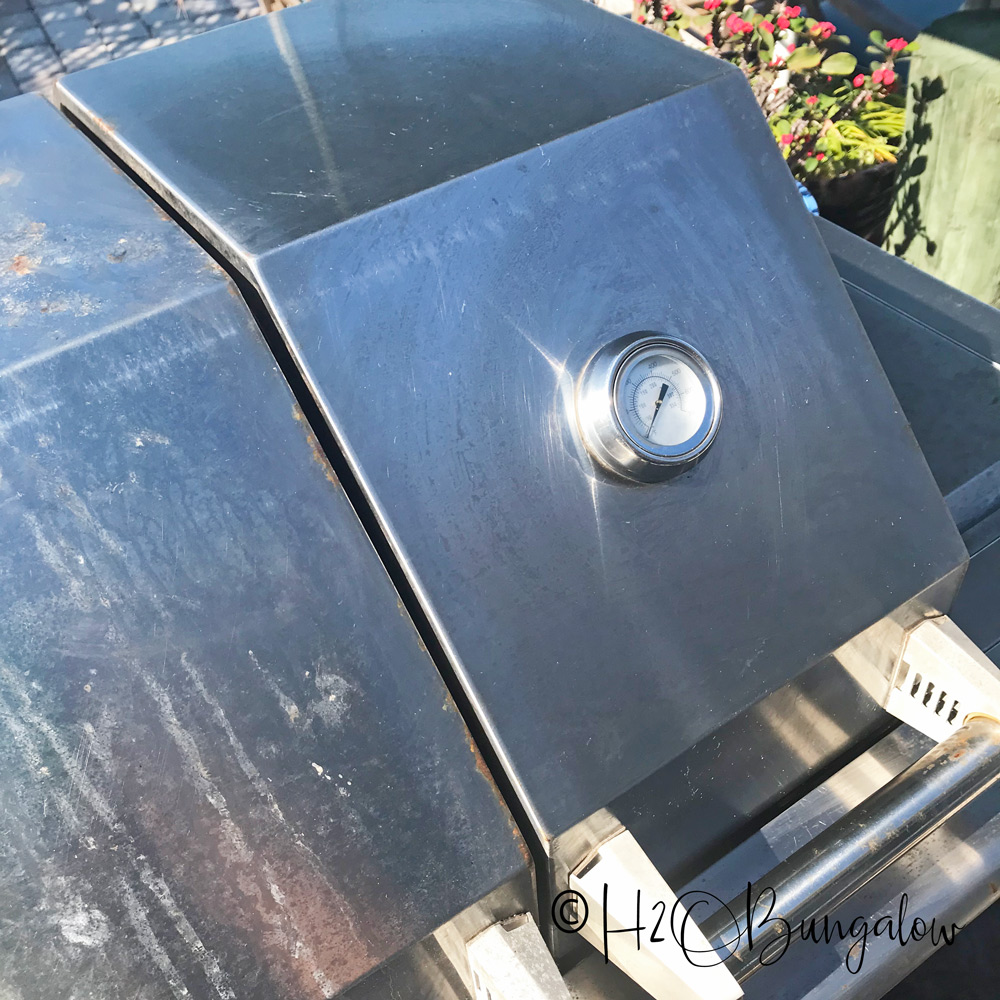
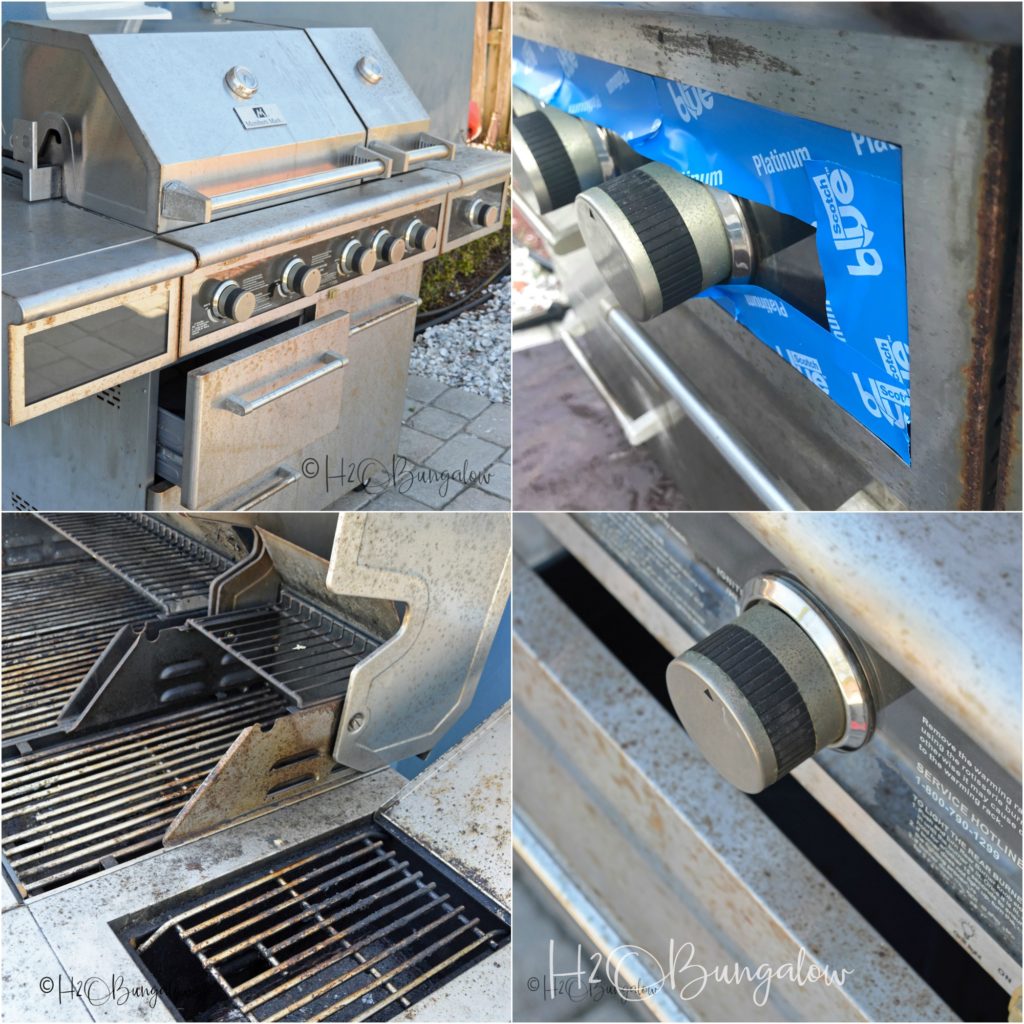
This is what our gas grill looked before I decided to roll up my sleeves and give it a makeover. It was a dirty job but someone had to do it. This gas grill had plenty of life left in it. I couldn’t justify buying a new gas grill without trying to fix what I had first. Especially when the only thing wrong with our grill was dirt and our salty coastal air had rusted some of the stainless steel. OK, maybe it had lots of rust…but I took care of that! Pretty sad, huh? The inside was pretty awful too.
This is a sponsored post by HomeRight. This post also contains affiliate links and I will be compensated if you make a purchase after clicking on my links. Thank you for supporting the brands that keep H2OBungalow going!
How to Makeover a Barbecue Grill
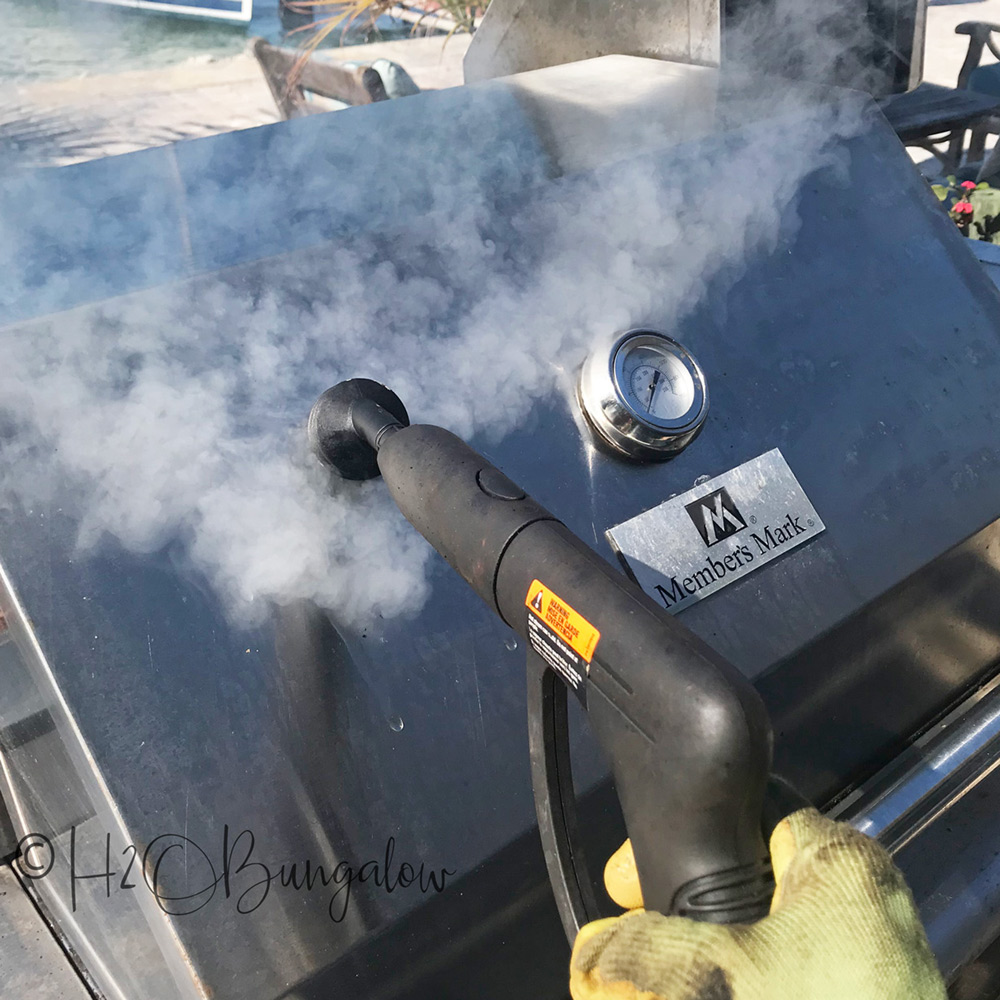
Start your makeover with a clean grill. I started from the inside out and gave my gas grill a heavy duty cleaning to remove all of the grime and dirt. You can find my step by step tutorial on how to deep Clean a Barbecue Grill Without Harsh Chemicals on the HomeRight’s website. I used my SteamMachine and let it do the work for me. Steam works wonders when it comes to cleaning and especially degreasing!
We don’t use harsh chemicals for many reasons. The biggest is that we live on the bay near the beach and don’t want any run off that could harm the wildlife or us.
The steam worked like magic to loosen caked on grease and dirt both inside and outside. It made what would have been an awful laborious job easy. Yay!
Once my propane grill was clean and grease free, it was ready for me to start my grill makeover.
Supplies Needed to Makeover a Barbecue Grill
This is a list of the supplies I used to makeover and refurbish our outdoor gas grill.
- HomeRight Steam Machine
- HomeRight Large Spray Shelter
- Simple Green all purpose cleaner
- Painter rags
- Scotch Blue Platinum painters tape
- Fine, 320-400 grit or Super Fine 500-600 grit foam backed sandpaper This is not the same sandpaper that we use on wood! It’s for auto finishes.
- Rustoleum High Heat Paint
- Comfort Grip spray paint holder
- Weiman’s stainless steel cleaner
- safety equipment, eye protection and disposable paint mask/respirator
Step #1. wipe the grill down. Spray the grill with Simple Green and use soft clean painters rags to thoroughly wipe down all of the exterior surfaces. Pay special attention to any area that will be painted. You want to be sure to clean the surface enough for the paint to adhere well.
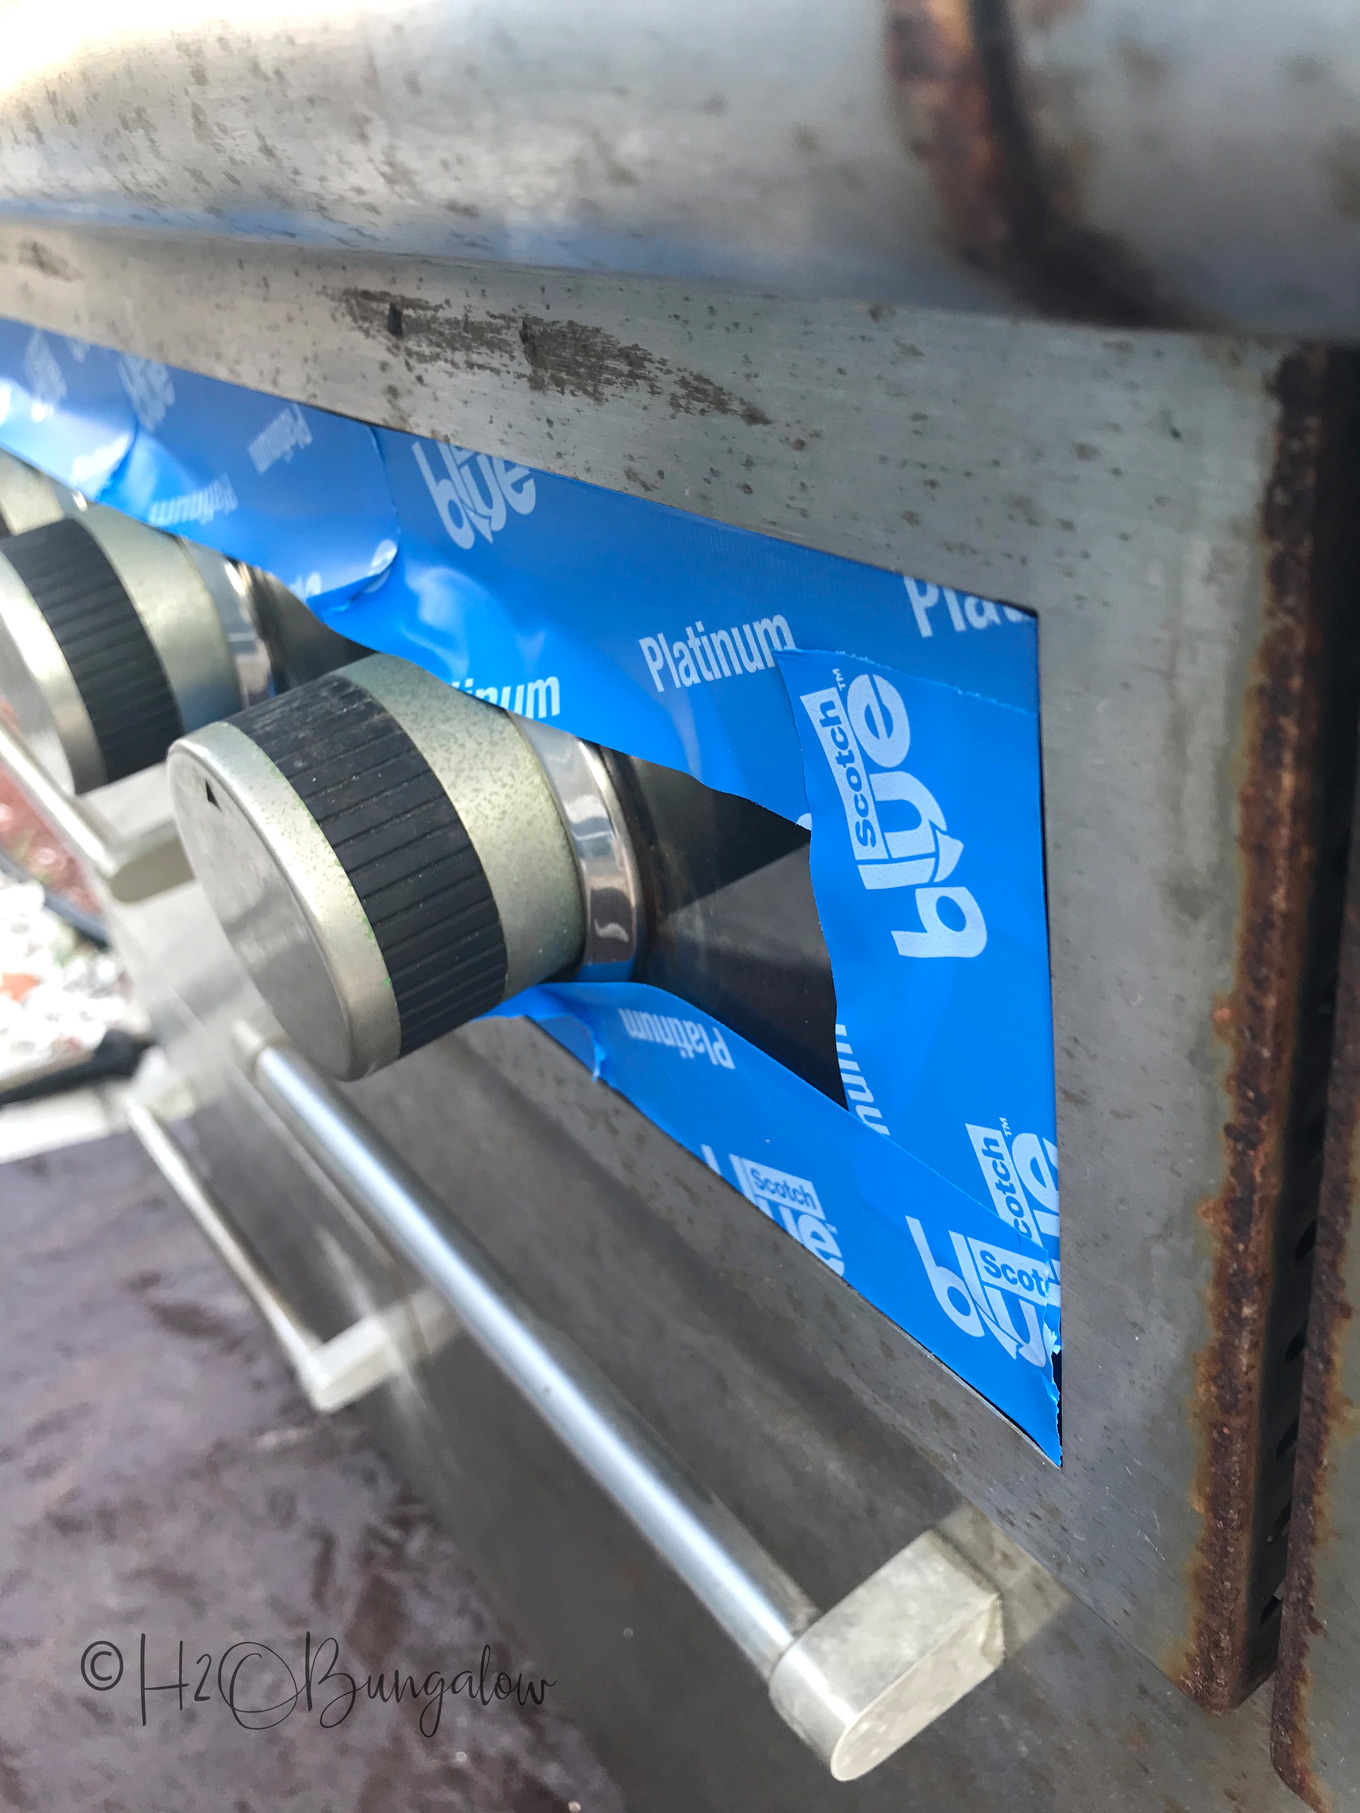
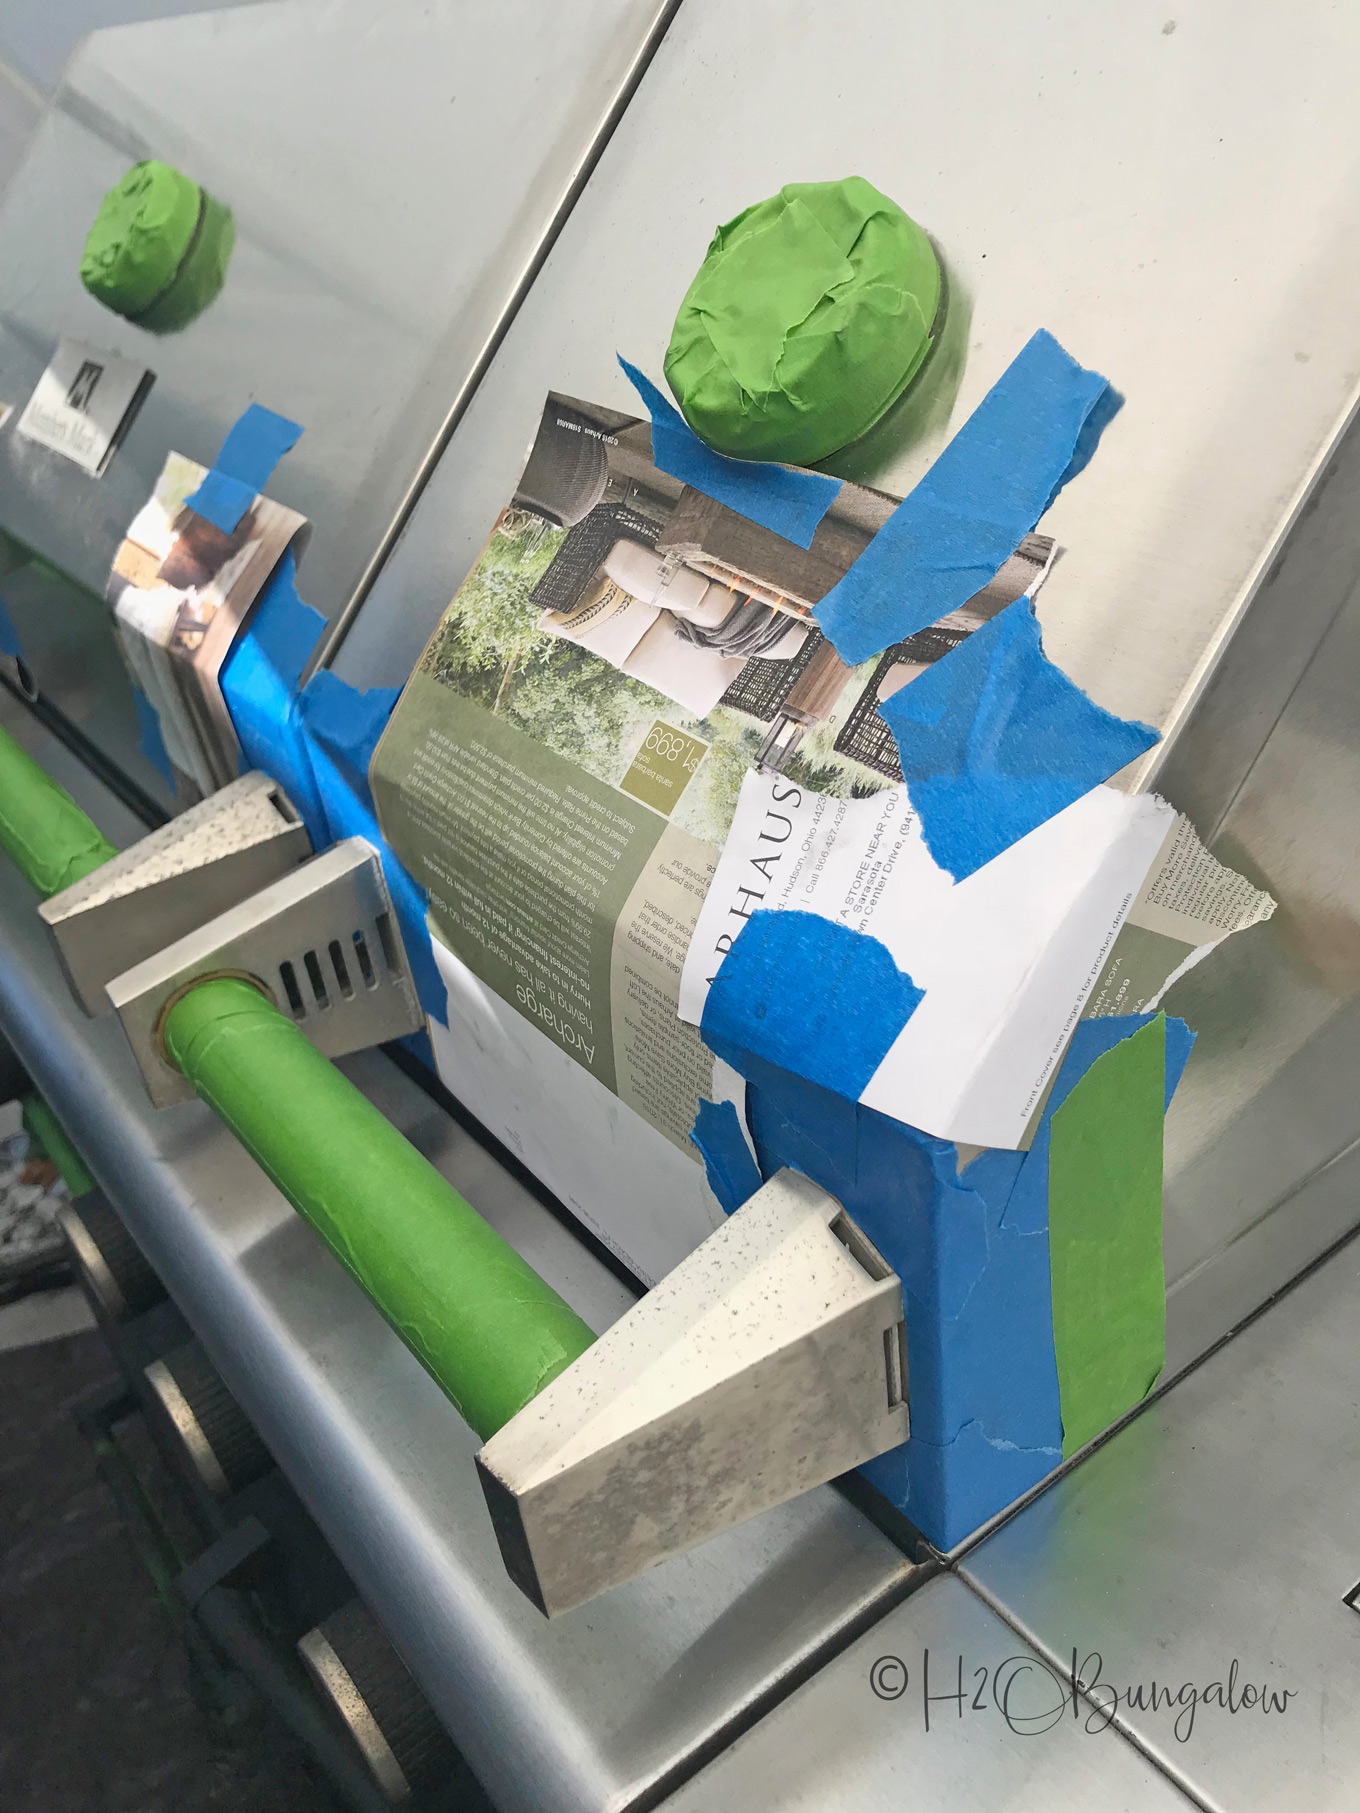
Step # 2. Tape and protect areas. Use painter’s tape to protect surfaces that you don’t want painted or damaged by sand paper. After trying 3 different types of painters tape, I found that the the Scotch Blue Platinum adhered best to the stainless steel.
I planned on painting the worst areas of my BBQ grill exterior and salvaging what I could. The truth is, I kind of winged it as I went along. 🙂 The handle edges of my grill are aluminum and were pretty corroded from the salt air. They got painted after a good pre-sanding.
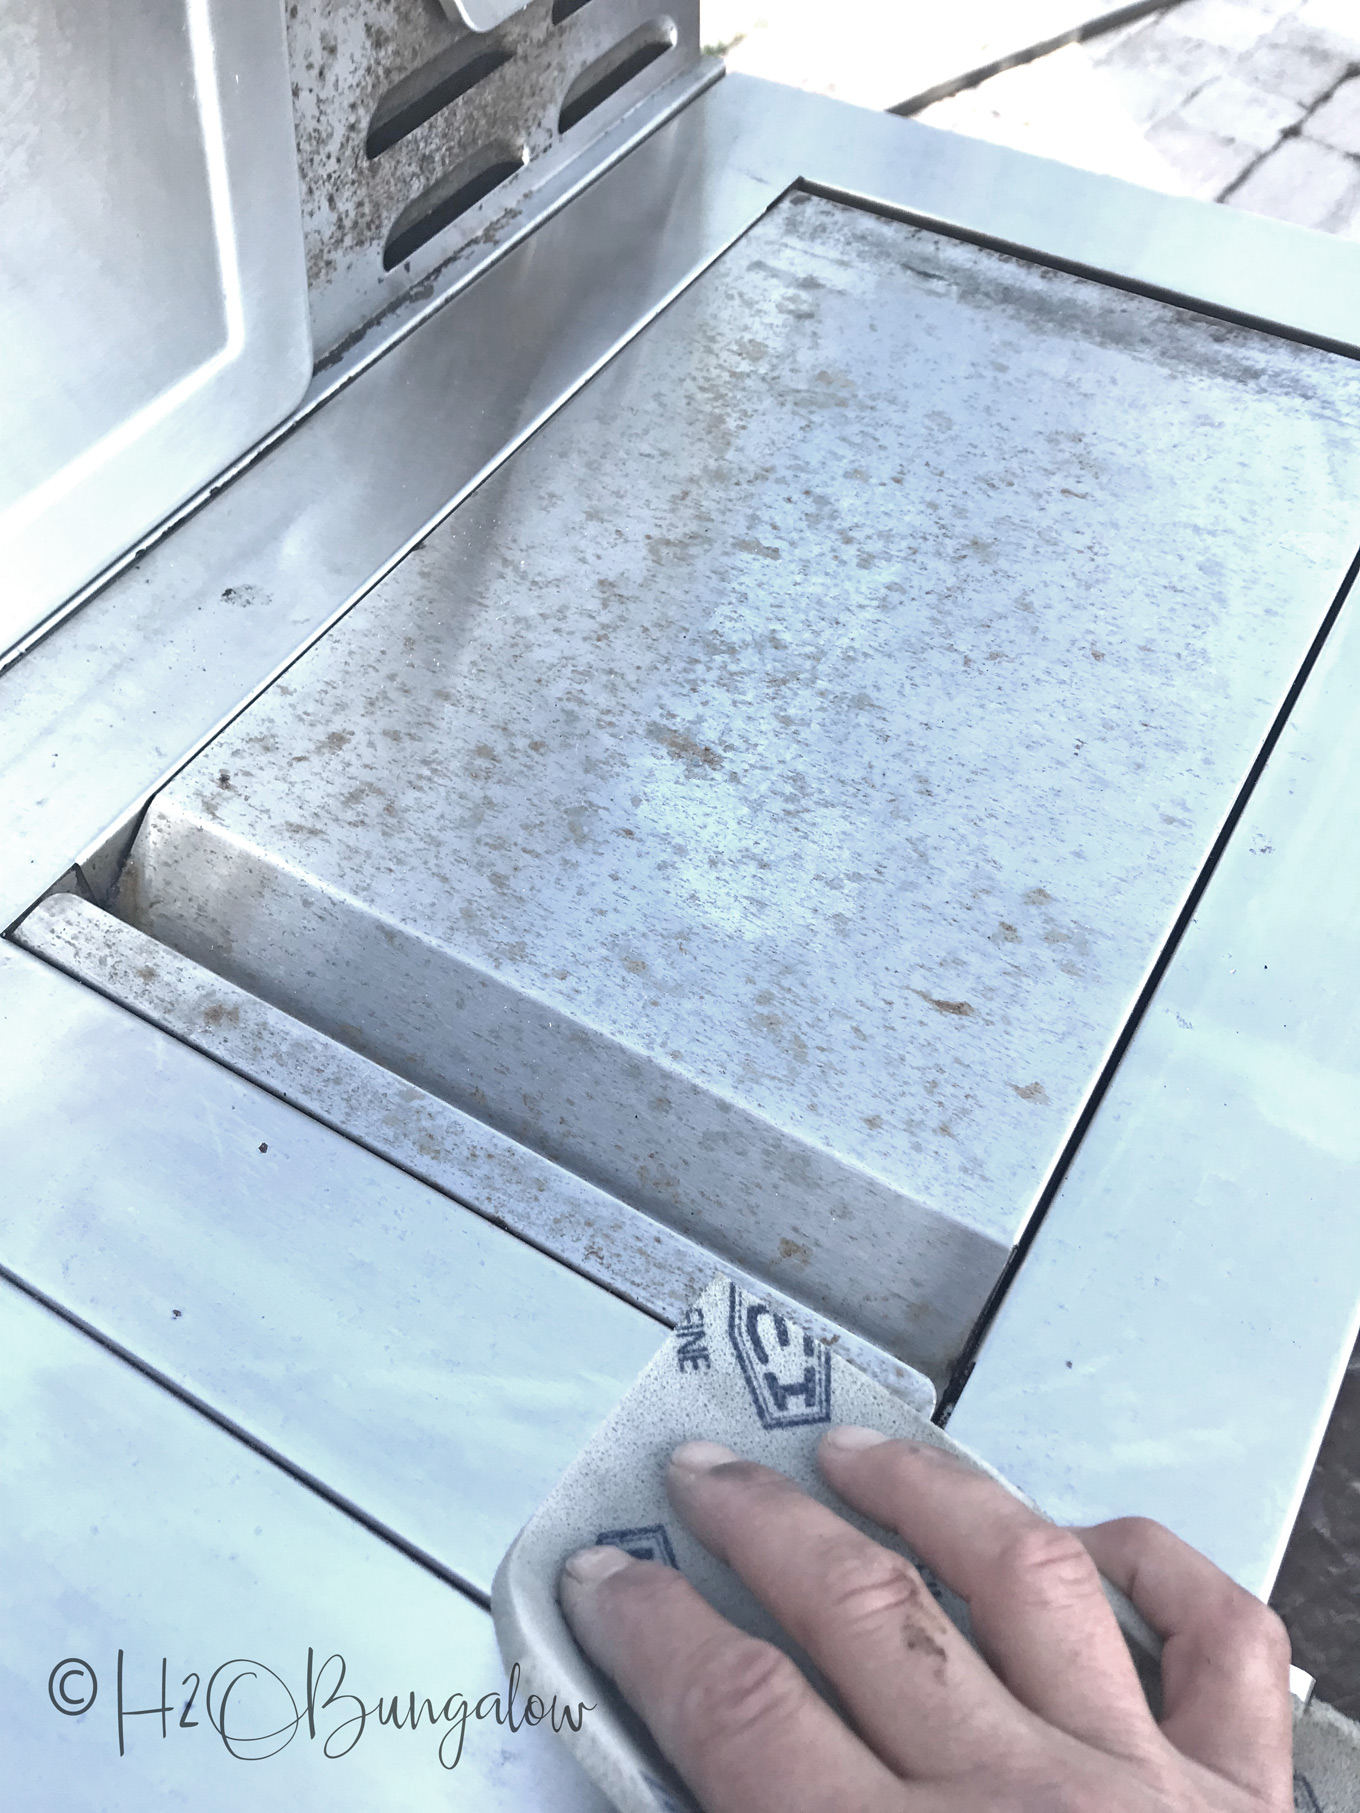
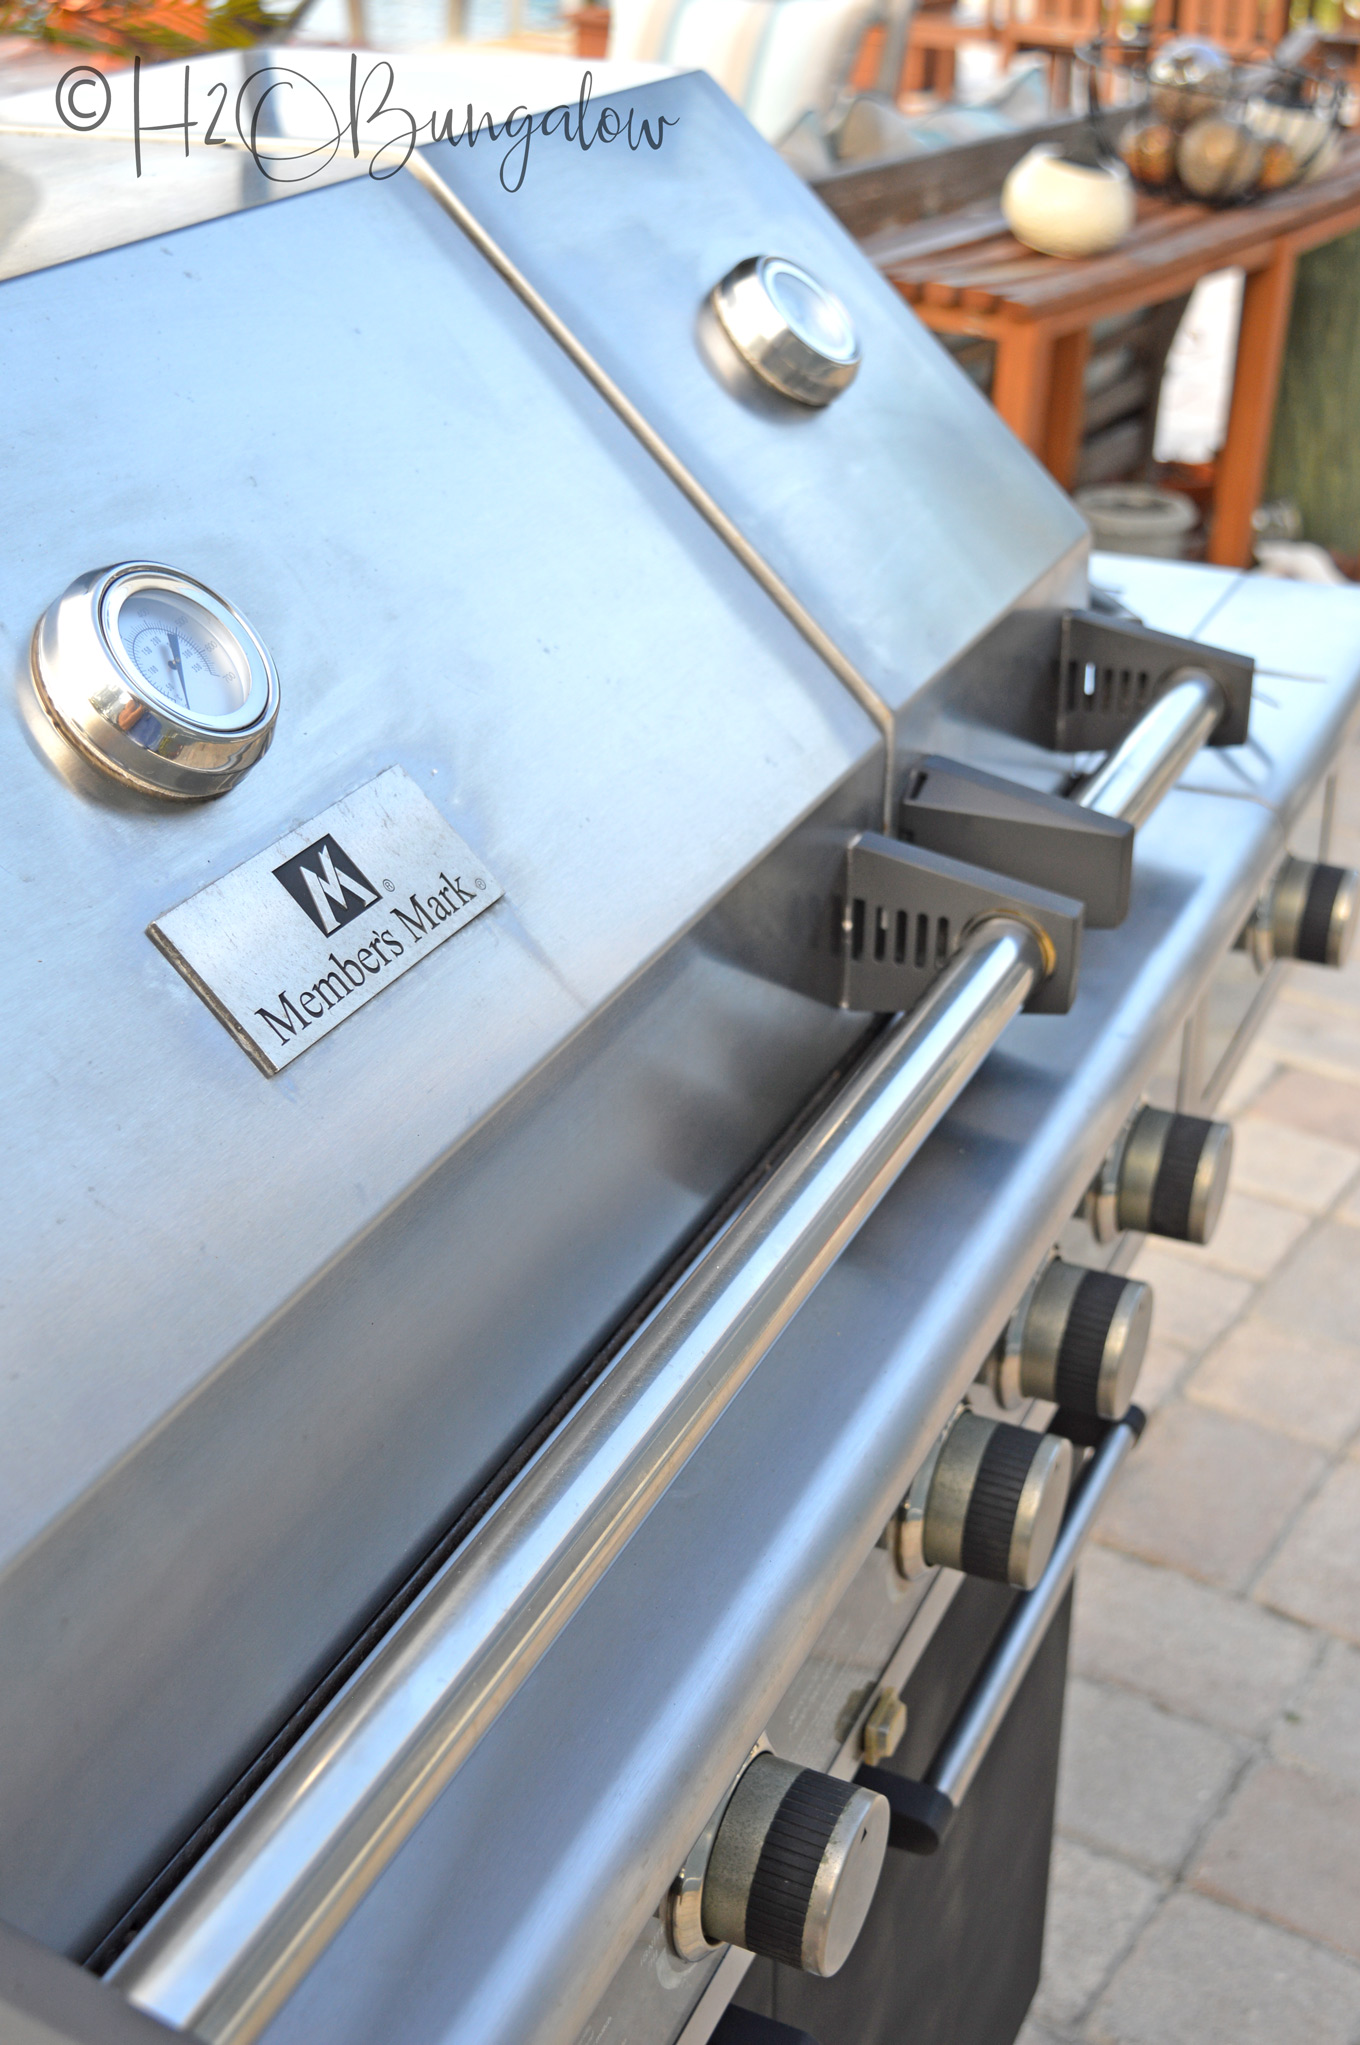
Step 3. Get the rust off the barbecue’s stainless steel exterior. It worked like magic! Remove stains and rust from the stainless steel barbecue grill exterior with high grit sandpaper. I list above the type I used in the supply list on this post. It is not traditional wood sandpaper, and the grit was different. It’s for automotive surfaces. Apply steady firm pressure and follow the grain of the stainless steel.
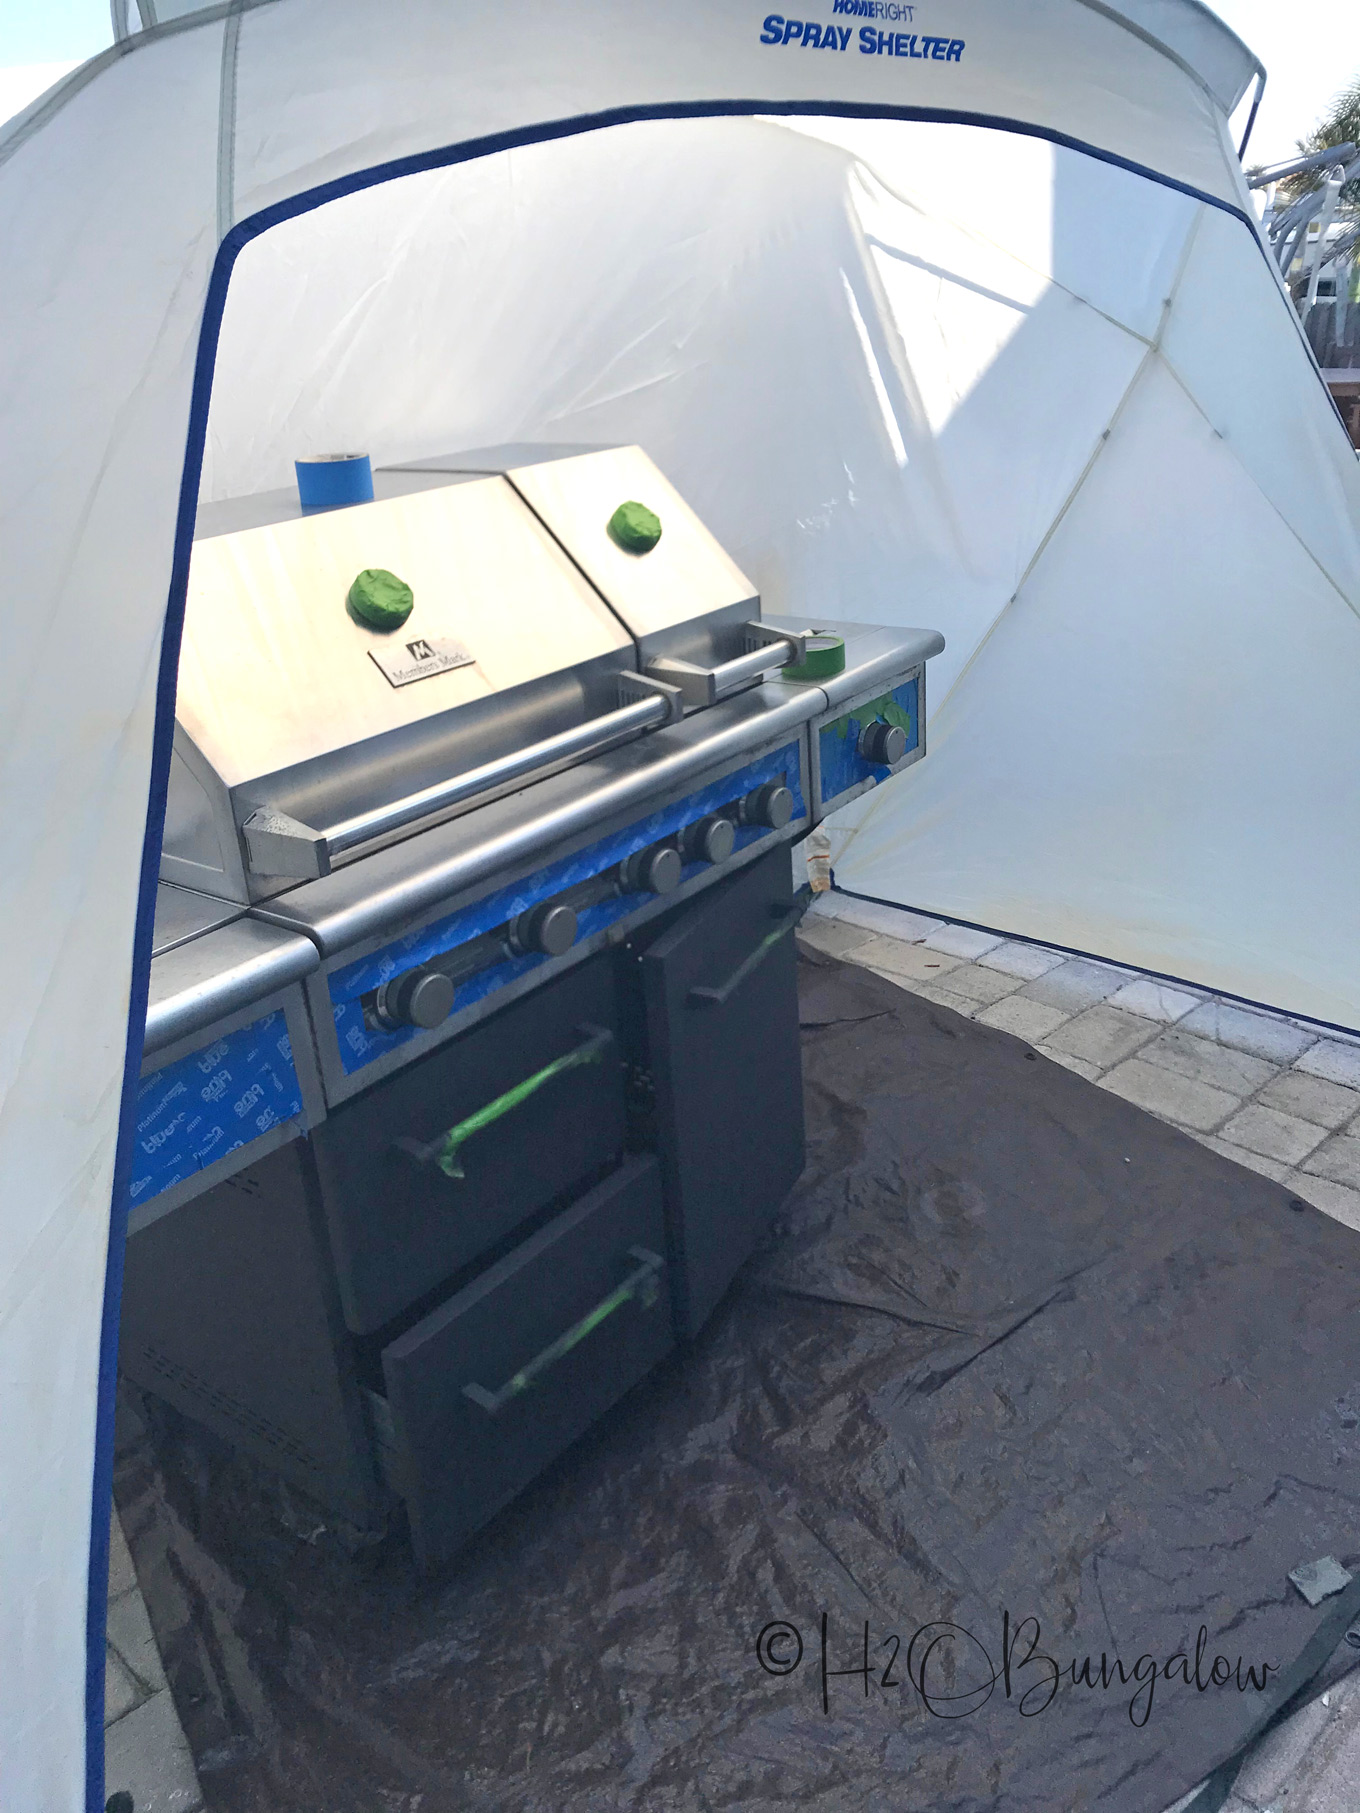
Step 4. Paint grill with high heat paint. I used my HomeRight Paint Shelter to protect the areas around my grill, stop the wind from blowing my paint allover and keep debris off my freshly painted surface. It’s not a bad sun shelter either 🙂 It was easy, I assembled it, than lifted it over the grill.
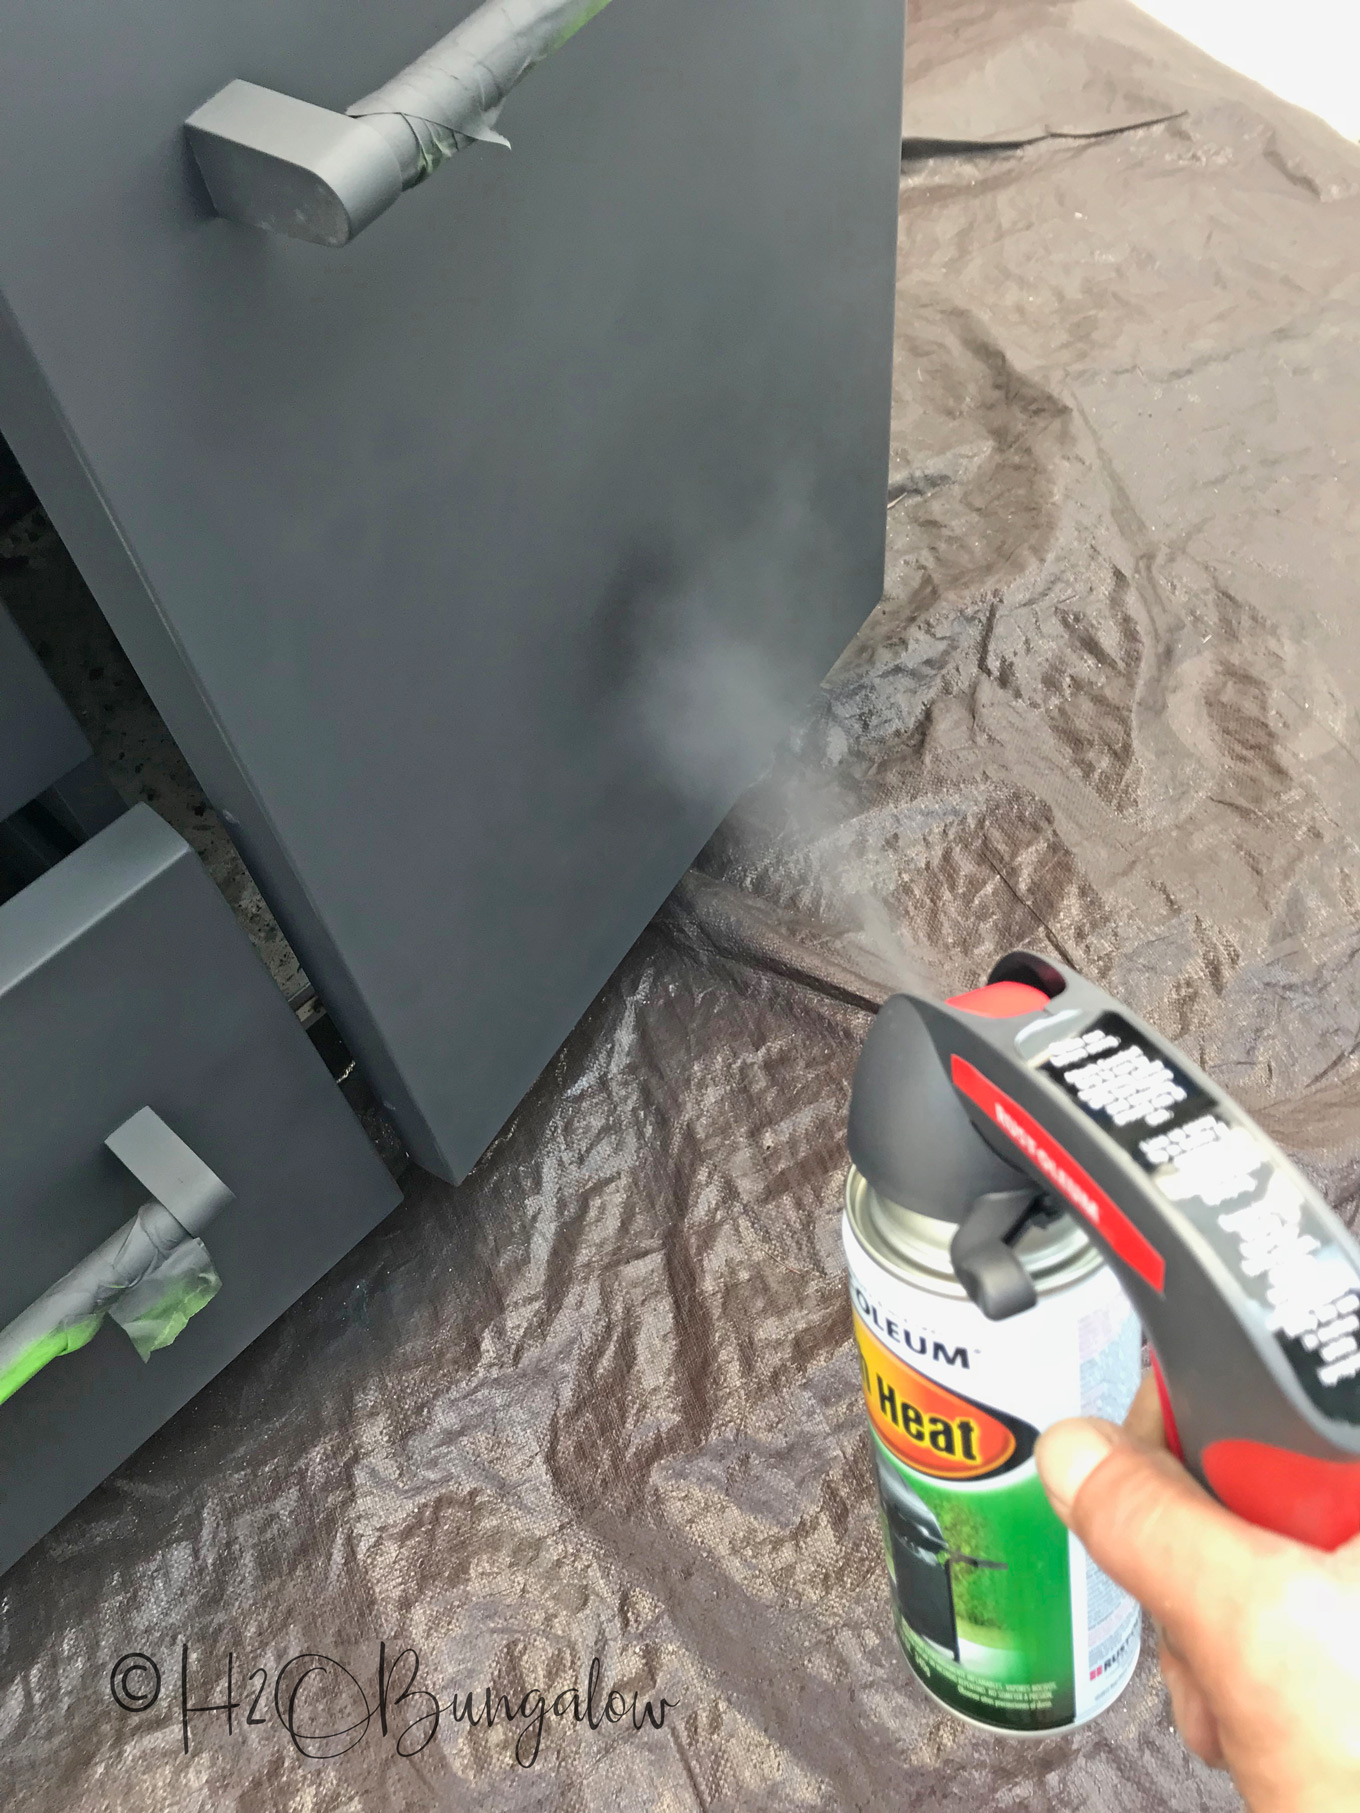
I would have preferred to use my HomeRight Super Finish Max Paint Sprayer for a really good paint finish, but I couldn’t find high heat paint by the quart. The base of my grill used two cans of Rustoleum high heat spray paint. I tested two types of stainless looking high heat paints and didn’t care for the look of either one which is why I painted the exterior of my grill cabinet in black.
If you don’t have one of these handy Comfort Grip spray paint holders, you need one! It will save your fingers when you’re using spray paint in a can!
Step 5. Protect and seal the clean stainless steel. Spray the stainless steel cleaner onto a clean rag and wipe the grills stainless steel exterior to seal and protect.
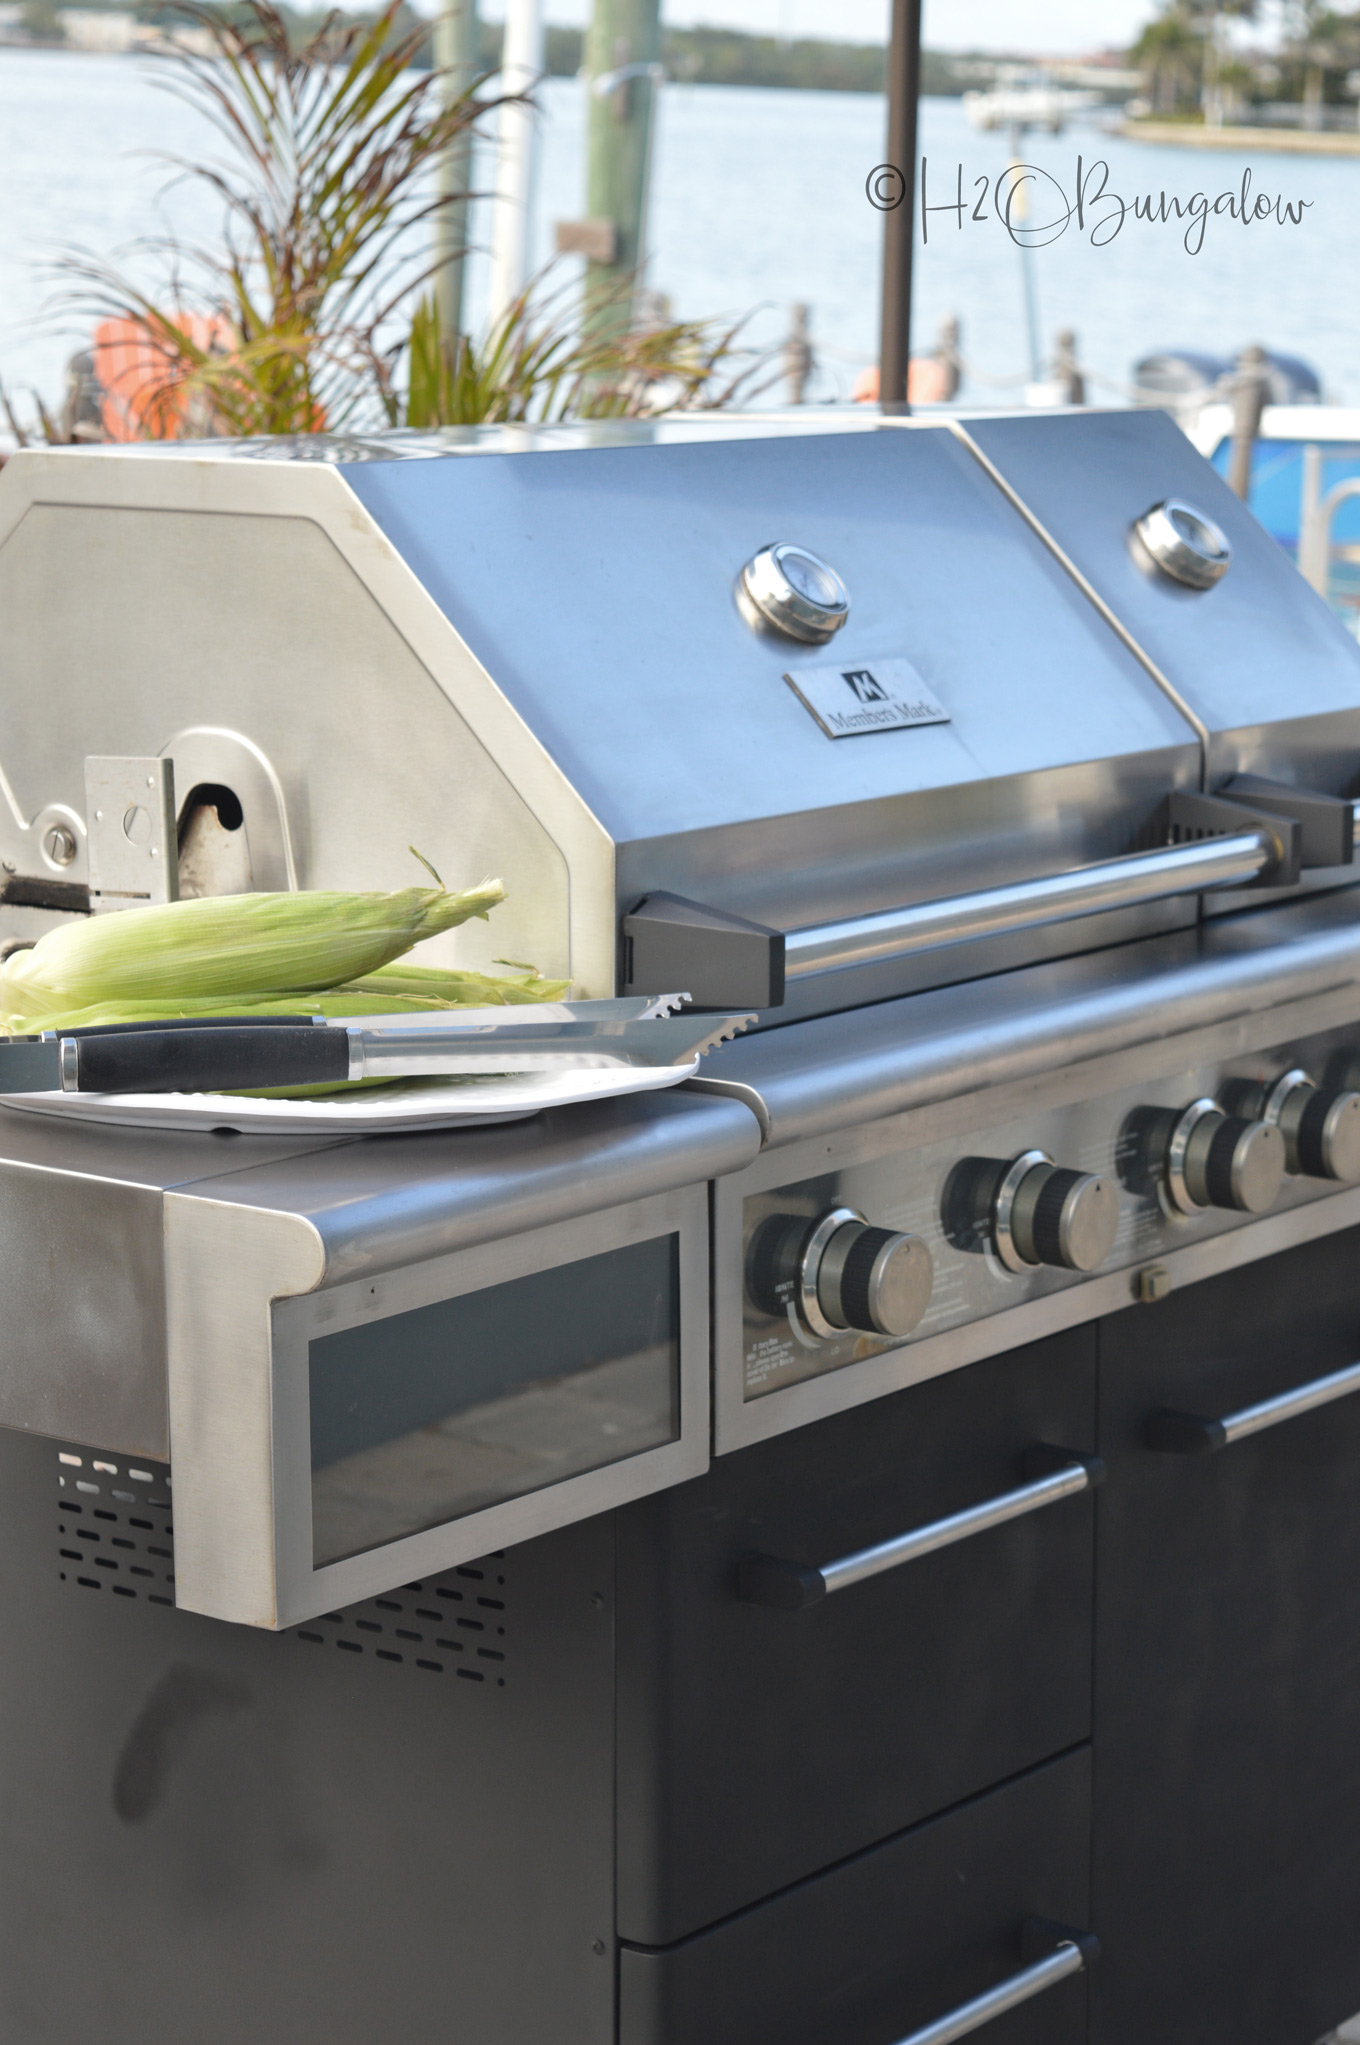
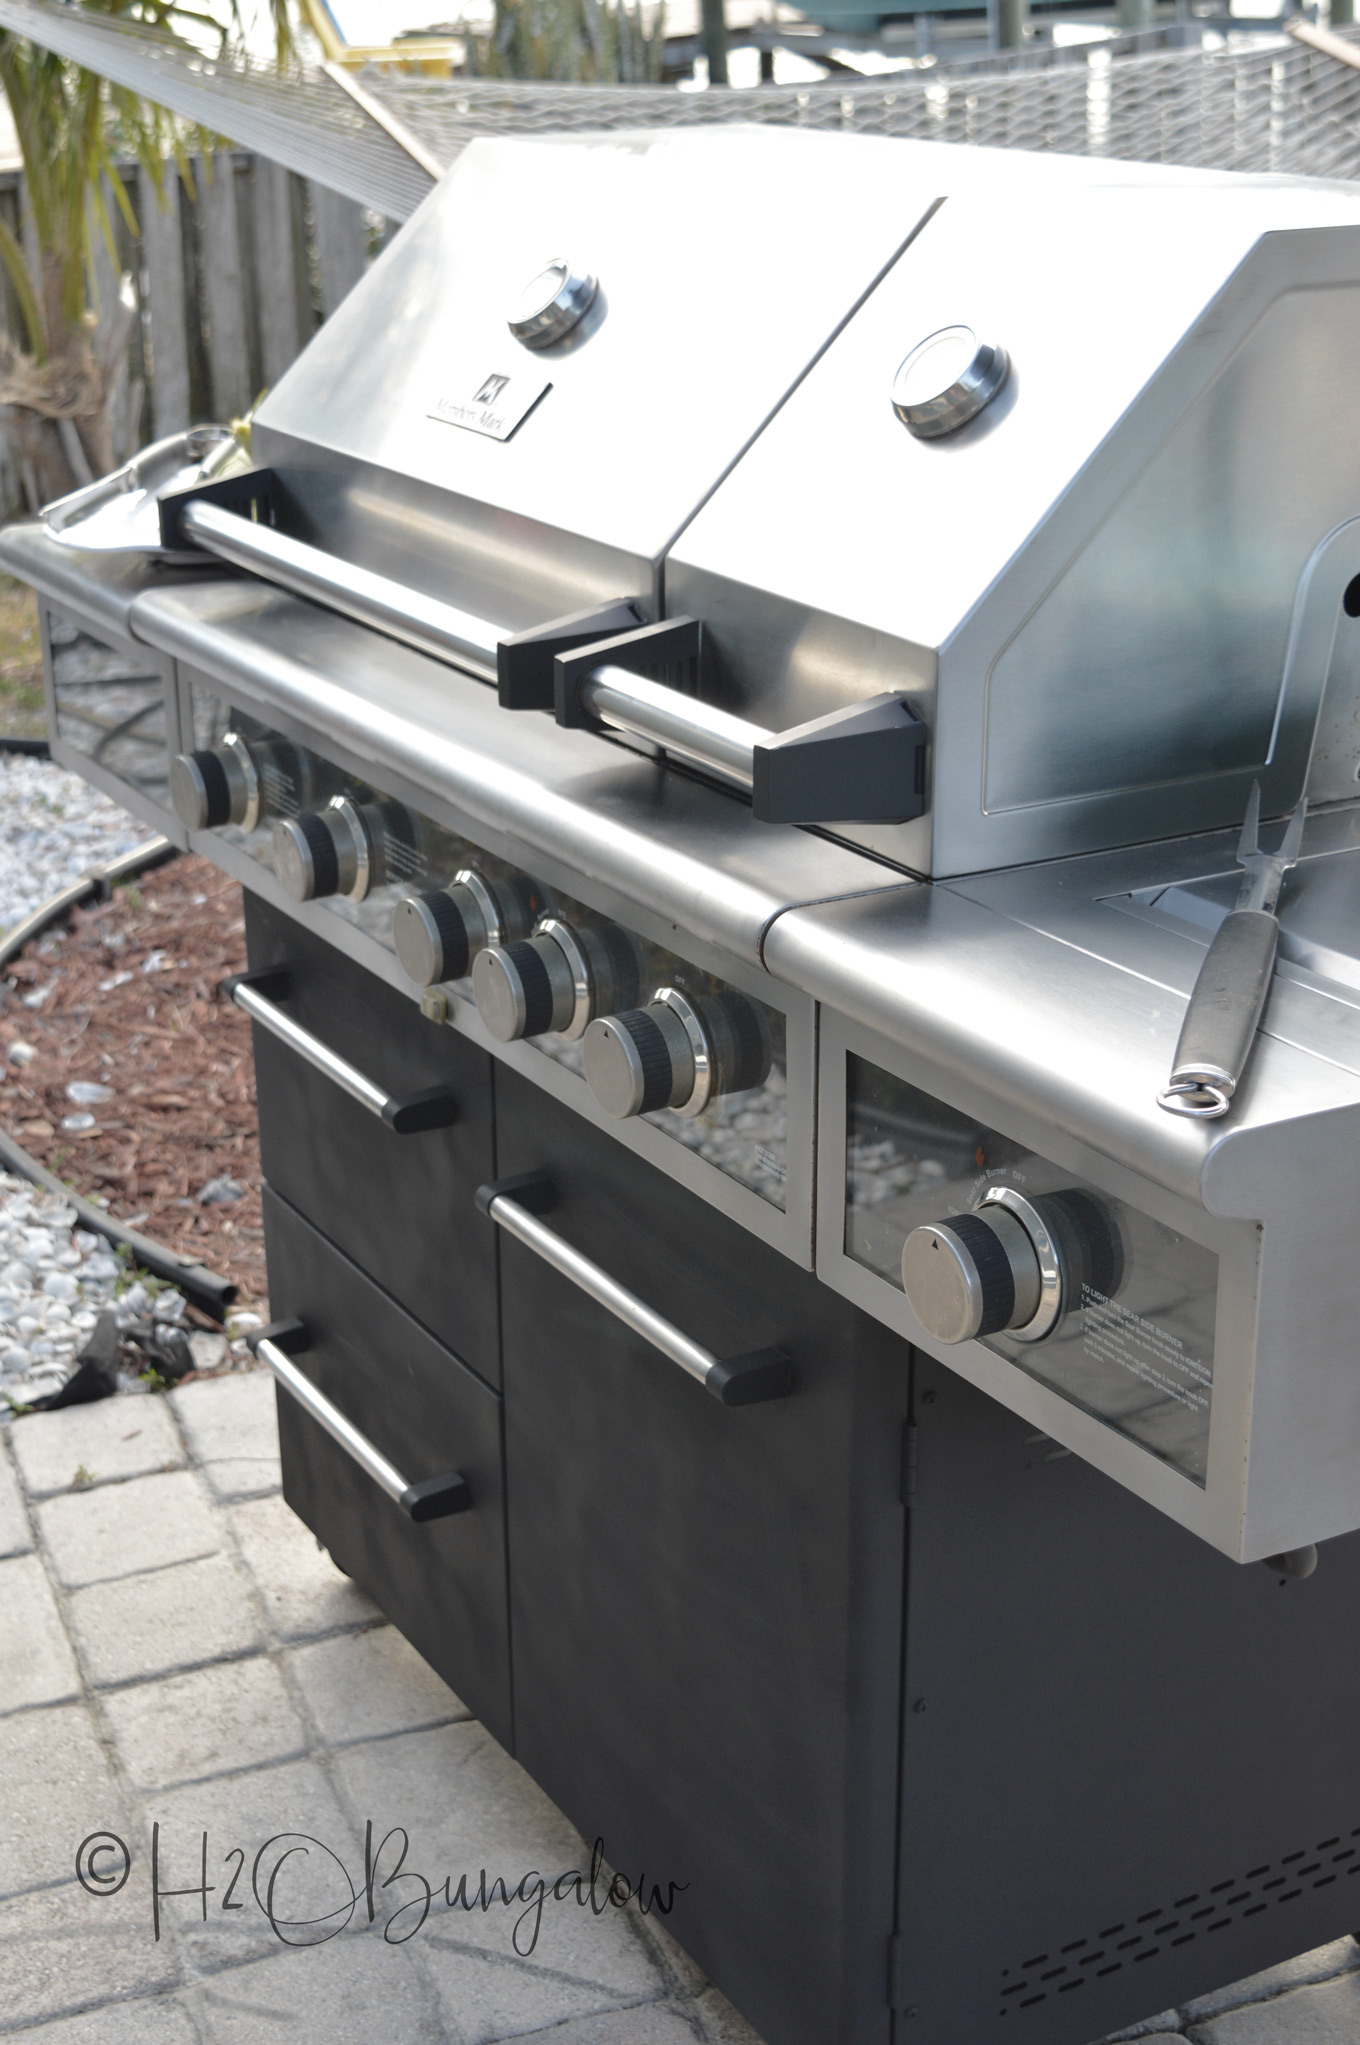
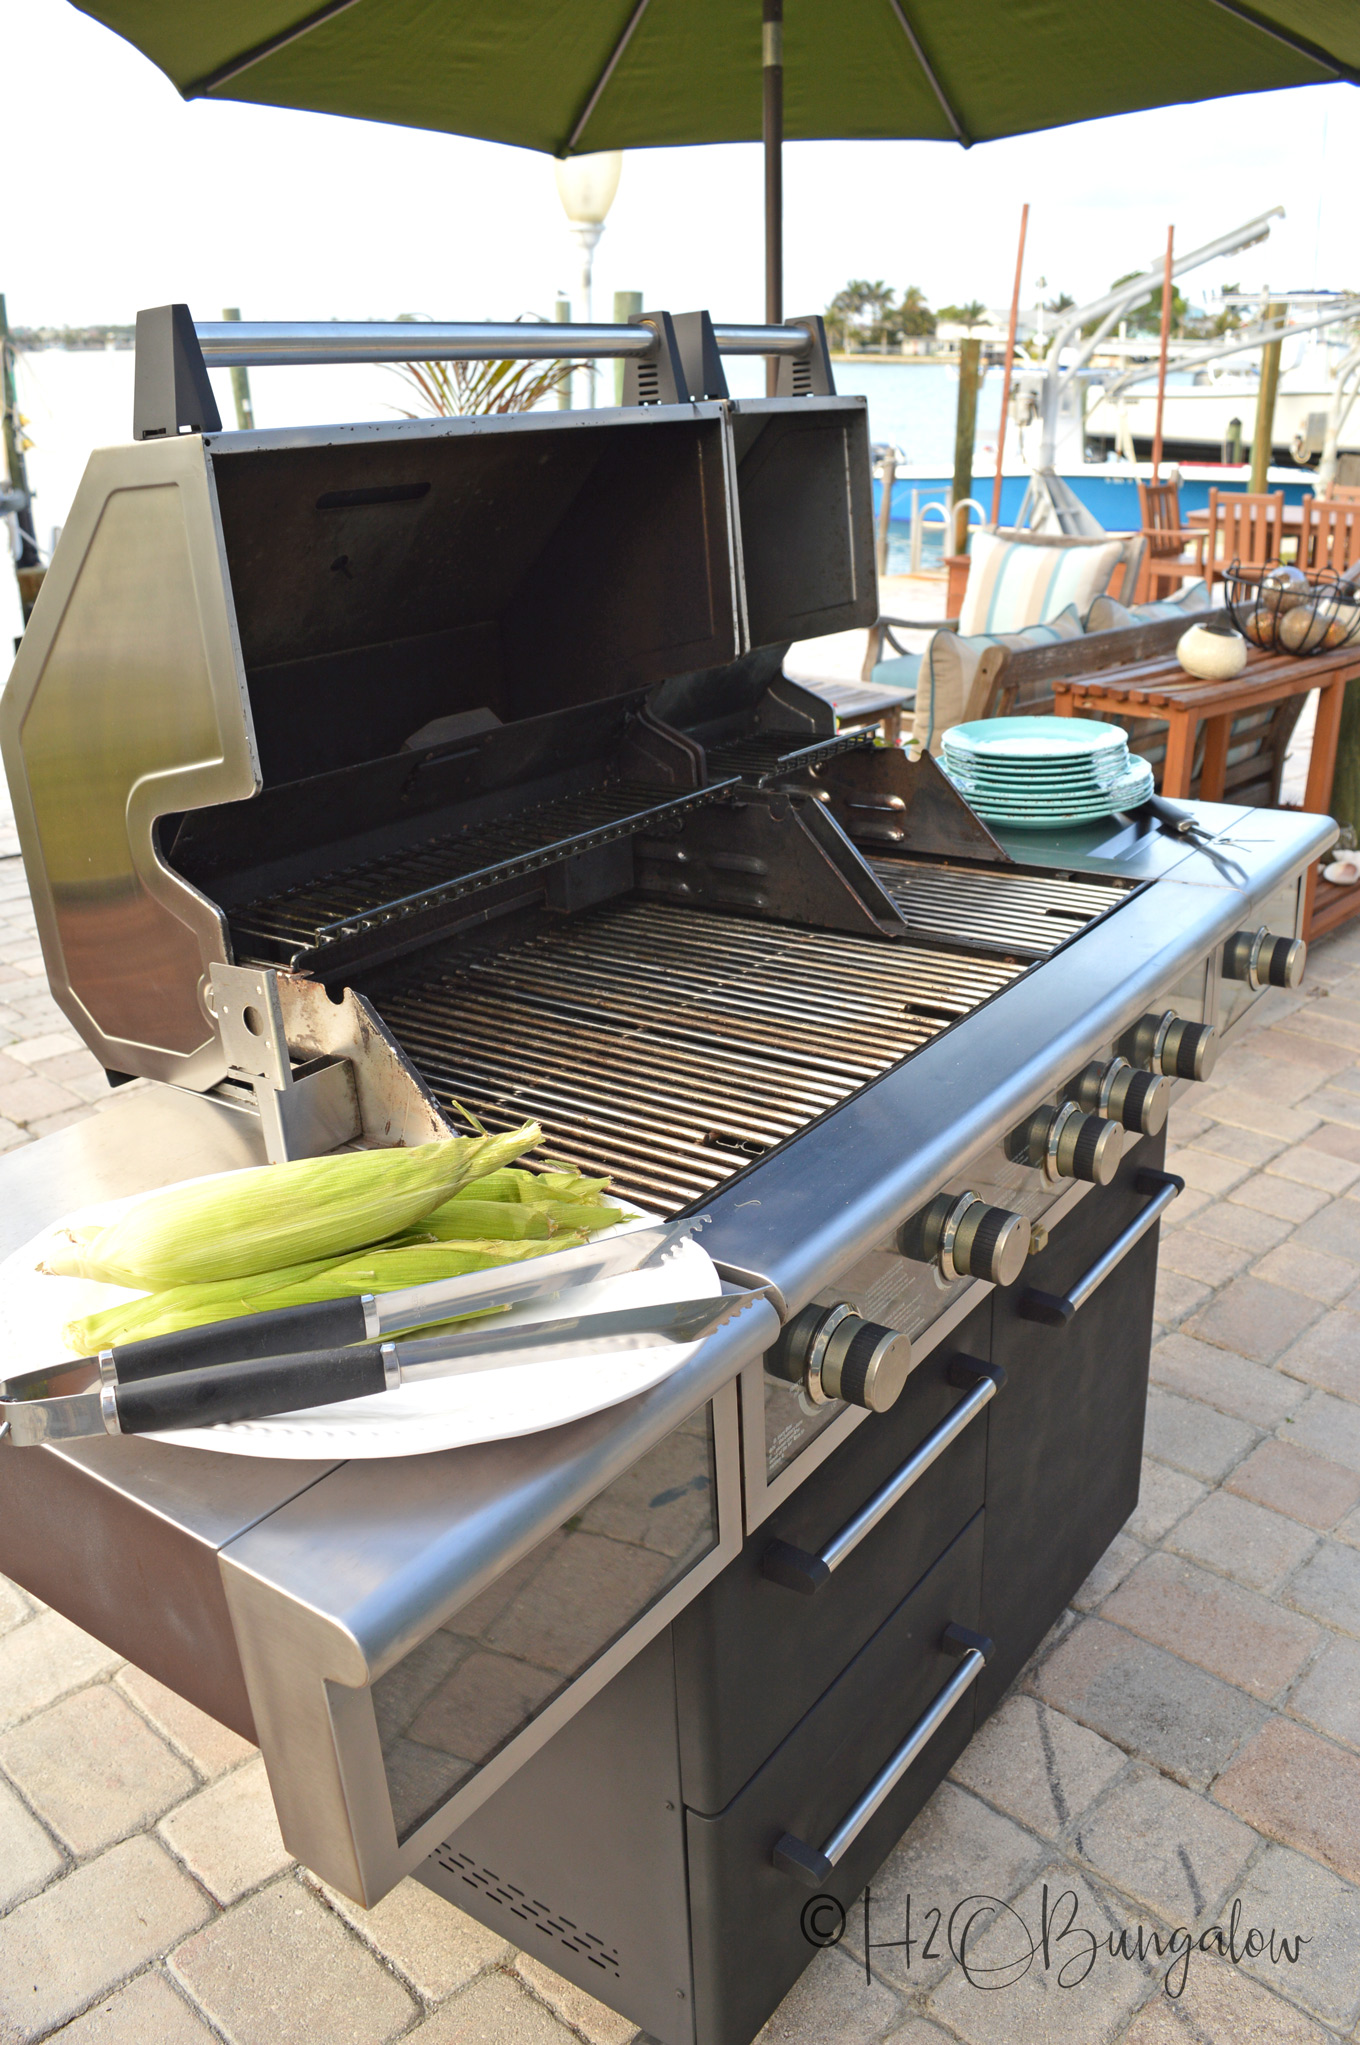
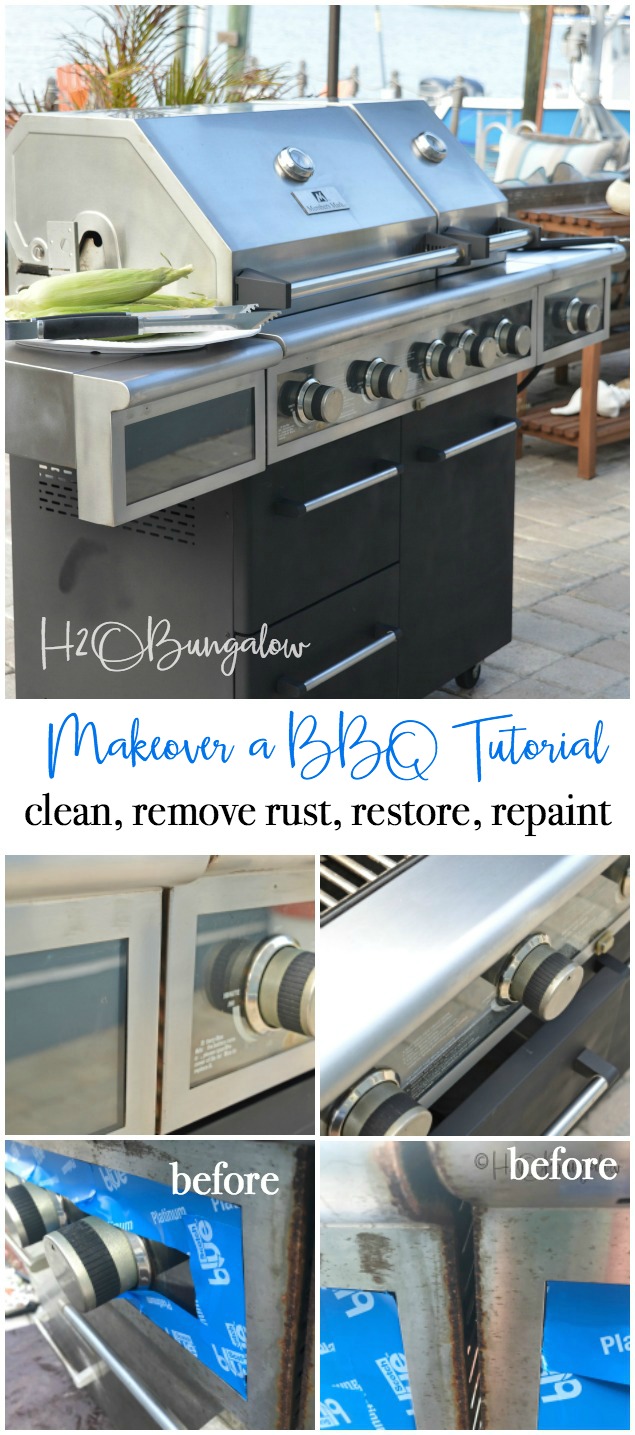
What a difference my barbecue grill makeover made!
Seriously friends, you’d never guess this grill was almost 10 years old, would you?
It turned out better than I expected and my grill makeover didn’t break the bank either.
My grill makeover was a biggie to check off my spring cleaning to do list. I’m ready for outdoor cooking and fun times with friends!
Remember what I started with?
Share how to makeover a barbecue grill tutorial on your Facebook page and pin it to Pinterest! Besides saving someone a heck of a lot of $$ over buying a new grill, renewing what we can is socially responsible. 🙂
In short, my barbecue grill makeover only took two steps. Start your barbecue grill makeover with a deep clean. Here’s my tutorial on How to Clean a Barbecue Grill Without Harsh Chemicals. Then follow the above steps to pretty up the exterior. You’ll be ready for outdoor cookouts in no time at all!
Sending out a big thank you to HomeRight for sponsoring this barbecue grill makeover post! Did you know you can find a whole gallery of DIY tutorials using the same HomeRight products that I use in my own tutorials? If you’re a social media fan, follow HomeRight on Instagram and Facebook too!
Do you have a funky old barbecue that’s screaming for a deep clean and makeover this year?

Erlene says
I love this makeover. I would never guess that this grill is 10 years old. I wonder if this paint would work on the outside top portion of the grill?
Wendi says
Hi Erlene, and thank you so much! Yes, the paint will work on the top (hot part) of the grill. That’s what it was made for actually, high heat BBQ paint. It will show a grill on the label if you’re looking for it. Originally, that was one of my ideas but after I figured out I could sand off the rust on the stainless steel, I went that route on our top. Have fun and I hope you find these tips useful on your grill too!
Diane says
Wow that is so impressive. Thanks for the tutorial. Will be starting on mine.
Wendi says
Hi Diane and thank you! There’s a dramatic difference in the before and after photo of my grill makeover. It’s even better in person. Have fun giving yours a refresh. It’s worth the work to start the grilling season out with a freshly cleaned grill that looks almost new! Thanks so much for your visit and note.
Sherry says
Wow! It looks like a completely different grill all cleaned up. Mine could really use a makeover.
Wendi says
Hi Sherry and thank you! It really does look like a different grill. Had I known it would turn out so well, I would have redone it a few years ago. At the very least, I think everyone should give their grill a good steam cleaning once a year. Thanks so much for your visit!
Linda says
Looks great! Sure was a lot of work, but so worth it!!!!
Wendi says
Hi Linda, Yes it was a lot of work and yes it was worth it! Actually I’m sure I couldn’t have cleaned it as well without the SteamMachine and the power of steam. I saved a lot over buying a new grill. Thanks so much for your sweet note and visit!
Nancy at Whispered Inspirations says
This is definitely the time to give your BBQ a makeover before it’s time to start grilling like crazy!
Wendi says
Hi Nancy! You are so right! This is the perfect time to get a jump on the season to be ready for outdoor fun. Especially with the big BBQ holidays like Memorial Day and the 4th of July! Thanks so much for your note and visit!
Reesa Lewandowski says
I would never have thought to do this! The after is amazing!!!
Wendi says
Hi Reesa, and thank you! I’ve been thinking about making over my grill fr the past 2 years. LOL.. I probably should have done it then and I wouldn’t have had so much work to do! Since grills are so expensive I’m thrilled cleaning and refreshing it worked out so well. Thanks so much for your note and visit!
Scott says
Next time consider a #000 or #0000 steel wool instead of sandpaper. It will remove the rust and polish it at the same time!
Wendi says
Hi Sam and great suggestion! I think the automotive sandpaper worked the same since the grit is different than wood type sandpaper. The steel wool is much easier to find though. Thanks again for sharing your tip!
Lois Christensen says
You did an amazing job. I didn’t realize you could paint the grill. Sharing with my hubby bc our grill is a mess.
Wendi says
Hi Lois! Thanks so much! Cleaning a grill is a messy job but so worth it! Plus it’s nice to know your starting the season off with clean grill. Lucky you to have a Honey Do in the house! LOL. Thanks so much for your sweet note and visit.
Toni | Boulder Locavore says
This is amazing! I love how it turned out! Thanks for the tutorial!
janis says
That is such an amazing grill transformation. With summer coming up along with BBQ season, I think I’ll be using some of your great how to get our grill looking like new.
Wendi says
Hi Janis! Thanks so much. I wasn’t sure how well the grill makeover would work. The end result blew away my expectations! Have fun with your own grill fresh -up. They are too expensive not to get as many years out of them as we can!
Heather says
Barbecues are expensive! Ours is in perfect shape as far as cooking, but could certainly use a makeover. Yours turned out so well.
Wendi says
Hi Heather! That’s what we had too. Our grill was dirty, but worked really well. It was not in the budget to replace it…besides why spend $$ sooner than we have to? Right? Have fun with your own makeover!
Kathy says
Wow, that turned out great. I just bought a grill last year, so ours is still pretty new. I’m keeping this in mind for when ours needs a makeover.
Wendi says
Hi Kathy and thank you! After going through the entire huge makeover process this year I’d definitely recommend and annual cleaning to keep it in tip top shape. Have fun this grilling season!
krystal says
This might sound crazy but I didn’t know you could “makeover” a grill! I like your technique. Ours needs a lot of work.
Wendi says
Hi Krystal! Nope, that doesn’t sound silly at all. I wasn’t sure how well my makeover would do but was willing to try to save the budget. This worked great. Next year, I’ll give it a good steam clean and refresh what I need to instead of waiting for it to be a monstrous task! Thanks so much for your visit and comment.
Vanessa says
These are some awesome tips. I’ll be sure to use them when ever we get our own BBQ one day. We don’t have a house, so we can’t get one yet.
Wendi says
Hi Vanessa and thank you! Yes, save these tips they work wonders! Thanks so much for your visit!
Jeni Hawkins says
Our grill definitely needs some TLC! We’ll start grilling next month, so I’m going to bookmark this page to reference it! Thank you!
Wendi says
Hi Jeni! Grills are expensive, especially good ones. Now that I know how easy it is to clean up and refurbish one I’d go this route too. Thanks for saving my tips!
Maria says
This is a great way to make it look brand new! Pretty outside porch area!
Wendi says
Hi Maria, Yes, I’m amazed myself at what a difference steam cleaning and and a little paint can make. The grill looks anything but 10 years old! LOL Now that I’ve made it look so good, I plan on keeping it in good shape! Glad you like my backyard. It needs some spring refreshing as well…it’s on the list! The long list of “to do” items! Haha! Thanks so much for your visit and sweet note 🙂
Ellie LaJuett says
Wow, lots of work! It looks awesome.
Wendi says
Hi Ellie! It was a bit of work, our grill was in horrible condition…but, I wasn’t ready to toss it in the trash pile. To be honest, I wasn’t sure how well this would turn out. I just figured I’d give it a try and anything was better than what I started out with. I’m over the moon happy with the end results! Thanks so much for your note & have a good weekend!