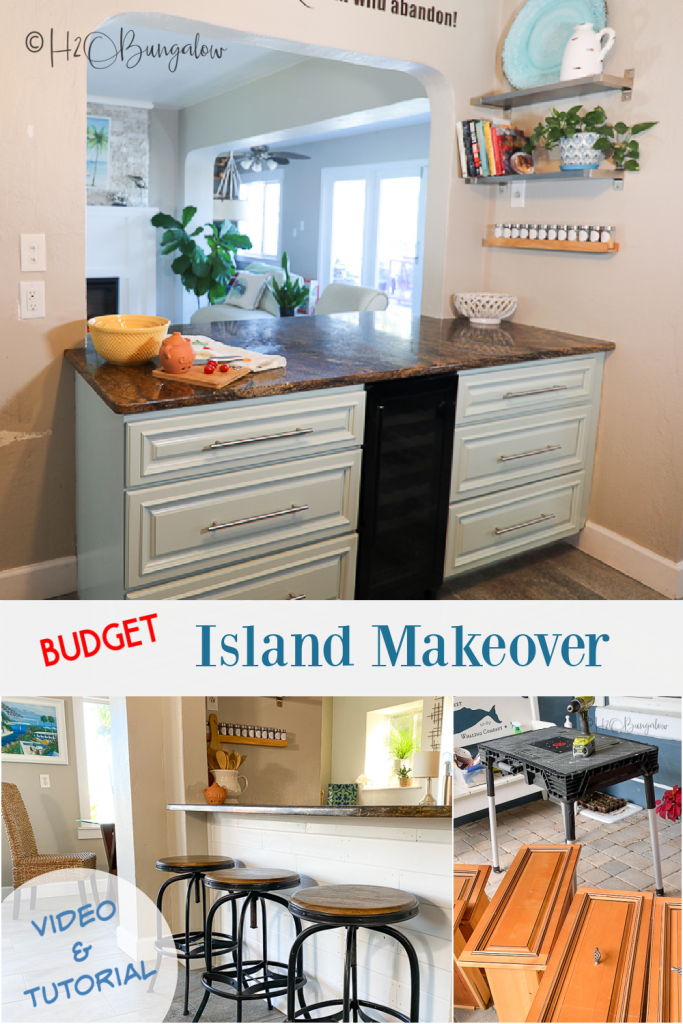
I can’t wait to share how to makeover a kitchen island on a budget with you guys! Take a look at the before and afters of my kitchen island and you won’t believe what a little paint and new wood trim can do! And I did all this for less than $123!
Sending out a big thank you to HomeRight for sponsoring this post! I also use affiliate links, as an Amazon affiliate I earn a fee from qualifying purchases at no additional cost to you. Thank you for supporting H2OBungalow!
Be sure to check out our new dining room table, our dining room has a whole new look!
For those of you who know me, I’ve him-hawed over painting my kitchen cabinets forever! Many of you have heard this on my Instagram on Facebook pages too.
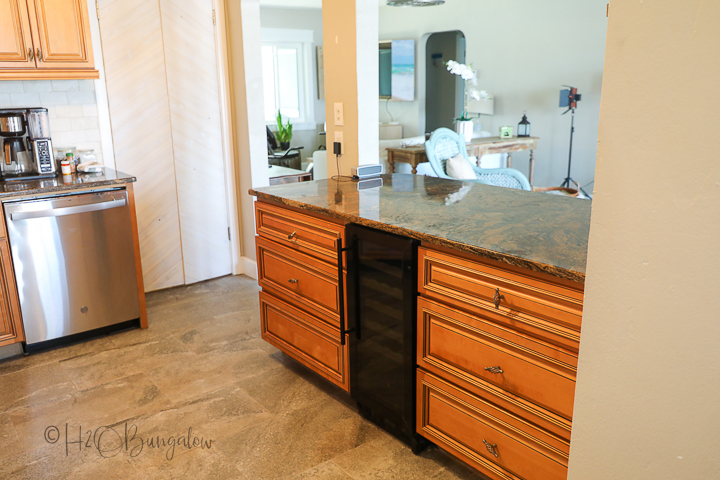
The kitchen island and cabinets are all in great shape but that orangey wood tone and the traditional style stuck out like a sore thumb in my coastal home.
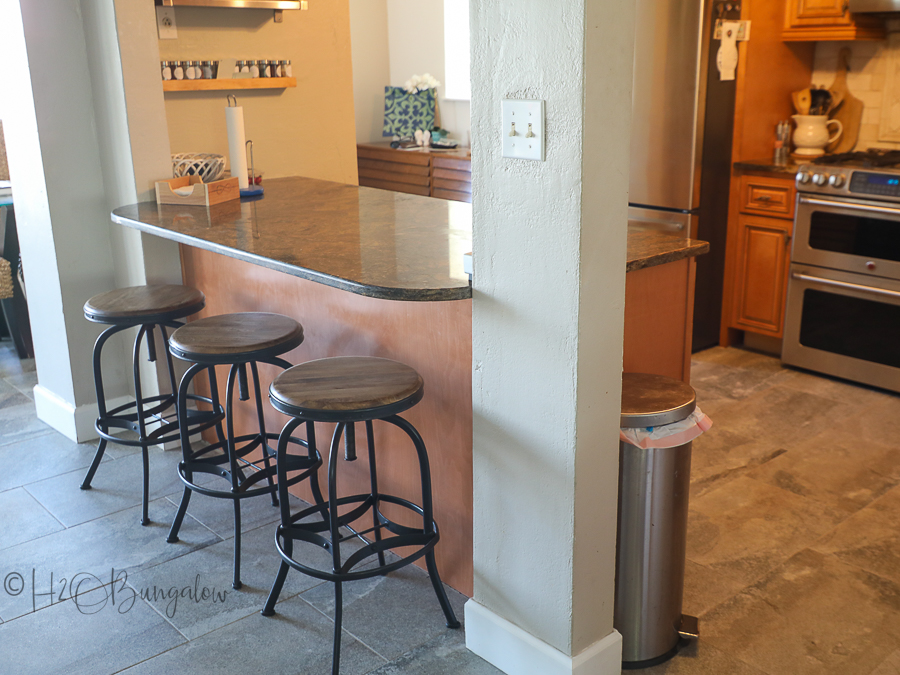
I decided to start small and update my kitchen island first before tackling the rest of my kitchen cabinets.
For more kitchen updates check out my Hollow Core Door Makeover On A Budget, my Organize a Pantry And Get More Space, how to Make A DIY Wood Spice Rack, and How To Make Wall Mounted Paper Roll Note Holder, my new dining table that I love, and my free-standing pantry cabinet!
Here’s how I did my budget kitchen island makeover for about $123 with enough supplies left over to finish the rest of the kitchen.
How To Makeover a Kitchen Island on a Budget
Supplies I used to makeover my kitchen island:
- HomeRight Super Finish Max Paint Sprayer
- Extra Paint Container
- Wagner large Paint Shelter
- Paint – urethane alkyd paint (water based)
- 12 5/8″ brushed nickel bar pulls
- 2” Paint brush these are my favorite brushes
- 4” Foam roller and tray
- Fabric drop cloths
- Masking paper – this one is a great deal!
- Painters tape
- Tack cloth – very good deal
- Painter’s rags
- Sanding block
- Sander
- Flexible sanding paper 150 – lasts a long time!
- Simple green
- Rubber stick on drawer bumpers
- Eye protection
- Respirator or face mask
Watch my video on how to makeover an island with paint and new wood trim.
Step 1. Remove everything from the kitchen island that can be painted with a sprayer.
Remove all the doors and drawers from the kitchen island. Take off all the and place in a container for later. If the drawer fronts come off of the drawer boxes, remove them too.
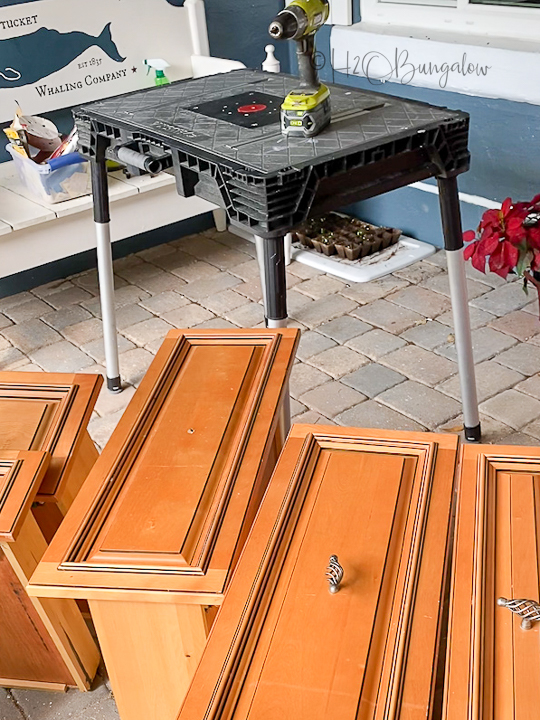
One of the best budget ways to update an island is changing dated hardware for trendier styles. I decided to change my hardware out for long bar pulls. This meant new drilling hardware holes. I filled the old holes with wood filler.
Step 2. Prepare all the surfaces for paint by sanding, deglossing and cleaning.
The best advice for updating a kitchen island and painting kitchen cabinets I can give is to do these next two steps thoroughly. The goal is to give the new paint the best surface it can have so it grips well and lasts a long time.
If you have a heavy layer of grease or food on your island wipe thoroughly first with Simple Green and again after sanding. If not, wipe after sanding.
Next, I sanded all surfaces that would be painted. Only a light sanding is needed to roughen up the surface for painting. Use an orbital sander with 120 or 150 grit sandpaper. Wrap a sanding sponge with the same grit to sand crevices and small spaces.
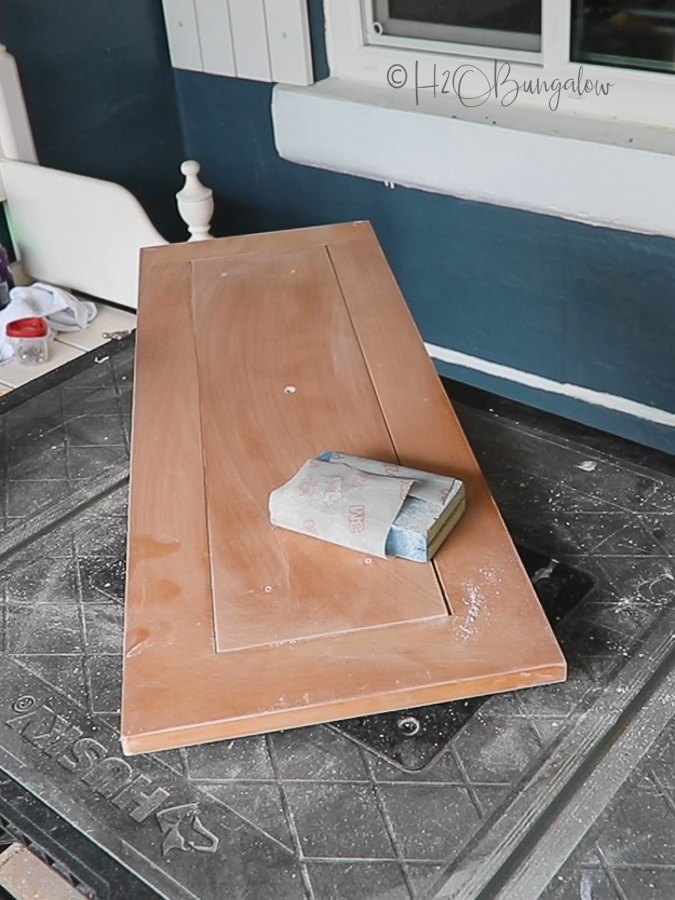
Clean the cabinets and doors and degloss at the same time with Simple Green and painter’s rags. Simple green is a good deglosser and you won’t need to rinse off the wood after. Spray and wipe as many times as needed to be sure all grease, food and any dirt is completely removed before painting!
Wipe everything well with a clean painter’s rag followed by a tack cloth just before painting to remove any last bits of dust before moving on to the next step.
Step 3. Apply two to three coats of water-based urethane paint to each side of the drawers, doors and the island base.
What is the best paint for kitchen cabinets and islands?
I researched the best paint to paint kitchen islands and cabinets to find one that dried hard like an oil based paint but was water based.
I started reading about urethane alkyd paints that are very durable and dry harder than latex. This newer type of paint is replacing oil based paints which are being phased out in many stores.
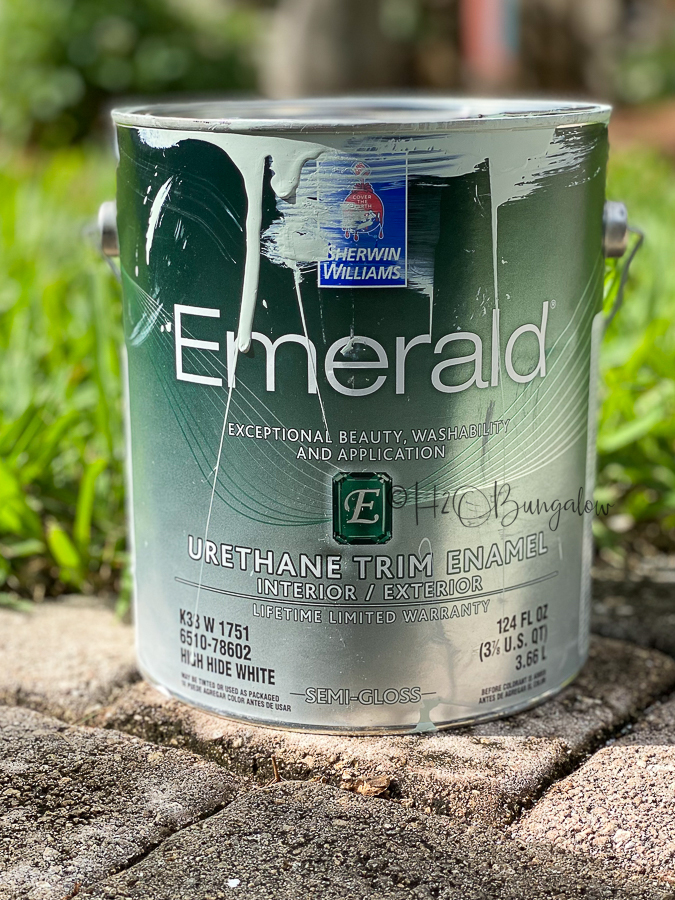
It’s kind of expensive but I only needed a gallon to makeover my kitchen island and have enough left over to paint my kitchen cabinets, so it was worth the money. Another great feature is that it sprays exceptionally well and can be rolled on to the cabinet bases.
Sherwin Williams had the best reviews on this kind of urethane alkyd hybrid paint. They were able to match the color I chose, Frosted Sage by Behr in a semi-gloss finish.
I should mention that I’m really picky about my paint finishes which is probably why it took me so long to commit to this project. Knowing I’d only be happy with a factory quality paint finish on my island I had to wait until I found the right paint that would last.
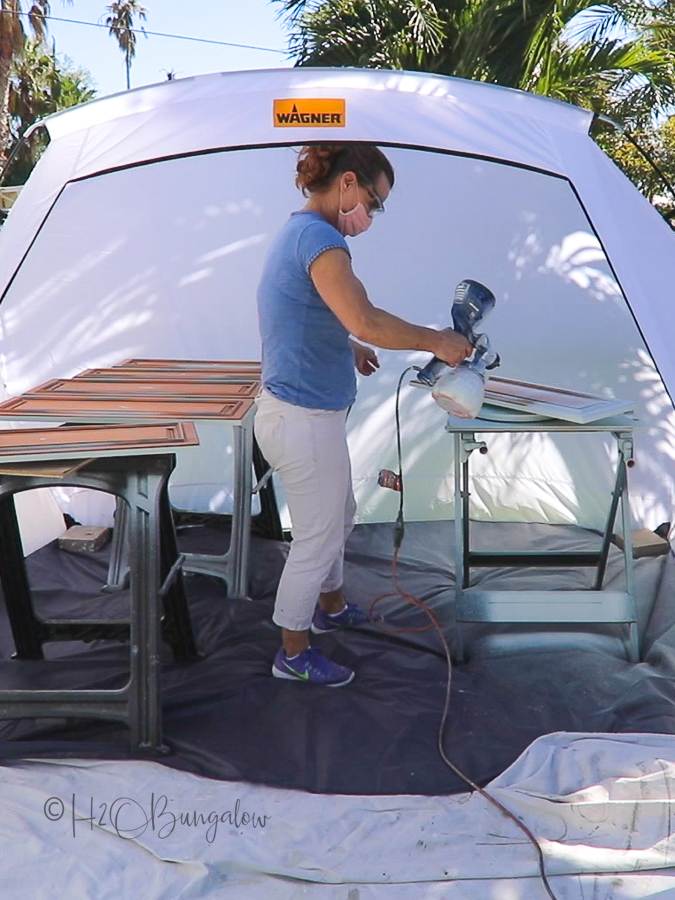
I knew the success of my kitchen island makeover was not just about choosing the right paint; the paint had to be applied perfectly also.
I used my large Wagner Spray Shelter and HomeRight Super Finish Max Paint Sprayer to get a professional quality finish on the doors and drawers. It’s simple to operate and easy to clean. You’ll see a demonstration of all the features and several good painting tips in my How To Makeover a Kitchen Island video above.
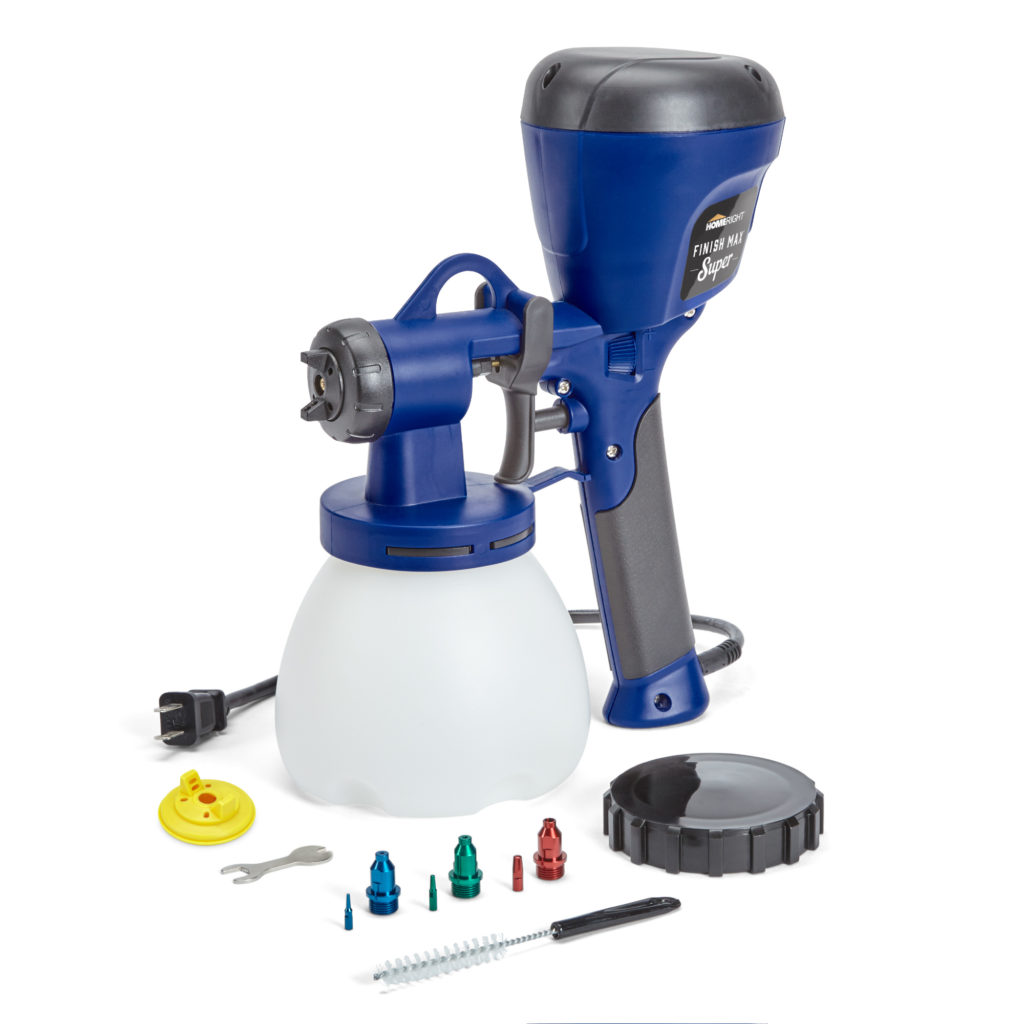
The basics:
- Use a Wagner Spray Shelter to protect the surrounding area from overspray and to keep dust off freshly painted surface.
- Figure out where you’ll paint and place everything to dry before beginning to paint.
- Elevate the items you’re spraying so the edges don’t touch the surface.
- Use a lazy-susan to spin cabinet doors and drawers when spraying to apply the paint evenly.
- Save time between coats of paint by spraying clear water through the Super Finish Max and setting it aside.
You’ll apply 2 -3 coats of paint on all the surfaces, allowing each coat to dry before adding another coat.
If you’d like to completely spray your kitchen island, doors drawers and cabinet bases, take a look at my video and tutorial in my How To Update Old Built-Ins and Cabinets.
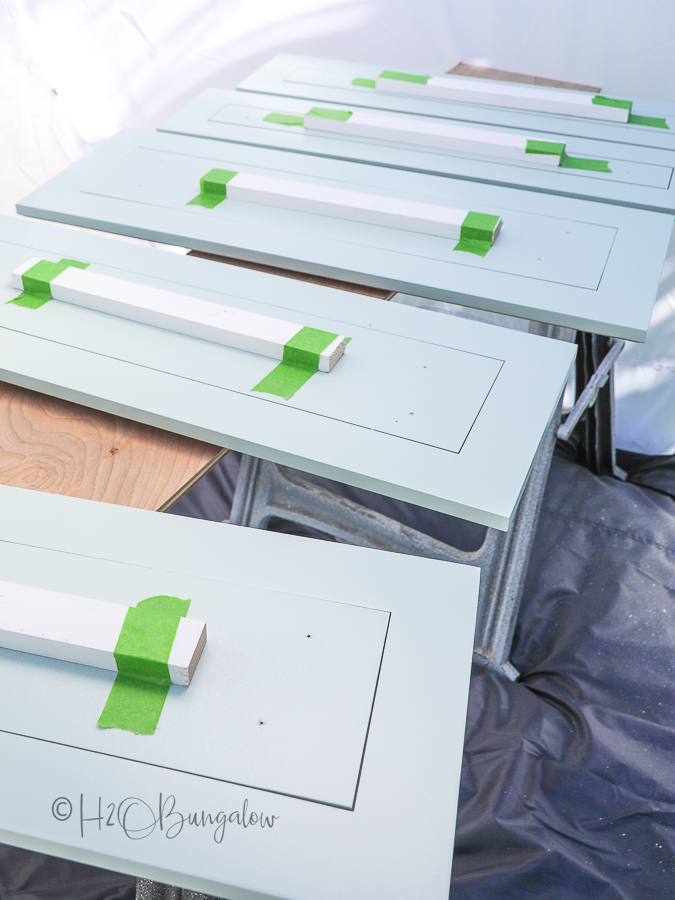
I painted the drawer backs first with two coats of paint, allowed them to dry, then taped wood pieces to the center where the drawer boxes would cover, flipped them over and painted the fronts.
This ensured no visible surfaces touched anything while drying. Plus, it made moving them aside to dry really easy after painting.
I know what you’re thinking that fresh paint and painters tape don’t mix!
You could never do this with latex paint, but the urethane paint was fine and no paint peeled off any of the surfaces, even letting them sit overnight!
Paint the kitchen Island base with a 4″ foam roller.
Work on the cabinet base of the island between applying coats of paint to drawers and doors.
Use a 4″ non-high density foam roller, it’s the best choice to apply paint to the kitchen island base. Protect the floors and surrounding areas first with painter’s tape and masking paper.
When you’re ready to paint, start by cutting in the edges first with a 2″ quality paint brush, then roll the rest of the paint on with the foam roller. Apply two to three thin coats of paint allowing each one to dry before applying another.
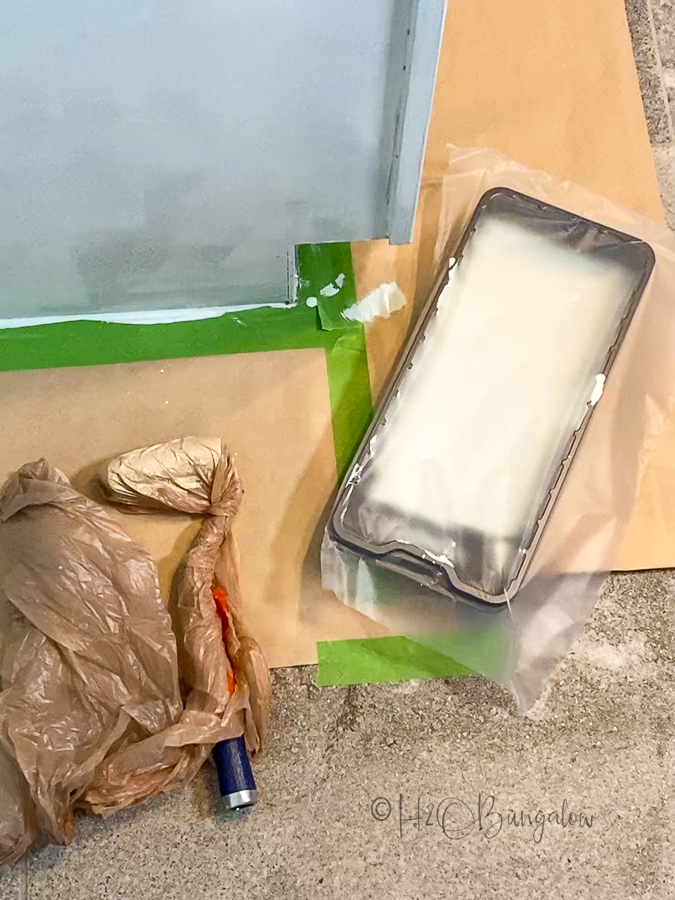
Tip: Between coats, wrap paint brushes in plastic bags and use Press’n Seal wrap on the paint tray to keep the paint from forming a film and drying out.
It’s important to remove the painters tape as soon as the island is dry to the touch.
Allow everything to dry overnight and let the doors and drawers sit for a few days before reassembling the kitchen island.
Step 4. Finish the island makeover with wood trim.

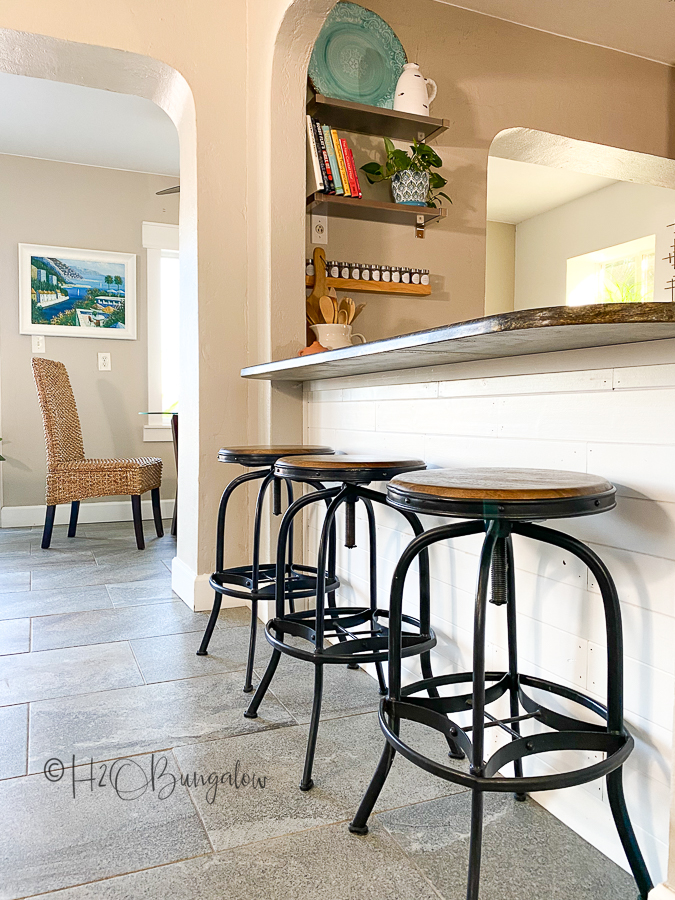
To finish off my kitchen island makeover I decided to add texture and use a lighter color on the front of the island. This is the part that faces the living room and where everybody seems to hang out.
Just like with my DIY Multi-colored Plank Wall project, I decided to use 3 1/2″ tongue and groove planks. They are inexpensive, really lightweight and easy to work with. They come in packs of 6 boards at 8 foot lengths for about $20/pack. You can find them at your local home improvement store.
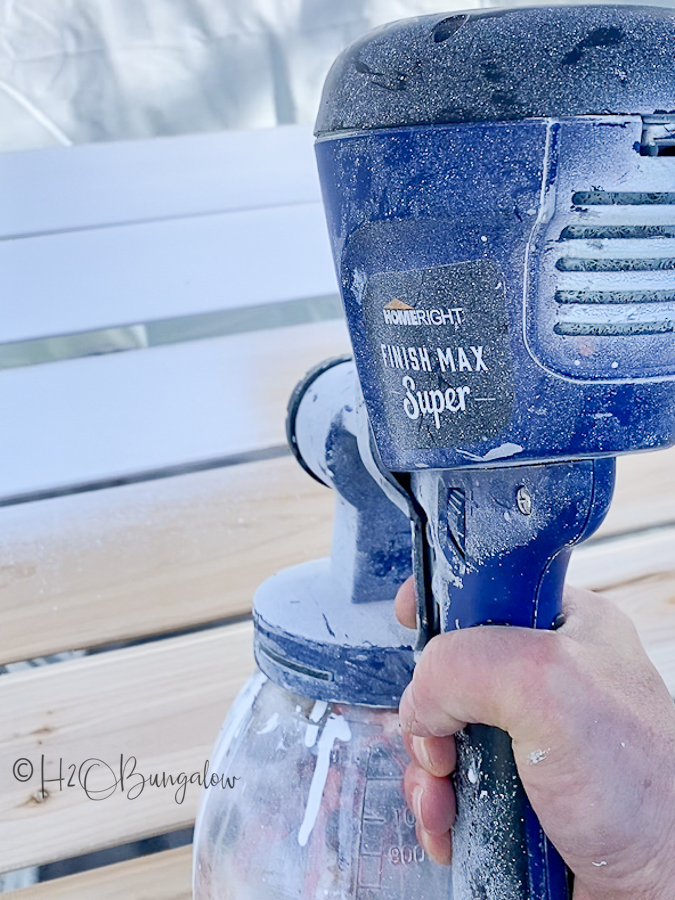
I applied two coats of white latex paint in a semi-gloss finish to the front of each plank with my Super Finish Max paint sprayer.
How to add wood trim to the front of the island.
The wood planks were cut into 21 1/2″ sections and attached in an alternating pattern so each seam lined up in the middle of the row above and below’s center plank. The end pieces were roughly 10 1/2″. The first 10 1/2″ piece was always precut in a row. I didn’t cut the last one until I was ready to attach it since our walls (like most old houses) are crooked. So some were a tad larger than others.
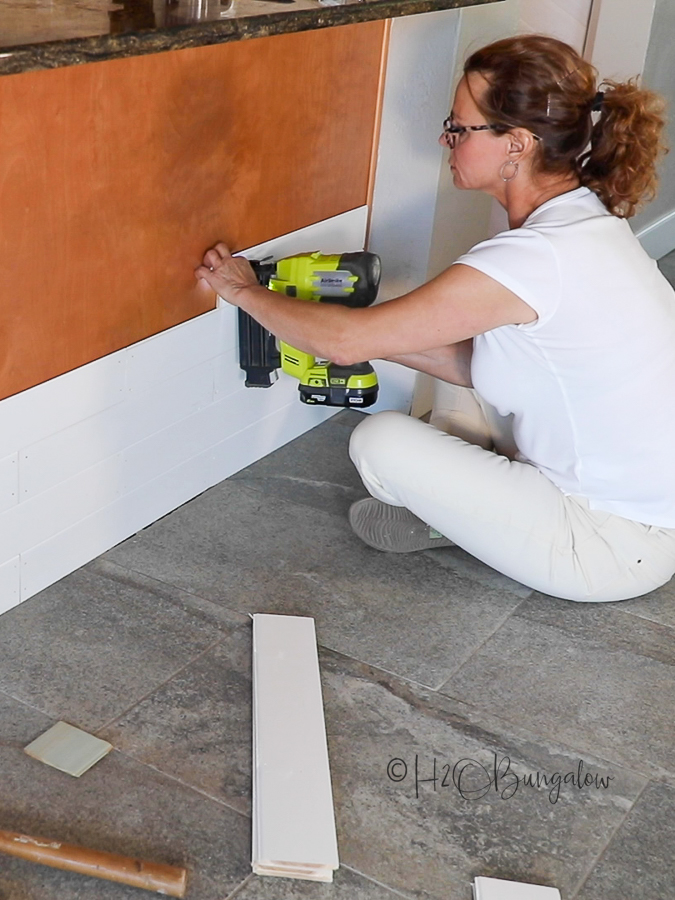
Start at the bottom of the wall next to the floor and add the first row of wood planks and attach with a brad nailer using ¾” brad nails. Once all the planks were on the island base I used 1″ lattice trim around the sides and top to cover any gaps.
The next step is optional, depending on your tastes. Caulk the outer edges and fill in the brad nail holes, Add a little touch-up paint to cover the caulk.
Step 6. Add new drawer pulls.
Crooked or mis-aligned drawer pulls will ruin a project!
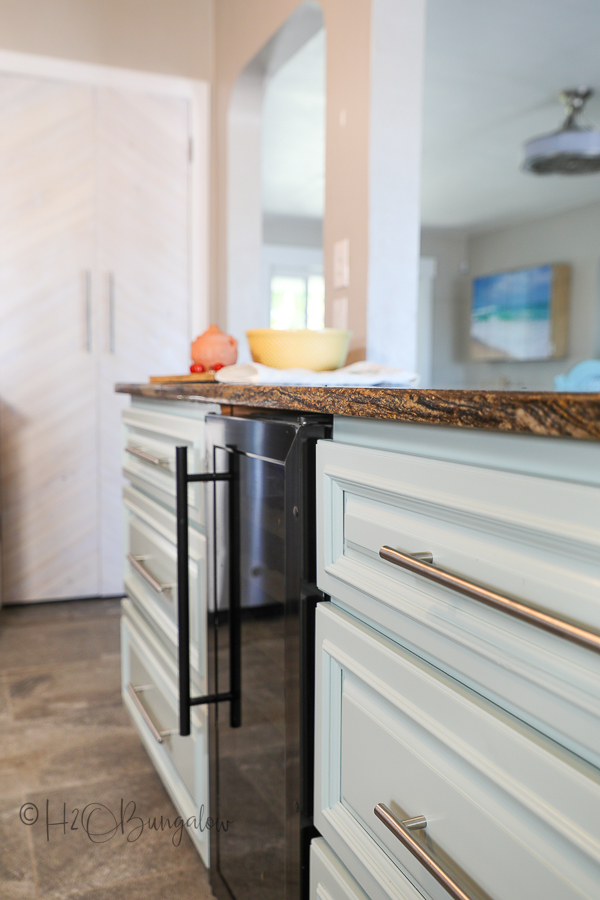
Changing the old drawer pulls for long bar pulls made a huge difference in my kitchen island makeover. You’ll see in my video how I used a Kreg Jig to line up the long bar pulls perfectly for each drawer.
Step 7. Reassemble kitchen island doors and drawers.
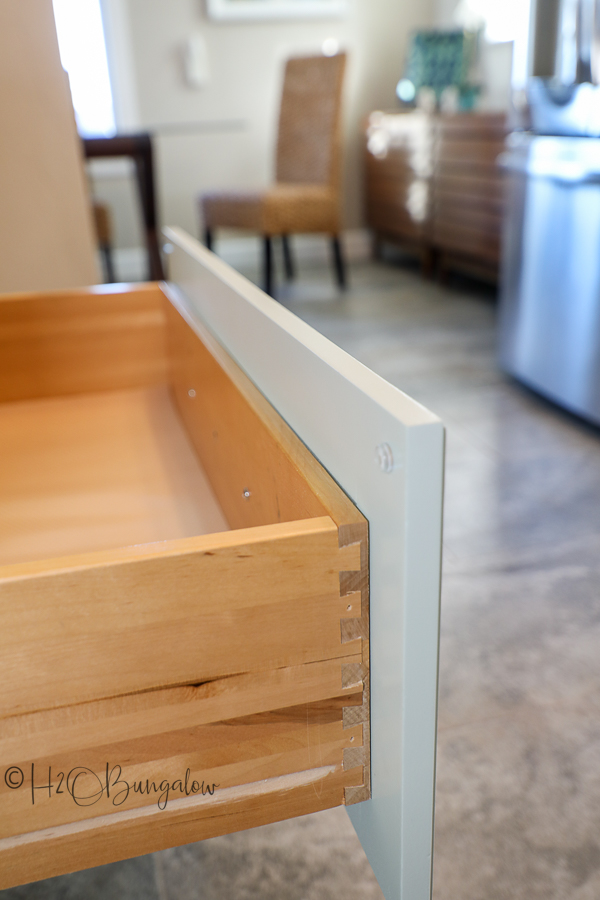
Put the kitchen island doors and drawers back together and back into the island. Place new stick-on rubber bumpers on the cabinet doors and drawers so they close quietly.
This will also help the paint by not having surfaces touch and rub together.
Pin my project: How To Makeover a Kitchen Island on a Budget now and share with your friends on Facebook!

Yes, this tutorial is long, but don’t let the details scare you!
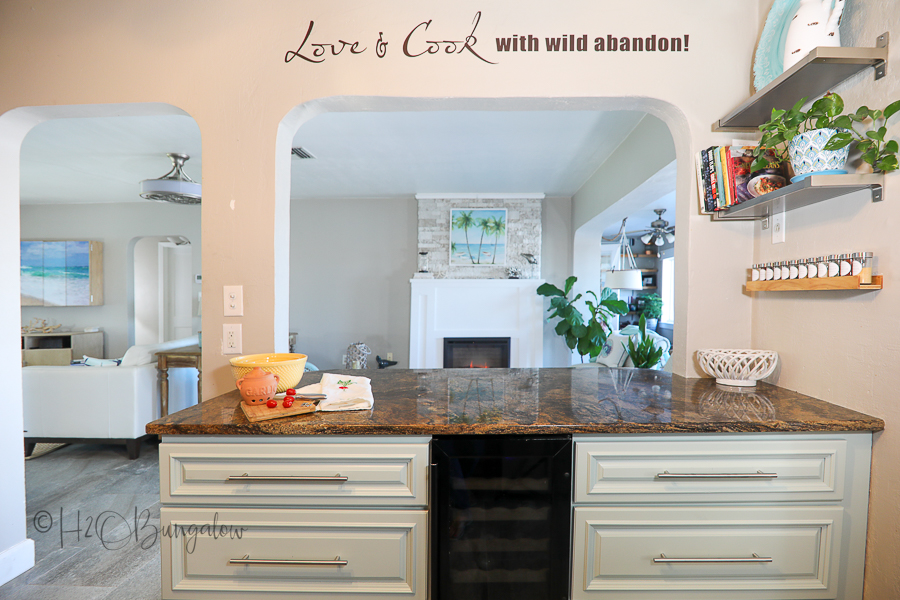
I wanted to share all the details in how to makeover a kitchen island so you’d feel confident that you could do it too!
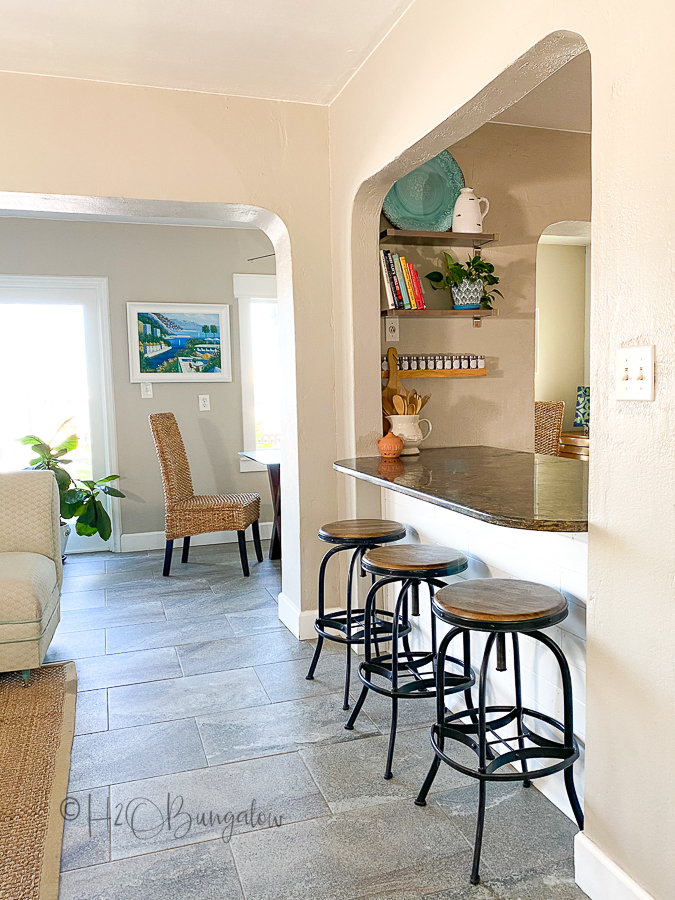
When I’m ready to tackle the rest of my kitchen cabinets I’t will be just like my island makeover. I’ll use my Super Finish Max paint sprayer with my Wagner paint shelter and urethane paint. Follow the same steps I used in this makeover and my kitchen will finally be done!
Want to see what else you can do with a HomeRight Super Finish Max paint sprayer? Take a look at the many project ideas HomeRight has on their website.
You’ll also find loads of project ideas and inspiration when you follow HomeRight on Instagram!
