Today I’m sharing how to paint over dark stained wood and update old furniture with paint. Styles have changed dramatically over the years and often, that leaves us hanging on to an old favorite piece of furniture that doesn’t fit into current decor styles. For this furniture update, I used a friend’s dark wood vintage tables and gave them new life with a fresh coat of paint. I’ll show you how to paint over old dark stained wood, tips for sealing wood before painting to prevent bleed through, and lots more in this week’s project.
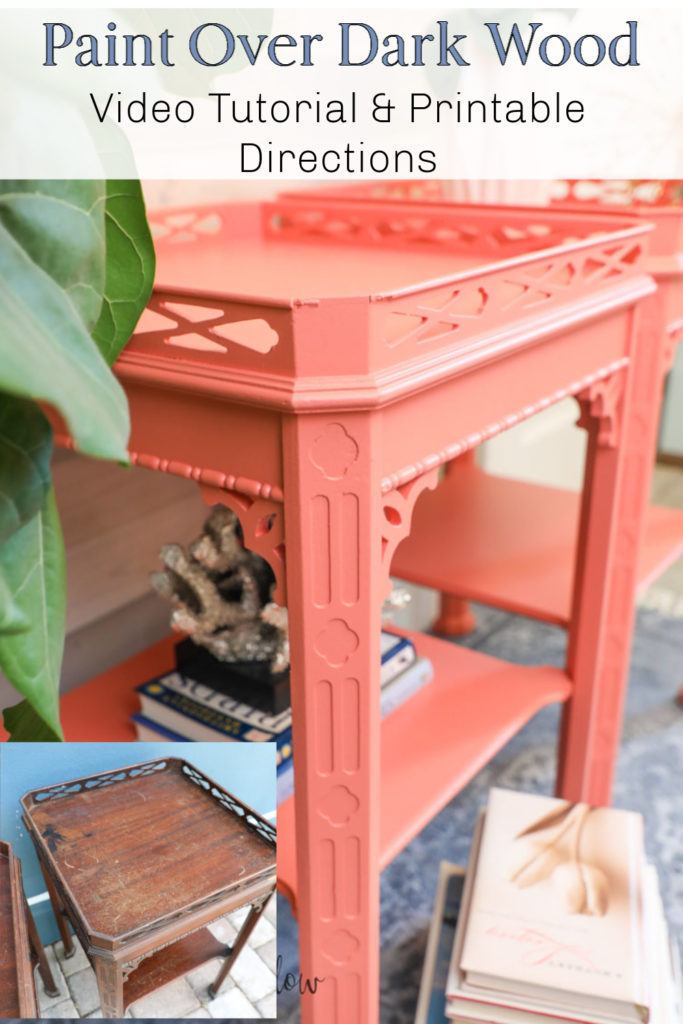
Painting a light color over dark stained wood isn’t hard if you follow a few steps first. I’ve made a video of how to paint over dark stained wood to show you the steps I took in this vintage furniture makeover.
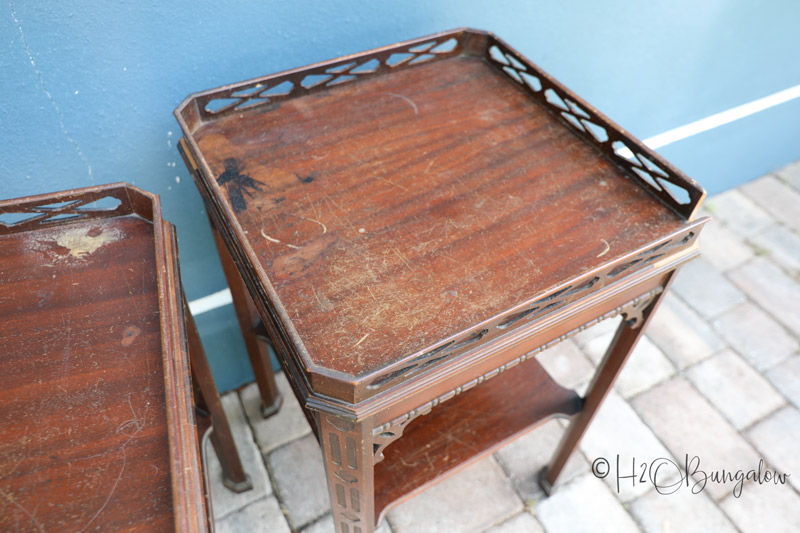
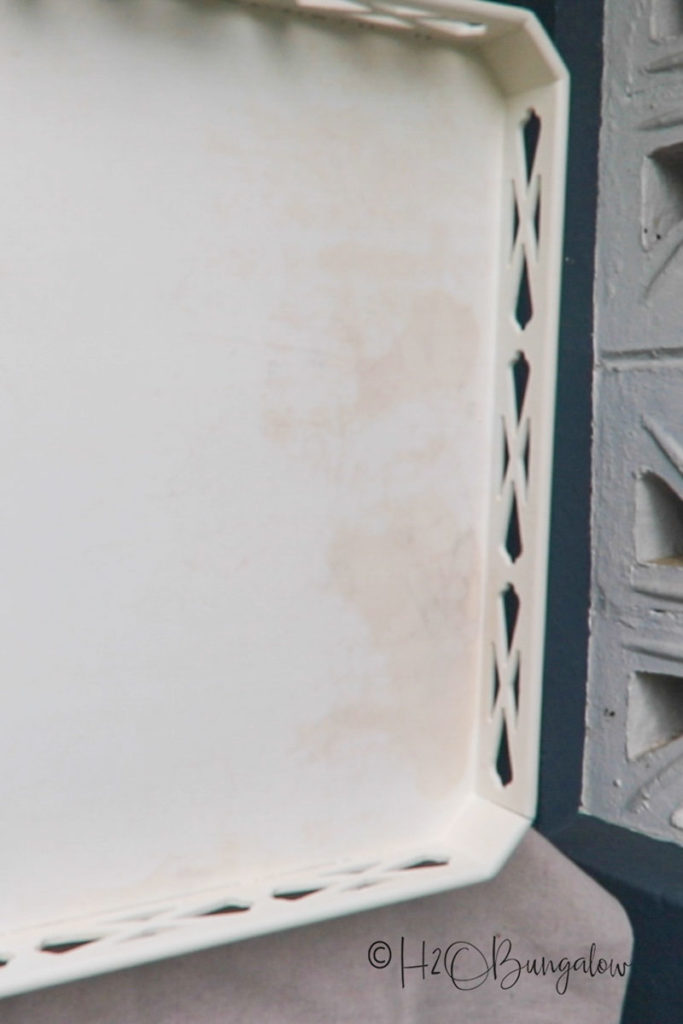
This is what the tables looked like before I painted them. There’s no shame in painting over old furniture when it’s in really bad condition. These tables had been well loved and they still were loved. I can see why. They have a unique and beautiful shape!
The only challenge I had was painting over the old dark wood without bleed through of the tannins that naturally occur in wood.
Did it work? Read on and see for yourself!
How to Paint Over Dark Stained Wood
Sending out a big thank you to HomeRight for sponsoring this post. This post also contains affiliate links, as an Amazon affiliate I earn a fee from qualifying purchases. Thank you for supporting the brands that keep H2OBungalow going!
Supplies needed for this vintage furniture makeover.
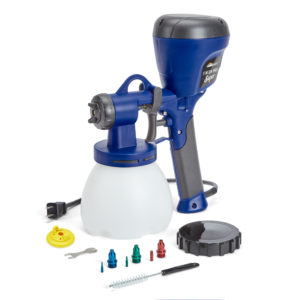
- HomeRight Super Finish Max paint sprayer
- Extra Super Finish Max paint containers
- Wagner Medium Paint Shelter
- Paint, I used 50% mix of Sherwin Williams Ravishing Coral and Quite Coral
- Quality paint primer
- Simple Green
- Painter’s rags
- Sander
- 120 or 150 grit sandpaper
- Safety goggles fit over prescription glasses
- Respirator
Take a peek at my video of how I updated old dark stained wood tables. Even if you don’t use a paint sprayer, you’ll find lots of useful painting tips for your own vintage furniture makeovers.
Follow Me On YouTube!
Step 1. Repair
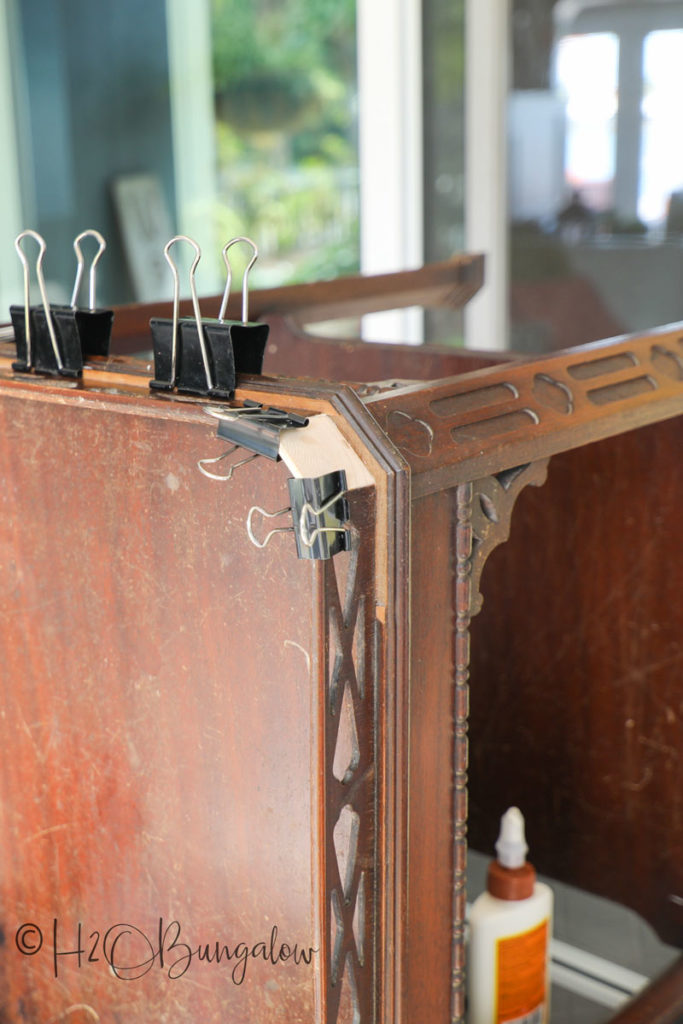
The first thing you want to do is repair any missing pieces or loose trim before painting. Use wood glue and wood putty where needed. Metal office binder clips work great to hold intricate pieces in place while the glue is drying.
Step 2. Sand if needed
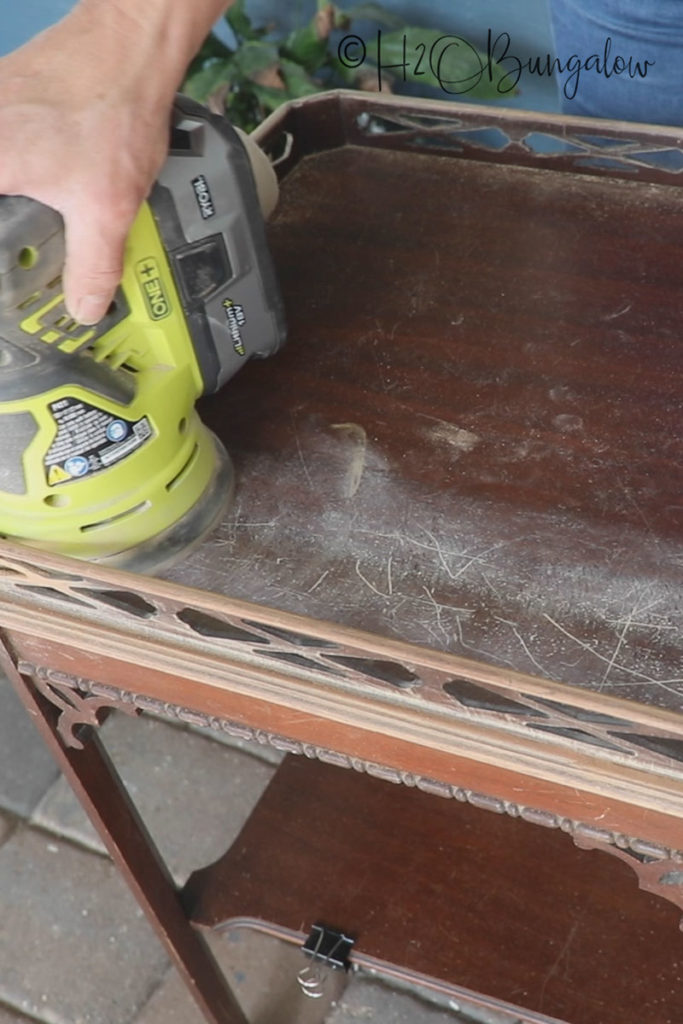
Lightly sand flat surfaces if there are deep gouges in the wood. I sanded the tabletops and shelves with a random orbital sander and 120 grit sand paper. You’ll be able to feel when the gouges are gone by running your hands over the area you’ve just sanded.
If needed, lightly sand other surfaces like the edges of the trim and top of the table’s fretwork to be sure it’s smooth also. I did this by hand with a sheet of sandpaper folded over. You won’t need to do this unless the old finish is flaking or loose.
When you’re done, wipe well or if you have a shop vac it helps to go over your furniture piece to remove as much sanding dust as you can before moving on the the next step.
Step 3. Degloss
Deglossing and cleaning your dark wood furniture before painting is really important. This step prepares the dark wood for painting. Done properly, the paint will have a good surface to adhere to and last a long time.
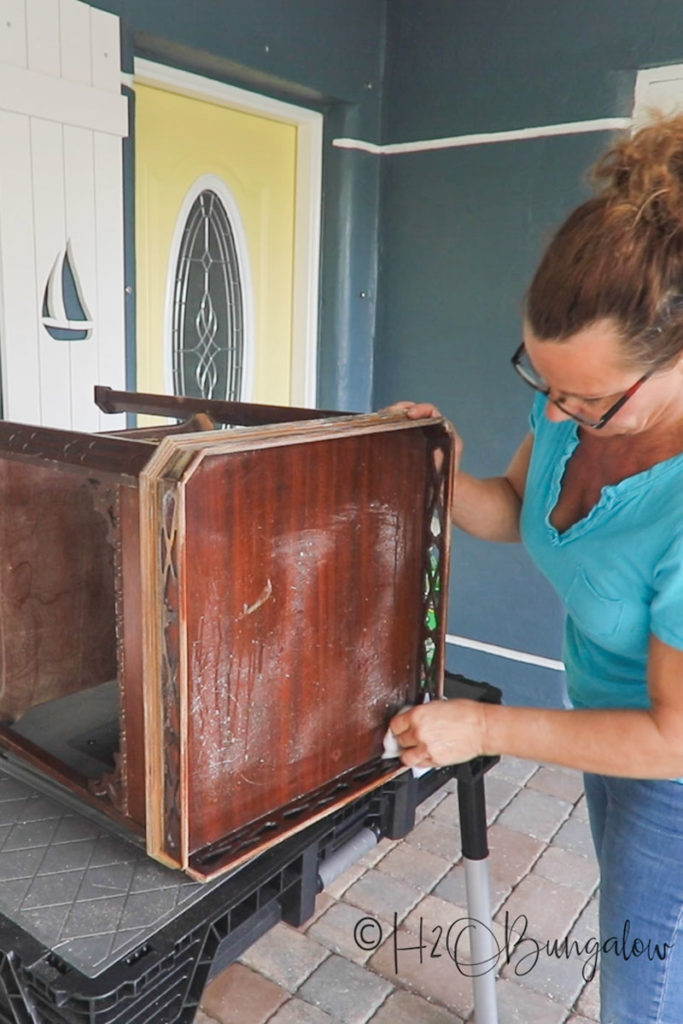
Use Simple Green and clean cotton painter’s rags to degloss all of the surfaces thoroughly. This not only get years of dirt off, it takes the shine off the old finish and prepares the surface so the paint will stick to it.
Be sure to get all the nooks and crannies.
Step 4. Apply two coats of primer
Dark wood or stained wood furniture is notorious for tannins bleeding through new and light paint.
I used a water-based Gripper Primer first. Two other good primers are STIXX or Zinsser. Spraying inside fretwork and cutouts can be challenging and lead to dripped paint if you paint over the same place too long while trying to get these areas painted.
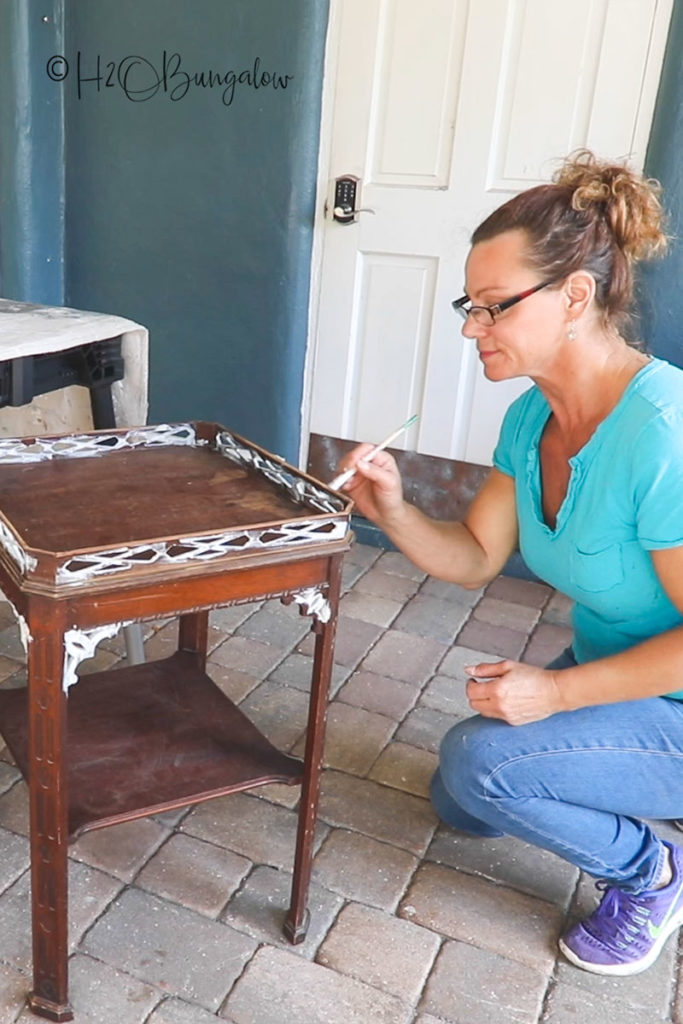
My solution when painting vintage furniture with a lot of detail is to pre-paint the fretwork. I used an artists brush to apply a coat of the primer inside all of the fretwork.
Be sure to check over your pieces from all angles when pre-painting intricate cut outs so there are no missed areas.
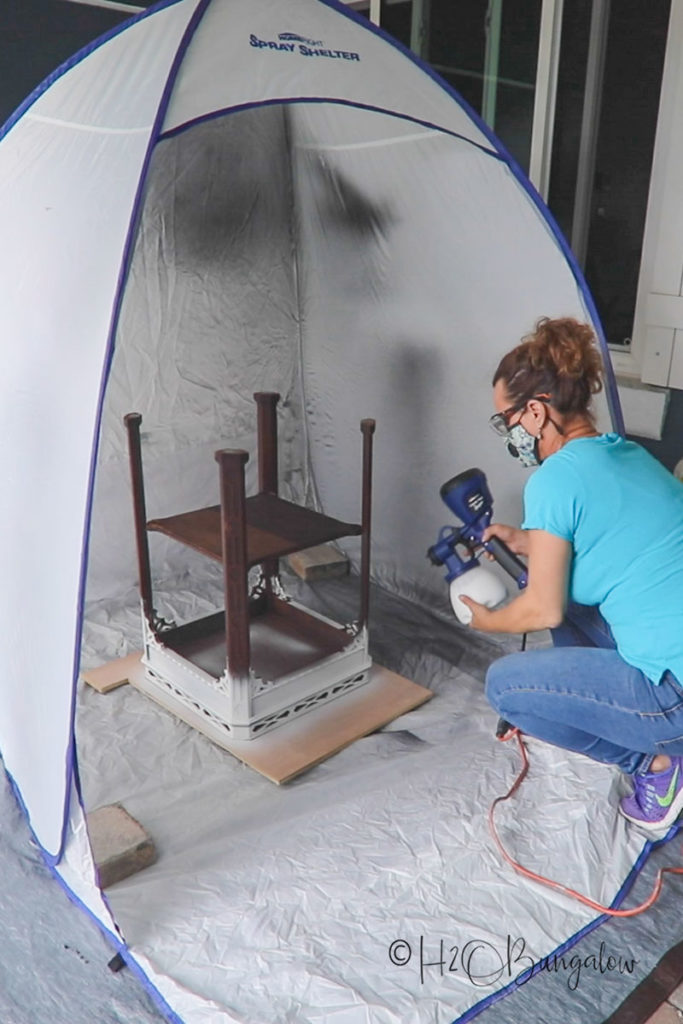
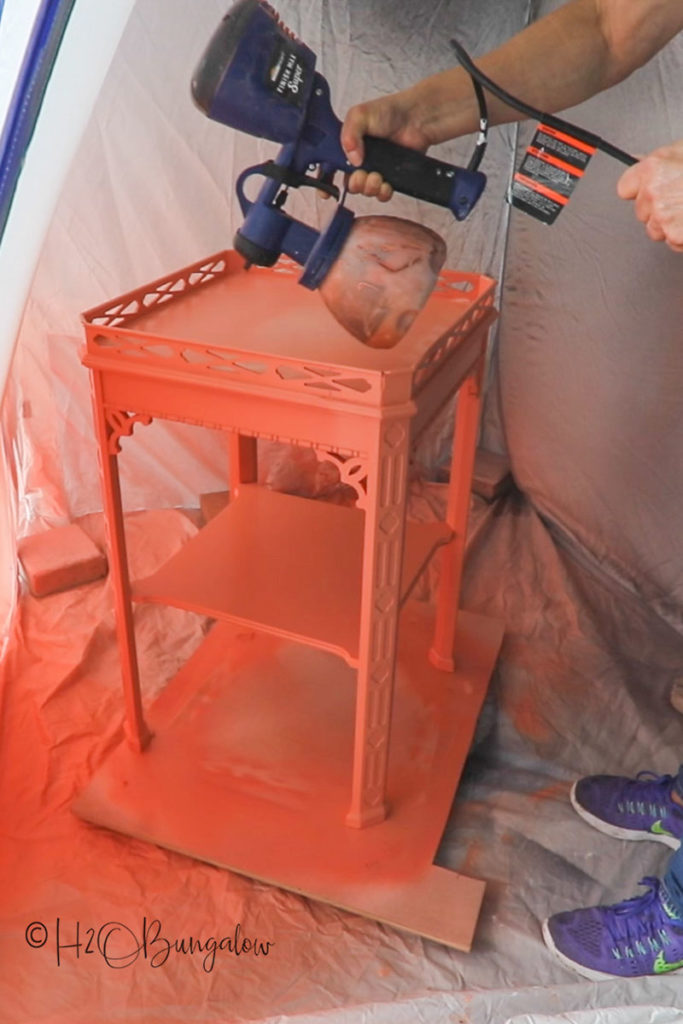
Next, you’ll prepare the primer to paint the rest of the furniture piece. I diluted my primer with water until I had the consistency of a runny pancake batter and applied it using my Super Finish max paint sprayer.
Watch my video to see how I set up my paint area to protect it from overspray and use my paint sprayer.
Apply two coats of primer allowing each one to dry before applying the next coat.
Step 5. Apply two coats of paint
Plan on giving your furniture two coats of paint in the same way as the primer was applied. I started just like I did with the primer by hand painting the fretwork detail.
There are a lot of steps to painting over dark wood furniture and it can be time consuming. But, it’s so worth the time and effort!
You can see the piece I made where the corner was missing. It’s not perfect but still looks better than it did before I started.
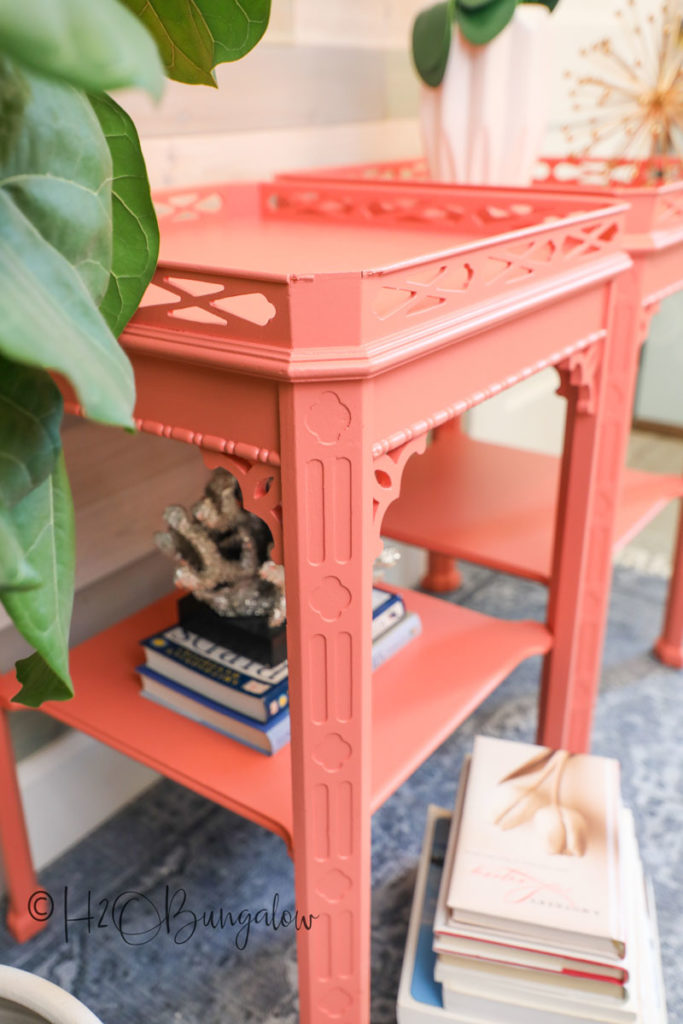
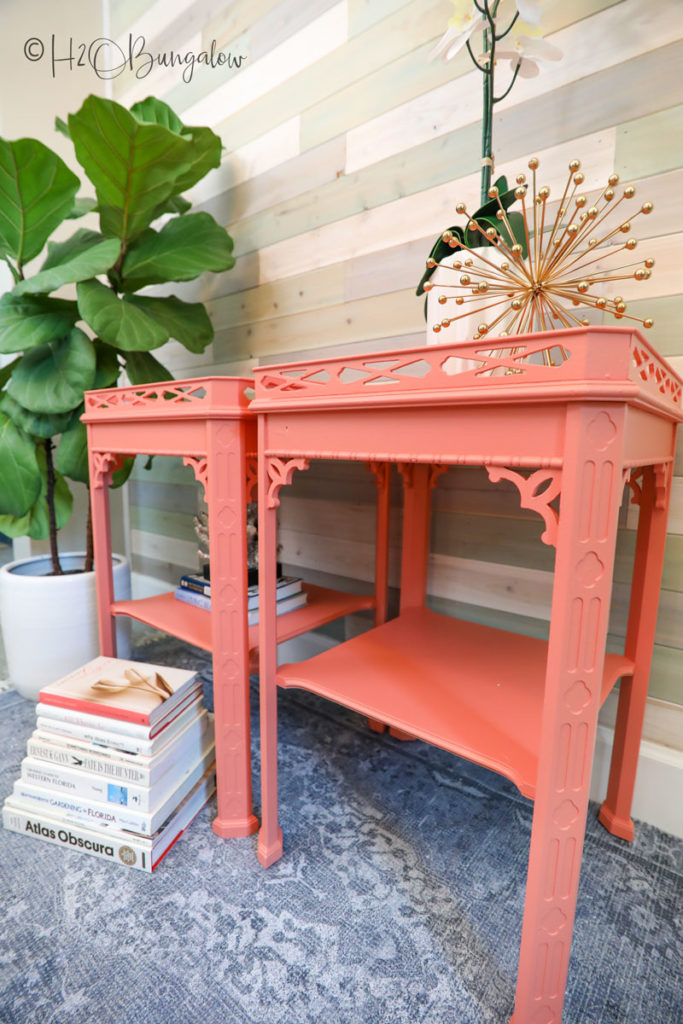
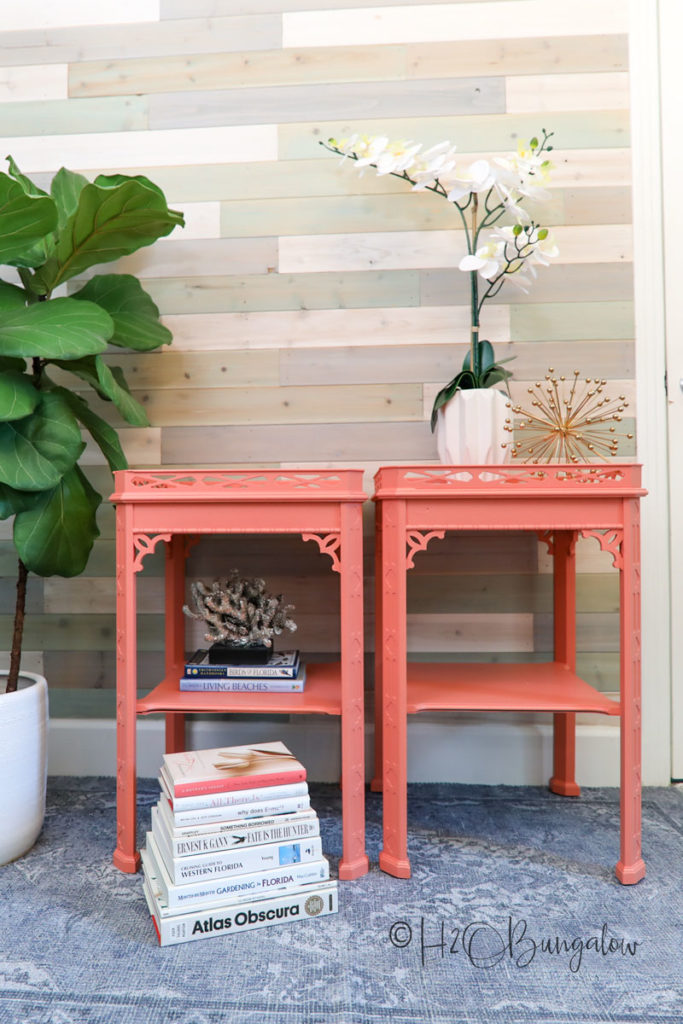
Painting the fretwork first by hand was a good choice for this vintage table makeover. My Super Finish Max paint sprayer gave this table a beautiful and perfect finish with no brush marks or drips anywhere.
Don’t forget to pin how to update old furniture with paint and share my project with your friends on facebook!

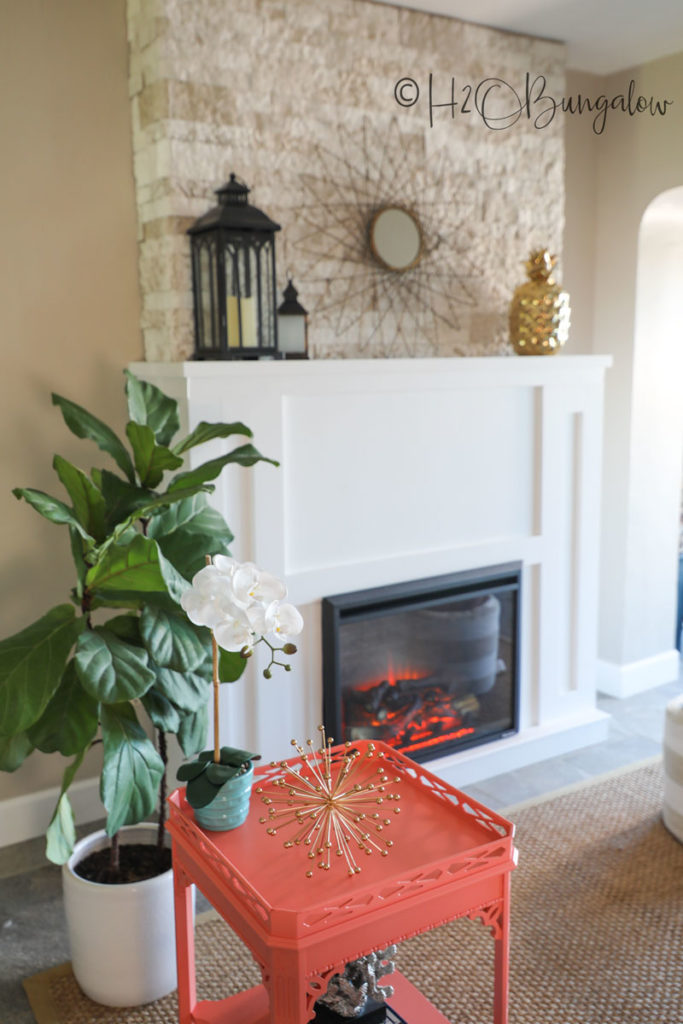
I had a fun time with these tables staging and taking photos. Too bad I had to hand them back to my friend! She uses them as nightstands. Can’t you imaging how beautiful they must look next to a white bedspread and colorful throw and pillows?
Now that I’ve shared how to update old furniture with paint and how to paint over dark stained wood are you ready to tackle a vintage furniture makeover too?

Stacy Risenmay says
Tha coral clor is gorgeous! And I agree, the HomeRight sprayers are the way to go!
Wendi Wachtel says
Hi Stacy!
Thanks so much! I loved that coral color as soon as I laid eyes on it. It really makes the fretwork of the tables stand out. Not a bad makeover for free tables found on the side of the road! Thanks so much for your note and visit!
Cathy says
I can’t find How to Strip Paint Off Furniture And Kitchen Cabinets Part 3. Don’t suppose you can send to me?
Wendi Wachtel says
Hi Cathy!
I hope you were asking about the post on How to Strip Paint off Cabinets part 2? There isn’t a part 3! Just the part 1 and part 2. I hope the part 2 answered your questions. Here’s the part 2 in case you didn’t find that one. https://h2obungalow.com/how-to-strip-paint-off-furniture-and-kitchen-cabinets-part-2/. Have fun with your project and let me know if you have any questions!
Donna says
Wendi, these night stands turned out great. And you did an excellent job on your how-to explanations too. It was easy to understand and why each step you went through
Wendi Wachtel says
Hi Donna!
I’m so glad you liked my tutorial and it had useful information! These little tables has so much potential and were too cute not to give them an update. Thanks so much for your note and visit!
Linda Johnston says
Wendy, what a great job to make these older classic side tables so beautiful!
Wendi Wachtel says
Hi Linda!
Thank you so much! I’m so glad you liked the tables. I can see why my friend fell in love with them, they have gorgeous lines. It’s such a good way to update an old favorite. Paint works wonders! Thanks so much for your sweet note and visit!
Jody says
My goal is to get my worst hip replaced so I can gain mobility. Then I am going to go shopping. At Home Depot. Saw, screwdrivers, paint sprayer. And tent to do it in. And then watch out world. I’m back. Of course need the dry eye to heal so I can see.
Wendi Wachtel says
Hi Jody!
Wishing you the best of luck on your hip and recovery! Yes, painting furniture is awesome for DIY projects and budget saving too! Thanks so much for your visit and note! Take care of yourself!
Elise says
Great Tutorial Wendi,
These tables came out amazing, and I love the pop of color in your home, especially against your pallet accent wall!
Wendi Wachtel says
Hi Elise!
Thank you so much! The color was a bit bold but it was a good choice, especially since it really highlights all of the gorgeous details of the tables. What a find! Thanks so much for your sweet note and visit!