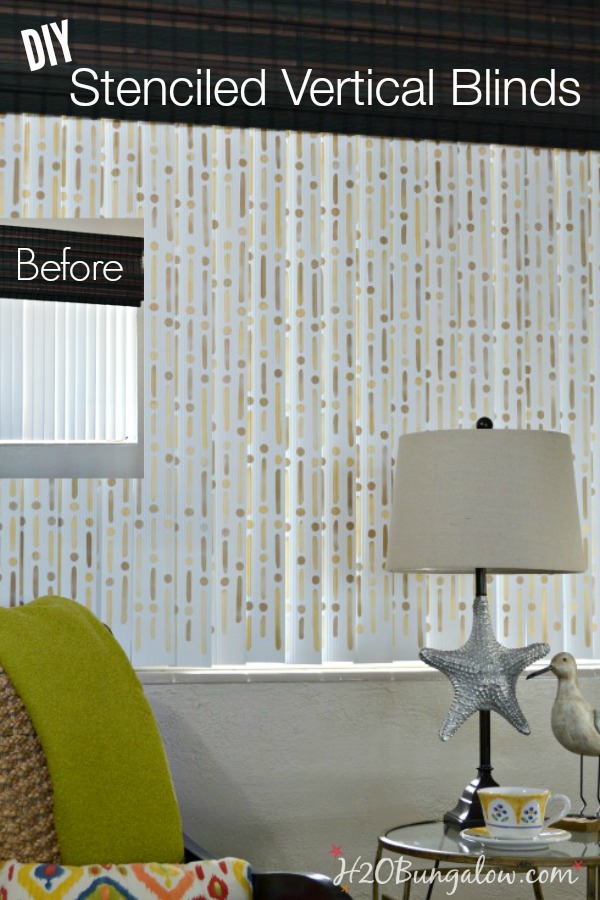
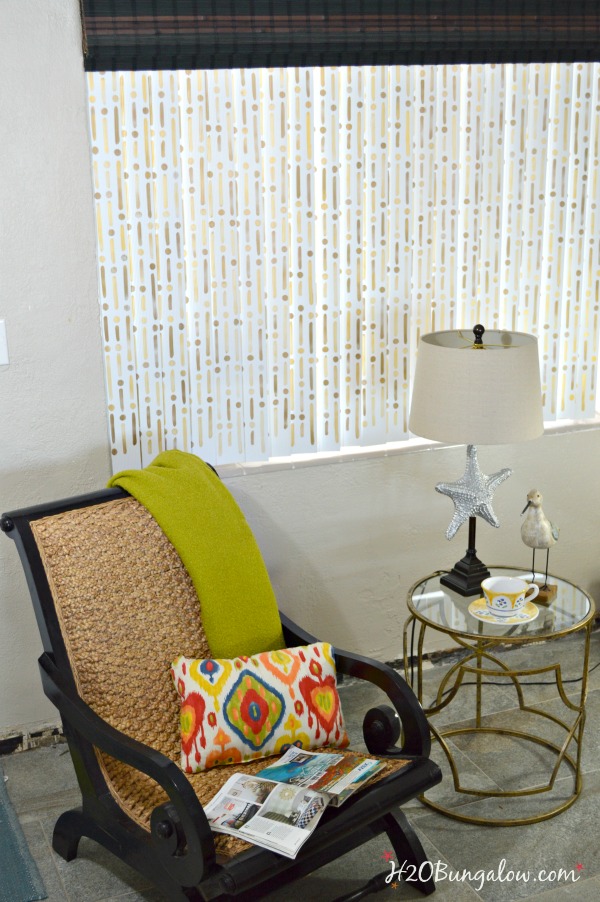
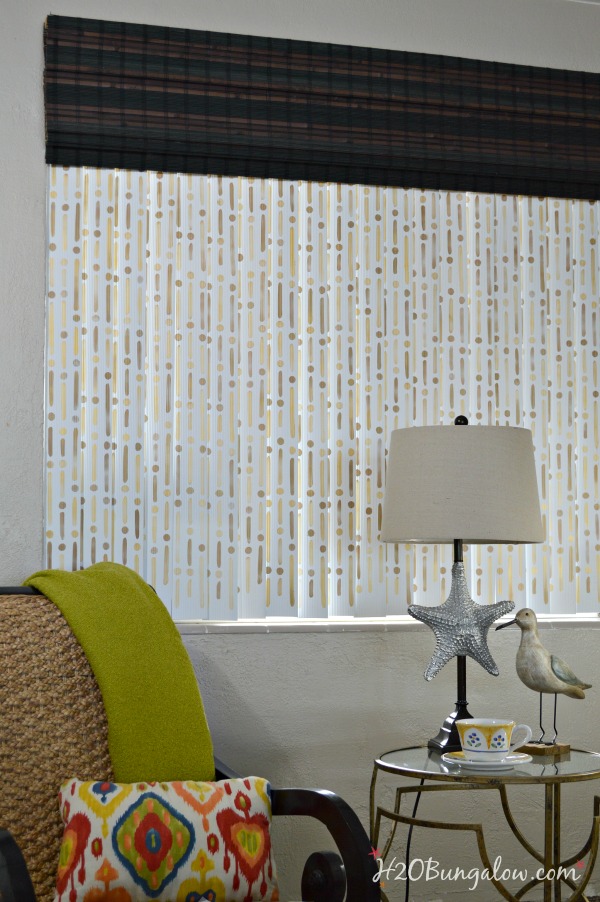
I’m sharing how to stencil vertical blinds today. Are you thinking why would I stencil my old vertical blinds?
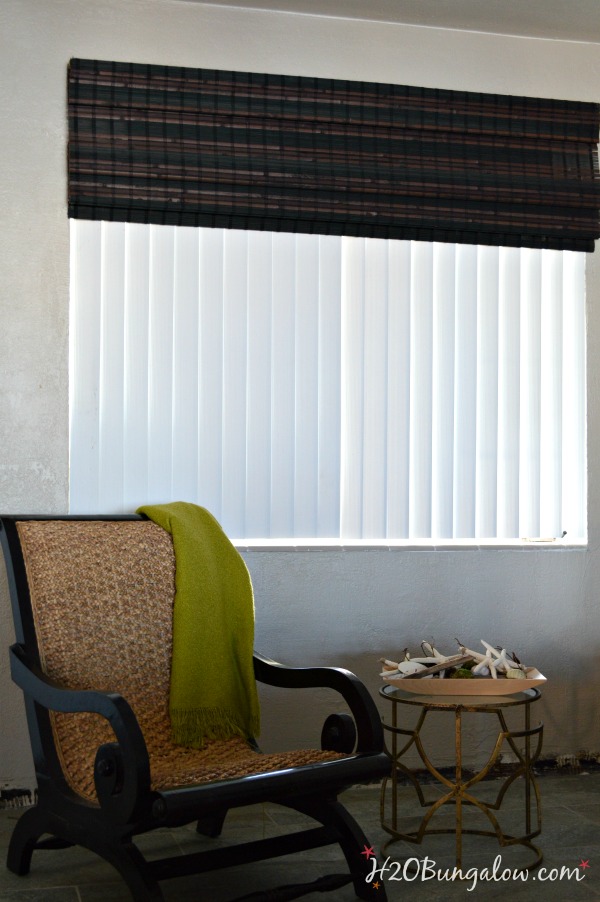
Well … there are some things that can’t be improved upon. Like the functionality of the blinds on my front window. They are perfect for letting in just enough light or giving the right amount of privacy, Plus, we just aren’t ready to do a full makeover in this room yet.
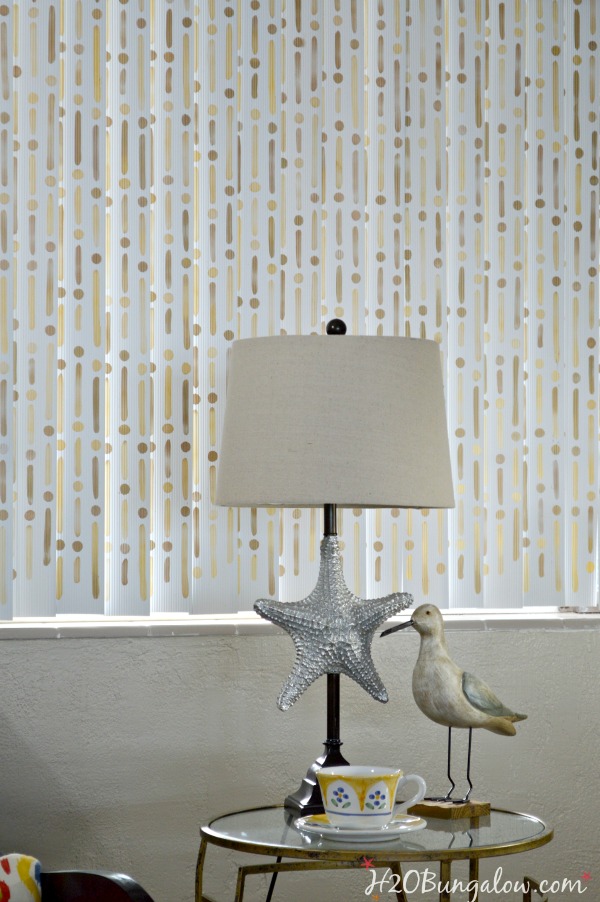
My only issue with them is that I’ve never liked the way they looked. So I ignored them. Until now. Can I share that this simple DIY is a game changer in the looks department?
Wow!
So let me show you how to stencil vertical blinds. This is an easy project and, depending on the size of your blind, can be completed in an afternoon.
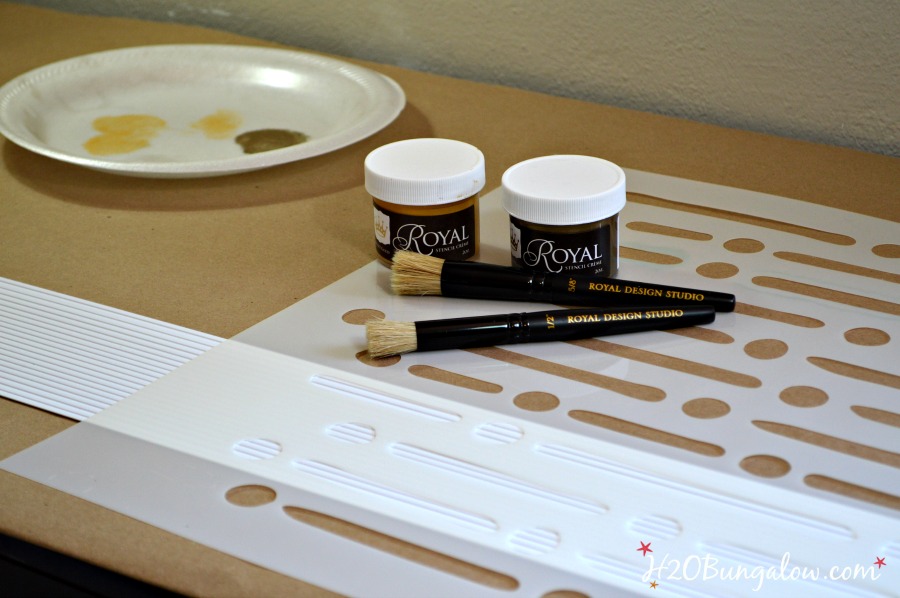
Here’s what I used:
- Vertical PVC blinds
- Morse Code Stencil by Royal Design Studio. I used the large size.
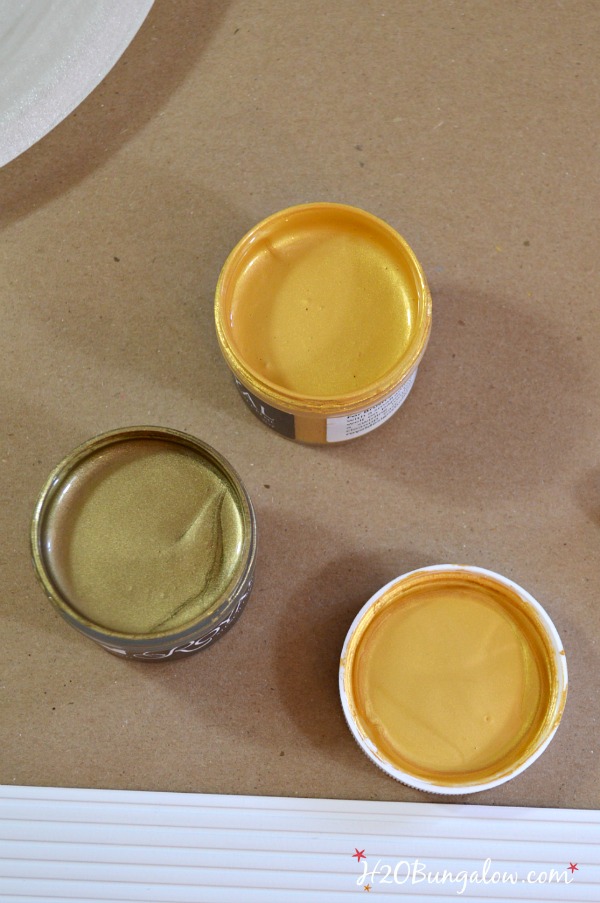
- Royal Stencil Creme Paints in Bright Gold And Antique Gold
- Royal Design Studio Stencil brushes
- Painters tape
- Soap, water and a sponge
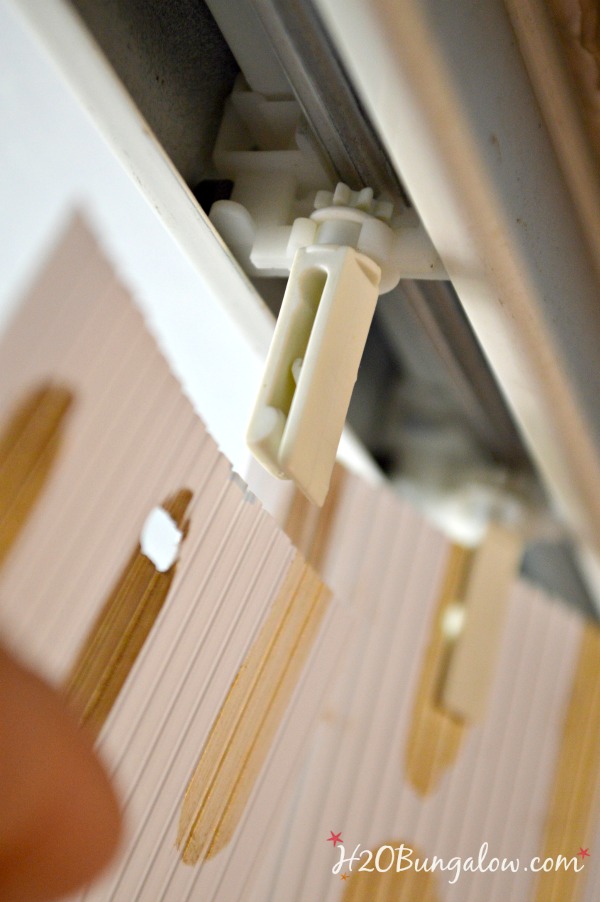
Start by carefully taking down the vertical slats. Wash each slat individually with soap and water and dry completely.
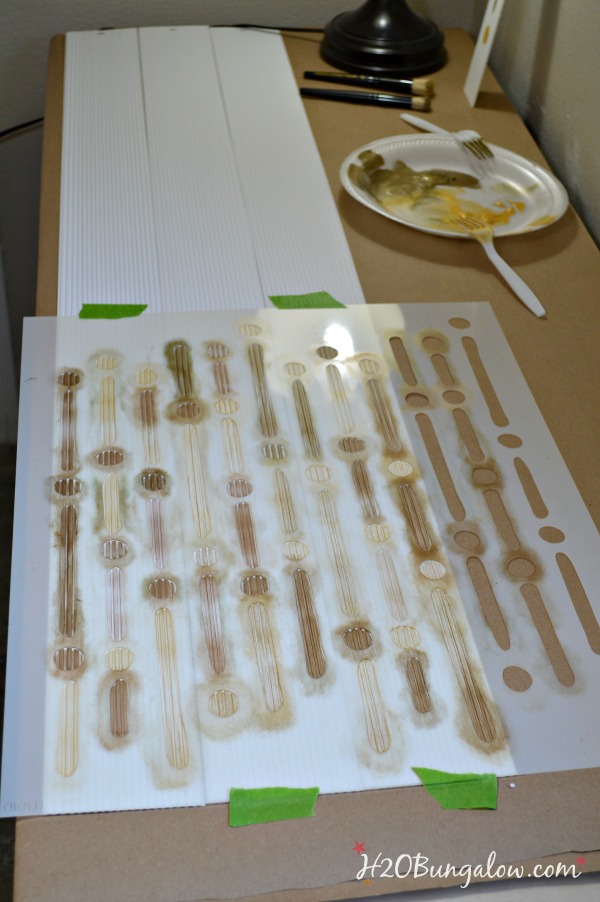
On a flat surface, line up 3 or 4 vertical blind slats side by side. Position and use painters tape to hold your stencil in place. Start at the top of your slats. I realized this later, so let me share this tip now:) The stencil pattern ends better if you start at the top of the slats and work your way down to the bottom of the slats.
If you aren’t familiar with stenciling, the key to clean images is to work with very little paint on your brush. Your brush will be almost dry. A little paint goes a very, … very, long way. If you’d like to read more on stenciling techniques, Royal Design Studio has a handy section of tips on stenciling in their Learn To Stencil section of their website.
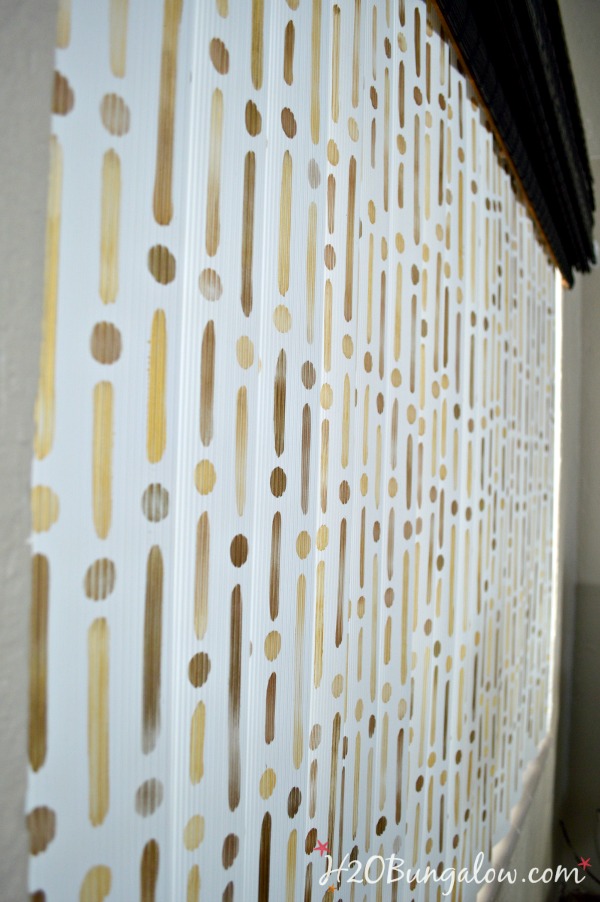
You’ll notice I applied the Stencil Creme in random amounts of coverage without following any pattern. I varied the amount of paint used, mixed and layered the paint in different areas. I think the variation of the colors and the randomness make the look.
After painting, I allowed each pvc slat to air dry overnight before rehanging them.
If I’d have known they would look so good I would have tackled this project a long time ago!
The Morse Code Stencil from Royal Design Studio was perfect for this project. I choose it because the pattern of dots and dashes is 3 inches wide and fits perfectly onto the width of the pvc slats.
I love that this simple project makes such a huge impact in my living room.
I wish some of the other projects on my “to do” list were just an afternoon away as well. Like our baseboards … Yes, we have no baseboards. Living in a project house means living through the steps of making it pretty. We are getting there, project by project, one room at a time!
Now that I know how to stencil vertical blinds,I’m ready to roll up my sleeves and tackle more plain old blinds in my house. How about you, do you have a plain vertical blind that’s calling out for a makeover too?
As you might have guessed this is a sponsored post, I was provided product and or compensated for sharing this information. All opinions, craftiness, and projects are 100% my own and never for sale. I’ll only share items I think have value for my readers!
You may also like these other paint & stencil projects of mine, All Of Me Loves All Of You Love Plaque , How to stencil terra cotta planters or my favorite Damask Stenciled Dresser Makeover.

Karen says
We did vertical blinds in our house 25 years ago, mainly due to the cost of expensive drapes. They are perfectly smooth but one side is black and bowed while the other side is white and concave. I always use the black side to face outside as the windows are tinted darker and therefore the look is a blackish window. The white part faces inside. I am thinking of doing the white side only but am wondering if the stencil will work on the concave side of the blind as it would have to be bent slightly to do the stencil. What do you think about this?
Wendi says
Hi Karen! That is a very good question. I know the shape of the blind slats you’re talking about. I think a stencil would work fine. I’d pick a design that flows well from one slat to the next and a stencil that is flexible (most are). I think it’s a great idea and loved my stenciled blinds. Have fun with your project and share a picture of it on my Wed share day on H2OBungalow’s Facebook page!
Linda at Mixed Kreations says
Oh this is so cool Wendi! Your blinds turned out beautiful! I don’t buy white blinds, I always go for the brown wood looking ones, but this has changed my way of thinking. I LOVE them! They are beautiful!
Wendi says
Hi Linda and thank you! I was at a loss with these, we needed the blinds for privacy but they were so u-g-l-y! Thanks so much for your visit!
Pat George says
Will this method and paint products work for fabric vertical blinds too?
Wendi says
Hi Pat! Yes, this method will work on fabric vertical blinds too. There’s a few things to keep in mind if you’re thinking about doing it. When stenciling on fabric, use a very dry brush. Also, most stenciling cremes are opaque so it won’t cover over patterns. I’d recommend trying a test spot first. I’m sharing an extensive stenciling post next week here on the blog which will include tips for stenciling on fabrics 🙂 Thanks so much for your question, it was a good one!
Pat Pierce says
I love this idea! We recently bought a house that has vertical blinds in three rooms, on huge windows that face the street! My blinds are vinyl. Did you seal them after stenciling on them? I’m going to do a lace pattern! I’m so excited!
Wendi says
Hi Pat, Congratulations on your new home! I’m so glad you found this DIY tutorial useful. To answer your question I didn’t need to seal the blinds which was also a time saver. The trick will be to use a good stencil paint or stencil creme. A lace pattern sounds beautiful. Have fun with your project and I’m sure it will look wonderful in your new home 🙂
Carol says
Does the paint scratch off easily?
Wendi says
Hi Carol, That’s a good question. The answer is nope, not at all. I used stenciling creme which is a highly concentrated. It applies with a very thin layer. It’s been a few years since I did this project and it still looks great! I hope that helps and thanks so much for your visit.