I’ll bet you guys thought I forgot about sharing my part 2 of how to strip paint off furniture and kitchen cabinets! I didn’t. I am fully, sometimes painfully aware of my ADHD tendencies 😉 With so much good DIY happening all around all the time, it’s hard to stay focused on sharing something I’d worked on a few weeks ago when I have so much new stuff to share. If I just didn’t need to sleep – or had two of me, I’d be able to keep up and share projects and tutorials everyday!
But since there is only one of me… I appreciate you putting up with the sometimes scattered thoughts/projects of a DIY junkie;)
Now let’s get back to the at hand.
I believe thinking about stripping paint is more intimidating than actually stripping the paint off an item.
This post is about how to strip paint off furniture and kitchen cabinets. In reality, this info will work for any paint stripping project you need to tackle. You’ll see me sharing pictures from more than one project.
If you’re joining in now, I’d suggest going back and reading part one first. It covers the supply list and how to prepare your work area and included lots of good info like how to lay dropcloths to save time and mess, especially if this is an indoor project!
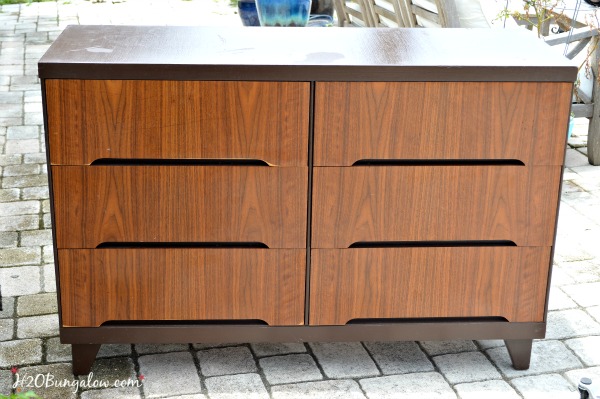
I’m using this dresser project to show how to strip paint off furniture part of this post. I refinished it for my son this summer. It had great lines and an awful, thick, brush stroke showing, uneven paint job on the base. There was no way a little sanding was going to make this surface ready for a new coat of paint!
It was time to bring out the big girl gloves and get busy!
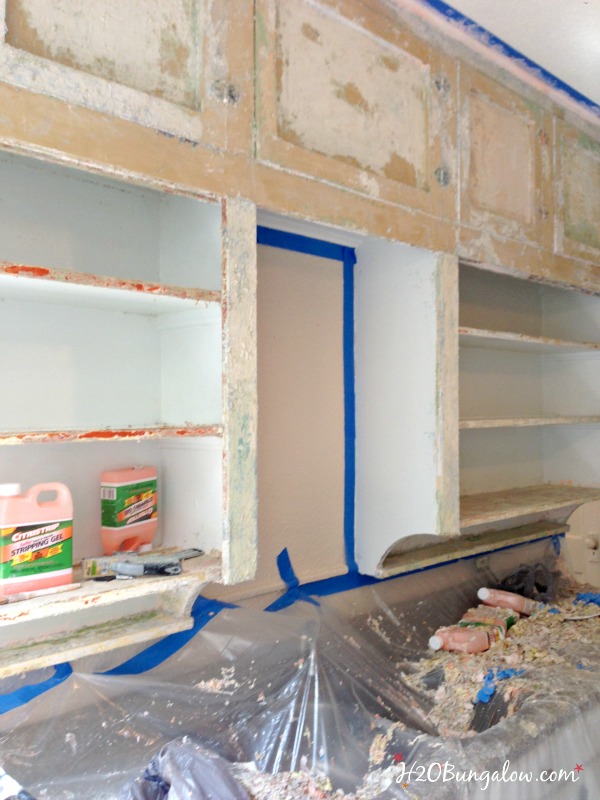
You remember how awful the vintage kitchen cabinets that I’ve been working on looked like, right?
Yes, they are painted shut!
That’s a lot of paint to strip off!
You’ll be able to tackle an easy job like a piece of furniture or a big job like stripping paint of vintage kitchen cabinets with the steps I’m sharing in this post.
Prepare your work area and gather the supplies you’ll need as outlined in part 1.
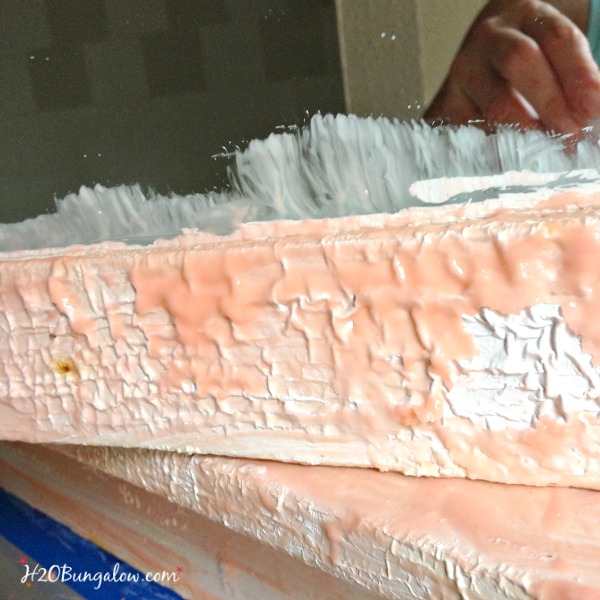
Begin by pouring the Citristrip paint stripper into a small container that’s easy to hold and big enough for a paintbrush to dip into. Use a chip brush and generously cover the surface you want to strip. It will go on like a thick coating of pancake batter or gloppy icing. Work from the top down. I’ve learned it’s best to work in sections. When I’m stripping furniture like a dresser, I’ll start with the top first, then the two sides. If you’re working something else like a door, I’d work on the top half and then the bottom half, especially if there is a lot of detail work with ridges or trim to strip. If you are working on kitchen cabinets with heavy layers of paint, do a section at a time. Be sure to read and follow the directions of the stripper product you use.
As I mentioned in part 1 of how to strip paint of furniture and cabinets, I’m a huge fan of Citristrip. It doesn’t smell (really it doesn’t!) and it’s easy to use. Which is great because you’ll notice I stripped the paint off this dresser inside my house. If it wasn’t in the middle of the blazing hot and humid Florida summer I would have done this outside.
Call me a wimp… I can’t handle the heat:)
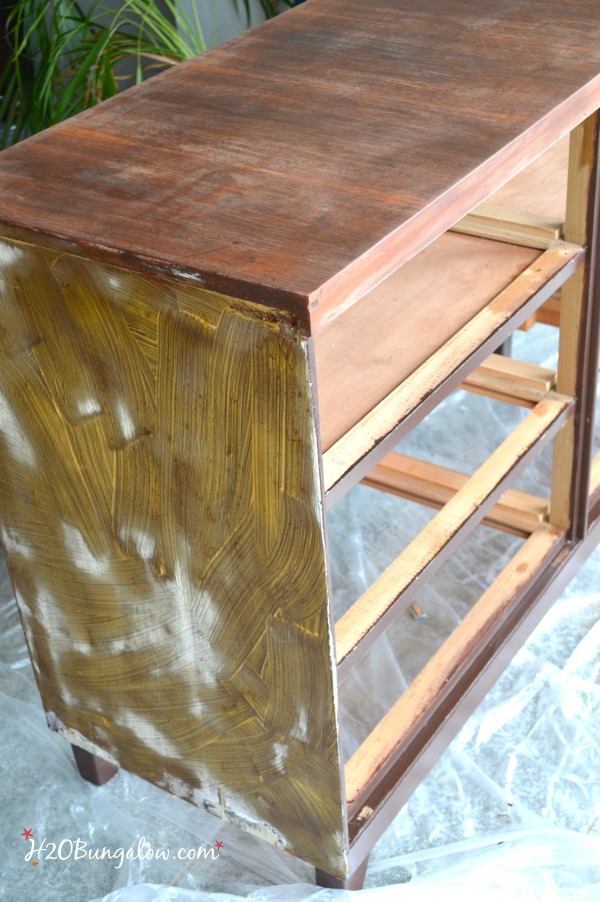
After you’ve applied the paint stripper, just wait and let it do its magic. I waited about 45 minutes on the dresser and a few hours on the kitchen cabinets. Test it by trying to scrape away a little spot. If the paint scrapes away it’s ready. Sometimes it will look like this dresser side when it’s ready to be scraped.
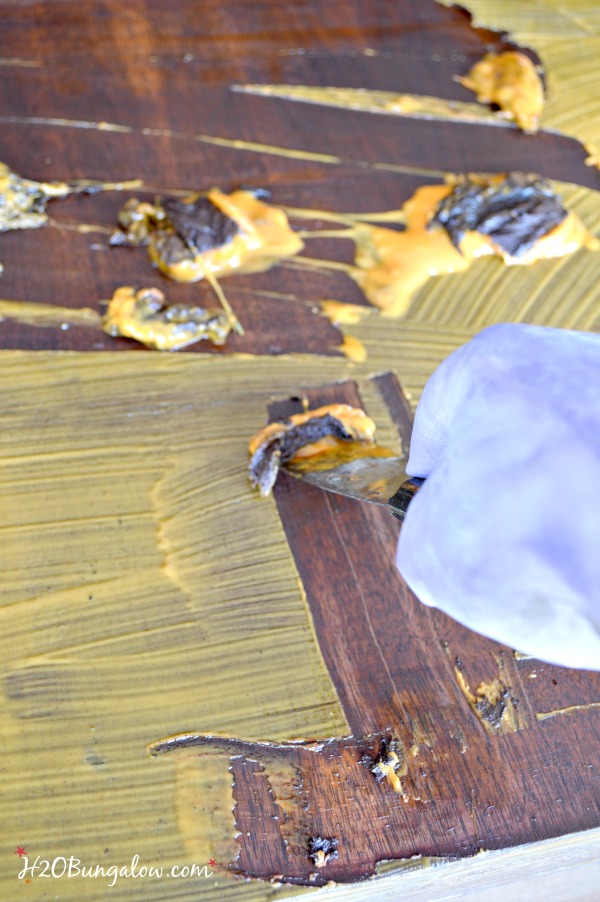
Others times it may bubble like this.
Use a plastic paint scraper to gently scrape off the paint in long strokes starting at one end and working your way to the other. You’ll notice I’m using a metal scraper on this furniture project. I was probably too lazy to run to the store 😉 . I’ve gouged up wood before doing this so I recommend the plastic ones. Especially if you are planning on staining the wood.
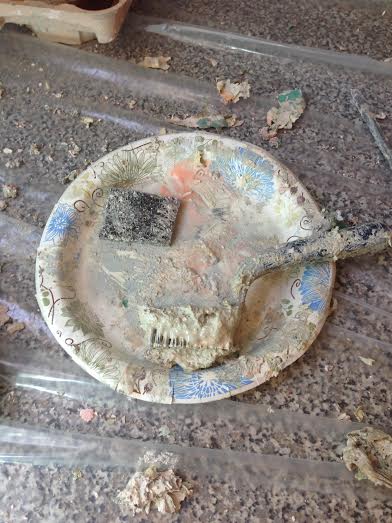
A thick paper plate or piece of cardboard works great to catch the gobs of paint as you’re scrapping them off, especially on the sides. I didn’t have one drop of paint or stripper fall on the dropcloth with this entire furniture striping project!
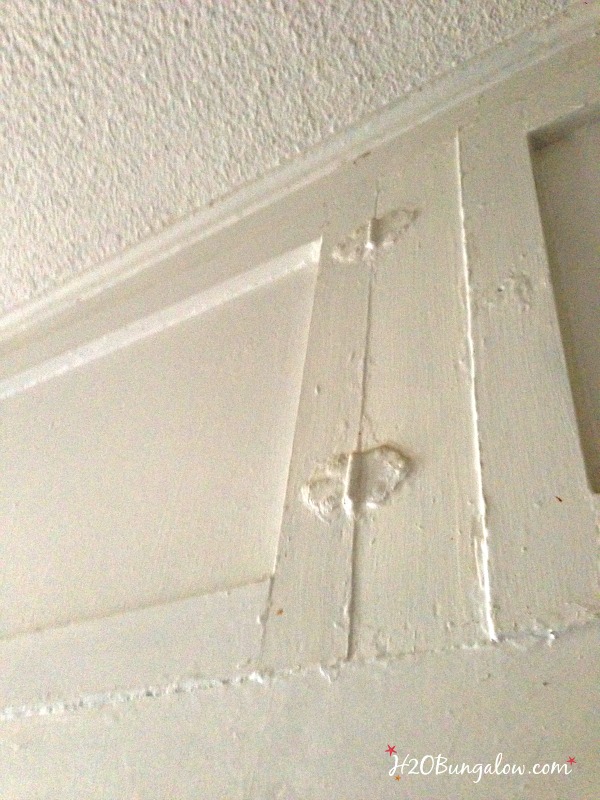
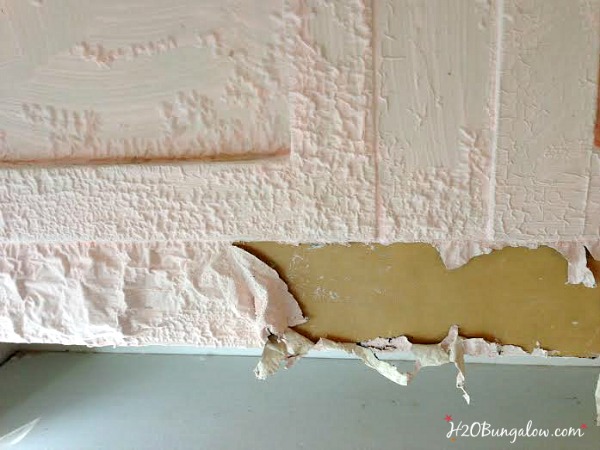
Of course the vintage kitchen cabinets were a completely different scenario. It’s pretty easy to strip paint off furniture when there’s only one layer of paint. That isn’t wood under the paint in this picture.
It’s more paint 🙁
What should you expect when you’re stripping years of built up paint off of a project?
You’ll probably need to use need to use multiple containers of stripper and do several applications in between scrapping old paint off the surface. Wear the heavy duty gloves and absolutely follow my tips in the first post for prepping your area.
It’s a messy job.
But, I saved big bucks $$ and the cabinets aren’t painted shut anymore!
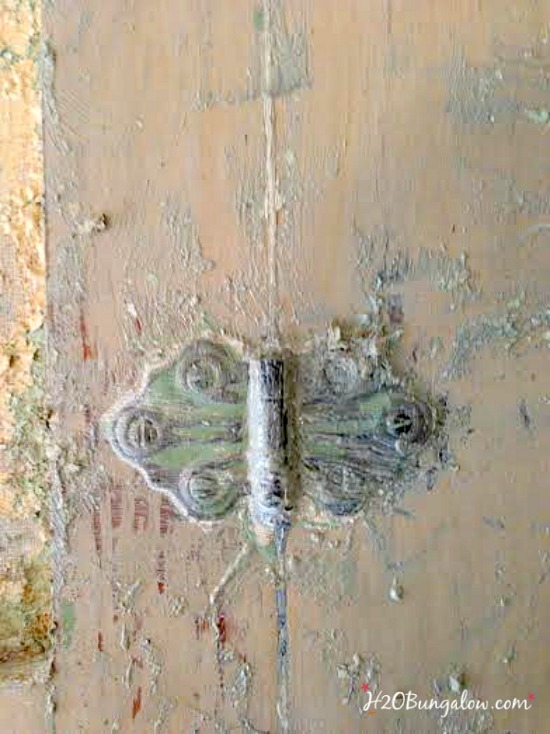
A wire brush is needed when stripping layers of paint off hardware, nooks and crannies.
Do you see the wood peeking through the last layer of paint on left side of the hinge!
Finally!
One wire brush should be fine if your project is a single piece of furniture with just a layer or two of paint. If you’re planning to tackle a big job like my vintage kitchen cabinets, have several on hand.
It’s not worth trying to clean them when they get gunked up.
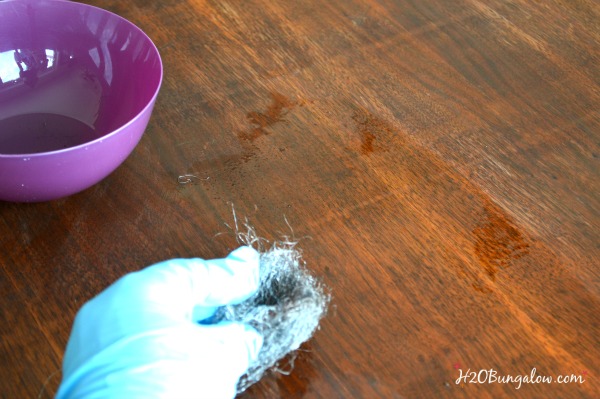
The last step when stripping paint off furniture or kitchen cabinets is to wash down the surface to get off any remaining stripper. I’ve tried a few products, at the moment I like odorless paint thinner the best. Use a fine steel wool or scrubbing pad soaked in the solution and wipe with the grain of the wood. Change out the pad or steel wool as needed. especially if there’s a lot of residue left on the wood.
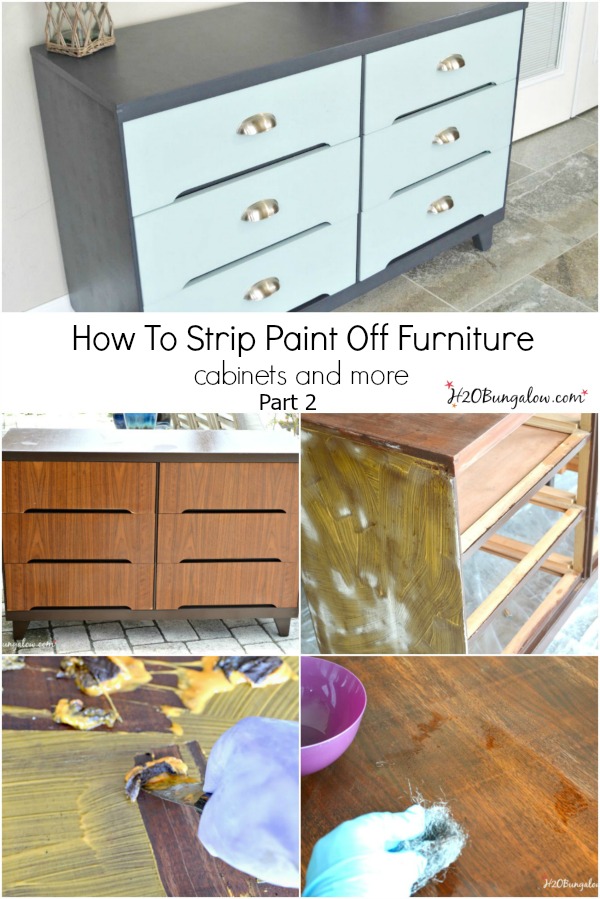
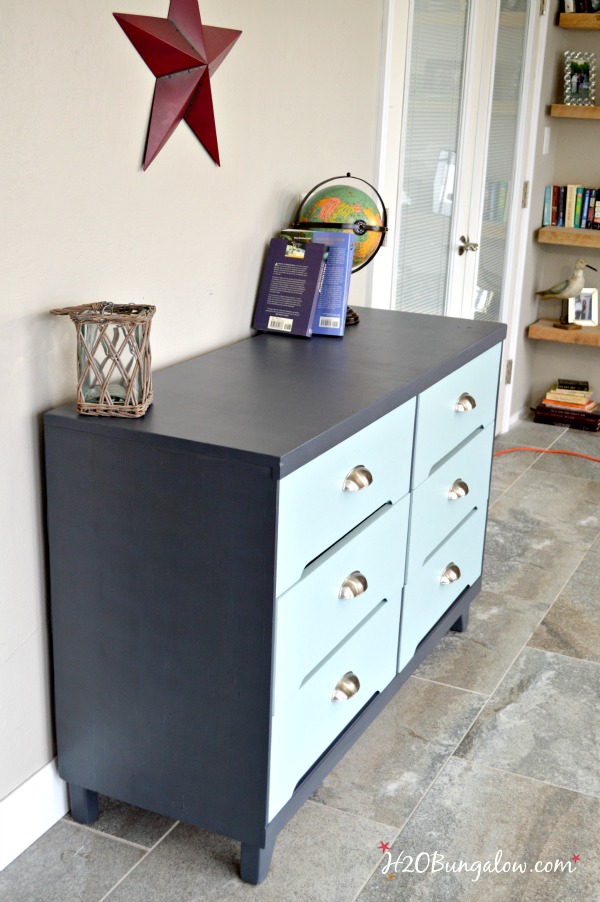
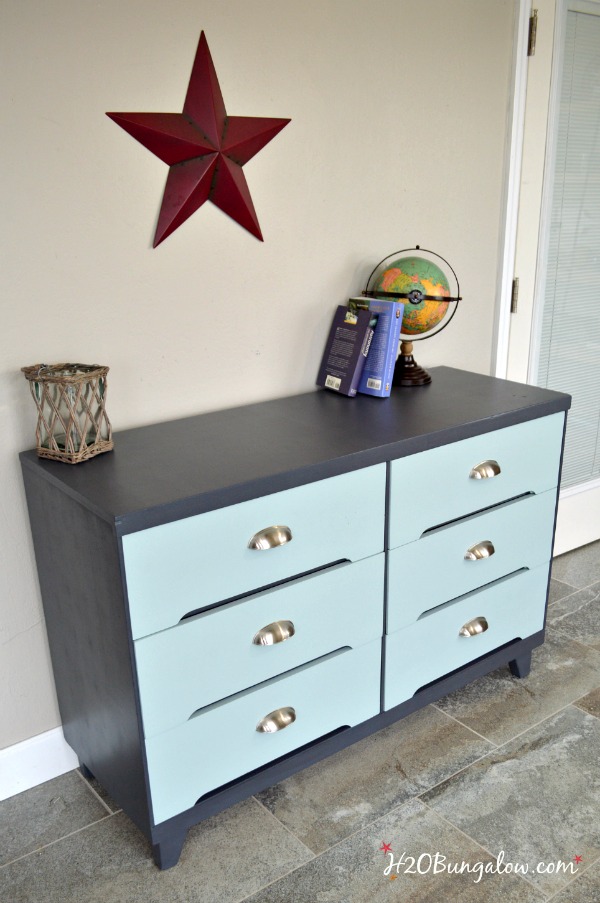
Once all the paint is off and the wood is clean you’ll be able to do any repairs needed. Here’s how the MCM dresser turned out. The new paint job on the body of the dresser is flawless. It was so worth the effort of stripping the paint off 🙂
I would have considered leaving that beautiful wood underneath exposed, but there were several areas that needed to be repaired with wood filler.
I’m packing my hand sander, chemical resistant gloves, my favorite Finish Max Paint sprayer and heading back to Dallas this week to complete my project of refinishing my vintage kitchen cabinets.
Be on the lookout later this week on my Instagram and Facebook feeds for the updates as I finish this behemoth job. I’m still kind of shaking my head and thinking “what have I got myself into?”
but…
I saved so much money by doing this myself and am sure I’d still do a better job than hiring the project out 🙂 Besides, I get to visit my daughter when I’m there so it’s really a win-win.
Now that I’ve shared how to strip paint off furniture and cabinets are you feeling confident to tackle stripping paint off a project for yourself?

Rosanna says
Is there a special tape that you use so as not to strip the paint off of the ceiling or wall? I think that’s my biggest concern right now. I’m considering trying to strip paint off of some cabinets, but I’m not going to be painting the ceiling (or so I hope) and the cabinet colour is quite dark compared to the white ceiling.
Wendi Wachtel says
Hi Rosanna!
I just use Frog Tape. The green one is good not to take off paint from walls and ceilings. I’d go very slowly at the ceiling and if you need to do a little sanding then do that after the majority of the paint is off. That may help with using less stripper at the very top. If you’re going to repaint the cabinets then just get enough off so the paint isn’t too thick.
Good luck with your project!
Leslie says
Wendi,
I don’t see the final stage of painting the cabinets.
Wendi says
Hi Leslie! This post is about stripping the cabinets and taking paint off. I did do a good tutorial on painting kitchen cabinets with a video. You can find that here https://h2obungalow.com/2017/02/step-by-step-guide-how-to-paint-kitchen-cabinets.html. Thanks for your visit and I hope this helps!
Sarah says
We just bought a house built in the 20’s and the did this to some of the cabinets! Everything is painted over! Will be following your directions for stripping the paint off cabinets! We crockpot our paint encrusted hardware (5 insane layers of thick paint) for a few hours on low and the paint just peels off! So easy! Wish the cabinets/trim/doors were going to be that easy.
Wendi says
Hi Sarah, Congratulations on your new home! I LOVE old buildings, they usually come with lots of extra work. It’s a labor of love for sure. You’ll enjoy knowing you’ve restored everything. Thanks for sharing the crockpot tip too. The North House has lots of original painted over door hardware that needs to be tackled this summer. Good luck with your kitchen and glad my post & tips helped!
Angela says
Very helpful post, Wendi. We are using this as our guide to strip our dark green cabinets in our new home. I’m looking for the continued version of your cabinet project. Is there a link you could share?
Thanks!
Angela
Wendi says
Hi Angela, Believe it or not I don’t have a post on the finished cabinets! I have pictures but they are on my old laptop and I haven’t transferred the photos yet. This post was a part one and a part 2. Are you looking for a cabinet painting post? because I’m just about (in the next few weeks) to repaint the kitchen and bath cabinets in the North House. Let me know if you have any other questions, I’d be happy to answer them! You’re the second person to ask me this in the last few weeks. Clearly I need to find the old pictures! Thanks for your visit and good luck on your project!
Leiha says
I am in the process of stripping my kitchen cupboards in our 104 year old farmhouse and just scraped off layer 2 of stripper last night. After about 5 layers of paint, I finally uncovered some wood! It looks reddish, which makes me think maybe it’s oak? I know I wont be able to get all the paint off and will probably end up painting it, but it is an exciting project. I would love to see an after picture of your cabinets…
Wendi says
Hi Leiha What an awesome project! I know your cabinets will look great when you’re done. I stripped and repainted the doors in our house and they looked much better without the thick gunky layers that were there. I can’t believe it but I couldn’t find a picture of the after. I think they are on my old computer and we haven’t transferred the photos 🙁 Have fun with your project I know it’s going to be fabulous!
Kathie says
Hi Wendi, And a great big thank you for reposting Part 2 of “how to strip paint off cupboards and furniture.” You answered a few questions I had. I will be working on a child’s table and chairs set, again, tomorrow.
Thanks too, for responding so quickly.
Wendi says
Hi Kathie, you did me a favor too. I didn’t realize I hadn’t connected the two posts. I wrote them last fall when my daughter was sick and I was traveling back and forth to Dallas a lot to be with her. So thank YOU! Glad my info helped and thanks so much for reading my posts!
Rose Garden Malevik says
woow. that´s a great makeover 🙂
You are welcome to join
SATURDAY SHOW OFF ~ BlogParty
Hugs from Håkan in Sweden
Wendi says
Thank you! The dreser was a fun project and the kitchen cabinets, well, let’s say they are almost done! Thanks so much for stopping by:)
Sharilee says
I agree that stripping paint is mentally huge, but much easier than one would think. Several years ago I bought a table in huge need of refinishing at a garage sale. As soon as I got home, I manhandled the thing in the backyard and quickly stripped it. Unfortunately I wrote a check so they had my address and phone number and the yard sale lady called telling me that she had been crying ever since I left with her table. She asked to buy it back. I told her that I had already stripped it and she said that she should give me an extra $20 to cover my time and work. Wow. I was too timid to say, “no”. When her hubby came to pick it up their newly stripped and sanded table, he handed me an envelope and said that his wife threw in some $ to cover my hardship. After he left, I looked in the envelope to find my check and a five dollar bill. Lesson learned: never pay with a check at a yard sale!
Wendi says
Sharilee, What a story! That’s awful, after all your work and the $$ spent on stripping solution. LOL… I KNOW your work was worth more than the $20 she offered you. You have a good point, don’t pay with checks at garage sales. Thanks so much for your visit & sharing your story!
Zografia says
Wow! That’s a lot of work! But i am sure you love doing it! Thanks for sharing valuable tips with us!
Wendi says
You are spot on! It was a ton of work and even though this project took way longer than I planned, it was worth it. The crazy part of me didn’t mind the hard work at all.. the practical part kept thinking “what have I got myself into?” 🙂 Thanks for your visit and leaving a nice note!
Terry says
Thank you for the great tips! Stripping furniture is hard work and any advice is always welcomed! I do hope you will share this at Making Broken Beautiful this week! :0)
I hope you have a great week!
Smiles!
Terry
Wendi says
Hi Terry, Thanks so much. Stripping can be crazy hard at times. Everything but the kitchen cabinets has been fairly easy.. the cabinets.they were a beast! So glad I could share info that is helpful to someone else:)
gail says
Wendi!
oh my! great job on the dresser–but those cabinets? I can think of a zillion reasons why I would have put it of, and a few things I would have done different.
It’s easy to be on the outside looking in.
Open shelving would be nice… take off those doors. 🙂 Less to strip.
wishing you all the best in finishing the job!!
gail
Wendi says
Gail, I’m with you, except I saved big bucks by doing this project myself! I’m almost done with it. I’m sure I’ll look back and think it wasn’t so bad, or I’ll remember how crazy I was to start the project!
Marie from The Interior Frugalista says
Great post Wendi, full of great tips! I’ve looked everywhere for Citristrip and can’t get it here in Canada, which is a bummer because it seems to be the Go To paint stripper for DIYers in the US. Another excellent tip I’ve learned from this series. Last time it was layering drop clothes so it’s easy to remove one at a time as they get soiled. This time it was using a paper plate to catch the peeled paint! Clever…do you know how many times I’ve stepped in that goo collecting on the workshop floor!!!! Good luck with your cabinets this week in Dallas, looking forward to seeing the reveal post 🙂
Wendi says
Hi Marie and thank you! That’s such a shame the Citristrip isn’t available where you are 🙁 It makes the job so much easier and much less smelly! That’s so cool you like my paper plate trick, its lots less messy! I’m looking forward to finishing this project up too!
Mary-In the boondocks says
Wendi that was a lot of work but well worth it. The dresser looks beautiful with the new colors. Good l uck with your adventures in Dallas, and I can’t wait to see the end result.
Wendi says
Hi Mary…I think stripping paint is a useful skill since it saves so many good items. I’m still kind of cringing knowing what I got myself into on the cabinet project. It’s one of those projects that I know I’ll be thrilled with in the end! Thanks so much for your visit and have a fabulous week!