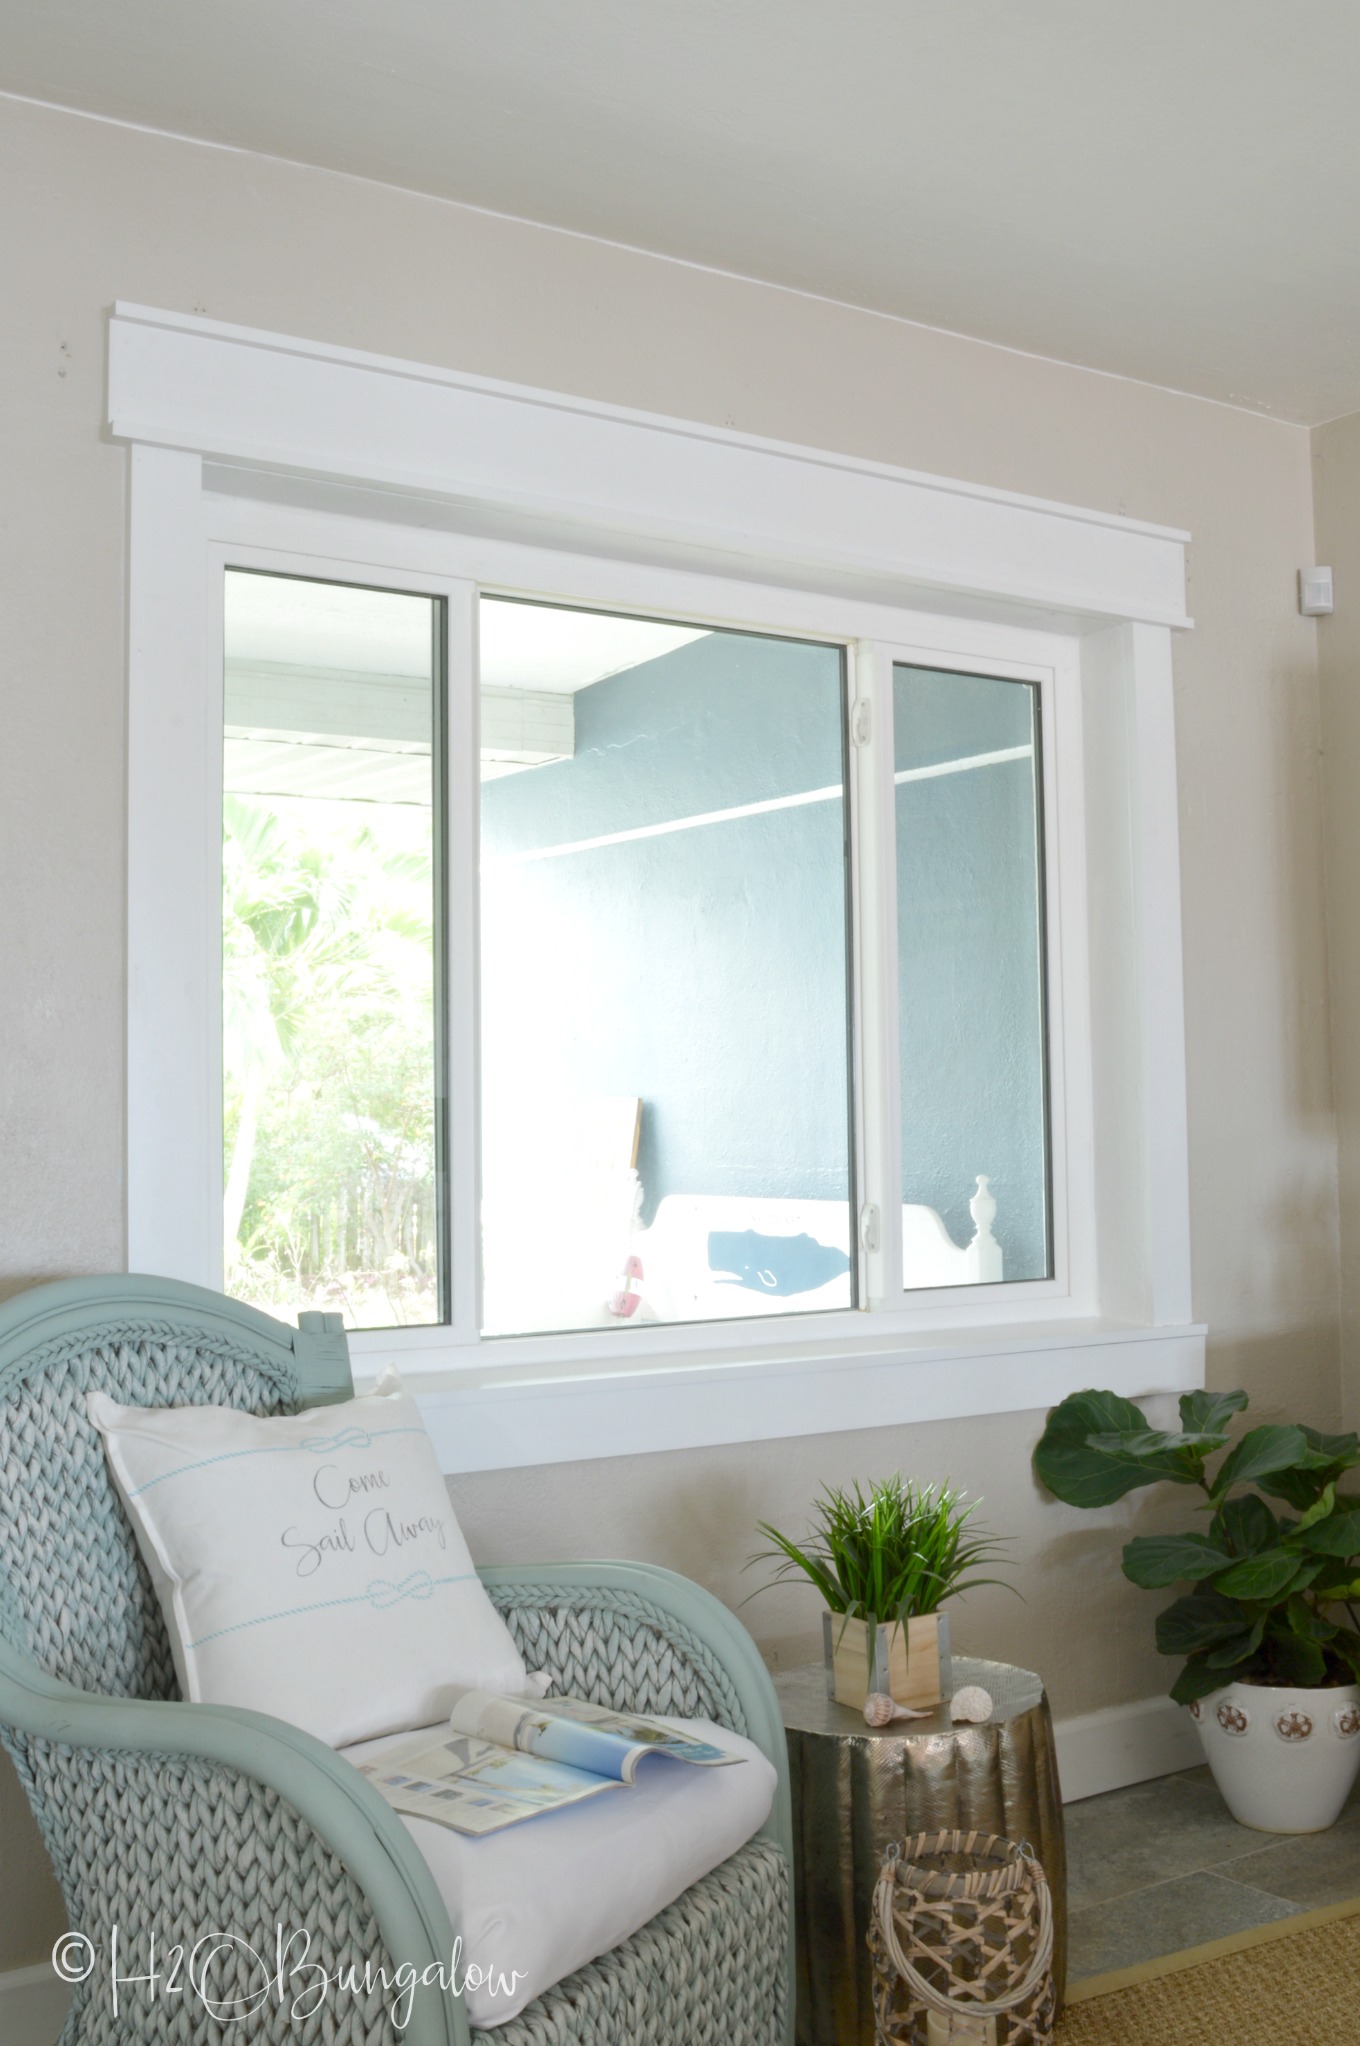
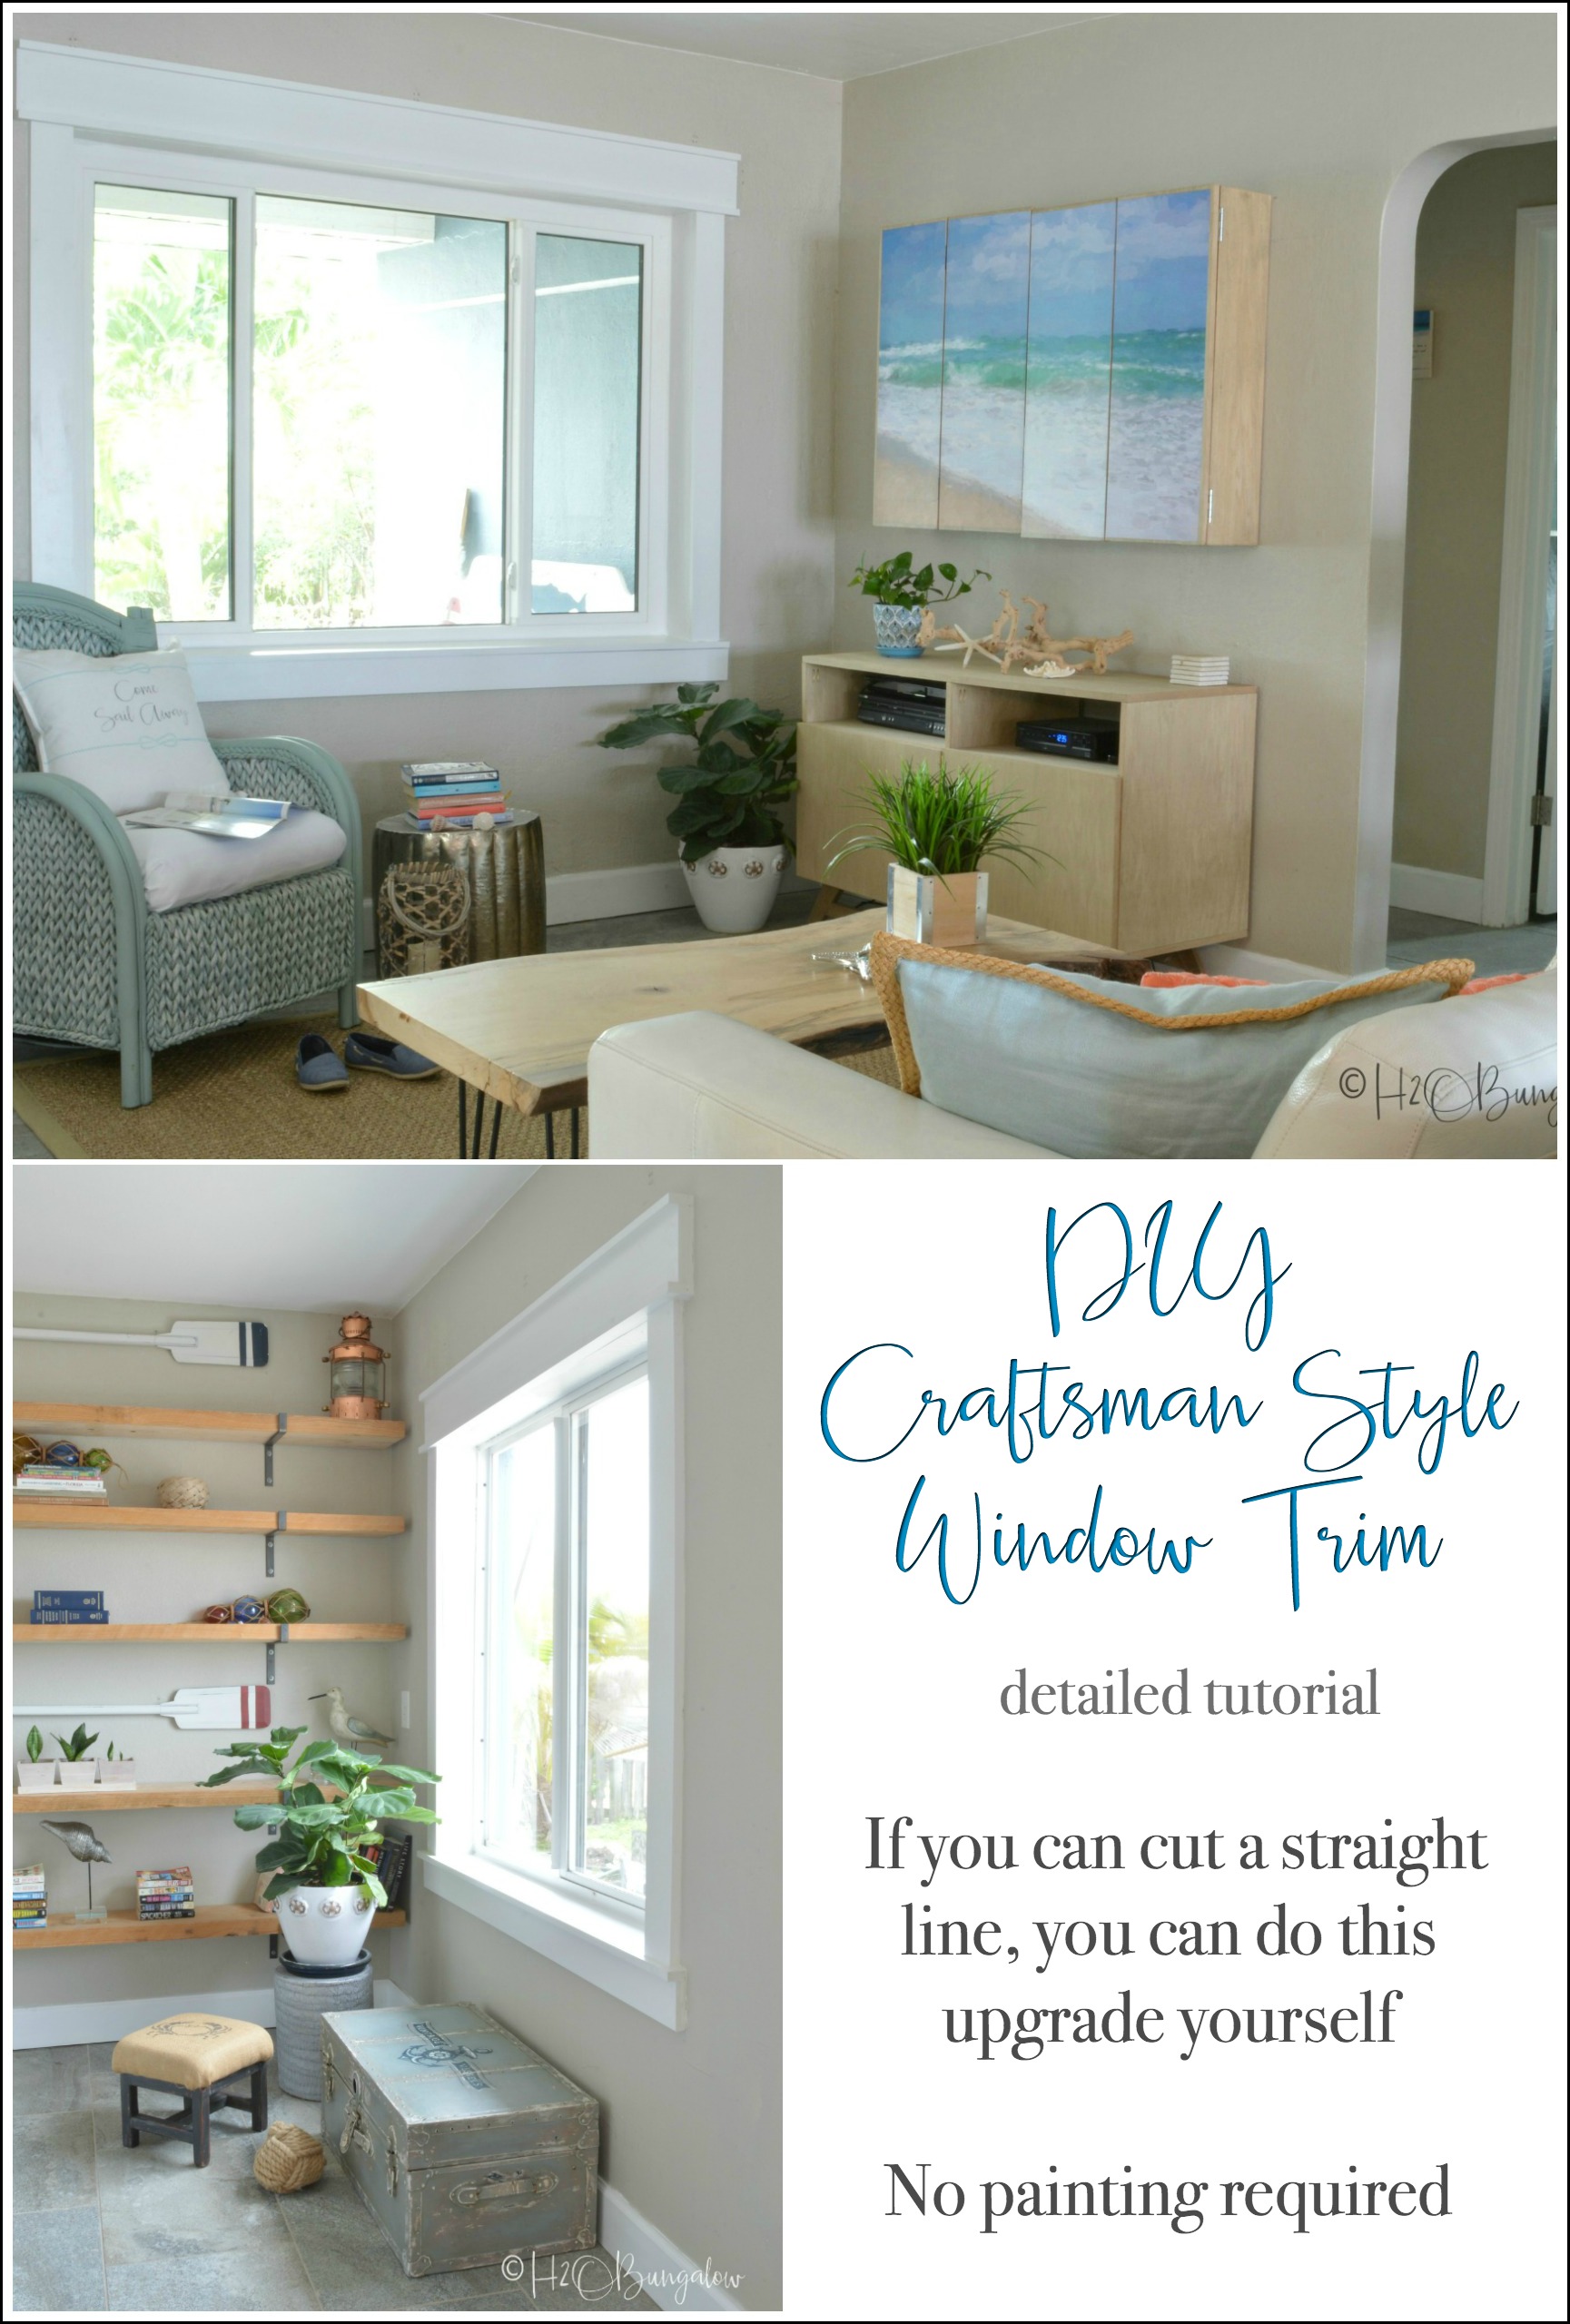
Today I’m going to share with you how to install simple DIY Craftsman style window trim in your home. This is an easy home improvement project for anyone who can cut a straight line and has a basic understanding of woodworking and it was one of my top posts of 2018. Seriously friends, if you can cut a straight line, you can easily make your own craftsman style window trim! I can’t get over how much of a difference adding interior window casings made to my home. My windows are prettier, and reflect much more light too!
This post is sponsored by Finished Elegance. All opinions and project ideas are my own. You can read my full disclosure policy here. Thanks for supporting the brands that help to maintain H2OBungalow.
To make my DIY craftsman style window trim project even easier, I used Finished Elegance by Woodgrain Millwork. It comes prefinished which means no painting guys! That’s a huge time saver! All I did was install my window trim, do a little caulking, and put away my tools. That was all. This isn’t a hard project and except for two steps where I needed an extra set of hands, I was able to do it all myself in two days.
How to Install DIY Craftsman Style Window Trim
This is a list of the supplies needed to make DIY craftsman style window trim like mine.
Below you’ll find the Finished Elegance board sizes I used for this project. You can find all of these in the trim department at Home Depot. The matching caulk is located there as well.
- Finished Elegance prefinished trim comes in several lengths, I used the 8′ length for my DIY craftsman style window trim project.
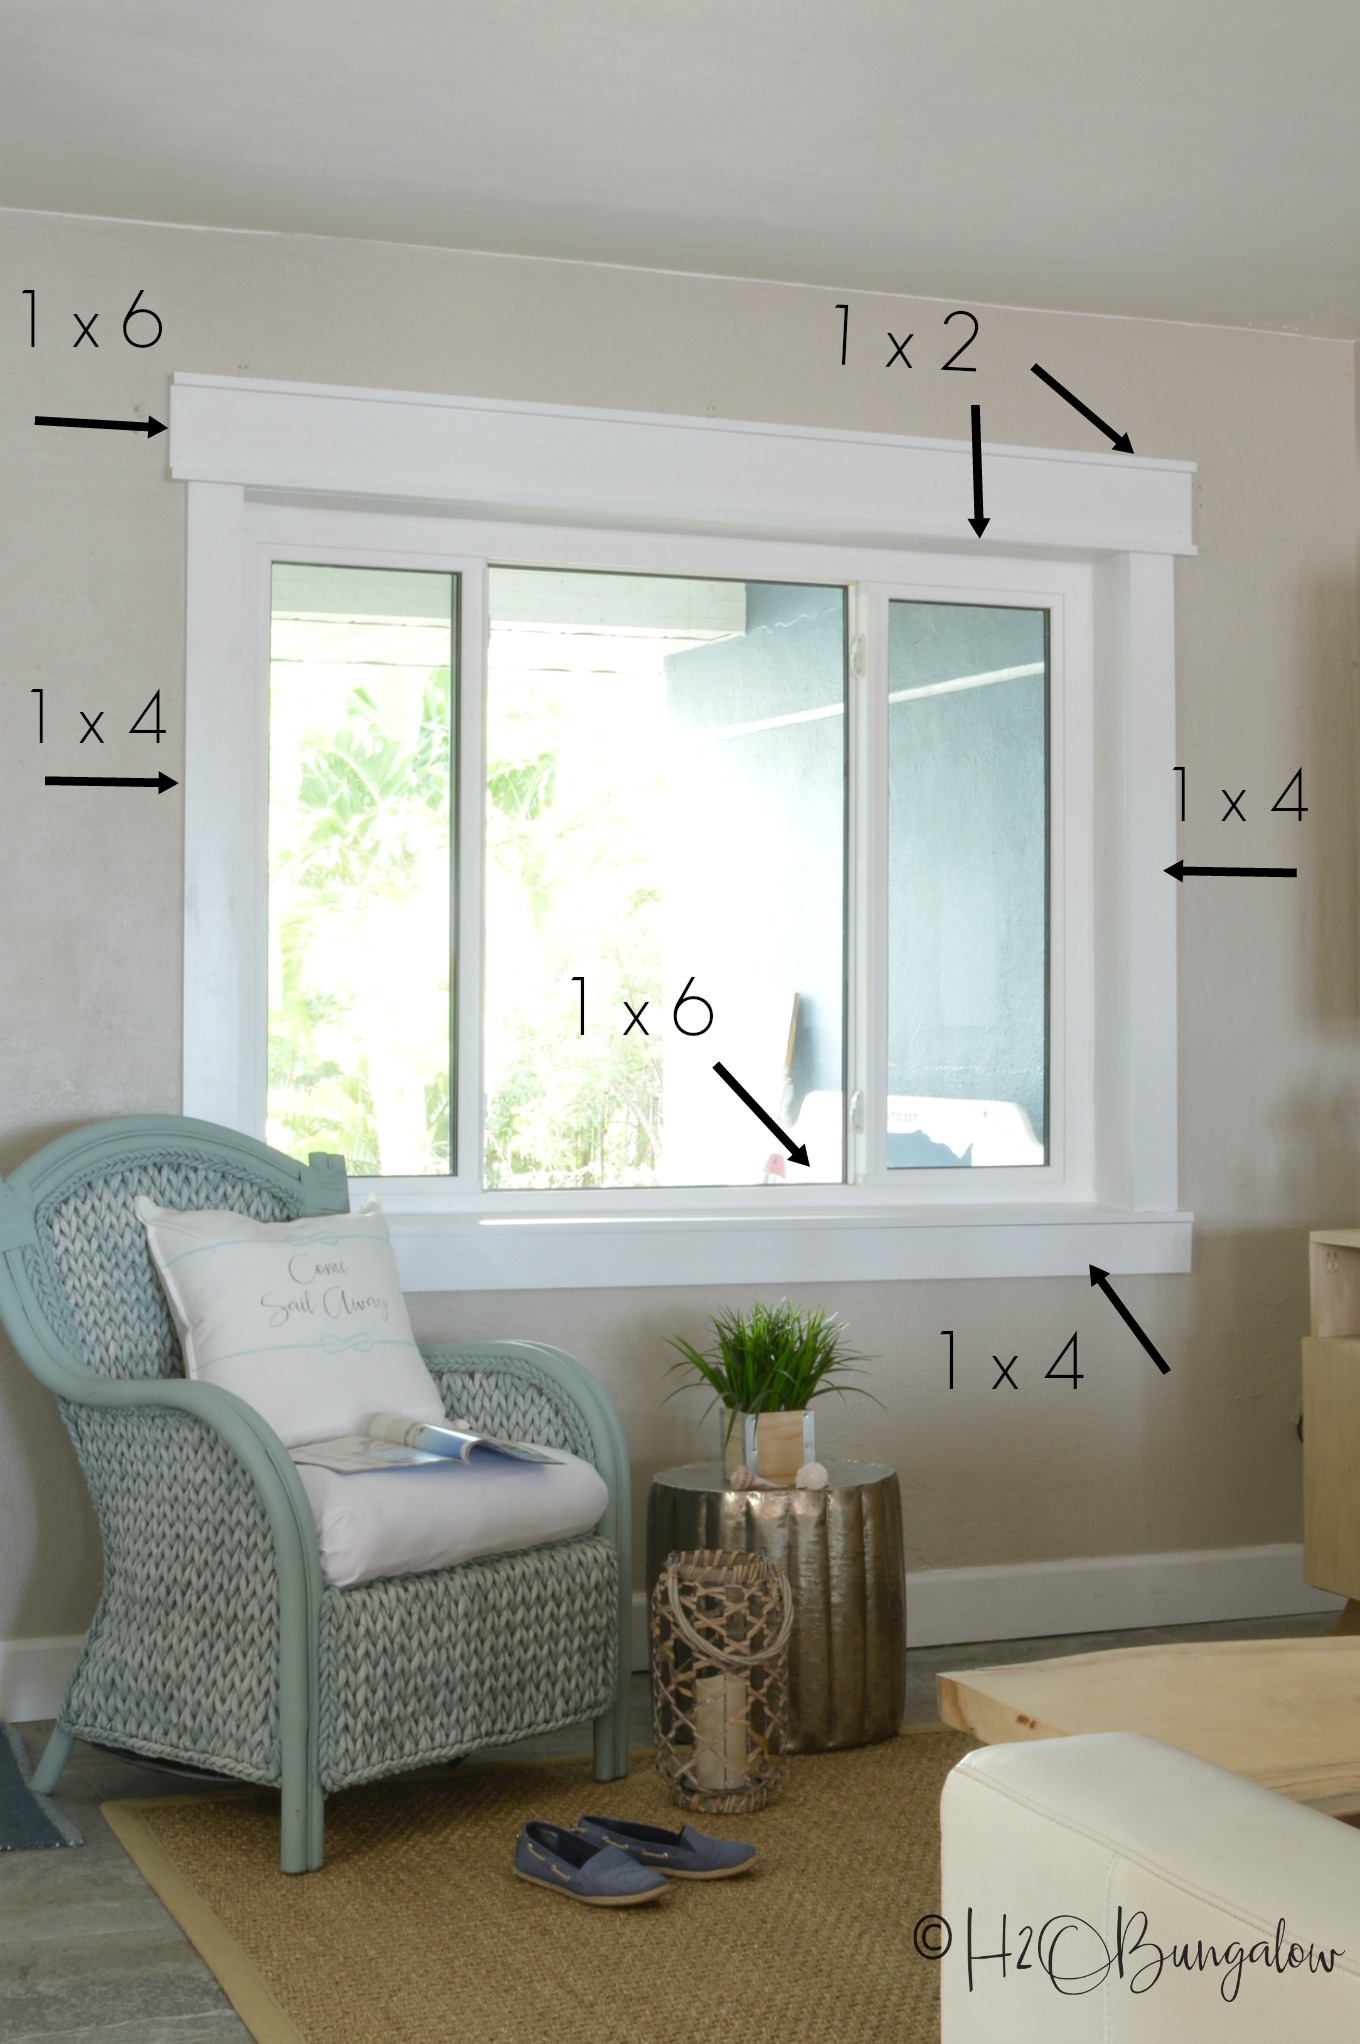
- 1″ x 6″ x 8′ window sill
- 1″ x 4″ x 8′ window sill bottom trim
- 1″ x 4″ x 8′ window side trim
- 1″ x 6″ x 8′ header
- 1″ x 2″ x 8′ header trim top and bottom
- Finished Elegance Caulk
Additional supplies needed to build craftsman style window casings.
- Trim Head Screws #8 x 2″
- Brad nails 2 1/2″
- Wood glue
- Backer Rod, as needed
- Painters caulk, white
- 1 quart paint, color matched to Finished Elegance color
- Box cutter
- Mallet
- Chisel and or large wide flathead screwdriver
- Miter Saw
- Drill
- 5/32 drill bit
- Brad nailer
- Safety gear, eye protection and face mask
How Much Wood Do I Buy for Craftsman Style Window Trim?
The window sill, base under the window and window header will all be the width of the window plus 10″. In other words, all of these pieces will extend 5″ beyond the edge of the window on each side.
- 1″ x 6″ window sill = width of the window plus 10″
- 1″ x 4″ window sill bottom trim = width of the window plus 10″
- 1″ x 6″ header = width of the window plus 10″
- 1″ x 2″ header trim top and bottom = width of the window plus 10″
- 1″ x 4″ window side trim = measure and cut these last for a precise fit. Measure from the sill ledge up to the header bottom. Measure each window side separately.
When you are figuring out how much moulding to buy for interior window trim, always pick up a few extra boards to leave room for errors.
For those of you who are visual, here’s a picture of where I used each trim board to make my modern version of craftsman style window trim.
Installing craftsman style window trim in old homes with uneven windows can be challenging. I chose to use craftsman style window trim because it was the easiest to install and the most forgiving on old uneven windows. You’ll see I only trimmed the outer portion of our windows. The inner sides of our windows are so uneven that I couldn’t have added a layer of wood to trim them. To get around this, I painted the inner sides of my windows the same color as my trim so it looked liked trim. I had Home Depot match the color to a piece of Finished Elegance trim. It was a lot faster too!
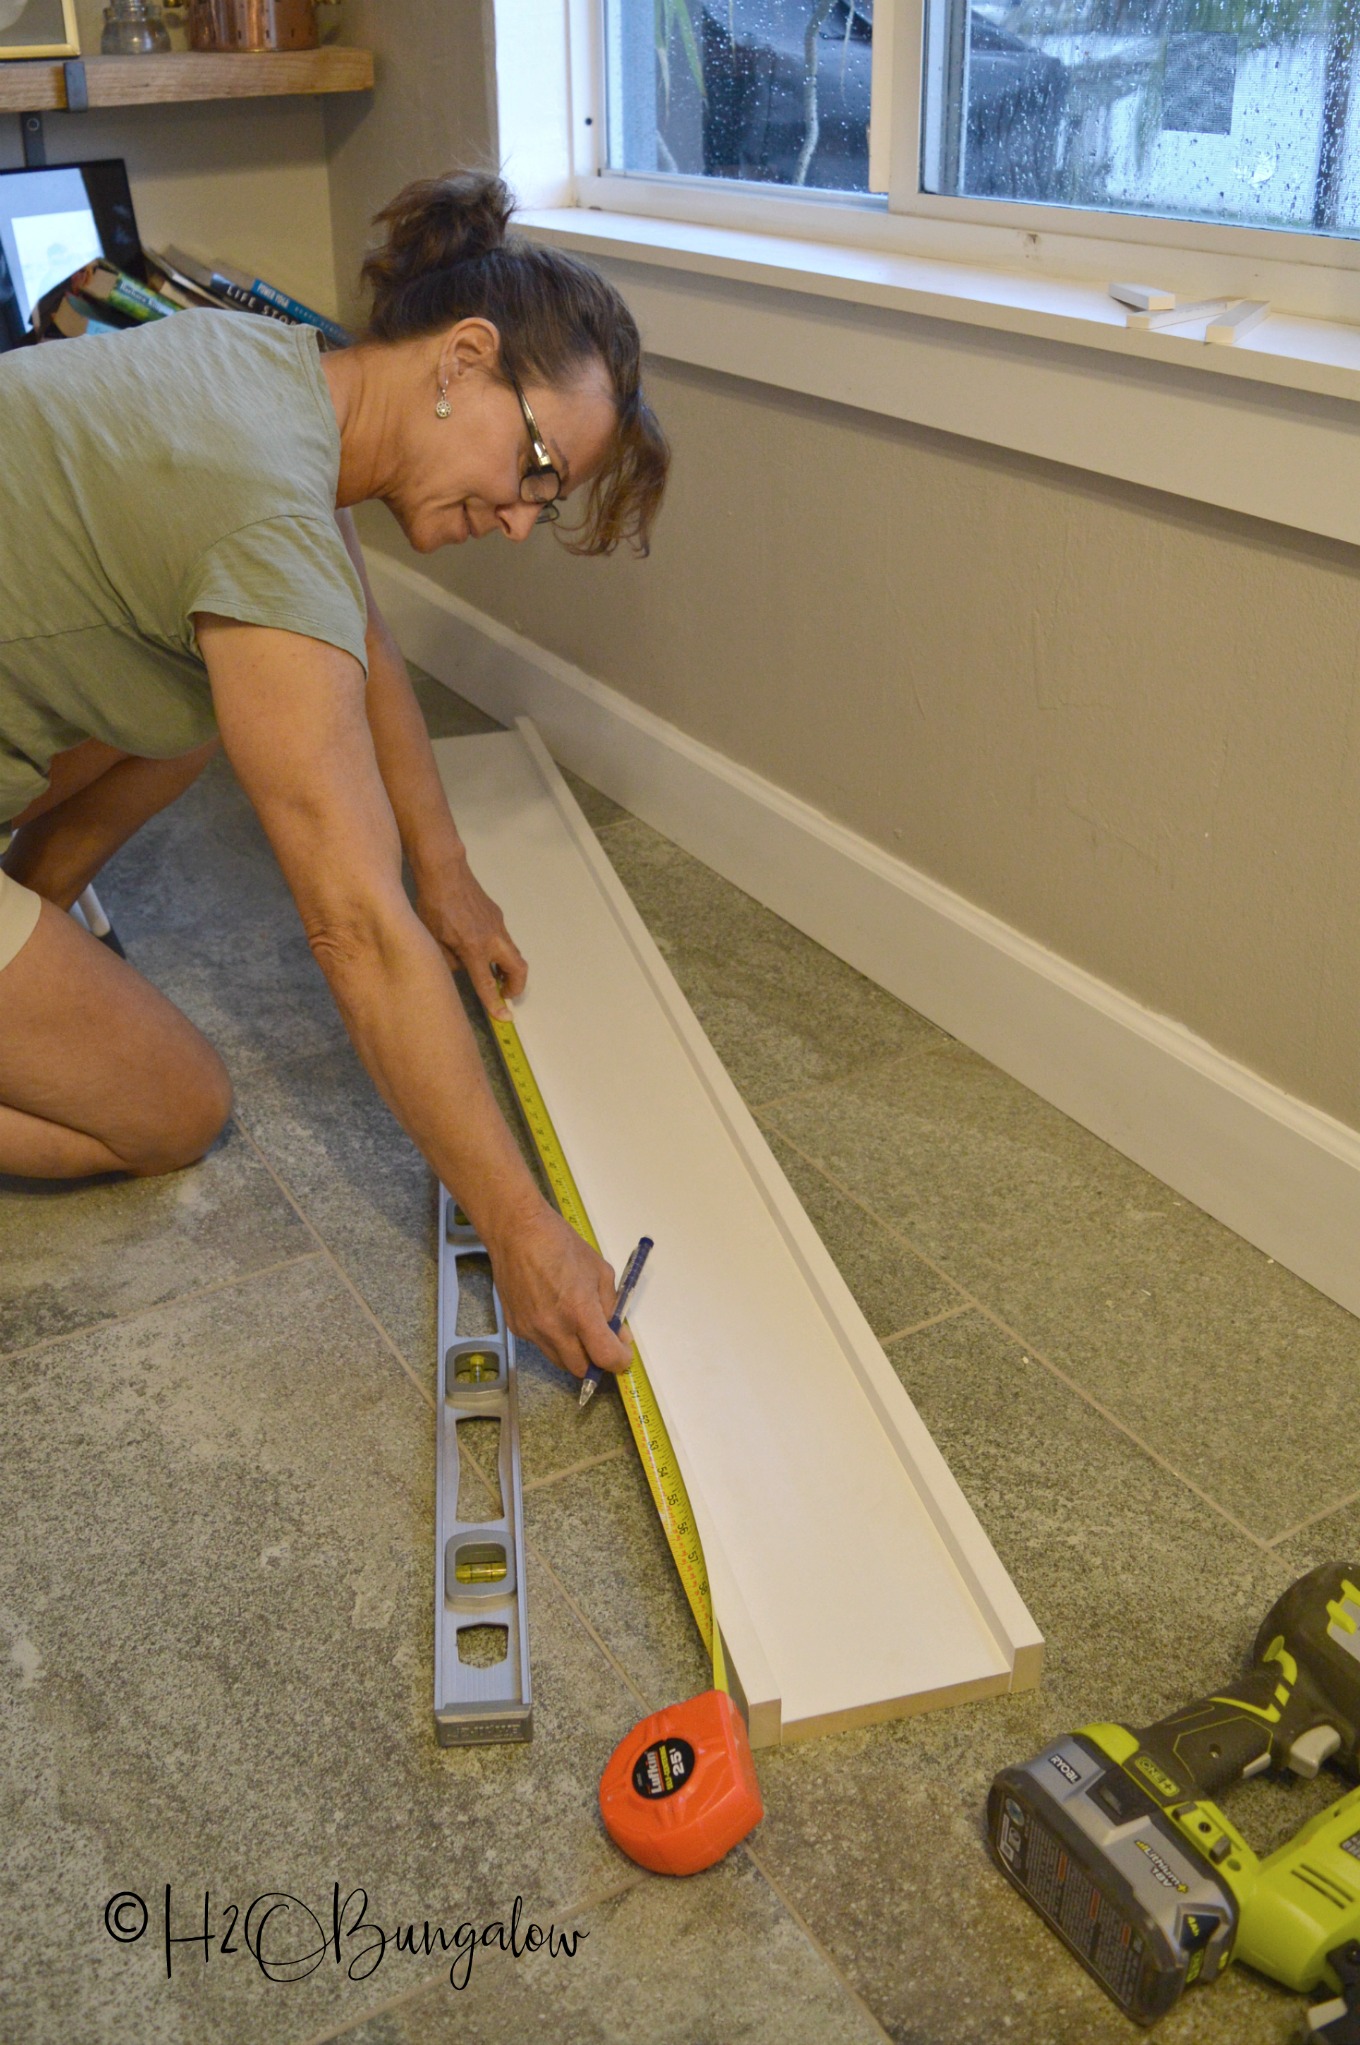
Step one – Measure your windows. Measure the top and bottom width as well as your window sill depth. Don’t assume your windows are straight or even! This is especially true in old houses 🙂 It was helpful to draw a diagram of each window and list the measurements of the window and the trim lengths I needed to cut. I referred to my cut list diagrams as I worked on the different windows.
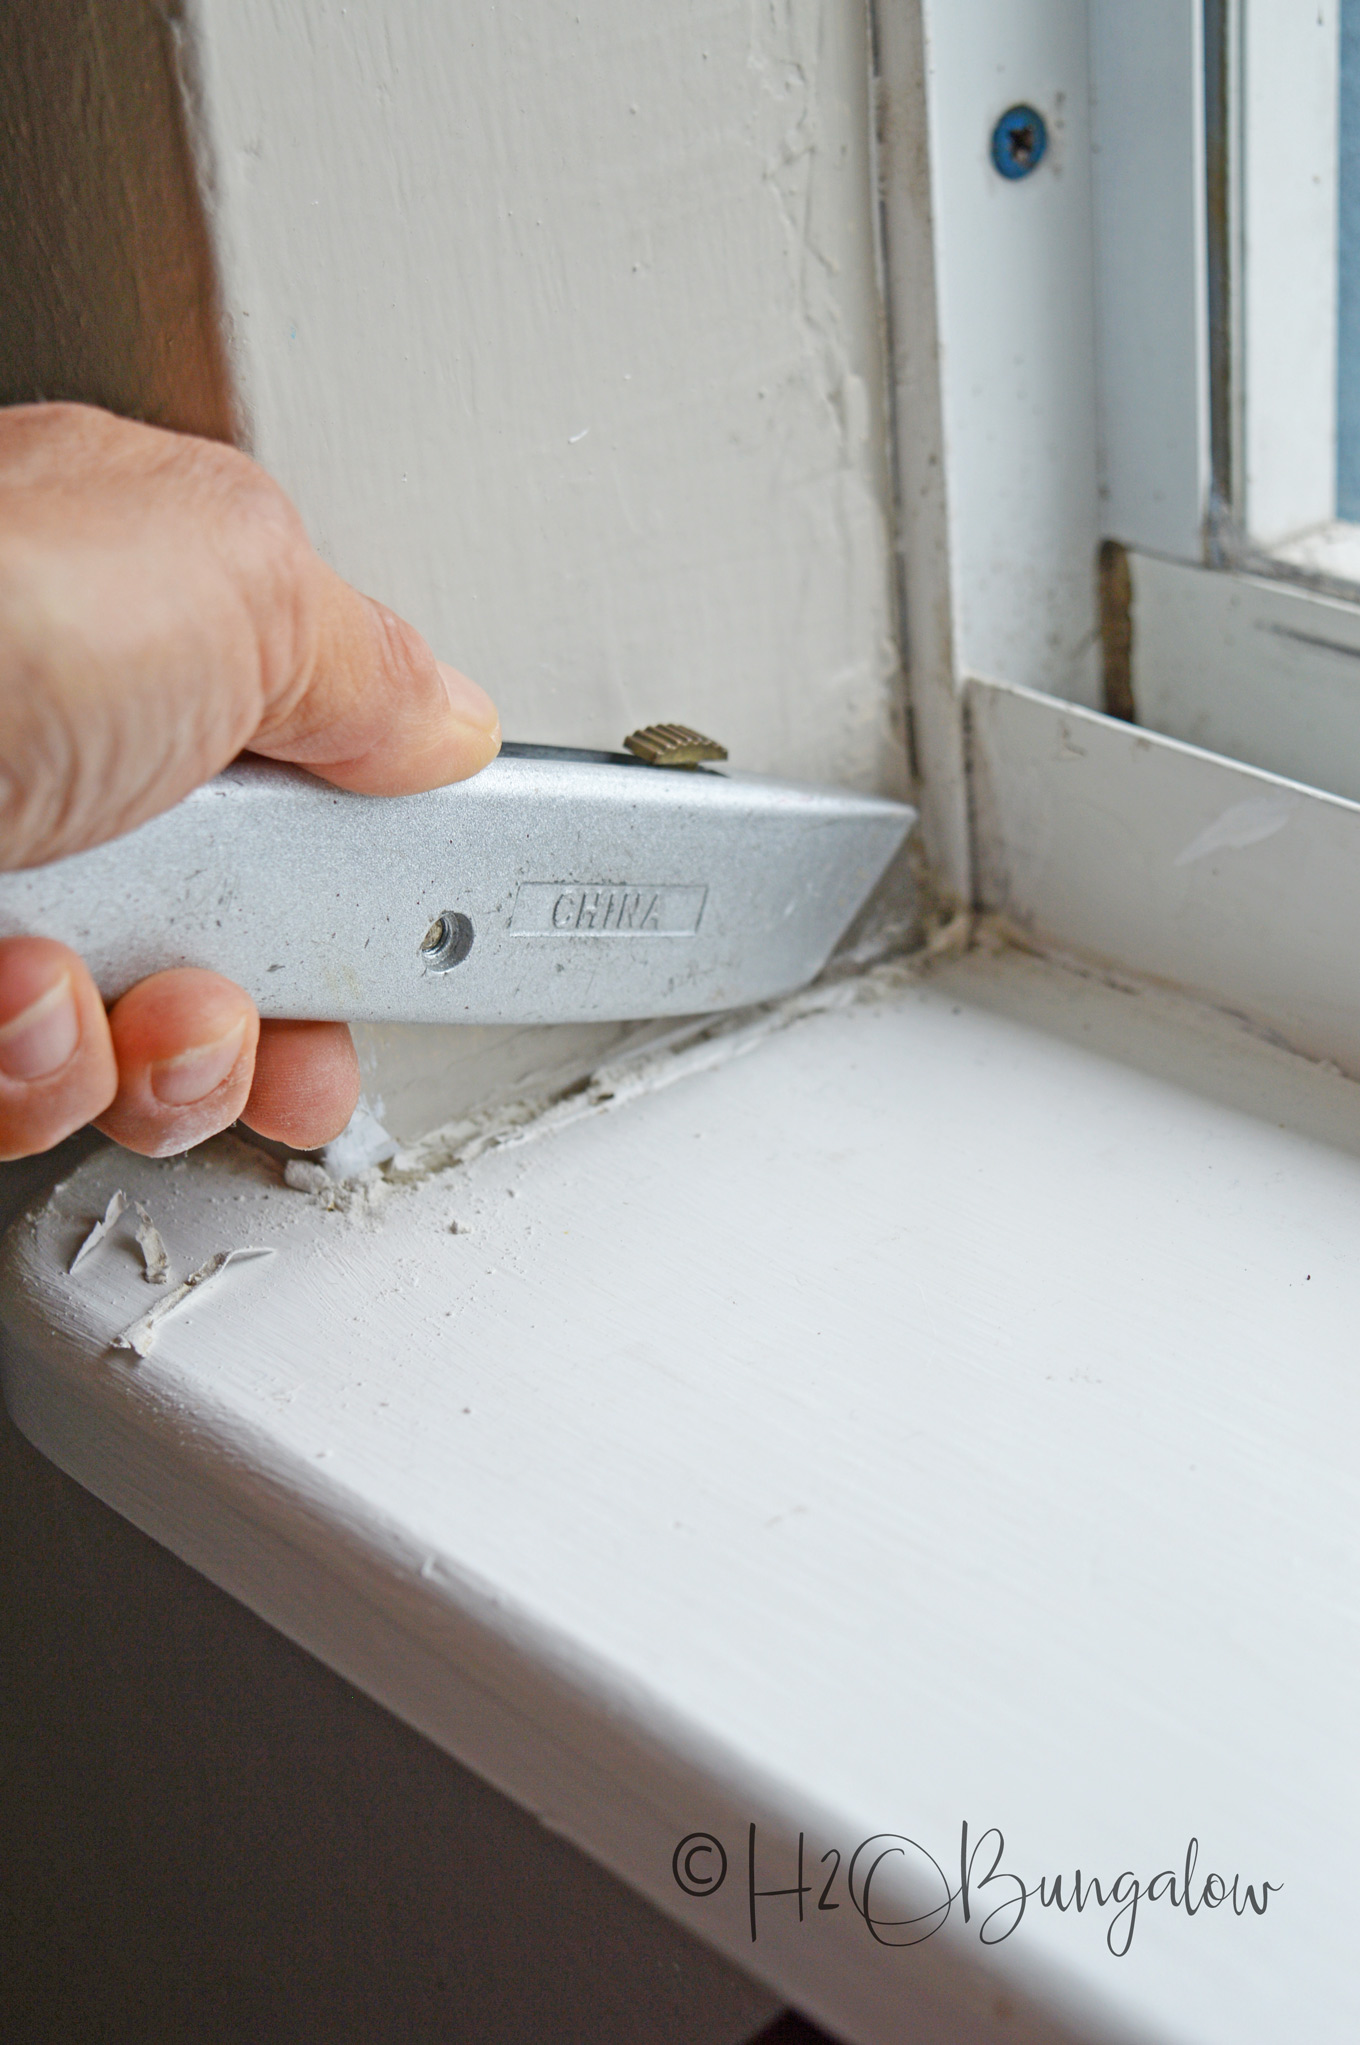
Step two – Remove the window sill. Use a boxcutter to break the seal and cut an edge wherever your window sills have been caulked.
Hey friends, I apologize for how dark some of these photos are. It was raining cats and dogs during the entire project and the lighting for photos was awful.
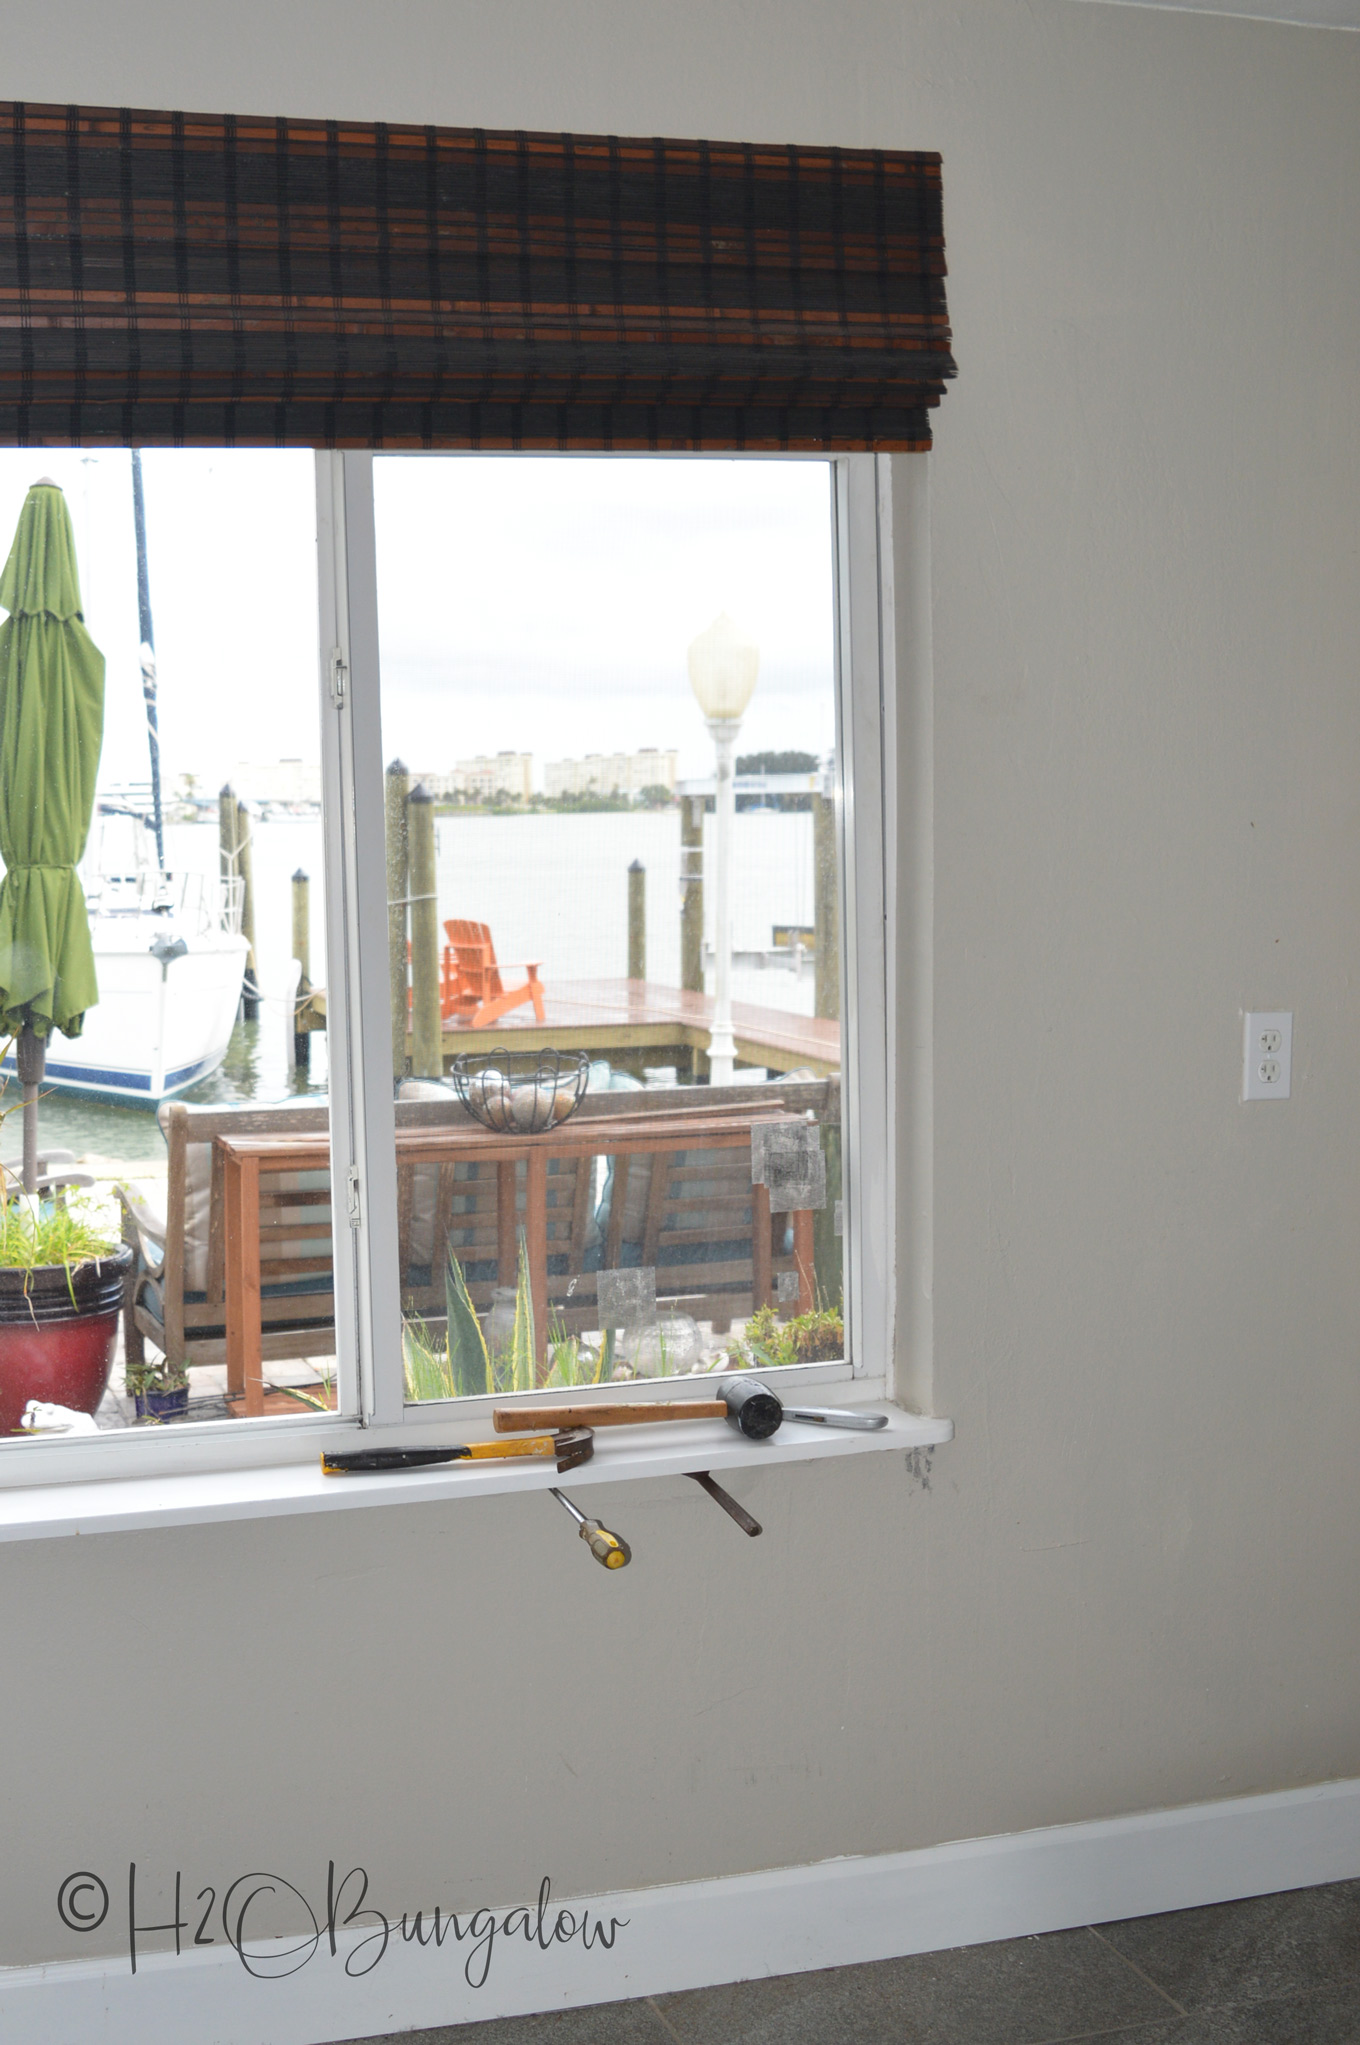
Use a mallet to tap your wood window sill from the bottom up to loosen it. Next, take a few chisels or a large wide flathead screwdriver to pry up the window sill by inserting a chisel under the window sill board. Tap it into the space, insert the next one in the new space you’ve just opened. Continue until you’ve removed the window sill.
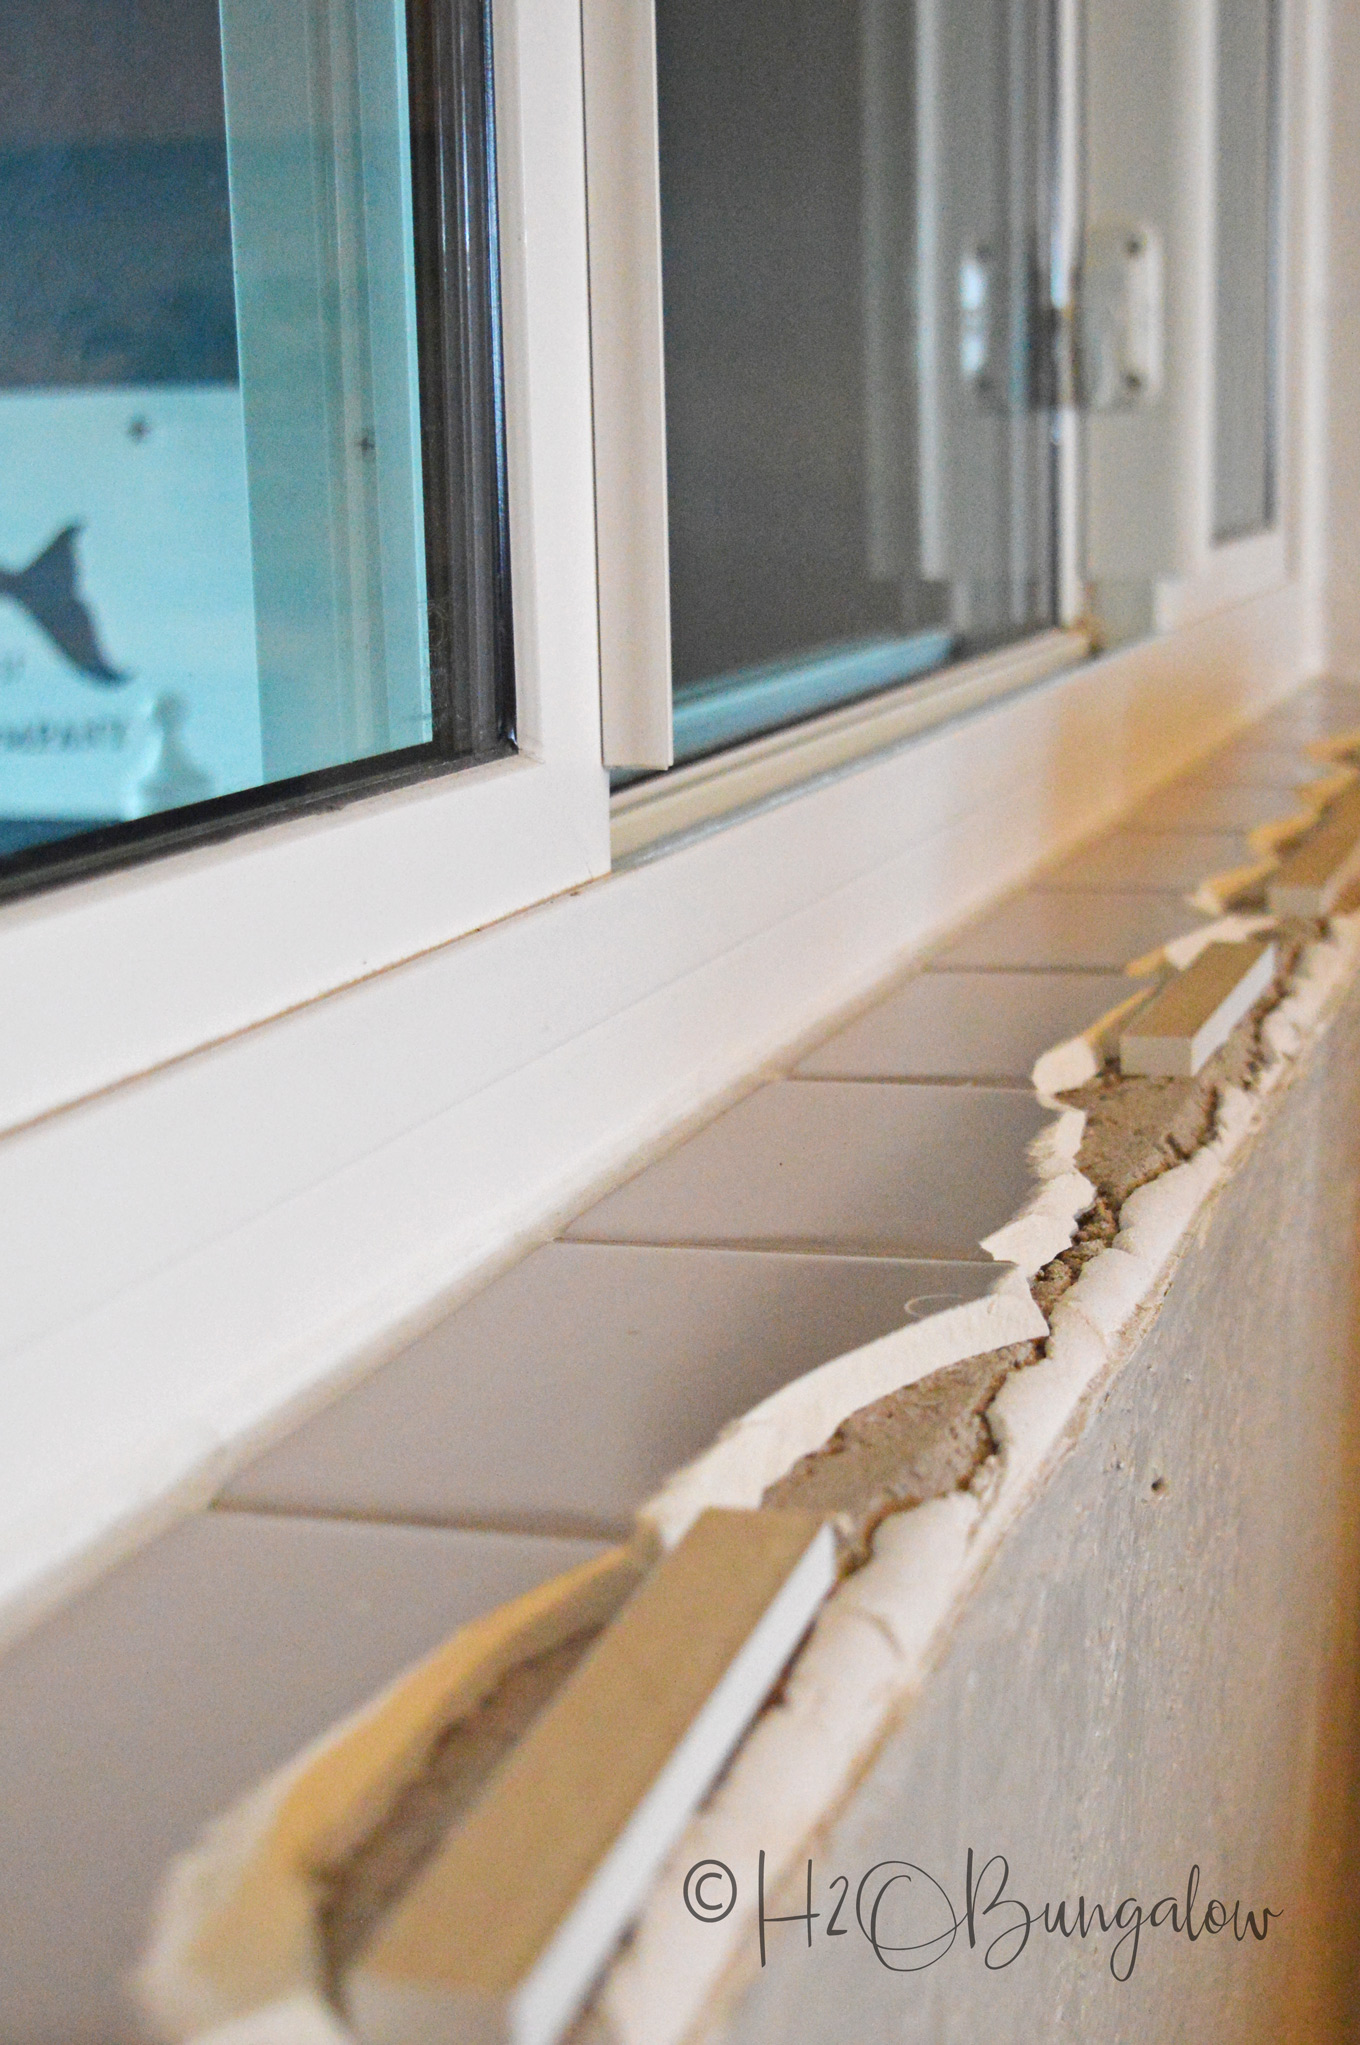
Our home was built in 1953, a few of the original window sills were still intact. That meant I had tile sills! It’s easy to add wood window sills over tile. If they are level, just glue them down with Liquid Nails, otherwise chip off enough to level them. Add shims as needed for stability and glue the wood window sill and shims together with Liquid Nails.
Step Three – Measure and cut your window sill from a 1 x 6″ board. It will be 5 inches wider than the window on each side. In other words, the window width plus 10 inches.
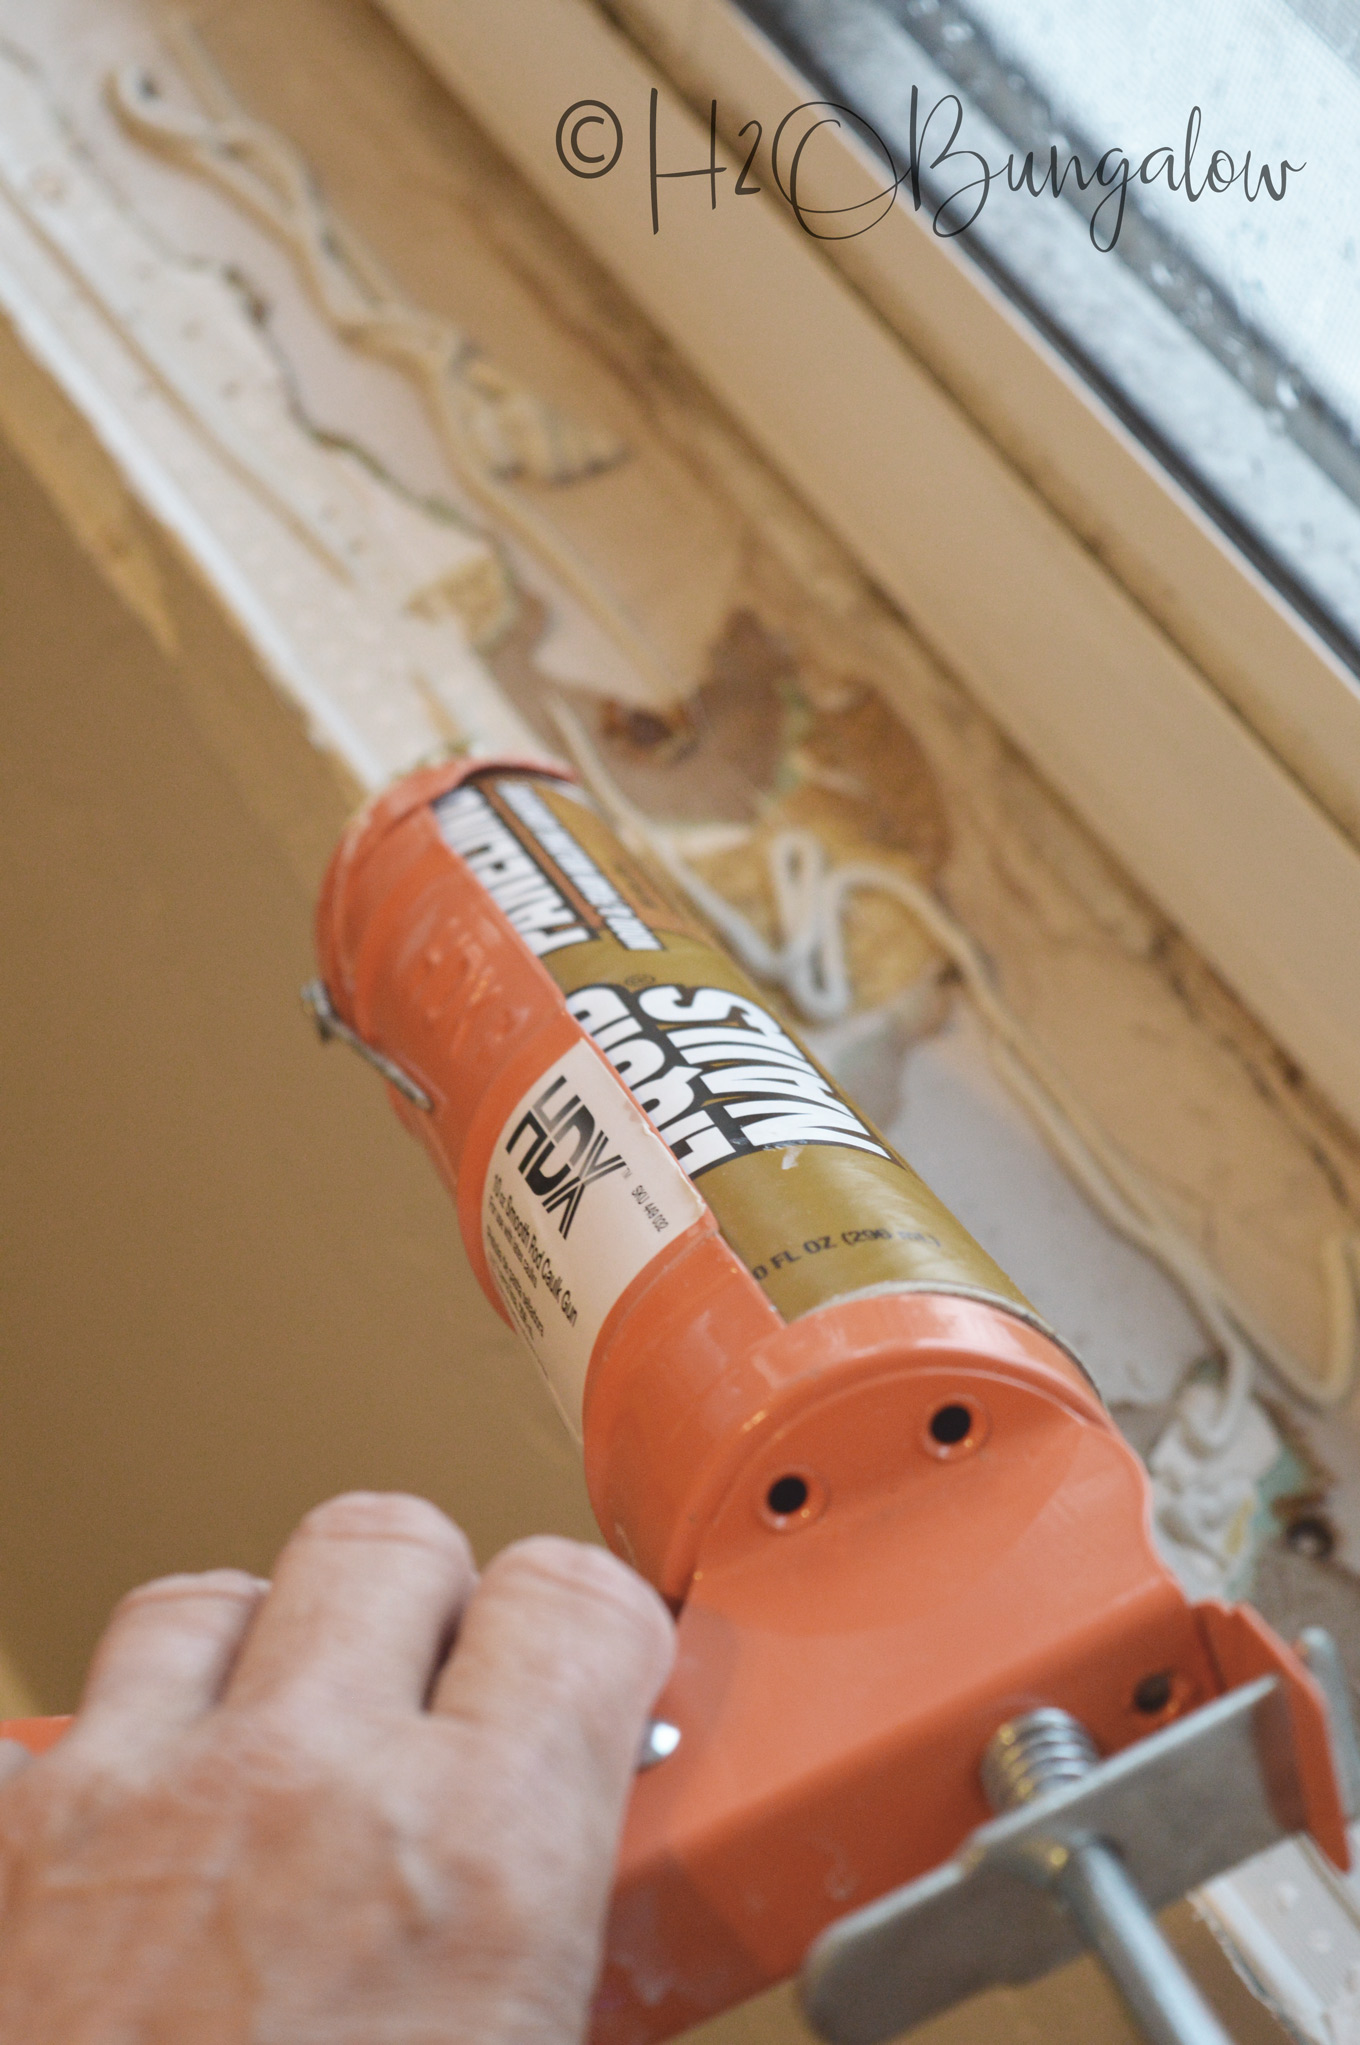
Step Four – Install the craftsman style window sill. When installing window sills, be sure to vacuum out any loose debris before gluing the window sills down with Liquid Nails. I didn’t nail my window sills because the side and bottom window trim and Liquid Nails were plenty strong enough to keep them in place.
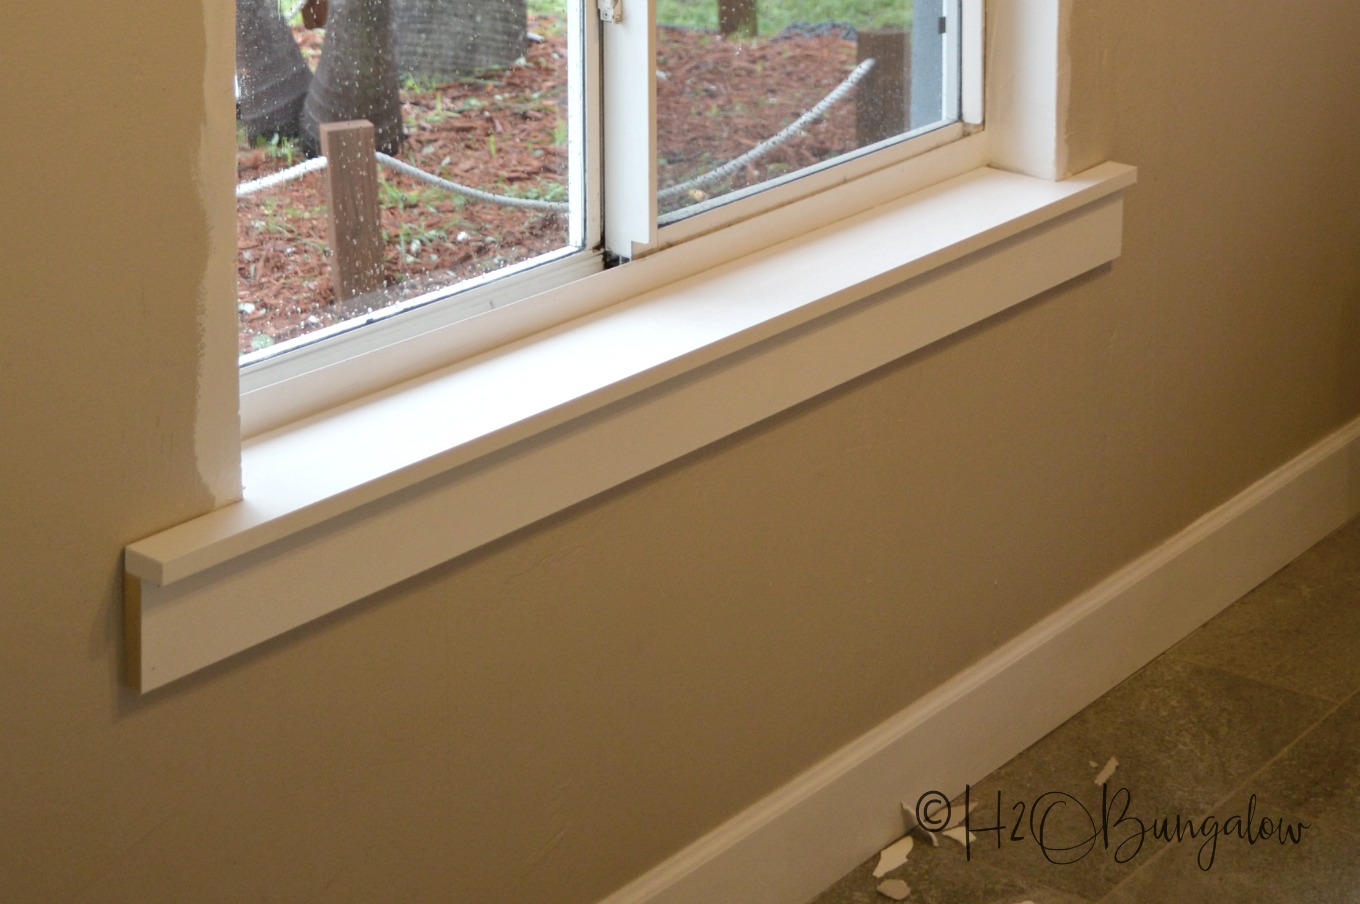
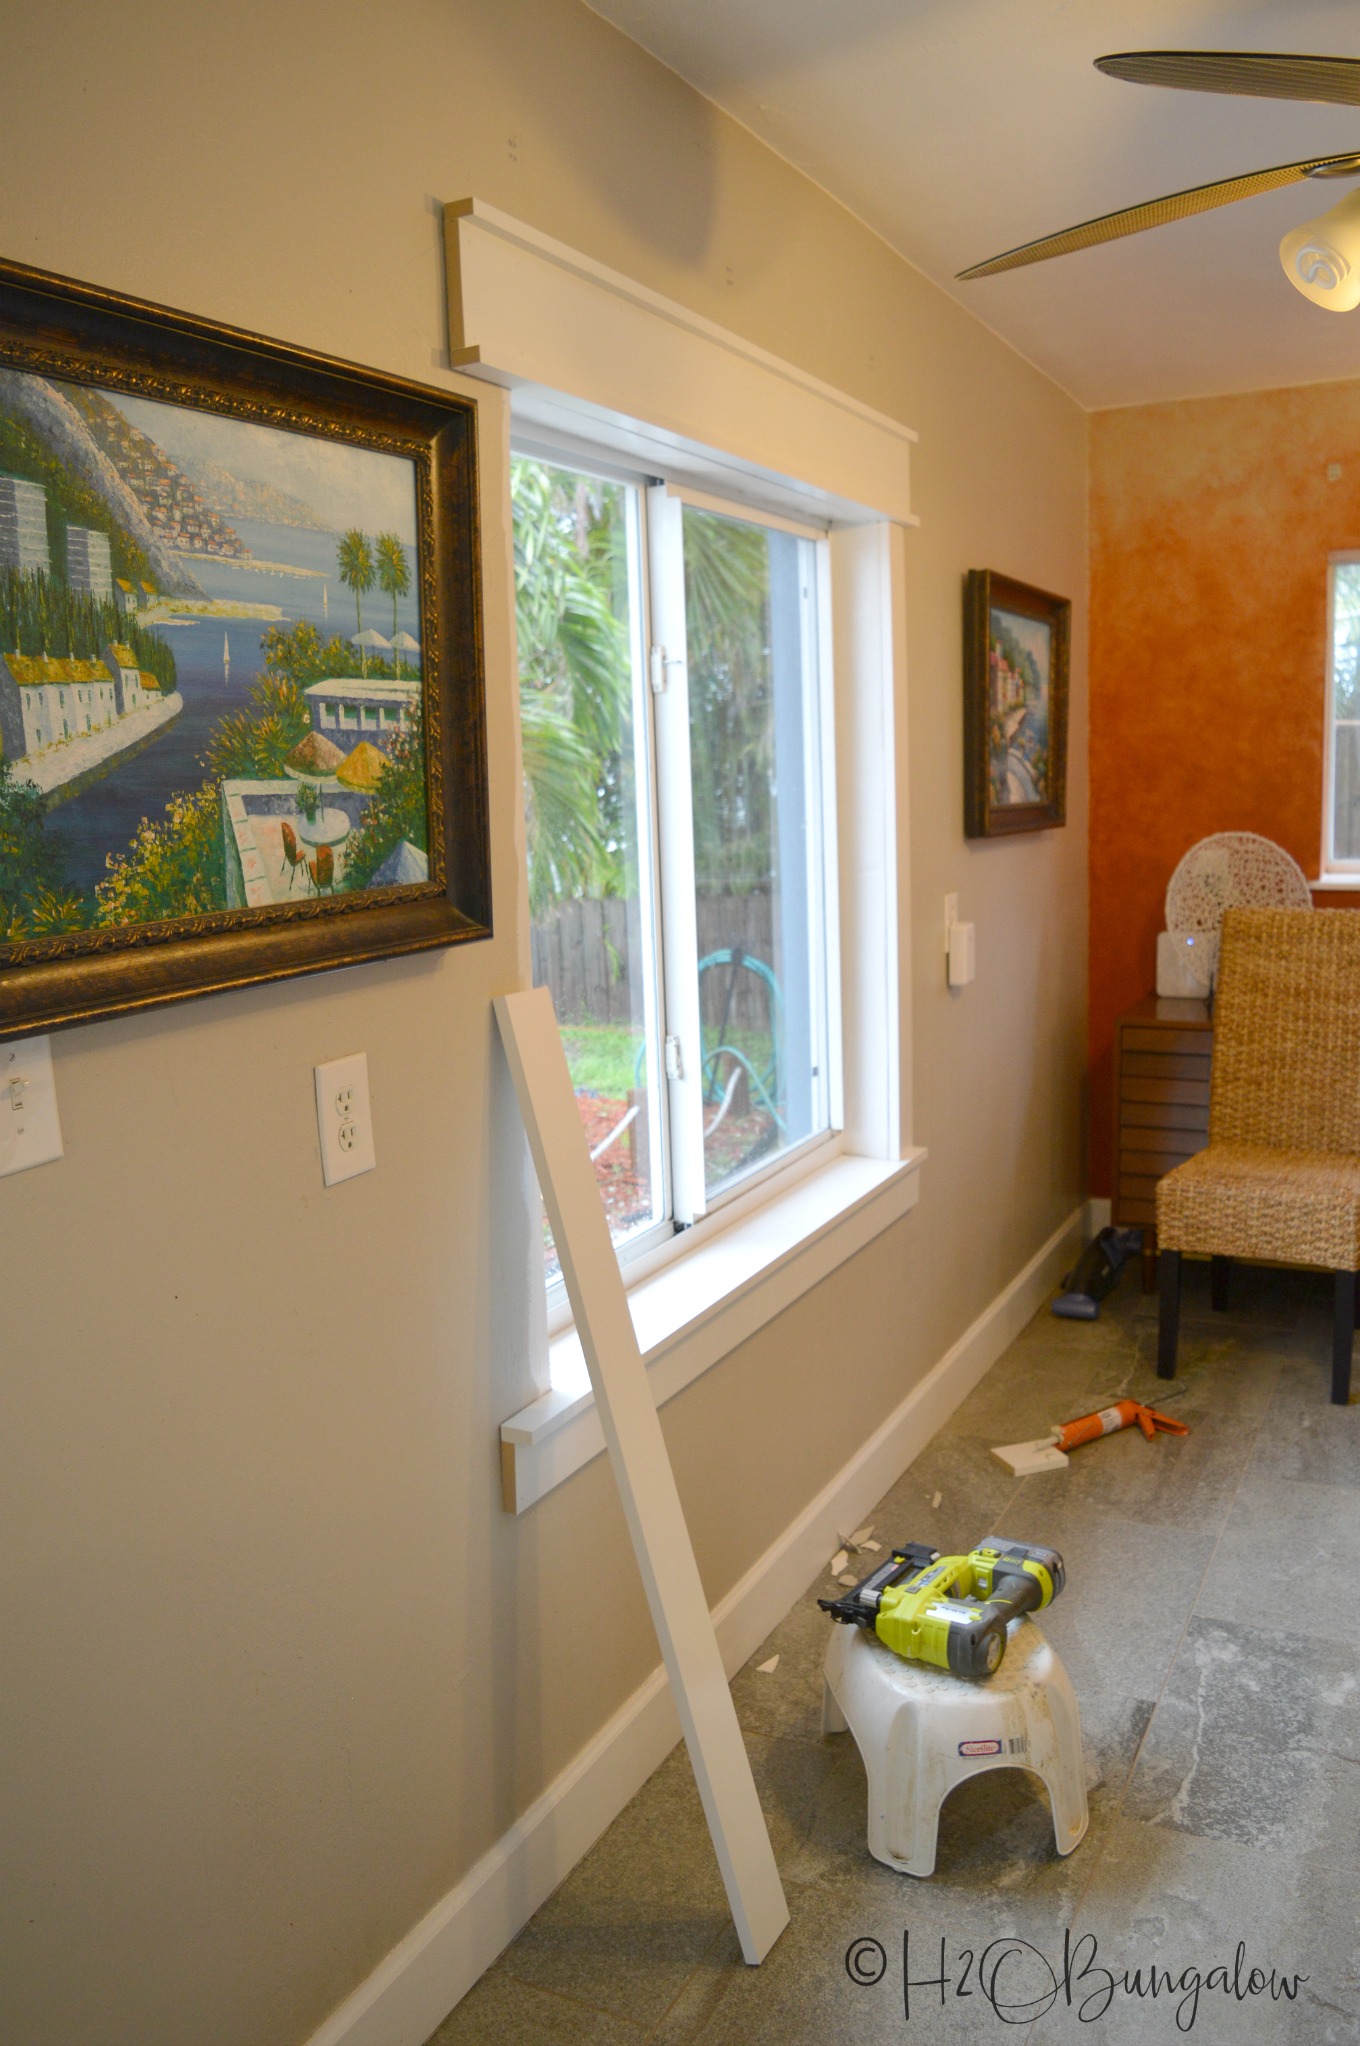
Next, attach the craftsman style sill base underneath the window sill. Both sides should be perfectly flush with the outer edges of the window sill and the top will butt up to the sill ledge.
It’s looking better already! See where I painted inside my window surround?
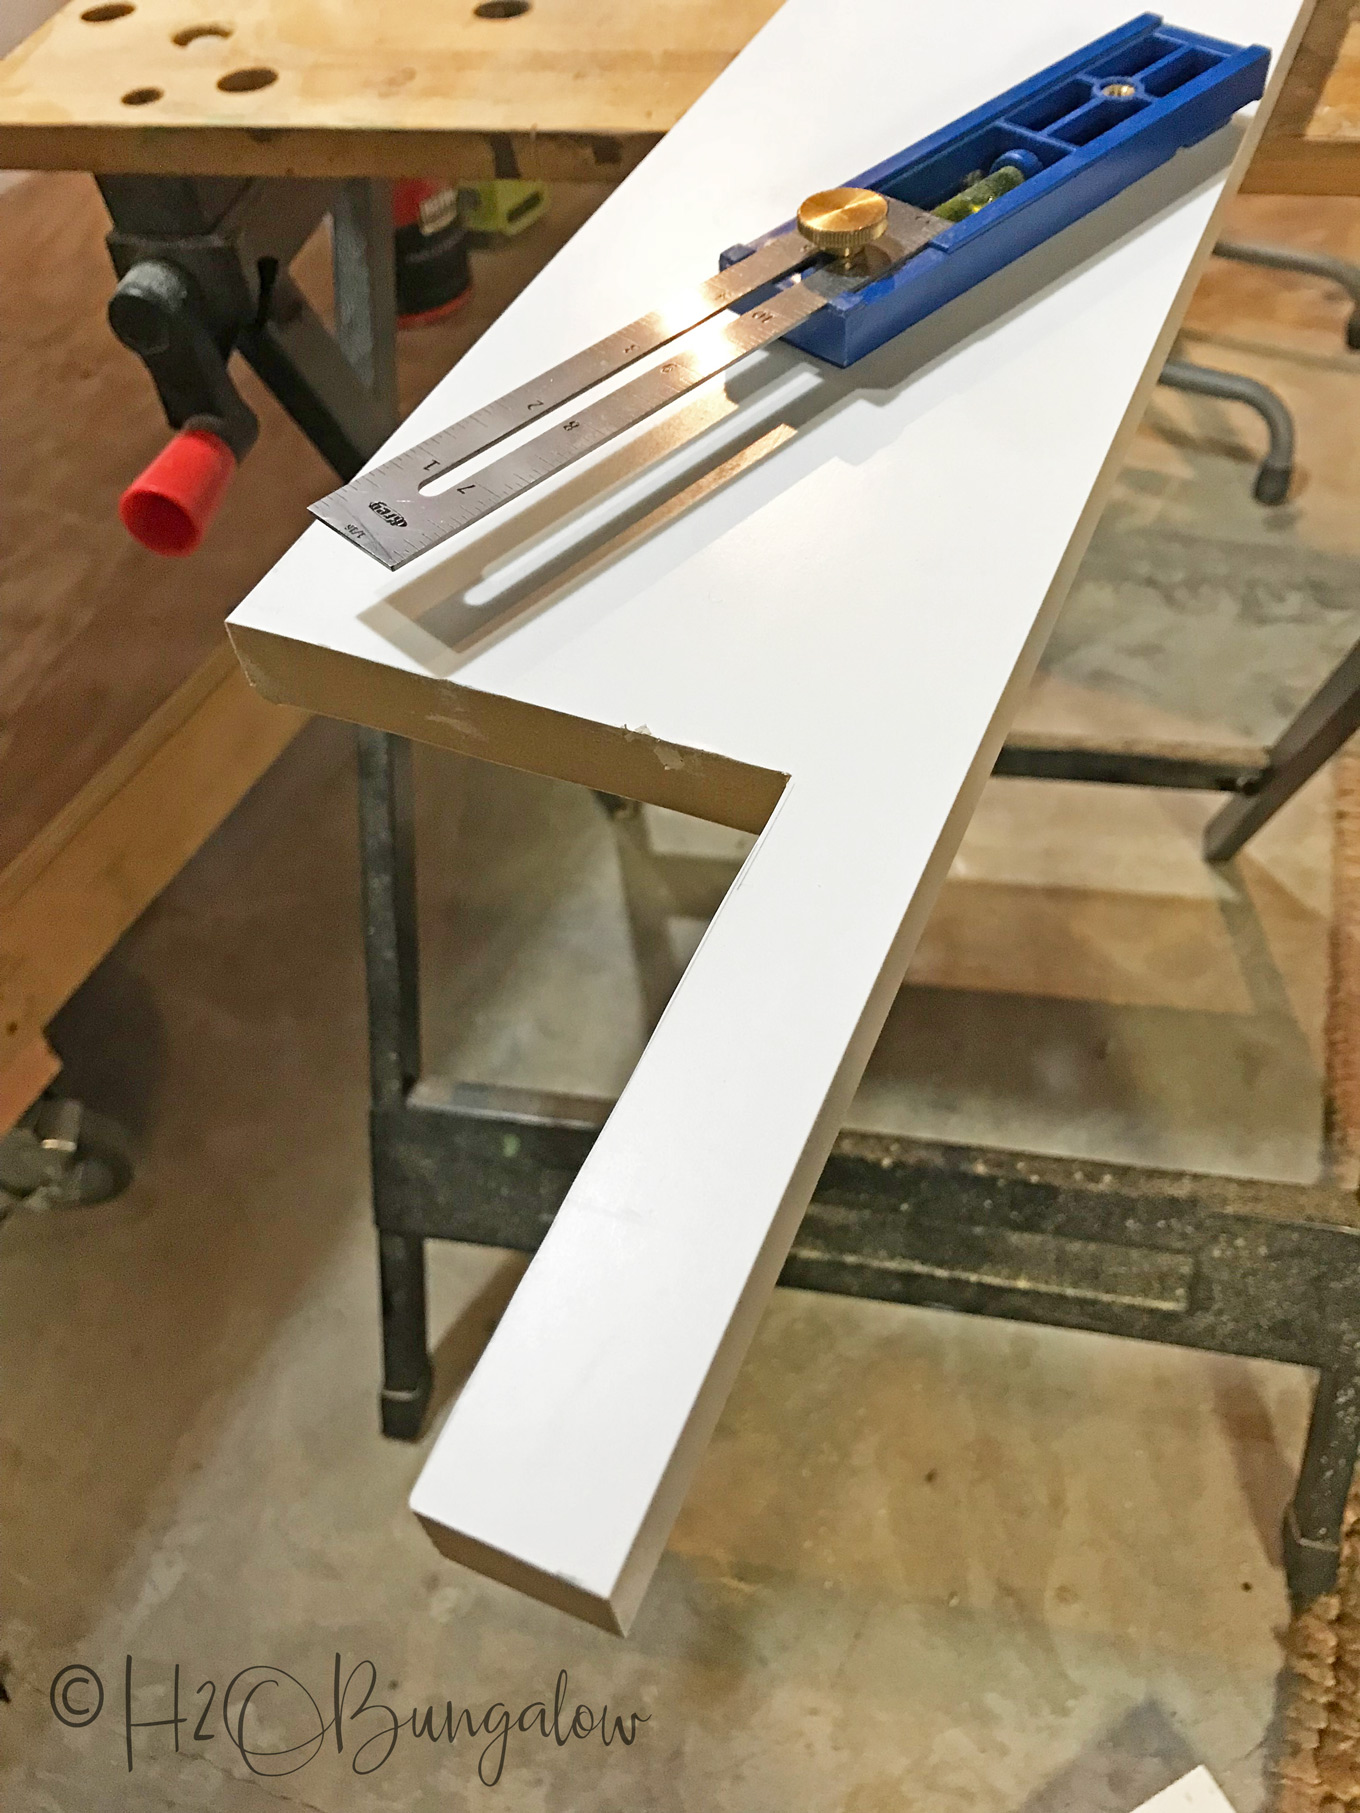
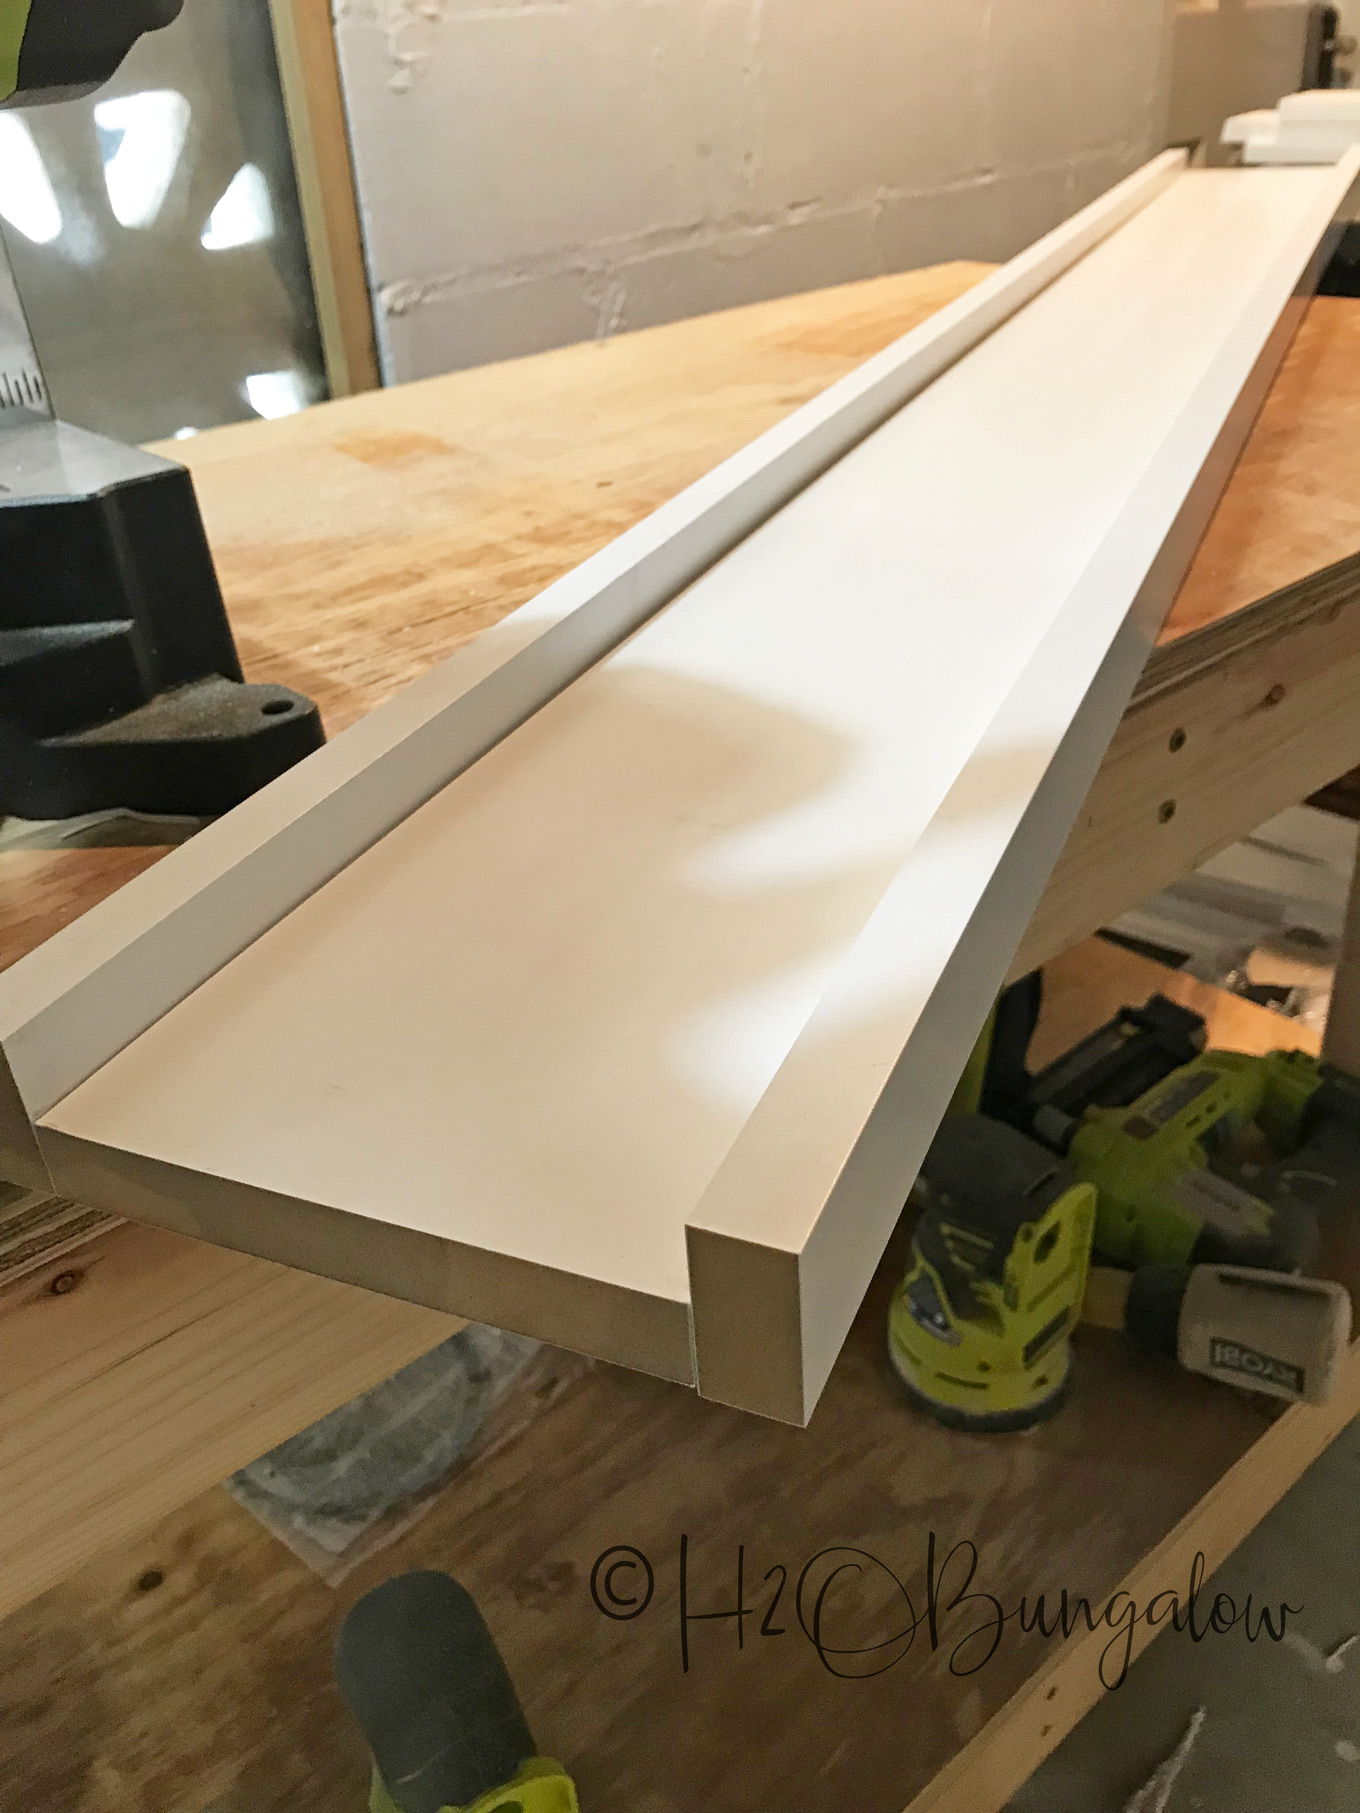
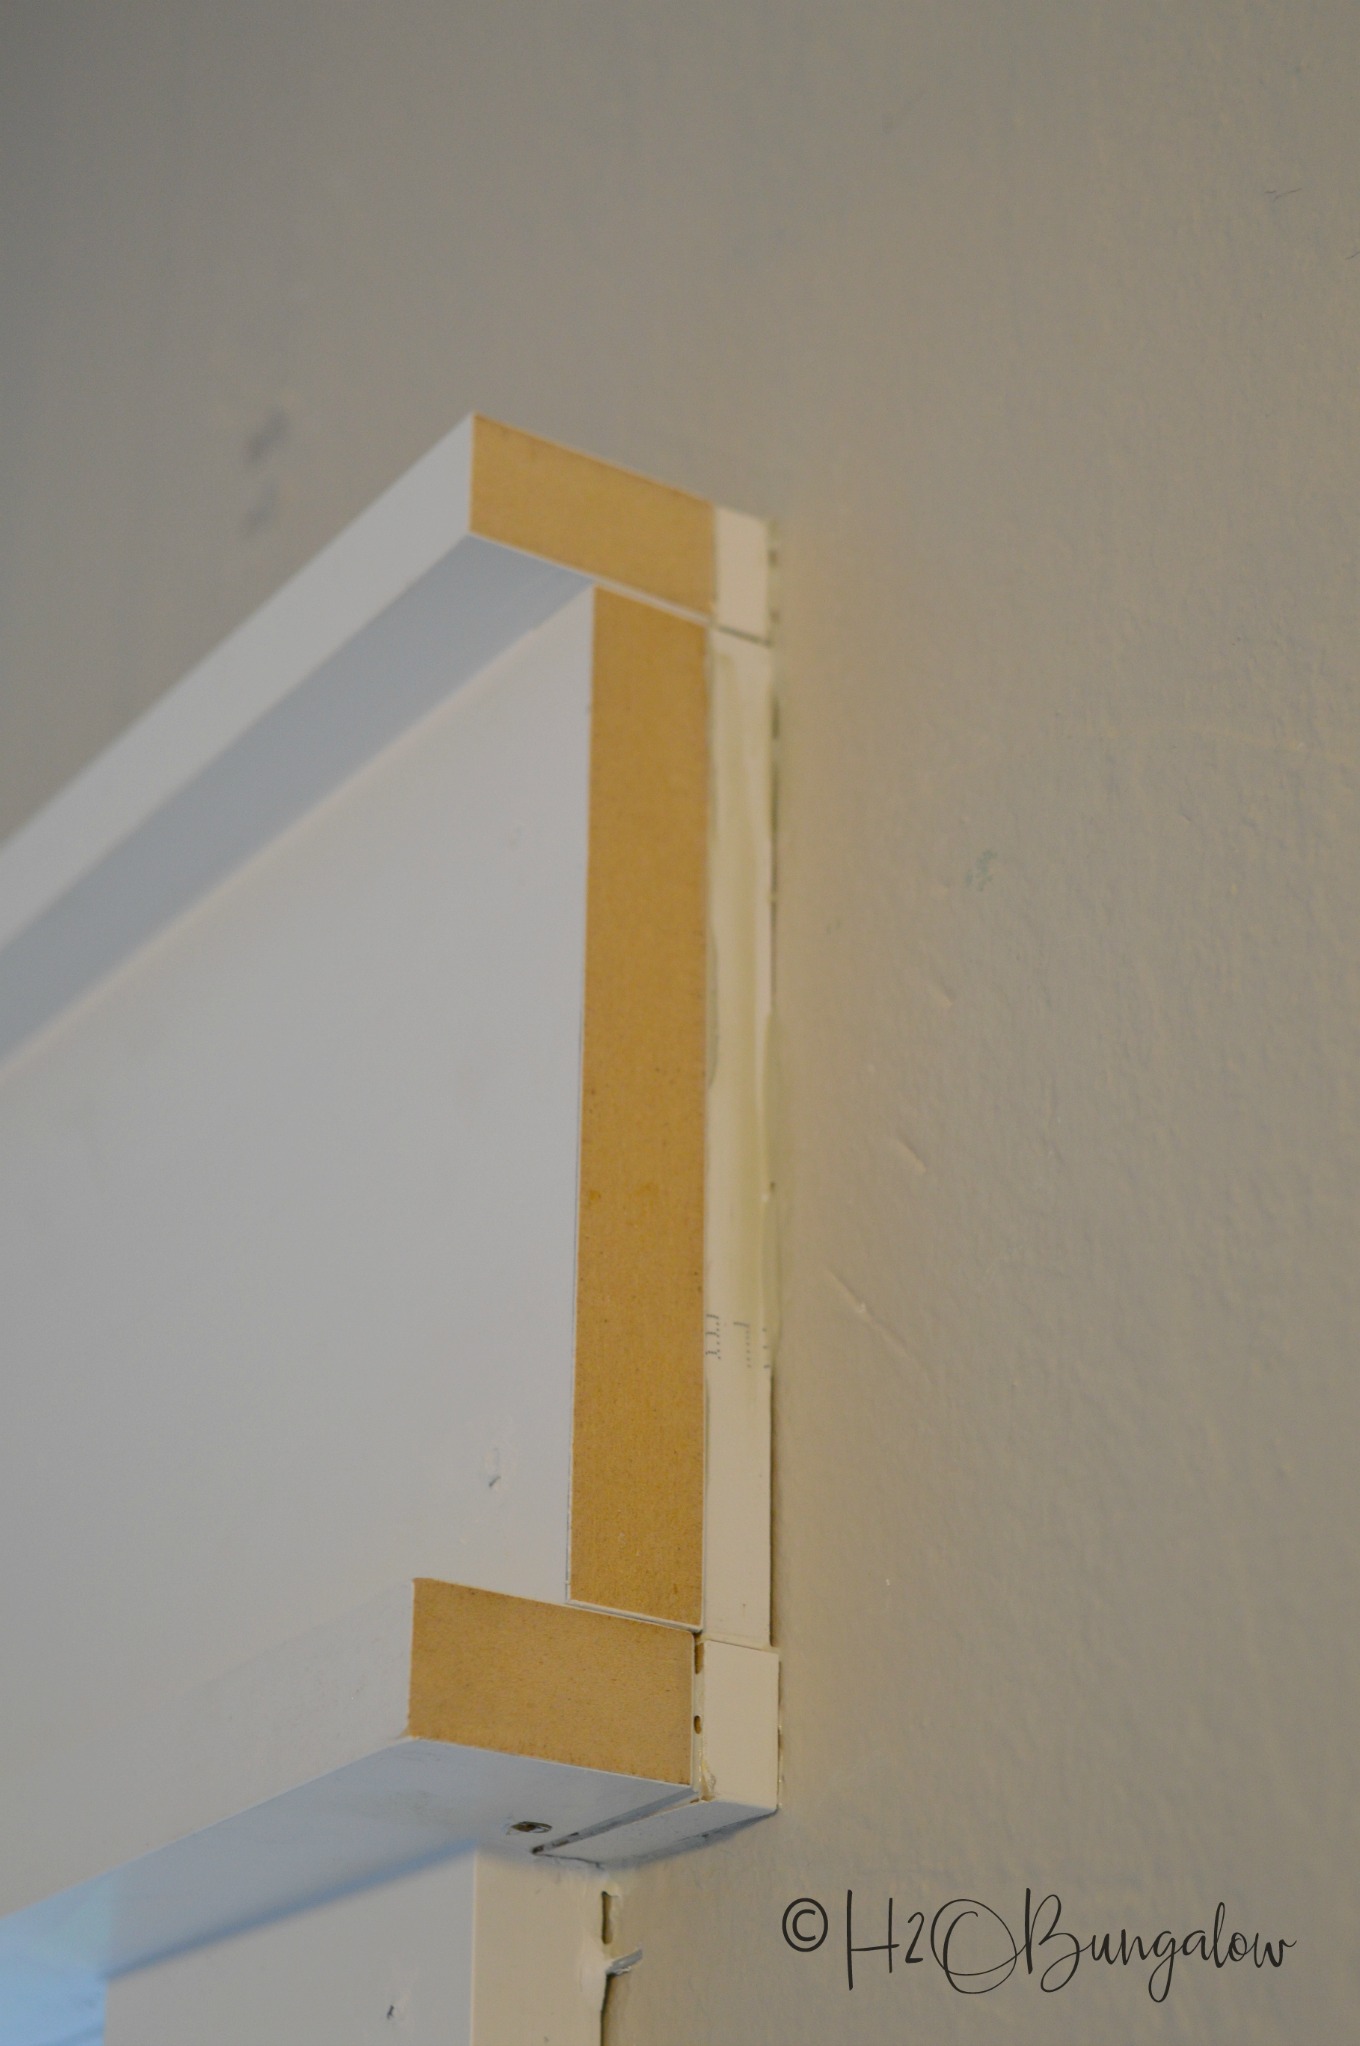
Step Five – Build the window casing header from a 1 x 6 and two, 1 x 2’s. Cut the header pieces the same width as the outside measurement of the sill ledges. Assemble it before installing above the window.
Tip~ If you don’t have a second set of hands for this step you can tap a brad nail in one end of the 1″ x 2″ board to attach it to the 1″ x 6″ board while you’re working on the pilot holes.
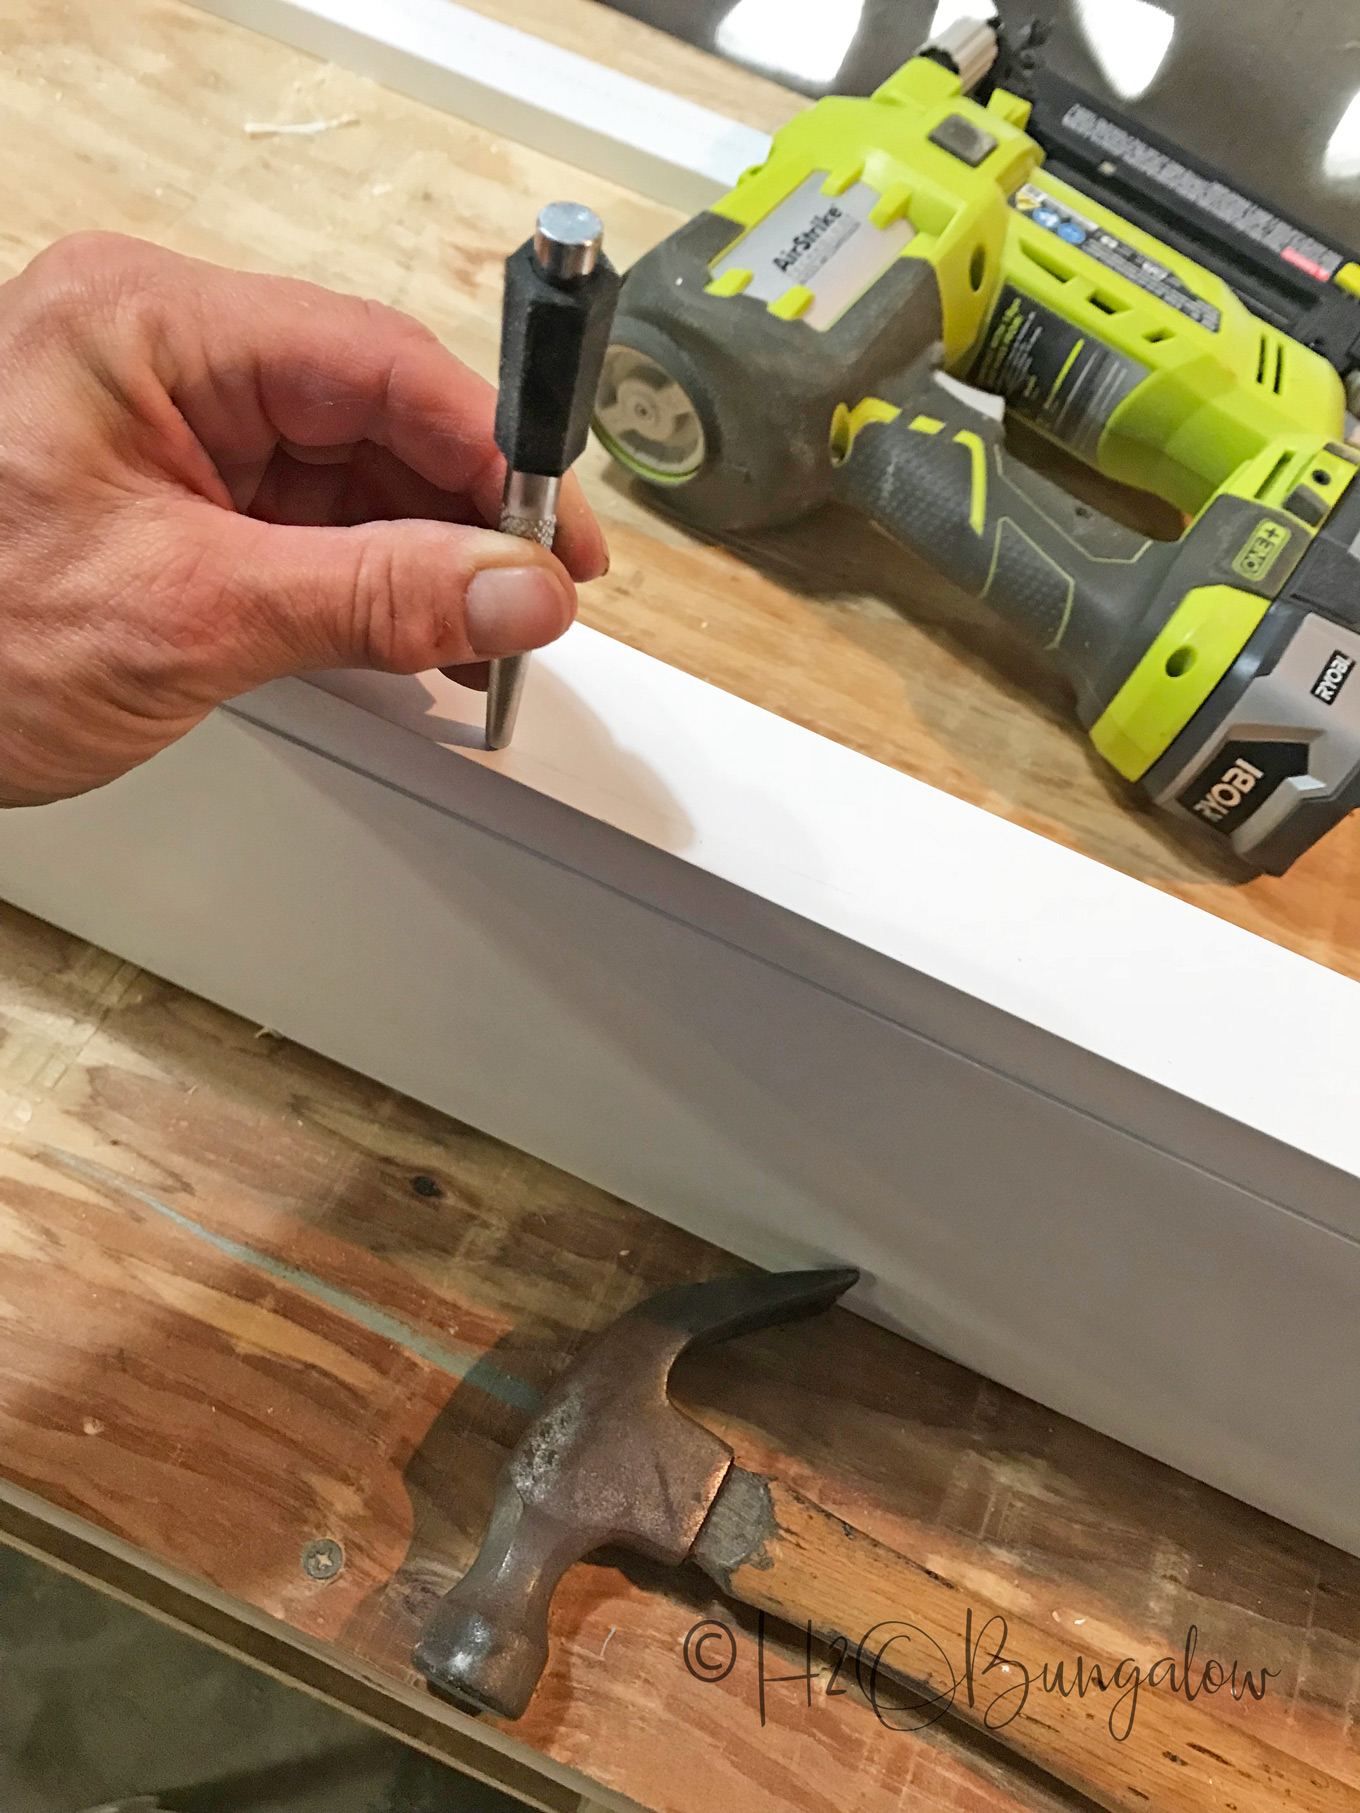
Because the Finished Elegance has such a hard surface (that’s a good thing), I used a punch to make pilot hole indentations where I wanted my pilot holes. This made drilling the pilot holes easy. I used a 5/32 drill bit for the pilot holes.
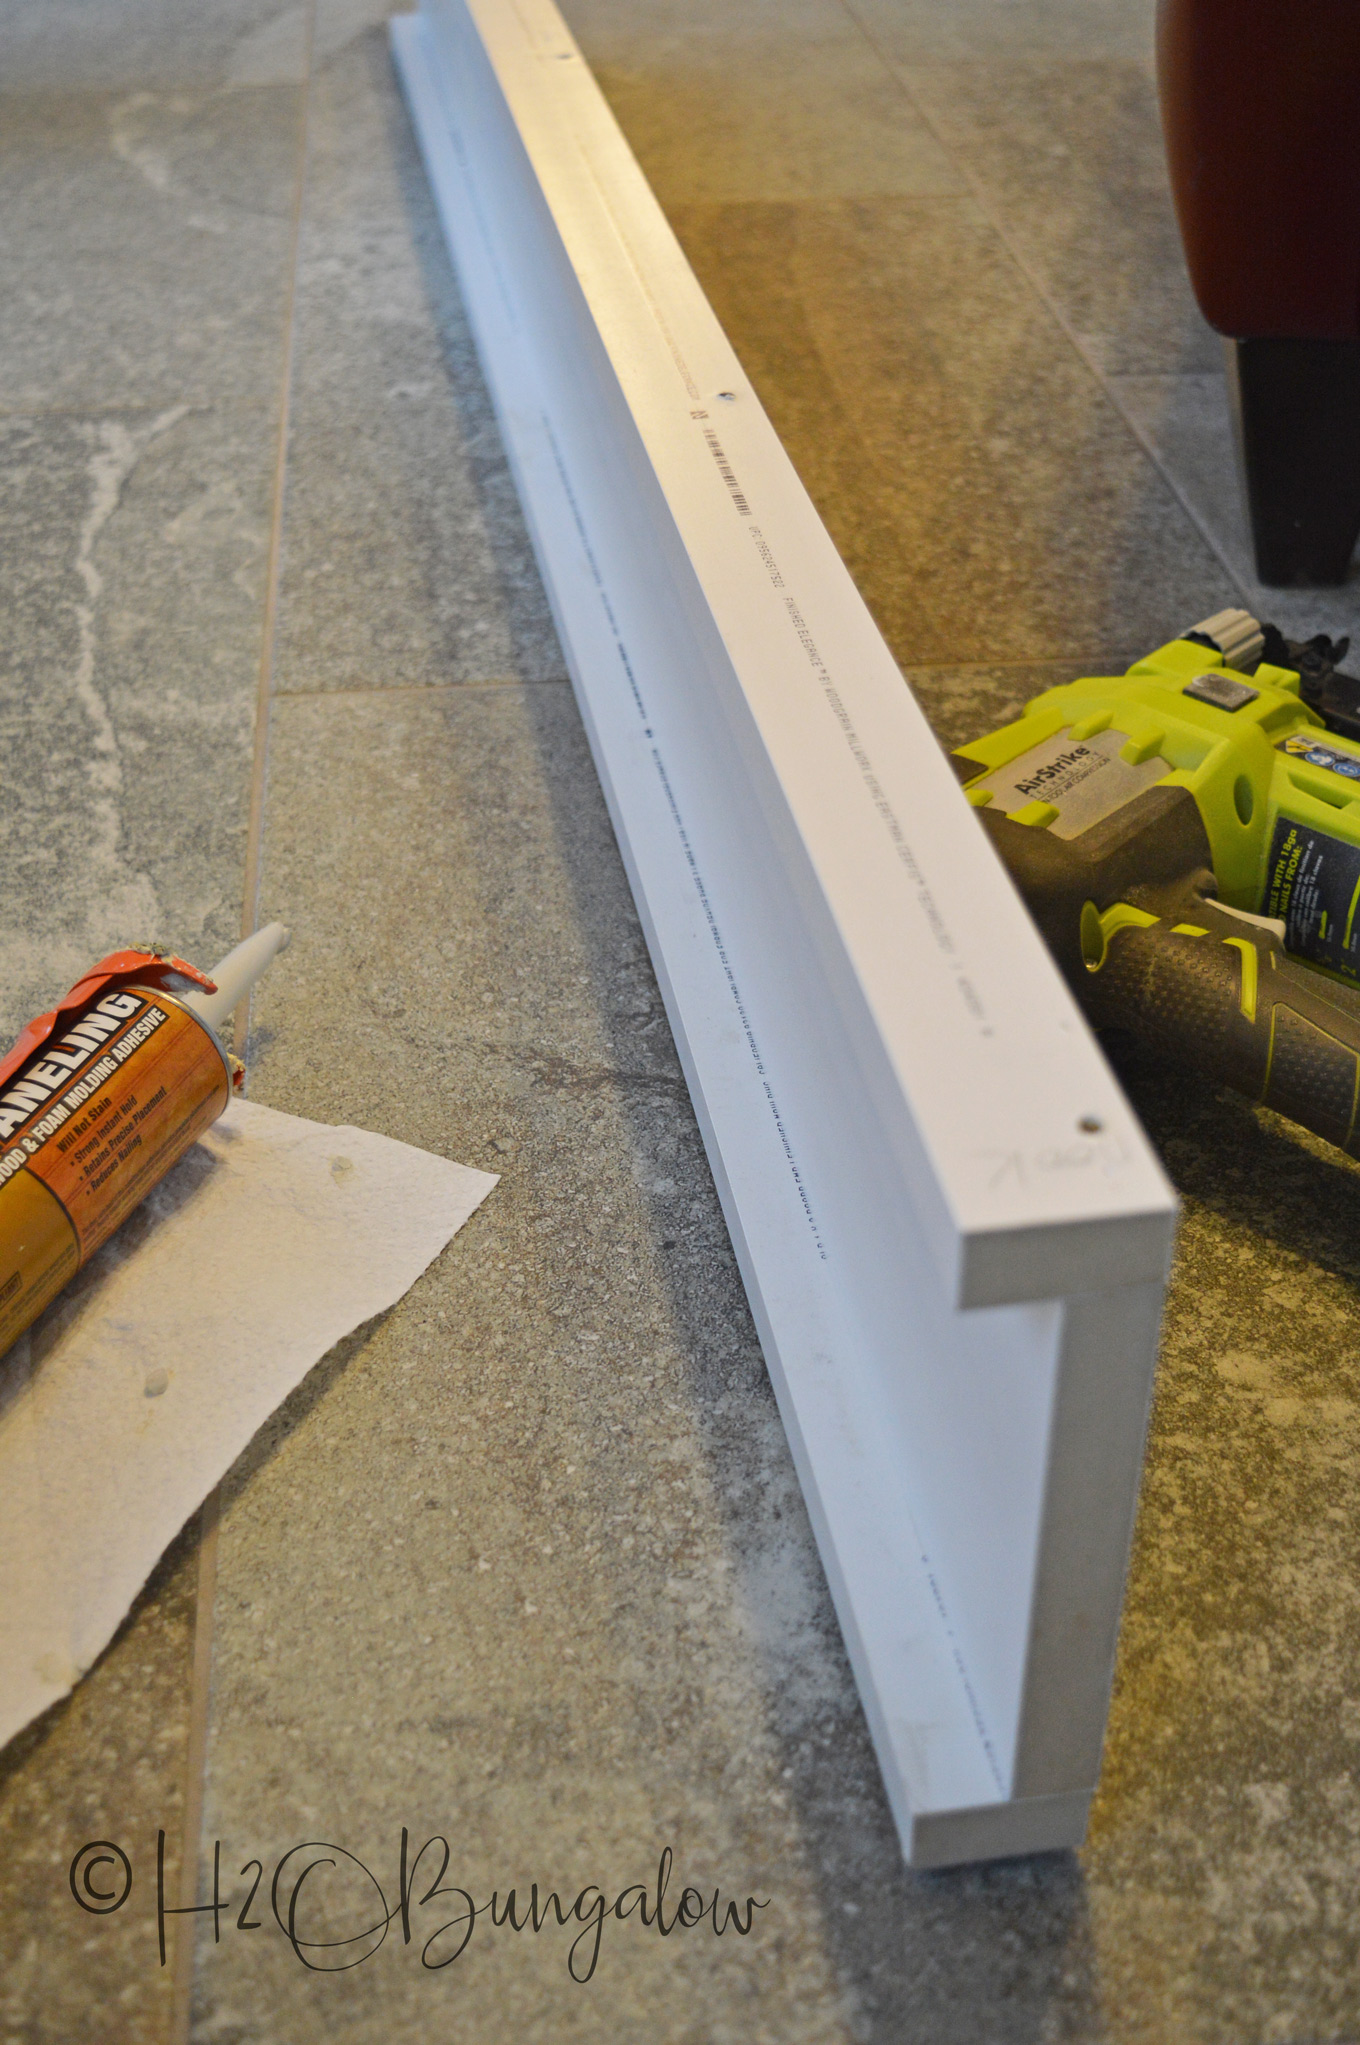
The screws are set about a foot apart. Use wood glue before screwing in the 2 trim screws. One more item I’ll mention is to be sure the back, printed sides of the Finished Elegance boards are facing away or up so the writing won’t be seen when each piece is installed.
You’ll also notice I label my pieces on the back in pencil. That’s a huge help when working with lots of pieces!
Step Six – Install the craftsman style window casing header. Mark the center of the header and the center of your window at the top. Load the back of the header with Liquid Nails. Use a level and hold in place while someone else attaches it to the wall with the brad nailer.
Step Seven – Cut and attach side pieces of window casings. I always wait to measure and cut these kind of pieces after everything else has been installed. Measure each side and make your cuts carefully. It’s easier to shave off 1/32 of an inch than it is to run back to the store for another board! Line up the board with the inside edge of the windows.
It’s looking pretty good so far!
Finishing Craftsman Style Trim Using Finished Elegance
Here’s a few tips on finishing your window trim project when working with Finished Elegance.
Shim uneven walls where needed. Yep, our walls are bit uneven too. This wall had a huge bowed section which would only let one side of my window header lay flat. We call it character and I’ve learned to work with it. I shimmed this spot with scrap pieces of trim, attaching it with Liquid Nails and then brad nails.
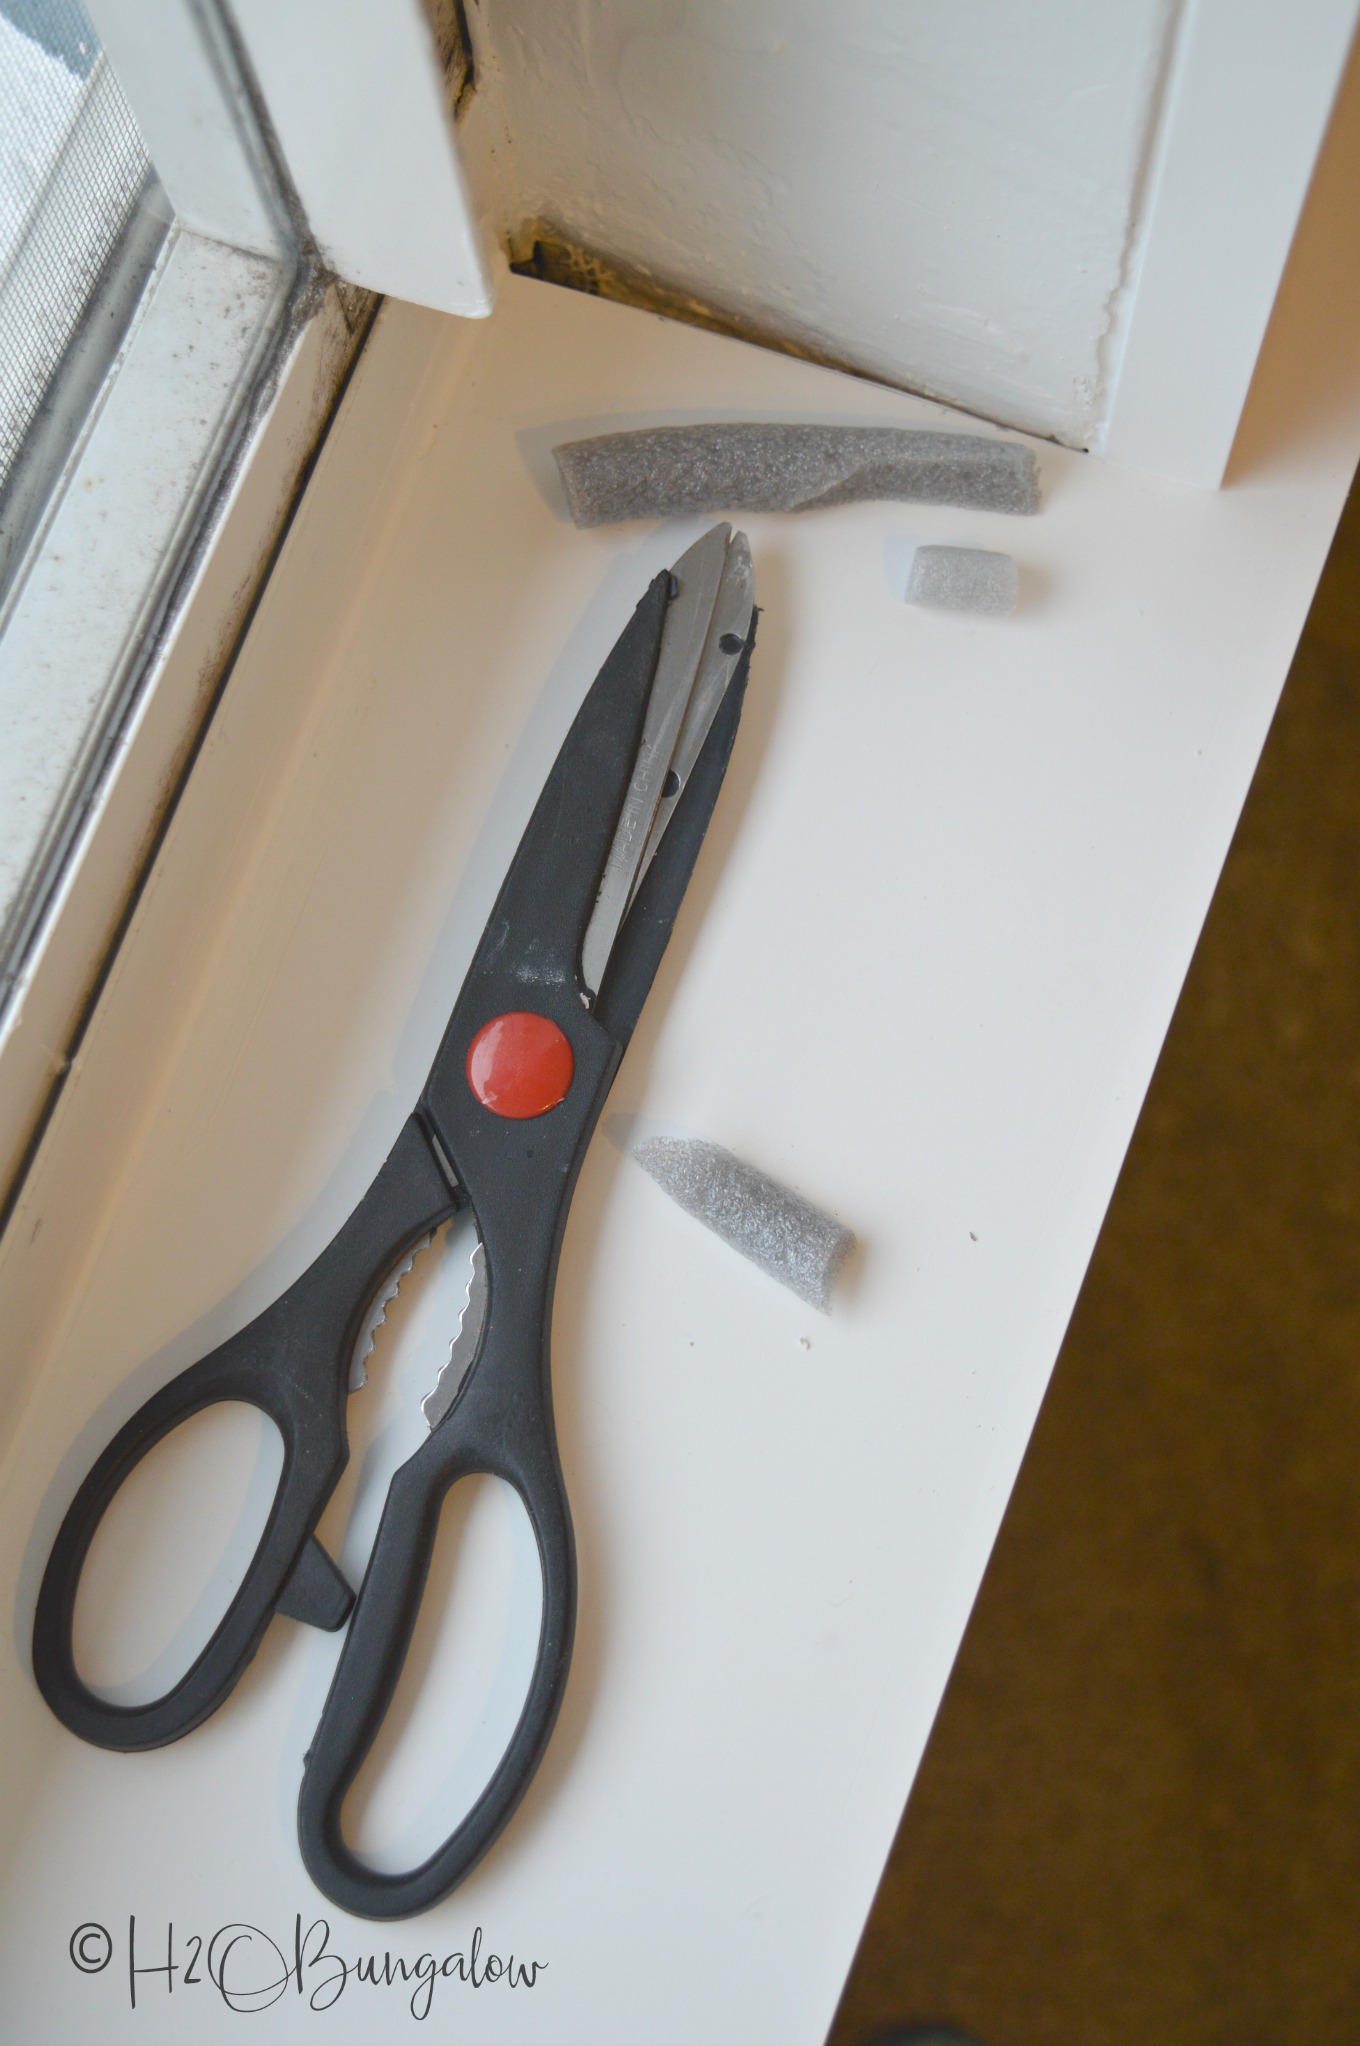
Use backer rod to fill large gaps before caulking.
Paint the cut ends of your window trim. I used the same paint as I used on the inside of the windows.
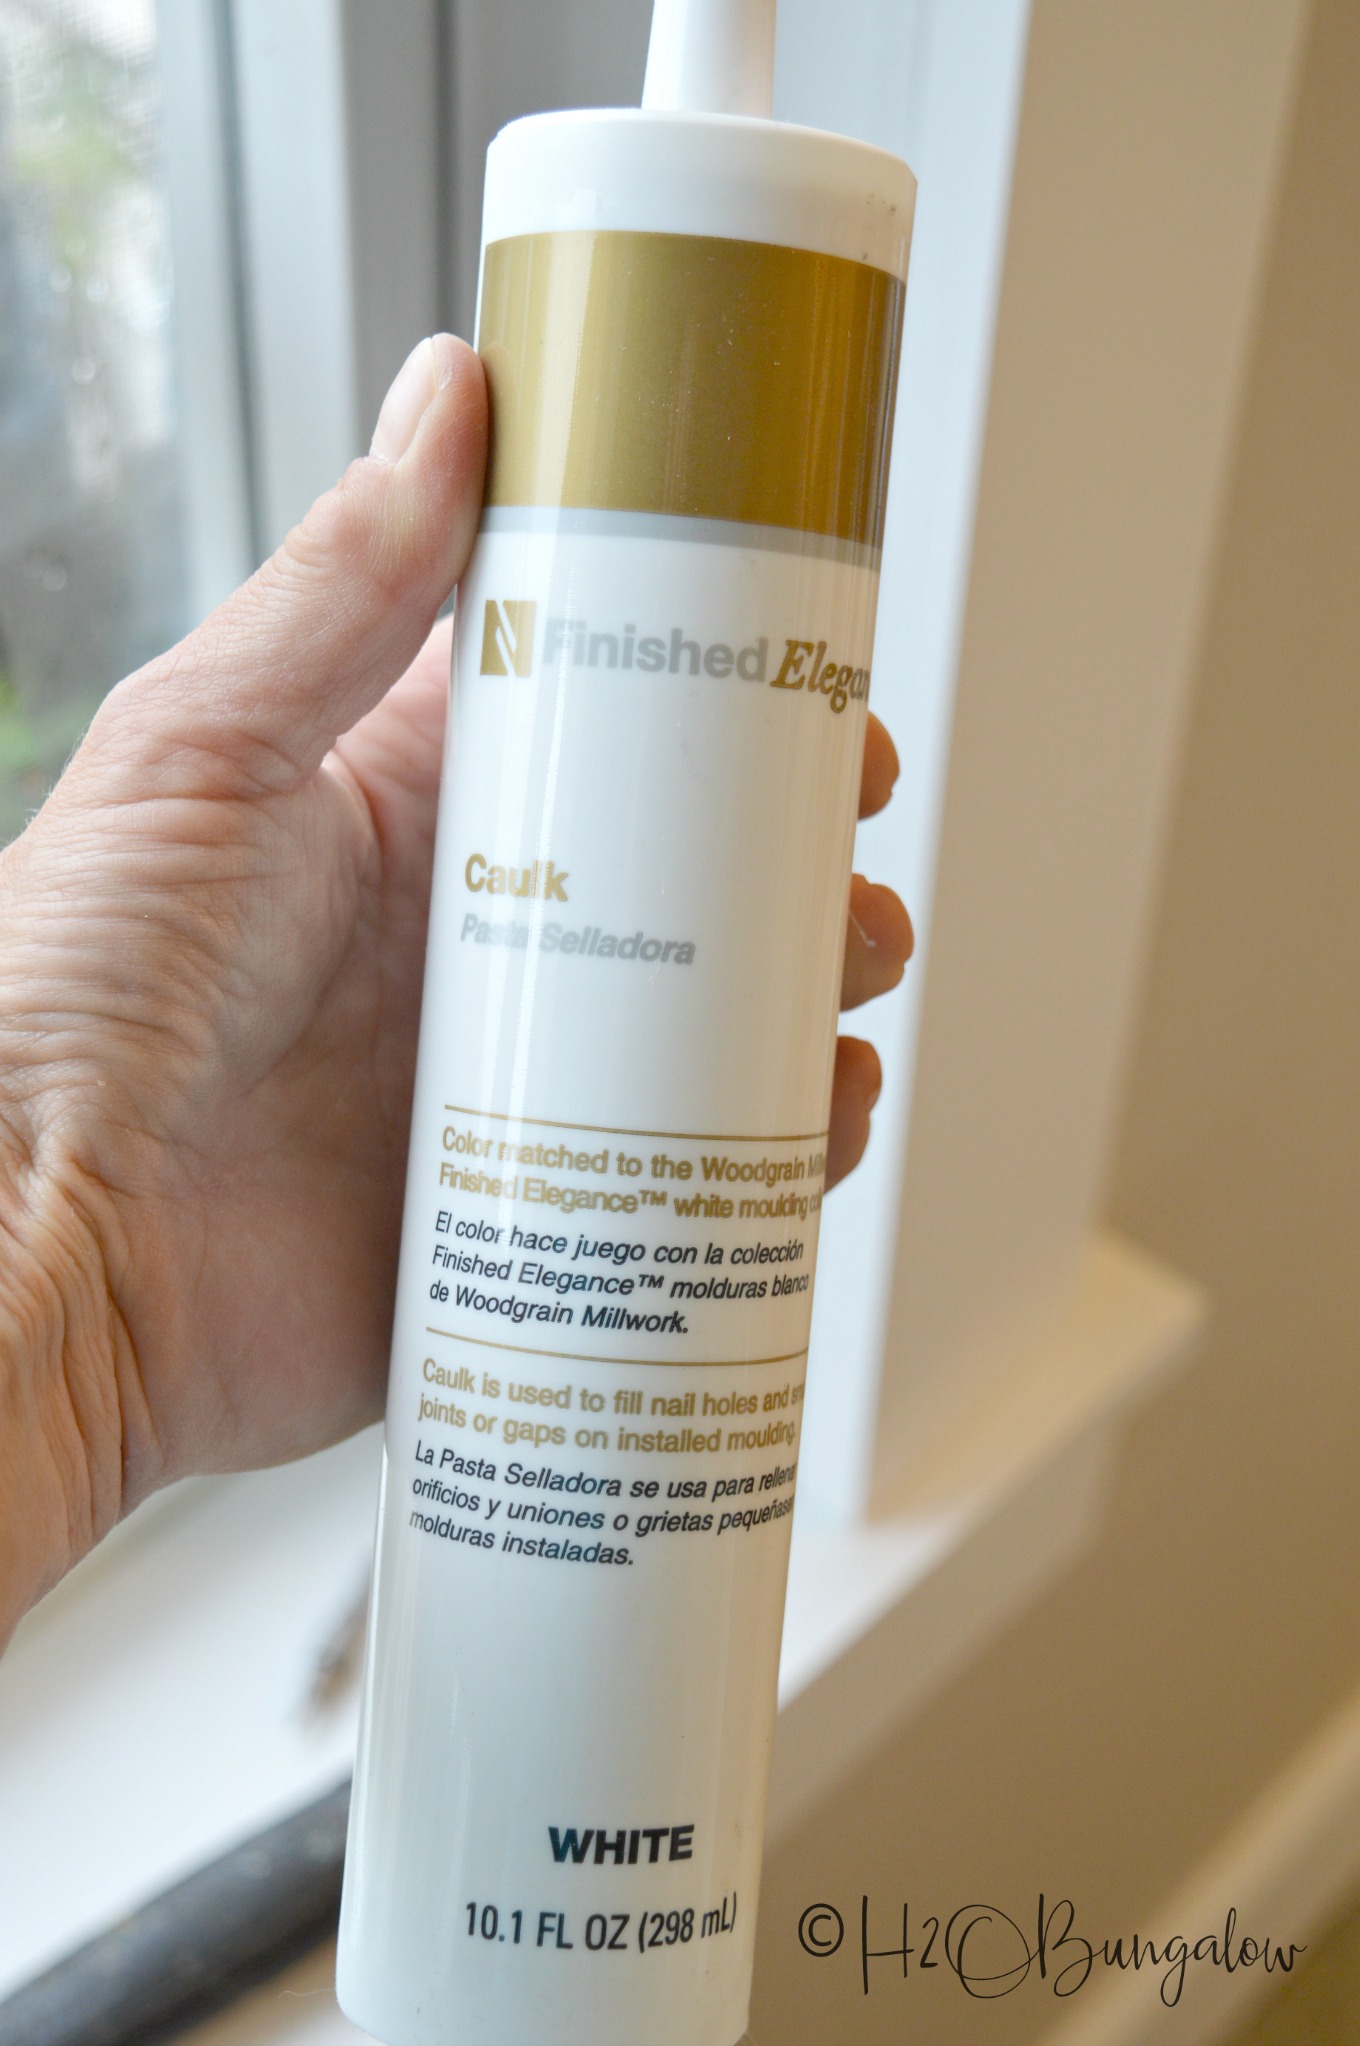
Use the color matched Finished Elegance caulk to fill gaps, nail and screw head holes. Wipe off the excess with a damp cloth. It’s a bit wetter than regular caulk and isn’t water soluble, so use it carefully. I used regular painter’s caulk to caulk the outside edge where the trim meets the walls.
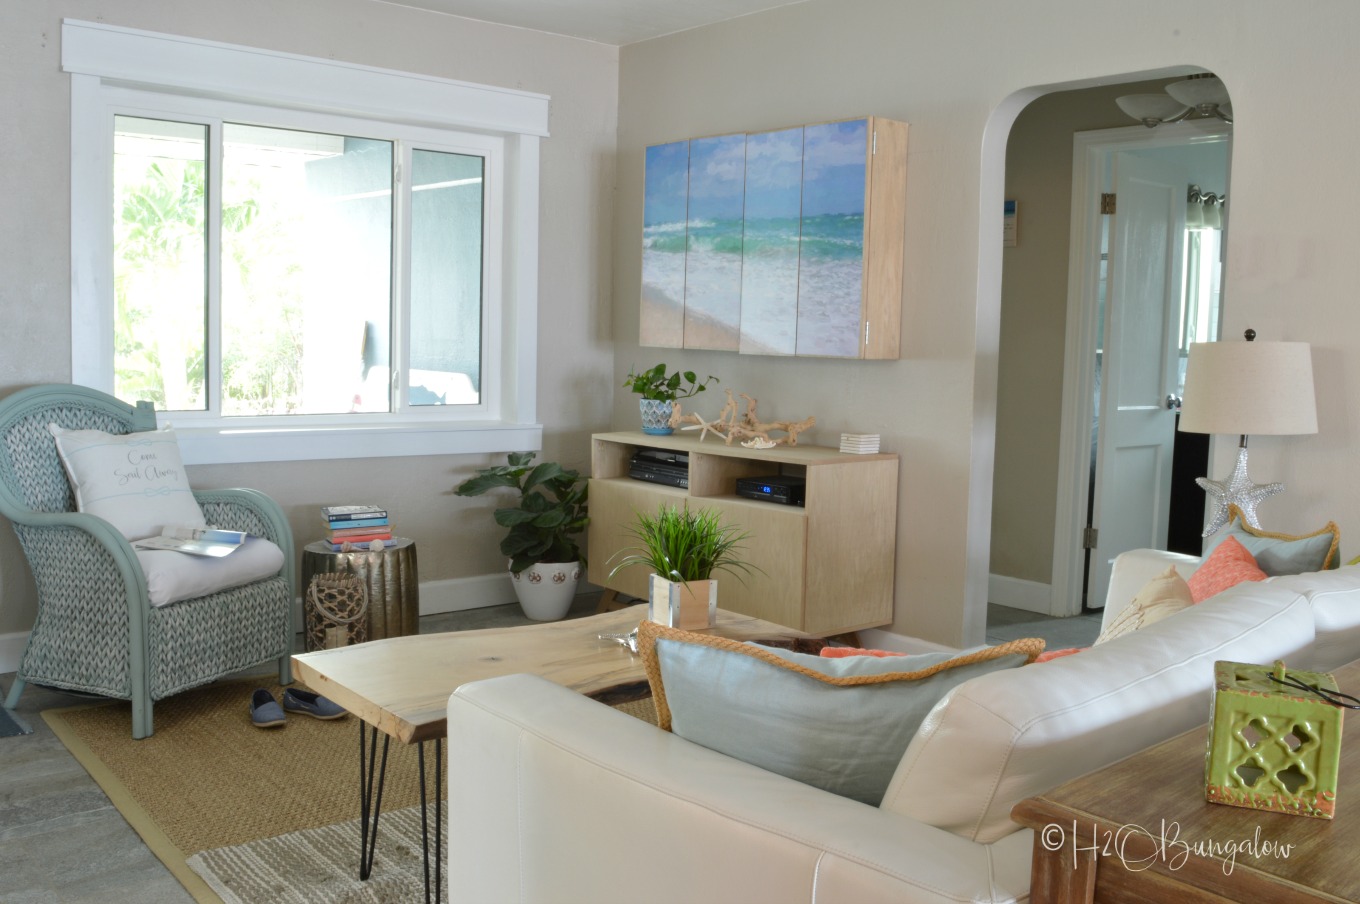
What a difference! I’m loving how much brighter the windows look and especially that they reflect more light. I love my new DIY craftsman style window trim! Besides being the easiest window trim to make, I chose craftsman window trim because it fits beautifully with almost all home decor styles.

My windows look brighter and larger. DIY Window trim is an easy way to give a room an instant upgrade. Using the Finished Elegance prefinished trim boards made this project a breeze!
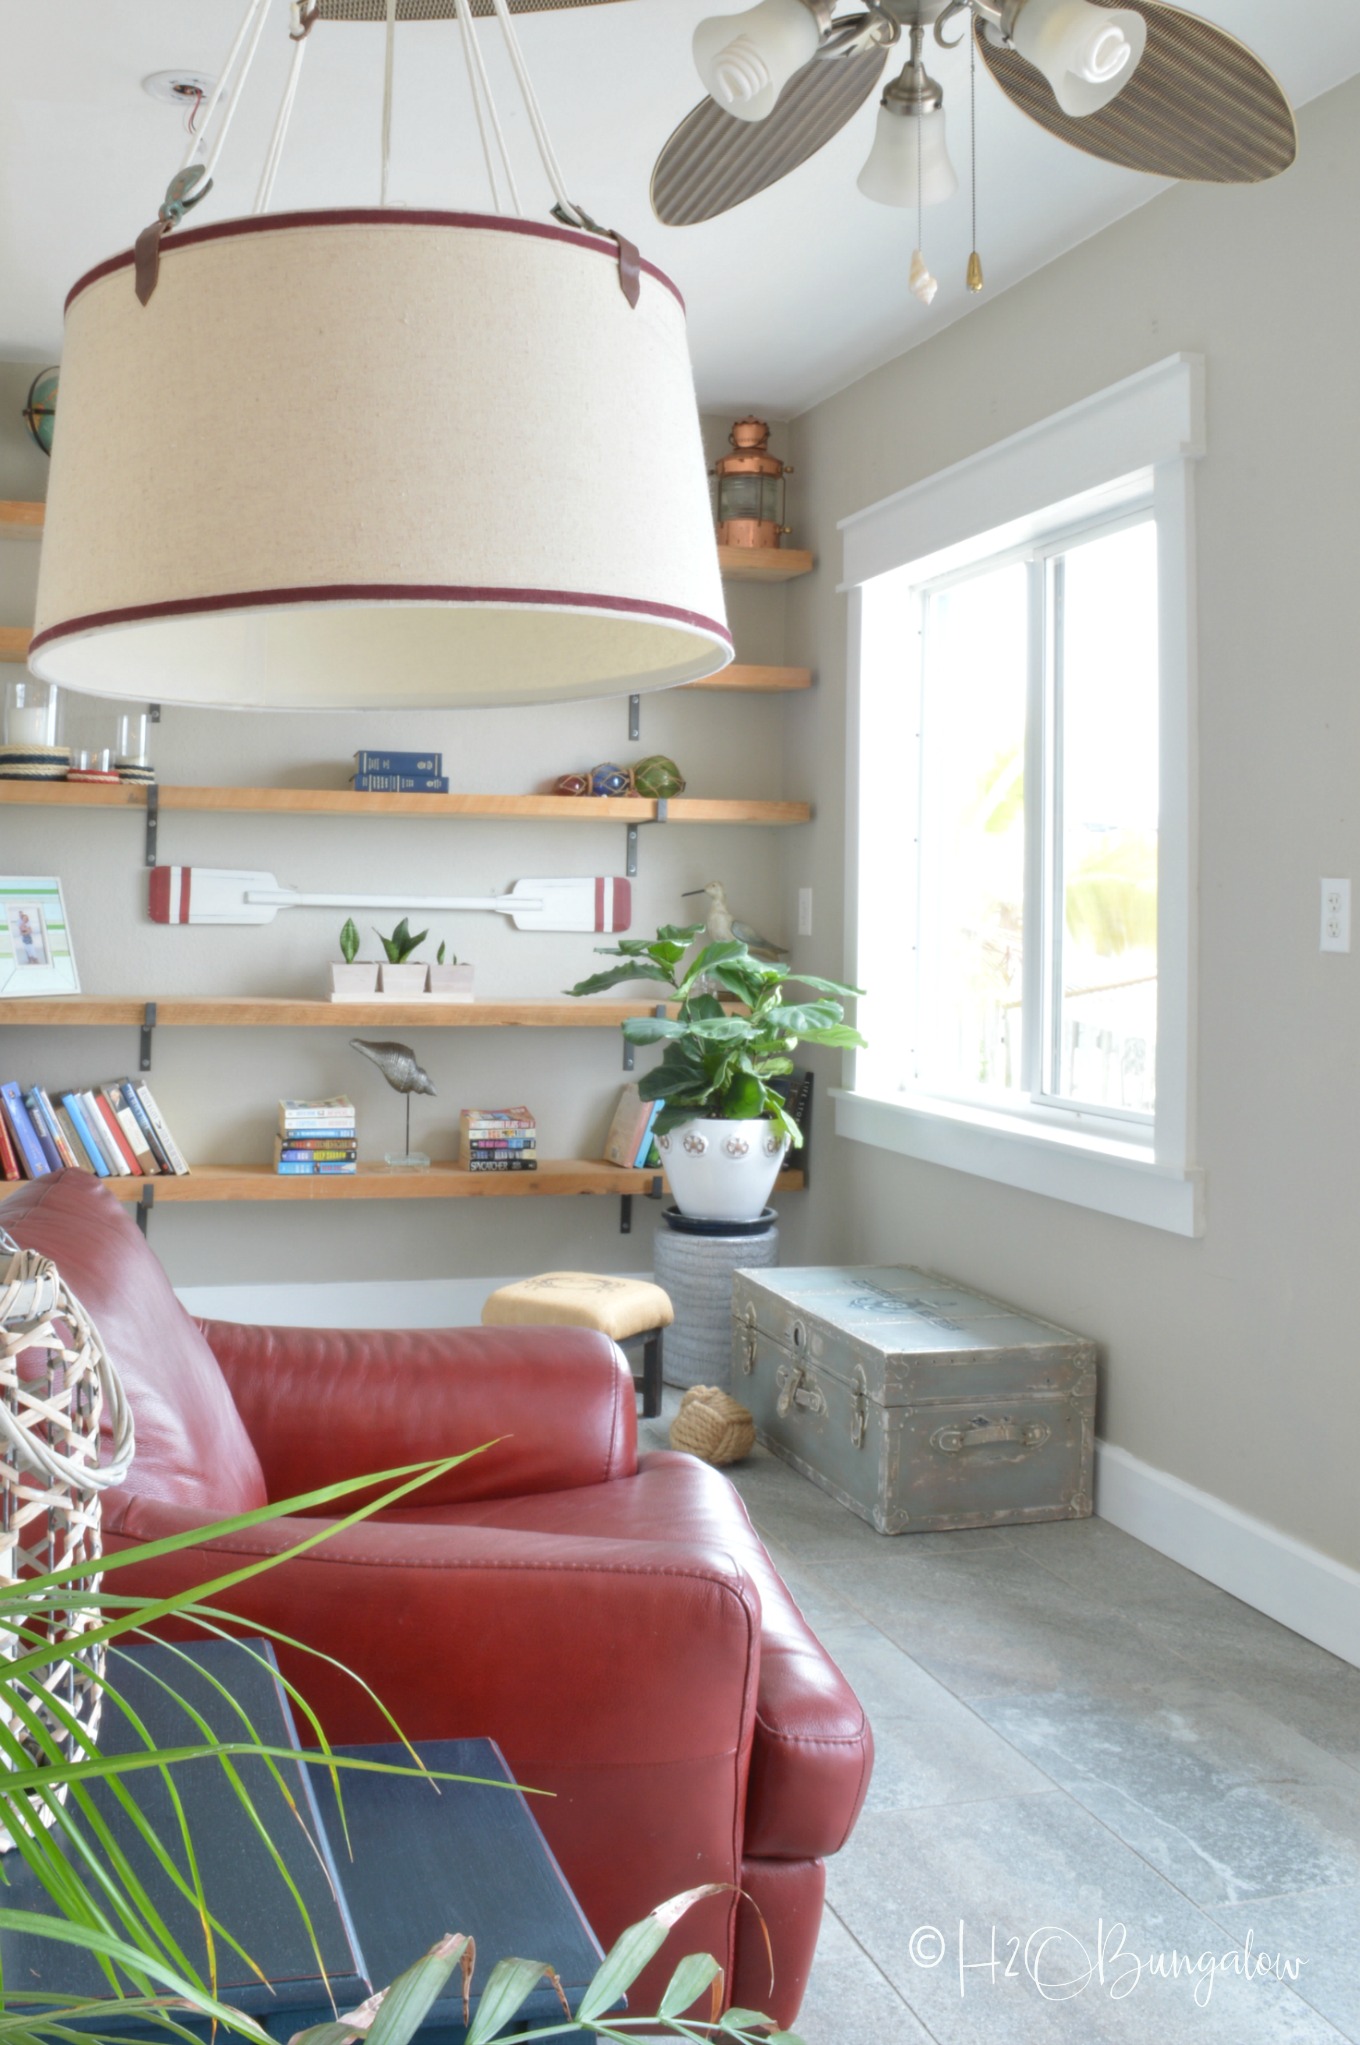
The width of my window trim look great with my DIY baseboards I put in a while back.
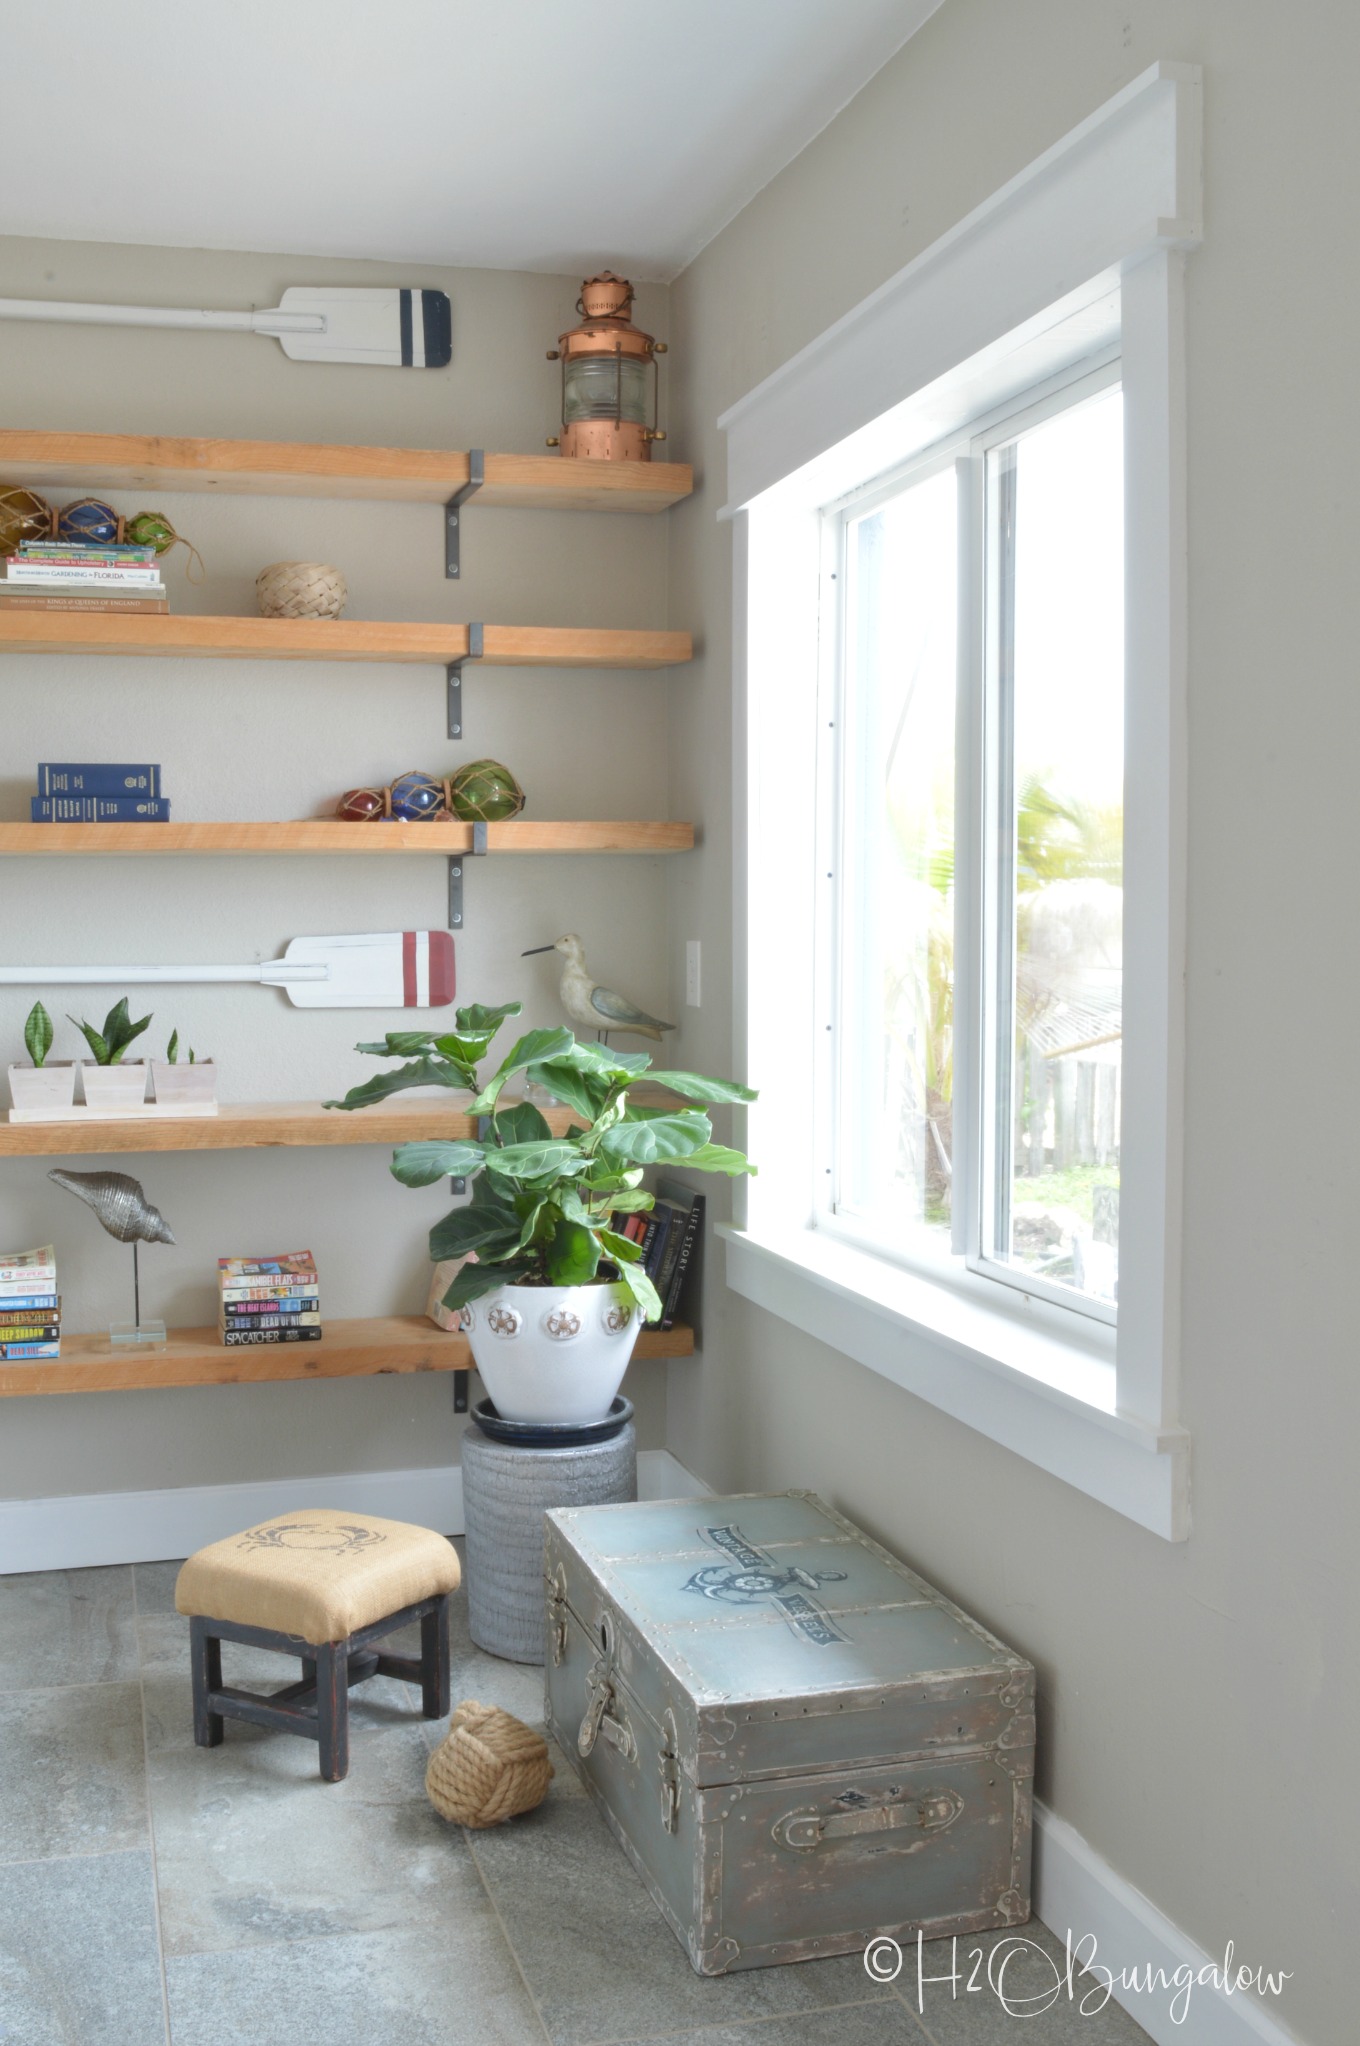
Here’s a peek of my finished window trim in my reading nook. It fits nicely with my industrial rough cut shelves I put in.
Yes! I’m happy with how they turned out!
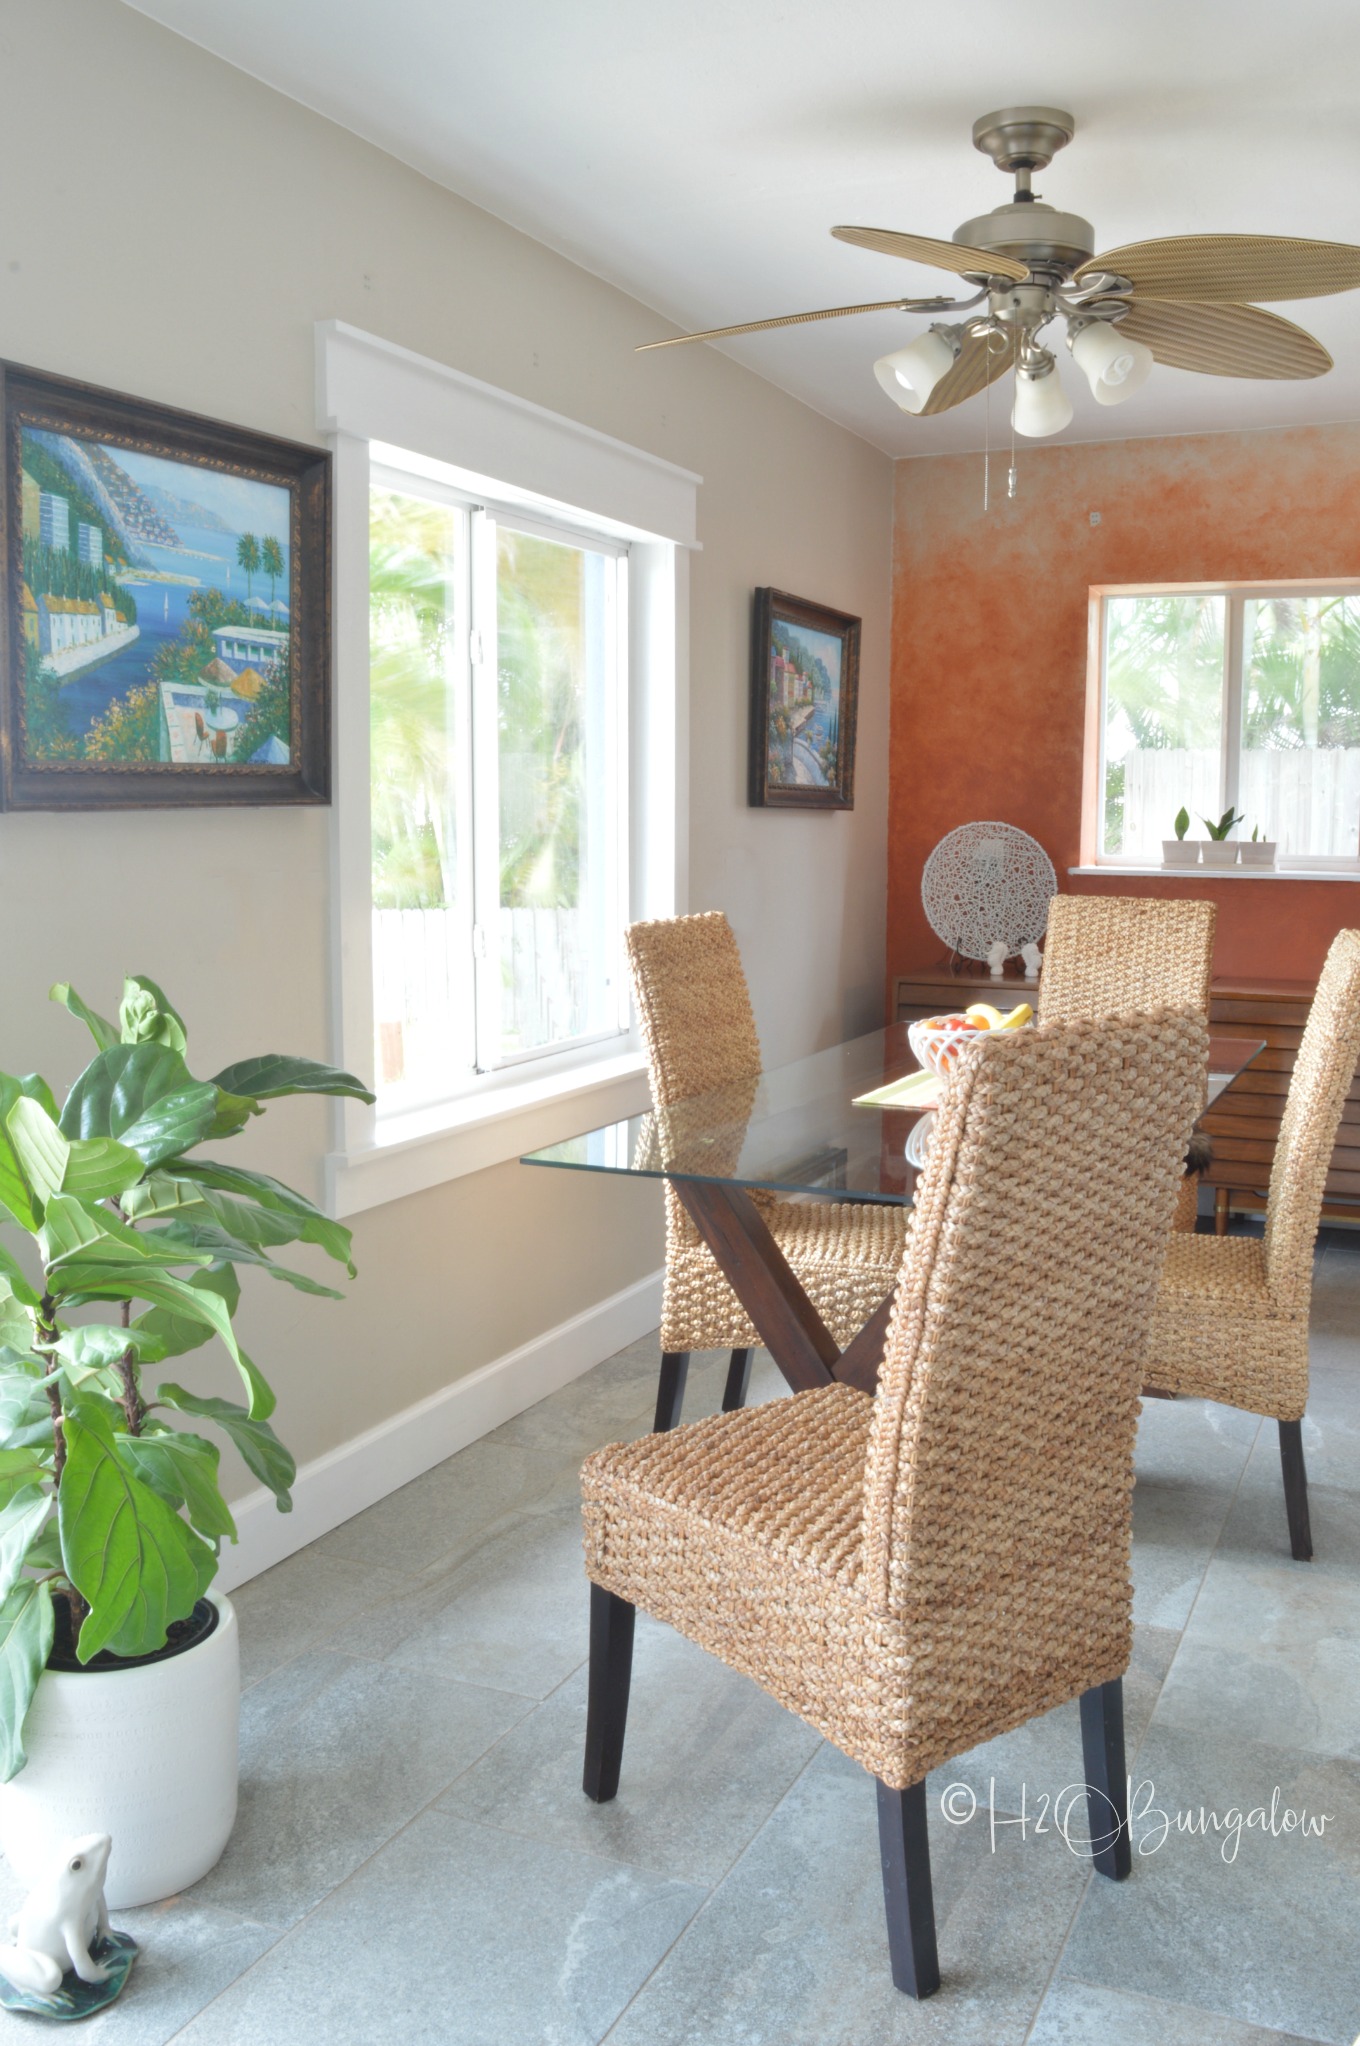
Here’s the window in the dining area. Of course, finishing this project brought on the need to do something about my orange wall and the other window. Hubby calls it project creep 🙂
This is probably one of my favorite home improvement projects yet, especially because it made such a huge impact. It’s a fabulous upgrade.
Pin my window trim tutorial for later and share it with your friends on Facebook!
Adding DIY craftsman style window trim to my windows made a huge difference in my home. It’s an affordable upgrade that the average homeowner can easily tackle.
I bet you’re wondering how I liked working with the prefinished trim boards? I loved it! Finished Elegance is a quality product and it saved me hours of extra work on my DIY craftsman style window trim project. Every one of my boards was perfect. Like I mentioned before, I simply built my window casings and put away my tools. No painting, guys!
Do you have windows that need an update? Share with me in the comment section below which windows in your home you’d tackle first!

Jenny says
The window trim looks great. I really like this style. I’ll be featuring this tonight at Merry Monday, hope to see you at the party!
Wendi says
Hi Jenny and thank you so much for the feature!!! I’m glad you like my new window trim! I cannot believe how beautiful they turned out and what a huge difference it made to add the trim. Plus, this project took about half the time since I didn’t have to paint the new trim 🙂 Again, thanks for hosting and featuring my project!
Shea | The Fogue Abode says
Craftsman style windows are my favorite and add so much character to a room. Thanks so much for sharing with funtastic Friday!
Wendi says
Hi Shea and thank you so much! They are my favorite too. I love how they work with any style of decor and make the window pop! Thanks so much for hosting too 🙂
Michelle says
They look amazing Wendi. Wow what a big difference and so worth it.
Wendi says
Hi Michelle and thank you! Adding the window trim made a huge impact in my rooms! I wish I’d done it earlier, my windows look bigger and brighter! Thanks so much for your note and visit!
Ann says
This DIY is so informative! I’d luv to invite you to share it with us at Wall to Wall DIY Wednesday Link Up!
Wendi says
Hi Ann and thank you so much! I loved doing this project and it made a huge difference in how my rooms look. I’m traveling for the next few weeks but will try to stop by:) Thanks so much for asking, your visit and sweet note 🙂
Paula says
Who knew such a product exists? Your windows look fabulous! The trim adds so much charm to your home. We have no trim at the lake on our windows and it has always bugged me. Great job on this!
Wendi says
Hi Paula! Hmmm, I sense a new DIY in your future. I never thought about window trim in our home before and n that I have it, I can’t get over the difference it made. Thanks so much for your note and I hope you’re inspired to tackle this project in your home too!
Toni | Small Home Soul says
You did a fantastic job trimming out those windows. I think Craftsman window trim is very Timeless and can really go with any style of home even Coastal decor. It truly sets off the window!
Wendi says
Hi Toni and thank you! I completely agree with the timeless look of craftsman style trim. I researched before I choose my style and this one seemed to fit the best with a wide variety of styles. Who knows what the next trend will be down the road and I wanted to be sure I wouldn’t be stuck with an outdated style. So glad you like my project and thank you for your note!
Geri Ann says
Great upgrade!!! I love the soft colors of your decor throughout the house. “Project creep”, perfect expression for “since I’m doing this, I might as well do that too… LOL…
Wendi says
Hi Geri! Yes, he’s called it project creep for years and yes, it’s fitting. Of course, I love the concept because I get to keep redoing things! LOL Thanks so much for such a nice compliment on the house. It’s been a process. With the window trim addition, I have to ay I’m finally loving the way it looks. Thanks so much for leaving me a note, I love the feedback. Have a great week!
Tina says
Love the new window frames. Good job!
Wendi says
Hi Tina and thank you so much! I’m really happy with the new window trim. I haven’t done this before so wasn’t sure how easy/hard it would be. It wasn’t hard at all! I’m so glad you like the new look! We are loving it too! Thanks for your note & have a fantastic week!
Regenia Moore says
I definately agree w/ your new window upgrade being FABULOUS!!! ITS SOOO COASTAL CHIC! That TV cabinet of yours is also on my to do list!!! You are one of the most talented people Ive ever seen & I’ve studied oodles of blogs & Instagram post. You have a knack for makimg the complicated seem achievable. Thnx for the inspiration! Your Holiday Fl neighbor❤
Wendi says
Hi Regina and thank you so much for such a wonderfully thoughtful note!! I love how the window trim adds weight and character to the windows now. The room feels well balanced. I’m so happy I can help inspire you to try new things too! Have a great weekend FL Neighbor!