This is a sponsored post written by me on behalf of Philips Lighting. All opinions are 100% mine.
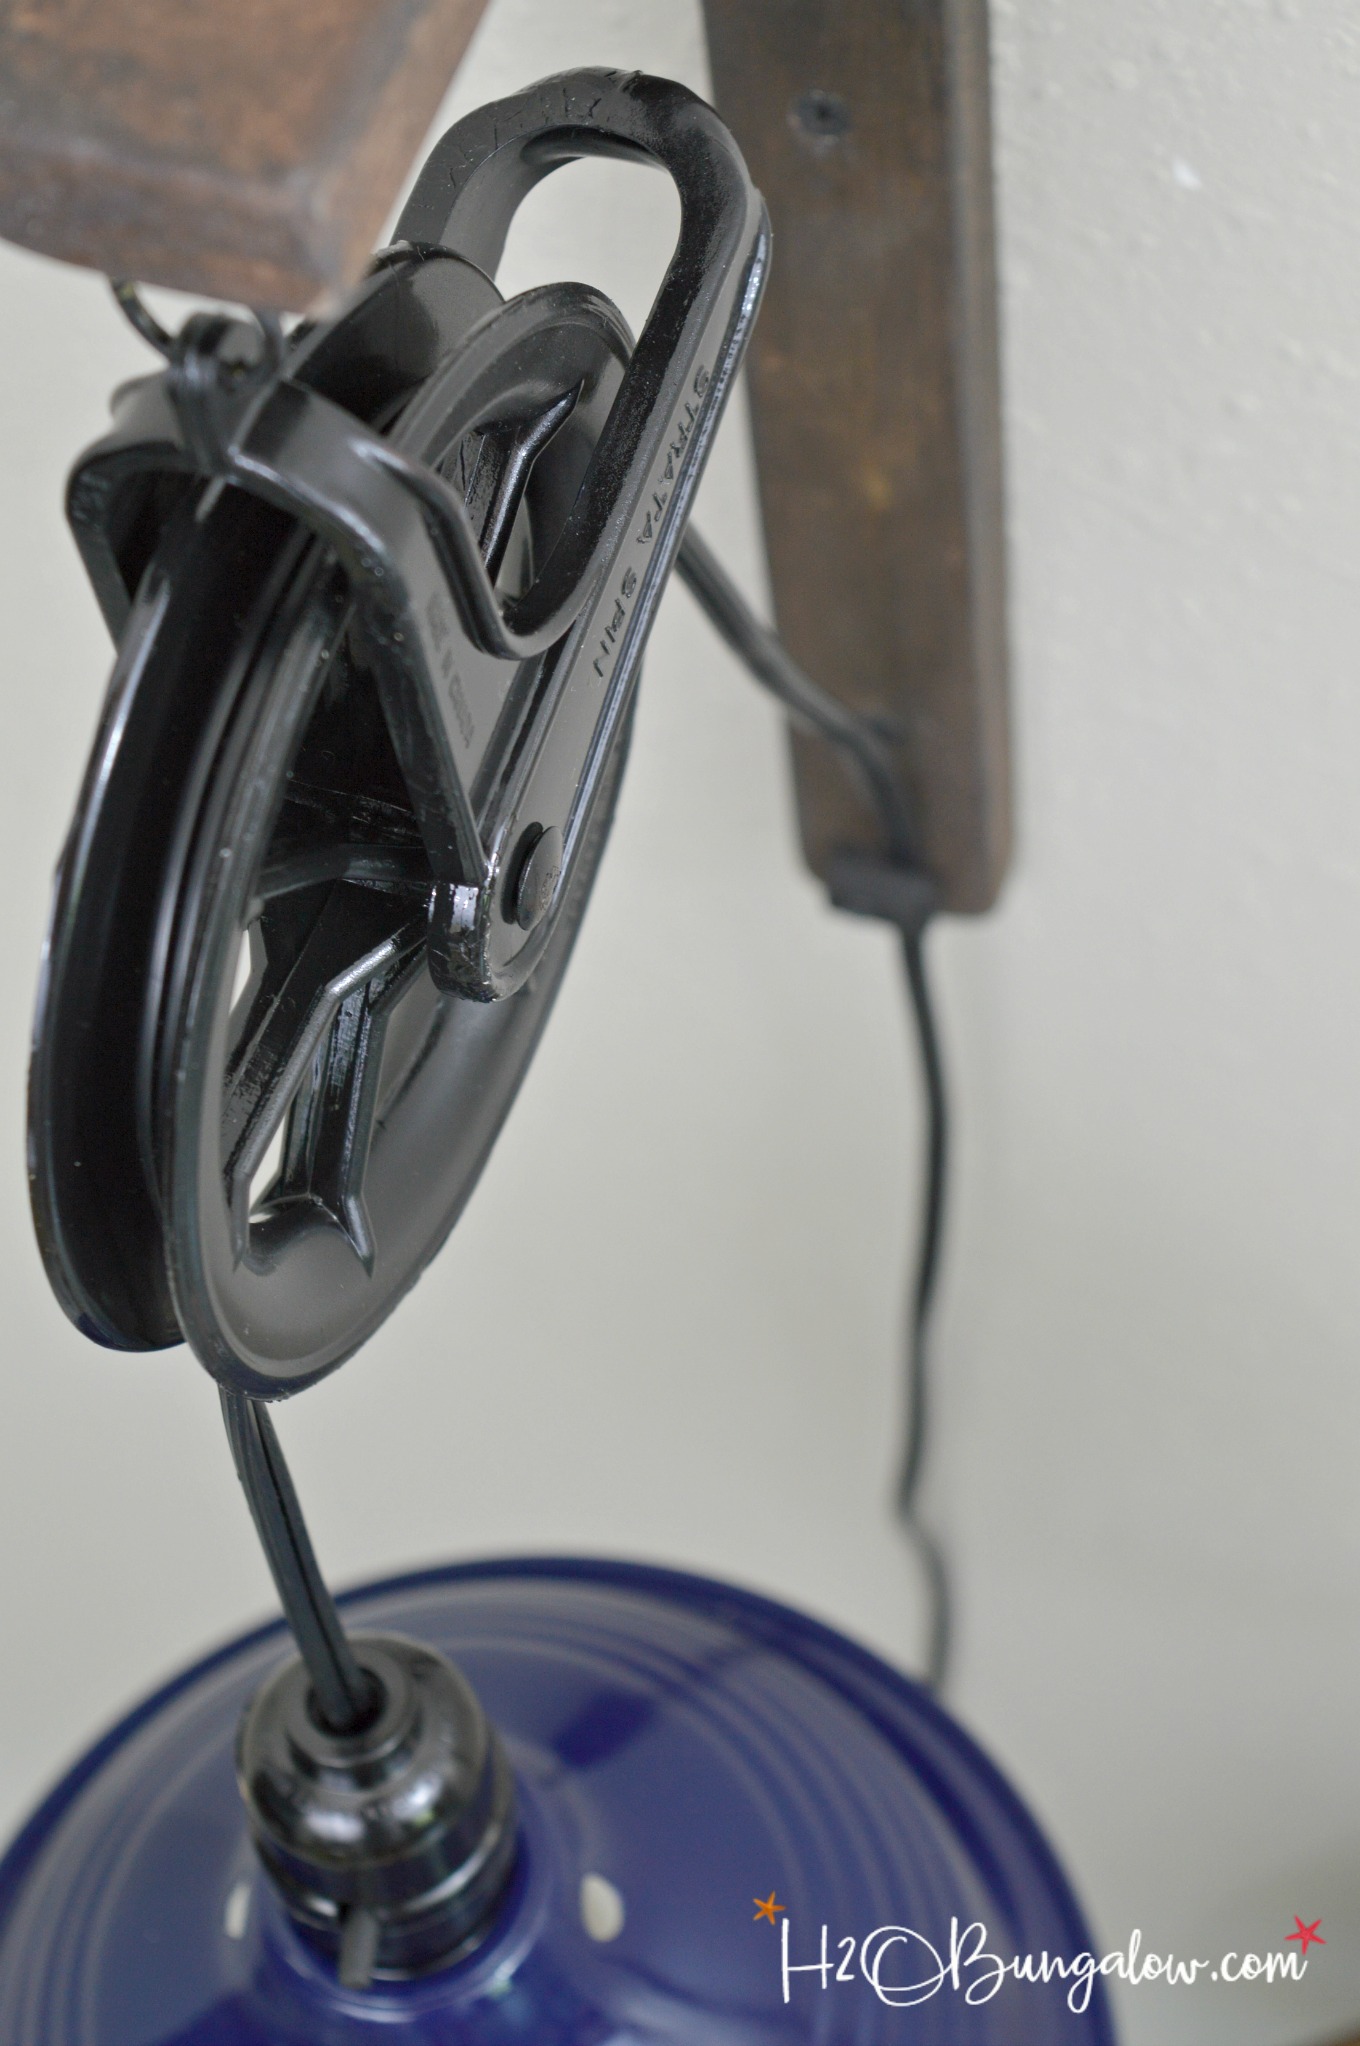
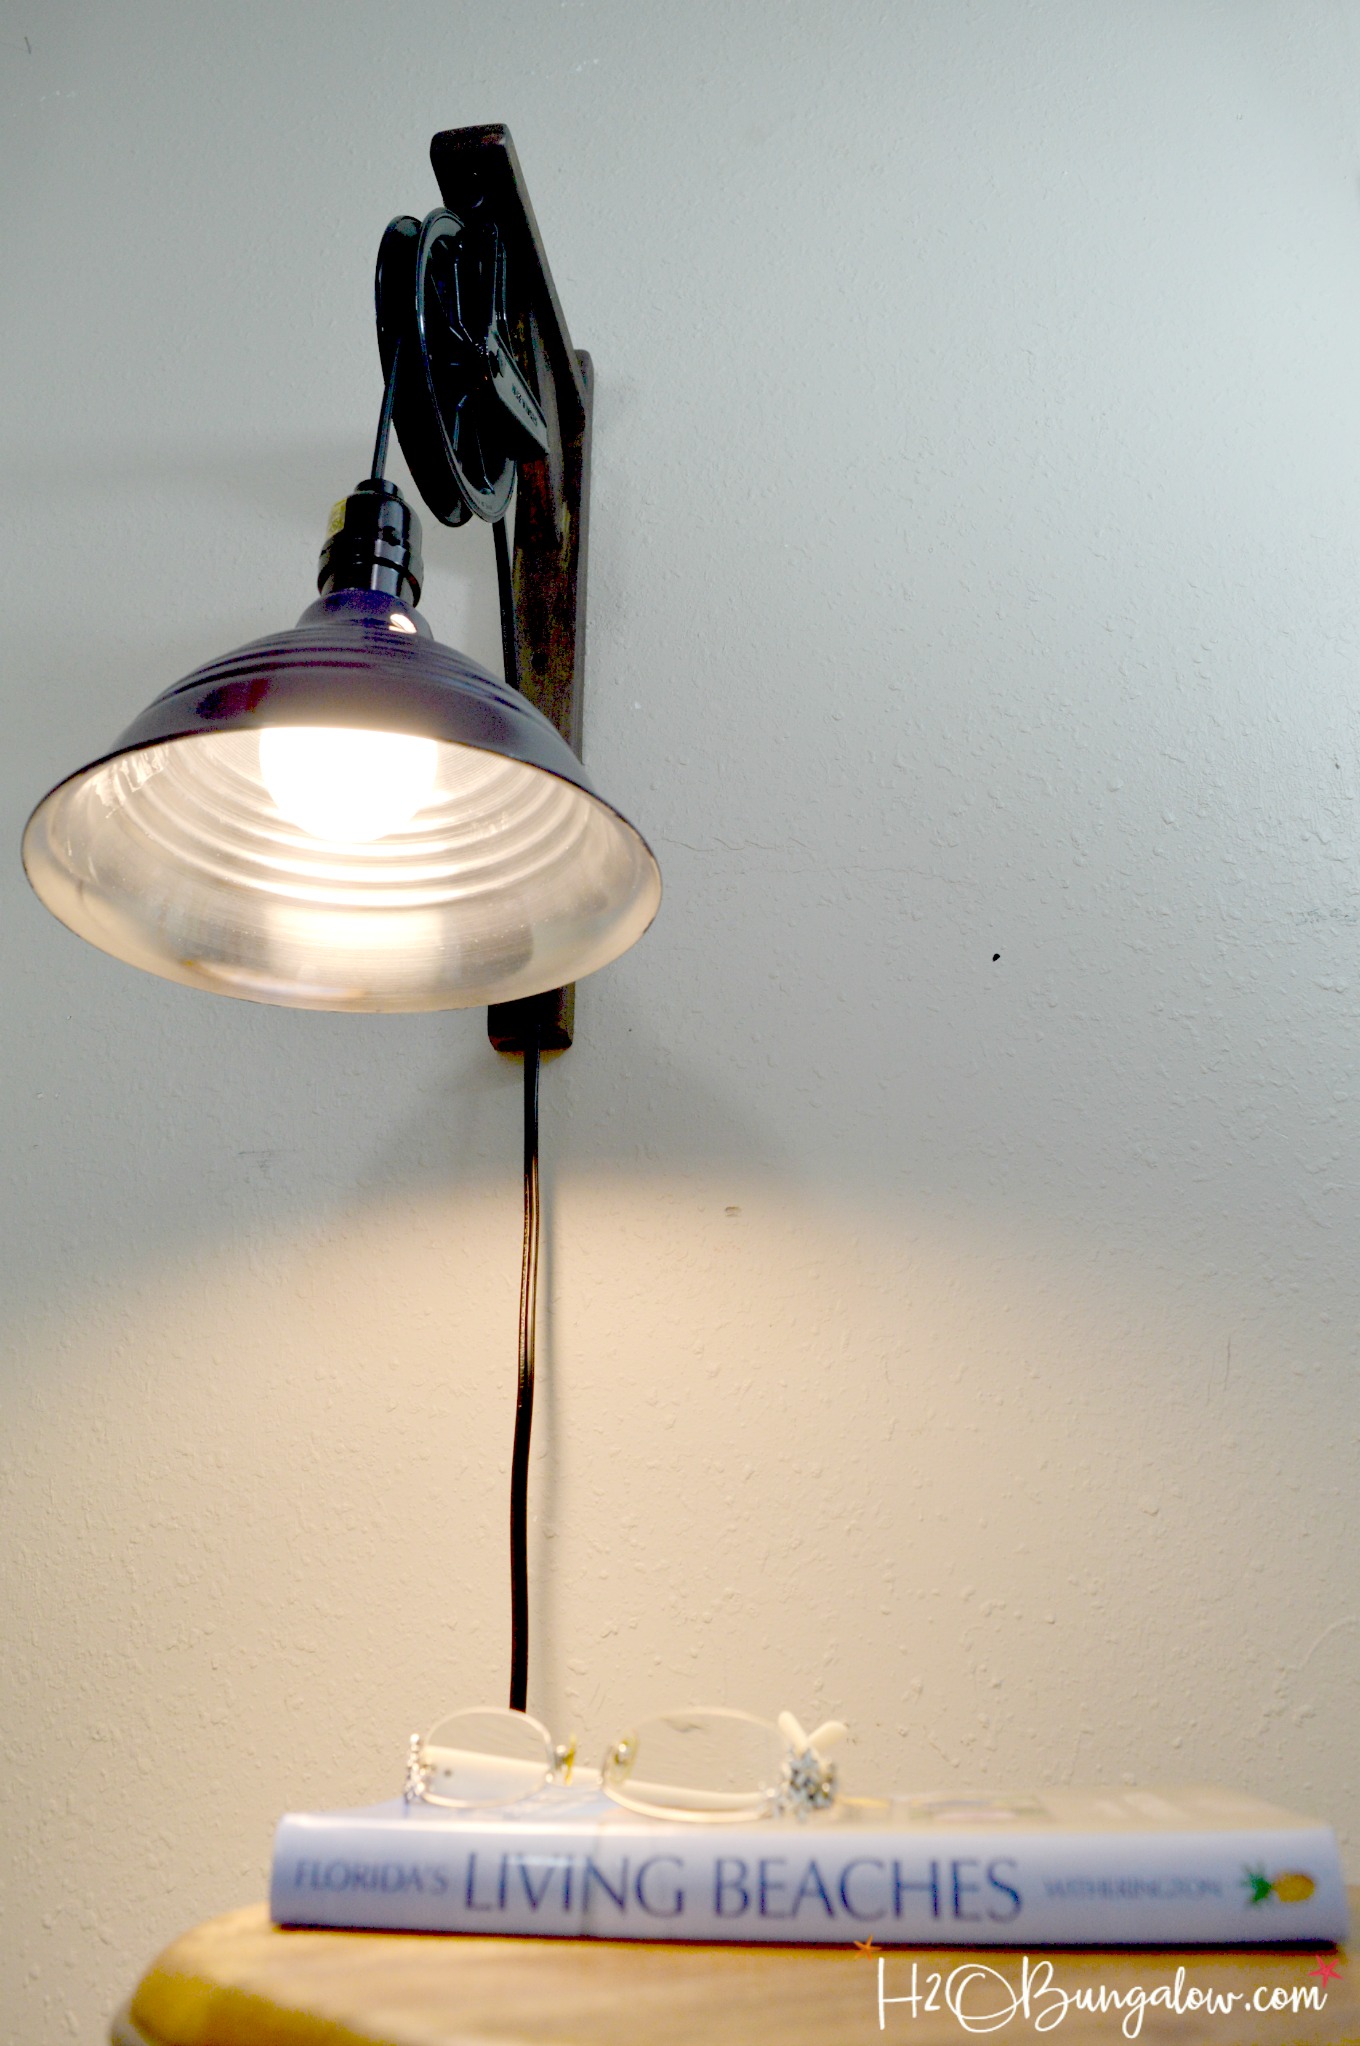
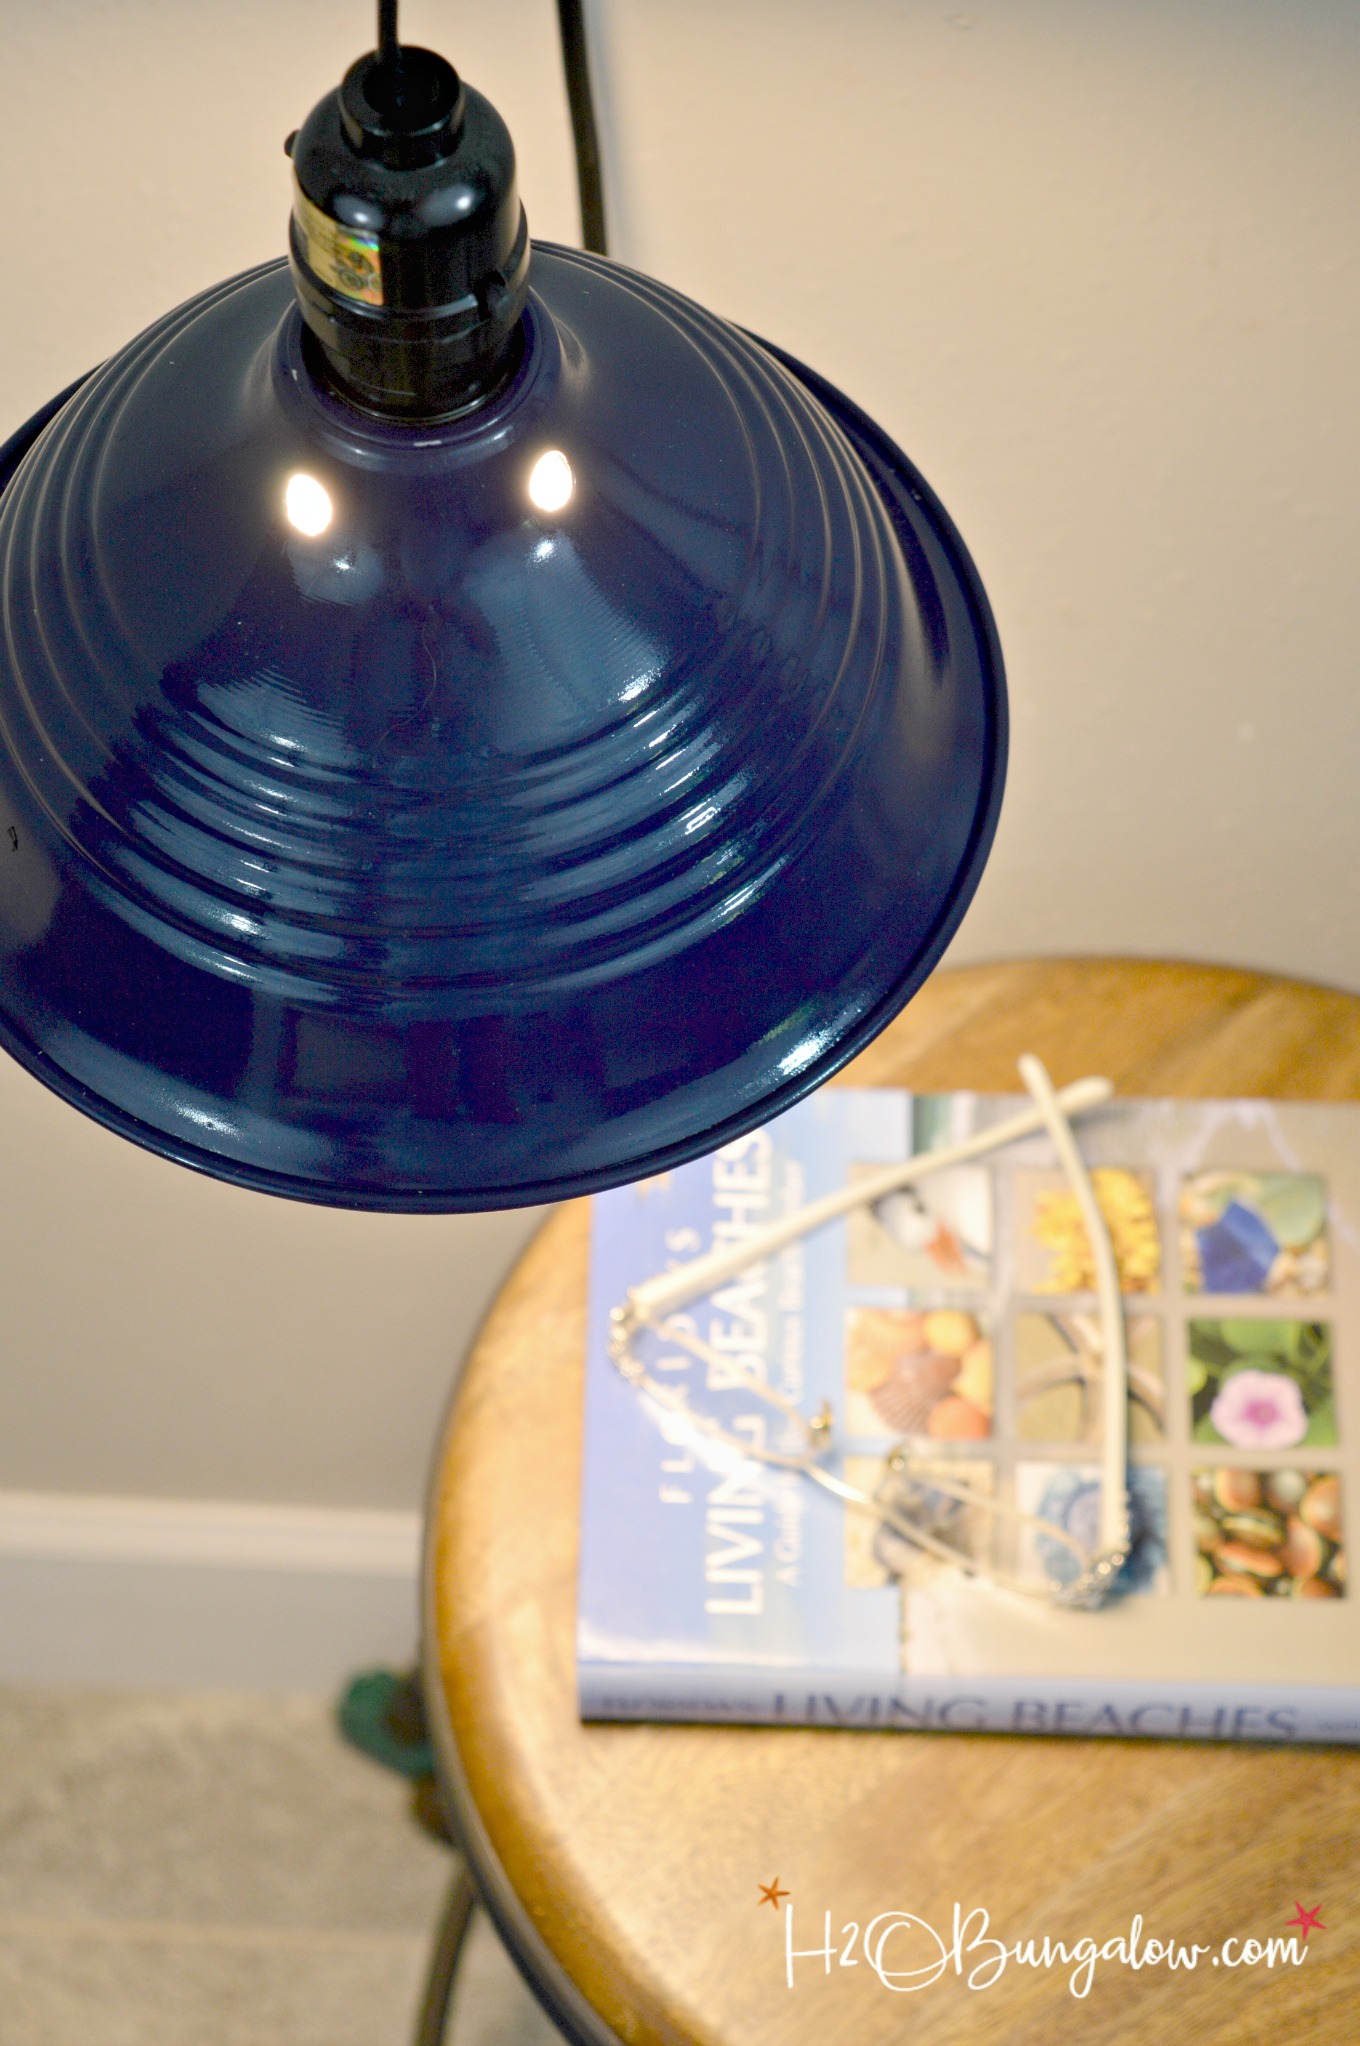
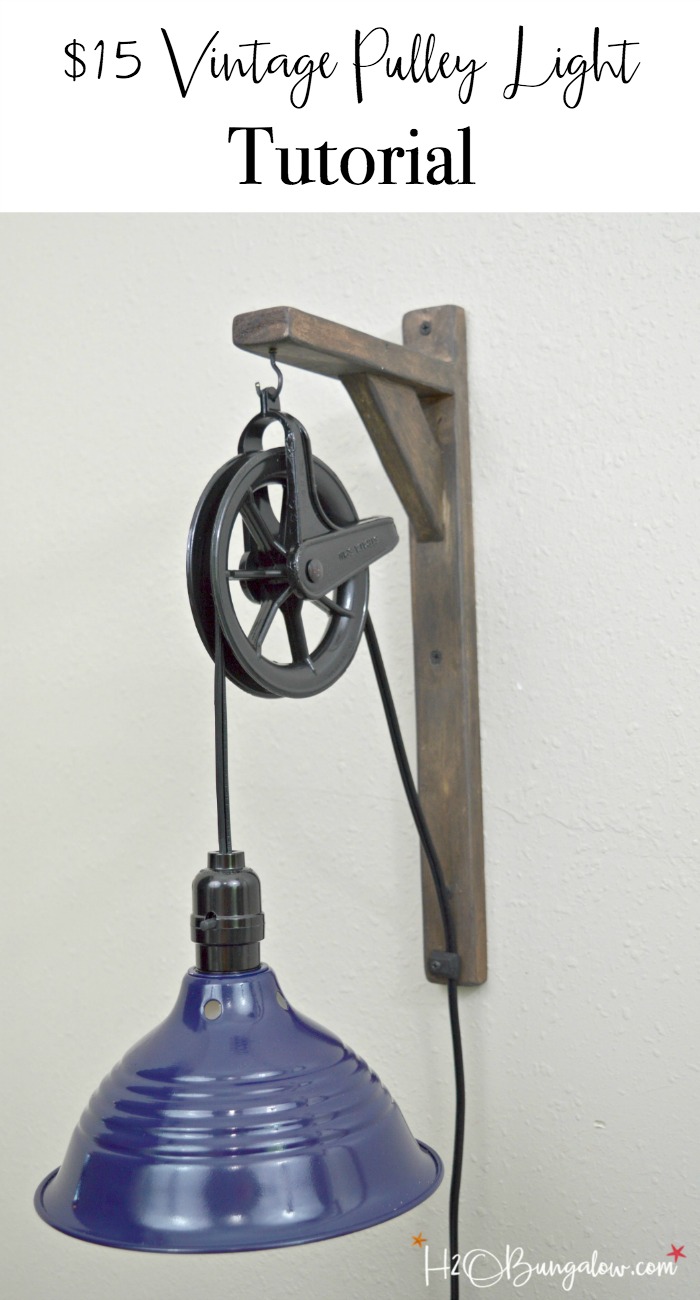
I have a tutorial for a DIY vintage style pulley light to share with you guys. I’ve been swooning over unique lighting solutions lately. I came up with my own version that will work beautifully as wall sconce lighting between twin beds in The North House Lodge. Besides looking ah-mazing, these DIY vintage pulley lights are easy to make and budget-friendly — keys to an awesome home decor project.
How To Make A DIY Vintage Style Pulley Light
Supplies per wall light:
- clamp light with metal lampshade
- plastic 5″ medium duty pulley
- wall bracket – purchased or see below for DIY version
- replacement electrical plug
- spray paint blue, black satin, and flat black
- 1 cup hook
- 1 plastic mirror clip
- Philips LED Light Bulb
- Philips Classic Glass LED light bulb – Soft White version or,
- Philips Classic Glass LED light bulb – Daylight version
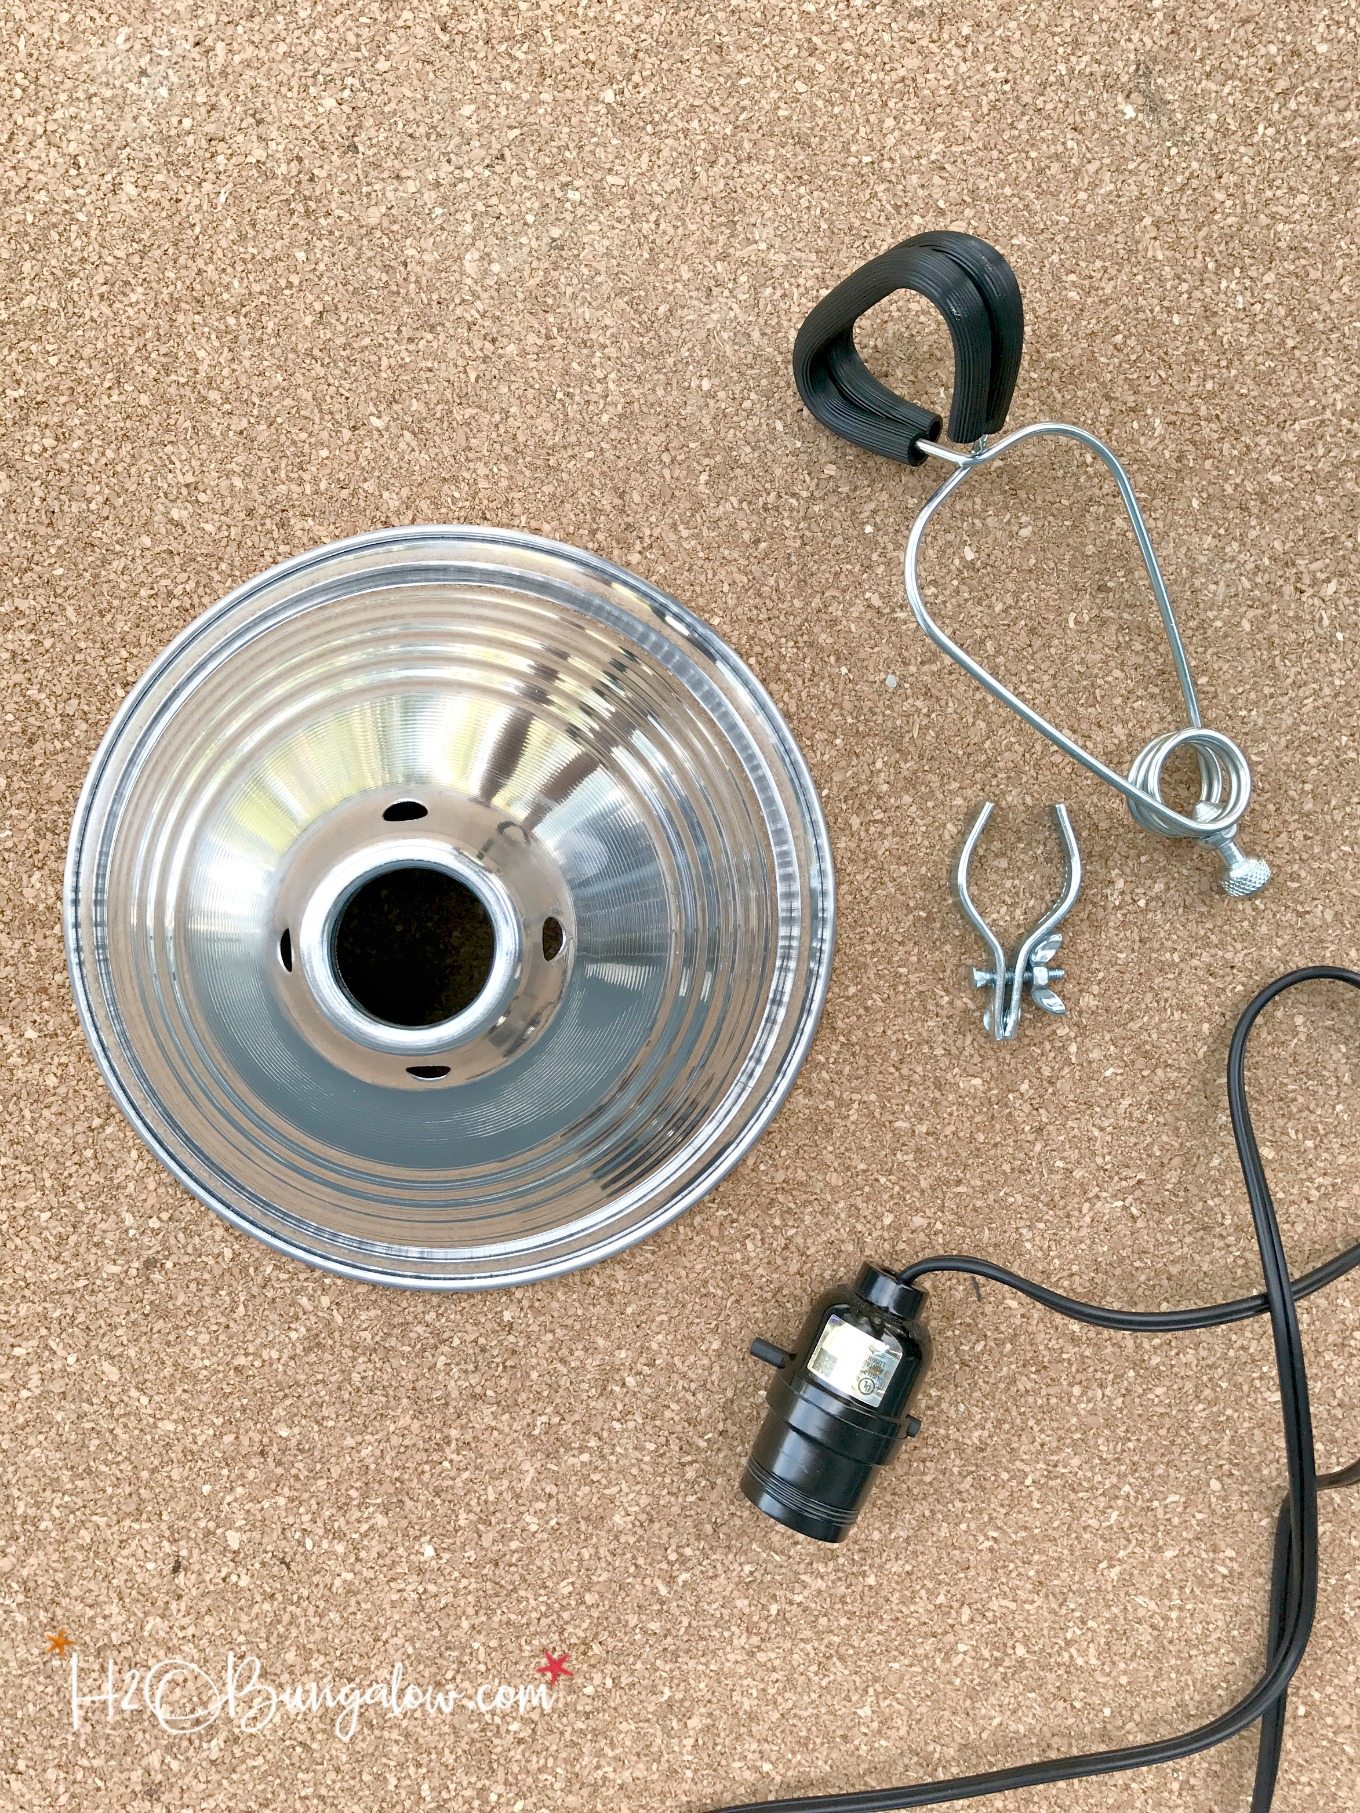
Step 1. Take the clamp light apart.
Clamp lights are easy to find at a hardware store in the lighting or electrical department. Be sure to pick one that has a removable clamp. The clamp will come off easily by unscrewing the wing nut. The light socket will also need to unscrew from the metal lampshade.
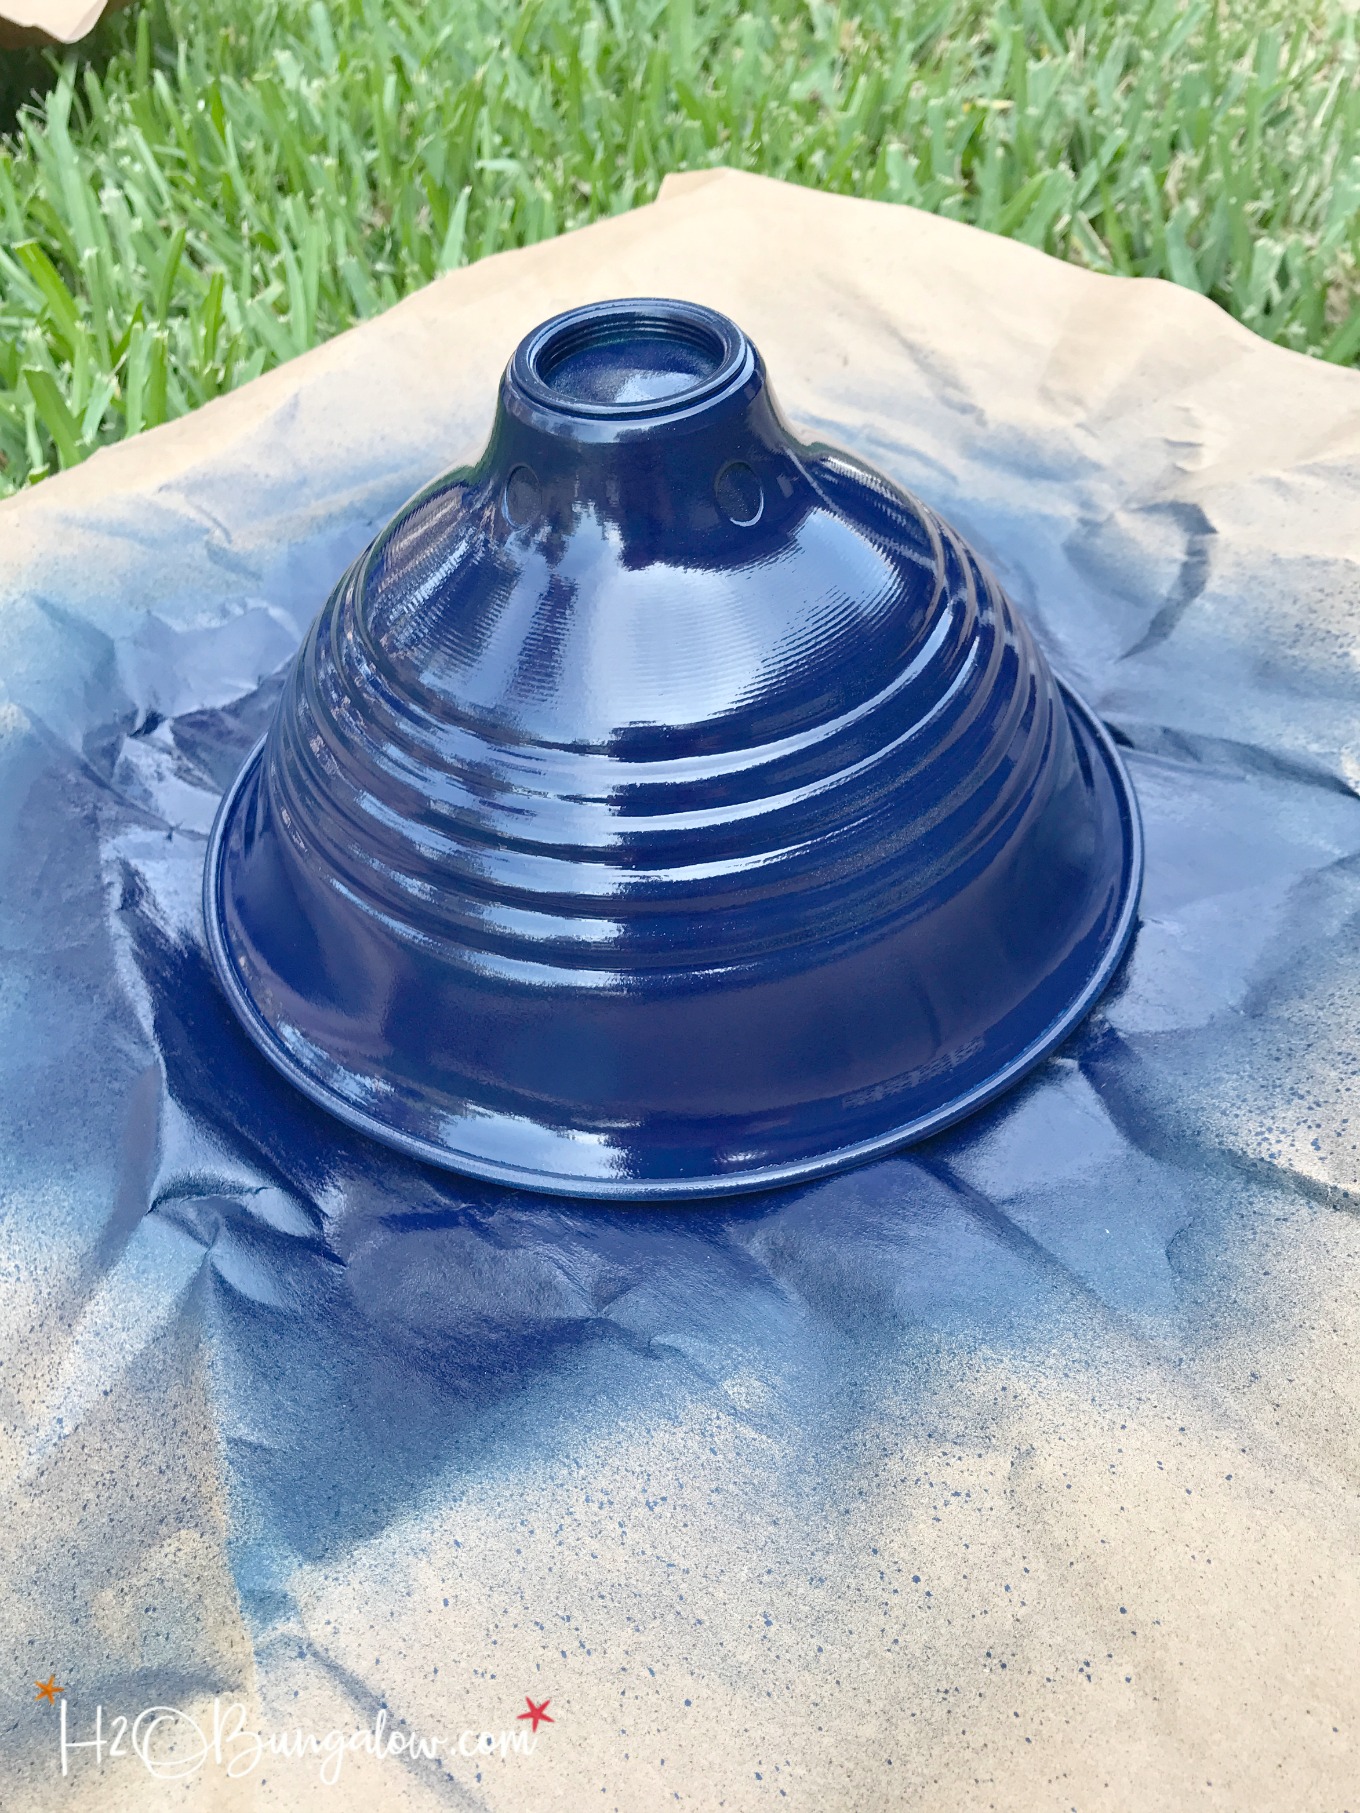
Step 2. Paint the lampshade, hardware and pulley.
Spray paint the lampshade blue and the pulley black satin. All of the hardware, the cup holder hook, the plastic mirror clip as well as the screws should be painted flat black.
Step 3. Prepare the wall bracket or make one.
If you use a pre-made wood wall bracket, simply paint it the color you want, add pilot holes if needed to attach it to the wall and move on to the next step.
To make a simple DIY wood wall bracket like mine, follow the below steps.
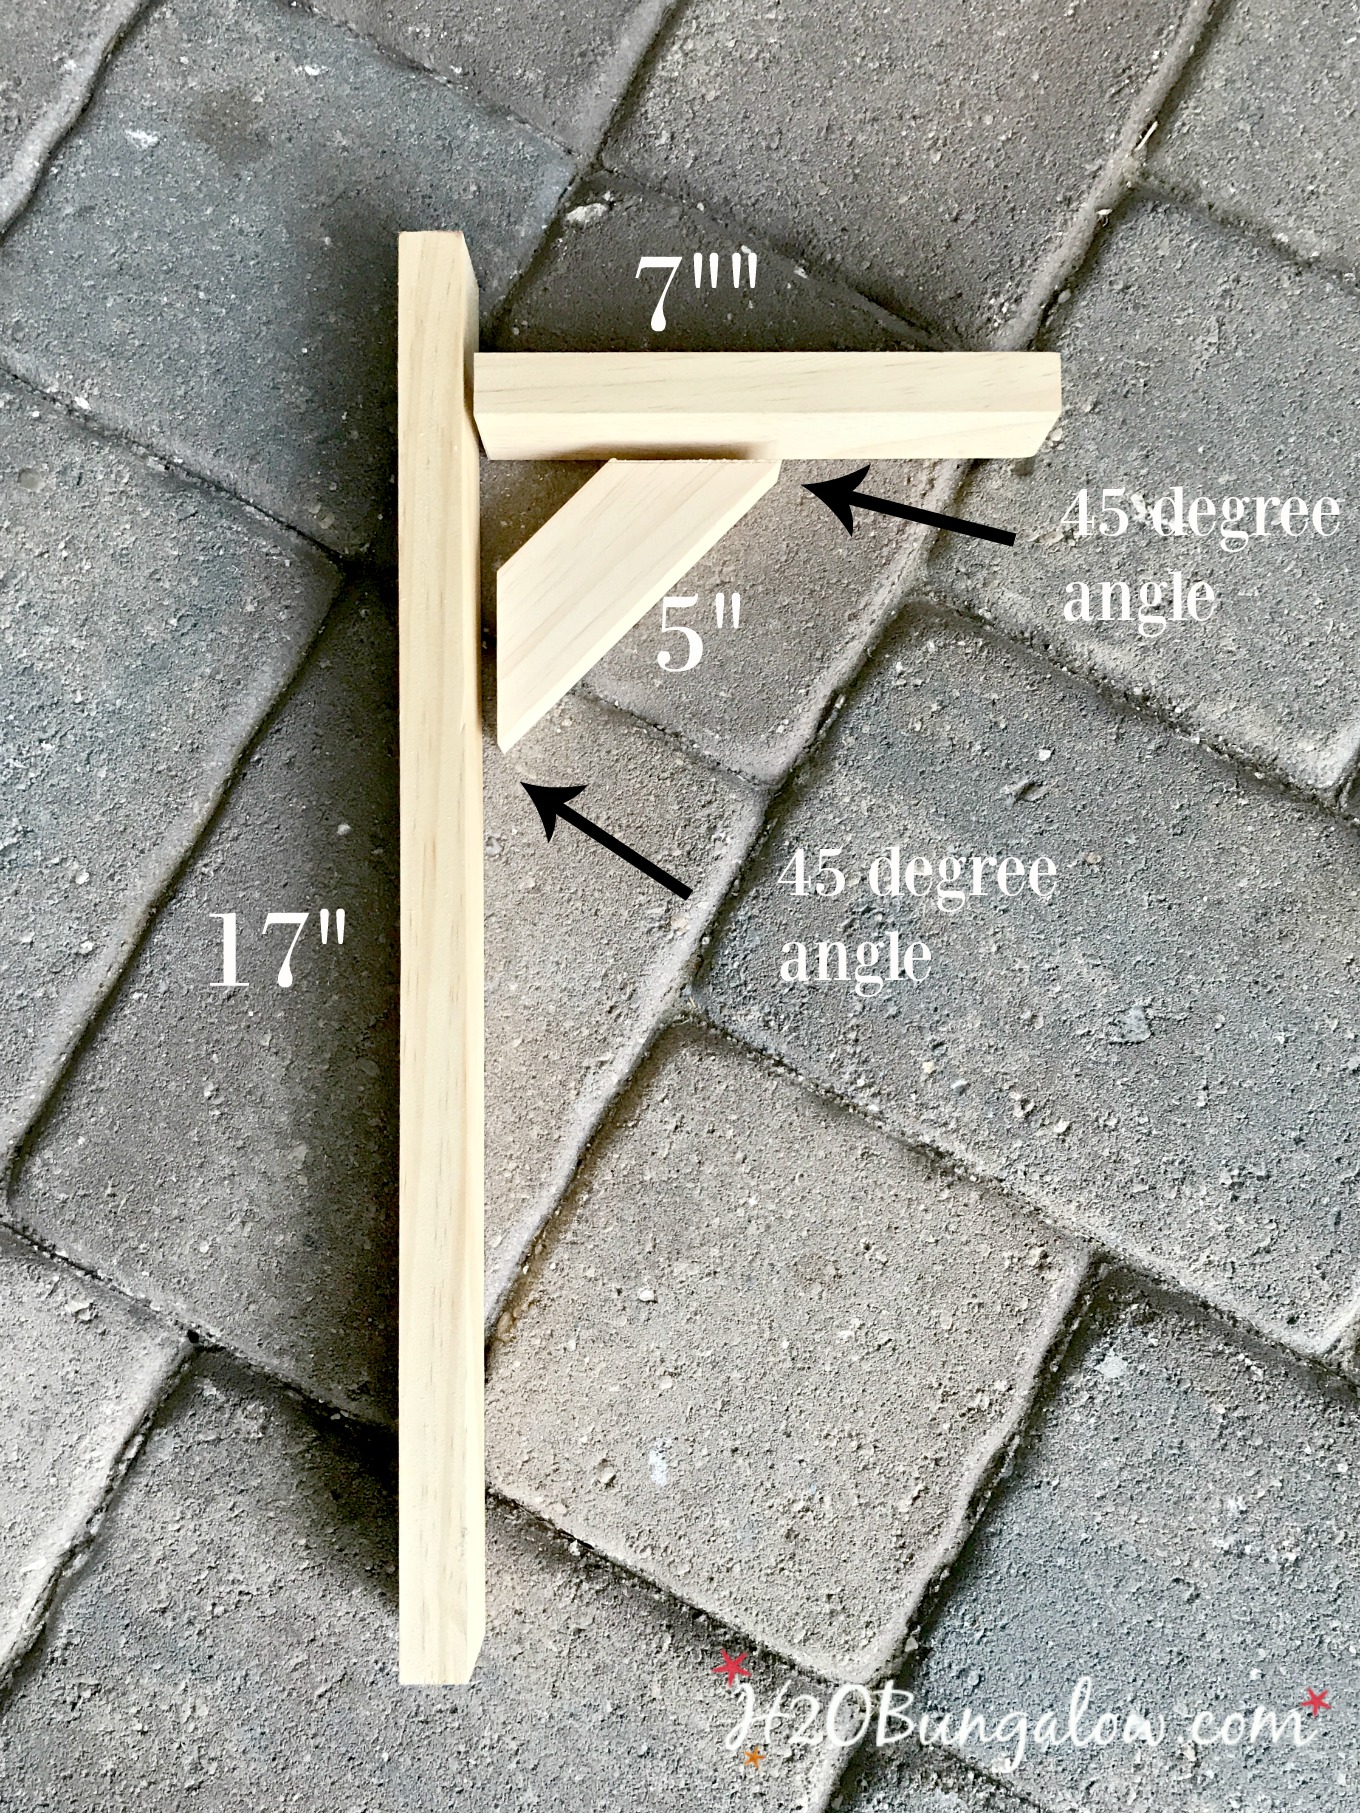
I used 1″ x 3″ poplar for my wood bracket. Follow the below photo for the cuts.
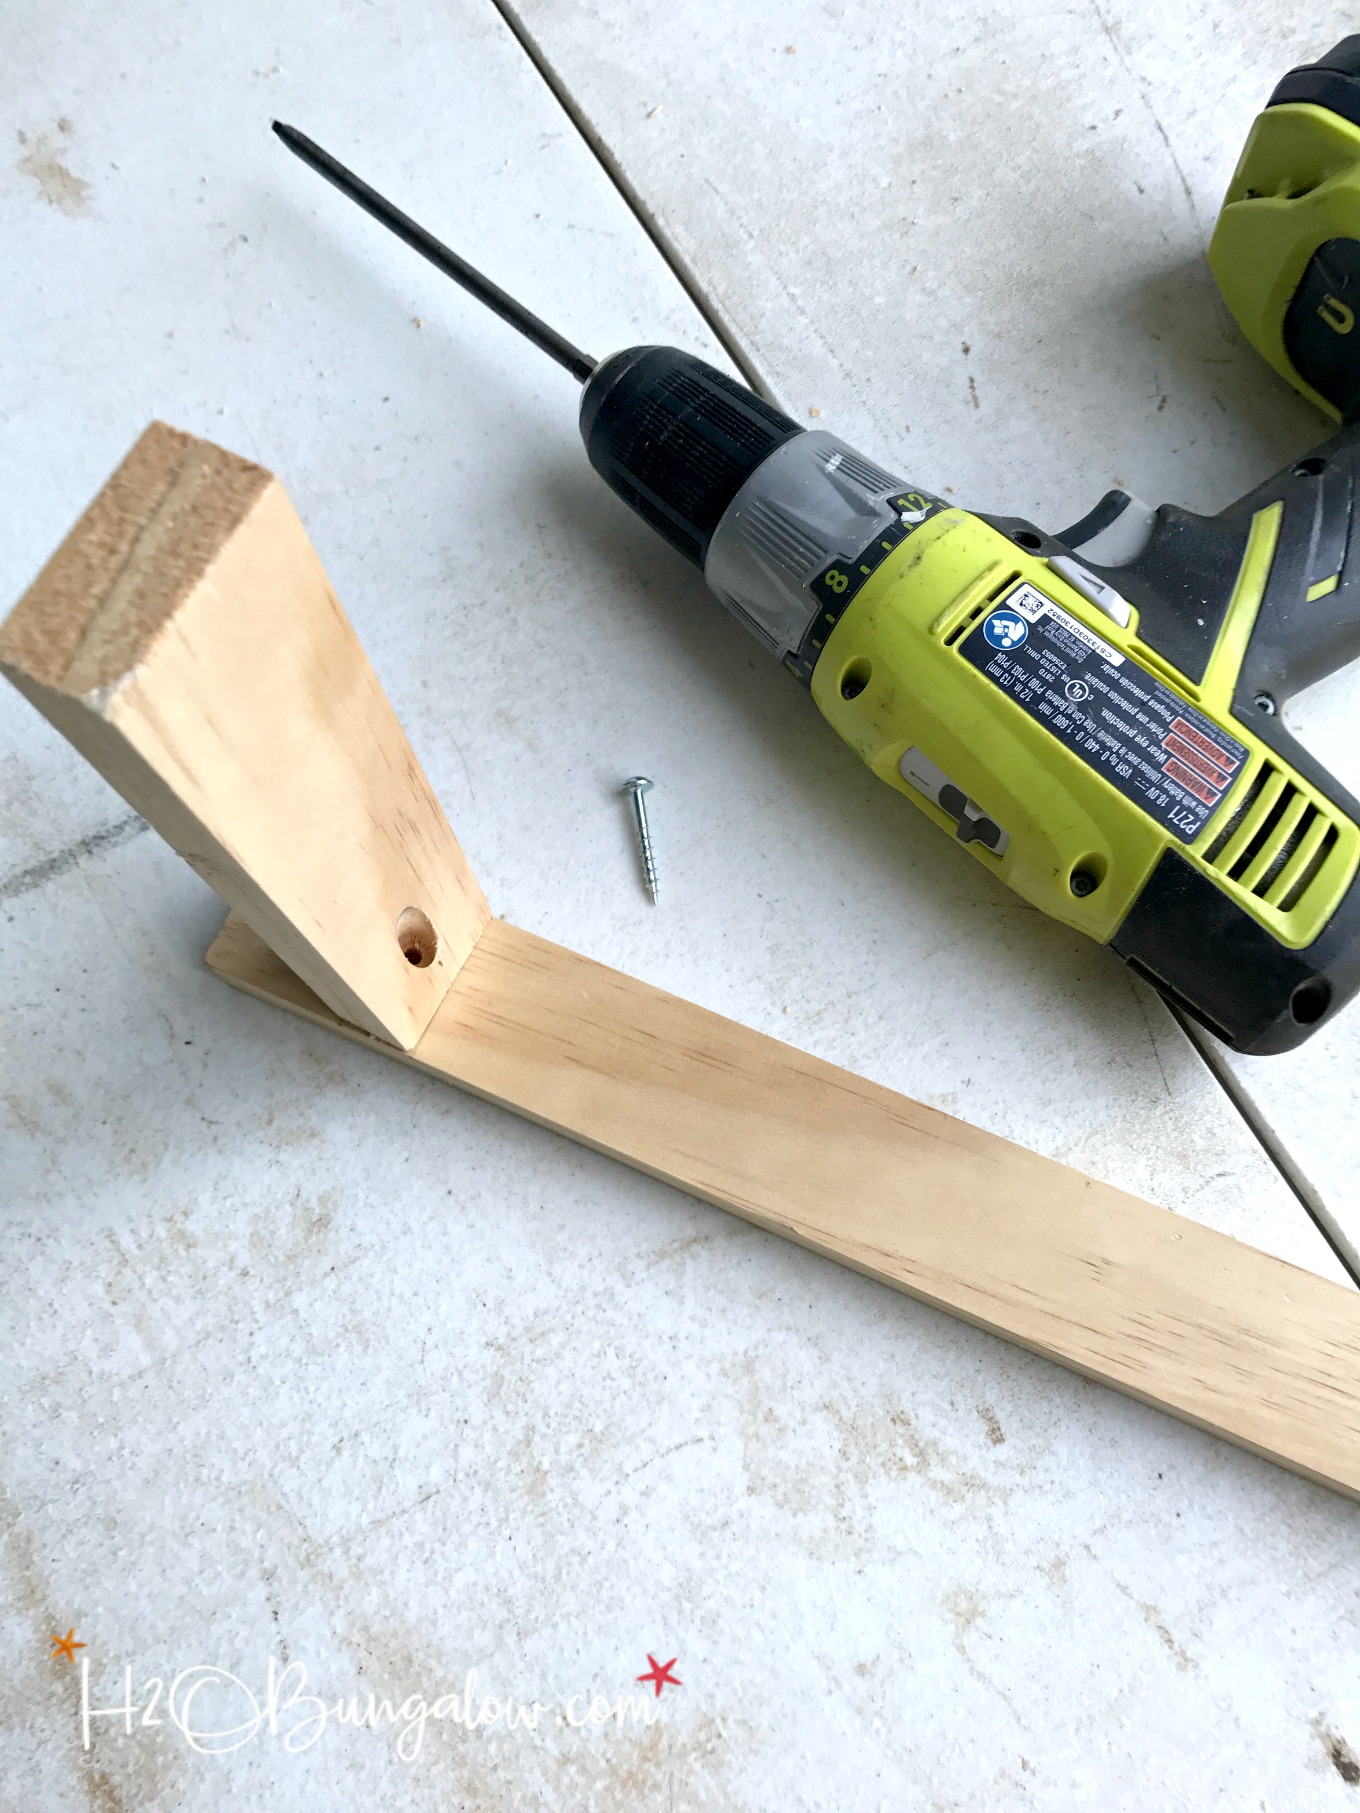
Add 1 pocket hole with a Kreg Jig under the top arm of the bracket. Set the jig to 3/4″ material if you are using 1″ wood. Use wood glue and a 1 1/4″ pocket screw to attach the two pieces.
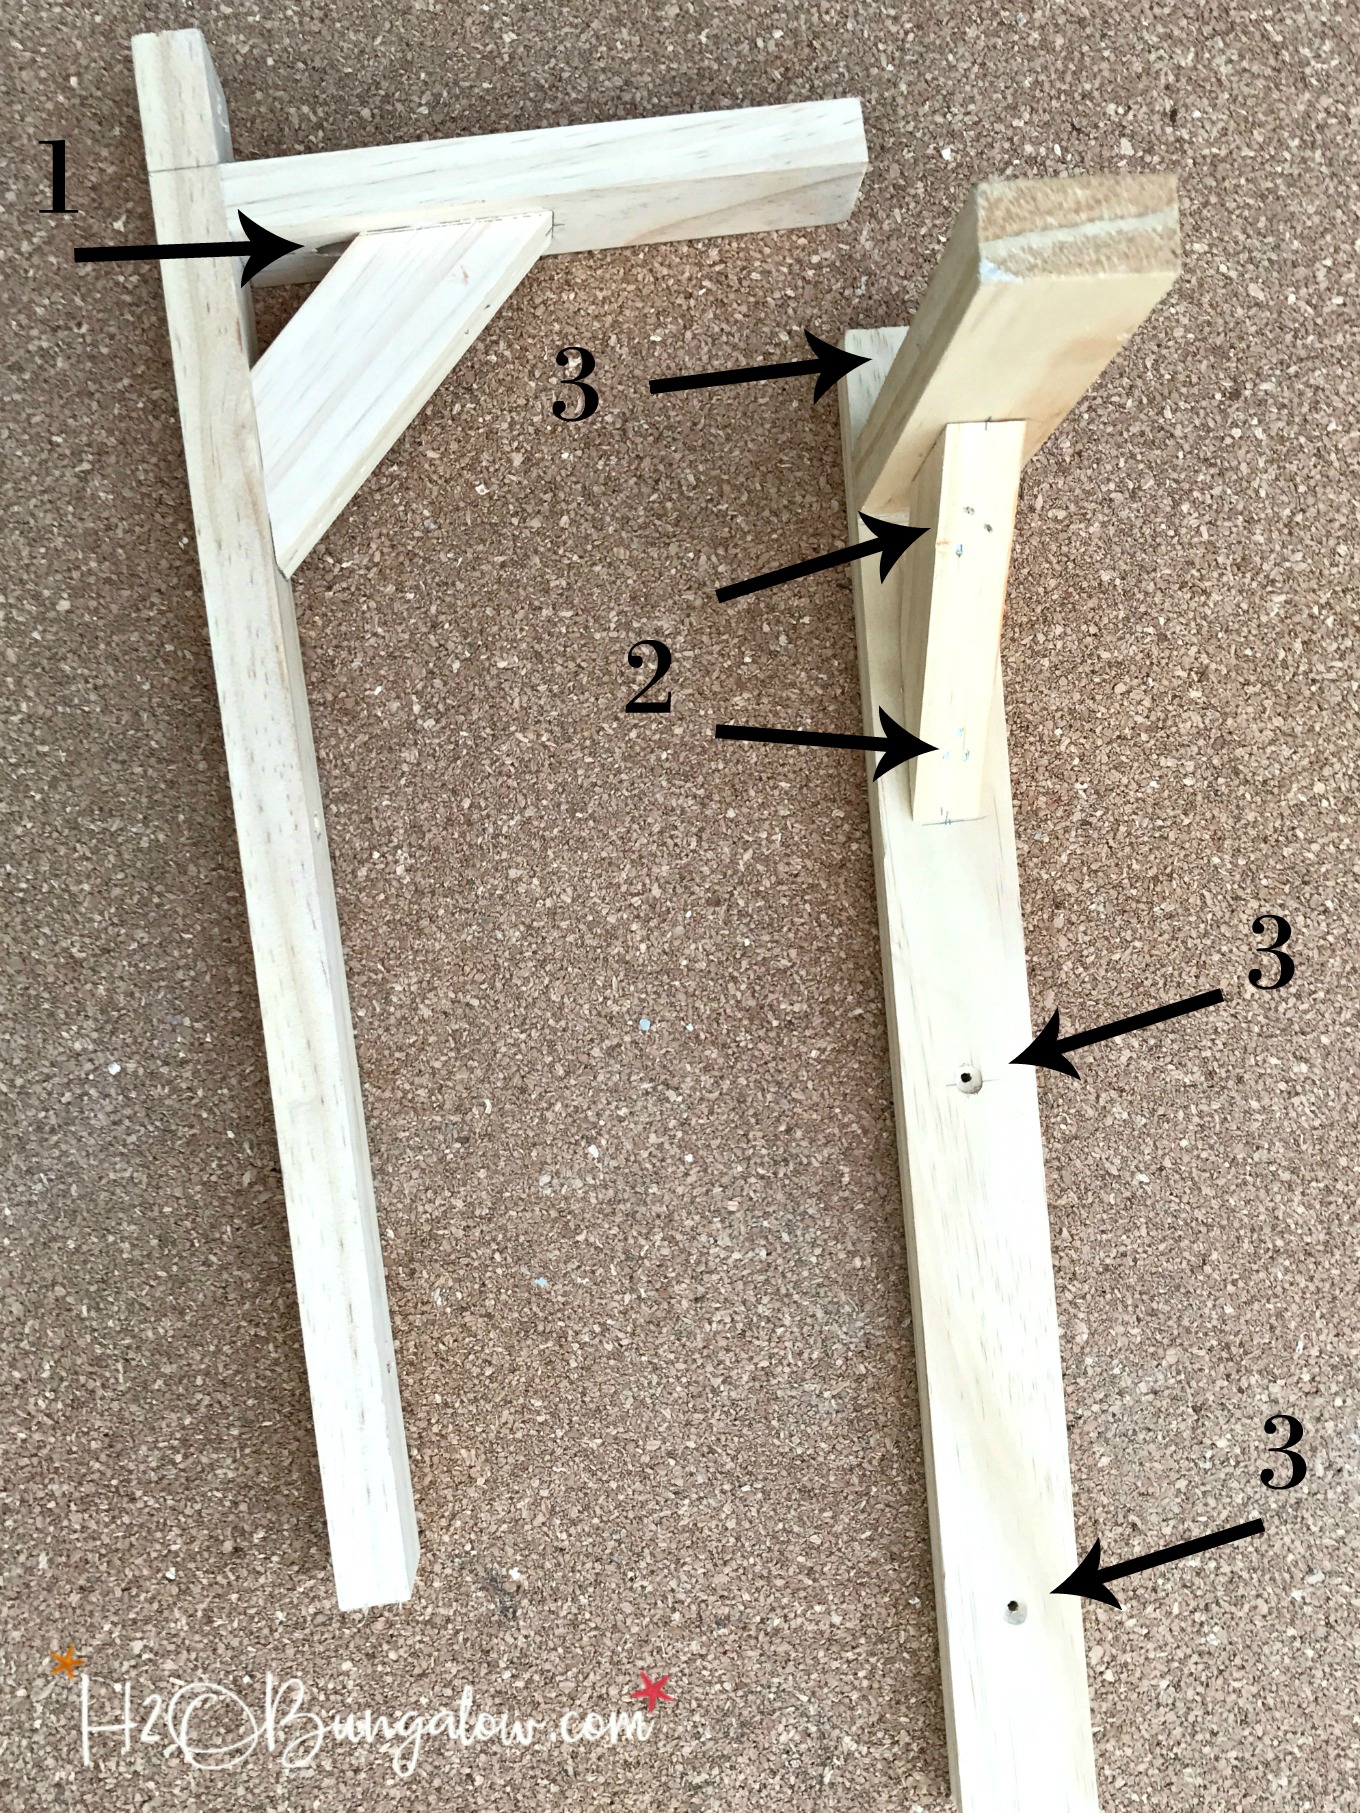
Assemble the rest of the DIY wood bracket as shown below. I used 1″ brad nails and wood glue. You could also screw these pieces together.
#1. pocket hole, #2. 1″ brad nails, #3. countersunk pilot holes to attach the DIY vintage style pulley light bracket to the wall.
Sand heavily to remove sharp the edges and give the wood wall bracket an aged, worn look. Stain, paint or varnish as desired.
Step 4. String the light through the pulley.
Clip the plug off of the end of the cord and string the cord through the pulley guides. Follow the manufacturer’s directions and install the new replacement plug at the end of the light’s electrical wire.
Step 5. Install the hardware.
Screw the cup hook onto the bottom of the end of the bracket arm. Next, install a mirror clip onto the bottom of the wood wall bracket to hold the electrical cord in place.
Step 6. Attach bracket to the wall.
Attach the wood bracket to the wall using wall anchors.
Step 7. Assemble The DIY Vintage Pulley Light
Hang the pendant light onto the cup hook and run the cord under the mirror clip. Adjust the length of the pendant light, and tighten the mirror clip over the cord. Screw the metal painted lampshade back onto the light fixture.
Step 8. Use Philips Lighting’s Classic Glass LED lightbulb to Finish Getting The Look you want with the best performance.
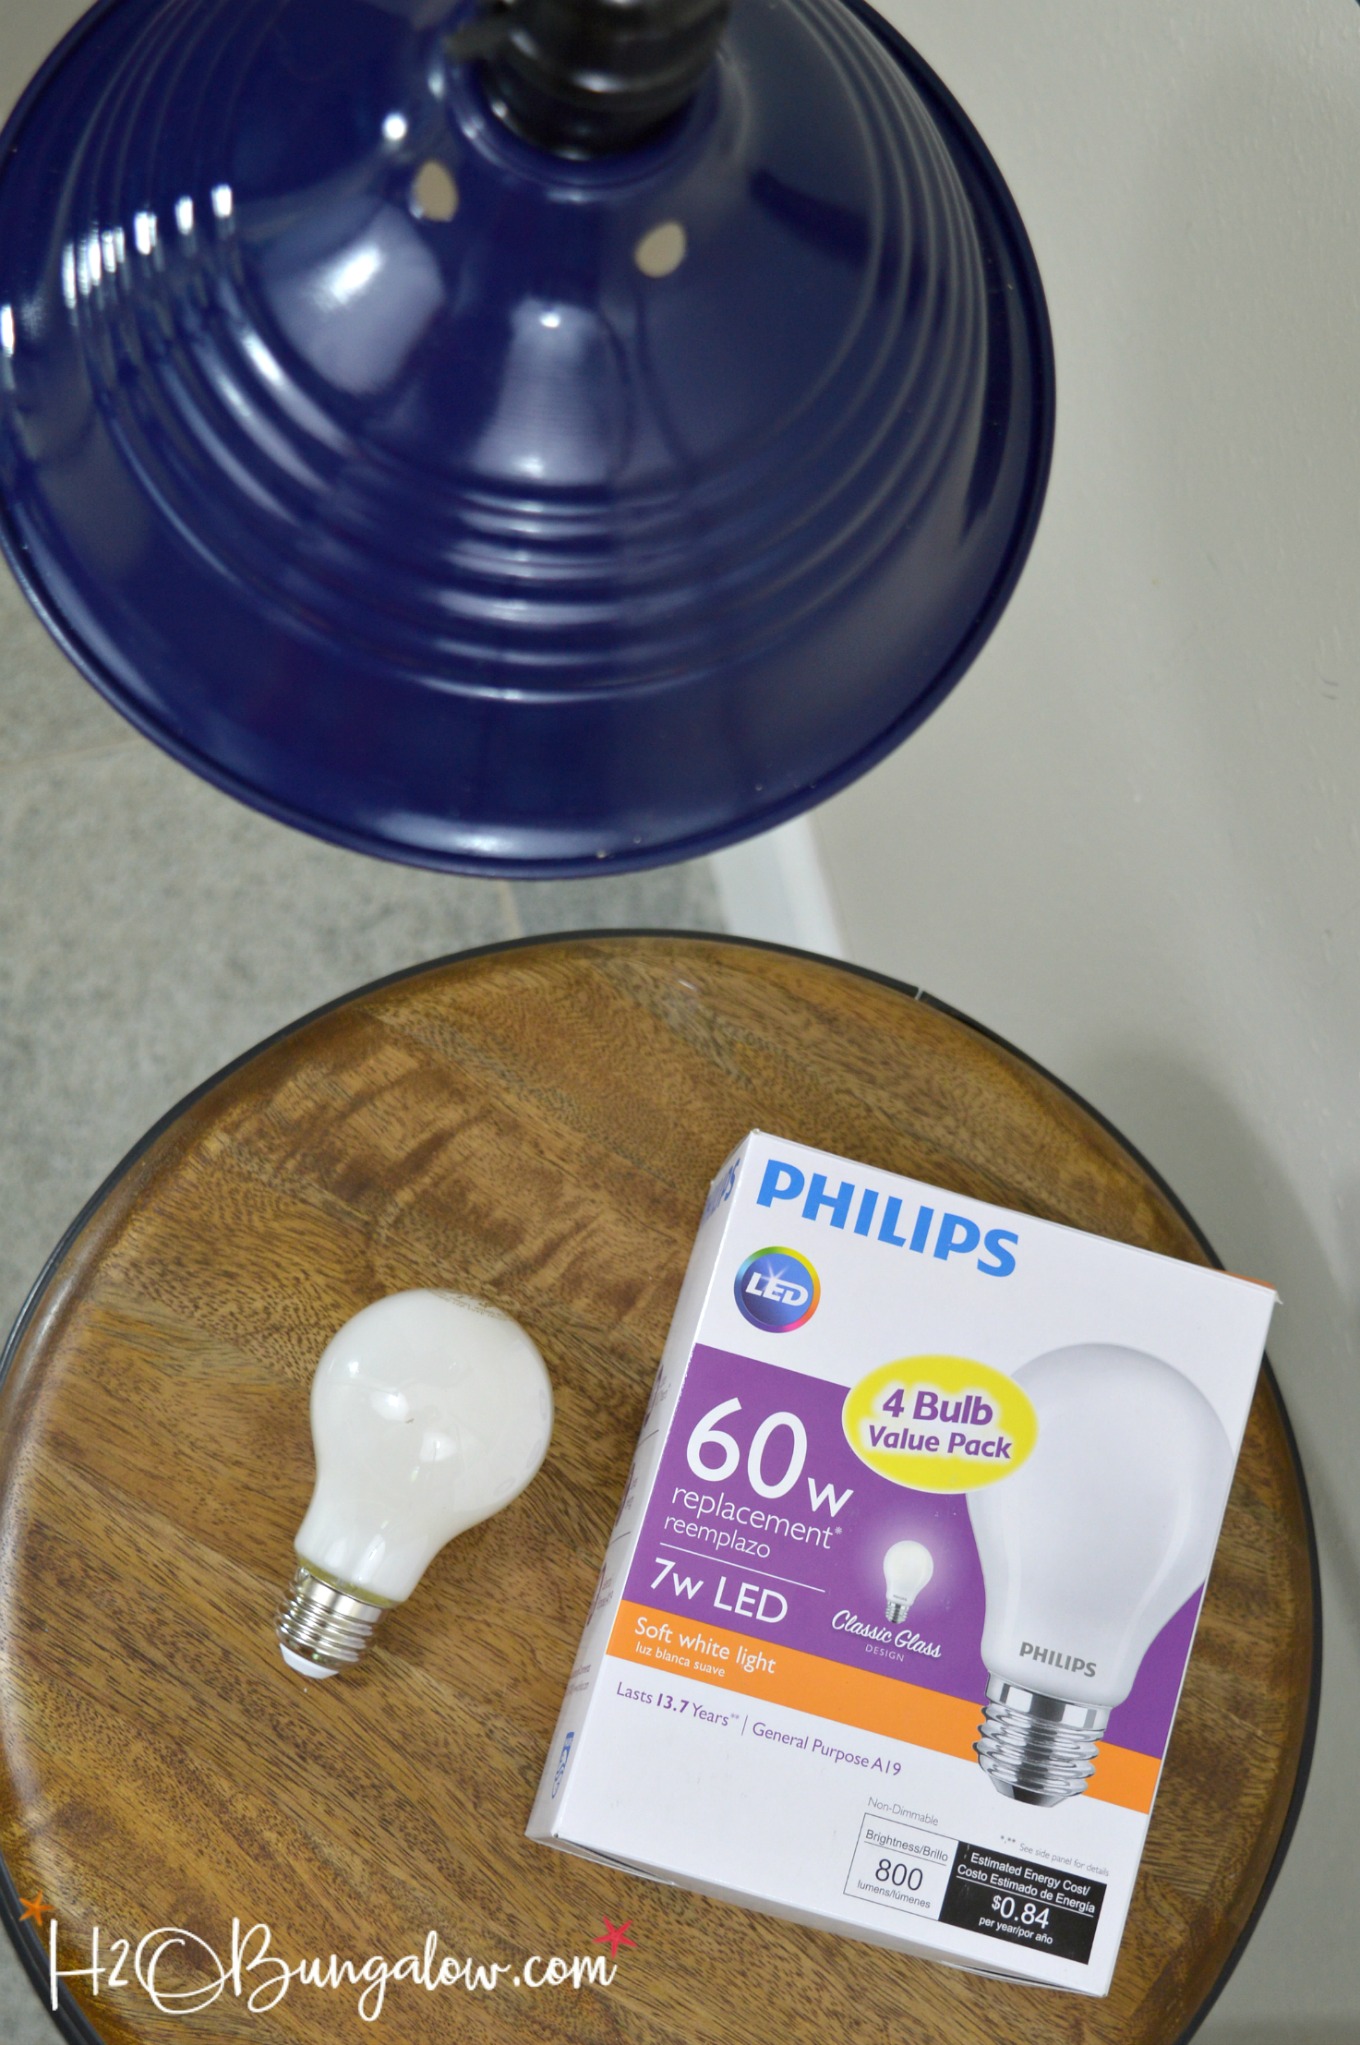
Pick up one of the new Philips Classic Glass LED light bulbs, in either soft white or daylight. I like soft white for bedrooms, living areas and kitchens. Daylight works best in areas like office spaces and laundry rooms.
I love that these Philips LED light bulbs look just like traditional light bulbs but with all of the benefits of LEDs. They are estimated to last more than 13 years depending on use and provide 85% energy savings over traditional light bulbs.
I’m changing over all our light bulbs to Philips Lighting LED bulbs in the North House Lodge and at home in Fl. With an estimated per bulb energy cost of .84/per year that adds up to big savings!
I’m changing over all of our light bulbs to Philips Lighting’s LED bulbs in the North House Lodge and at home in Fl. With an estimated per Classic Glass bulb energy cost of $0.84/per year, that adds up to big savings! Definitely worth keeping a few spare boxes on hand, too.
Click below to see where you can find Philip’s LED light bulbs
I’m wondering if I should make another DIY vintage style pulley light to use in a sitting area next to a reading chair too. What do you think? Where would you hang one of these DIY pulley lights in your home?


Erlene says
This is so awesome and I think I can actually make this for my son’s room!
Wendi says
Hi Erlene and thank you! You can make this….it was really- really easy and inexpensive. Plus by using a LED lightbulb the metal lampshade didn’t get hot at all which is a huge benefit. Thanks so much for your visit and I hope you make a light like this one!
Amy | Stow and Tell U says
This is so cool and what a great way to save space in a small room!
Wendi says
Thanks Amy 🙂 It is a good way to save space on a tiny nightstand. If I can find a big one of these I make a large one by a reading chair. Thanks so much for your visit!
Pete Grubbs says
Wendi–
It looks to me that the pulley is secured to its frame w/a carriage head bolt. I’m betting there’s just a hex nut on the other side. Instead of buying a replacement plug and rewiring, why not just remove the pulley from the frame, thread the lamp wire onto it and replace the frame? Is that an option or am I missing something.
This is a pretty nice little project–I’ll be filing it back in my memory for future reference. Thanks very much!
Pete
Wendi says
Hi Peter… Thanks for the nice compliment 🙂 The pulley had a small loop for a hook and I used the cup hook to hook it to the frame. The pulley didn’t come apart or I would have skipped rewiring with a new plug. I also wanted to make something that others could easily make too which is why I used the parts I did. The cord clamps at the bottom of the frame with a mirror clip. I’m getting ready to hang it in our VT place and will post photos after I do. Thanks so much for your visit and note. I’m sure you’ll take the project and put your own twist to it:)
Ron says
Also could have disconnected the wires at the light bulb socket, then you wouldn’t have to cut the plug off
Wendi says
Hi Ron, I agree that would have been easier. I tried that too but the wires were permanently fixed under a part I couldn’t take off. It was a $6 clamp light from Home Depot. I needed to make an easy to reproduce project and there were less variables with adding a new plug. I’m sure you could do something really cool with this idea and take it to the next level!
Rhonda M says
Wow, love it.
Wendi says
Hi Rhonda, Thanks so much! It was a lot easier to make than it looks. Thanks so much for your visit and comment 🙂
Mike Brewer says
Where did you find this plastic pulley? I can’t seem to locate one like this for under 25.00.
Wendi says
Hi Mark, Here’s a link to the pulley I used. http://amzn.to/2rkBQ9N. You can’t beat the price 🙂 Have fun with the project!
Ej says
Cute! Thanks!
Wendi says
Hi EJ and you’re welcome! Glad you were able to see the “real” post and project. It turned out too pretty not to. So glad I saw your note. Thanks again!
Patty says
I love, love your light, it is amazing and not that difficult. I wondered about yesterday’s post, but I loved the pulleys. Look at it this way we got two posts in two days haha. It’s all good.
Wendi says
Hi Patty and thank you so much! I have no idea how the url got changed out on my email…let’s call it technical difficulties..LOL These light fixtures are so adorable and very lightweight. It’s not a hard project to do, I’d love to see your version of it! Thanks so much for your sweet note and extra visit!
Regenia Moore says
Oh WOW… I can’t wait to make this light for our sons room Sooooo afordable too! Your step by step pictures & measurements are so very well detailed that I HAVE to make this light…you leave me no choice! LOL Thanks again! I love your blog.
Your Florida neighbor
Wendi says
Hi Regenia! I’m so happy you like my pulley light! I wanted an easy project that others could make easily, thanks for the feedback. You’ll love how light-weight it is too. As soon as I hang them I’ll add a photo of what they look like in a room. Please share a photo of yours when you make it. I’d love to share it on my H2OBungalow FaceBook page 🙂 Thanks so much for your sweet note!
Pamela says
These are so fun! I have a bunch of these lights and your DIY is great, they don’t look cheap or tacky. 🙂 Great idea for small spaces where a lamp table isn’t the best use of area.
Wendi says
Hi Pam! That was exactly my challenge, the space these are going in is tight and the tables will be small. I needed some kind of lighting by the beds. I can’t wait to share the photos of the space with the lights! Thanks so much for your visit and sweet comment:)
Kirstin Troyer says
Thank you so much for the feature