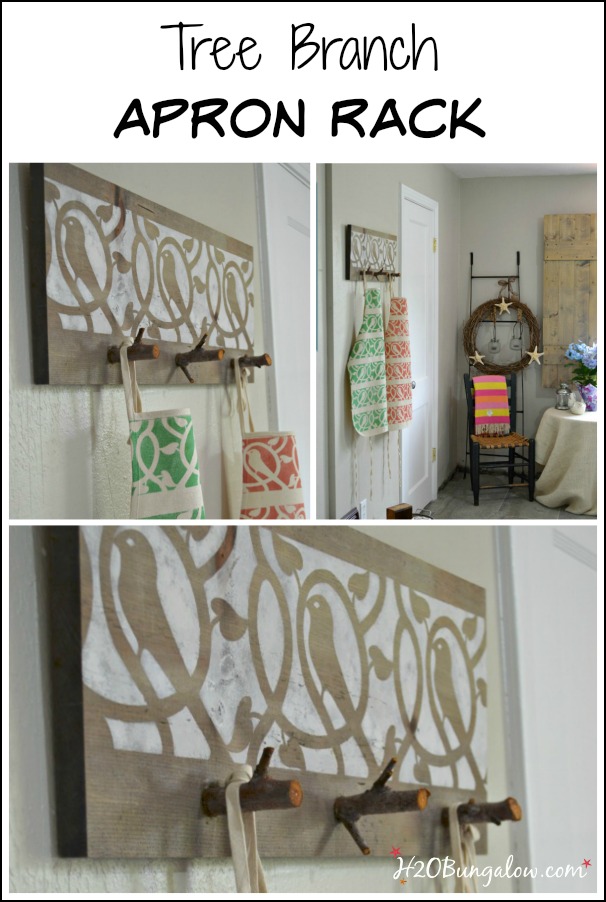
Earlier this month I shared that I was writing for Royal Design Studio’s blog, Paint and Pattern as a monthly contributor. It’s a huge honor to be included on their team of extremely creative ladies! Each month I get to create something new with their products. I can’t begin to describe how awesome that is! I scour the Royal Design Studio website and about a million…or at the very least, several dozen DIY ideas spin in my head!
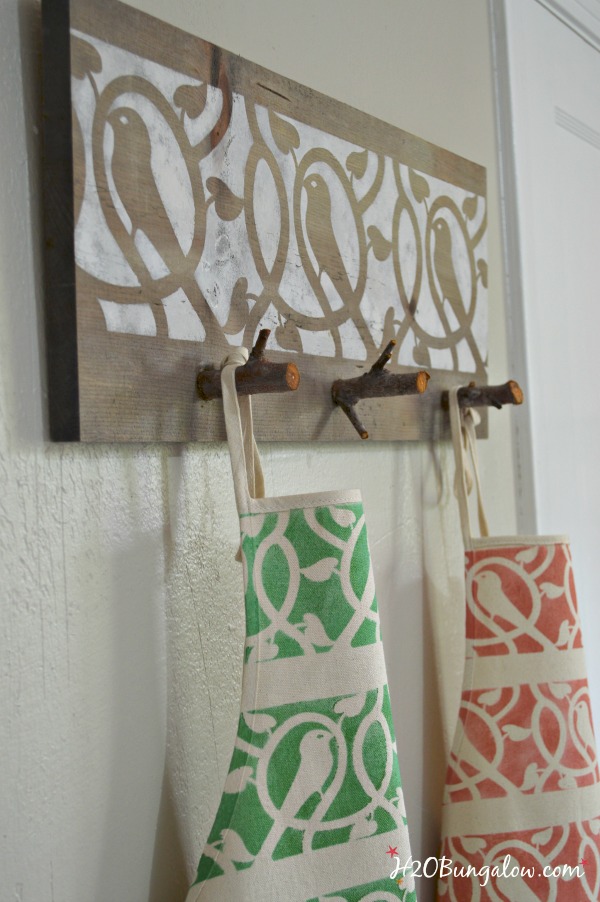
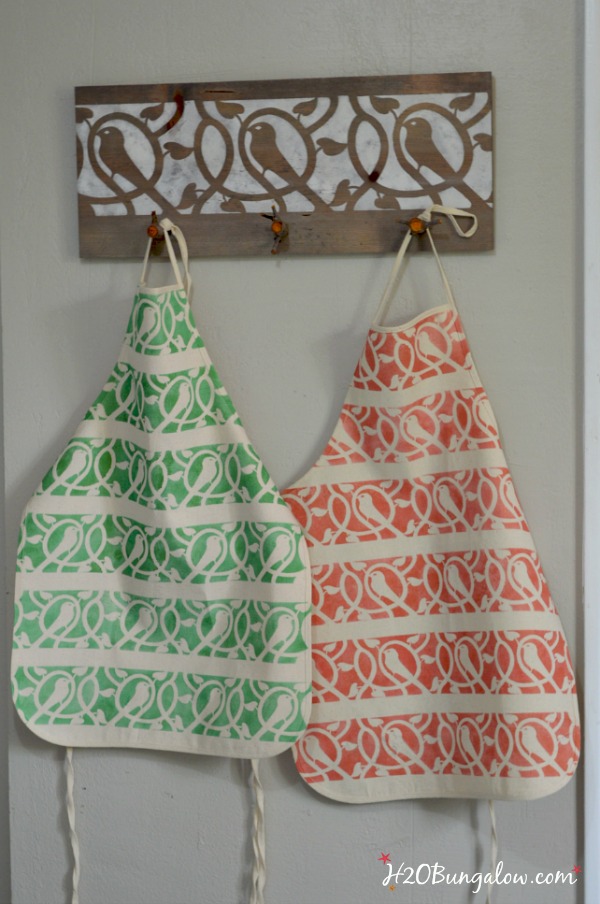
I created this birdie stenciled tree branch apron rack and a few aprons for my first contributor post this month.
Here’s a list of what you’ll need to make a stenciled tree branch apron rack like mine.
- large Birdy Border stencil by Royal Design Studio
- stained wood board cut to 10″ x 24″
- white paint
- Royal Design Studio stencil brush
- painters tape
- 3 coat hooks or branch pieces
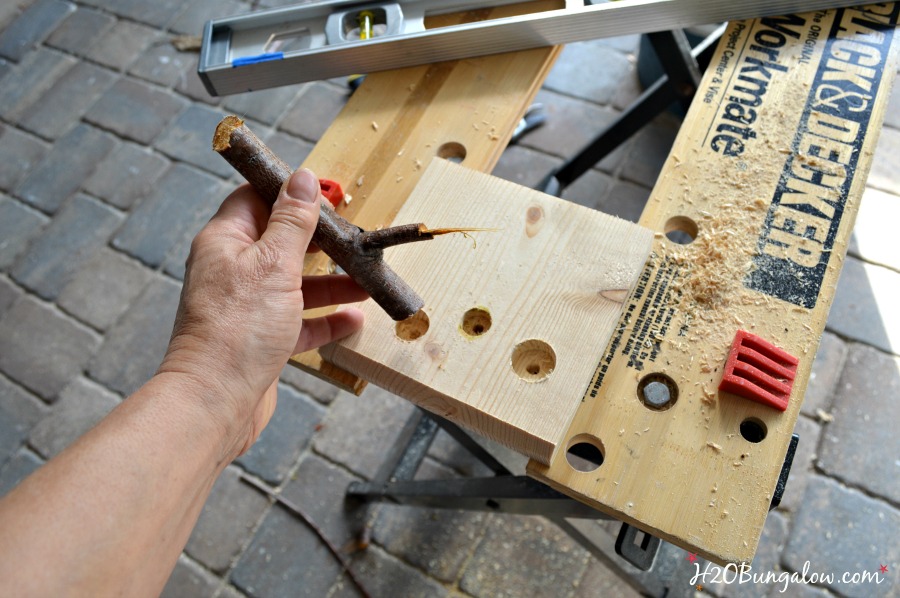
- drill with a flat spade drill bit to make holes for the branches (only needed for the branch hook option)
- wood glue
- picture hanging hardware
Instructions:
Begin by stenciling the birdie pattern onto your board and let it dry.
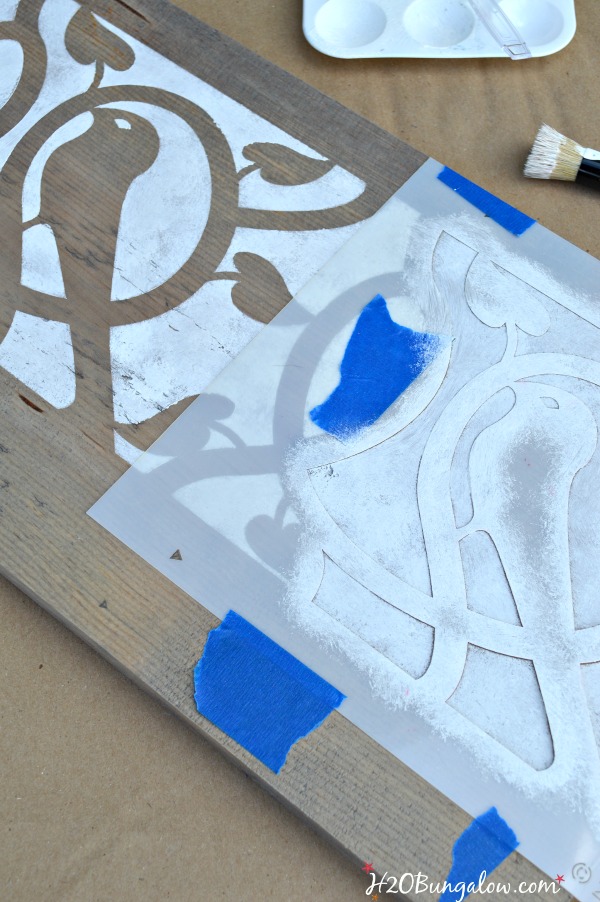
It’s a good idea to attach your hanging hardware before putting on the branches. The holes I choose were just big enough that I had to gently tap my tree branch sections into each hole. I used a little wood glue in the holes also for added strength. 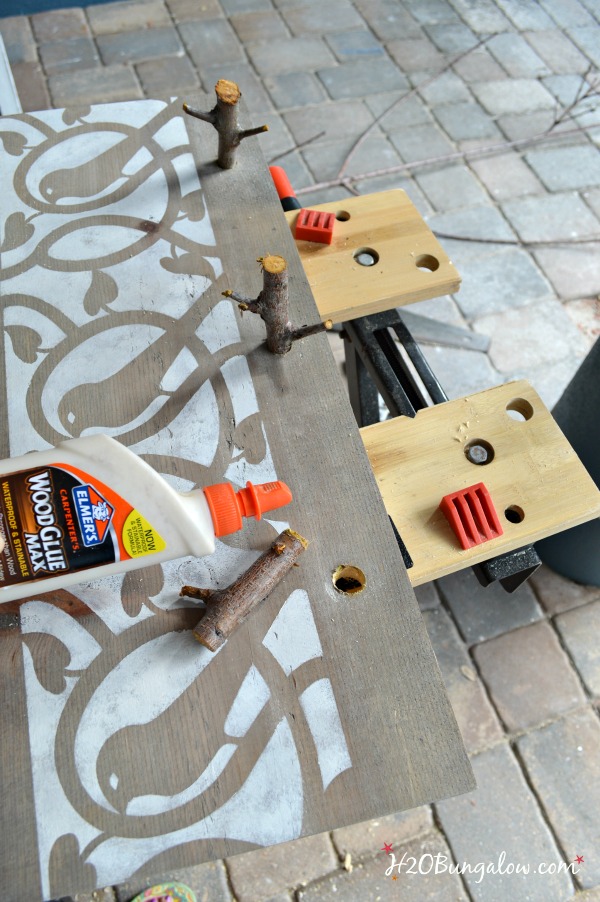
I’m having no problem remembering to put on my cute little birdie aprons when I paint now. They are so fun and cute I almost forget they’re practical too!
If you’d like to see the step by step details of this project, see my Paint and Pattern post.
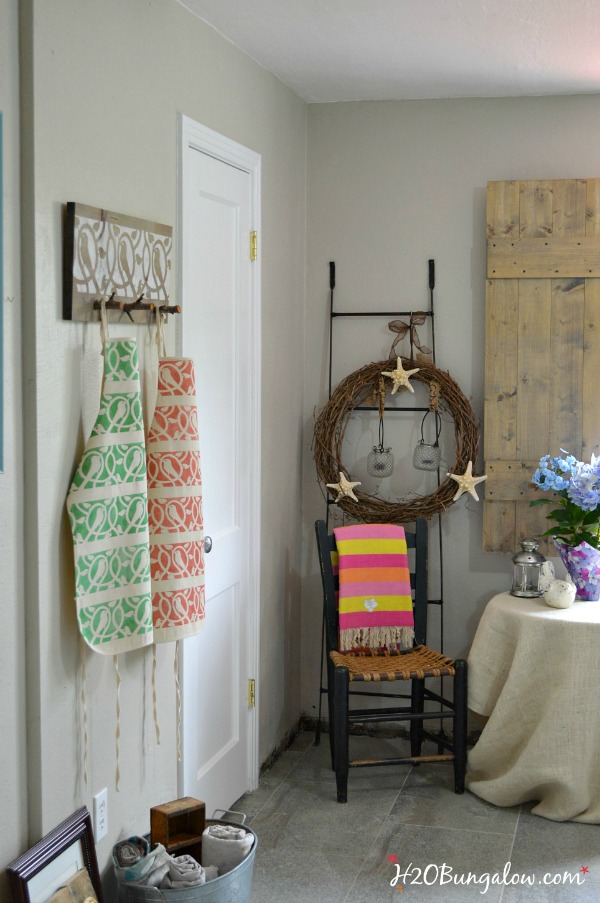
Not only am I saving my clothes from landing in the “painters clothes” pile, I’ve added something unique to my new office/studio. I’ve been working on redoing my office/studio for a month or so and it’s not ready for the big reveal…yet. But, I can share a little peek of what it’s starting to look like:)
It’s coming together nicely. I spend hours and hours each and every day in this room. I’m working on styling it to be a place that I enjoy walking into in the morning. It’s wonderful to have my own space, one that I can make all my own, especially in a small house!
Two other projects I’ve finished and shared in this new space are my gorgeous turquoise blue metal bakers rack I upcycled, and of course my awesome old world inspired DIY wood shutters you see part of it on the wall in this picture. I also think my DIY coastal whale coat rack would make a great apron holder as well. If you don’t have much wall space, you might prefer a Live Edge Wood Coat Rack. I’m looking forward to finishing the rest of my space & the big reveal…hopefully soon!
Don’t miss a single creative idea I share!
Love my posts? Click here to get my posts sent to your mailbox or follow me here on Bloglovin.
Following H2OBungalow on Facebook? It’s one of my favorite places and I share lots of extra projects, inspiration for the home and content I don’t share anywhere else.
Love Instagram? Me Too! Follow H2OBungalow on Instagram and see my projects in process and lots more.

Janet says
Hi, I hope you see this post soon. This is beautiful. I am interested in your designs to do, but I need to know what kind of stain did you use on the wooden board. This project is for a very special person in my life, my son who has a rare genetic form of cancer. The verse claimed for him is, “He will cover you with His feathers, and under His wings you will find refugee; His faithfulness will be your shield and rampart. Psalms 91:4
Thanks so very much for your assistance
Wendi says
Hi Janet! I’m so sorry your son is sick, I can’t begin to imagine how hard that must be for you. Your project sounds like a beautiful and love filled gift. You can use just about any water based stain color you like on this type of project. I used a product that made the wood look weathered. Here’s a link to what I used http://amzn.to/2mNwKR4 (affiliate link). I’m sure no matter what stain you use your project will turn out lovely! Thanks so much for your visit & good luck with everything!
Janet says
Thanks so much for your prompt response. Yes very hard..he lives on the West Coast, we on the East. He is a single 40 yr. old so we continue to communicate each week on his health after he has discussions with his doctor. I will certainly give this a try once I get the stencil ordered. Much appreciated. Blessings.
Wendi says
You’re welcome Janet. Blessings to you and your family as well!
Angie ~ ambient wares says
Back again to let you know I’ll be featuring you in a round up at tonight’s Funtastic Friday Link Party! Thank you for sharing!
Wendi says
Angie..you’re awesome and thank you so much!
Angie ~ ambient wares says
This is so beautiful Wendi! The birds along with the sticks as hooks are really special 🙂 Thank you for sharing this with us at Funtastic Friday! Pinning to share
Wendi says
Hi Angie and thank you! I’m infatuated with twig art and branch items. This was my first attempt at creating one of my own:) Thanks so much for your super sweet note!
Samantha says
Adorable!!!! Love it so much!
Kim~madeinaday says
What an adorable space! Love those little branches! Thanks for linking up at MerryMonday!
Kim
Wendi says
Hi Kim and thank you! I love tree branch projects, they make being creative even more fun:) Thanks so much for your visit!
Tracy says
The rack is adorable! I never would have thought to use tree limbs for hangers.
Wendi says
Hi Tracy & thank you! It was a fun twist on a plain apron hanger. I use aprons all the time and needed a way to help storing them cute 🙂 Hope I’ve inspired you to make one too! Thanks so much for your comment & visit:)
Ivory says
Gorgeous, love it all. Beautiful job.
Wendi says
Hi Ivory, thank you so much! This was one of those easy to do projects that turned out gorgeous! Best of all, it was free 🙂 Thanks so much for your visit & sweet note:)
Cindy says
Wendi, that rack is adorable! You are so stinking talented girl! Hugs and blessings, Cindy
Wendi says
Hi Cindy and thank you! I still have it up in my studio and still love it as much as when I made it! Have a fabulous weekend & thanks for your visit!!
Claire Bondy says
I’m swooning over that stencil!
Wendi says
Hi Claire and thank you:) It took me a little while to come up with a stencil that would work seamlessly all around. I loved the fish swimming idea and once I started it wasn’t too hard to make it work:) Thanks so much for your visit!
Jennifer Dawn says
What a fun DIY project! I’d love for you to share this at our weekly link party! thelifeofjenniferdawn.com/2016/05/fun-birthday-party-ideas-little-bird.html Hope to see you there!
Wendi says
Hi Jennifer and thanks so much! I’d love to stop by and will definately try!
Lynn Spencer says
Wendi, this looks fantastic. I am so impressed by your creativity and you’re right, not only does it look good but it’s functional too. My favorite things are those that embrace ‘functional aesthetics’ and this is does that in spades!
Thanks for sharing your creativity.
Hugs, LYnn
Wendi says
Hi Lynn and thank you! This was a fun project to make, and I loved the idea of using the branches. My painting aprons still hang from it and I use them all the time. Thank you for your visit!
Anika says
Found this through pin worthy projects party!
This is an awesome idea! I love it! Did you use only glue for the tree branches? No screws?
Wendi says
Hi Anika, Thank you so much! No, I didn’t use screws, but keep in mind how strong it would be when the branches are placed in the tight holes I drilled. I hope you make the project it’s unique and looks great:)