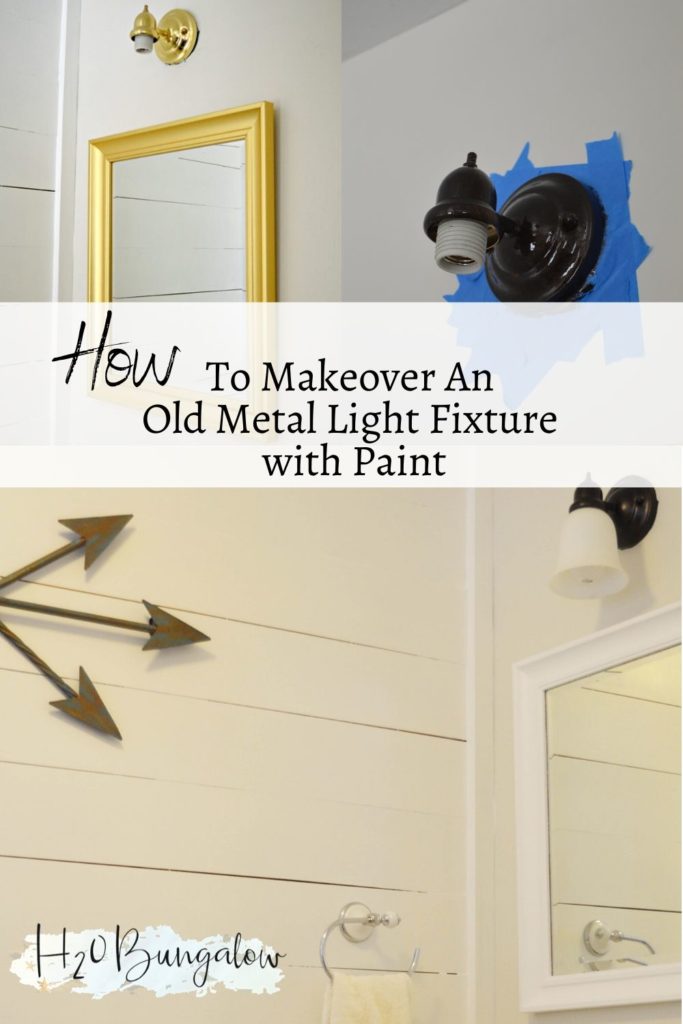
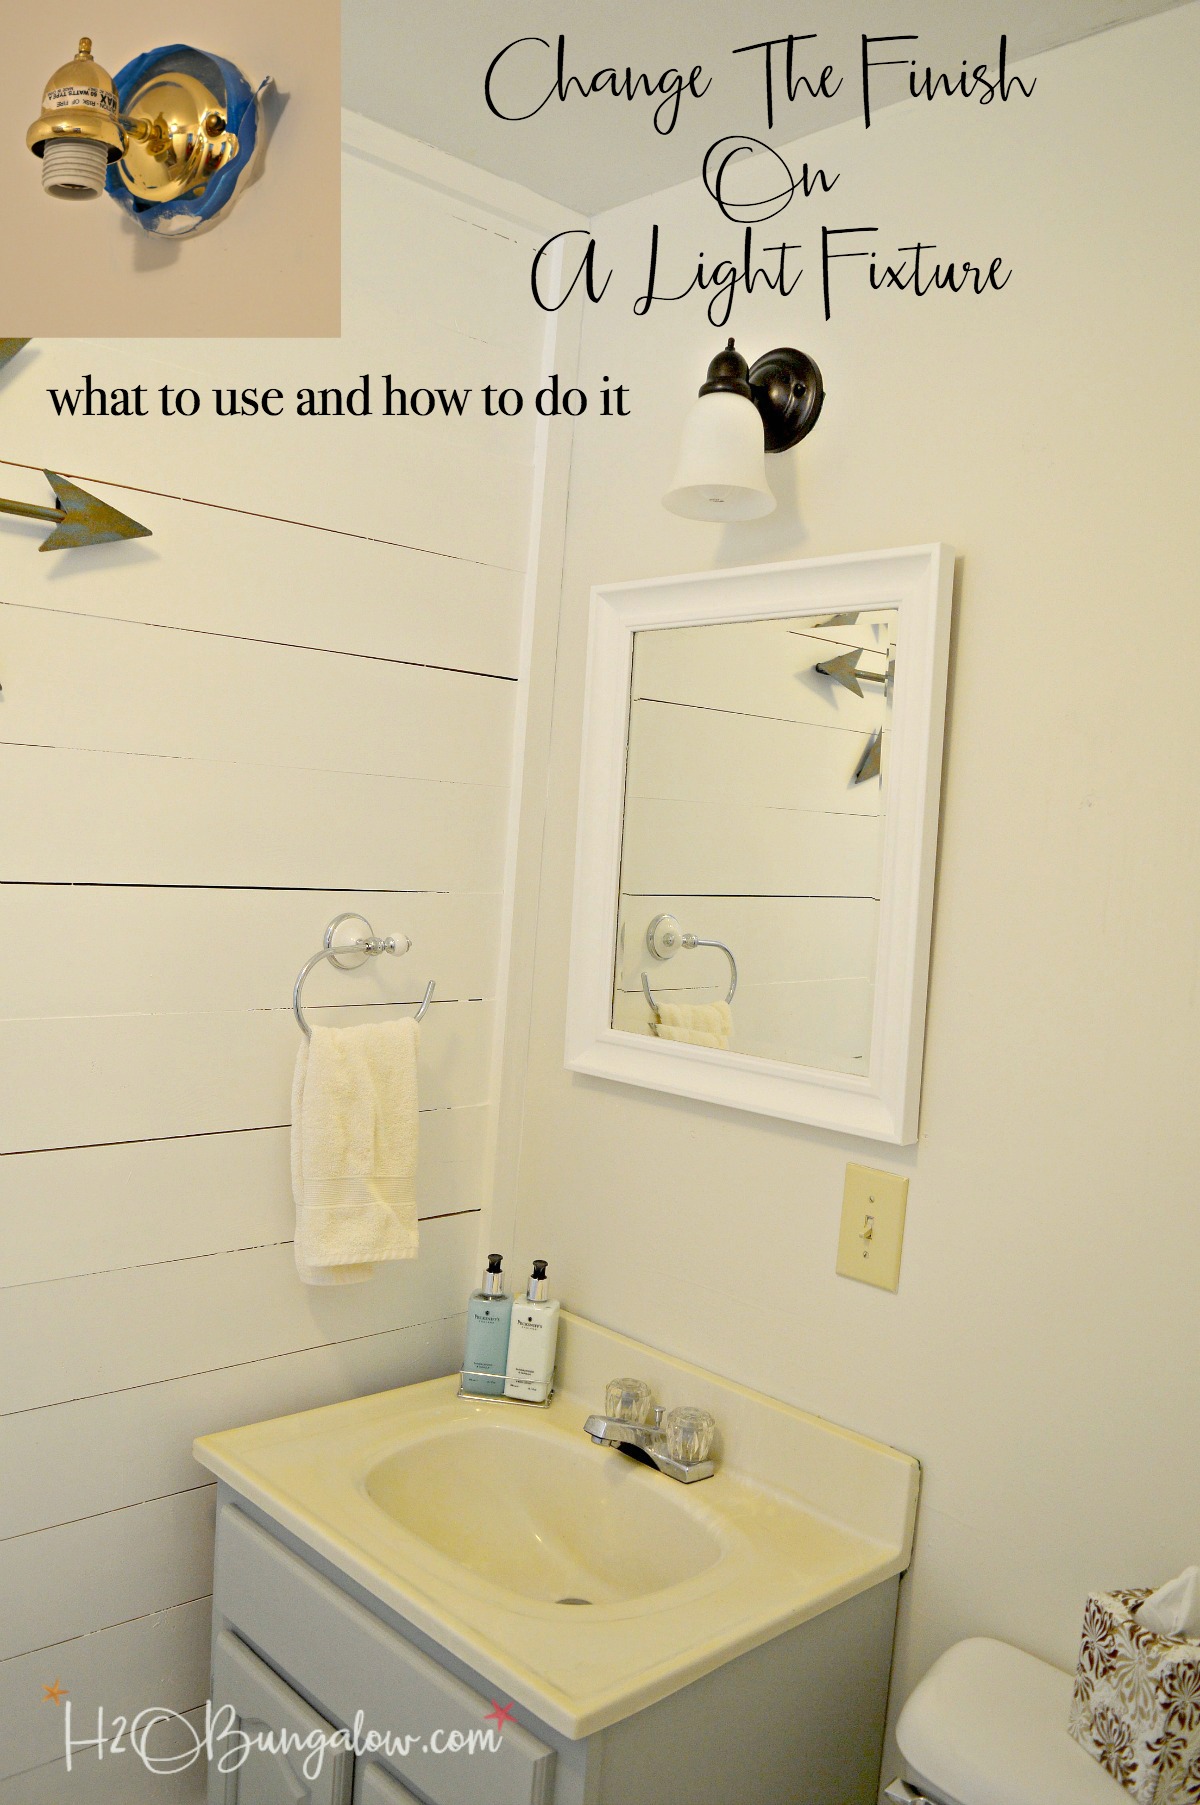
I’m sharing how to paint a metal light fixture with you guys today. This was the quickest, cheapest way I could get past the uglies in this little bath makeover. You know what? It turned out so good I can’t even tell it was a DIY painted light fixture!
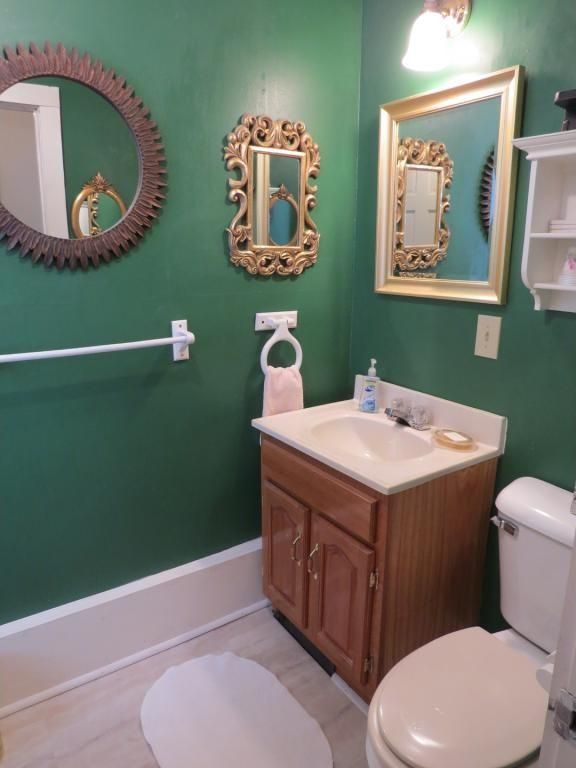
You guys know where I started with this makeover. The room was too busy and didn’t reflect the mountains or rustic lodge style I wanted.
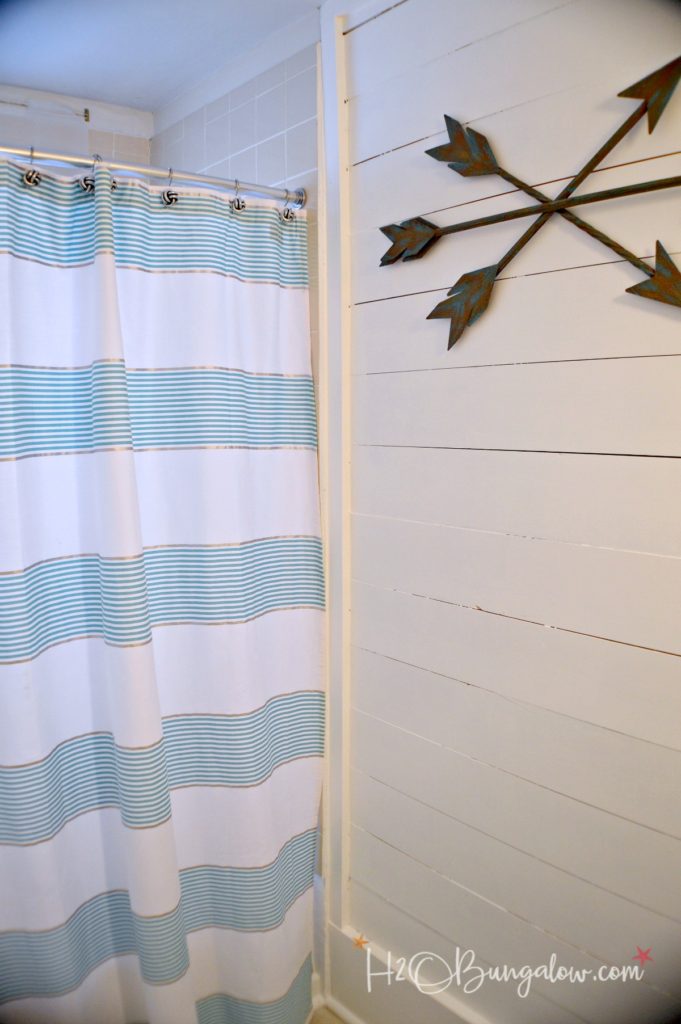
Within the first week or so of being in the North House I was painfully aware that I had to be creative with my available funds as well as stingy with my time scheduled for each project. I’d tackled replacing the off colored toilet seat myself, added a plank wall (more on that soon!), and painted the room and changed all the hardware. It wasn’t enough.
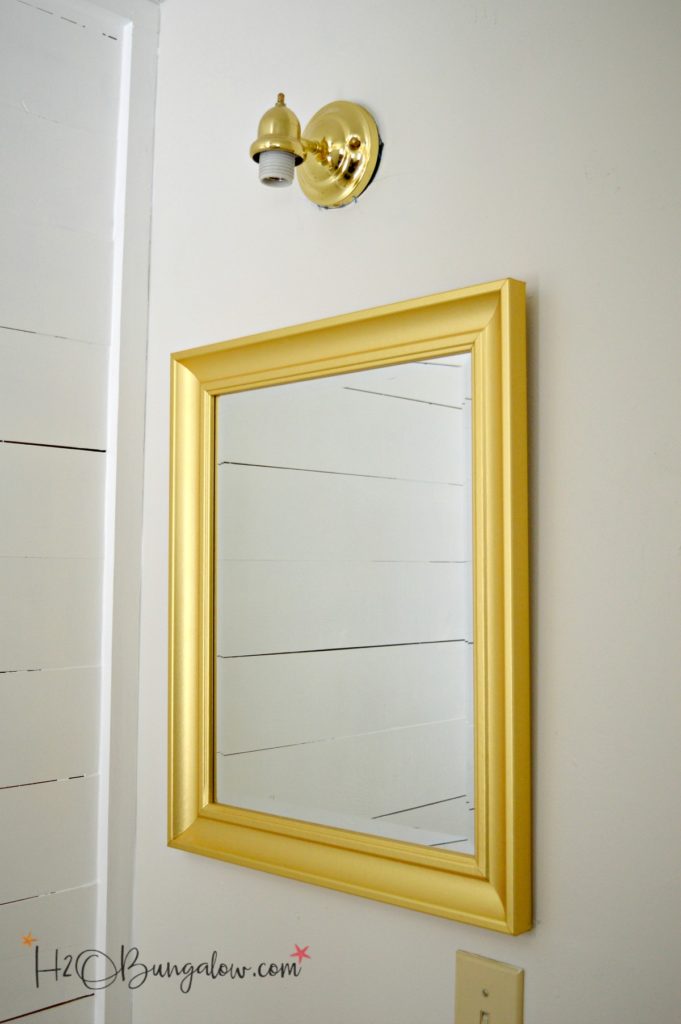
Every time I entered the room, and switched on the light it hit me front and center.
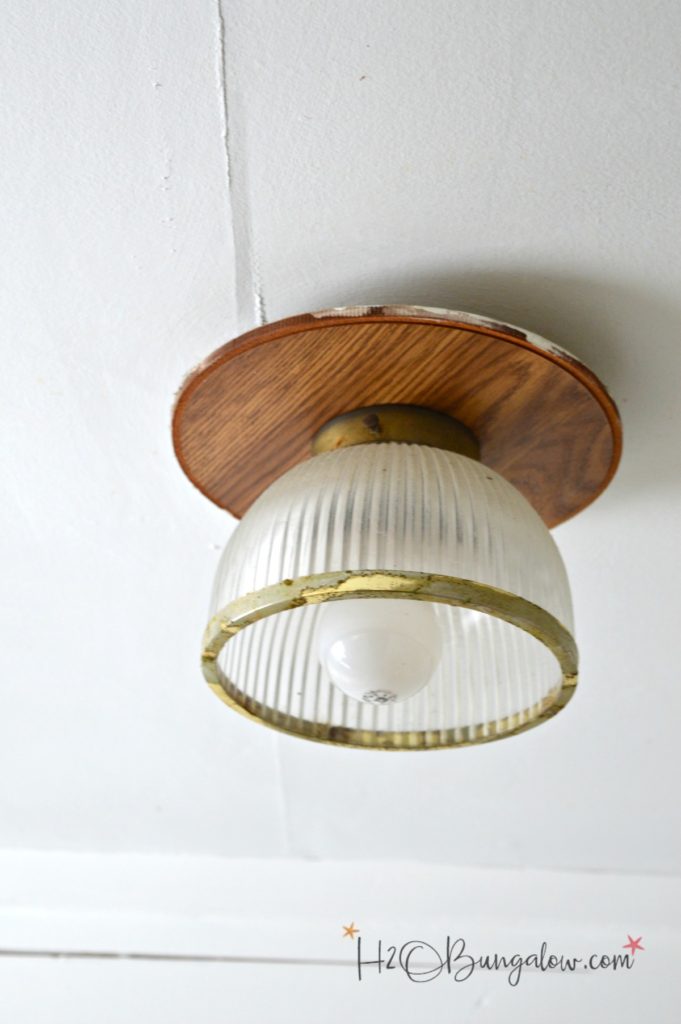
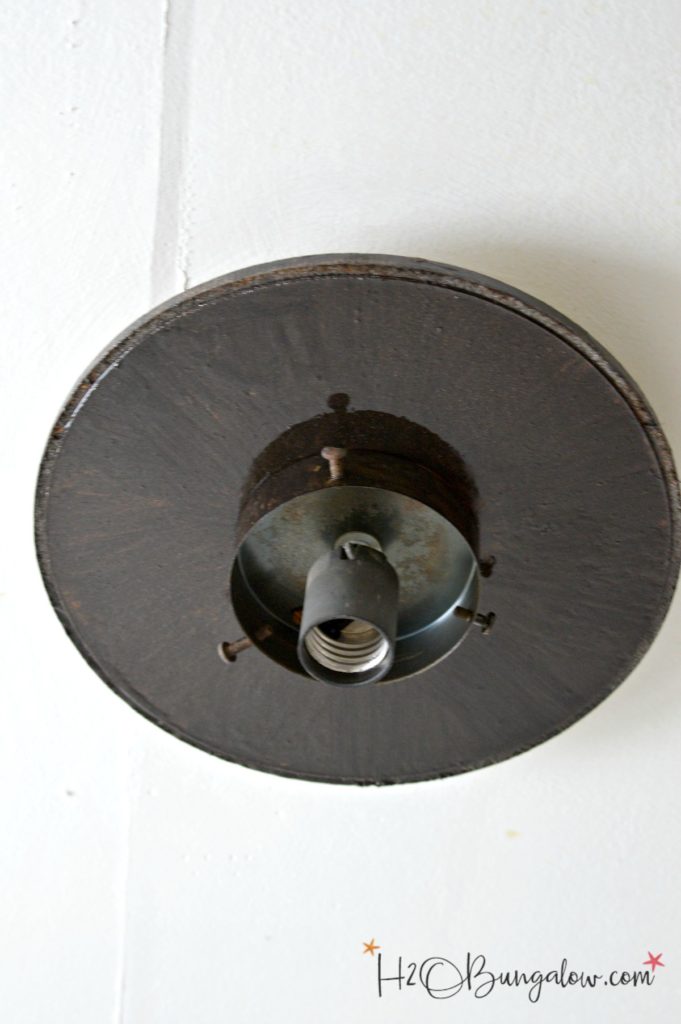
… this ceiling light contraption did too, which I think is two light fixture parts put together.
Ugh! I’d run out of time and needed a quick fix to pretty it up.
Why not paint the light fixture? I’ve done it before when I painted the light fixture in my coastal half bath makeover copper a few years ago. It’s lasted beautifully with no problems. So I thought why not paint the gold light fixture antique bronze?
Looking for more tutorials on painting metal? Check out this post on how to spray paint outdoor metal furniture so it will last a long time.
As an Amazon Associate I earn from qualifying purchases. I use affiliate links to help you find the products I used. If you make a purchase I get a small commission at no cost to you.
How To Paint A Metal Light Fixture Antique Bronze
Painting a metal light fixture a different color without removing it from the wall is easy and it only takes a few supplies.
- RustOleum Painters Touch Oil Based Oiled Bronze paint
- 1/2″ flat paint brush
- mineral spirits to clean your brushes after painting
- degreaser like TSP
- lint free painters rags
- painters tape for delicate surfaces
Step one – Turn off the electricity to the light
Turn off the light switch and breaker for the light. Remove glass shades and set aside.
Step Two – Tape off the area
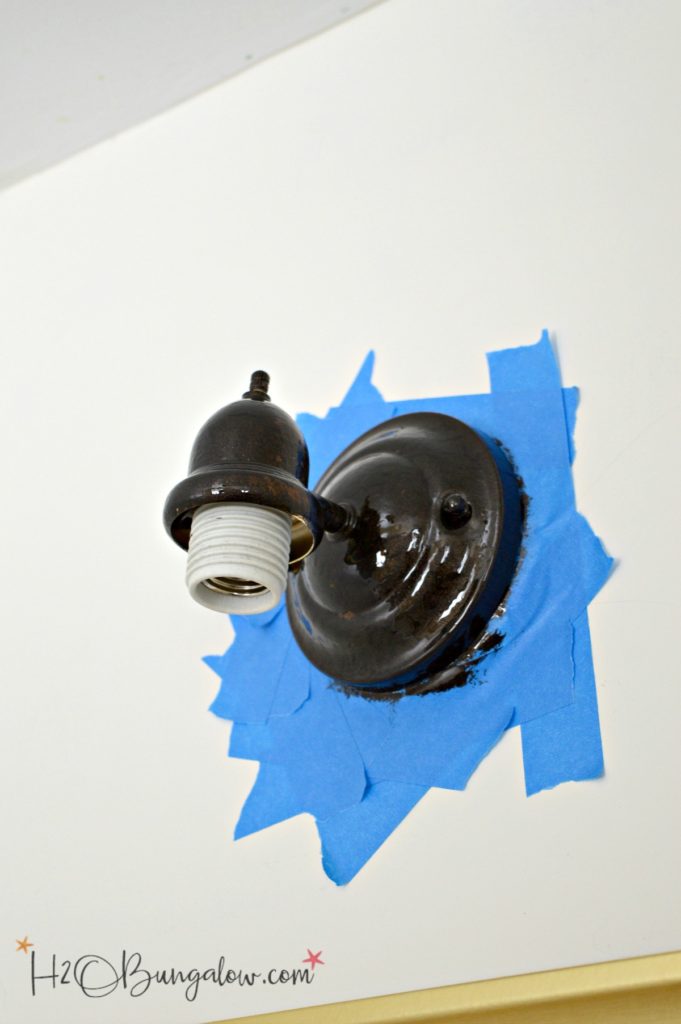
Loosen the bolts around the wall light fixture if possible just enough to get painters tape under the edge and tape all around the area to protect the walls.
Step three – Clean the light fixture before painting
Use a degreaser like TSP on a damp rag and wipe any dust or dirt off the outside of the light fixture. It’s not necessary to clean anywhere but the outside of the light.
Step four – Apply paint
Paint two coats of paint onto light fixture with a small 1/2″ soft bristle paintbrush. Sorry I didn’t get a picture of this step, having lots of projects going on at one time makes it difficult to remember which pictures to take when 😉 Allow the paint to dry in between coats. Use a dry brush and apply paint sparingly near switches or screws. Allow the painted light fixture to dry completely.
Step Five – Reassemble the painted light fixture
Carefully remove the painters tape. Tighten the wall mounts on the painted light fixture and put the glass globes and the light bulbs back in. Turn on the main breaker, flip on your light switch and admire your handy painted light fixture that took hardly any time and didn’t break the bank!
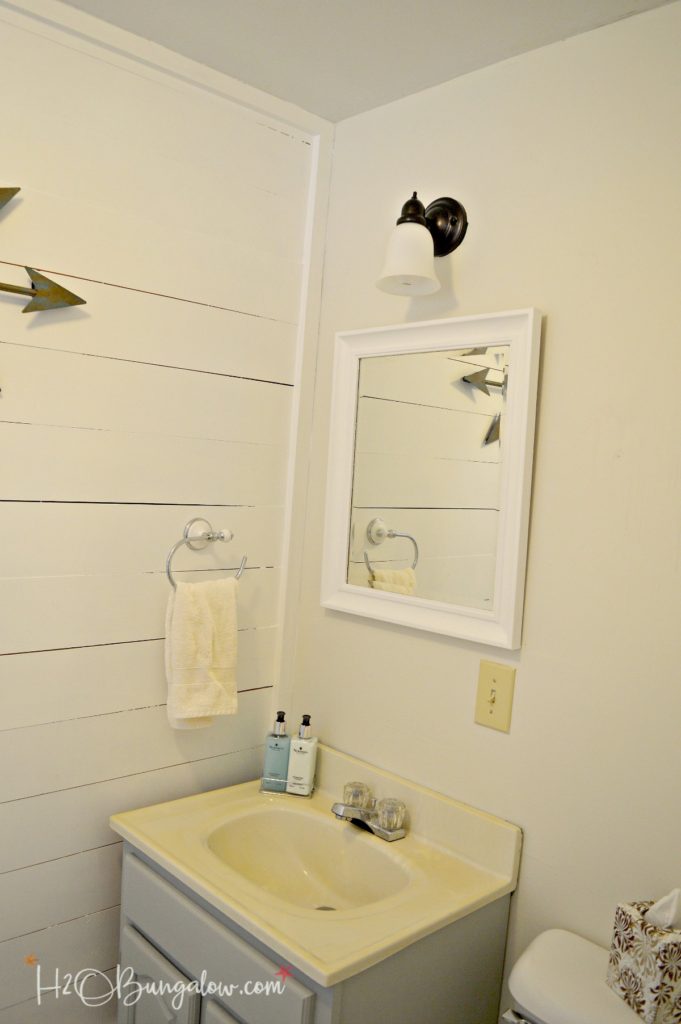
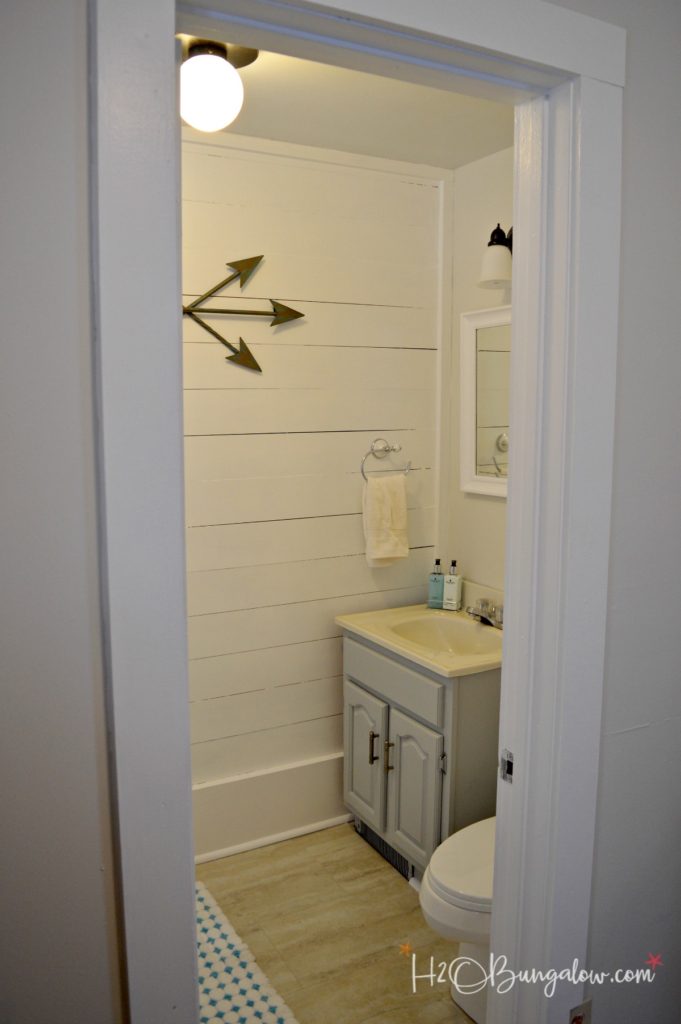
You can paint a metal light fixture for under $10 and completely change the look of it. Glass sconces or globes are mostly interchangeable nowadays too which makes this a super project. I totally changed the look of the painted metal light fixture on the ceiling by adding a round globe. I like it now, it kind of looks vintage instead of “I’m out of funds let me make it work” 🙂
Now my little bath looked every bit as cute as I’d imagined it would.
I completely enjoyed walking in and flipping on the lights and kept going back that first night just to flip on the switch and admire my handy work and the painted metal light fixtures. Do you guys ever do that, walk back in a room over and over just to see your “new” look?
You know the routine if you love this project, pin it..or if you just want to be sweet and share it on any of your social medias, I’m grateful!
Do you want to paint a metal light fixture too? Share below in the comments, what kind of light it is and what color you’d paint it!

Pat says
I have (2) large brass kitchen fixtures that I want to paint to resell. These were expensive lights and unfortunately no one wants gold any more. I noticed yours were shiny. Did you do anything different to make them that way. We have done fixtures in the past that turned our flat. I am sure it was probably the paint we used. Thanks.
Wendi Wachtel says
Hi Pat,
That’s a good question. It’s just the choice of paint that you use. I used an oil based Rustoleum metal paint. Another choice is to coat your fixture with a clear coat after painting it to make it shiny. Good luck with your project!
Danielle says
Hi Wendi! Thanks for sharing! Quick question, I am planning on spraying a new light fixture, I’ve read different things about weather or not you should sand the surface prior to spray painting. What are your thoughts? I am worried if I sand the fixture will have visible scratches even after the new paint is applied. Is this necessary for the spray paint application?
TIA! 🙂
Wendi says
Hi Danielle!
Thant’s a good question! If you’re painting an outdoor fixture I don’t think you should scratch up the surface. What I do think you should do is spray it with a clear sealer over your paint. I painted my bath light fixture about 6 years ago and sealed it with a clear sealer. It’s lasted longer than my other light fixtures and this is in our home. We have a lot of salt and high humidity in our air since we live on the water. You may not have the high humidity and salt in your air but I’d still seal an outdoor fixture. Hope this helps and good luck with your project!
brittany M brown says
I am going to try this today! So glad I found this post! I will keep you posted!
Wendi says
Hi Brittany!
I’m so glad my post was useful to you too! I still have that light fixture up in the bath and it looks great. I needed to save funds anywhere I could when I was working on that remodel. Thanks so much for your note and yes, send me a note and let me know how it turned out!
Julie says
Thanks for this! It’s very helpful. 2 questions:
What are the mineral spirits for?
I see only three colors of this type of paint listed online. Is that all there are?
Wendi says
Hi Julie! Those are really good questions. First, the mineral spirits are to clean your brushes after painting. Thanks so much for mentioning that I didn’t mention that! I just updated my post to reflect it. Second question, yes, there are only a few metal colors available in this paint. I hope that helps. Good luck with your own DIY project and let me know if you have any other questions! Thanks again for your note and visit!
Carol says
Wendi , what a great share… I’ve painted brass knobs and handles too! They don’t all last as long – but three years of constant use isn’t bad for a touch up! And it saves a fortune! I also wanted to say thanks for your last comment… I’m about to tackle,a very nasty apartment that needs everything doing and it is filthy and nicotine stained… so the prioritizing the projects tip totally mak smsense!
Wendi says
Hi Carol! Thank you for your sweet comment!! Since the light fixtures don’t get much touching they last a lot longer. Anything to stretch the budget on on big makeover, right? Ugh… I feel your pain and hear the overwhelmed part of you for your next project, been there. Prioritizing has definitely helped me keep (a little) sanity when I start a big makeover. I’ve tackled nicotine stained walls in the past too, good luck! When you’re painting the walls and priming them to block the color/odor a Paint Stick will save you a ton of time. I’ve used it for all the painting in the North House. Here’s a link to a post I did with one https://h2obungalow.com/2017/03/speed-painting-the-fastest-easiest-way-to-paint-walls.html Good luck on your project and thanks for your visit & comment!
Lisa House says
Looking fabulous! Any plans for the counter/sink/faucet? Thanks for sharing all that you do!
Wendi says
Thank you so much Lisa! Good question too! I absolutely have the counter sink & faucet on my radar for future projects. This place needed so much TLC and updating that I’ve had to prioritize my projects. I just finished making over the upstairs bath and will post on that in the next few weeks. Thanks so much for your visit and sweet note!
Heidi says
Love your brighter bathroom, shiplap wall and painting the light fixtures makes such difference! It really adds to the whole farmhouse feel of the space. Thanks for linking up the transformation with Funtastic Friday!
Wendi says
Hi Heidi and thank you:) The bathroom definitely looks a whole lot brighter than it used to! Thanks for your sweet note and stopping by:)
Beverly says
Great idea to paint the old ones. I paint everything. I have a light that needs to be painted, but not sure what color yet.
Bev
Wendi says
Hi Beverly and thank you! This was a super fix for a budget. It looks so good now I don’t need to change it out. I know the feeling of needing to paint and not knowing what color. We have some like that at home in Fl. They’ll have to sit until I can figure out what color to make them 🙂 Thanks o much for your visit!
Marie from The Interior Frugalista says
Great tip on how to paint a light fixture when it’s still on the wall – my kind of update! The difference between before and after in that bathroom is night and day.
Wendi says
Hi Marie & thank you! It was my kind of makeover too…about a 10-15 minute project! LOL I need more of those. Yes, the little half bath looks like a different place. I smiled everytime I walked in with the fresh and clean new look. Thanks so much for your visit!
Patty says
So, so much better, it now looks like it belongs in that bathroom. Great job Wendi.
Wendi says
Hi Patty and thank you! I’m excited to finally start revealing some of the work I’ve been doing over the past few months:) I feel there were several really useful home decor/home improvement projects that most anyone can do. I love the next one I’m sharing later this week! Hope your January has been great so far!
Sue@betwixthomandschool says
Really smart makeover on the lighting, Wendi. I love the antique bronze on the lighting it really enhances the woodsy theme you’re trying to achieve and updates the bathroom at the same time. Thanks for sharing because I know I will be doing this same adventure this spring to a bathroom!
Wendi says
Hi there Sue! …and thank you so much:) Don’t you love the easy projects that turn out spectacular? We all need a bit more easy in our days. I painted the last light fixture 3 years ago and it still looks brand new. Share a picture of yours when you tackle it! Thanks so much for stopping by & leaving a note!