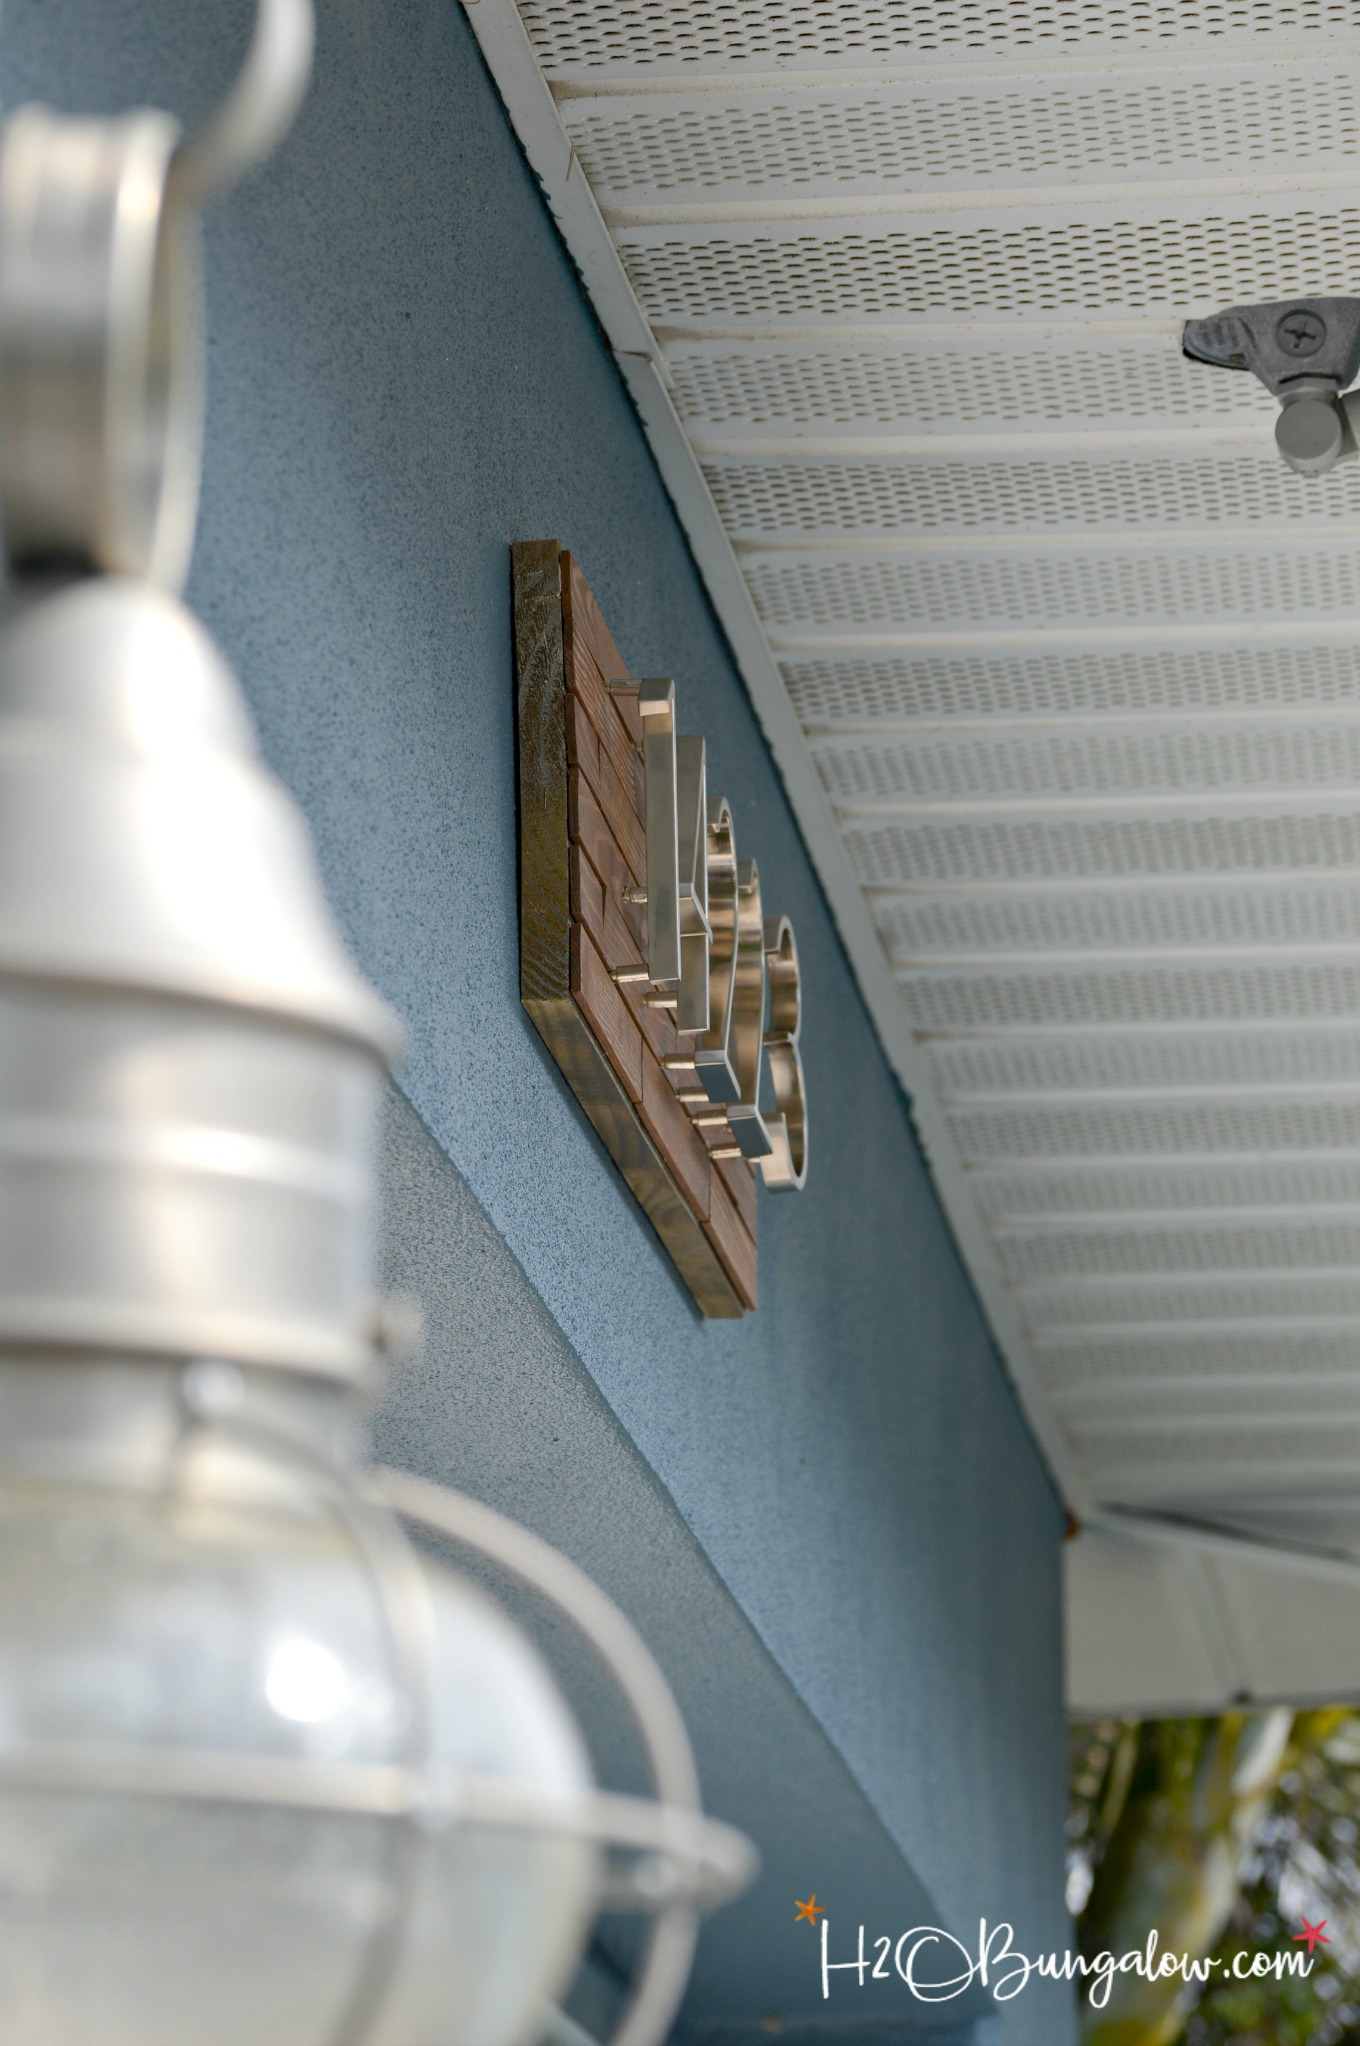
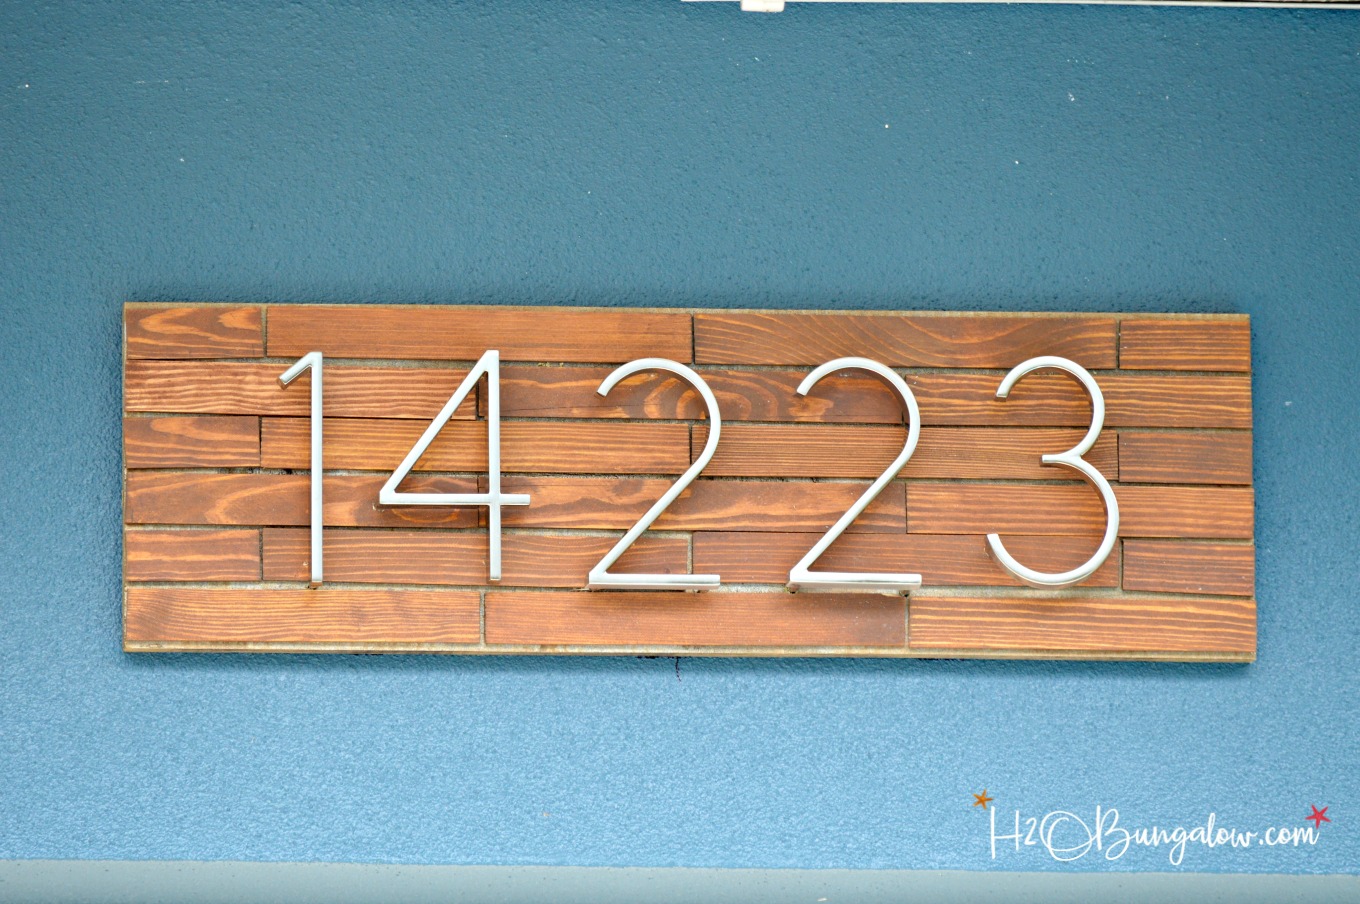
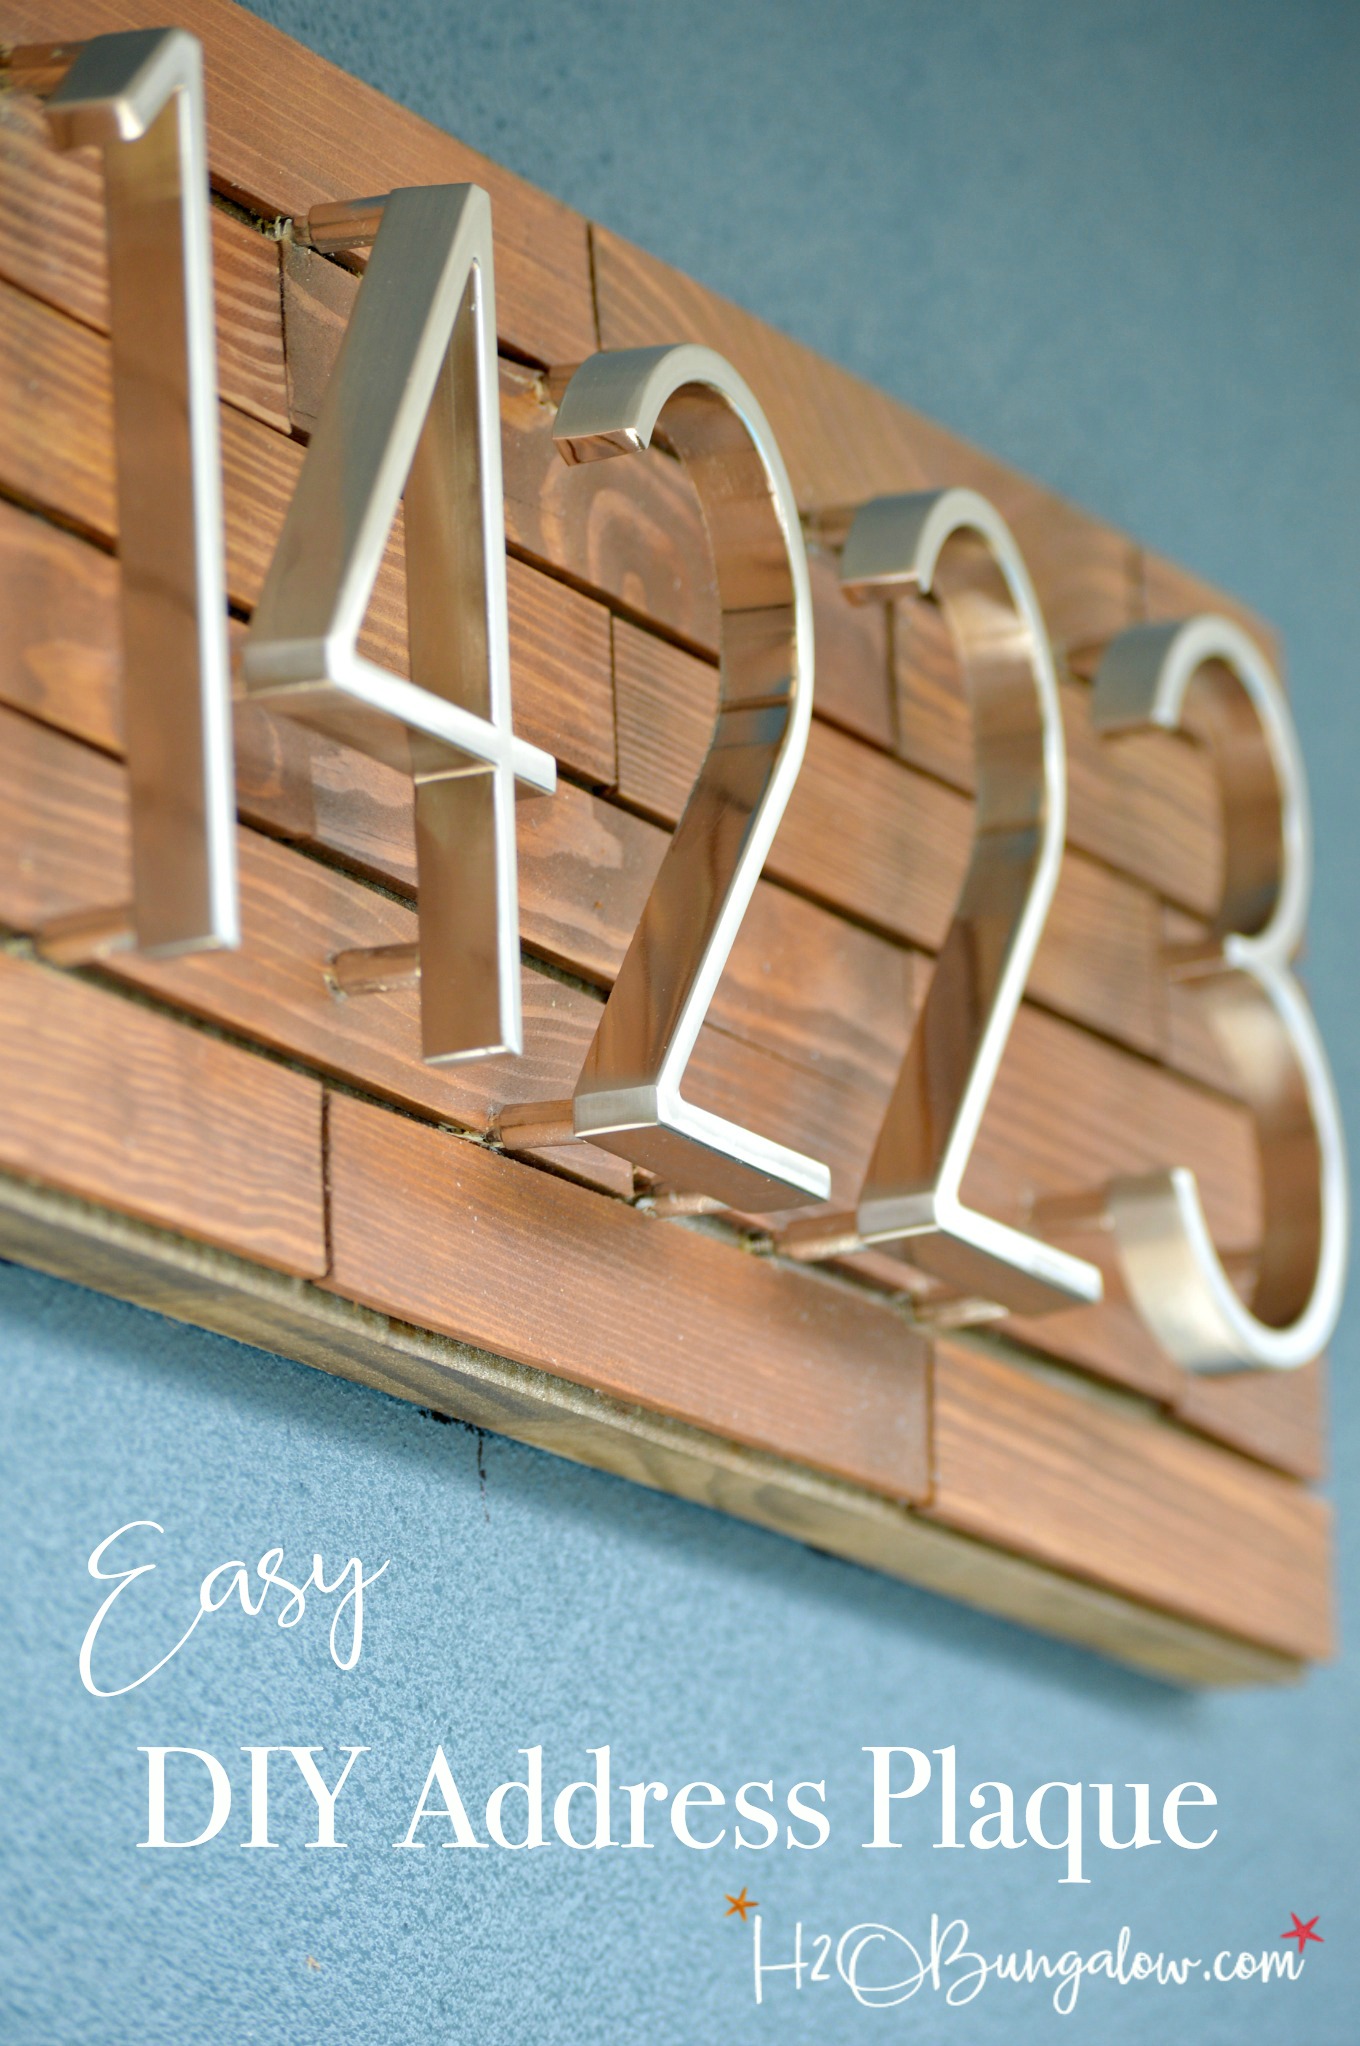
My new DIY horizontal wood slat address plaque solves a lot of headaches. I’ve just made the postman happy, and UPS as well as FedEx and various friends who haven’t been here yet. I think Amazon will be thrilled when I send less inquiries on why I never received my orders, although I’m afraid a neighbor somewhere will miss getting all the free blogging stuff they’ve collected over the past 4 years.
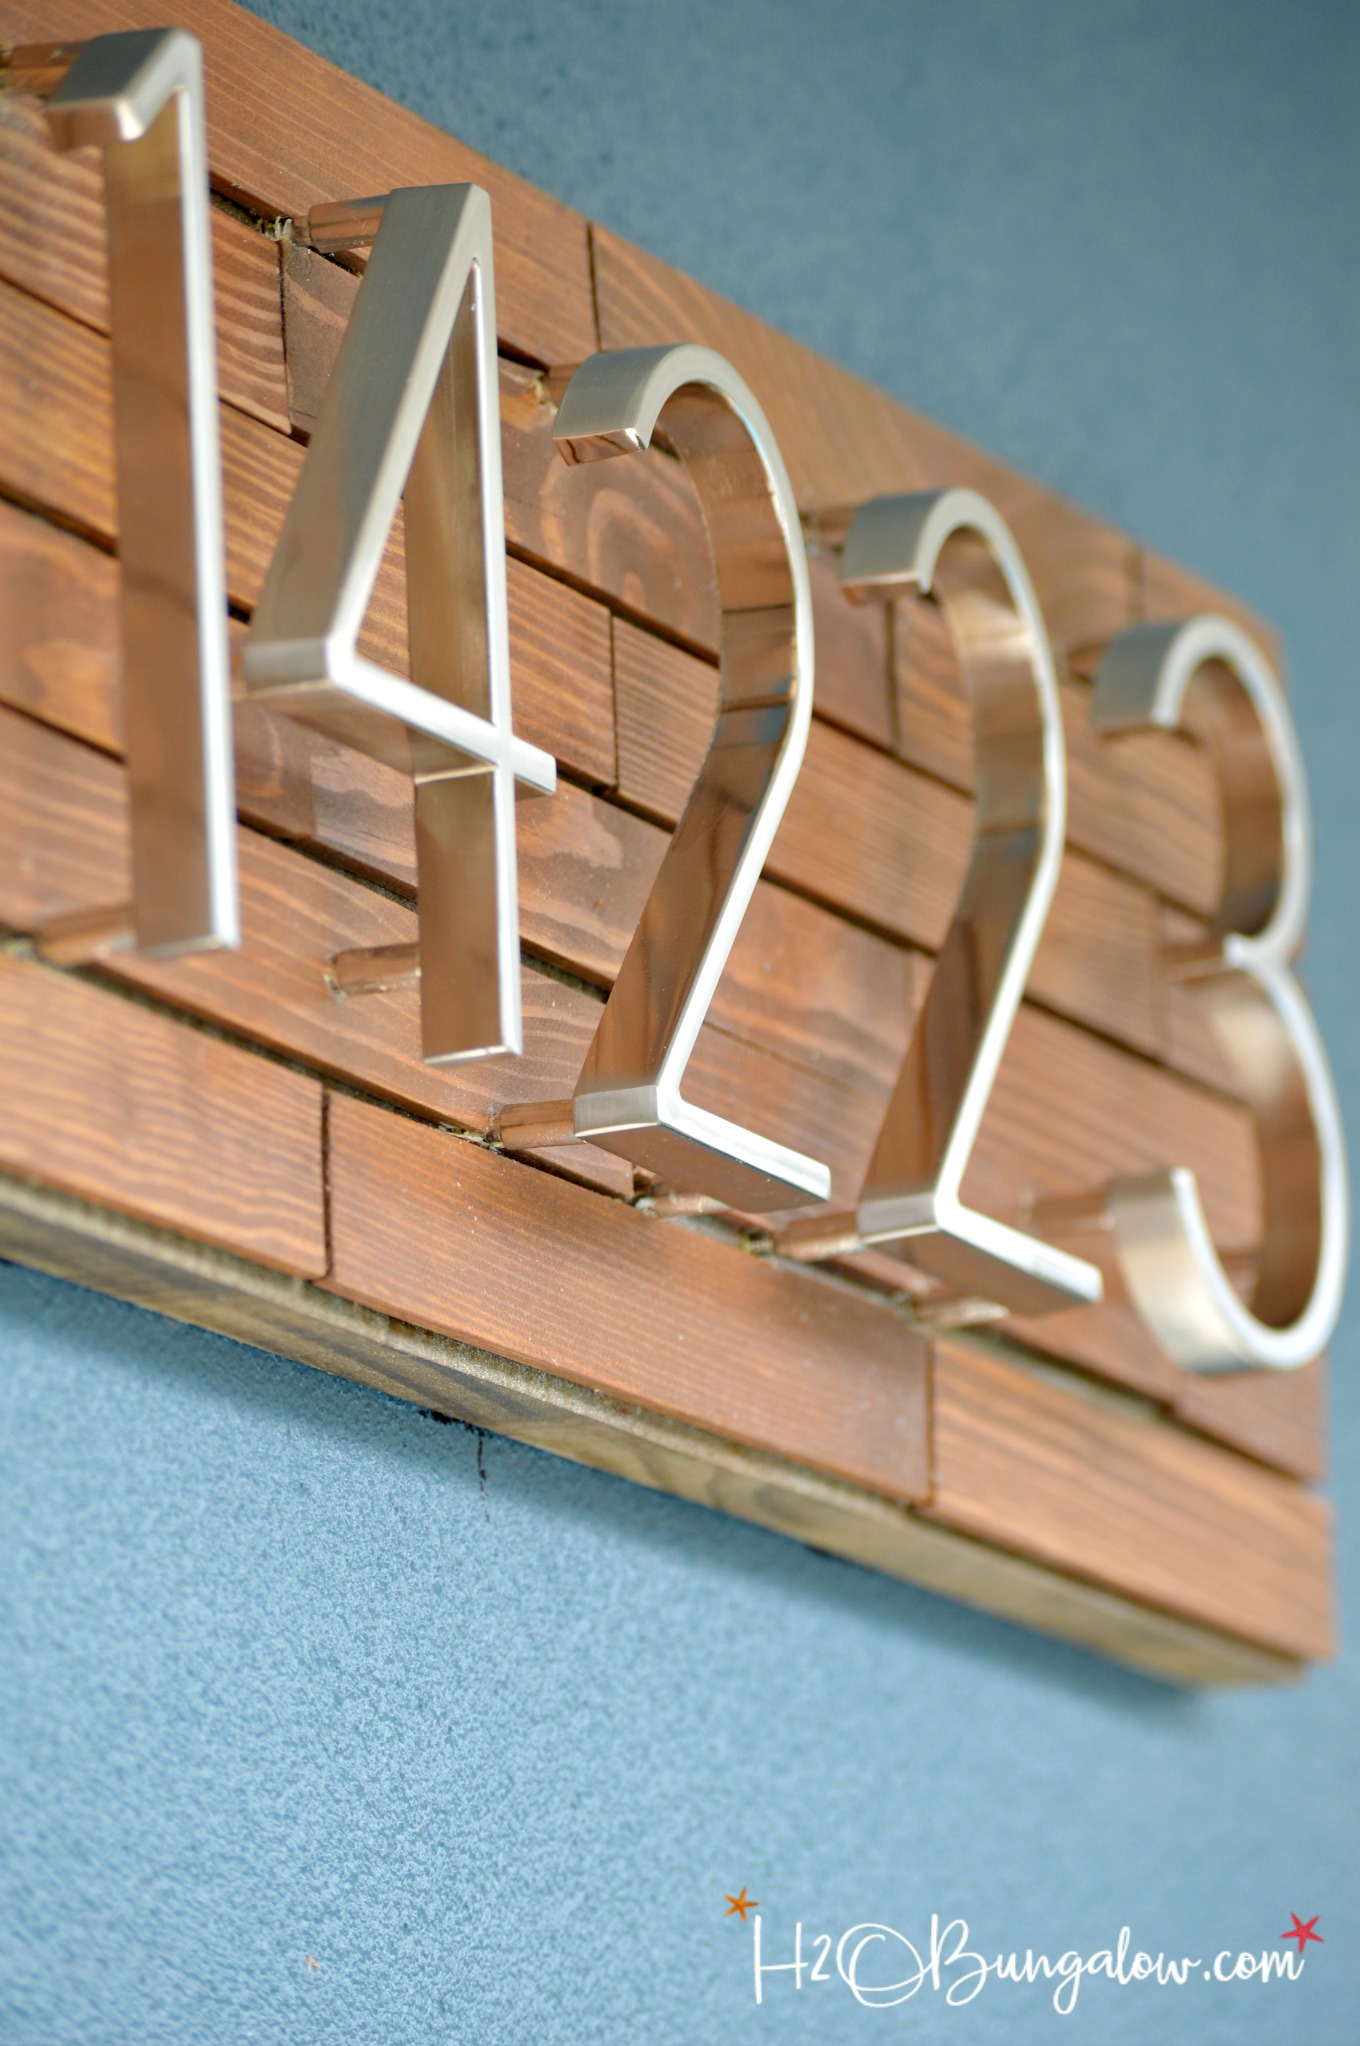
It’s time for the Power Tool Challenge Team’s monthly gig and this months theme is Favorite Power tool. That’s a toughie.. they are all my favorites! My solution was to make something with the first power tool I mustered up the bravery to try. A jigsaw.
Yes, this DIY Horizontal Wood Slat Address Plaque project can be made with a jigsaw or a jigsaw and a drill. Any level of DIYer can do this, and you’ll find the whole shebang of a tutorial at the end of this post. Just scroll down to the bottom:) I also used my jigsaw to make DIY shutters with sailboat cutouts.
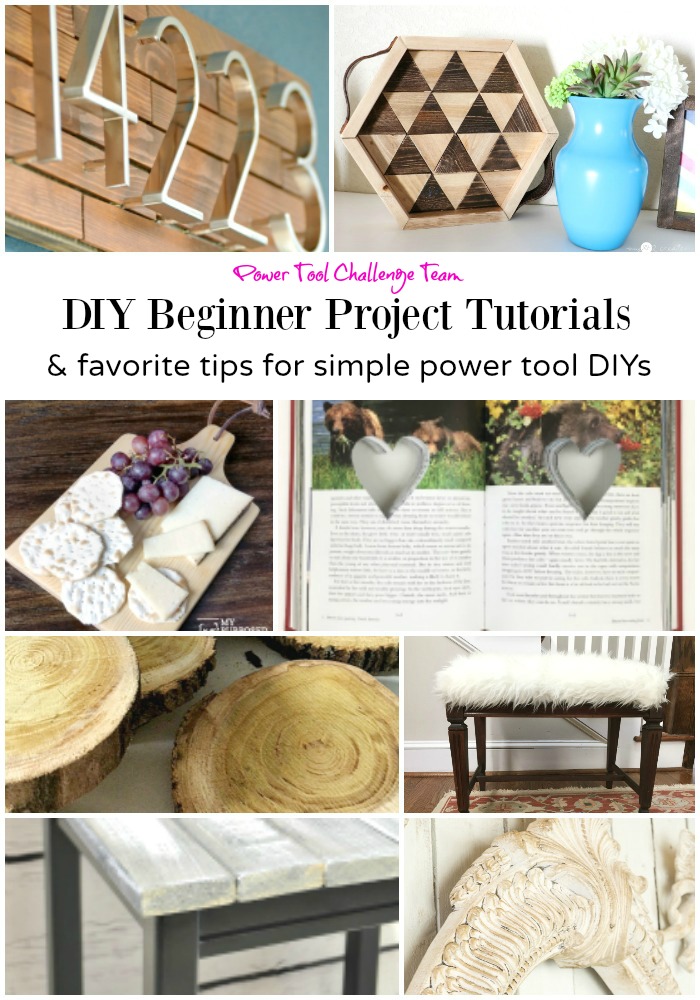
In the meantime I want to share the projects my fellow team mates came up with. Keep in mind, it’s not just the projects you want to see friends. Everyone is sharing favorite useful tips that make working with the various tools easier and with better results. Sometimes it really is what you know and a little knowledge goes a long way!
H2OBungalow DIY Horizontal Wood Slat Address Plaque – That’s me!
My Love 2 Create – Triangle Hexagon Tray
My Repurposed Life – DIY Cutting Board
The Kim Six Fix – Scroll Saw Book Letters
Create and Babble – Cut Wood Slices
The DIY Bungalow – DIY Faux Fur Foot Stool
The Interior Frugalista – Small Portable Rolling Multi Purpose Table
Designer Decor – Ornate Oval Wood Frame Update
Are you ready to learn how to make a DIY Horizontal Wood Slat Address Plaque?
Supplies needed to make a DIY horizontal wood slat address plaque. I use affiliate links to help you find the supplies I used.
- two packages of paint sticks About $2 at Home Depot
- 24″ x 8″x 1″ treated board for outdoor use (Home Depot will cut an 6’x 8″ board to size)
- construction adhesive
- 5″ floating address numbers
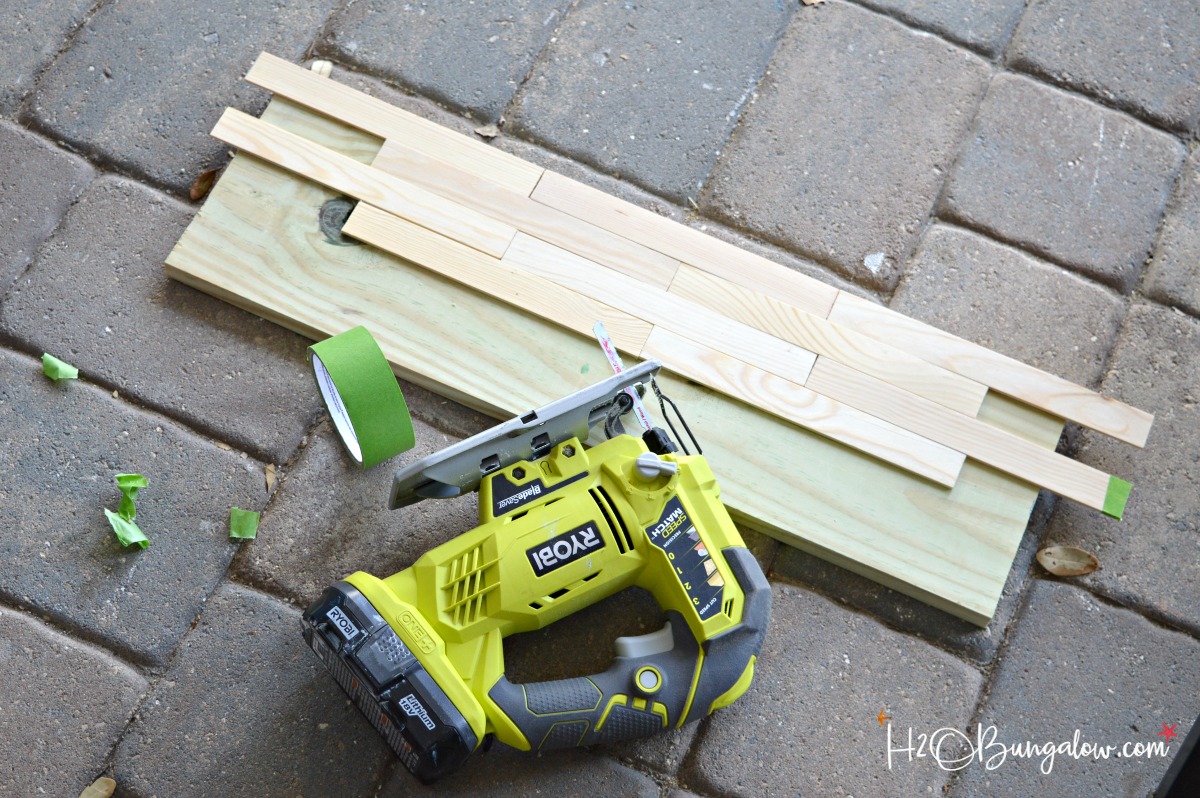
- jigsaw
- drill – optional
- painters tape
- paint and stain of your choice
- wood sealer
- double sided outdoor adhesive mounting tape
Step One: Cut wood to size
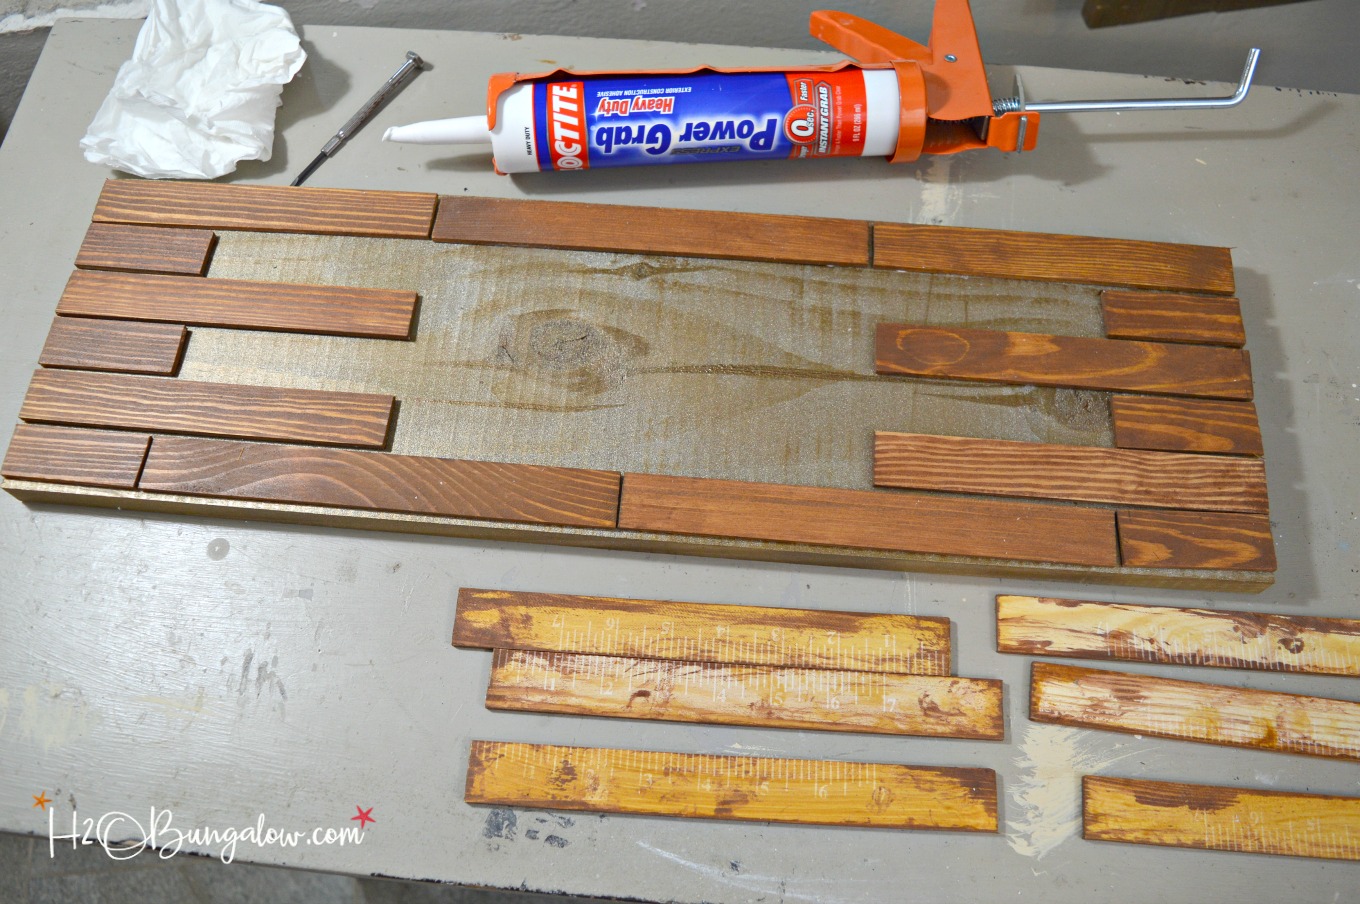
Cut the paint sticks down to 9″ which is basically cutting the handle off and position them on the board.
Handy Tip – Place painters tape on a surface before cutting to get a smooth edge.
Step Two: Paint and stain wood
I used a metallic spray paint I had on hand for the base and stained the wood slats. Allow to dry and seal the wood with an outdoor UV protectant sealer.
Step Three: Attach wood slats onto base
Use construction adhesive, position and glue wood slats to the base. Spacing the wood slats is easier if you position them from the outside in. Allow the glue to dry.
Step Four: Position and attach numbers
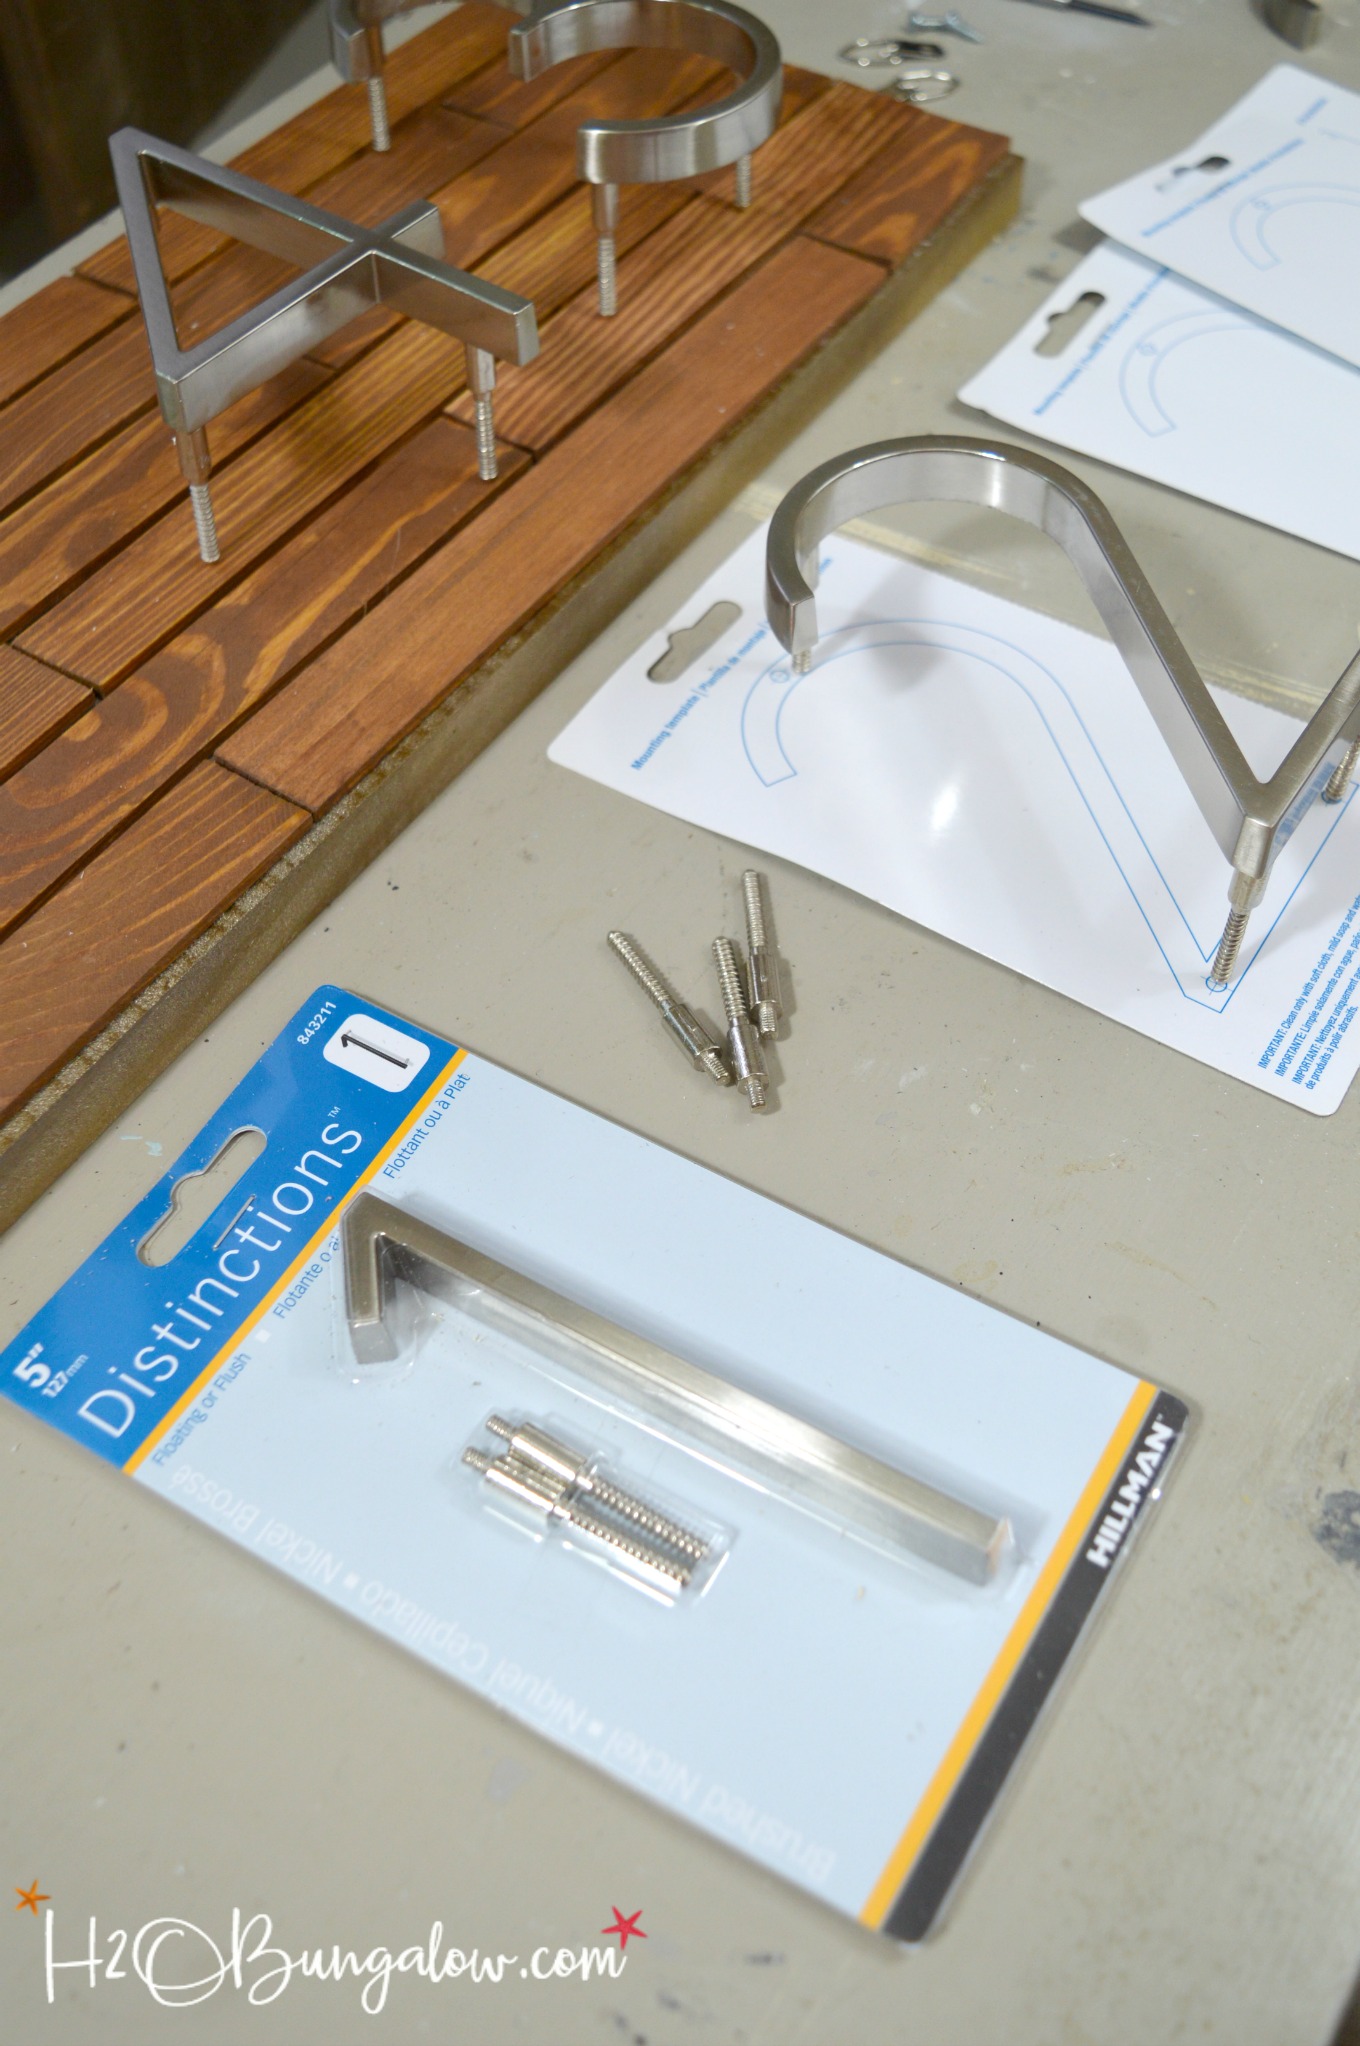
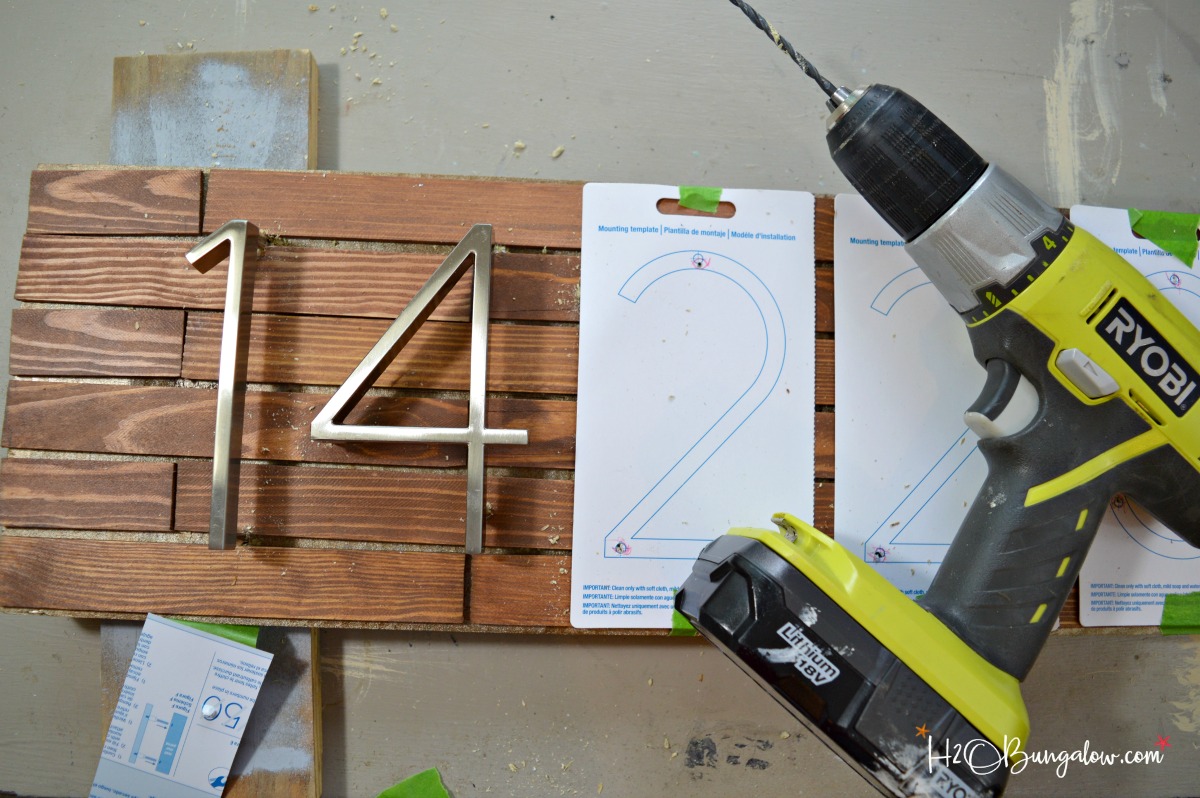
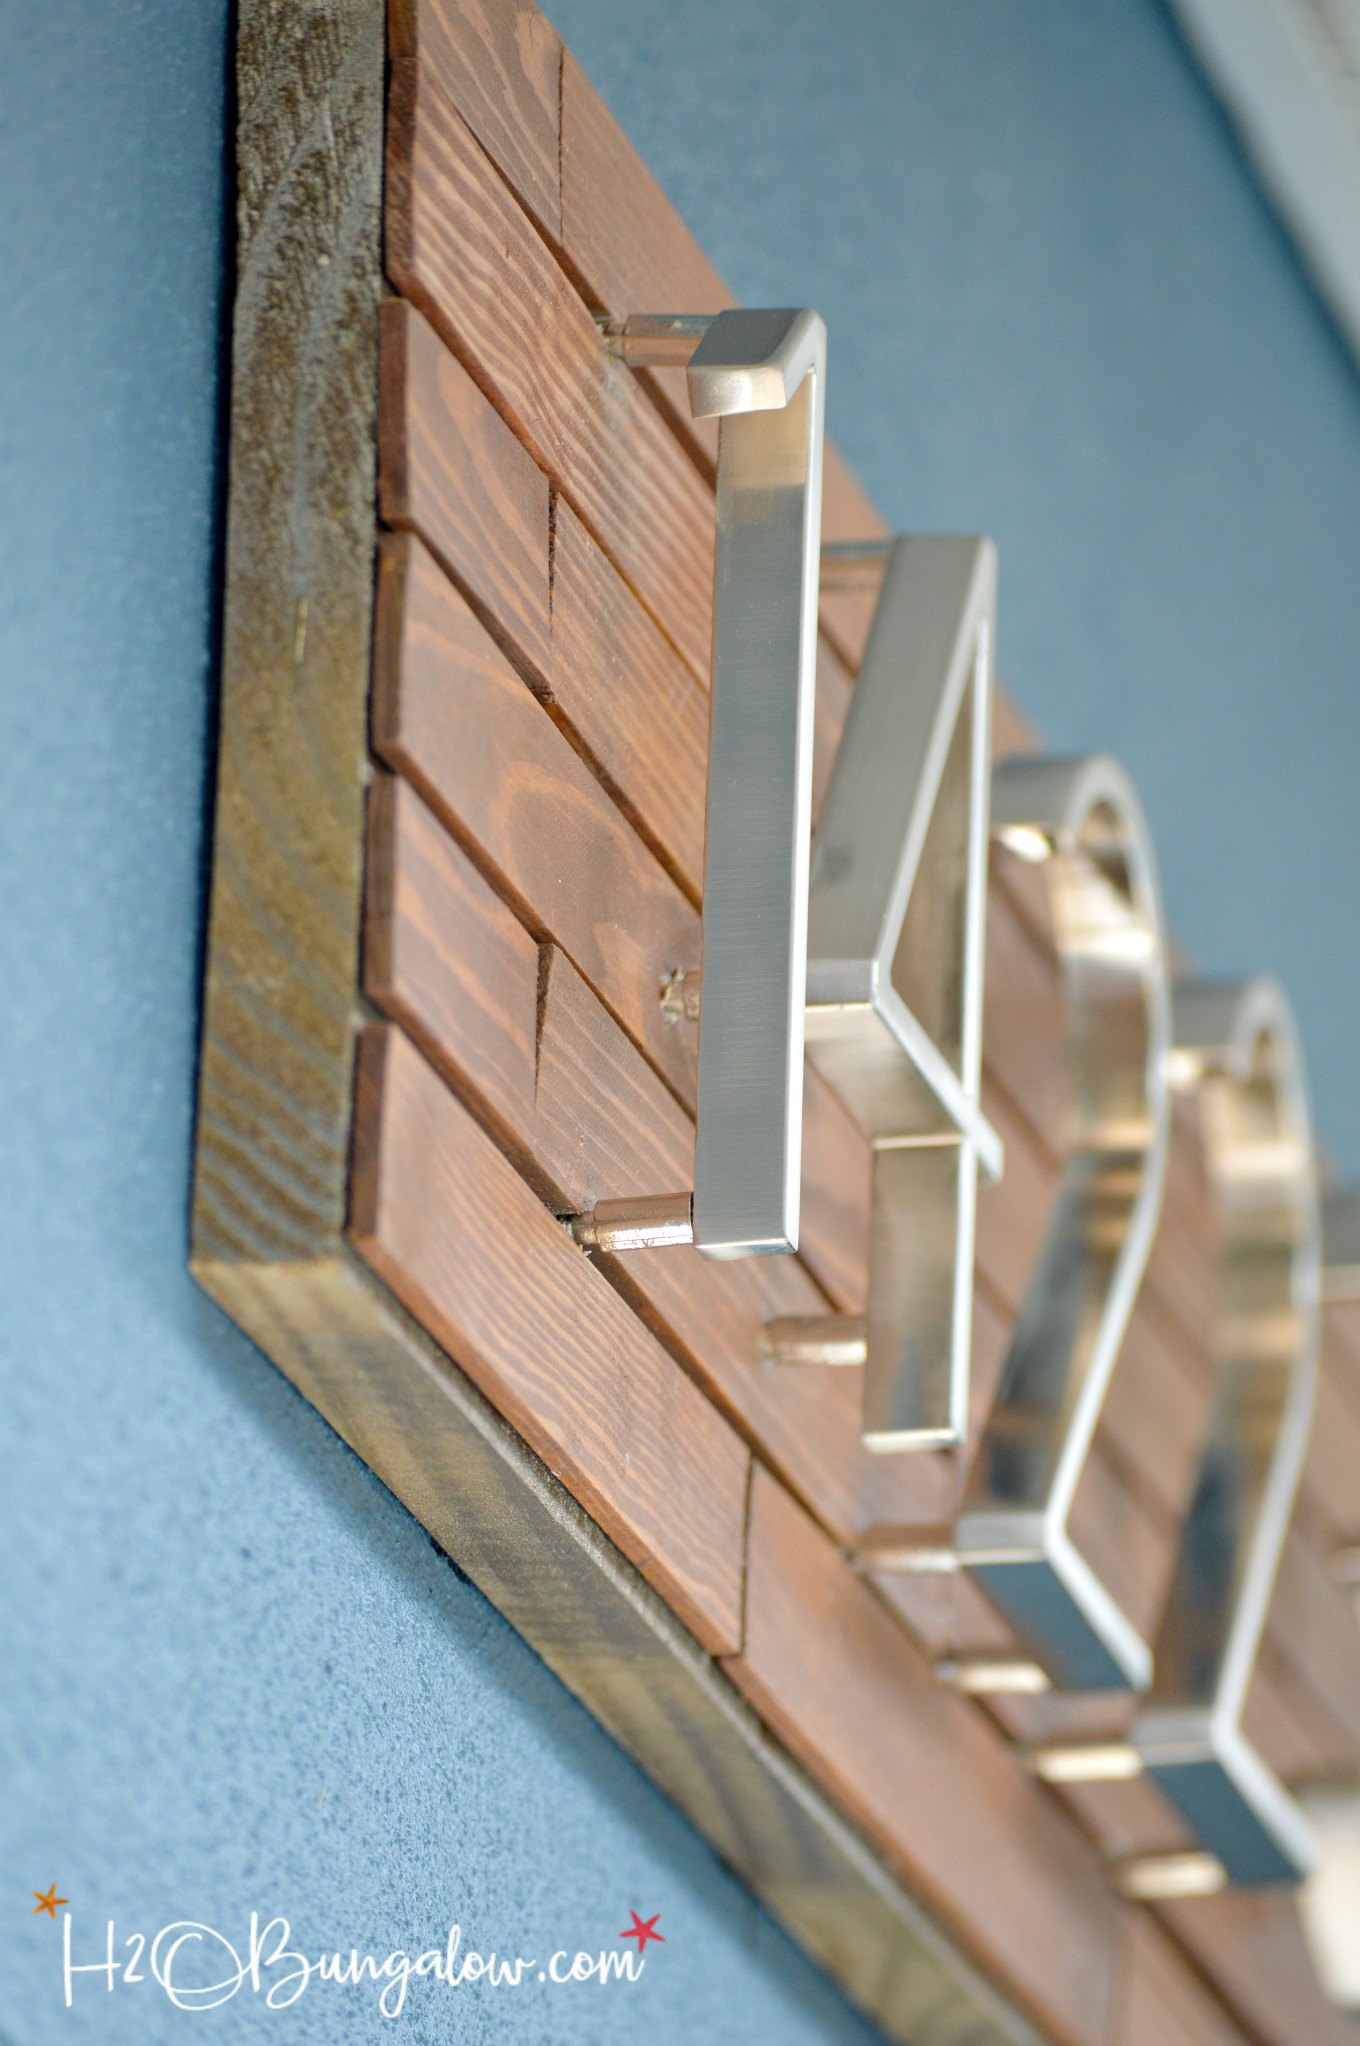
Address numbers can be attached directly onto the plaque with the adhesive or mounting tape. My numbers are floating with mounting pegs and came with templates for drilling. If your numbers come with templates check every one and correct the errors by marking where to drill with a colored pen. Don’t assume duplicate numbers will position the same on the templates either. Most of my templates were way off which would have ruined my project! See the #2 below?
Good thing I checked before I drilled!
Handy Tip – Put a board under your base when drilling so you don’t drill into your table.
Step Five: Attach mounting tape
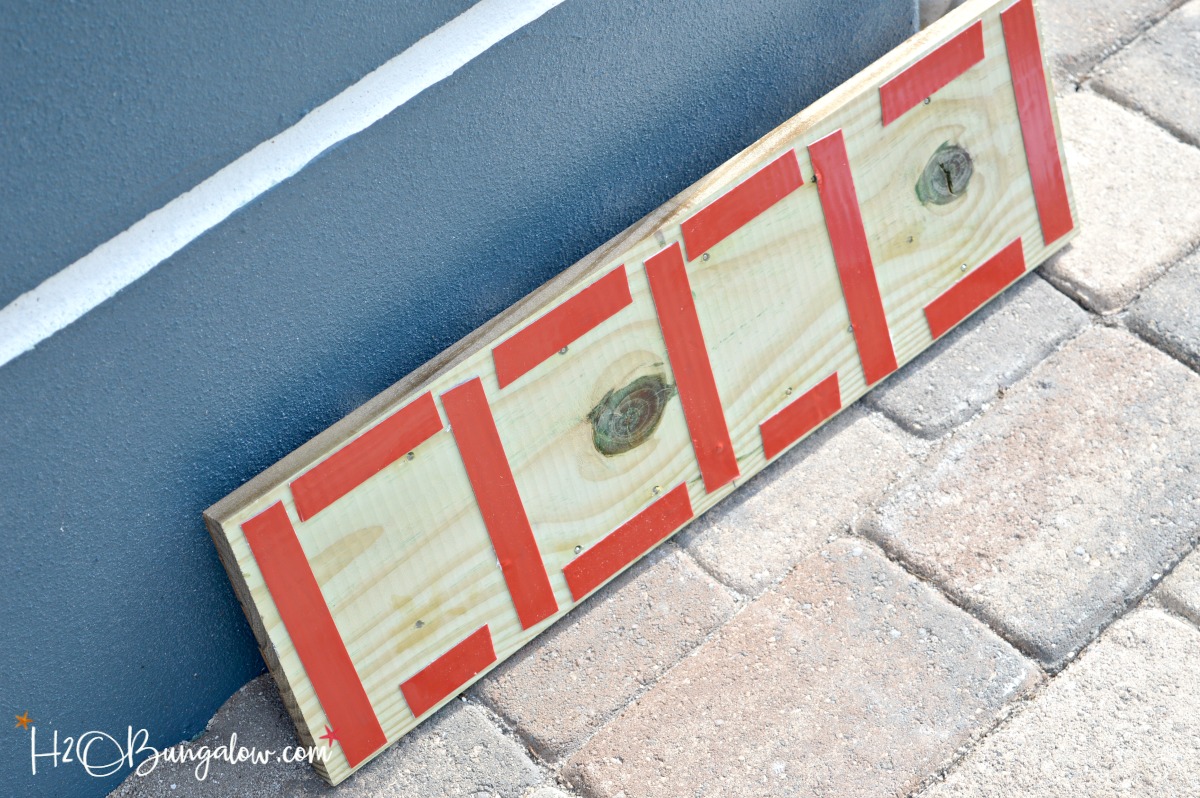
Attach the double sided mounting tape around the outside and center of the back of your DIY address plaque. Press firmly and allow to sit for about 30 minutes or so to allow the glue to adhere.
Step Six – Press in place
Clean the install area with a degreaser like TSP or Simple Green. Mark the install spot using a level if necessary. Pull off the tape backing and press firmly in place.
If you look close you can see where one of the slats moved a little since I of course tackled drilling my numbers before the glue was dry on the slats 🙁
I painted over the original address when I painted the outside of the house. They were Spanish style and totally didn’t fit with a 1950s beach block house.
Pin this project for later!
Do you love your address numbers or do they not fit for your style they like mine used to be?
You may enjoy these other outdoor projects too.
Easy DIY $10 Patio Table Plans
How To Paint Outdoor Furniture
Disclosure: I may have been compensated, given product or tools that I used in this DIY post. All opinions that I share are always 100% my own. I use affiliate links in my posts. If you should make a purchase I will receive an itty bitty commission at no cost to you. Thank you in advance for supporting my blog and two fur-ball cats who believe they are privileged.

Carol, The Red Painted Cottage says
Wendi, I just wanted to say how much I love your address plaque and to thank you for linking up last week with Share Your Style!
Wendi says
Hi Carol and thank you so very much! I love the plaque too! We needed it desperately! Love your party, thanks for hosting!
Rachel says
Just wanted you to know that I featured this on the Create Link Inspire party. I loved that you linked it up. What a great DIY. Thank you!
Wendi says
Hi Rachel and thank you so much! I loved this project too. We were in serious need of an address plaque! This was such a win-win since it was easy to make and low cost! Thanks so much for your visit!
DeDe Designed Decor says
I LOVE this one! You knocked it out of the park! So perfect and classy for your front entrance!
Wendi says
Hi Dede… Thank you so much! I’m super happy with how it turned out and love how easy it was to make and hang as well.
Christy@Confessions of a Serial Do-it-Yourselfer says
I love this, Wendi! We have no identifying house numbers on our house either. Luckily they are painted on the curb. This looks very high-end. (Much more so than our curb painted numbers lol!) XO
Wendi says
Hi Christy & thank you!…Funny I can’t tell you how many people have shared that they don’t have house numbers either. I don’t feel so bad now. I’m so happy with our new address plaque. Now all I have to do is fix up the mailbox area! LOL Thanks so much for stopping by with your sweet note!
Kim Six says
Paint sticks? Girl, what a great idea! I love the whole project. You did a great job Wendi!
Wendi says
Hi Kim…no kidding, paint sticks 🙂 I have some left over and woke up thinking of ways I could use them on another project! This one turned out super!
Jeanie says
I love this! It looks like something that you could only get from a high-end catalog! That’s what I love about DIY – getting a designer, one-of-a-kind piece for next to nothing. You rocked this challenge! Pinning!
Wendi says
Hi Jeanie and thank you:) It is a high end look and it was such a budget project too! I’m extremely happy to finally cross this “to do” off my list!
Mindi says
It is so beautiful! Yay for paint sticks! It looks amazing on your house, too bad for your neighbors! 😉 Hee hee! This just might inspire me to update mine…it desperately needs it! Pinned!
Wendi says
Hi Mindi 🙂 It seems a lot of us have let the house numbers go as far as the decorating department. You are the angle queen I’m sure you’d make something awesome on your house!
gail says
Wendi,
So fun that you used paint sticks for this awesome address plaque! I would have never guessed. It looks so nice.
pinned!
gail
Wendi says
Hi Gail and thank you:) I’ve wanted to make one of these forever and thought about cutting wood, but why…wen a paint stick is so handy and cheap!
Marie from The Interior Frugalista says
What a sleek looking address plaque my friend – I really like this idea! No way you should be missing those blogging goodies now. Really pops against your blue stucco. Pinning to share but also to bookmark because this would look sweet on my house too. *wink*
Wendi says
Hi Marie! Thank you and it was budget friendly too. The address numbers were the biggest expense but I really wanted floating numbers so at $5.99 ea I figured fine..the rest was cheap to make. You should make one too!
Karen @ The DIY Bungalow says
I actually bought the same house numbers, but couldn’t come up with a modern, sleek way to mount them. This is the perfect idea!! Pinned and shared!
Wendi says
Hi Karen, they’ll look fabulous on your house. This was an easy project that sat on my to do list forever! You guys are such good motivation to help me get things off my want to do list and onto my done list:)
Paula says
Your new house numbers look great and I honestly wouldn’t have noticed that the numbers weren’t even if you hadn’t pointed it out.
I love how the numbers look like they are floating above the wood background. Your tip to check the template isn’t something that I might have known to think to do. We need house numbers at the lake and I really like the look of what you created.
Wendi says
Hi Paula, You could make a plaque like this and it would look awesome at your lake house. I love the floating look of the numbers too, it gave the sign a lot more personality. Send me a picture if you make one of these too! Thanks so much for jumping in and visiting everyone on tour this month, we missed you!
Vanessa says
I love the house numbers! I’ve been without house numbers since I replaced my siding – 7 years ago! Even worse my neighbor, the only other house on the road, doesn’t have house numbers either. The delivery and taxi drivers must love us.
Wendi says
Hi Vanessa! Haha… that’s how I was after I’d painted over our numbers a few years ago. Plus our house ends the East part of the street and our neighbors starts the West side. Totally confusing to the rest of the world. All I have to do is fix the mailbox which is just as bad and we’ll be set! Thanks so much for stoping by and I know you can make this project!