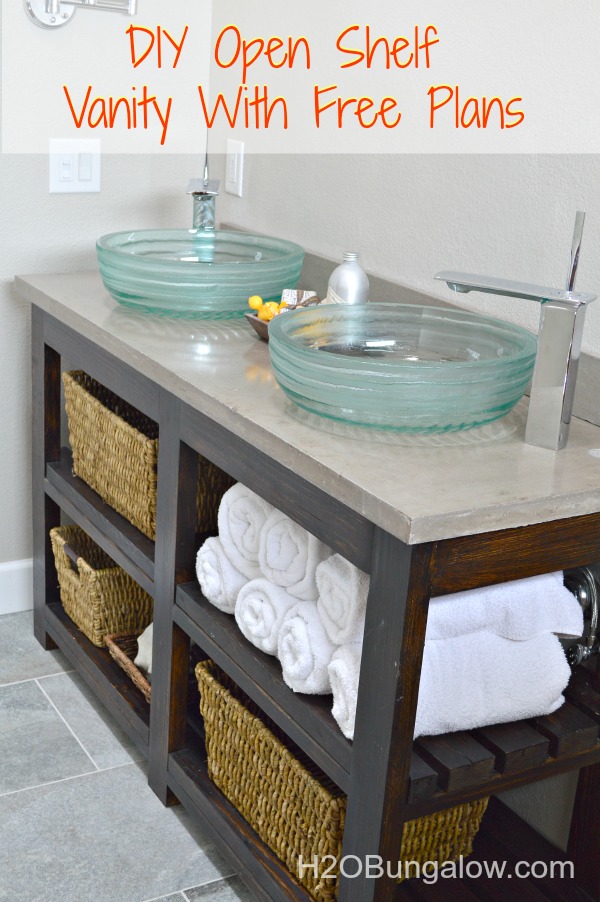
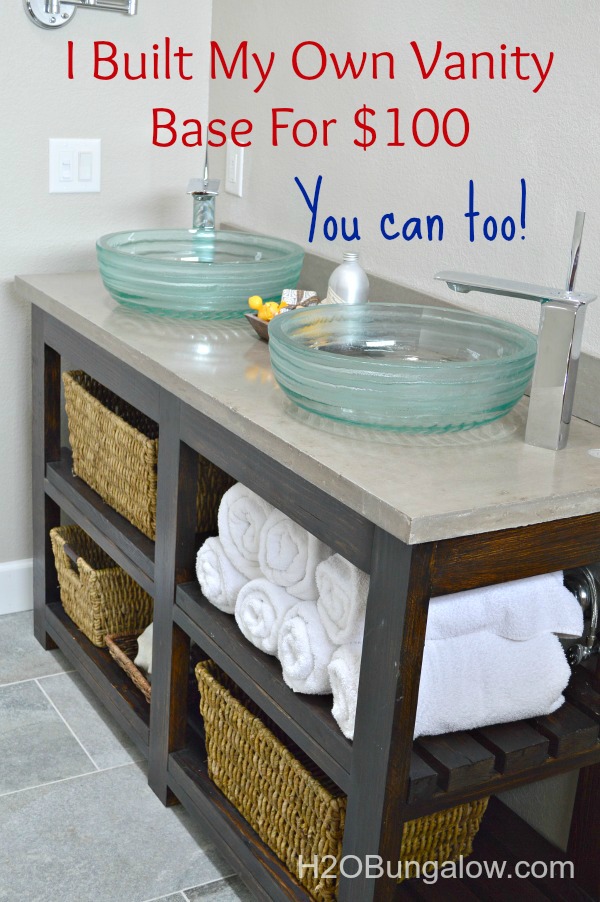
I’ve shared pictures of my DIY open shelf vanity in progress for the last several weeks, no….probably the last few months. I’m over the top excited to finally share my project as well as the story behind it and thank the awesome people who helped make this plan of mine a reality!
The plans..
Last spring I met Cher of Designs By Studio C who is a dynamite lady with a tool belt. She builds things, like real things. So I asked her, do you think I can do this? Of course she said!
Will you make plans for me to build my vanity?
…and she said yes!
..and that’s how it started
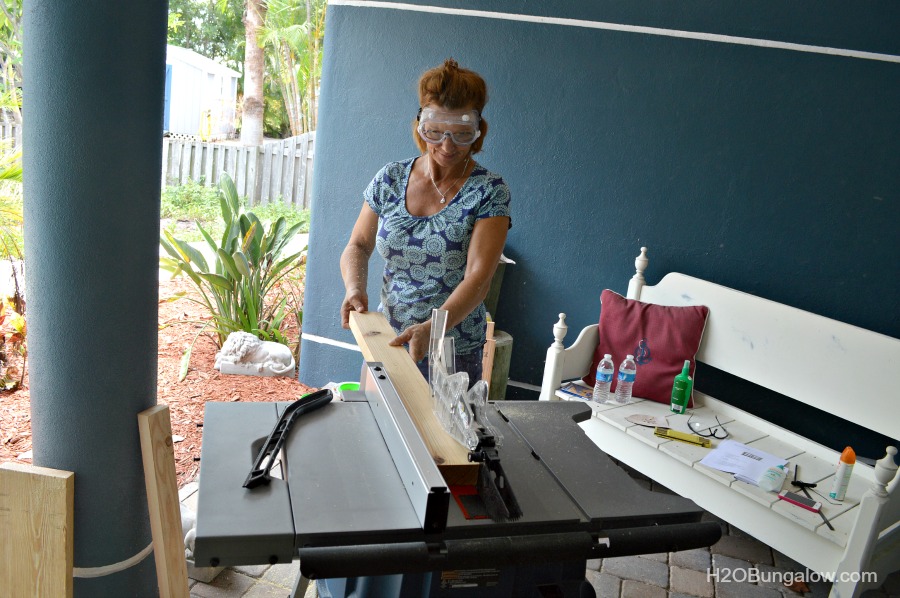
And I shared my grand idea with my husband and any family member who would listen. I was secretly looking for volunteers…along comes my father-in-law who has tons of patience and builds really well. He helped me assemble my new Ryobi table saw and gave me lessons including safety do’s and don’ts.
I have a little confession to make.
The only other thing I’ve ever built is the bench behind me in that photo. I had Home Depot cut almost all the wood and I propped it up in the corner of my living room to “square ” the corners. Nope, I didn’t even own a square or a proper measuring device. It was then that discovered that a yard stick will not suffice for building stuff:)
This was a personal challenge I simply had to master.
It’s messy. It’s fun.
Can I tell you how empowered I felt, “ripping” my own boards for my vanity? 🙂
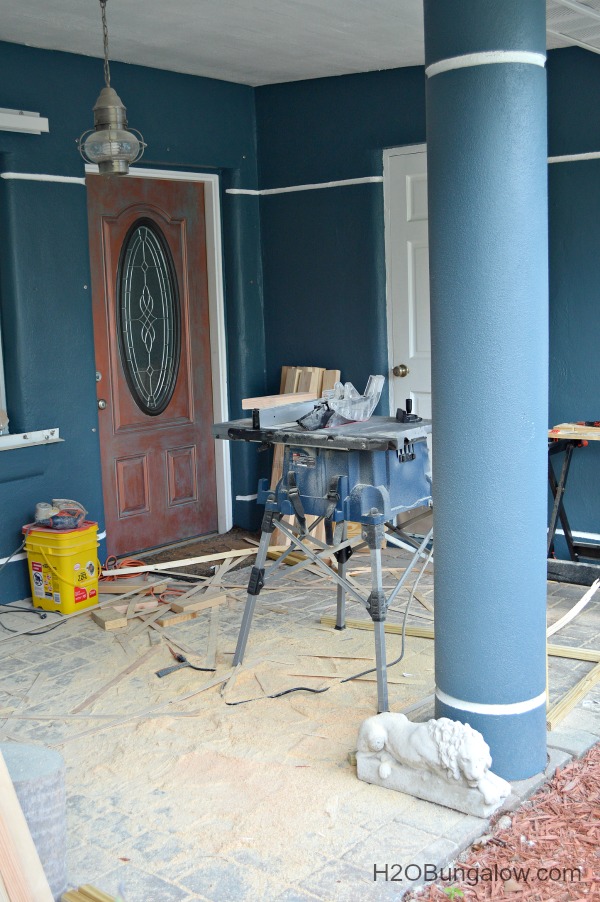
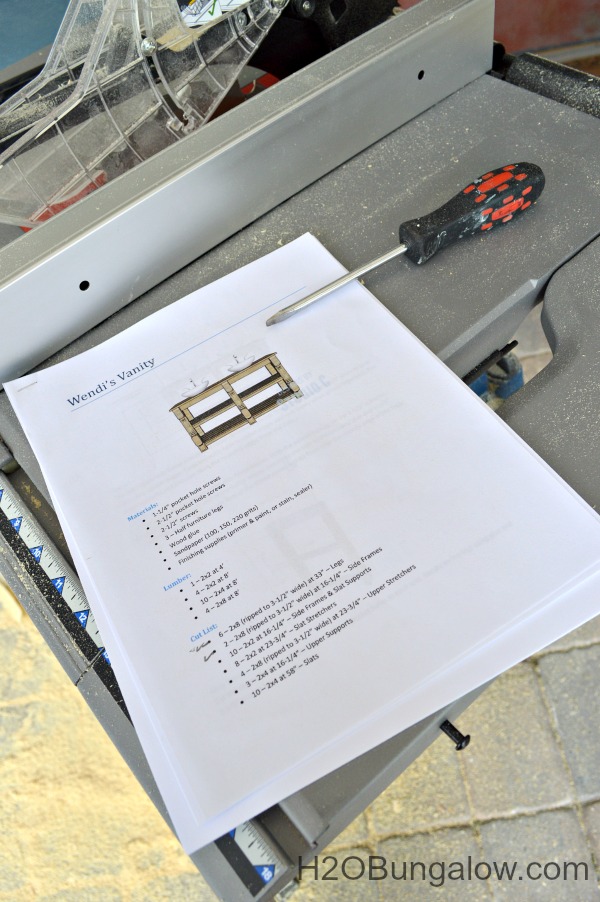
Cher did a great job with the plans and they are easy to follow. If I did it, anyone can! Here’s a tool list of what you’ll need to make your own DIY open shelf vanity. You can easily make this over a weekend.
- Table Saw
- Jigsaw
- Kreg K4 Jig
- Kreg Jig Pocket Screws
- 2″ wood screws
- Drill
- C Clamps
Kreg Jig Clamp
- Random Orbital Sander
- Squares – Combination Square
Carpenter Square
- Pre-stain conditioner
Stain - Pencil
- Wood glue
- Wood filler
I’m going to share a few tips to make this process even easier that will help a non-builder or a beginner, like me, build one.
Buy straight boards. You can check if a board is straight by holding one end and looking down the side to the other end. If its warped or bowed, put it back and get another piece. We spent a lot of time at Home Depot in the lumber selection choosing the right boards.
I used 2″ Kreg Jig Pocket Screws for the entire assembly (this link is an incredible deal on these screws!). It was easy and they fit well.
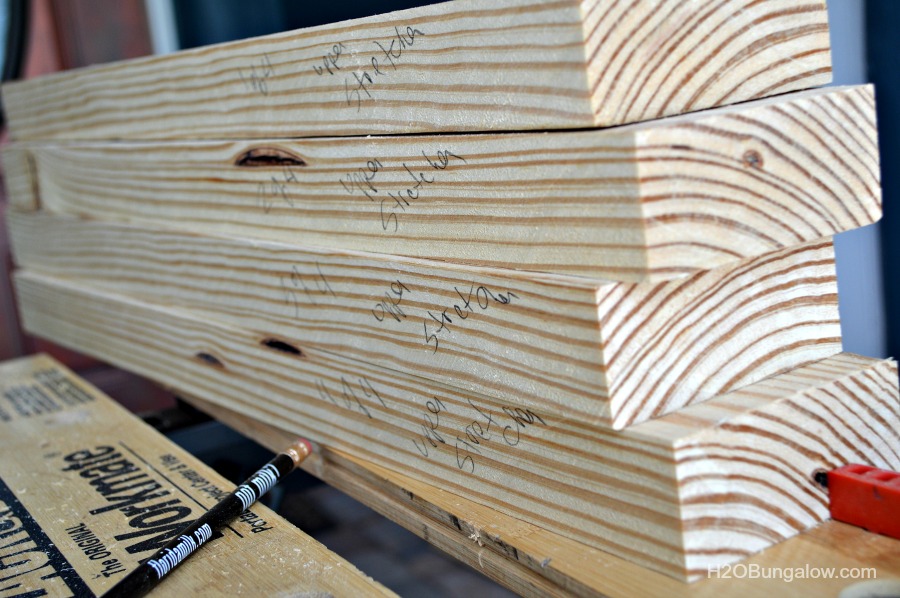
Label everything as you “rip” or cut. your board. I went even further and listed 1 of 4, 2 of 4, etc. which was very helpful so I didn’t mix up vanity pieces and scrap wood.
It’s absurdly hot here in Fl during the summer. So…
I got creative!
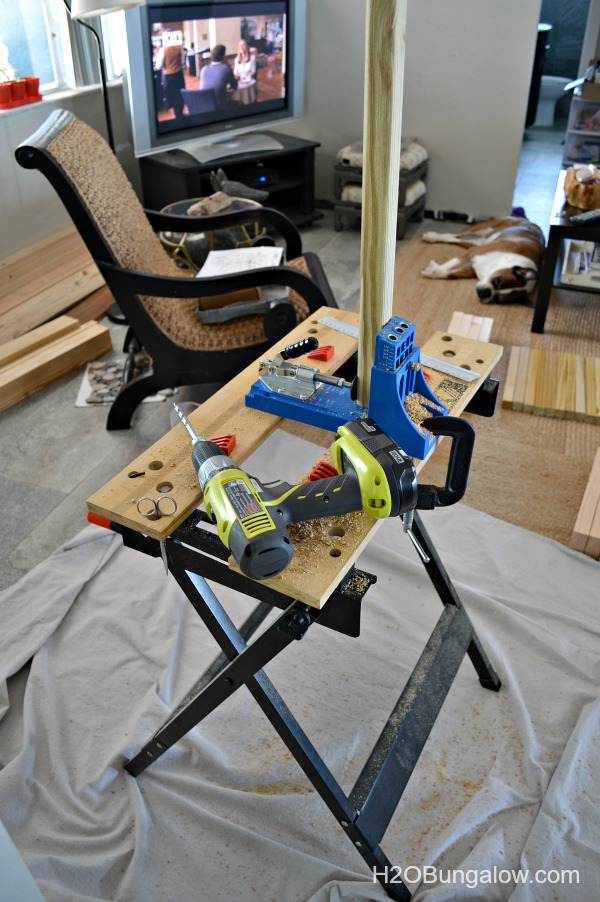
A drop cloth, an old Meryl Streep movie and a Sunday afternoon is all I needed to drill about 130+ pocket holes.
Time flew.
The Kreg K4 Jig makes joining two pieces of wood together really easy and with a strong bond. You will never regret owning one! Now when I look at things, I actually imagine where the pocket holes should be placed and how I would put that item together….nerdy, but cool 🙂
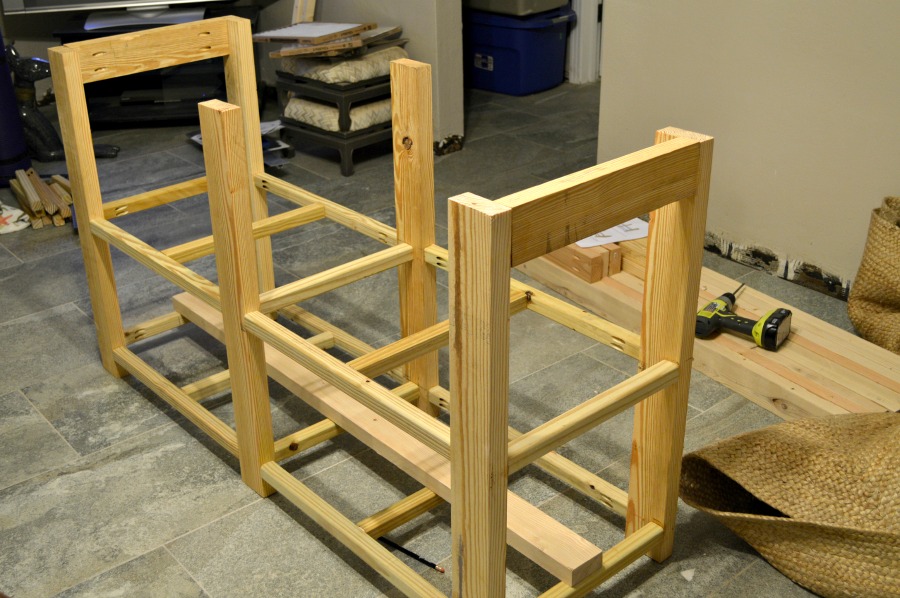
When It finally came time to put the vanity together I put all the pieces together in piles. We laid out the sides and it’s pieces before assembling.
Choose the best looking boards for the front of your vanity.
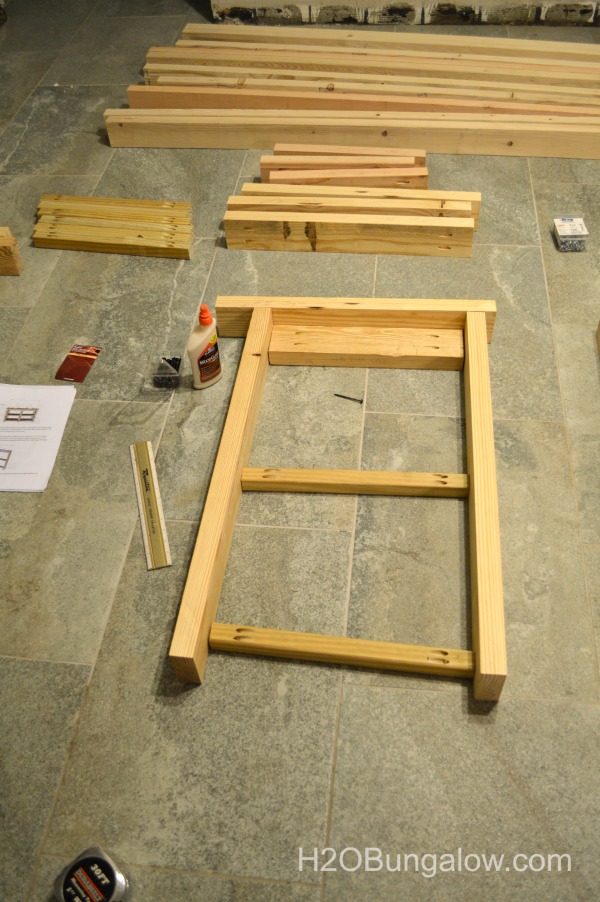
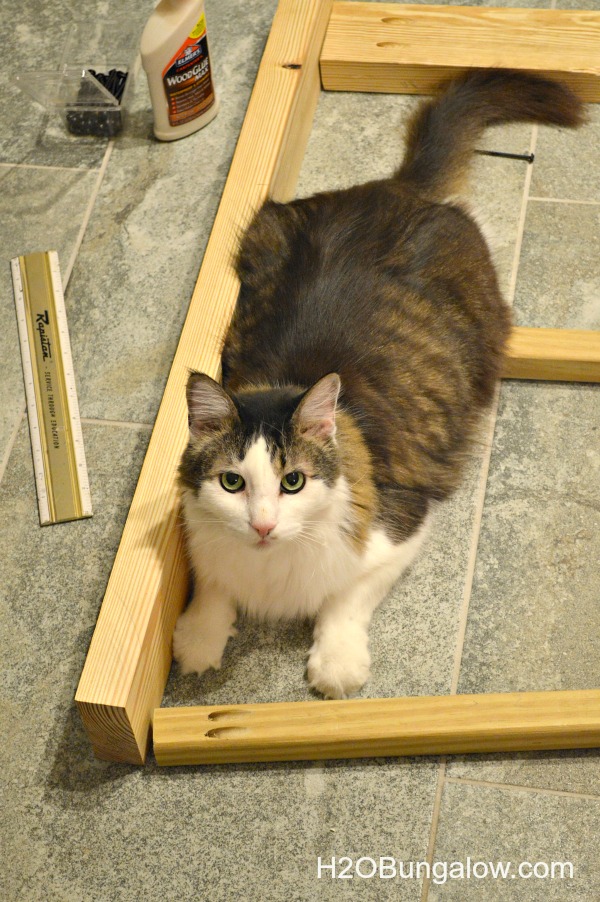
Before you assemble your DIY open shelf vanity check the height of your plumbing pipes and then check again that they clear the center shelf. 🙂 It’s a lot easier to make a little adjustment before they are installed!
I speak from experience 🙂 We moved the pipes in the wall up 3 inches.
I also highly recommend double checking your measurements for your 6 slat supports before cutting them when your vanity is ready for them. Since the boards weren’t exactly 2 x 2 inches they were a tiny bit off. The same goes for the last 3 top supports.
I’ll mention again…be sure your last 3 slats are not in the way of your sink drain pipes and faucets. I’ll call myself lucky at this stage because I forgot to use the wood glue on the top 3 supports. Yay!!…cause we had to move them:)
A beginner error that worked in my favor.
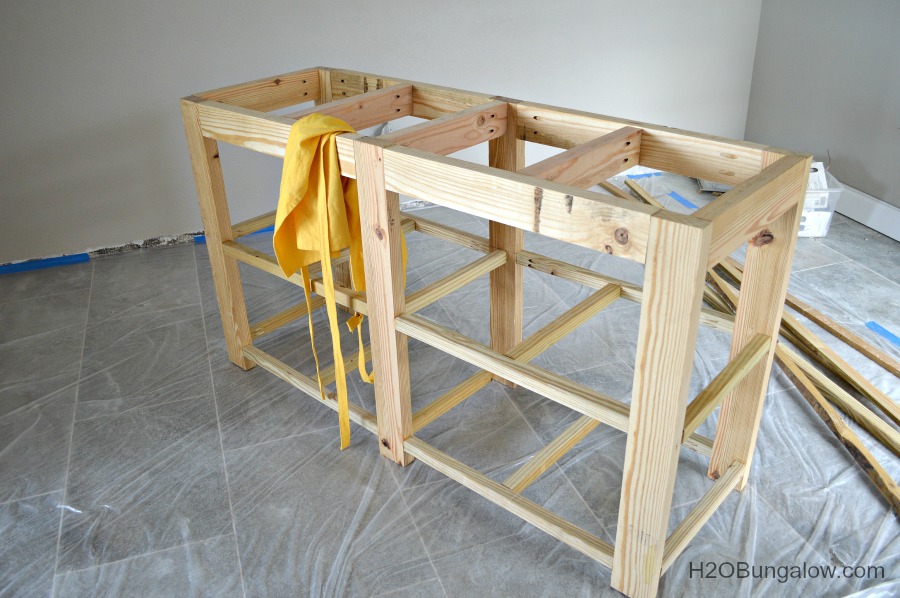
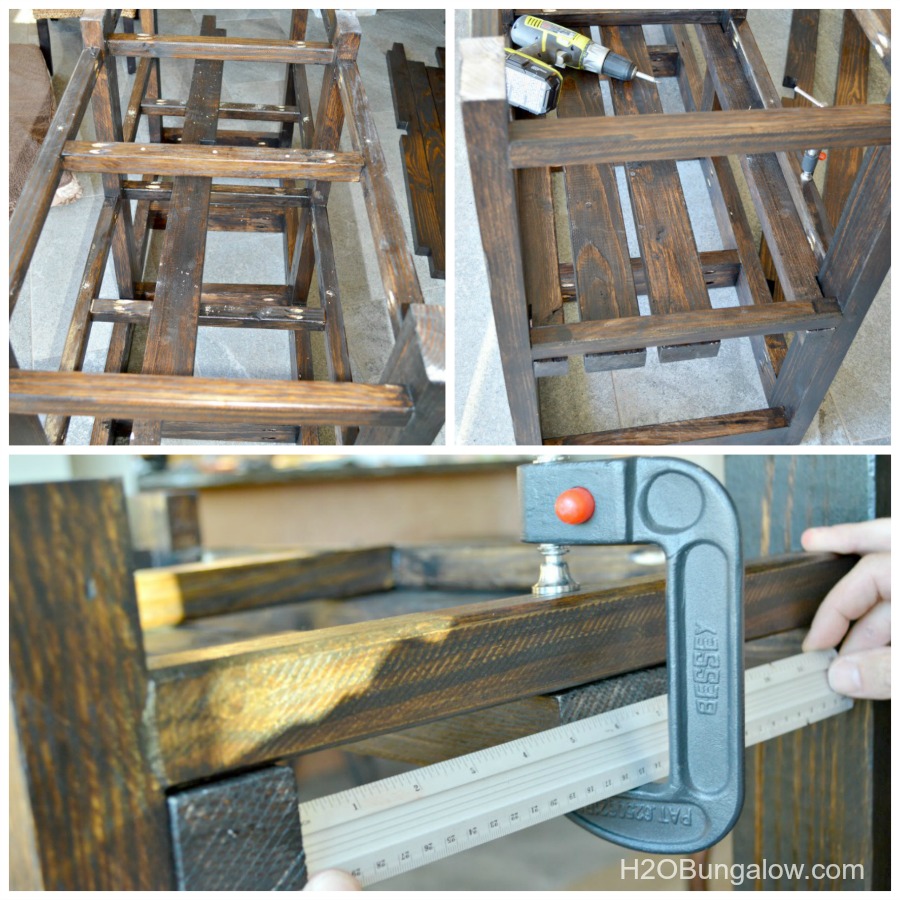
This is our finished vanity base. All I had left to do was to cut out the notches for the front and back slats with the jigsaw which was pretty easy.
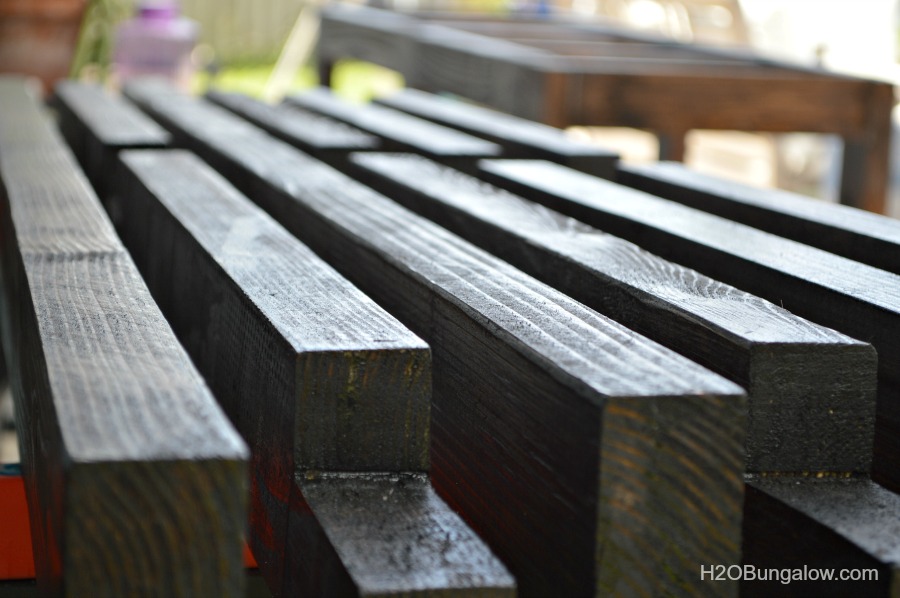
I decided to put my finish on before installing the slats so I could get the sides of the shelve slats evenly. To prep it for the finish I filled in spots that needed it with wood filler and gave it a light sanding. I cheated on the slats and just sanded the areas that faced forward and the tops of the slats only.
I used Minwax Wood Conditioner to prep the wood for the finish. I used Polyshades for the color. I love the color. The finish looked awful after the first coat and terrific after two coats. I think the trick is to brush it on and then wipe it off.
We finally made it to the last step and I have a few tips that turned into huge time savers for the final assembly.
We flipped the vanity upside down and drilled pilot holes along the bottom where we were attaching the shelf bars with 2″ screws. We installed the two outside shelf bars first. Using the clamp to hold them was very helpful. Next we installed the center shelf bar. That left the two middle shelf bars and we simply centered those.
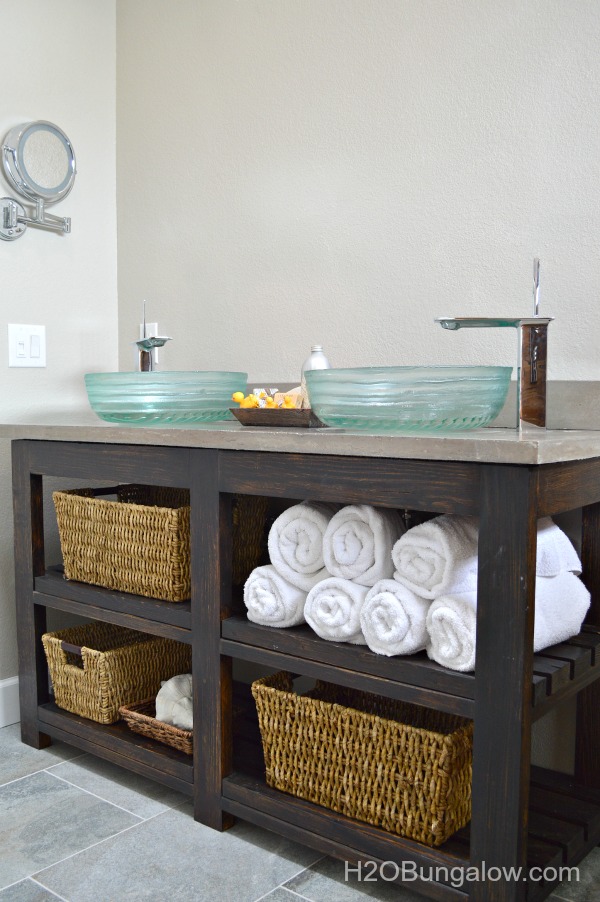
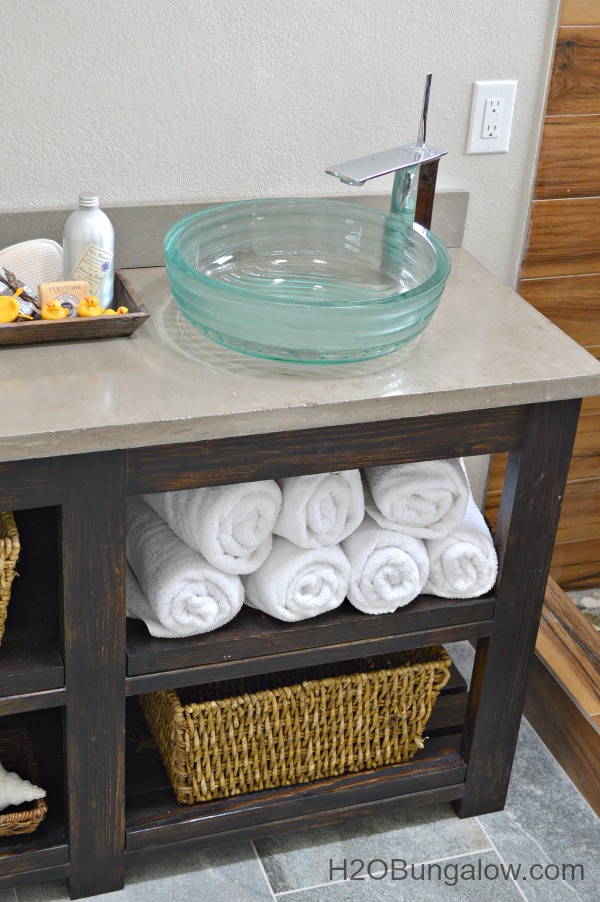
Done! Here’s a few pics of our progress as of today.
I don’t have a wall mirror yet, but I do have this lighted magnifying make-up mirror, which will do for the important tasks for now.
I love the open shelves and the minimalist style of my vanity. Cher was awesome to work with and designed a vanity exactly how I wanted it. I can’t wait to find something else to make from her blog Designs By Studio C . The hard part will be choosing!
We poured our own concrete counter top. It’s a doable project for beginners and we save a huge $$! I’ll post on that next week as well as finally sharing the big reveal!
I love the frosted glass vessel sinks I found at a local store, but wished I would have chosen this sink instead because I’m short.
If you’ve followed along with me on my Expert Advice Tips for Renovation Series you probably remember I have some pretty awesome sponsors for this huge project. Be sure to stop by and visit them!
It took me a while to figure out what mirror I’d add to the vanity. Click here if you’d like to see what I built to complement the modern rustic style and not break the bank. This project was just one of the many Creative DIY Shelving Ideas for Organization and Styling for your home that I’ve shared.
It was worth the wait!
I designed my own Contemporary Master Bath Renovation and I share my expertise so you can too.
This project was featured at
And

Ivory says
I love it! Wow, this project looks amazing. Can hardly wait for warmer weather, so we can give it a try.
Wendi says
Hi Ivory, and thank you so much! I still love my open shelf vanity and it’s been about 4 years since I made it. It was easy on the budget too, which is always a plus. Good luck to you on your project and let me know if you have any questions! Thanks so much for your comment and visit!
Leah says
I just finished this vanity and I’m pretty happy with it. I didn’t use any of the 1 1/2″ screws, so not sure where those were supposed to go. I only used 2 1/2″.
the only problem is I didn’t account for the P trap and cant move the plumbing at this point, so I’m going to have to put a hole in the shelf, which is a huge bummer.
other than that, I think it turned out great! wish I could upload a picture!
Wendi says
Hi Leah! That’s awesome! I wish you could send a pic too! I LOVE when people get inspired to make something based on one of my projects 🙂 If the 2 1/2 worked for you that’s great. I’ll have to look at my notes on where I used the shorter ones. It might have been that we ripped the boards down a bit and the longer ones didn’t fit well. I feel your pain on the plumbing location. We built the plumbing in to fit the vanity I’m building another vanity now, but cabinet style and dealing with the plumbing. Thanks so much for your note! Enjoy your vanity!
Mark D. McKay says
This is fantastic! Thinking this will be a great change to our aged bathroom. Quick question…how did you attach the concrete top to the bottom?
Wendi says
Hi Mark, The concrete top weighed enough that 3 men had to carry it in to place it on the vanity. Because of this, we didn’t need to attach it. There is no way I or anyone else could make it slide around the vanity base. Which brings up a good point. Be sure the vanity can support the top:) Let me know if you have any other questions!
Brandi says
Can you tell me approximately how many man hours you have in this vanity?
Wendi says
Brandi That’s a hard question to answer. I think it could be made in about 2 days not including the finish. Give it another day for the finish. Hope that helps!
Jaime Smalley says
I have a question where did you get the half furniture legs? I cannot seem to find them except specialty and they want over 300.00 apiece! THANK YOU in advance! PS I LOVE THIS!
Wendi says
Hi Jaime,
f you download the free plans to build this vanity you’ll see that I built them. The whole vanity cost about $100 to make. It was worth the work and we love our vanity still after a few years of using it. Please let me know if you have any questions and I’ll be happy to help.
Brandi says
I don’t believe Wendi actually used the half furniture legs on her vanity even though they are in the plans. My local home depot and lowes carry them(found near the stair treads and banisters) for around $30/ea
Wendi says
Hi Brandi, thanks for jumping in. There are no half furniture legs in this project. Everything was handmade out of 2 x 4’s 🙂 Thanks so much for your visit!
Jamie Hamilton says
Wendi ~ what a wonderful piece!! I have downloaded the plans and will be making! My hubby and I have a 1/2 bath with a nautical type scheme. We have been looking for a vanity type cabinet and this is perfect! Plus we are on a pretty tight budget. One quick question, did you use pine for your piece? Thanks!
Wendi says
Hi Jamie – Thanks so much! We still love our vanity, I’d build it again in a heartbeat. I’m so glad you asked the question about the wood. I built mine from plain old pine from Home Depot. If you can afford it, look at the other woods available too. You could easily get away with using a better grade on the front of the vanity and it wouldn’t cost much more. The pine looks great but isn’t as smooth as a grade A lumber would be. I had to sand it. On the other side, it fits perfect for a rustic setting. This was a fun project and so rewarding to make. Please share a picture of your new vanity on my H2OBungalow Facebook page when you finish!
Julie Hughes says
My goodness! It is Gorgeous!!! Absolutely beautiful! Bravo!!!!
Wendi says
Hi Julie and thank you so much! It was a leap for me to try such a contemporary style, but after we were done I knew it was the perfect fit. It’s still one of my favorite projects from the house! Thanks so much for your visit!
Funky Junk Interiors - Donna says
What?! Wendi, this is insanely cool! I can’t believe that beauty was made from 2x4s. You’ve outdone yourself on this challenge. This is gorgeous!
Wendi says
Hi Donna & thank you! It’s amazing what can be dome with 2 x 4’s. We love the vanity and it’s been perfect for our space! Thanks so much for your visit!
Sara says
Now that’s a serious project! You did such an awesome job, go you!! It’s beautiful and totally my style. You can’t beat making your own vanity for that price and it’s so dang stylish!
Wendi says
Hi Sara and thank you! You’re right too, you can’t beat the price. We love the vanity and it perfectly matches my master bath.