Let’s talk about how to strip paint off kitchen cabinets and furniture today, OK? How many times have you walked past a piece of furniture in a thrift store or garage sale and passed it up because it had a really bad paint job that was far too intimidating to tackle? Or was overwhelmed by the thought of a tough job like stripping layers and layers of paint off old cabinets, doors and hardware? You needn’t be. Overwhelmed or intimidated, that is:) With the right supplies and know-how, tackling projects like these can led to amazing results, not to mention huge savings over paying someone else do it for you! This is my complete guide, step by step process of how to strip paint off almost anything, kitchen cabinets, furniture, doors, trim molding and hardware.
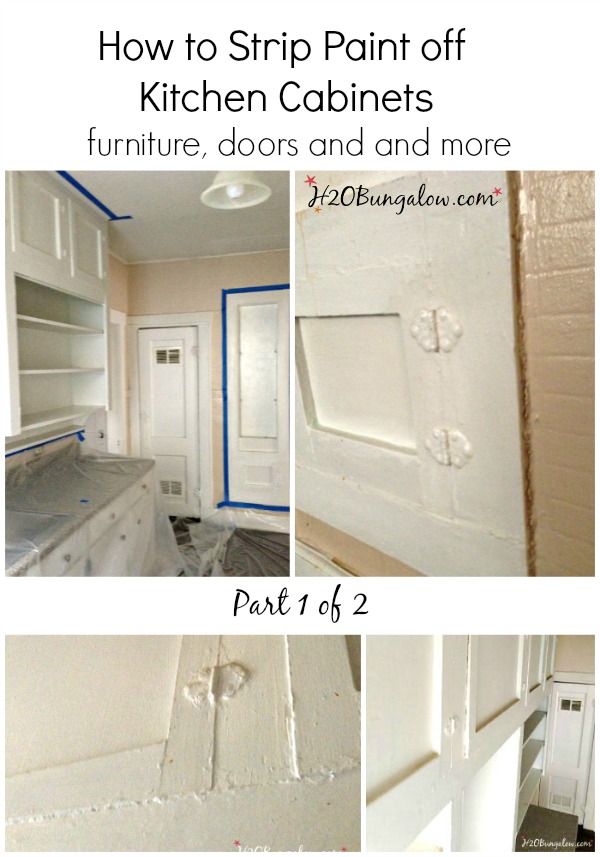
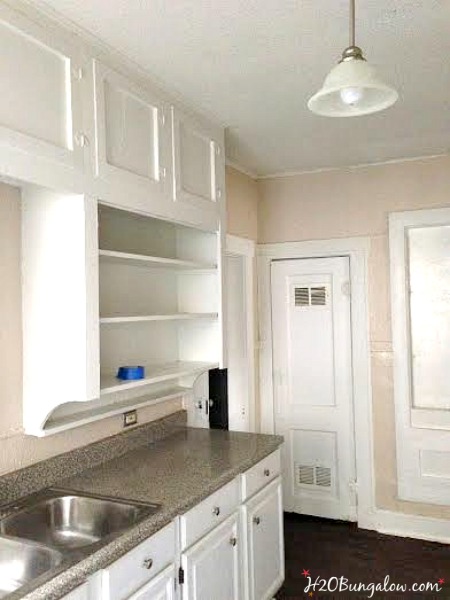
Last week while I was in Dallas I decided to roll up my sleeves and tackle a huge project of stripping years of layered paint off vintage cabinets and prep them for a new paint job. I had 2 days to finish this project. I was SO unrealistic!
What’s more, I knew better.
I know what you’re thinking.. I said easy right?
Yes, most of the time it is easy and sometimes it’s tedious work. Those are the times when the job becomes much easier simply by having the best supplies ready to tackle the job:)
I’ve done my fair share of stripping paint projects.
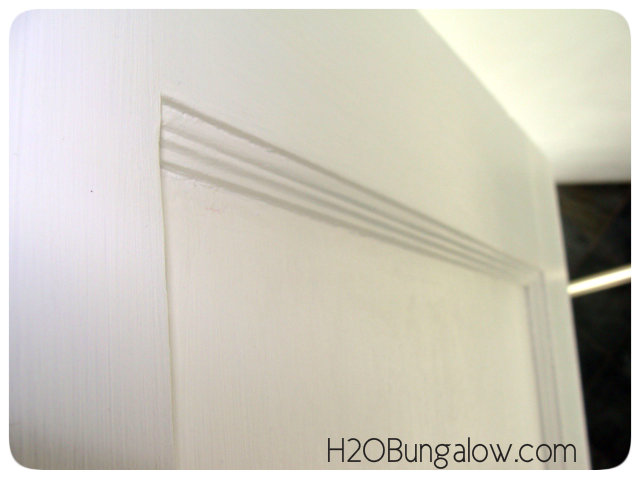
I’ve stripped paint off our original 1950’s doors here in our project house in Fl.
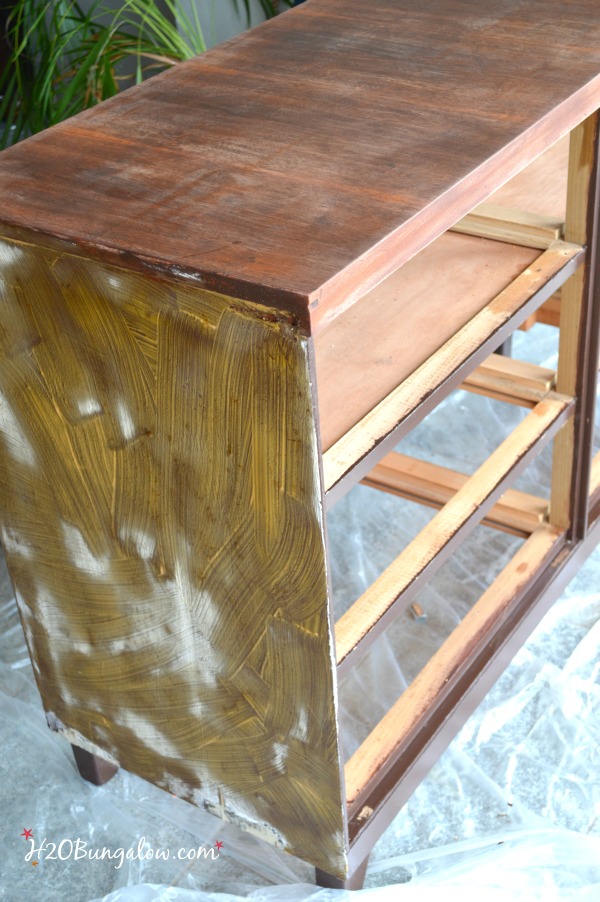
Off furniture which was by far the easiest
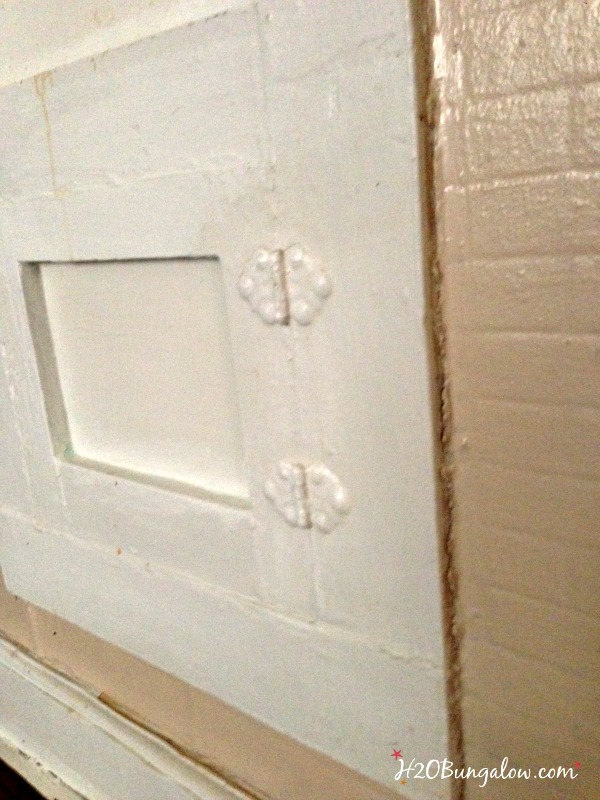
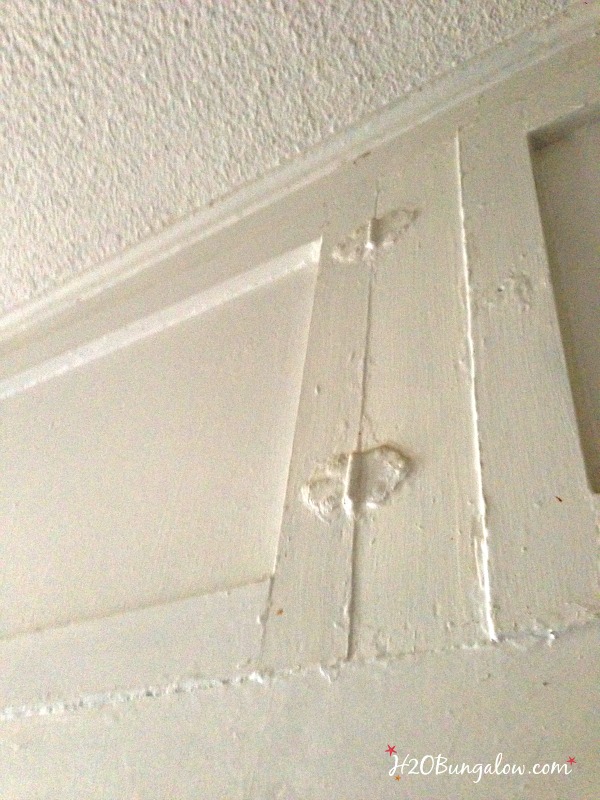
..and kitchen cabinets with too many paint layers built up to get a good count on how many colors were used over the years.
How hard will it be to strip paint off of your project?
The simple answer is, it depends on how many layers of paint need to be stripped off, if your project has a lot of nooks and crannies and what your planning to do with your piece when your done. Paint or stain it.
Let’s start with the supply list for or how to strip paint off kitchen cabinets and furniture
This list of tools and supplies are what I recommend when preparing to strip paint off of cabinets, furniture or any other project. It may seem long, but it’s so much better to be prepared instead of up to your elbows in stripper and then realize you need one more item. Than put everything down and run to the store! – been there, done that 🙁
Stripper solution – I’ve tried different products before and by far the easiest and best smelling was Citristrip hands down.
Disposable dropcloth – Use a medium to heavy weight plastic disposable type. For larger jobs like kitchen cabinets, you’ll replace it often. purchase a roll like this with the tape attached. It’s lots more economical and easier to use. Don’t pinch pennies and purchase the really thin ones, it’s not worth the effort of cleaning up the mess because they’ve ripped.
Scrapers– Plastic putty knives and scrapers work best. Purchase a few because they will wear out on a larger job. Metal ones last longer, but they get caught in the wood and damage or ruin the surface. Why make extra work for yourself with wood filler repairs? If you’re planning on staining your wood later you won’t want any scratches on your surface anyway.
Wire brushes – A set of wire brushes in different sizes are perfect for cleaning out corners, trim, decorative woodwork and painted over hardware. Again, I purchased cheap ones. They can be cleaned in paint thinner or solvent, but getting all the gunk out of the brushes is a hassle. You’ll need a smaller one for a dresser or a door with trim and several sizes for larger jobs like a kitchen.
Solvent – You’ll need something to wipe the stripping residue off the wood when your done stripping. Odor free paint thinner works and is economical.
Scouring pads and or steel wool – You’ll use these with the solvent to remove the stripper residue.
Painters tape– to protect areas around cabinets and walls if you are working on something installed like a door frame or kitchen cabinets.
Clean rags– Have them handy to wipe the wood after using the solvent.
TSP (trisodium phosphate) – Wipe your wood down before staining or repainting to remove any last solvent, dirt or greasy residue. It’s also my favorite deglosser. I use this on every item I prep to paint. I buy the powder in the small box and it lasts forever. I keep a spray bottle mixed with a few tablespoons and water handy.
Eye protection – like these safety goggles. Especially when working on items taller than you like a door or cabinets! Mine saved my eye from a big glob of chemical mess on the kitchen cabinets project!
Chemical resistant gloves– to protect your hands. Use thick ones and if you’re working on a big job, have a few available. You’ll wear them out and potentially break through them.
Inexpensive paint brushes – I like to use cheap chip brushes, this set of 50 brushes for under $20 is a deal. For big jobs I use a 3″ and a 1″ for other jobs a 2″ and 1″ work fine.
Respirator or face mask – You don’t want to breathe in the chemicals and especially if you could be working with lead-based paint. Anything built/painted after 1978 is likely not to have lead based paint present, but you still need to protect yourself.
Protective clothing – If your project is vertical like a door or cabinets, you will get messy. So will your shoes. Wear shoe covers or use old shoes you won’t mind throwing away.
Tools– drill with screw driver to take off hinges and hardware.
Containers – to pour the stripper and solvent in and work from.
Step one: Planning
How to strip paint off kitchen cabinets and furniture
Depending on the size of the job and how many layers of paint there are, set enough time to realistically finish the project. I’ve stripped paint off a dresser in a few hours. Our interior vintage doors and trim took me an entire day per door because there were lots of grooves and layers of paint. My kitchen cabinet project will probably take me about 4 days by the time I’m finished, but I am also working on the bathroom cabinet and an old ironing board cubby at the same time.
Ideally, you should work outside and horizontally any time you can. Take doors down, cabinets and hinges off etc. Lay them across saw horses (I use these and they are strong) or anything at a comfortable working height. Otherwise your back will let you know it’s not happy!
Clear the work area of anything that could be damaged from the paint stripper.
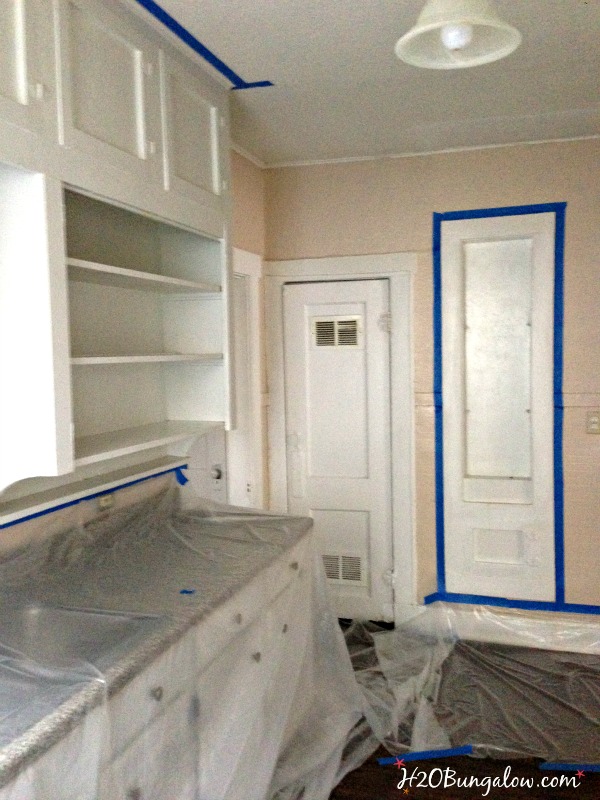
Tape a dropcloth to the ground with painters tape all around the project area. If you are working on anything vertical like a door frame or cabinets, tape around the outside edges and tape a dropcloth onto anything else you need to protect. For big jobs with lots of paint layers, plan to change dropcloths often. Otherwise you may find yourself stepping in gobs of stripped off paint. I’d recommend layering a few dropcloths so it’s easy to roll the top one up containing the gooey mess and have a fresh one already taped in place if there are lots of paint layers to strip off. I used several drop cloths on the kitchen cabinet project. Stopping to unroll and re tape new ones was a pain. Next time I will layer them in advance!
This post contains a lot of information. Instead of sending you guys a novel on how to strip paint of kitchen cabinets and furniture, I’ll stop here and share the rest of this post in part 2 in a few days. I’ll be back in Dallas in the next two weeks to finish the vintage kitchen cabinet makeover and give them a fresh coat of paint. I’ll share the tutorial on painting kitchen cabinets in November when I’m caught up from the craziness of the last several weeks and my third trip back to Texas:)
Read How To Strip Paint Off Furniture And Cabinets part 2 here.
Do you have a project you’ve wanted to tackle and strip the paint off of in mind? This may be the perfect opportunity to gather the supplies and start planning!
AEM says
Hi Wendi.
This looked like a wonderful undertaking. Stipping back the coats of other lives previously lived in that apartment. Part 1 was great, but where’s Part 2? Can you please direct me to it.
Thank you.
Wendi says
Hi AEM! Thanks so much, I’m glad you found my How to Strip Paint, part one useful. There’s a link to at the bottom to part two, bit I’ve added it here to make it easy for you… https://h2obungalow.com/how-to-strip-paint-off-furniture-and-kitchen-cabinets-part-2/ I take it you have a stripping project in your future 🙂 Good luck and have fun with it!
Mira Wilder says
Love your articles, I’ve lived in the same rent control apartment for 27 years and years of bad painters…I’m not a dyi -er but maybe thats my problem because no one has ever done a great job…Now I’ve gone and paid KIDS (long story but i GOT conned by a little witch) to do a mans job and they painted over everything! And no Prep! Now, I am beginning to see the ‘dirt’ come through! It is making my blood boil just thinking about the job ahead of me stripping off THICK TURQUOISE from old kitchen cabinets! Because as you say ‘whenever possible do the job horizontally’ and I have no where to lay anything down its a very small space with no balcony! Any suggestions short of just having Home depot come in and remodel! Do you think it is possible to use the citri-strip? Or would I need a stronger faster way? Ps I love my apartment its in a great neighborhood and so I’m always fixing int up with my own money since it is rent control! Best to you…
Wendi says
Hi Mira,
Wow! What a mess. I’m sorry you’re in the predicament you are in! Yes, Citristrip will take off the paint and do it without a bad smell too. Unfortunately you’ll need to just tackle it to get to the wood underneath. It’s a tough job but do-able. I’d reevaluate the condition of the cabinets underneath the paint to be sure it’s worth the effort. If so, stripping the paint will save you a huge amount of money. I’d suggest trying a test patch first so you can see how well it works. Then I’d work in small sections at a time. If you can take off the cabinet doors to do the work that would make it much easier as well. I hope this helps and good luck!
Glenda Sullivan says
Wow! I actually read your post in reverse and I really feel I can tackle my laundry room cabinets! The previous resident painted the entire room with flat yellow paint. Cabinets, doors, and all. Her work was very neat but not my style. And since most people come into my home through that door I would love to make it more likely me. Thank you!!!
Wendi says
Glenda, You can do this! There’s no better feeling than fixing up your place yourself and of course saving the money over paying someone makes it even better! I’m so glad you found my post. Good luck & have fun with your project!
Lucy Potocki says
Hi there!
Thank you for the helpful article! I have an old window that someone painted too much new, cream paint on. I’d like to strip off most of it so it looks more shabby and exposes the wood. Do I do everything listed in the article or is there another way to just chip off most of the paint?
Thank you!!
Lucy
Wendi says
Hi Lucy, I know the finish you are trying to get. The technique is similar. Here is a link to a project I did on a small table to get that look https://h2obungalow.com/2016/04/aged-chippy-paint-finish-tutorial.html There isn’t another way of exposing the wood unless you want to sand down areas, but I don’t think that will give you the look you want. Have fun, it sounds like an awesome project! Thanks so much for your visit!
Kathie says
I have enjoyed receiving your emails and I especially like the ones with details like this one. I would like to read part of 2 of this article but alas, I cannot find it. Please help because I have several 1/2 finished projects going on.
Thank you
Kathie
Wendi says
Hi Kathie..Oh No! There should be a link to part 2 of this post! You were right, I don’t know what happened. I’m fixing it now:) Thanks so much for bringing that to my attention! Here’s the link https://h2obungalow.com/2015/10/how-to-strip-paint-off-furniture-and-kitchen-cabinets-part-2.html Good luck with your project and thanks so much for your visits!
Kathie says
Thank you for your swift reply! My project is waiting for me in the garage and I will tackle it again tomorrow. Great information.
Wendi says
Hi kathie and you’re welcome! Your timing was good since I’d just settled in to follow up on comments. I get behind sometimes:) Have fun with your project and so glad you found my info useful!
DancingMooney says
You’ve got a lot of guts stripping that kitchen down, but it looks like it will be totally worth it! Great character there… can’t wait to see the finished product! 🙂
Wendi says
Thank you! I’m not sure if it was guts or blind foolishness to tackle this project, BUT, the money I saved over paying someone was huge so that was a big factor 🙂 I’m looking forward to seeing the finished results too! Thanks so much for your visit!
Marie from The Interior Frugalista says
l love your tip of layering the drop clothes – genius!
Wendi says
Marie… Let’s just call it helping others so they don’t make the same mistake I did 🙂 It wa a huge pain to stop, roll up the messy old one and lay a new one down. Thanks so much girlfriend!
Mary-In the boondocks says
Lots of useful information Wendi. I’ve always been the painter in my family (my dad was a professional) but this is out of my league. Looking forward to part 2.
Wendi says
Wow Mary, I could sit and pick YOUR brain on painting tips. I decided to share the step by step guide on sripping…(paint) LOL because I think lots of people are intimidated. Except for the huge jobs, it’s easy. Let me know what you think of part 2 in a few days!