Valentines Day is just around the corner. For me personally, I’d rather have a meaningful token as a gift from someone who took a little time to make or put together something from the heart. I guess that’s why I like these DIY Valentine Word Message Blocks with Be Mine, I’m Yours, Kiss Me and a few more fun words on them. I’ve made it easy for you to do this project by sharing the letter template I made. All you need to do is download, print and glue them onto blocks. Easy!
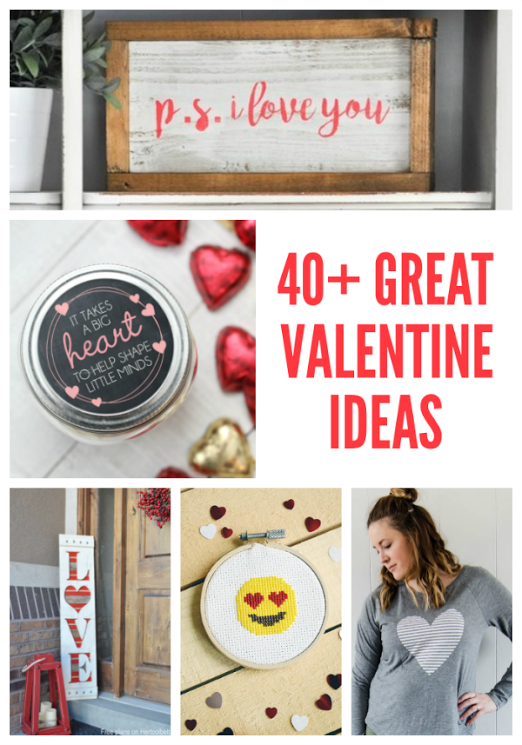
What’s more fun than my DIY Valentine Word Message Blocks? How about 40 more Valentines Day ideas and crafts you can do too? Look at the bottom of my post for links to lots more sweet, fun and crafty Valentine projects from some of my favorite crafty bloggers.
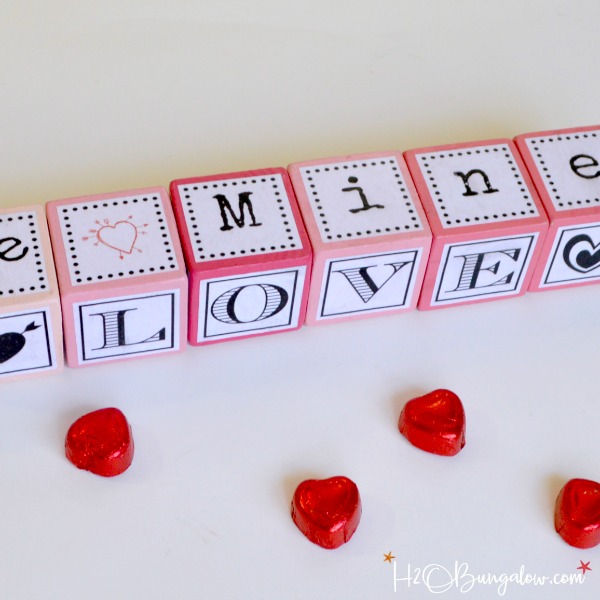
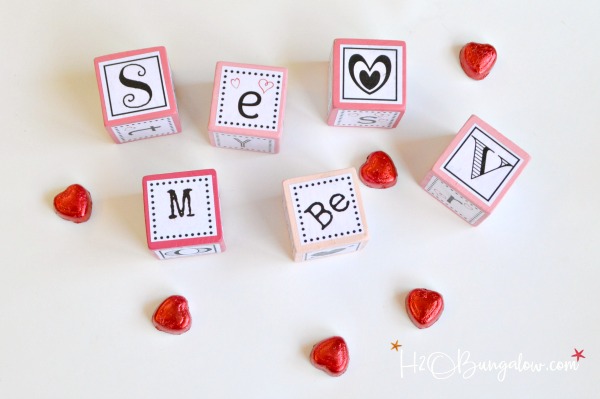
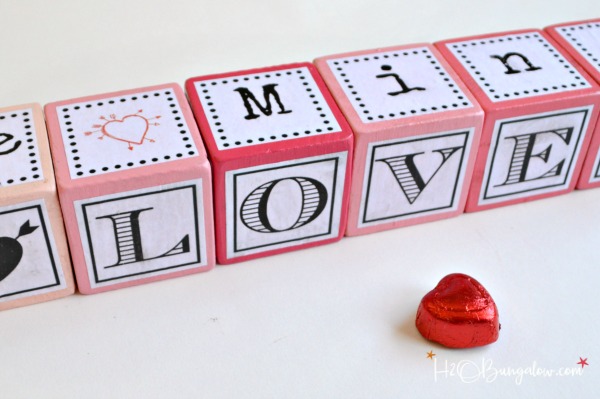
My word blocks make a fun puzzle. Mix them up and see how long it takes for someone to line up the words and phrases. I had some good laughs when my son and husband tried it. It’s hilarious to see who “gets” Valentines phrases and who doesn’t. Maybe it’s that whole Men are From Mars thing?
Easy DIY Valentine Word Message Block Instructions
Supplies to make DIY Valentine Word Message Blocks
- 1 3/4 – 2″ wood blocks -you can make your own or just find them at your local craft store
- Printable – see below
- Decoupage
- scissors or paper cutter
- sanding block
- small paintbrush
- paint
Step 1: Prep wood blocks
In my opinion the love blocks look better with softer edges. Lightly sand the blocks to smooth the edges and sides.
Step 2: Paint the blocks
Mix or use several colors of pink paints with with white paint to make different shades of pinks. I used DecoArts Chalky Finish Paints for this project. If you want the same colors, mix Chalky Finish Paint colors into 4 batches. 1st batch -Mix 3 teaspoons of Delicate to 1 tsp of Romance in a small cup. 2nd batch use 1 tsp Romance and 1 tsp Delicate. 3rd batch mix ½ tsp Romance, ½ tsp Delicate and 1 tsp Everlasting. 4th batch mix 3 tsp innocence and 1tsp delicate. Mix each color combination well.
Paint the blocks with two coats of paint and let dry thoroughly.
Step 3: Line up the letters for the DIY Valentine Word Message Blocks aka Love Blocks
Download my templates and print them at 50% size for 1 1/2″ blocks or 75% for 2 – 2 1/2″ wood blocks. Cut each letter out leaving about ¼” of margin outside of the letter. Line up the words to make it easy to place them on the blocks in the right order.
I share all of my printables with my subscribers. Enter your email below to subscribe. You’ll be redirected to another page where you can download all 5 block templates.
My biggest word of advice here is keep everything in order! The easiest way to not make a mistake on this step is to line up the letters in the order they will go onto the blocks. This picture below may have been my second attempt after mixing up my letters…just sayin 😉
Step 4: Attach the letters onto the message blocks
Apply a light coat of Decoupage onto the blocks and attach the letters on one side. Let that side dry before moving onto the next side. Once all the letters have dried, follow up with another layer of Decoupage on top of the letters to seal them.
Are they not fun? I wish I’d made several of these for gifts. I’d put them in a gift bag with a handful of favorite candies and a sweet Valentines card and tie it up with a pretty ribbon.
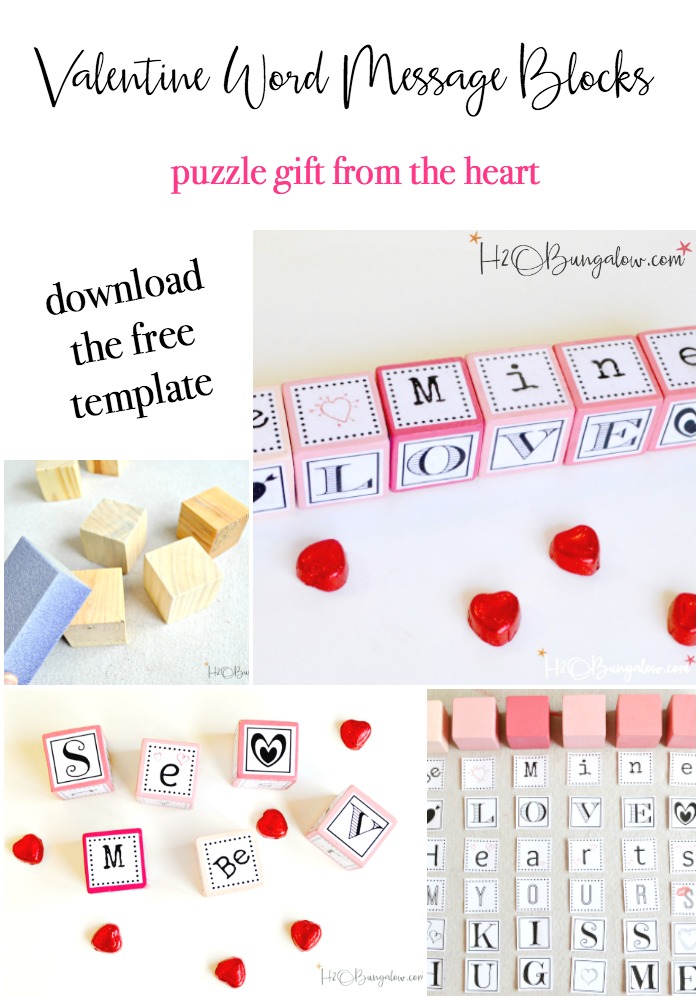
Love it? Don’t forget to pin it for later!
My DIY Valentine Word Message Blocks are easily one of my favorite sweet gift ideas. Here’s a few more of my favorite gift ideas from the heart as well.
Spell Love With Tiny Feet And Hands Plaque
or
Favorite Romantic Song Love Plaque
or
Easy Valentines Day Table Runner
Love a good dose of DIY home decor, home improvement, the challenge of woodworking and creative ways to make your home look fabulous?
I’d love to share mine with you. Click here to sign up for my post emails and I’ll send a quick note when I have a new project to share.



Amy | The Happy Scraps says
These are so cute! I love that you can change the sayings.
Wendi says
Hi Amy and thank you! I had these in my mind to make for the longest time!
Tauni says
Such a fun project! Thank you for sharing as part of the blog hop.
Wendi says
Hi Tauni and thank you for coordinating this blog hop! Such a fun way to share lots of good inspiration 🙂
Marie from The Interior Frugalista says
These are really adorable, Wendi!
Wendi says
Hi and thank you Marie! I wish I still had them to take better photos. I snapped these a year ago and sold them in my little shop. Thanks so much for your visit!
Cristina says
Such cute blocks!
Wendi says
Hi Cristina! Thank you! I wish I’d made a second set so I’d still have one. They are lots of fun to mix up and watch people try to figure out the words:) Thank so much for your visit!
gail says
awww, sweet valentine blocks Wendi. I love how you had all the papers lined up and pre-planned. SMART!
gail
Wendi says
Hi Gail and thank you! I wish I’d have made more of these, they are great for a simple gift. Lining up the words to match with how they go on the blocks was the ONLY way to do this project. I mixed up my first set not realizing it would be an issue and I ended up tossing the papers and starting over lining them up as I cut them. Lesson learned!