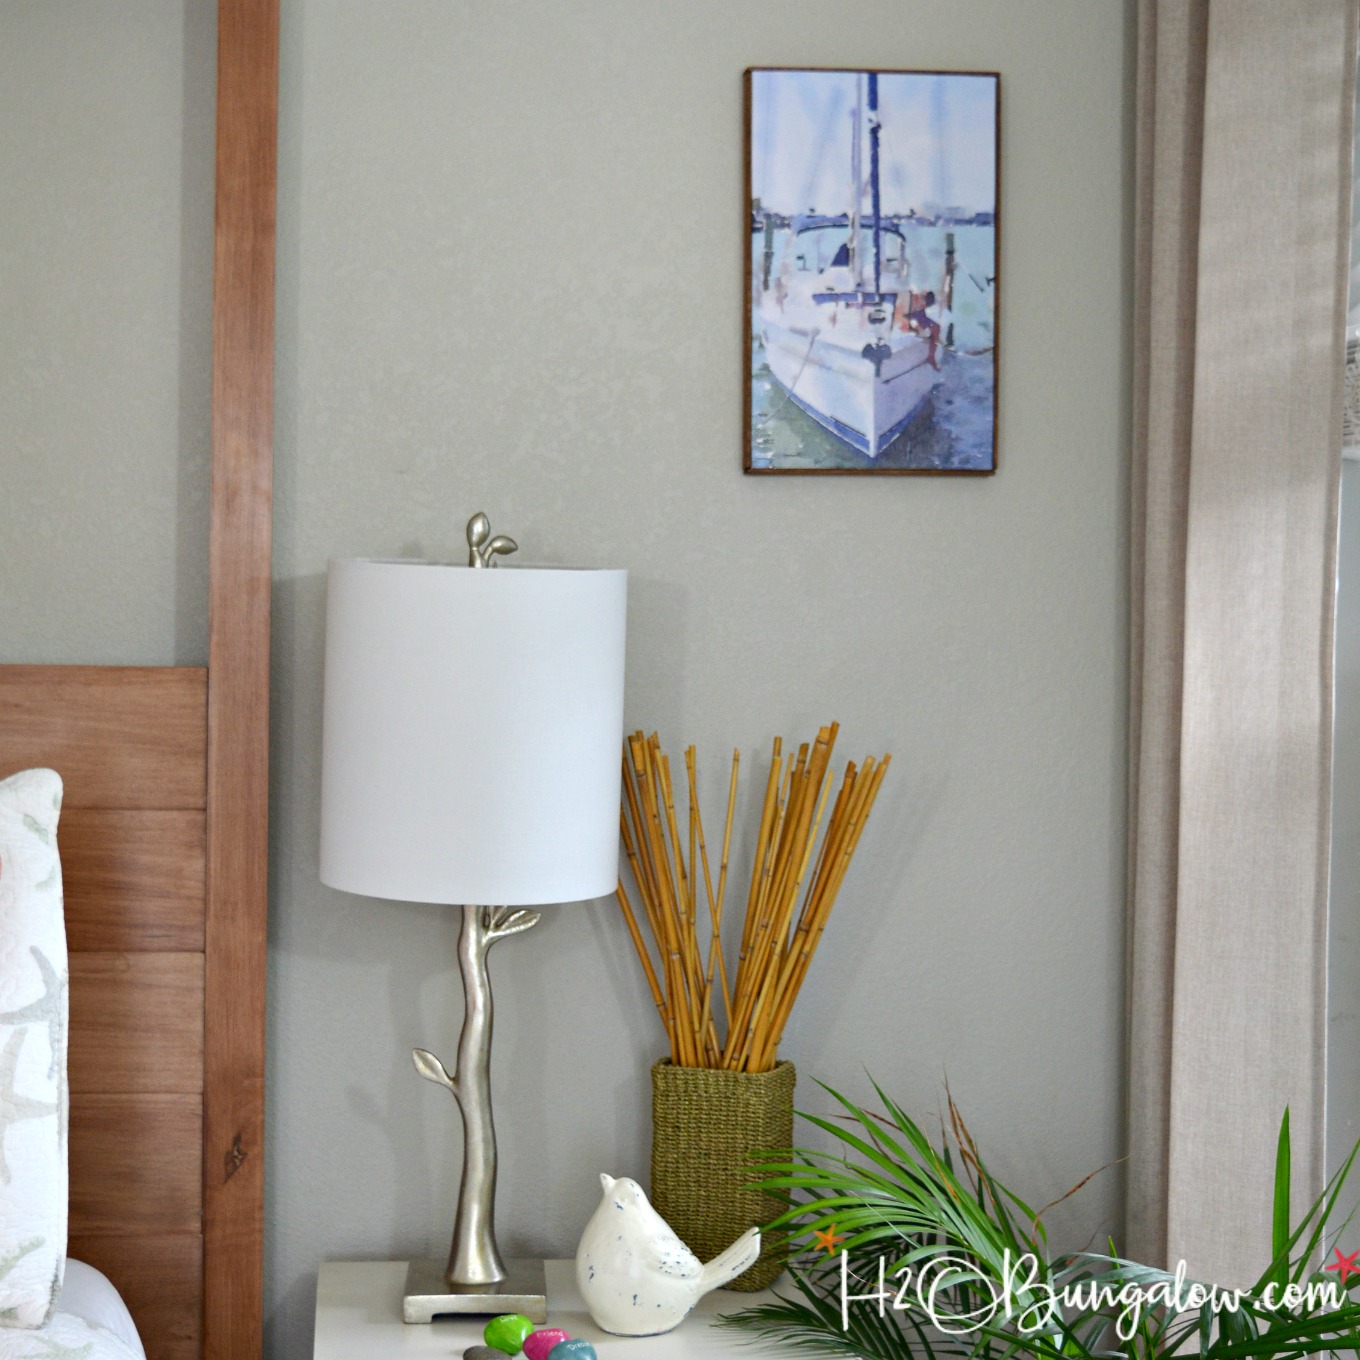
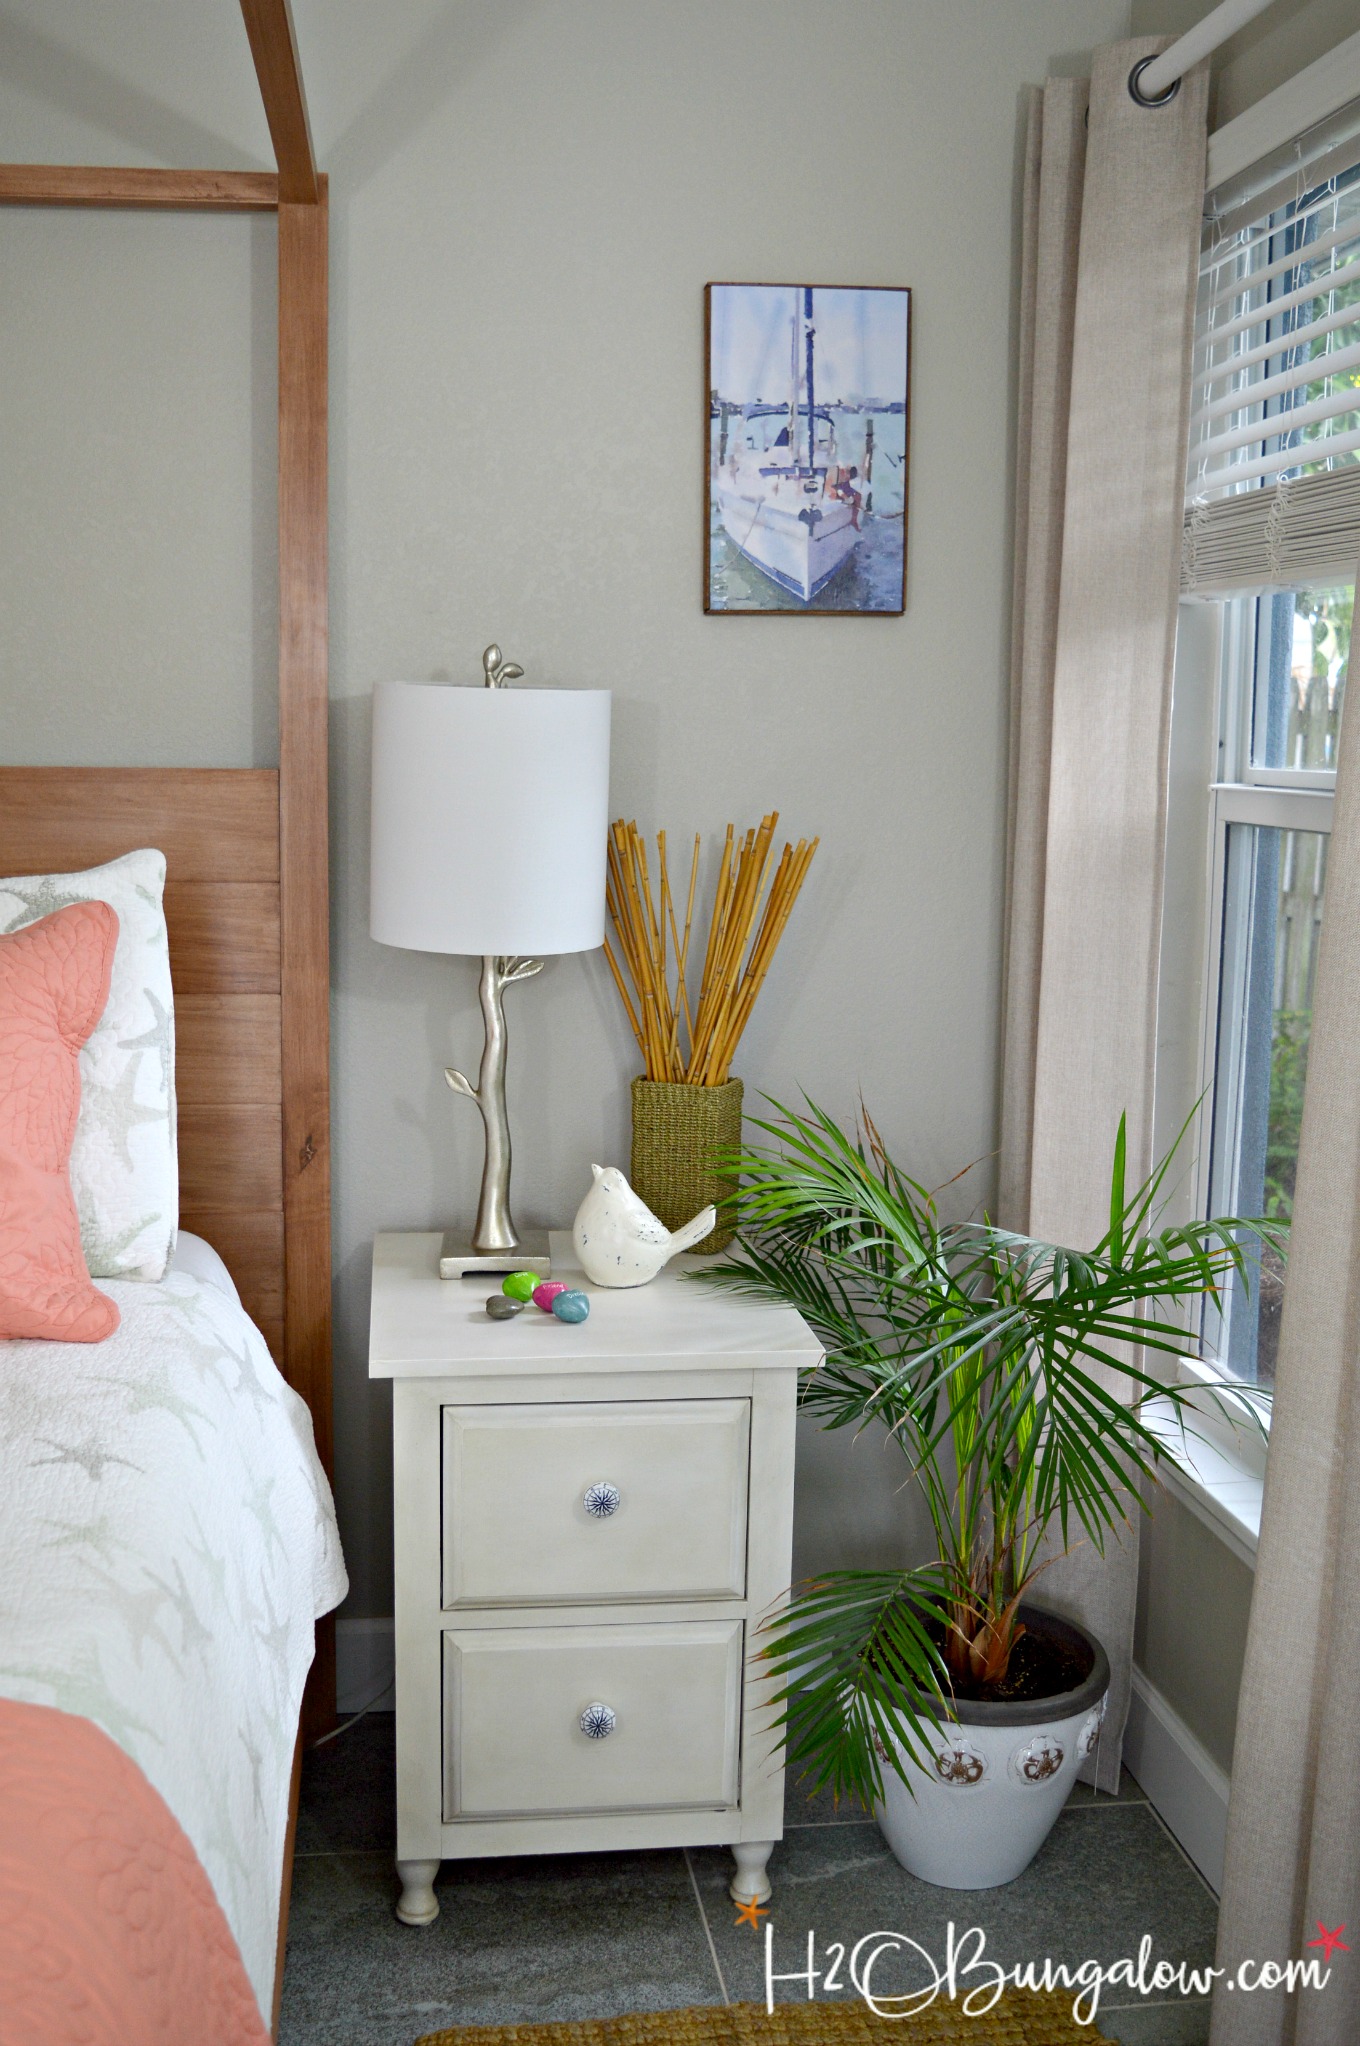
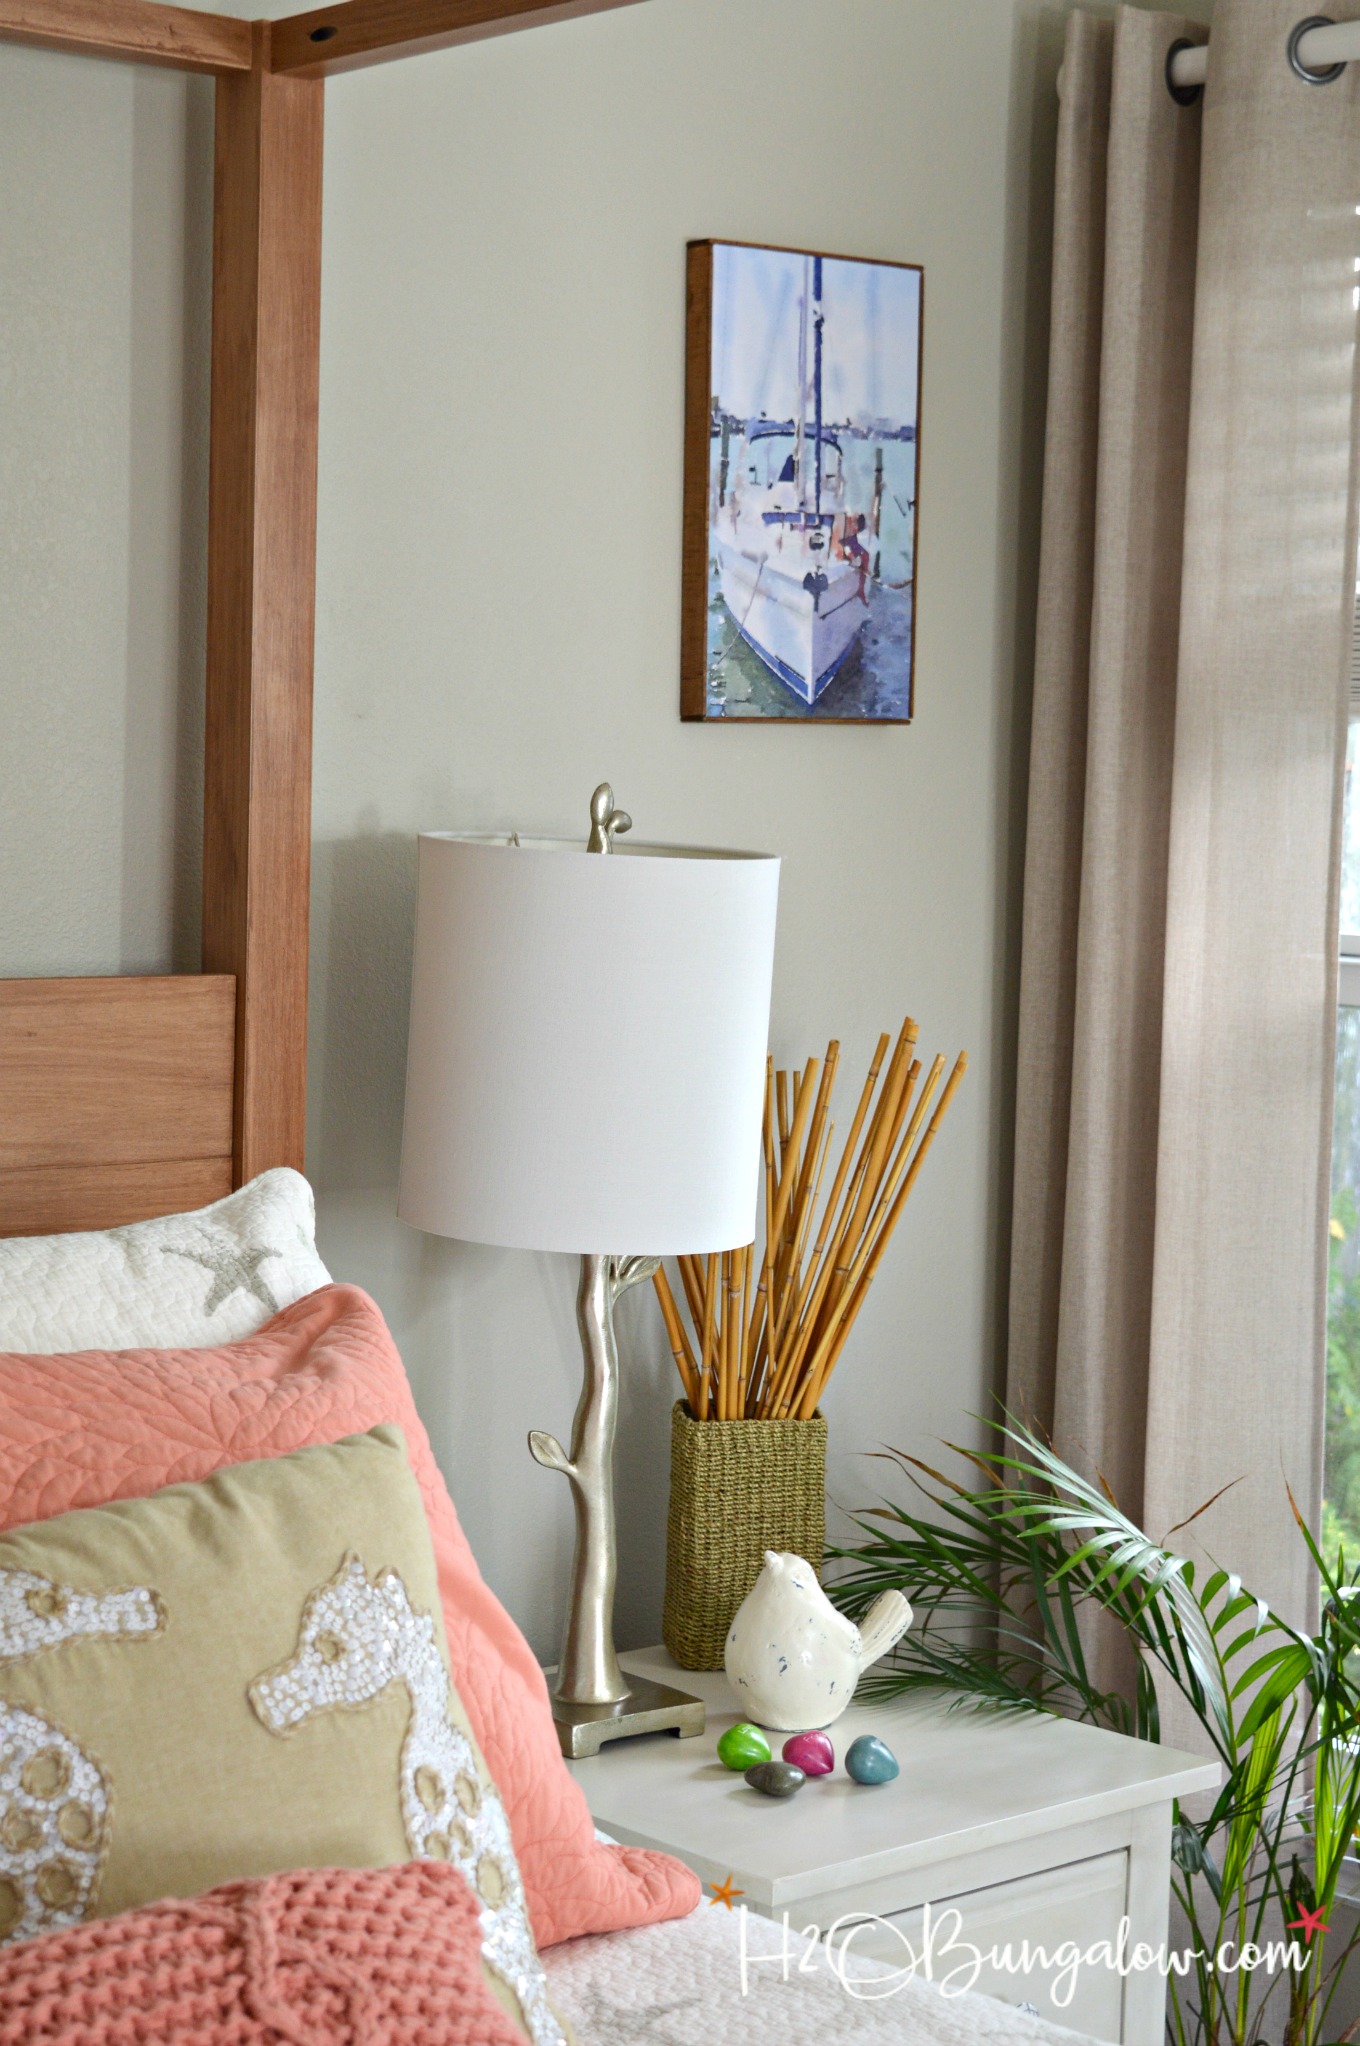
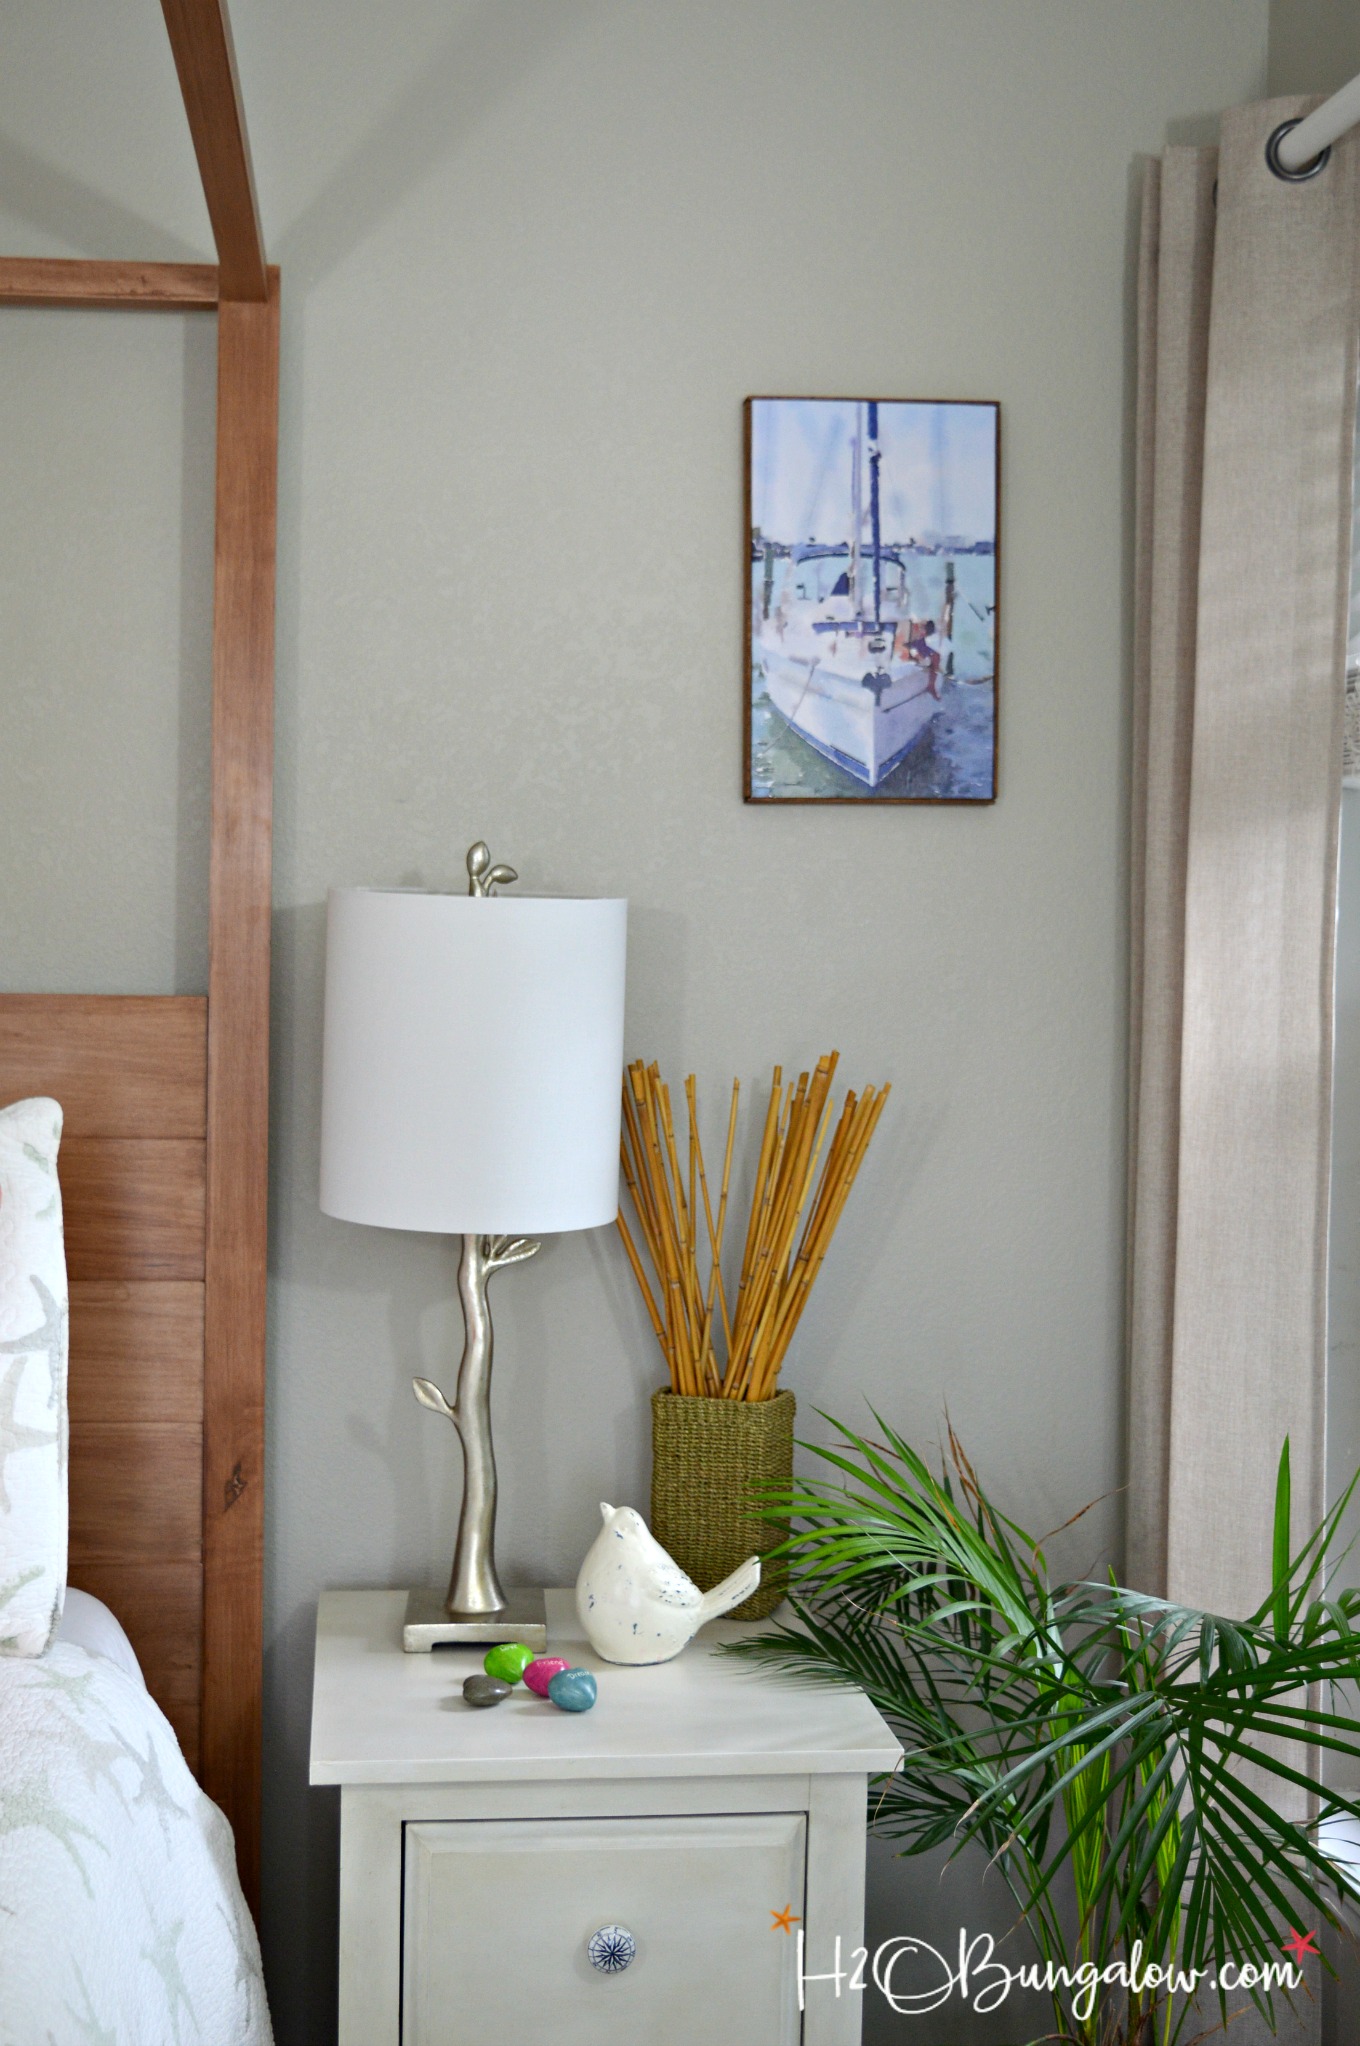
Today’s project is simply cool. I’m going to show you how to turn your photo into a DIY faux canvas print. It’s easy, it’s cheap, quick and best of all it looks like the real deal. This DIY project makes turning a meaningful photo into budget friendly pretty home decor easy, like about $3 easy!
I found a photo of DH (Dear Husband) the other night. It was one of the hundreds of photos in my phone that I’d taken, and as usual forgot all about (Do you do that too?). He was tinkering on our sailboat and it was a candid picture. I felt like doing something different and decided to turn my photo into a watercolor faux canvas print so it would look like art.
It’s really easy and inexpensive to turn any one of your photos into a watercolor picture and then mount it to look like a photo canvas. I made mine for about $3 with an app and a printer.
Turn Your Photo Into A DIY Faux Canvas Print
Supplies needed for a faux canvas print from a photograph. I use affiliate links to help you find the products I used.
- Waterlouge App
- stretched blank canvas or a plain wood.
- Decoupage Matte Finish
- chip brush – These are a great deal
- 4″ foam roller
- scissors
- jigsaw – optional if you are cutting the 1/4″ plywood for the frame
- frame – I made mine from cutting 1/4 inch plywood cut into strips the depth of my board
- strong glue
- Ryobi Airstrike nail gun – optional
Step One: Change a photo to a watercolor painting
Run your favorite photo or photos through the Waterlouge app and save the watercolor version of your photo. I have the Waterlogue app on my ipad so I emailed the photo to myself to print.
Step Two: Print the correct size photo on paper
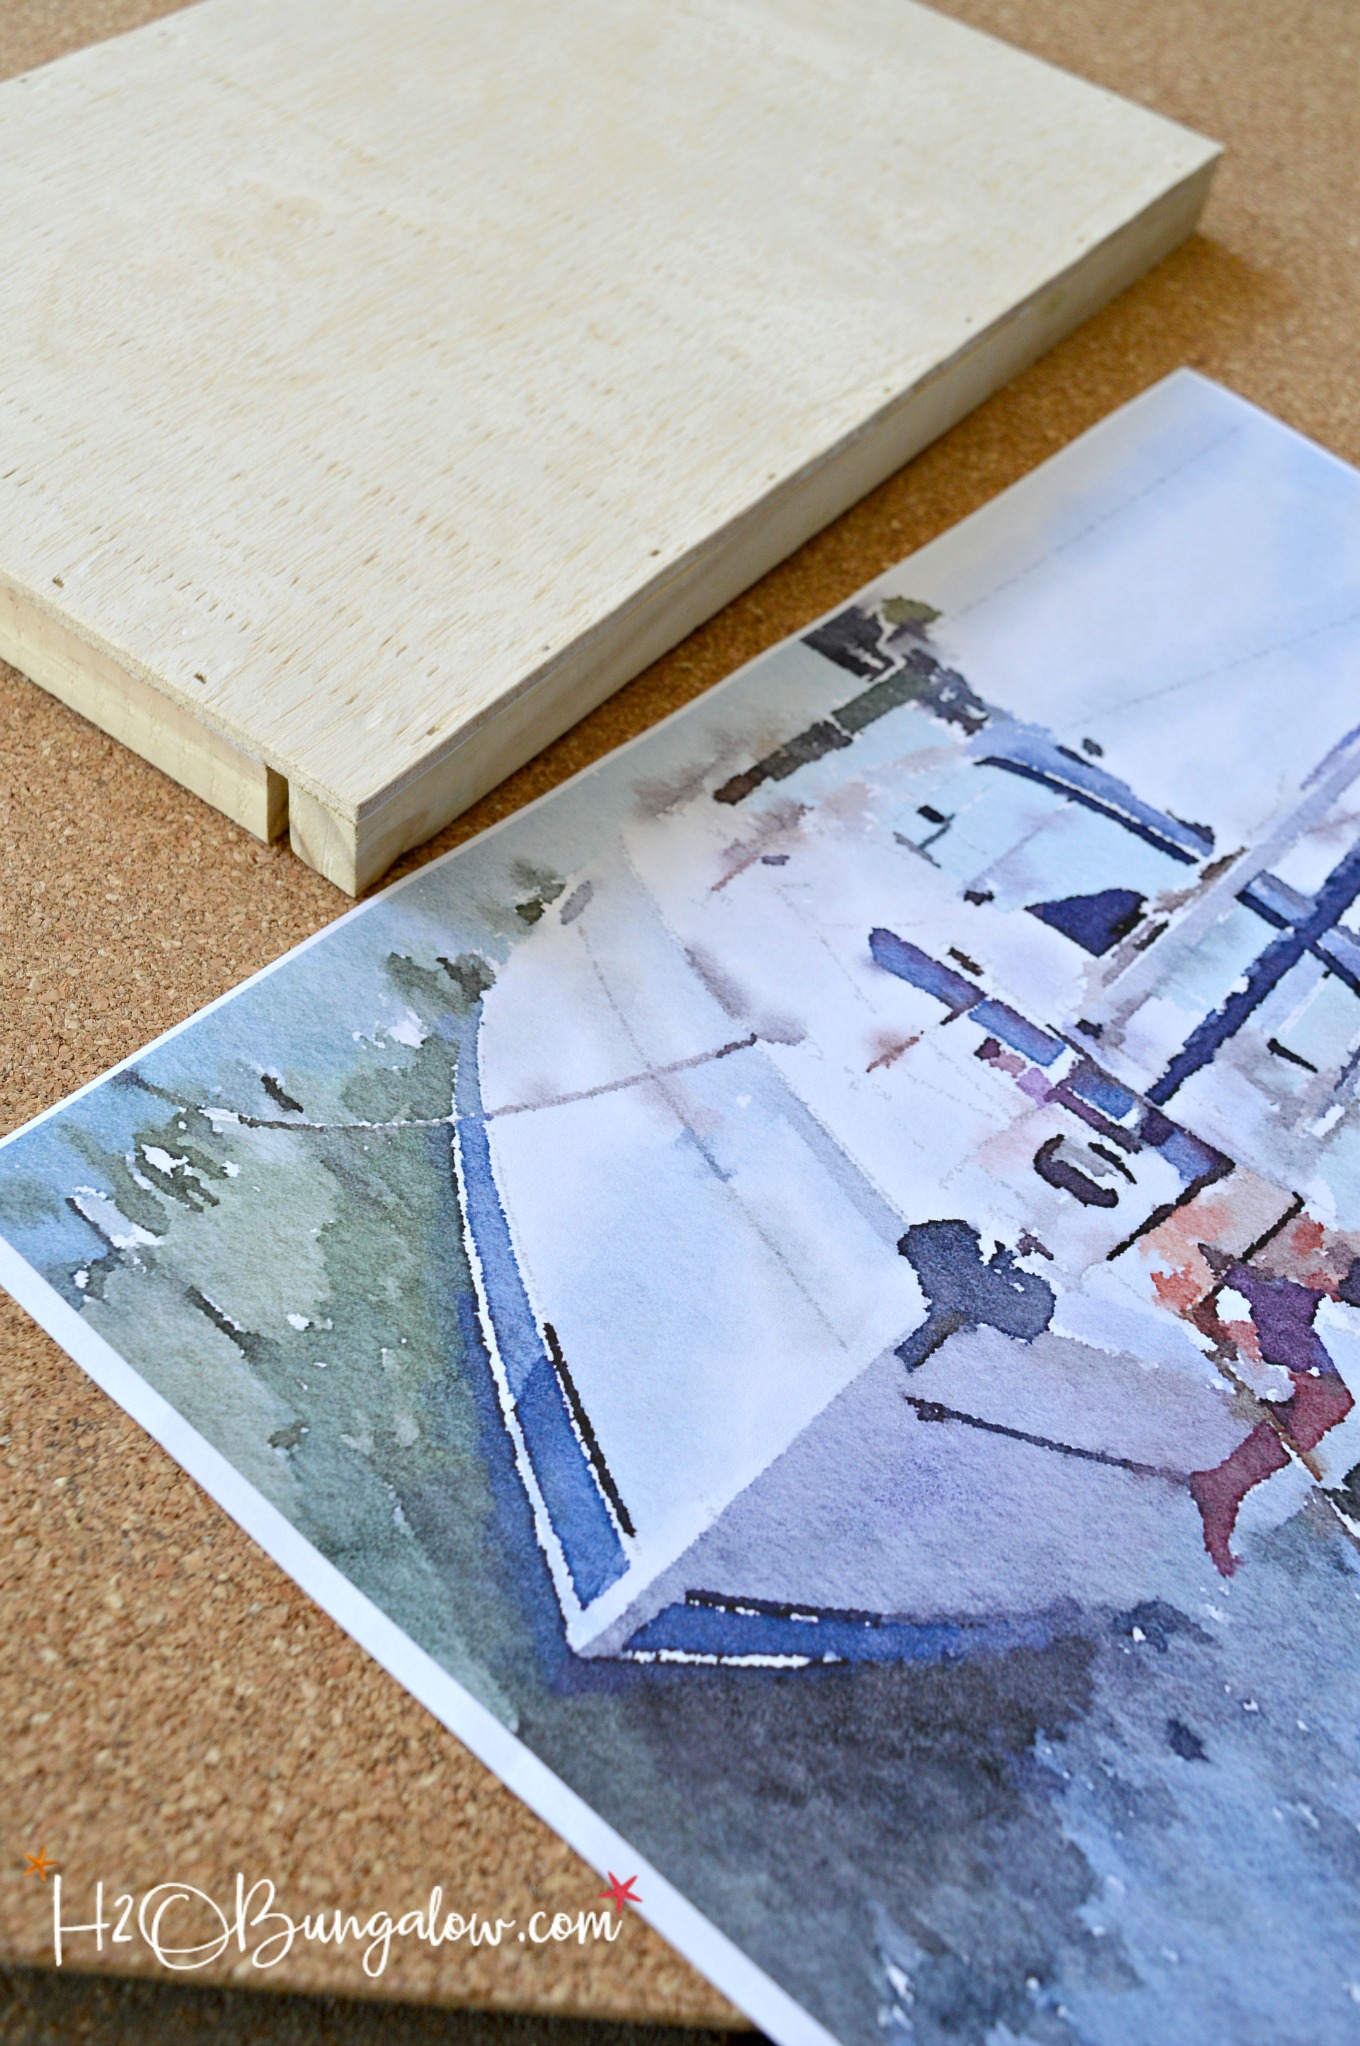
To turn your photo into a realistic watercolor canvas you only need to print it on plain white copy paper, 24lb paper worked well for me. You’ll need to print your photo 2″ larger in length and width than your canvas or wood board. In other words, if I want an 8″ x 10″ canvas, I need to print a 10″ x 12″ print. I had mine printed at a local office store in a ledger size which was 17″ x 11″ and made my own wood backing from scrap wood to fit. The print was about $1 which was worth it since their printers are much better quality than mine.
Step 3: Fit photo onto board
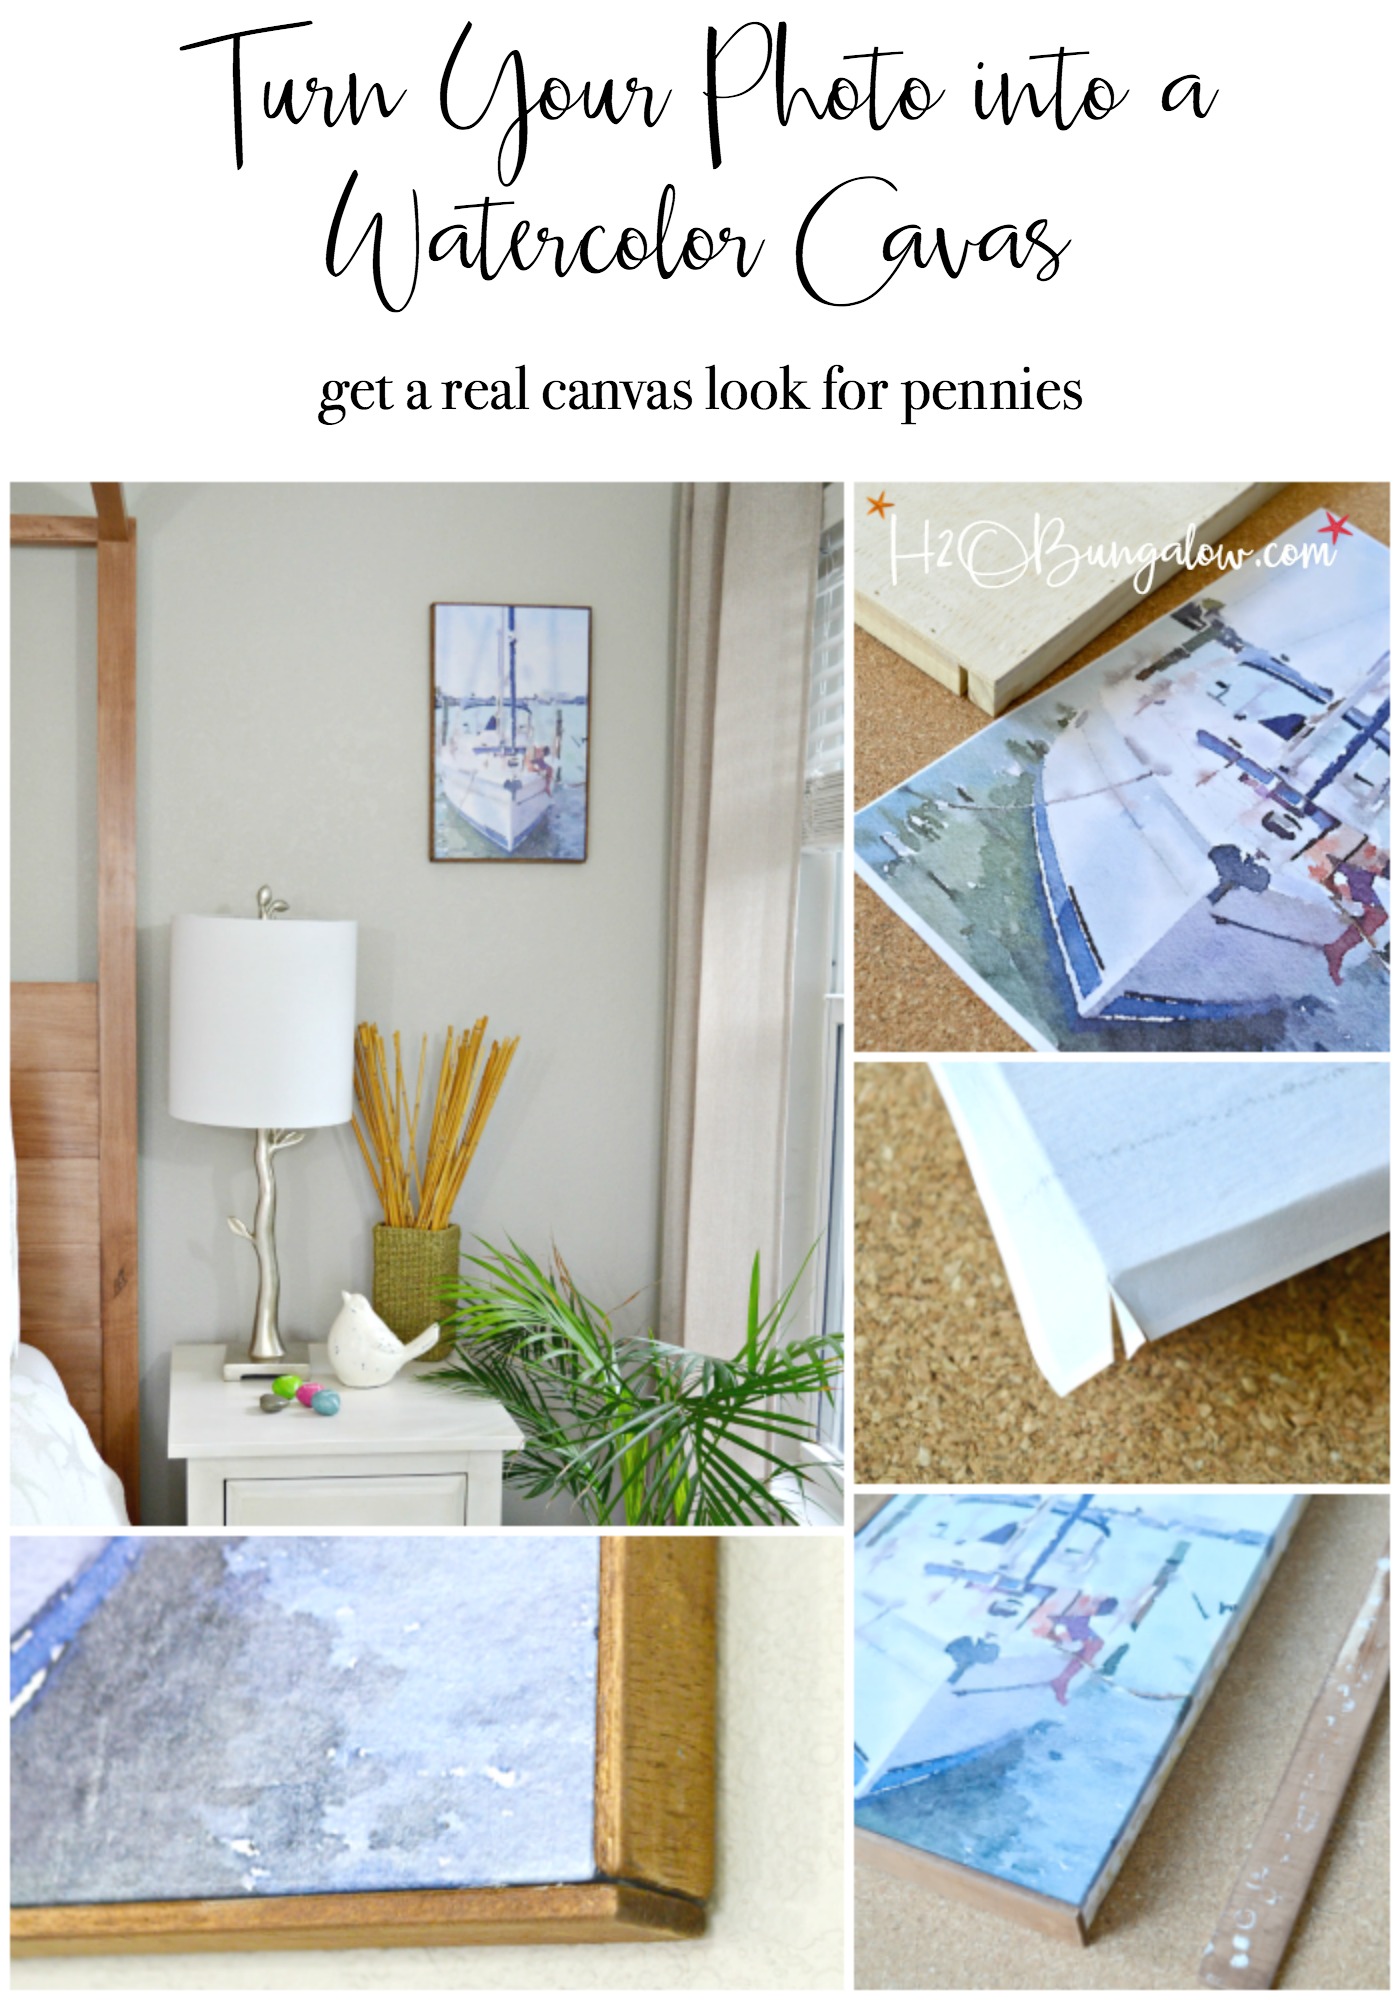
Position your photo onto your backing and dry fit it by folding the edges down on all sides.
Step 4: Glue Down
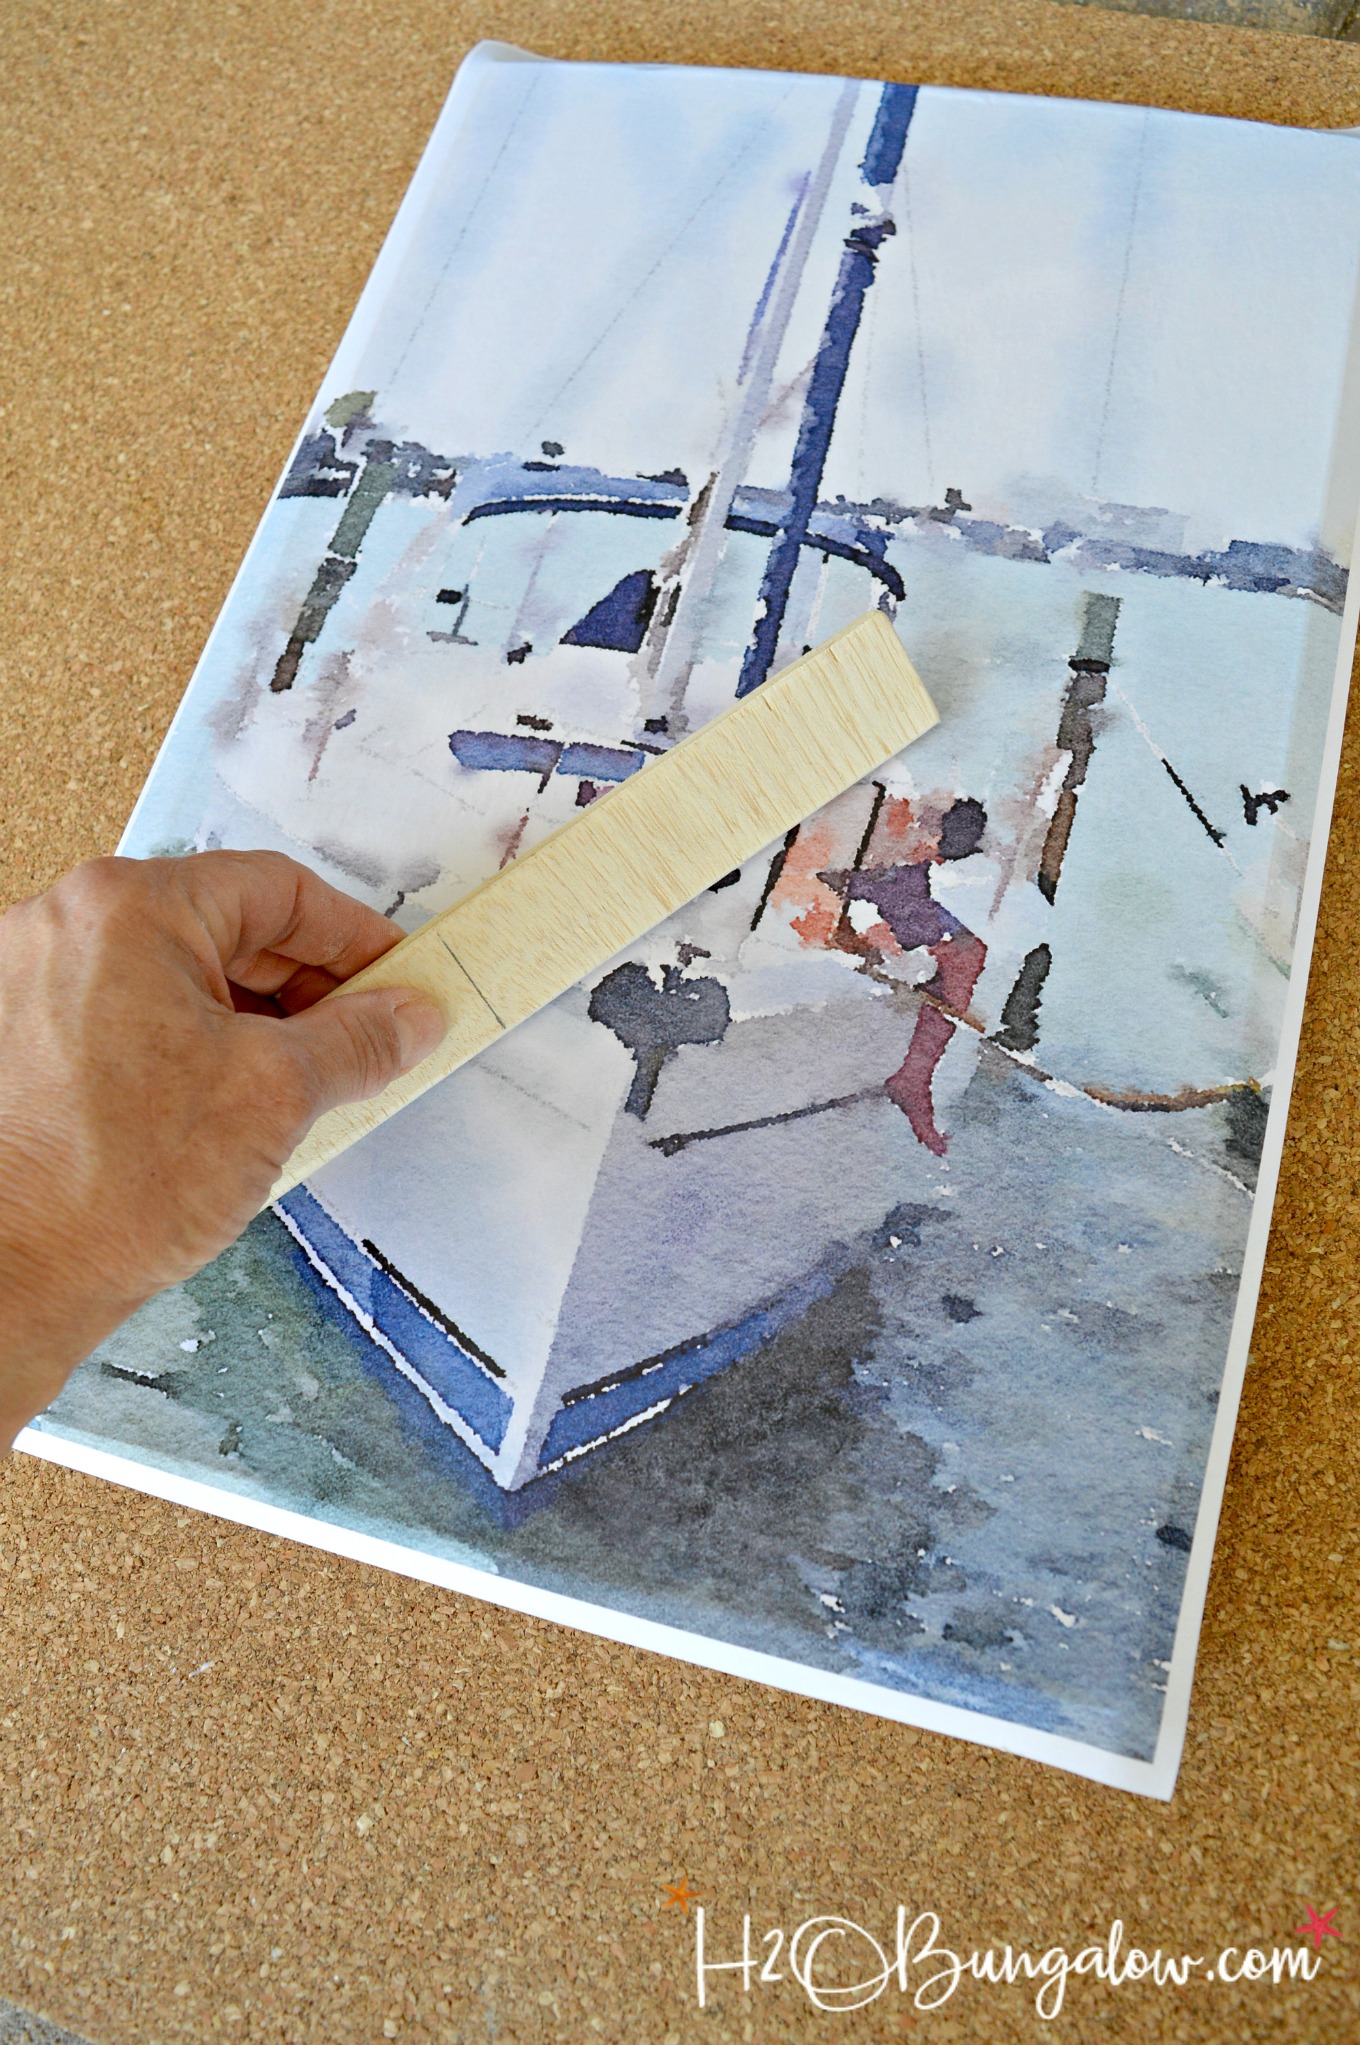
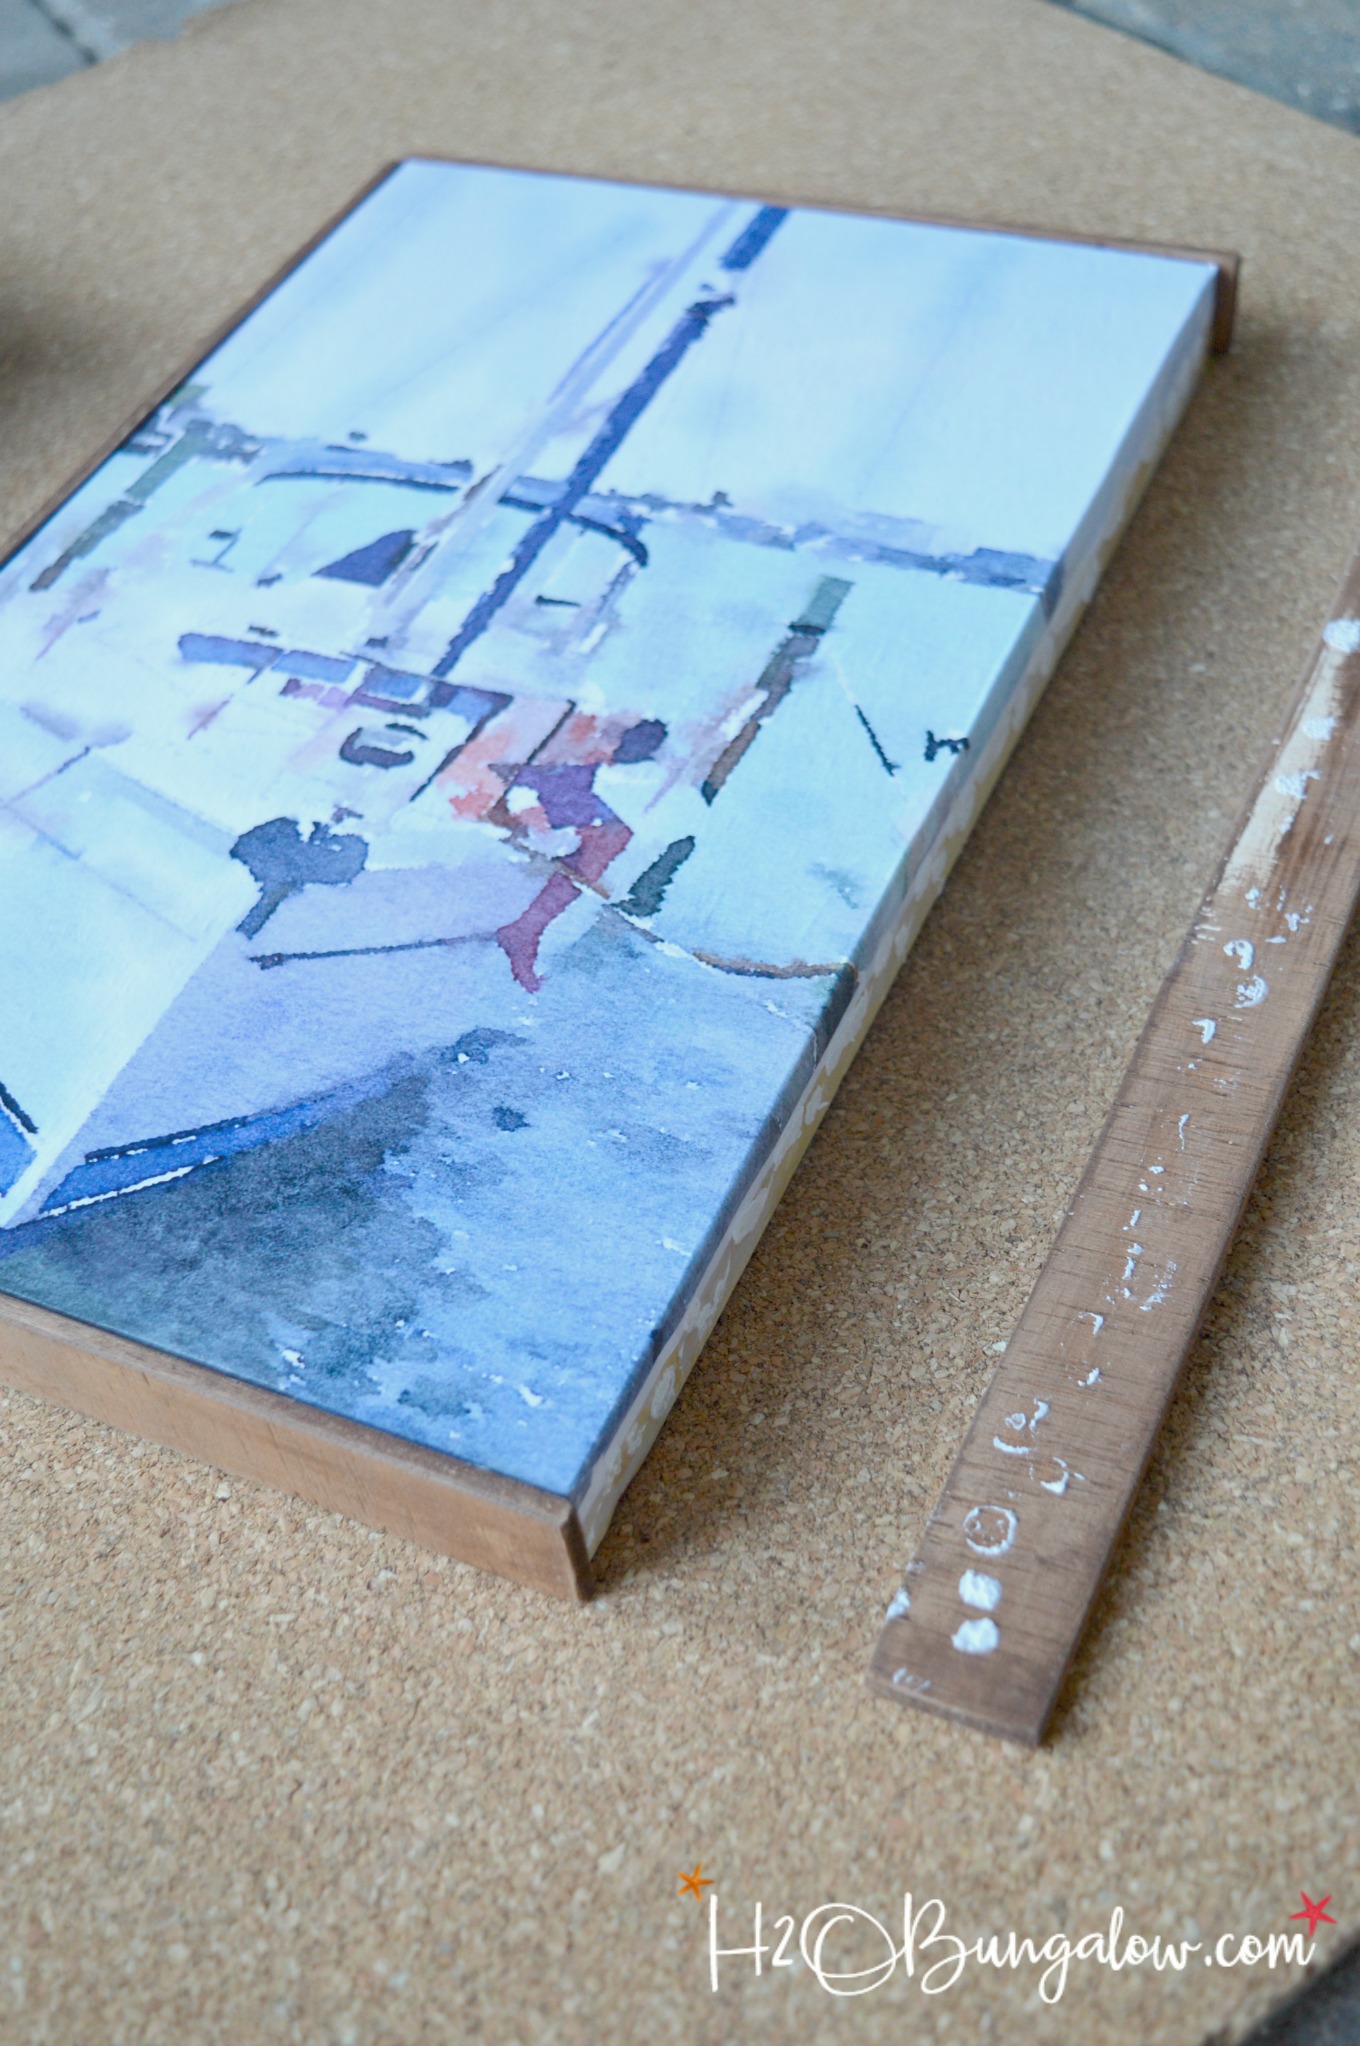
Pour the Decoupage onto the board back and smooth it out in an even layer all over the top of the board with a chip brush. Position the photo on to the board and press out the air bubbles. Do this by gently pressing down and pushing towards the edges with a flat surfaced item like a credit card. I used my frame edge. Allow to dry for a few hours.
Step 5: Trim corners and secure edges of the paper
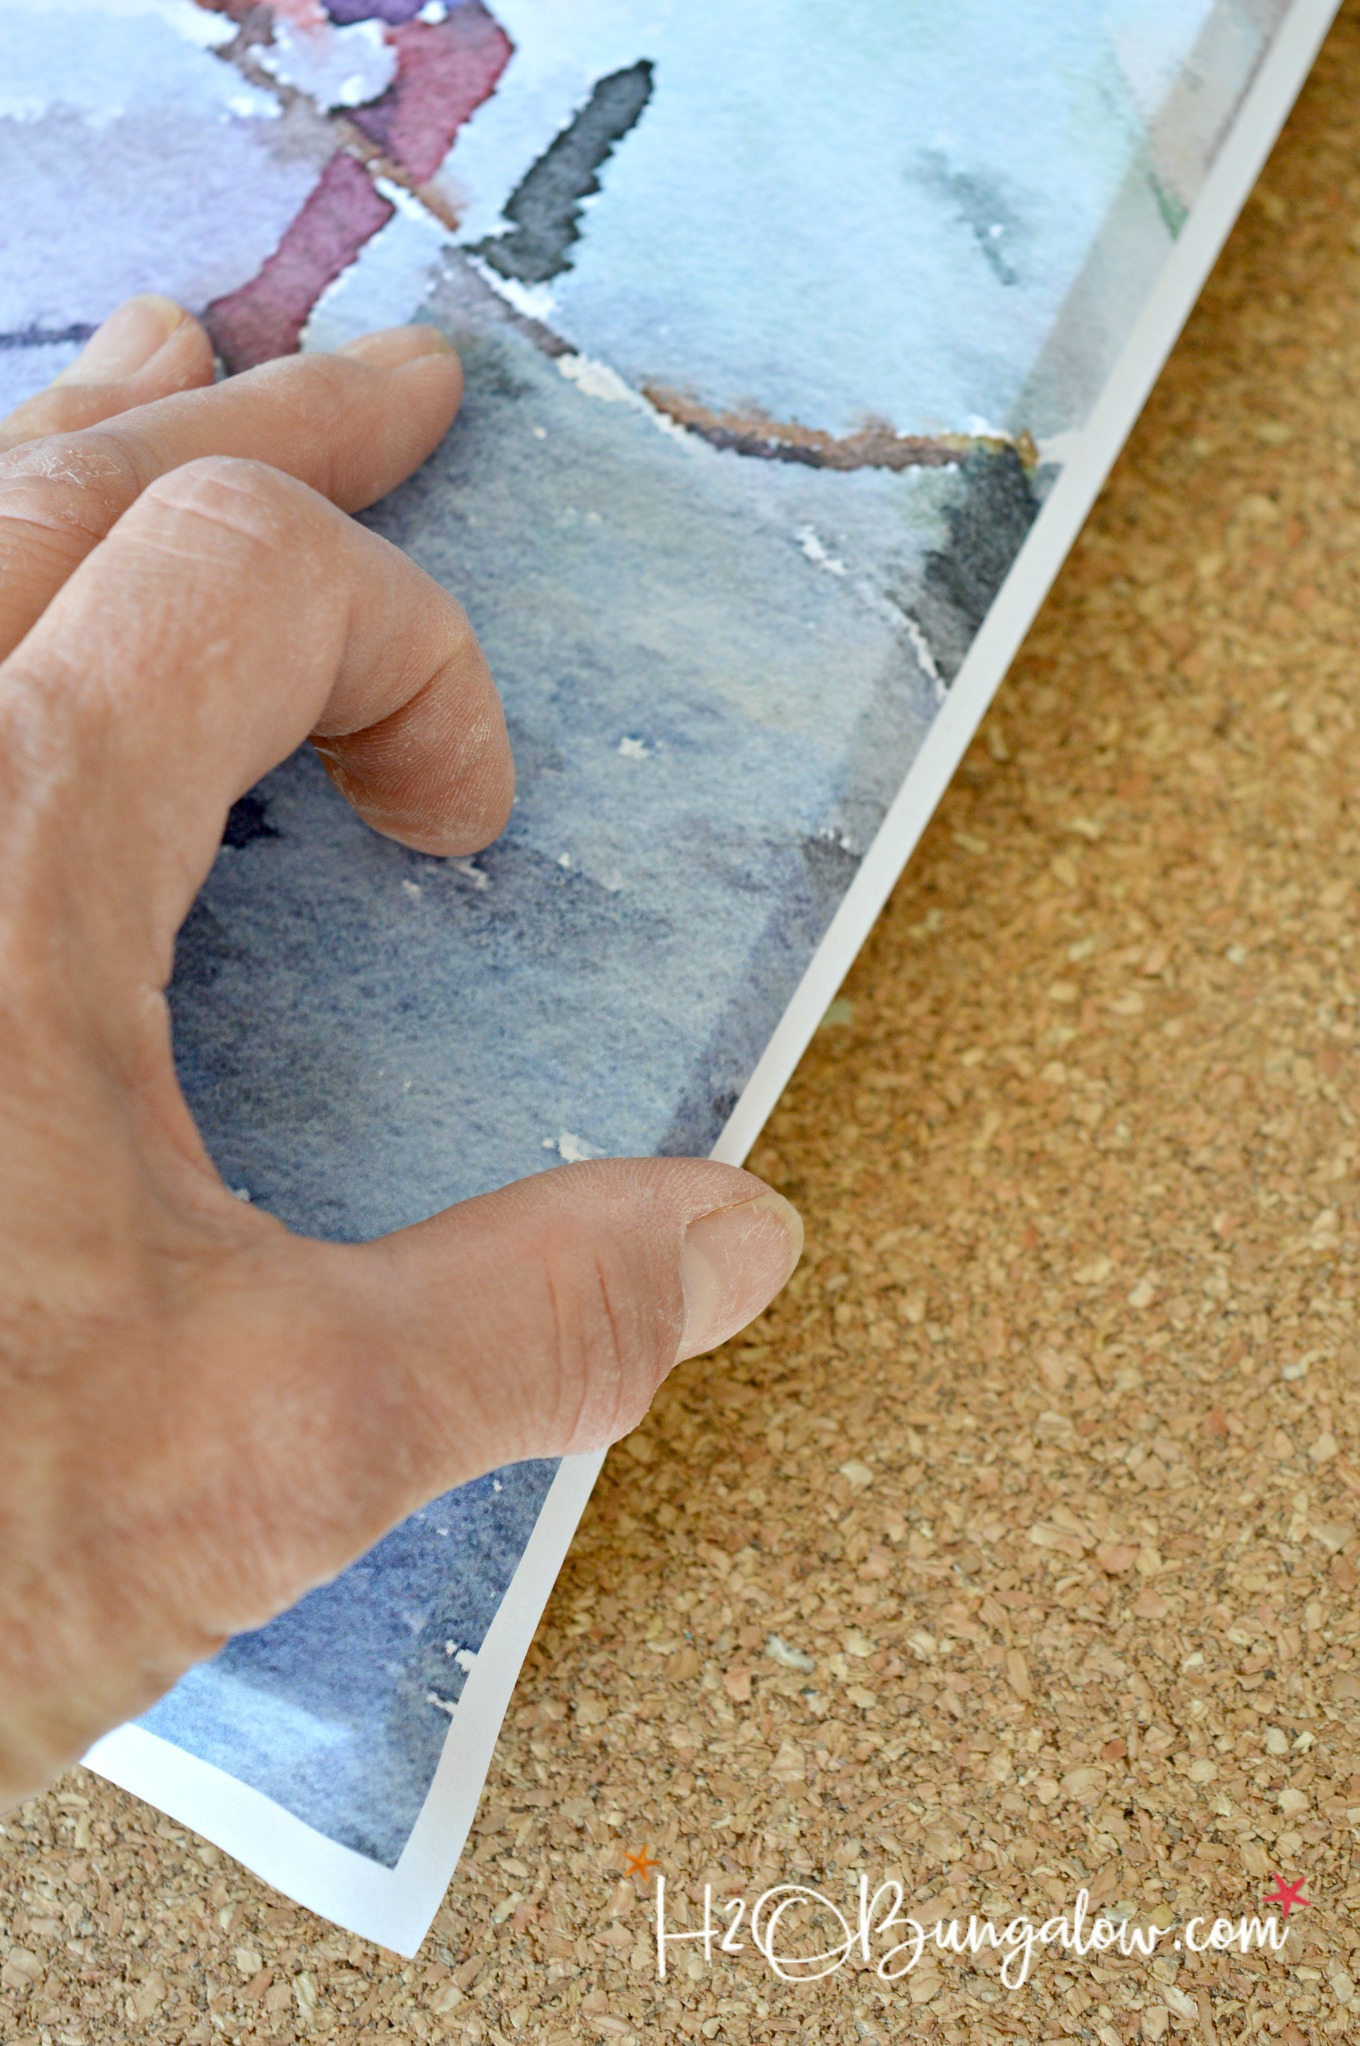
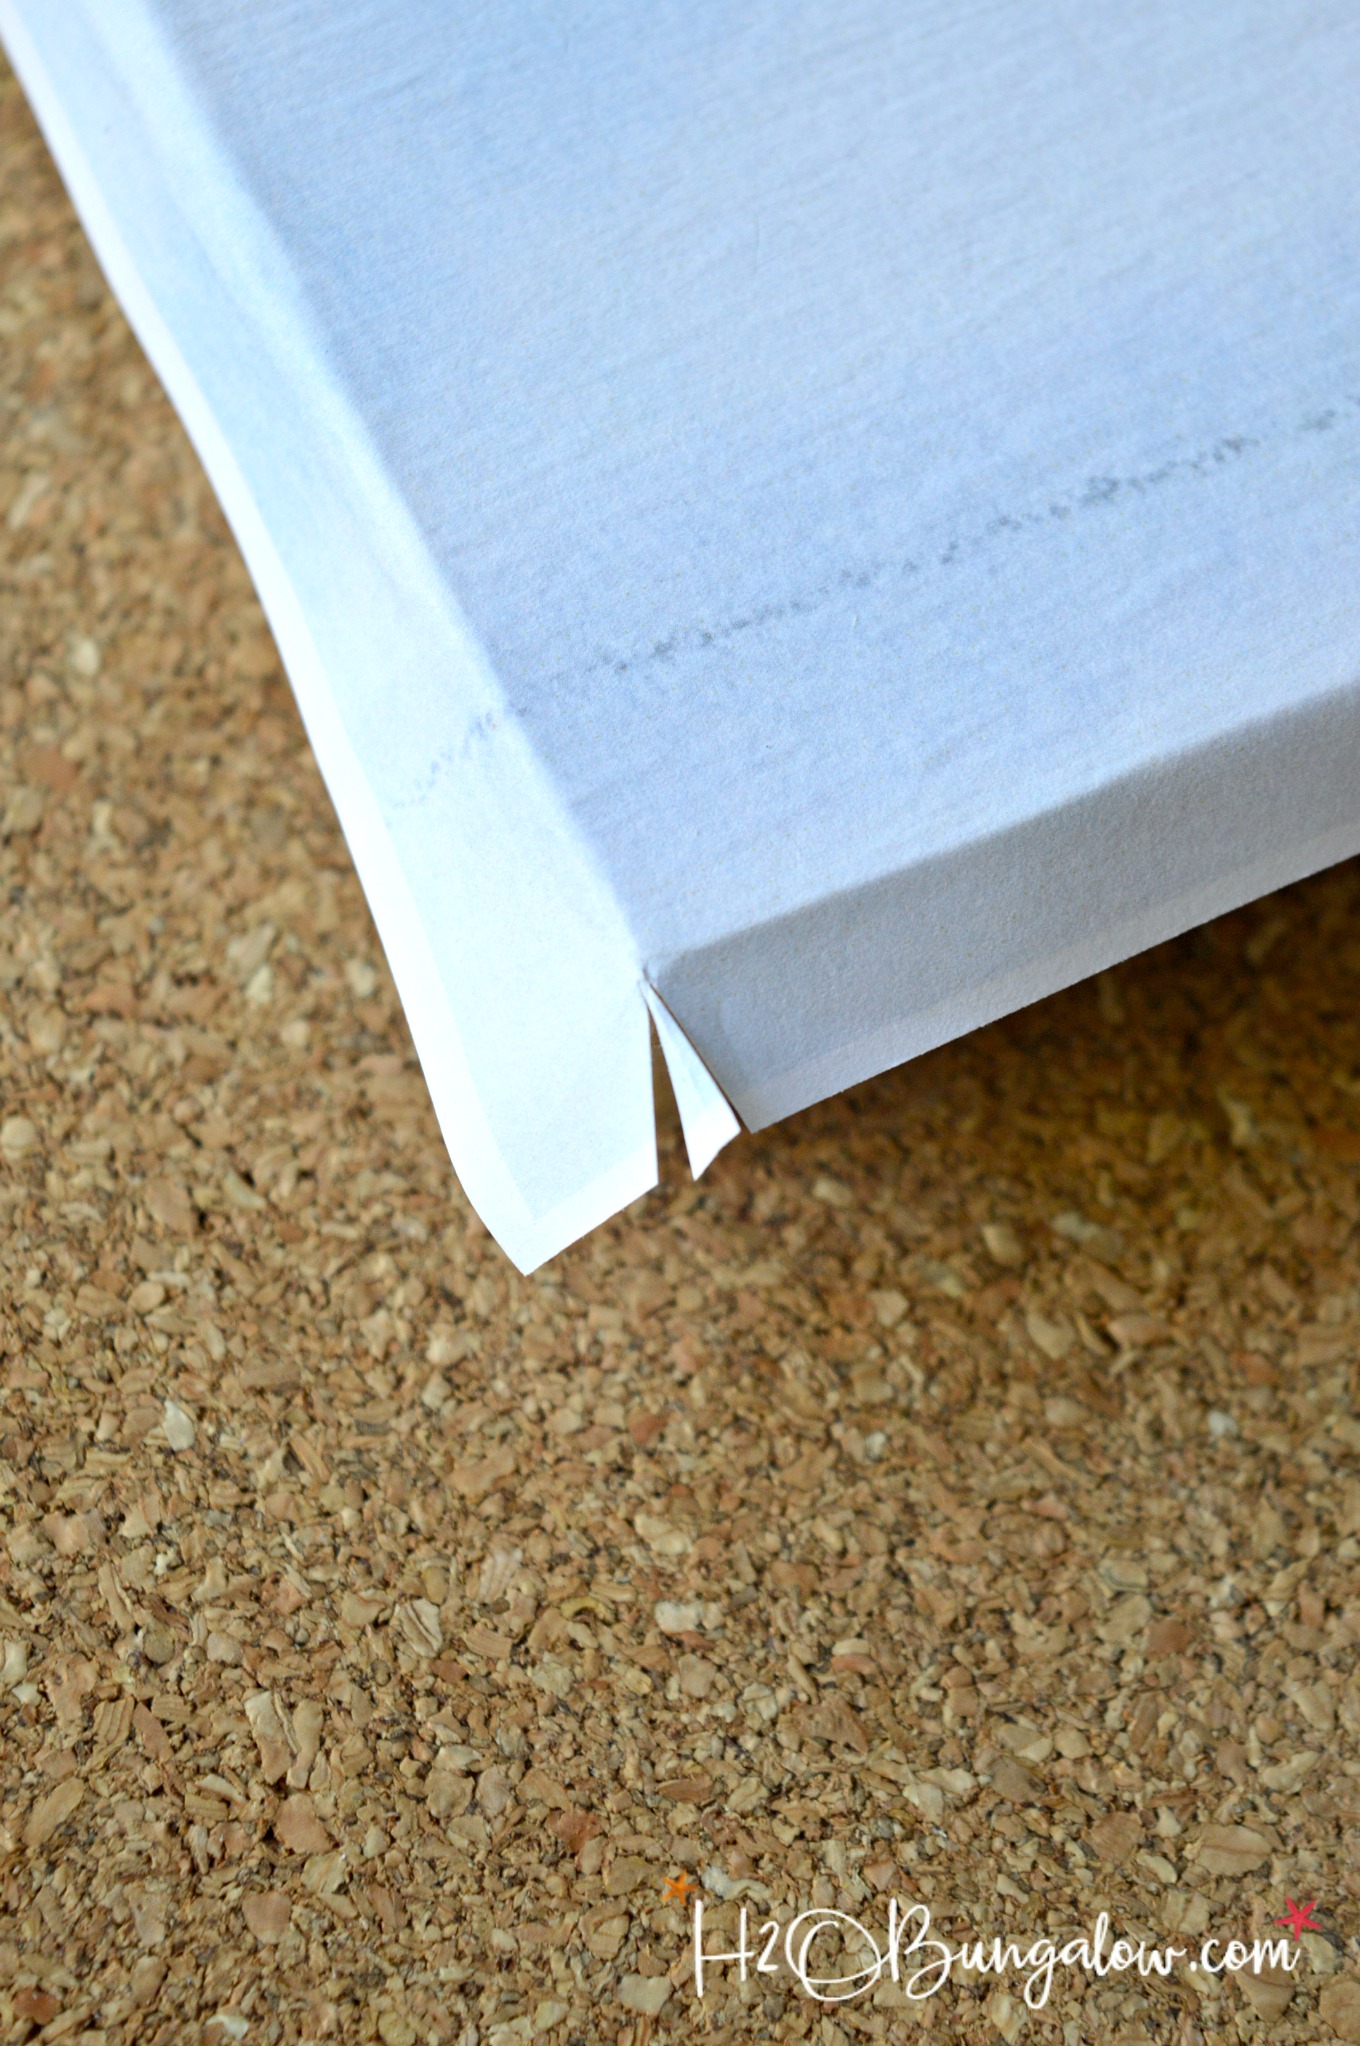
Clip all the edges like the picture below, pull off the little triangle piece. You’ll glue and press the long side down (the one on the right in the picture) and then glue the short side down and the flap will fold over the edge onto the long side neatly making a perfectly smooth corner. Allow to dry for a few hours until set.
Step 6: Create the canvas texture on the photo
Seal the printed photo and create the canvas effect with a coat of Decoupage on top. Use the 4″ foam roller to apply an even coat across the top. The roller will make a rough finish like canvas. Use enough Decoupage that the roller leaves an even and rough surface, it will look milky until it dries. Allow to dry thoroughly. I forgot to take a picture of this step, so sorry!
Step 7: Make frame
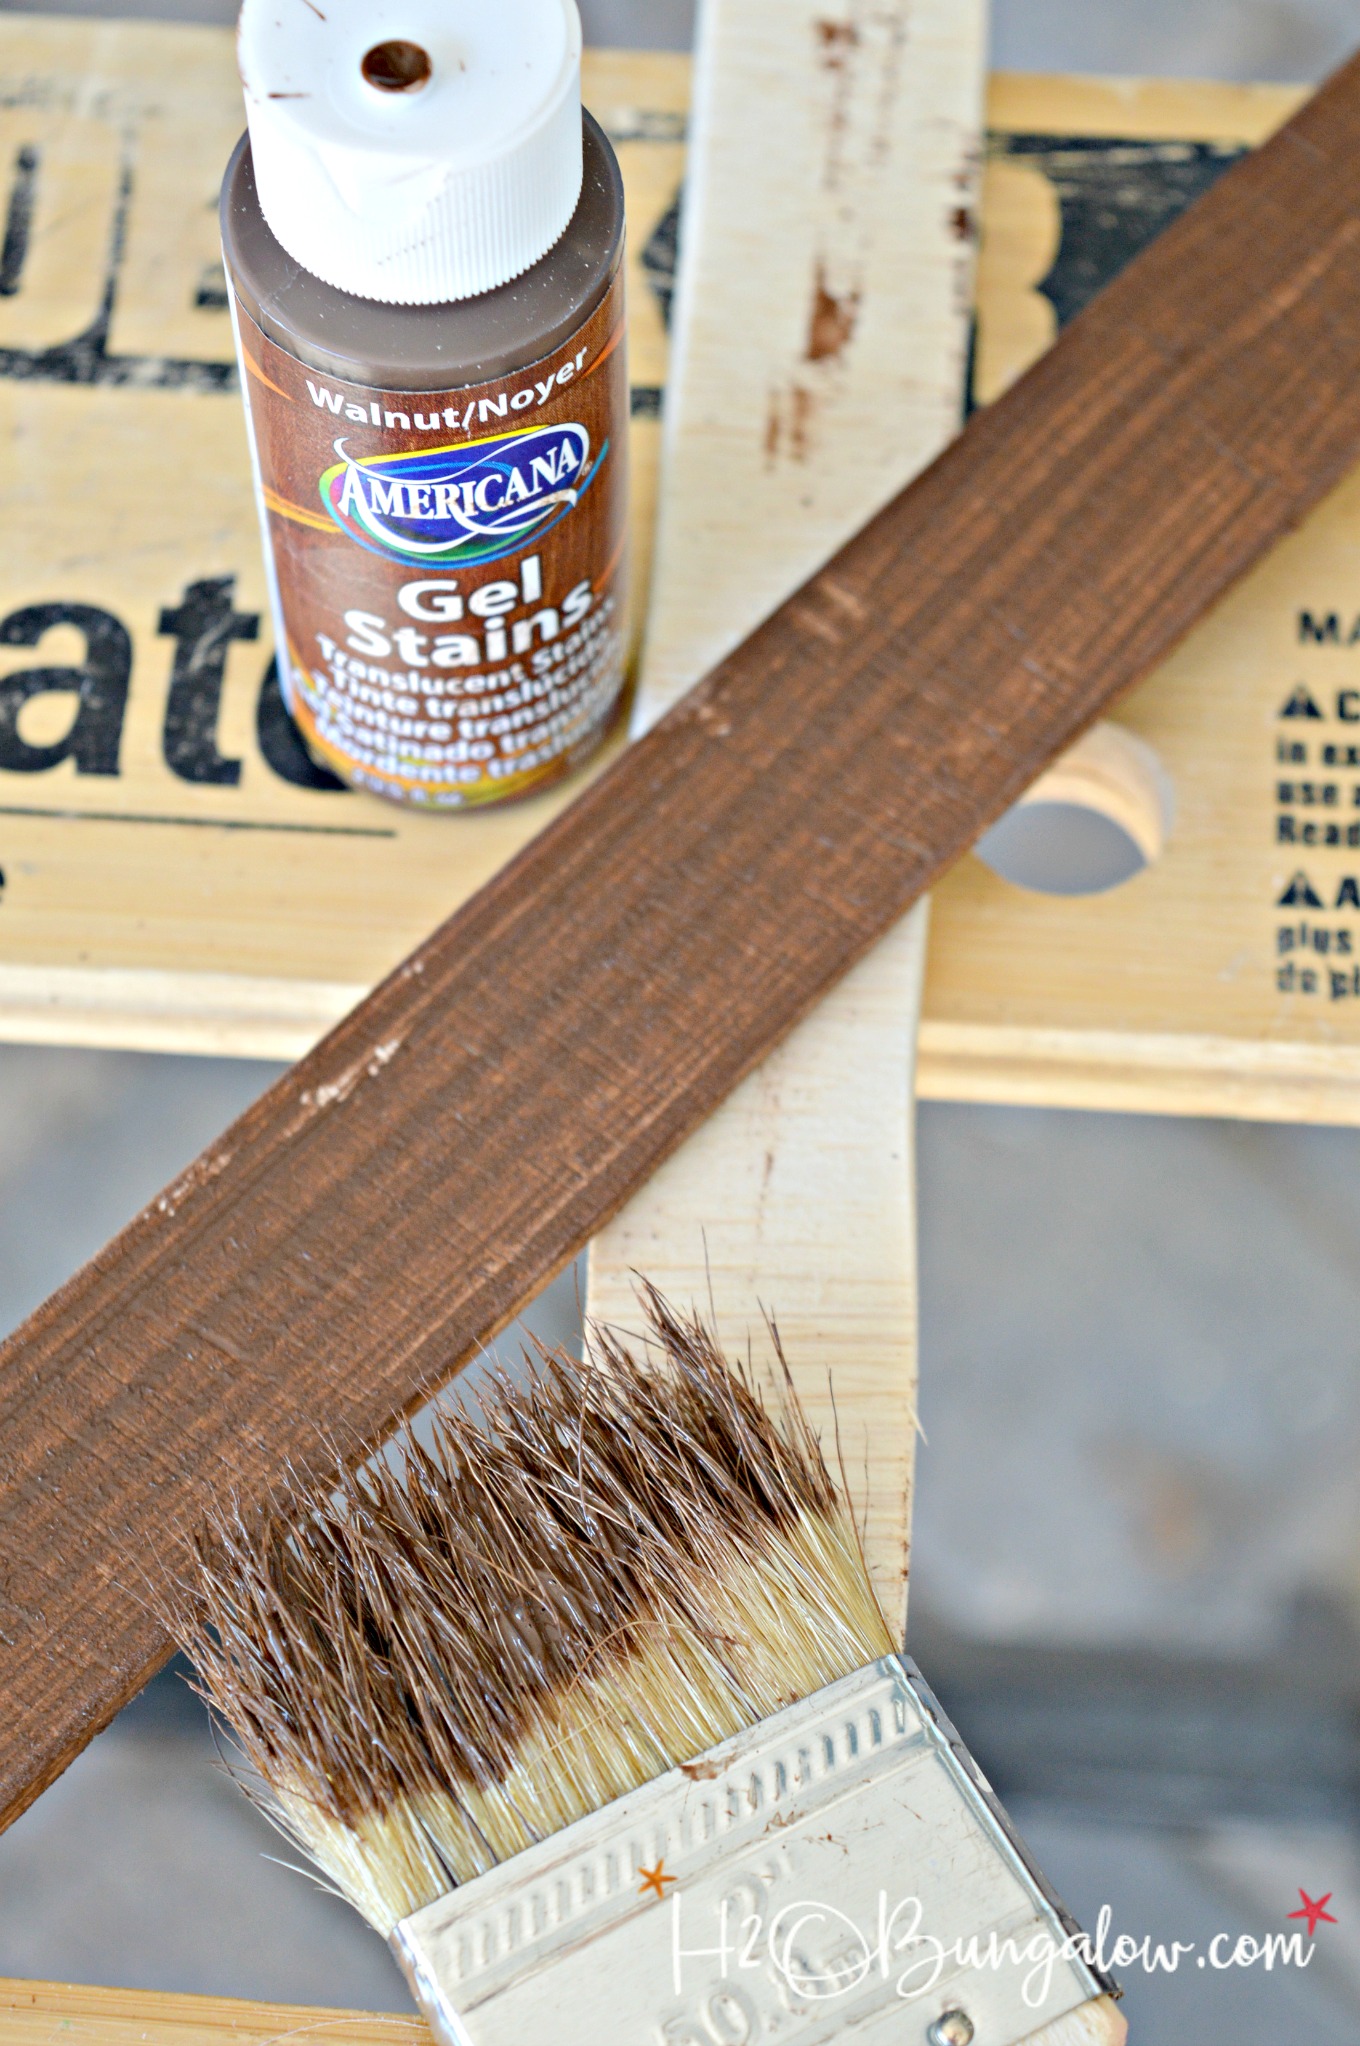
While the glue is drying on your DIY faux photo canvas art, make your frame. I used 1/4″ plywood cut into strips 1/4″ wider than the depth of my board.
Step 8: Glue frame in place
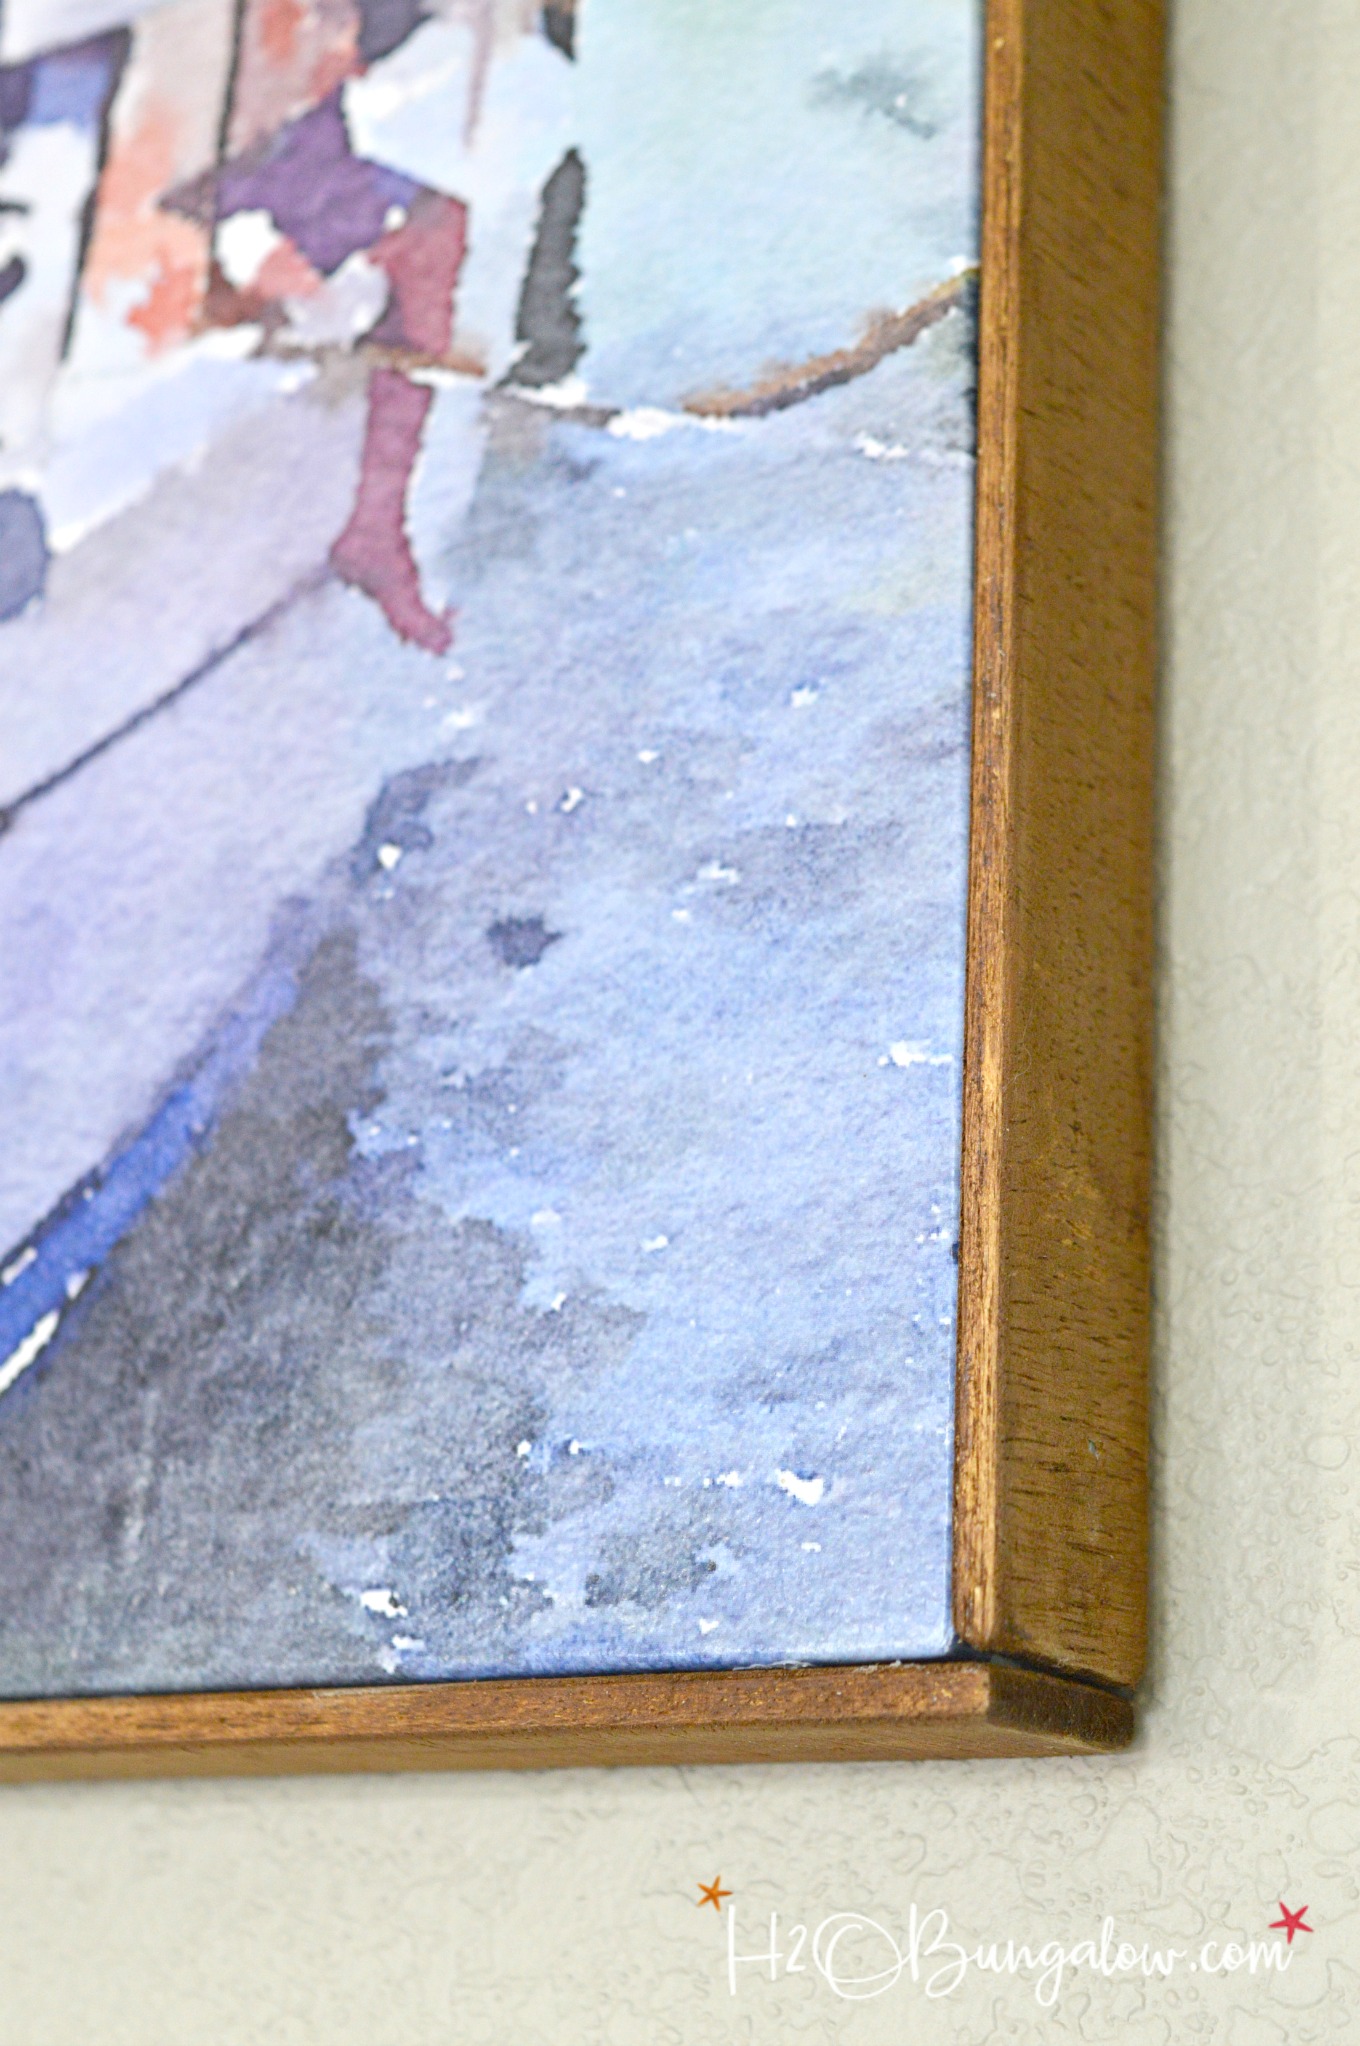
Use a good glue like E6000 or construction adhesive to glue the side frame pieces on. I also added a few brad nails to hod the sides in pace ad make my frame extra sturdy.
Done!
That’s how easy it is t turn your photo into a DIY faux canvas print.
I made my frame because my faux canvas print was an odd size. Of course if you make your faux canvas photo art a standard frame size, you can skip the part about making a frame and just pop your new canvas art art into a ready-made frame too 🙂
I’m sure you guys recognize this print as the one I used on my hanging hidden wall jewelry organizer project from last week. I made both projects from the same print. For those of you who might be wondering if I’m hanging both prints in my bedroom, the answer is no! As much as I love the guy I think two of the same pics in the room is one too many! …If he’s in the room too, sometimes it’s two too many! LOL
Pin this for later!
This one is headed for the North House where you’ll see it soon 🙂
Do you have a favorite photo you’d love to turn into a DIY faux canvas? Share what it is in the comments below and why it’s special!
You’ll find my project linked up to these fabulous parties!
Love a good dose of DIY home decor, home improvement, the challenge of woodworking and creative ways to make your home look fabulous?
I’d love to share mine with you. Click here to sign up for my post emails and I’ll send a quick note when I have a new project.

Joanna says
I have that app and love to play around with photos. But, I never thought of turning one into a picture. I have a wonderful picture of our boat seen through the branches of a spring budding cherry blossom. It would be a perfect gift for Father’s Day. Such easy, personalized art! Thank you for the tutorial.
Wendi says
Hi Joanna.. Exactly! I didn’t think of using it either and have had it for 2 years. It does make a beautiful and thoughtful personalized gift. My husband loved it when I made this. Enjoy the tutorial!
Zenda says
Wow! Great idea! Thanks for the tutorial.
Wendi says
Hi Zenda and thank you! It’s such an easy DIy project and using a personal photo makes it so much more special. Enjoy!
Kristyn says
This is so cool, I love this idea! I can’t wait to try this, thanks for the inspiration!
Wendi says
Hi Kristyn and thank you so very much! It’s one of the easiest DIYs ever and the results are crazy good! Thanks so much for your note and visit!
Erlene says
This looks wonderful! My daughter is into water coloring, so maybe I can mount one of her pictures like this. Thanks for sharing on Merry Monday.
Wendi says
Hi Erlene, and thank you:) I loved how it turned out too, it was a good twist on a photograph. Thanks so much for hosting your party too!
Sherry says
I have to try this! I love how it turned out. Thanks for sharing at Funtastic Friday.
Wendi says
Hi Sherry and thank you! It’s a cool piece of art and a fun was to use a favorite photo too:)
Dione | twopluscute says
Love this! Love the watercolor trick, how frugal it is, how personal (and really is hang it in my home too).
Easy diy with quite an impact- looks fantastic!
Wendi says
Hi there TPC! So glad you like the project! I could do this with so many photos we have. I’d bet you have some super pics of Cute you could use for this too. Heck, I think it would be pretty with out the app and just do a mounted photo:) Thanks so much for stopping by. Hope all is well with you!
Marie from The Interior Frugalista says
This is a great idea, Wendi! I started a collage of decoupaged photo canvas’ for my daughter but I’m loving your idea of using the Waterlog App on the photo as well as adding a wood trim around the canvas. Pinning this and showing my daughter.
Wendi says
Hi Marie and thank you! I totally want to do more of these. It’s so easy, especially if you mount it on a canvas. I made my wood canvas to fit the big picture size I printed, and out of laziness because I didn’t want to drive to the store! I’d love to see what you do with this idea!