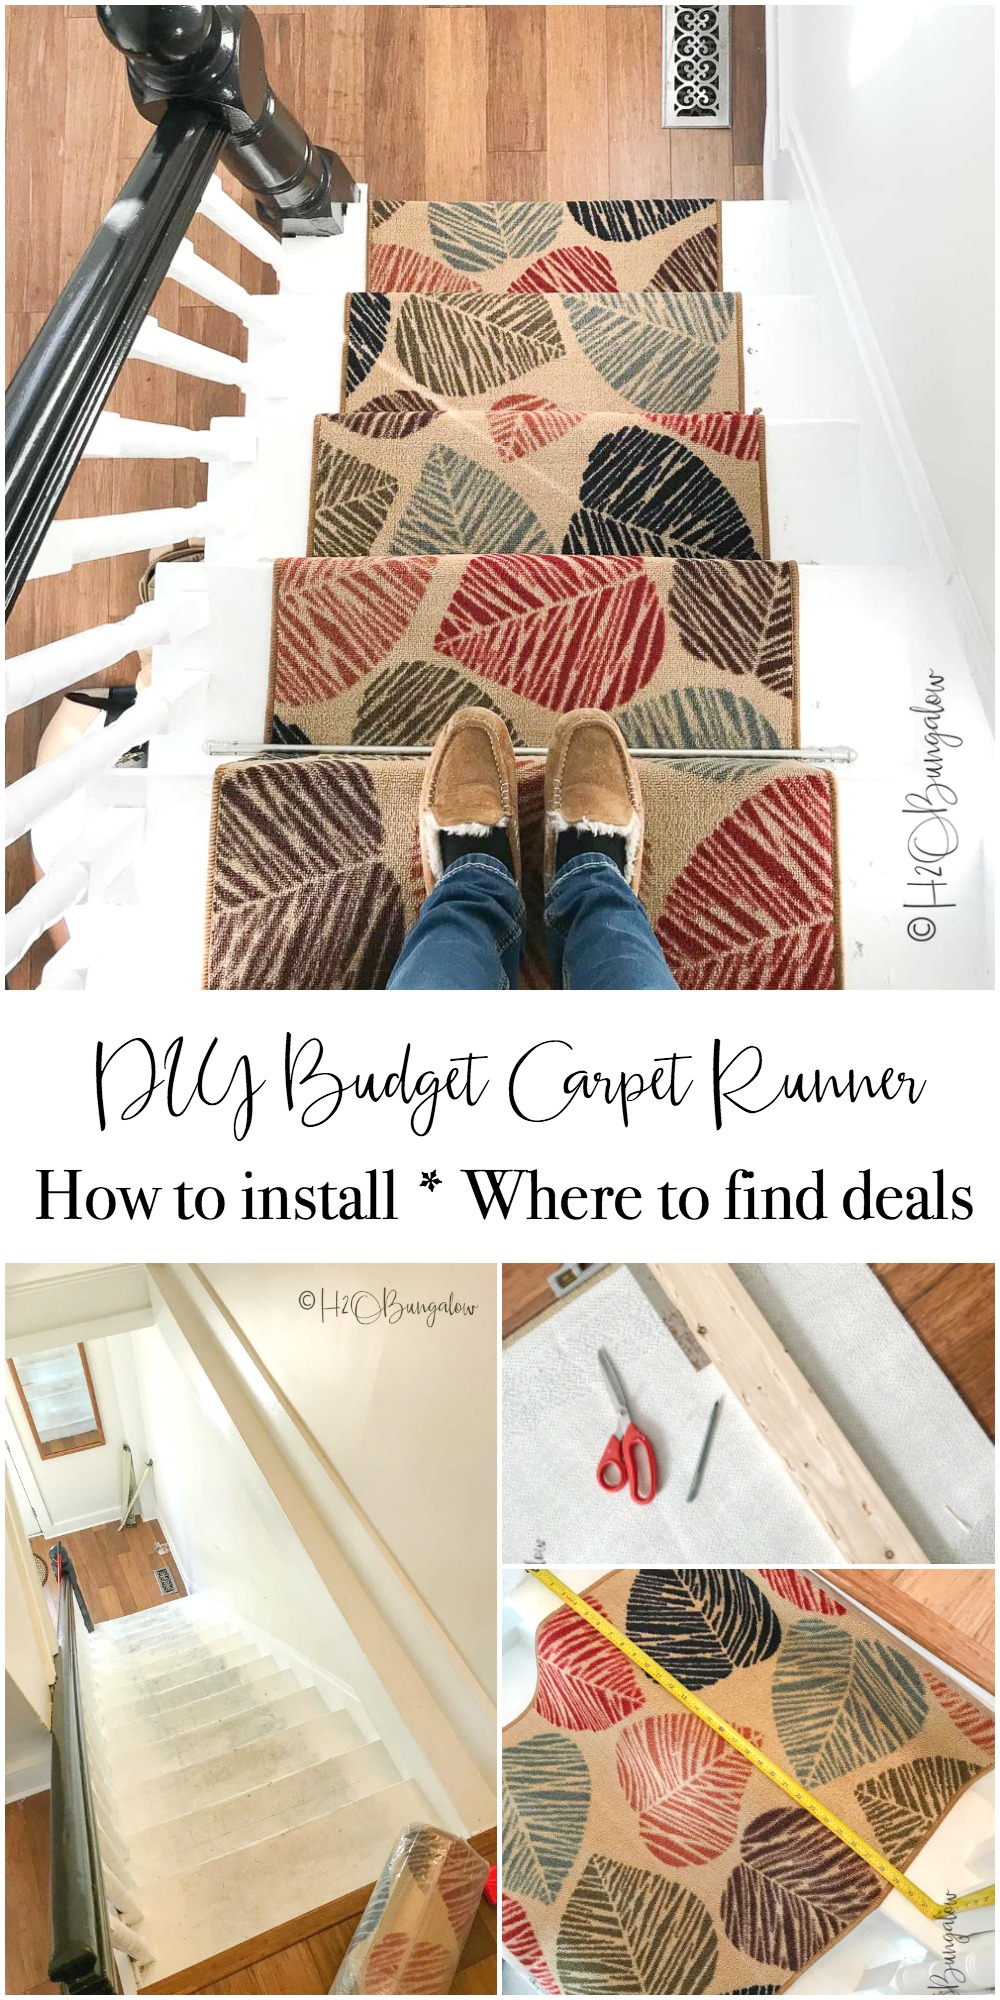
Hi friends! Today I’m going to show you how to install carpet runner on stairs. Installing a carpet runner on wood stairs is an easy and budget friendly project. This can be a quick few hour project if you don’t need much preparation work. My old staircase hadn’t been touched for years so I needed to do a bit a work before I could install my budget carpet runner. I’ll share how to tackle these steps below as well as how to add carpet rods to stair steps to dress them up if you want a snazzier look.
How to Install Carpet Runner on Stairs
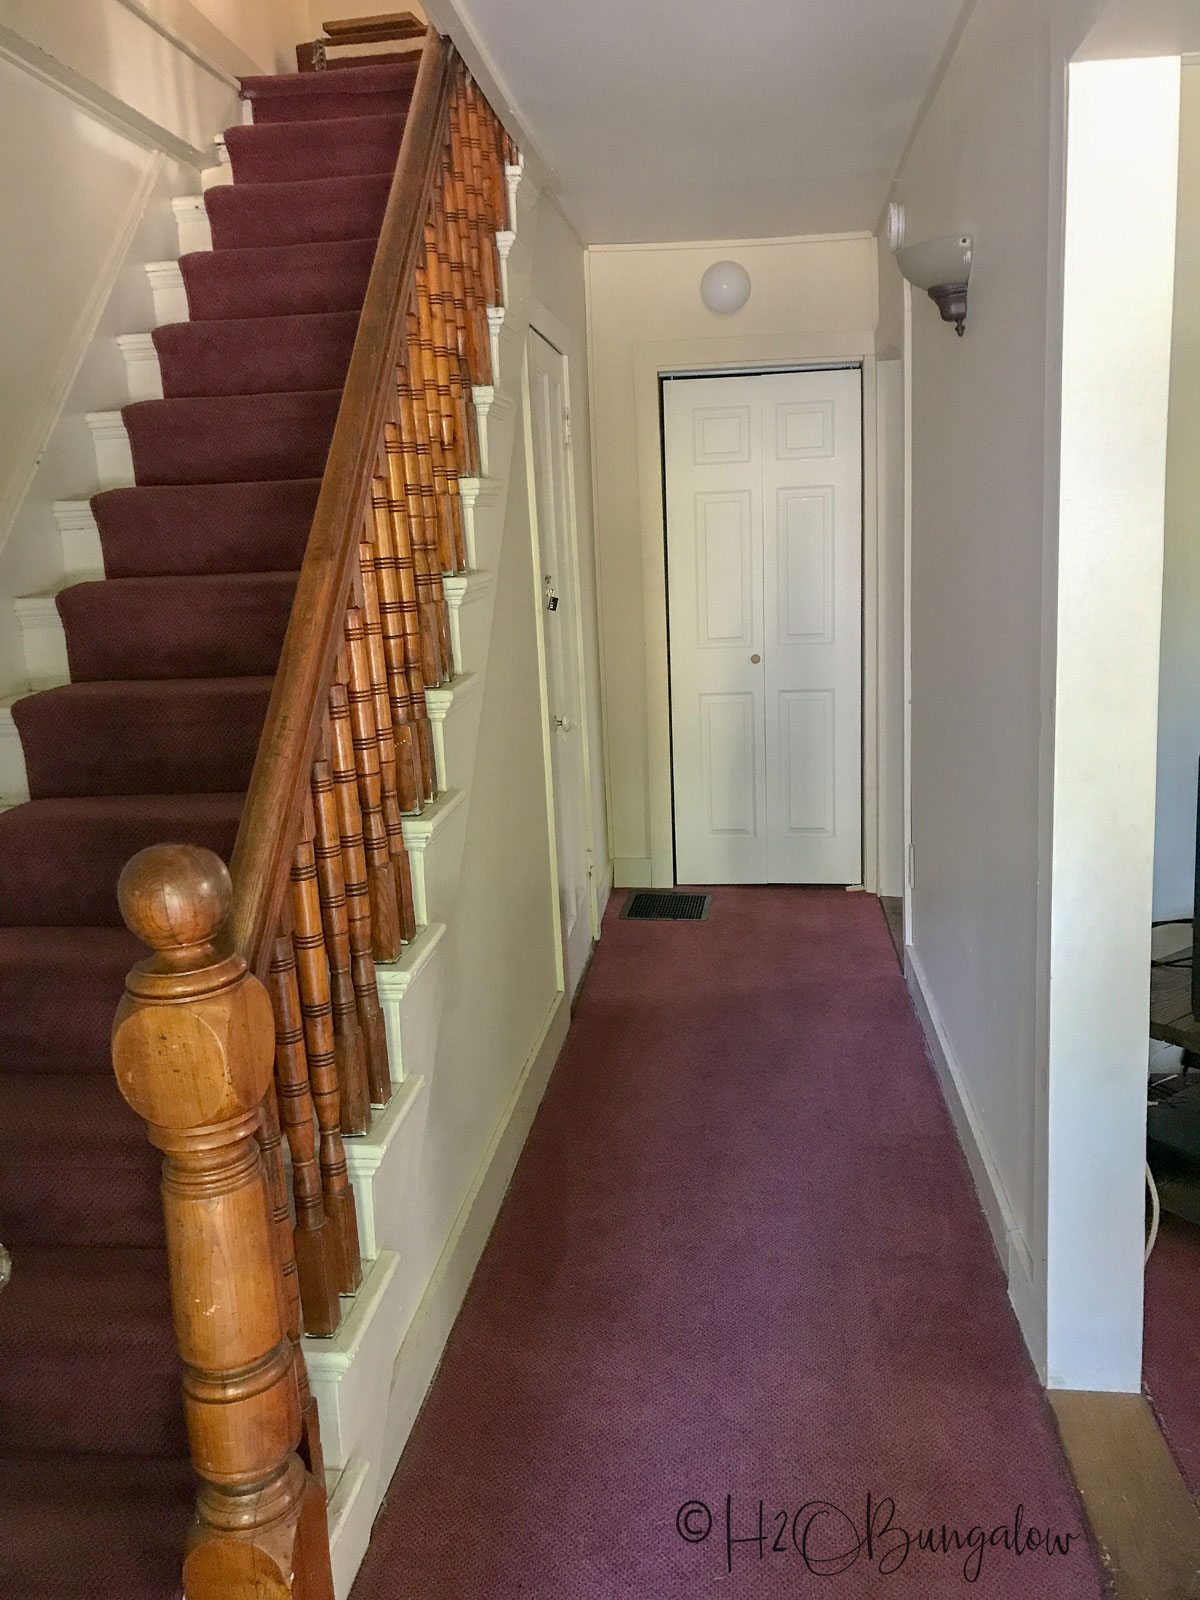
This picture brings back lots of many memories of what this unit in the North House Lodge originally looked like when we first closed on it! For those of you who don’t know me, The North House Lodge is my DIY blogger project house and a vacation rental property in Ludlow, Vermont.
I was told this carpet had been in use since the early 80’s and it was high time for it to be gone!
I use affiliate links to help you find the supplies I used. You can read my full disclosure policy here.
Supplies needed to install carpet runner on stairs
- Carpet runner
- Pneumatic staple gun – these can be rented by the day
- Hammer
- Nippers
- Pry bar
- Tape measure – this self centering one is perfect for this job!
- Combination square
- Dust mask
- Scissors
- Stick on carpet edge binding found at Home Depot by the carpet runner or try this product.
- Paint
- TSP or Simple Green Cleaner
- Bin Sealer primer
How to prepare a staircase for a carpet runner
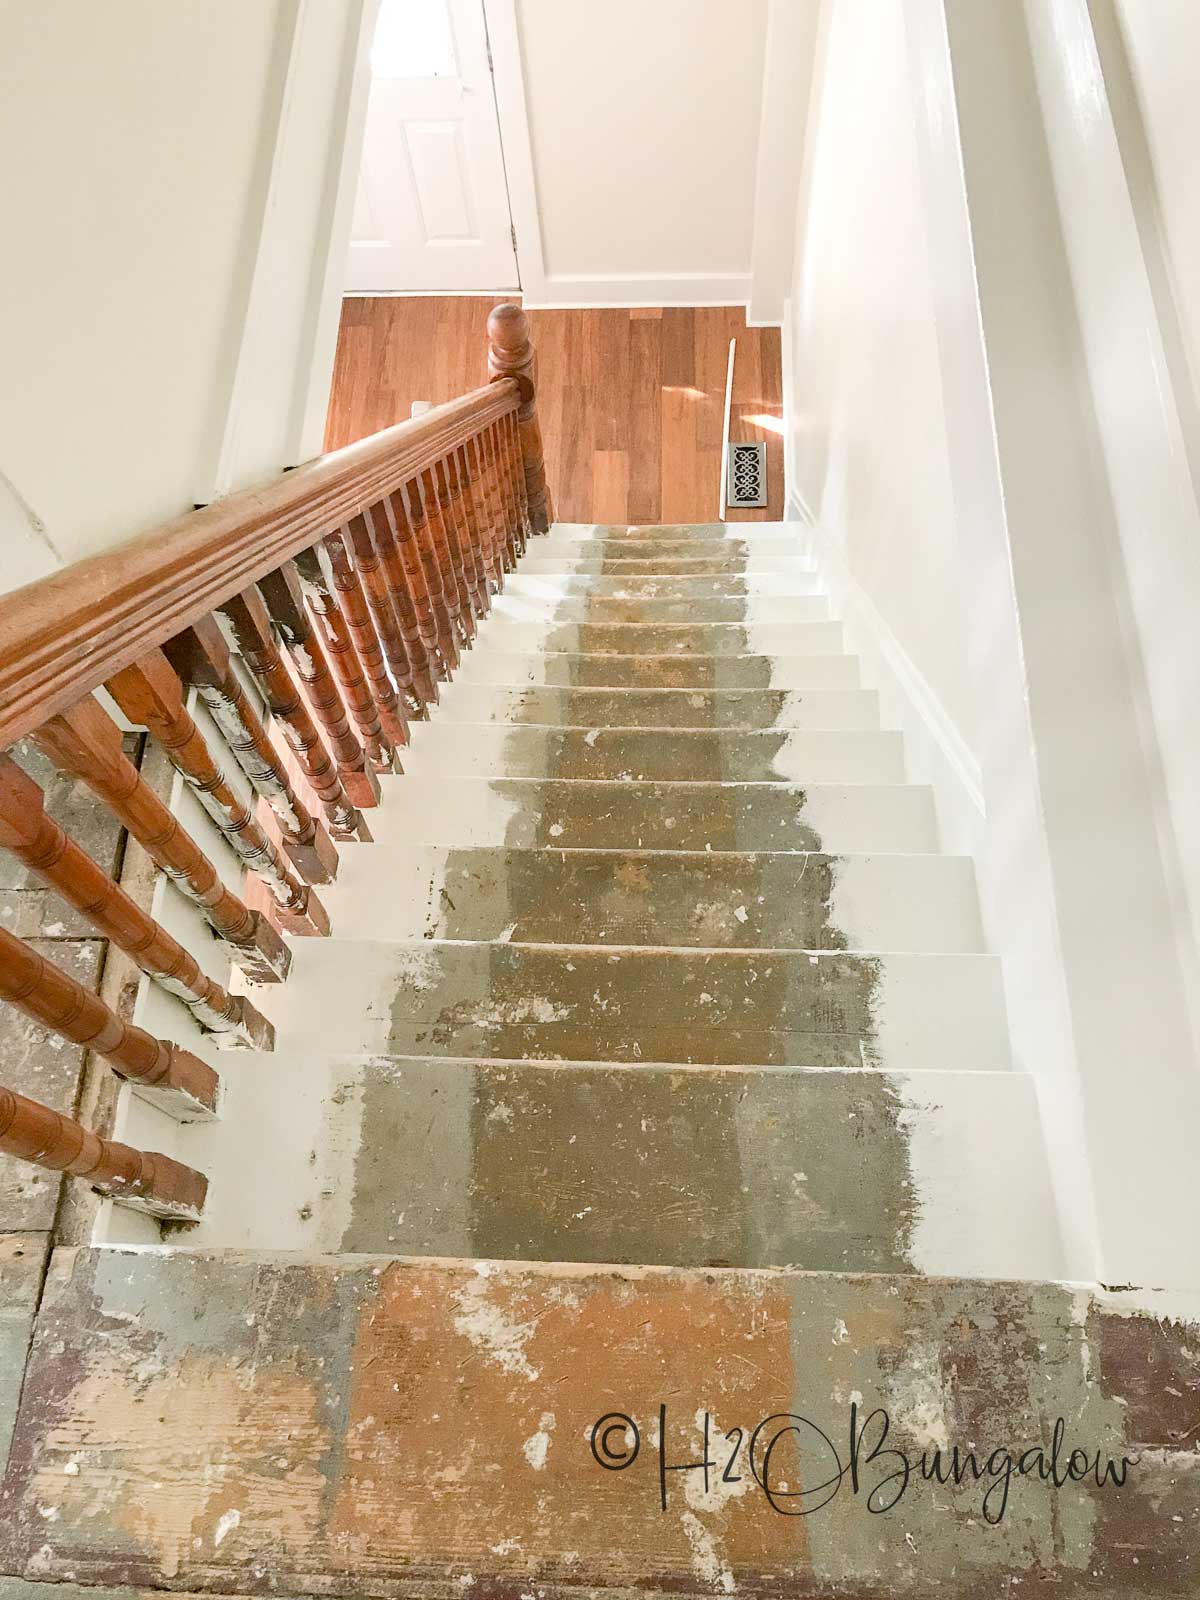
The first thing you’ll need to do is get rid of the old carpet. It may be dirty and dusty when you rip it out, so wear a dust mask if needed. Remove all the old nails or staples in the stair treads and risers. Use the nippers and pry bar where needed.
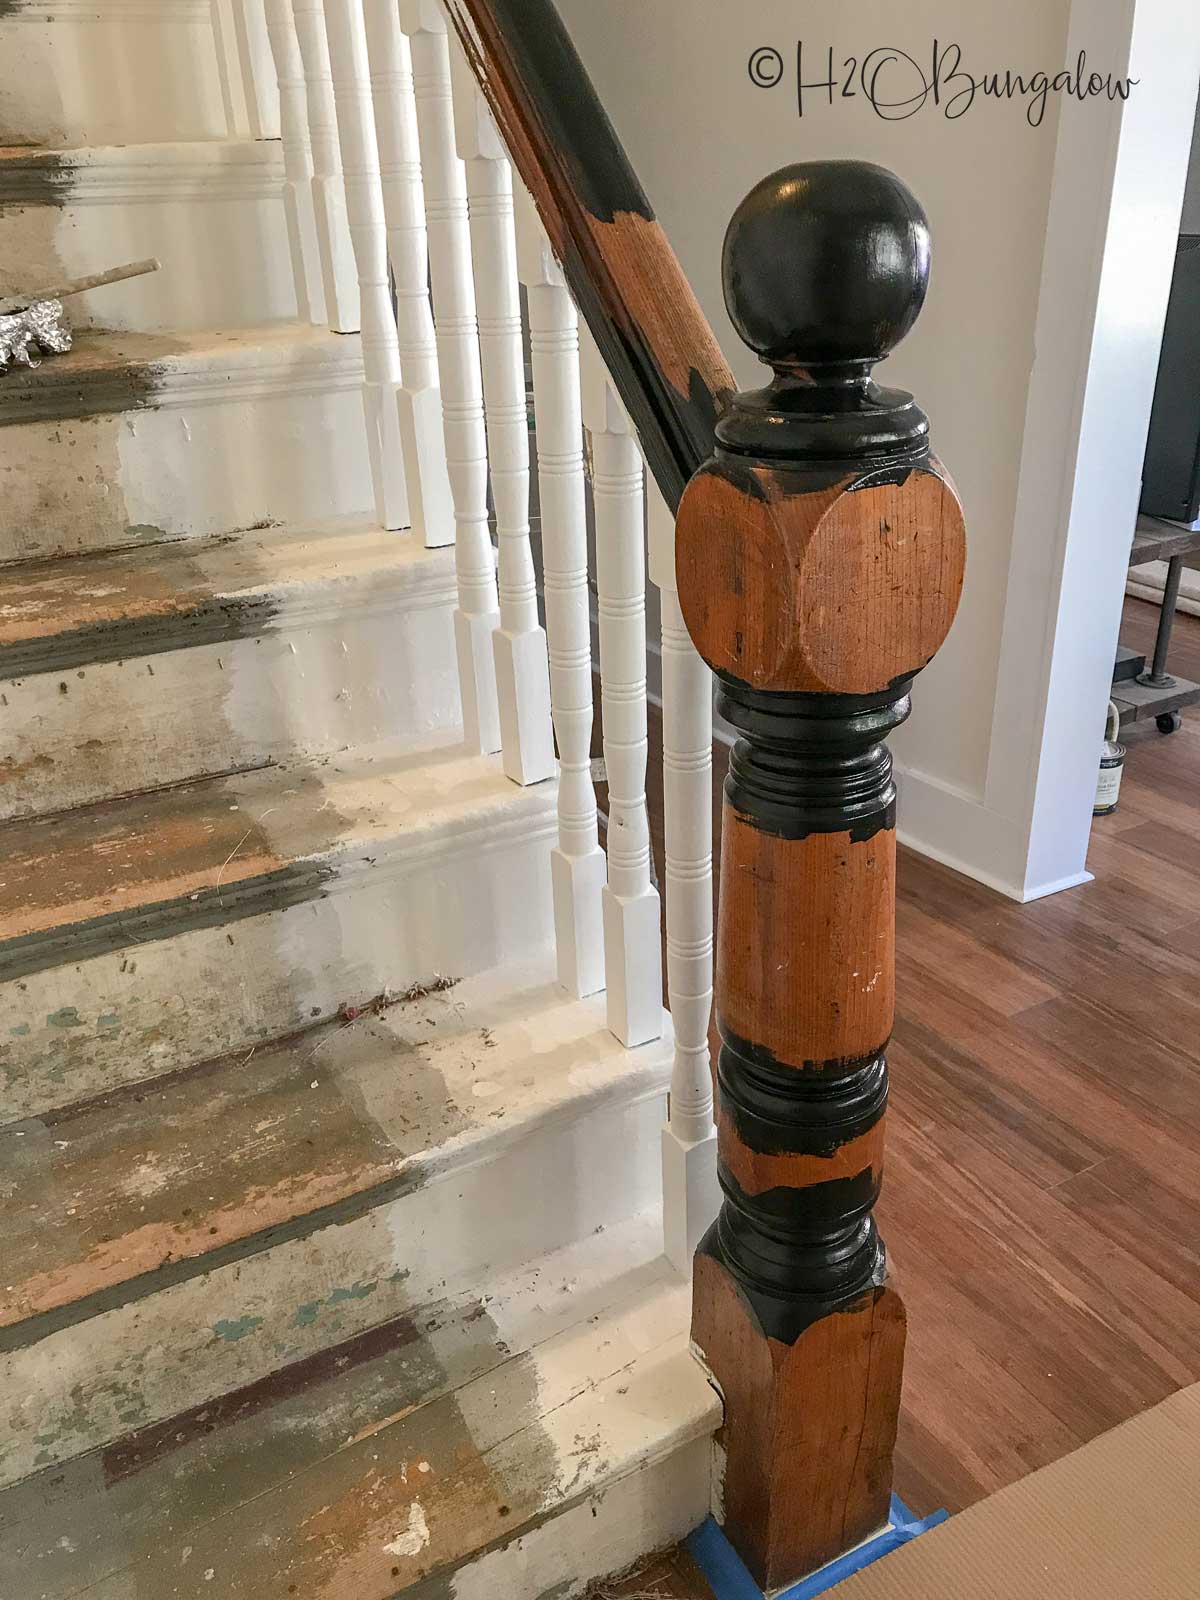
This house was built in 1835 so these stairs have had some use over the years!
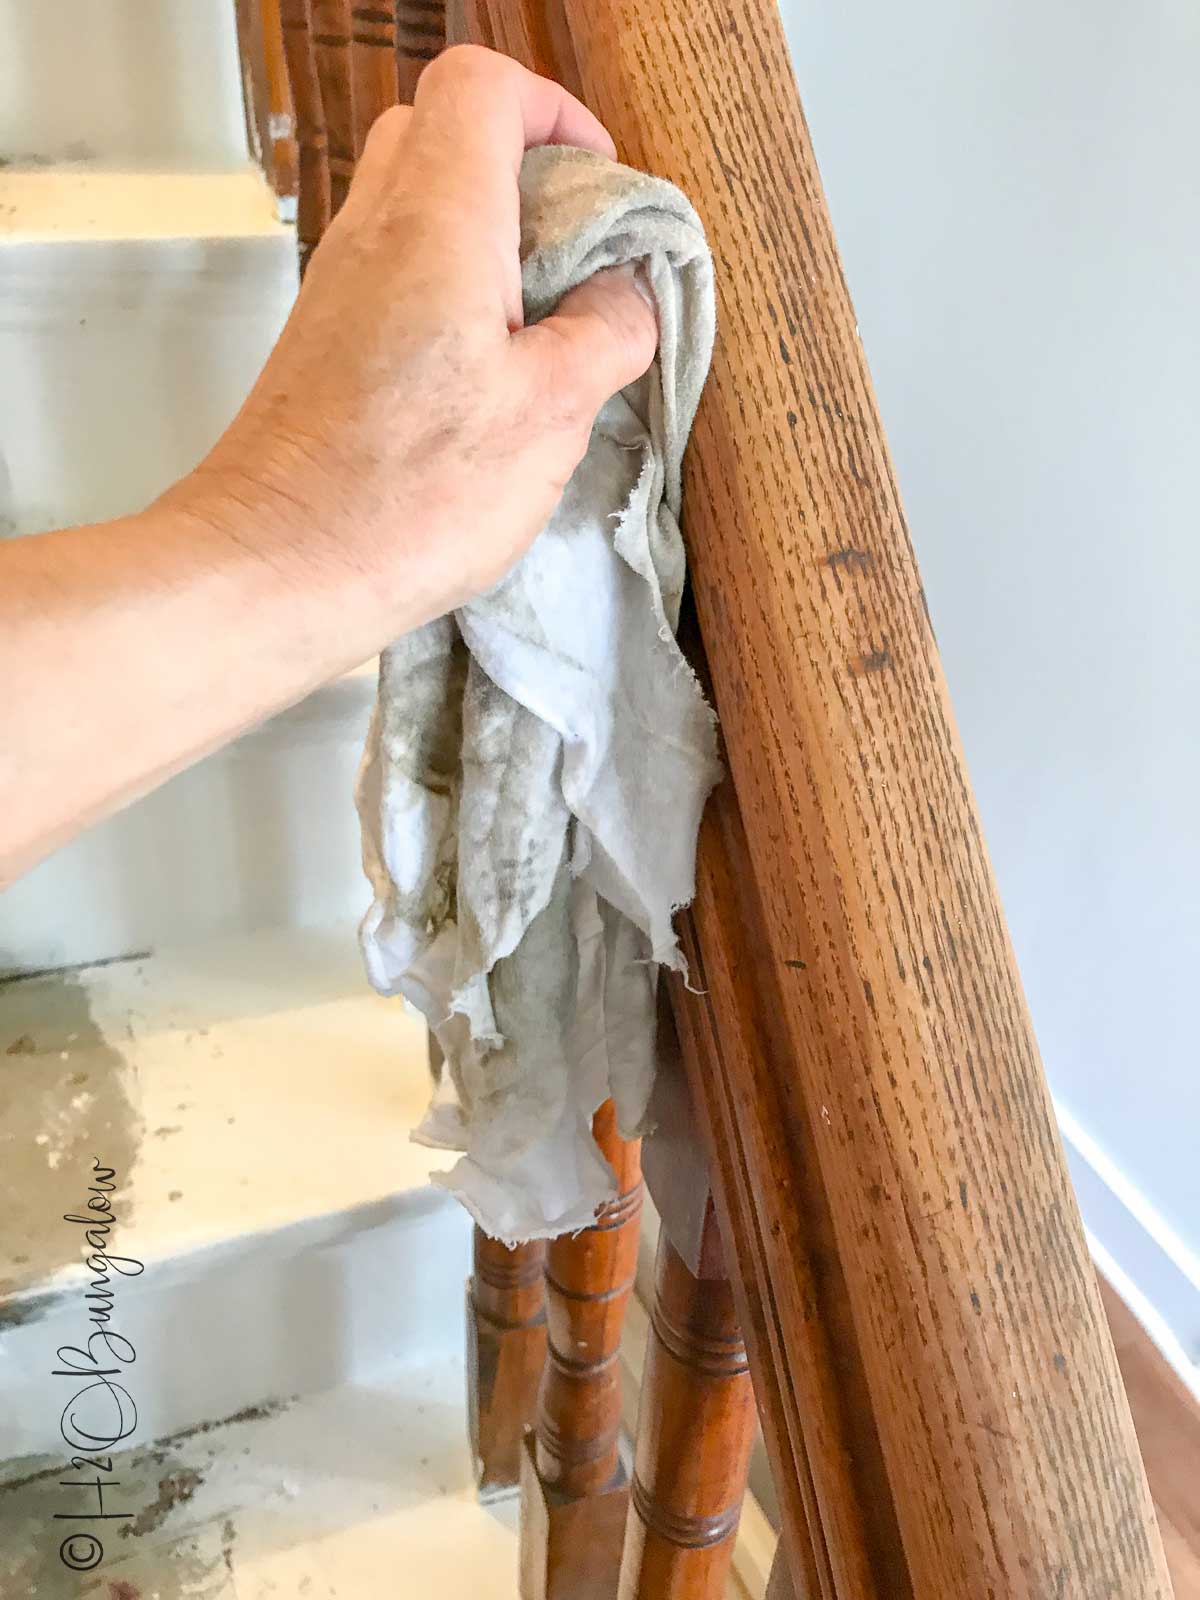
Wipe down everything that will receive a fresh coat of paint with TSP or Simple Green cleaner. Be sure to be extra thorough on handrails and places that have probably accumulated years worth of build-up. If you don’t get these areas well, your paint may not stick well and could flake or peel off.
Don’t be lazy like I was.
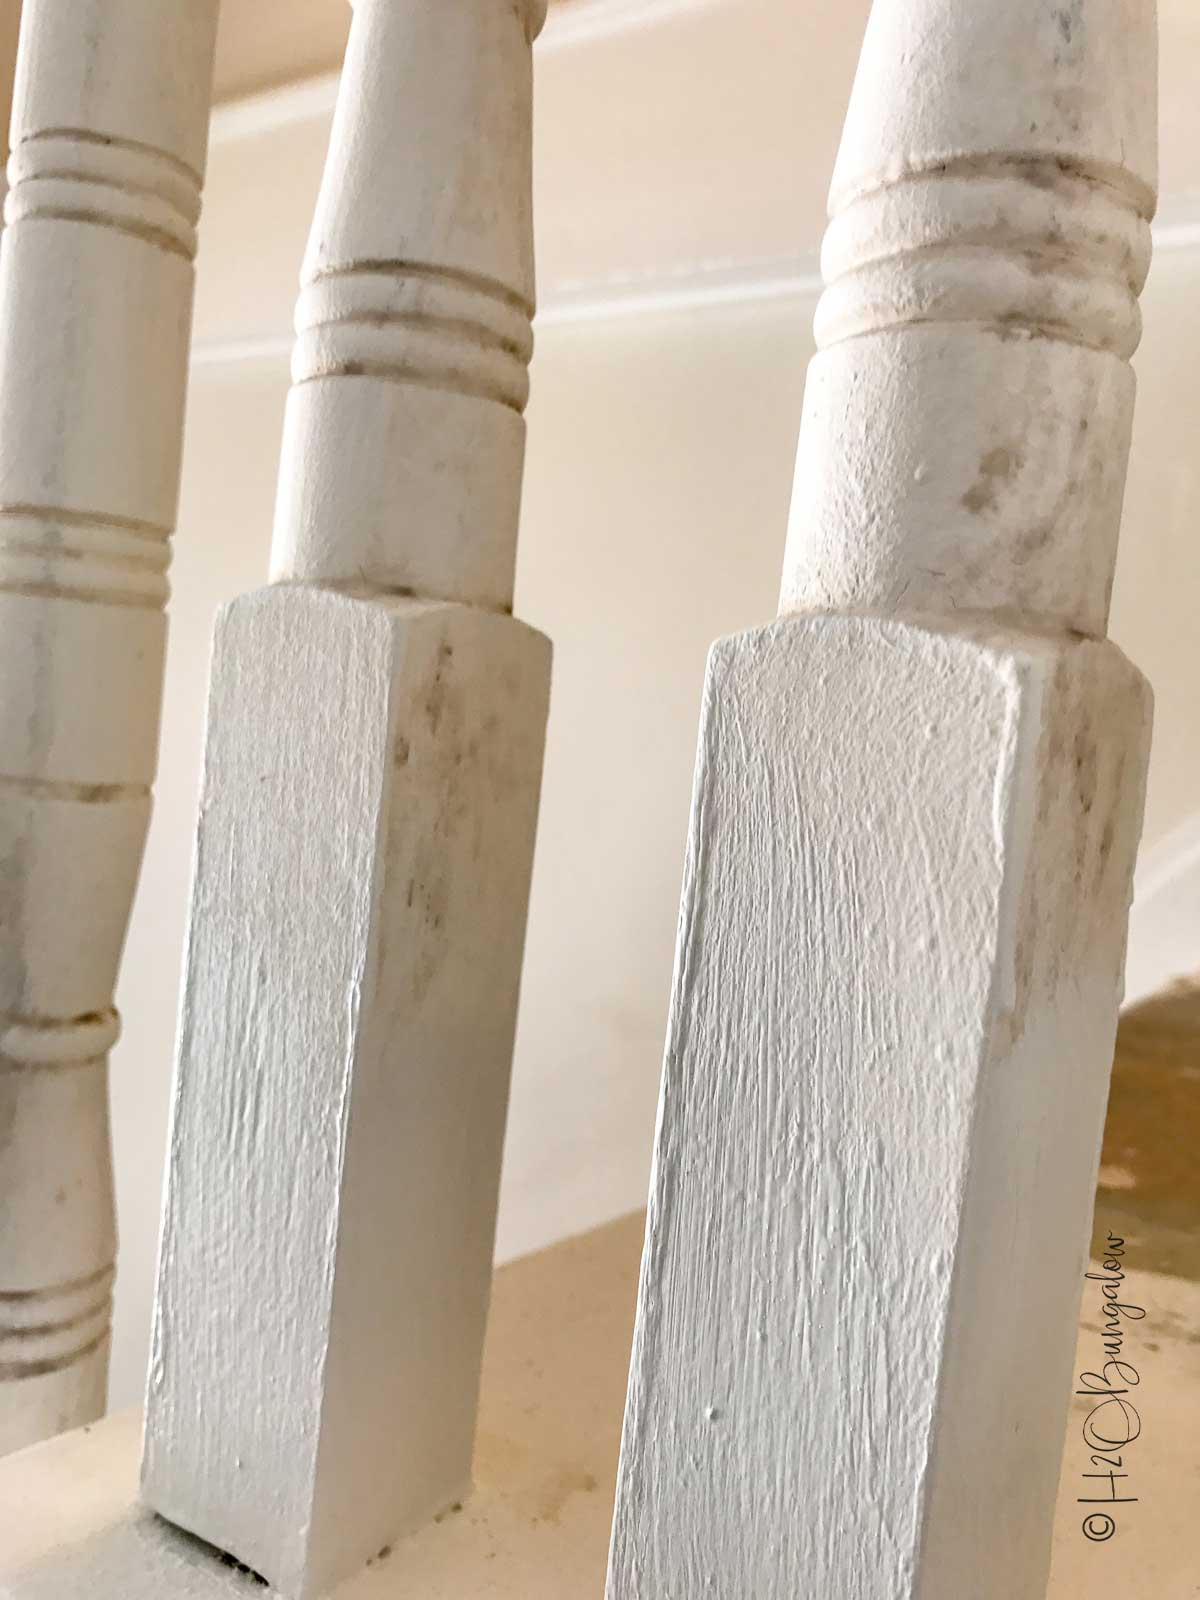
I knew better but for some reason thought it wouldn’t be an issue. When painting over shellacked wood, always use a primer! My favorite is Bin Sealer primer. I used it on the vintage chimney bricks on the German Schmear tutorial when that had bled through too.
You’d think I would have learned my lesson! Clearly, I didn’t save myself any time since I had to go back and prime all of those spindles anyway! Yes, paint over shellac will almost always bleed through.
I painted my handrail in high gloss black. I love the look and it will hold up well to high traffic.
My staircase is almost ready for me to install my carpet runner!
How to choose the right carpet runner for your staircase
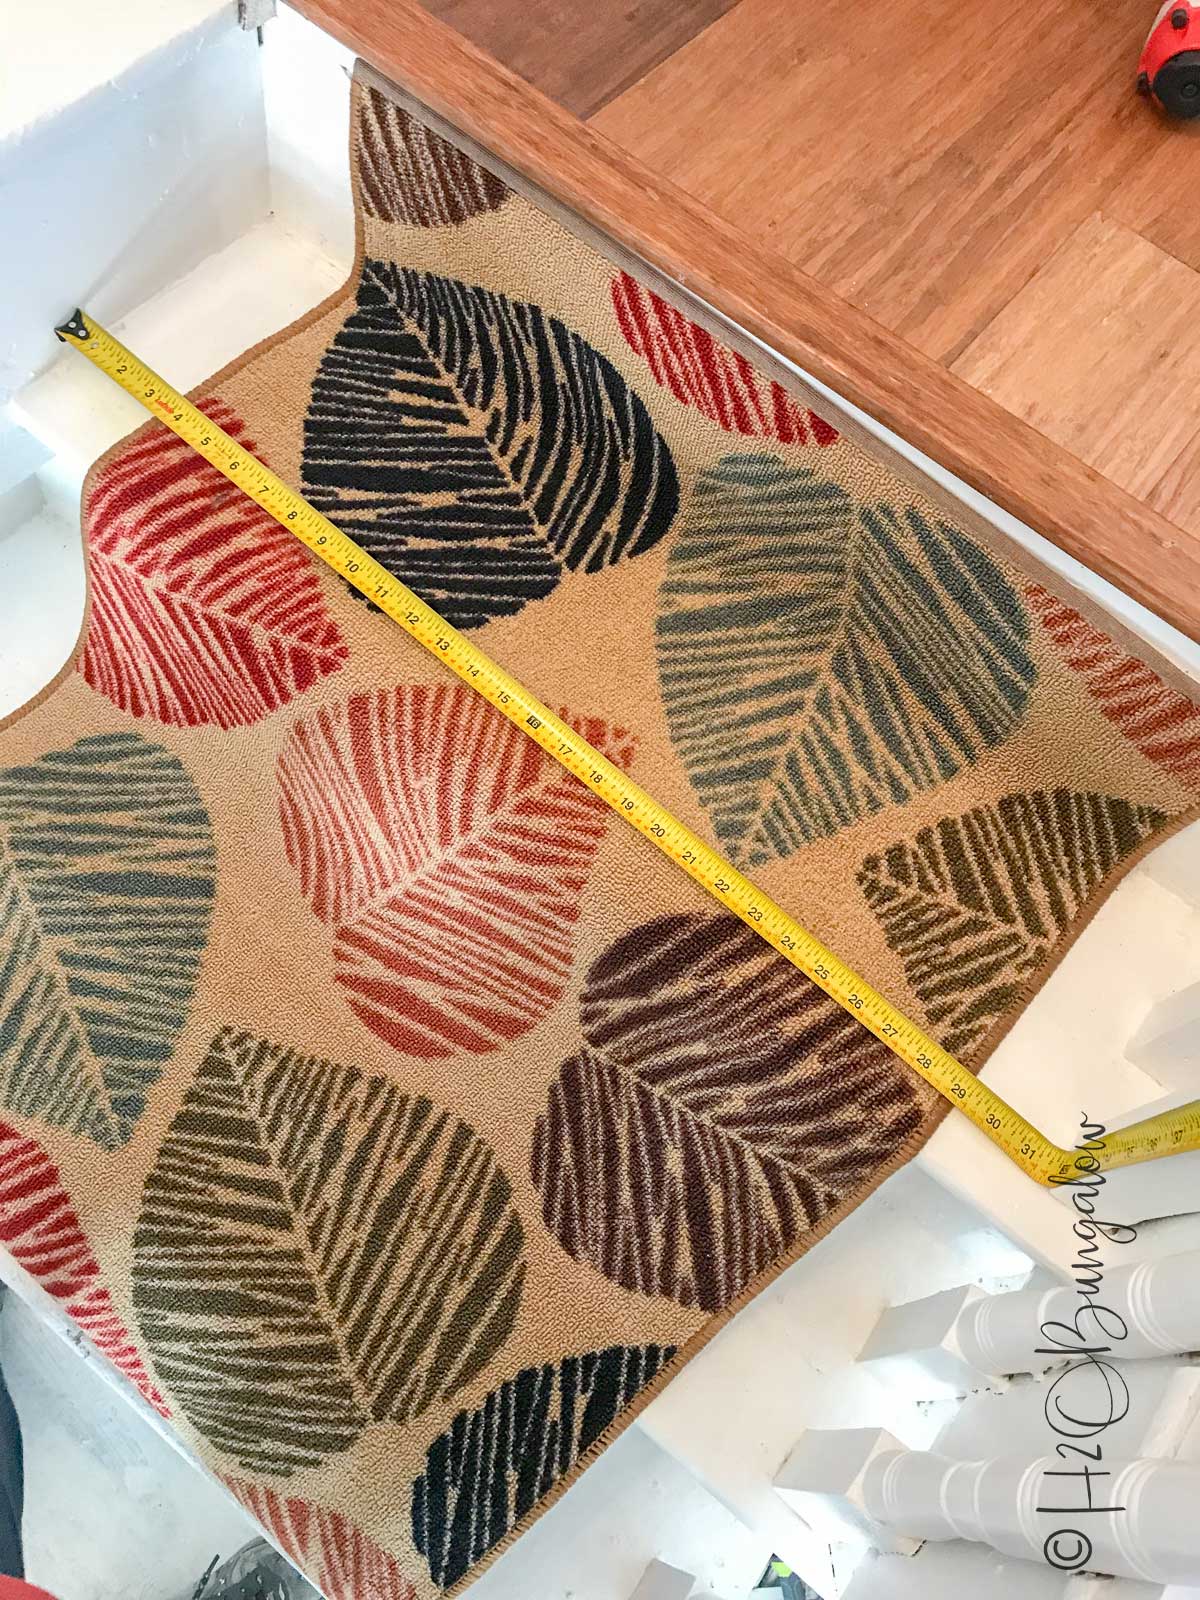
There are lots of inexpensive runners for staircases and hallways to choose from online and in stores. Premade stair runners are purchased by the linear foot or yard. When measuring stairs to add a carpet runner, measure each stair tread and up each risers. My DIY stair runner starts at the top riser before the landing and ends at the bottom of the last riser next to the floor. Always order a bit extra so you can trim it to be square.
Choose a carpet runner that will hold up to your needs.
Big box stores carry carpet runners by the yard but the choices are limited. Finding carpet runner carpet online is easy and affordable and there are lots of patterns to choose from. I loved the idea of using a unique star runner and found lots of choices online. Traditional carpet stores carry carpet, but they will charge you to bind the side edges which takes away the budget friendly part of this project. They are also thicker, heavier and recommend padding under the runner.
That didn’t work for me since I wanted a simple, budget friendly staircase carpet runner that I could change easily.
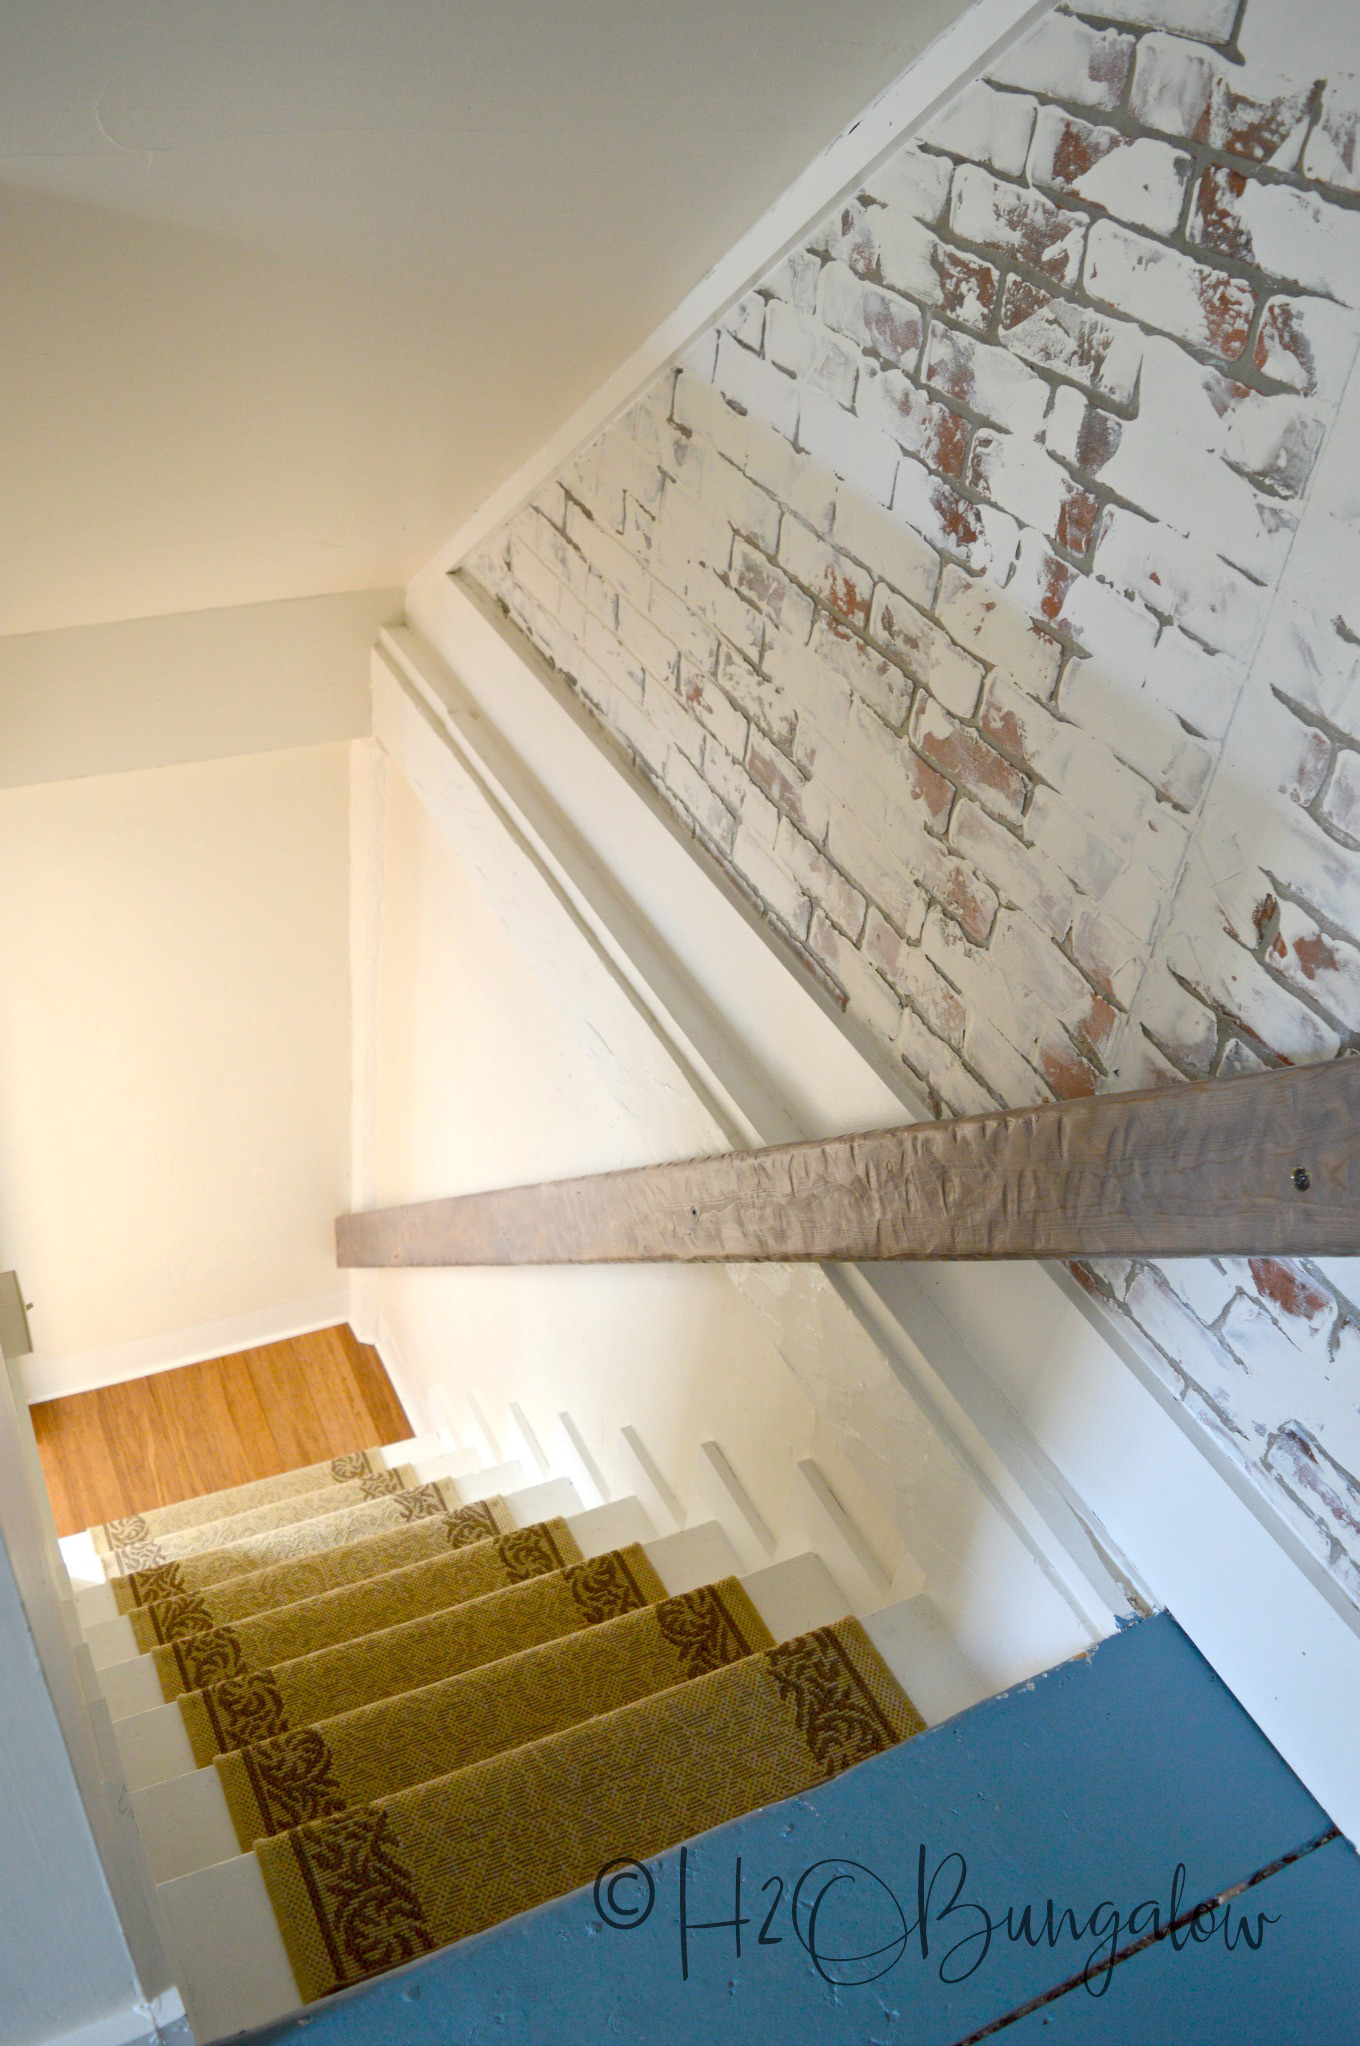
I choose an indoor-outdoor style hall runner sold by the yard for the loft staircase. It will hold up well and compliments the decor style of this part of the house.
The best part about installing your own carpet runner on stairs is you can easily change it out yourself and you won’t incur a big expense when it’s worn or no longer fits your decor style.
How to DIY install a carpet runner on steps
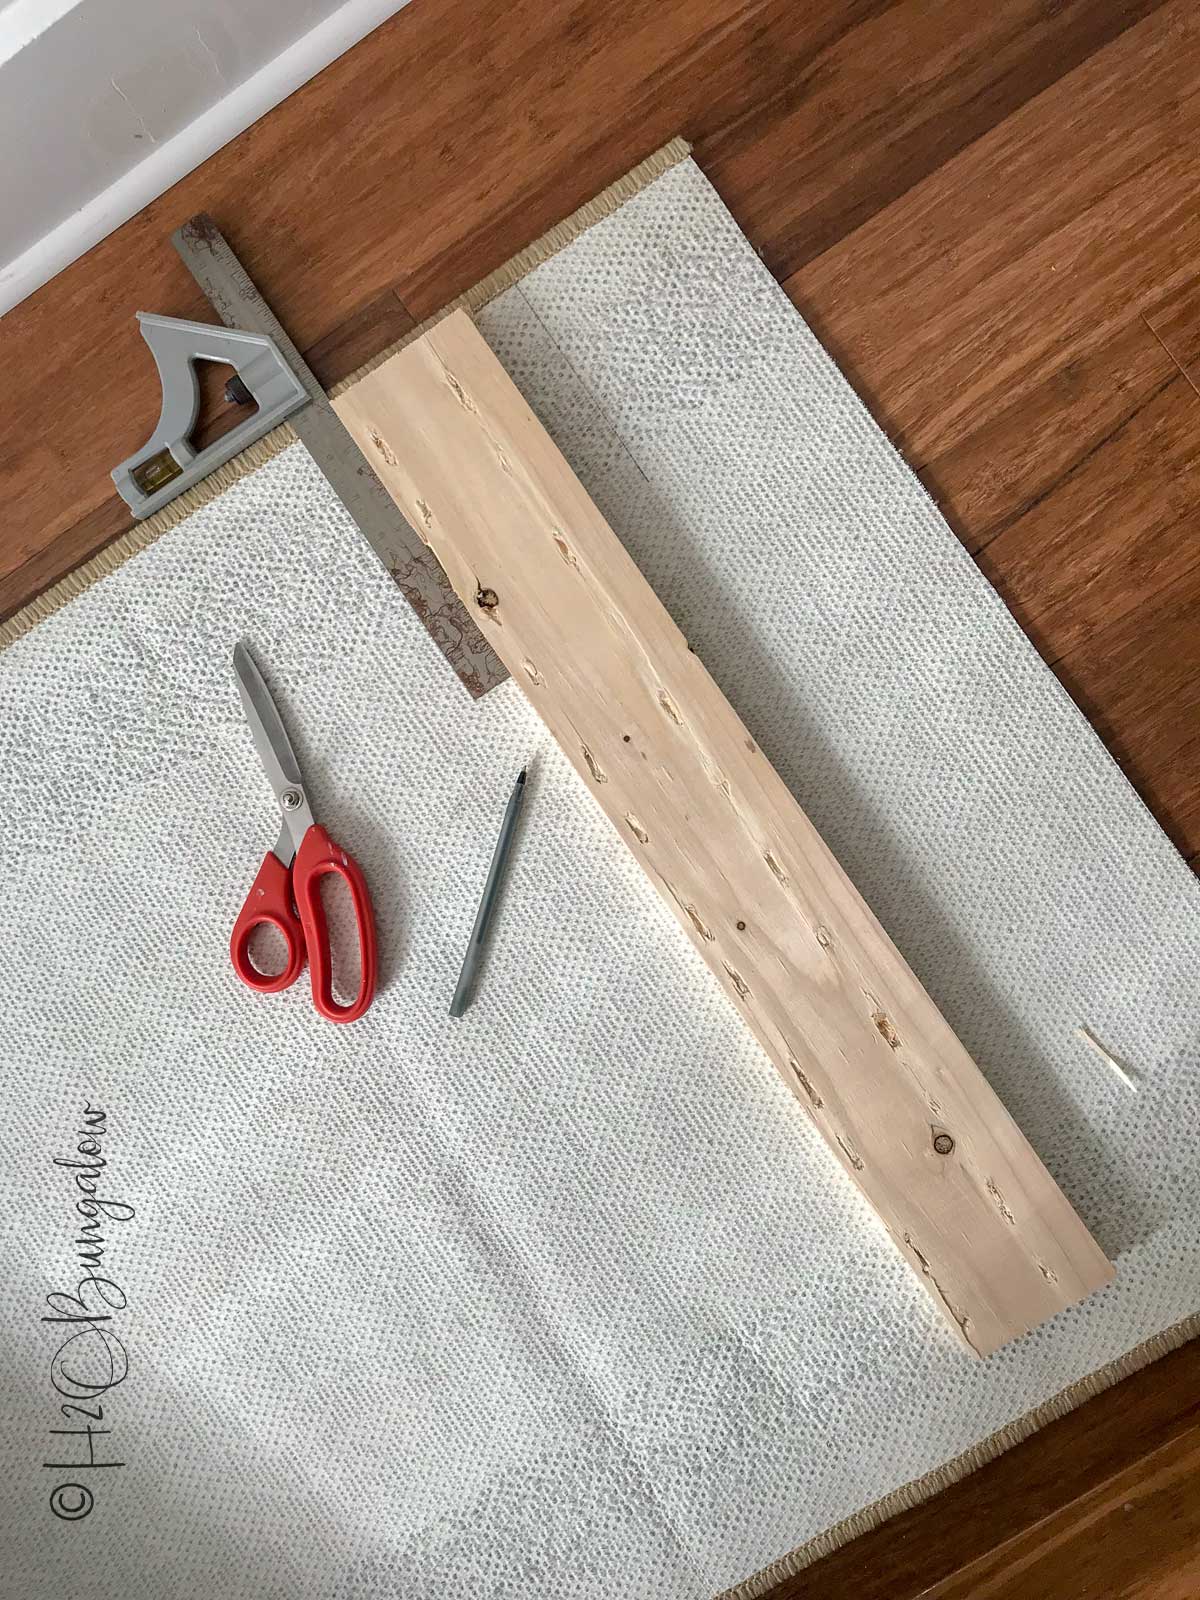
Always start with a fresh square-cut on your carpet runner! Do not assume what you’ve received is square across the top or bottom. I promise, it’s not.
Use a combination square or something to mark a straight line. I used scissors to cut this indoor outdoor carpet runner. It gave me better control than a utility knife and a straight edge.
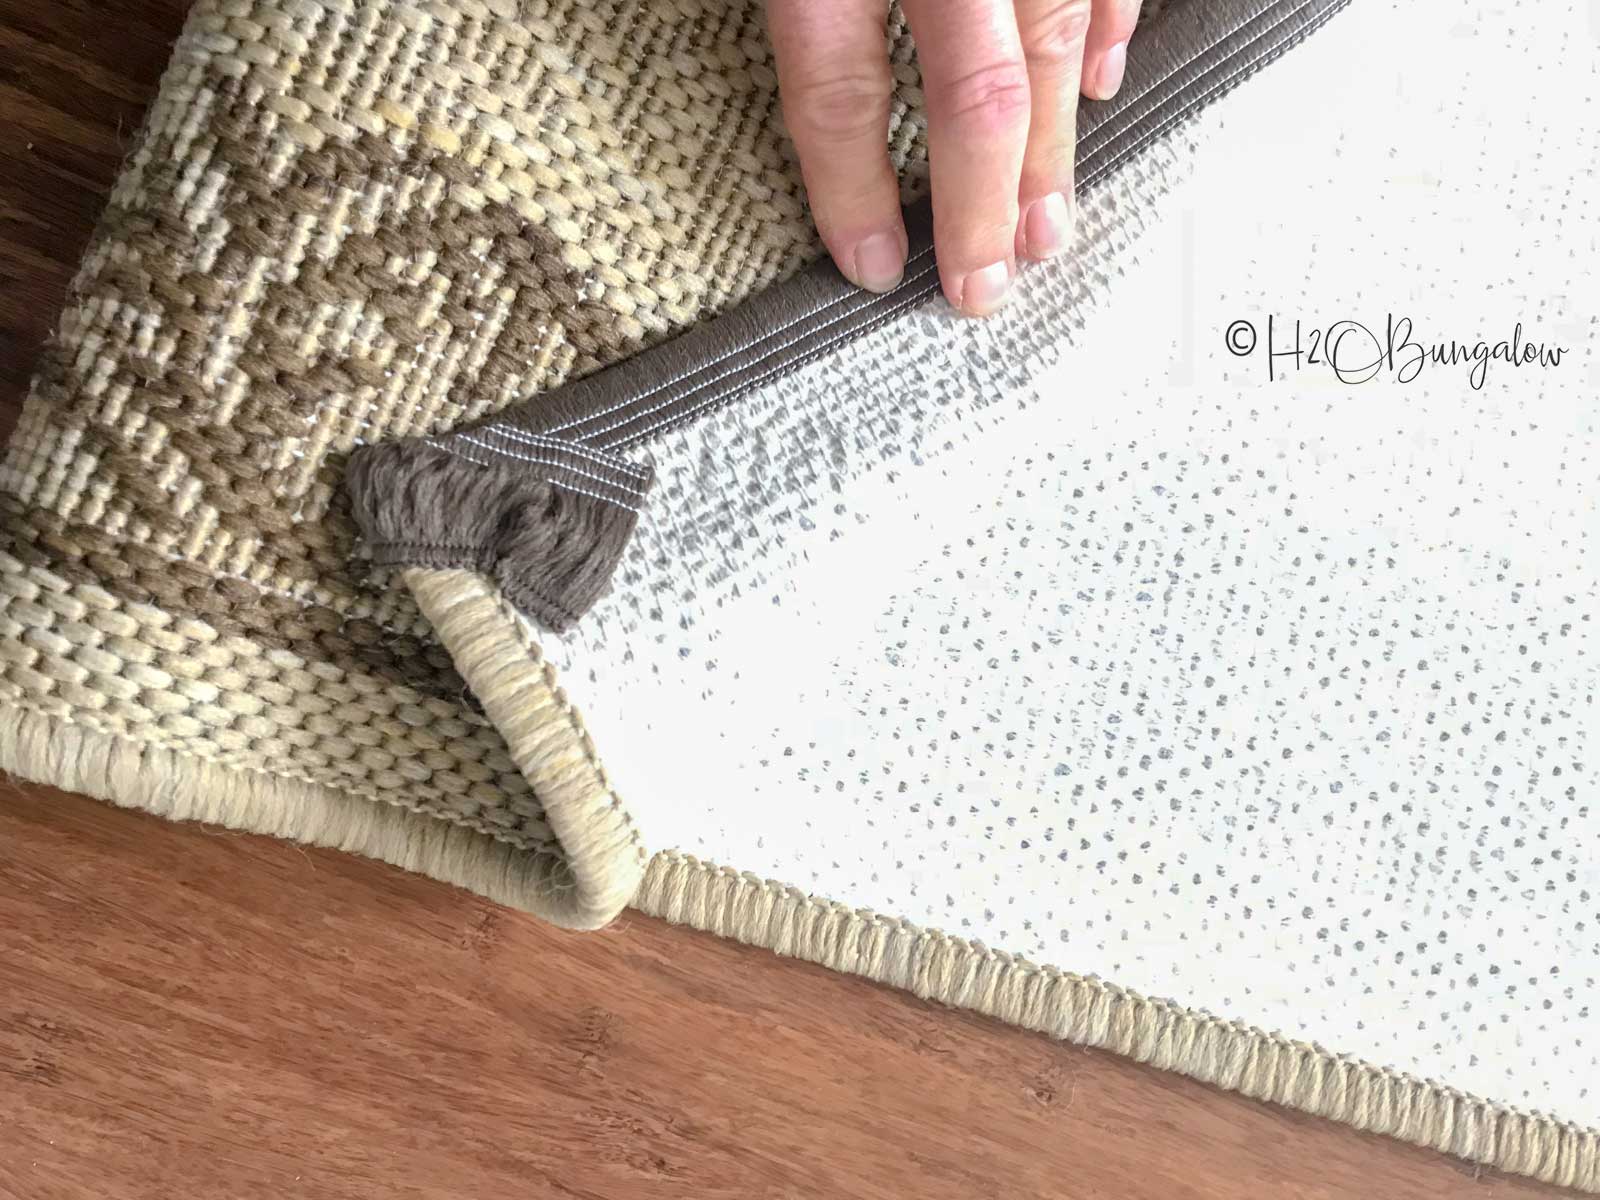
Next, you’ll add a stick on edge tape to bind the edges. I found mine at Home Depot next to the carpet runners. You can also use this one I found online, I think it would work fine too. It’s pretty self-explanatory. Peel off the backing, fold it over the raw edge of the carpet and press. Fold the corners like my photo below.
Take a look at the top of my stair runner and you’ll see how good the stick on carpet edging looks. It’s held up just fine and doesn’t get any wear and tear.
So let’s get down to the business of how to install a carpet runner on stairs!
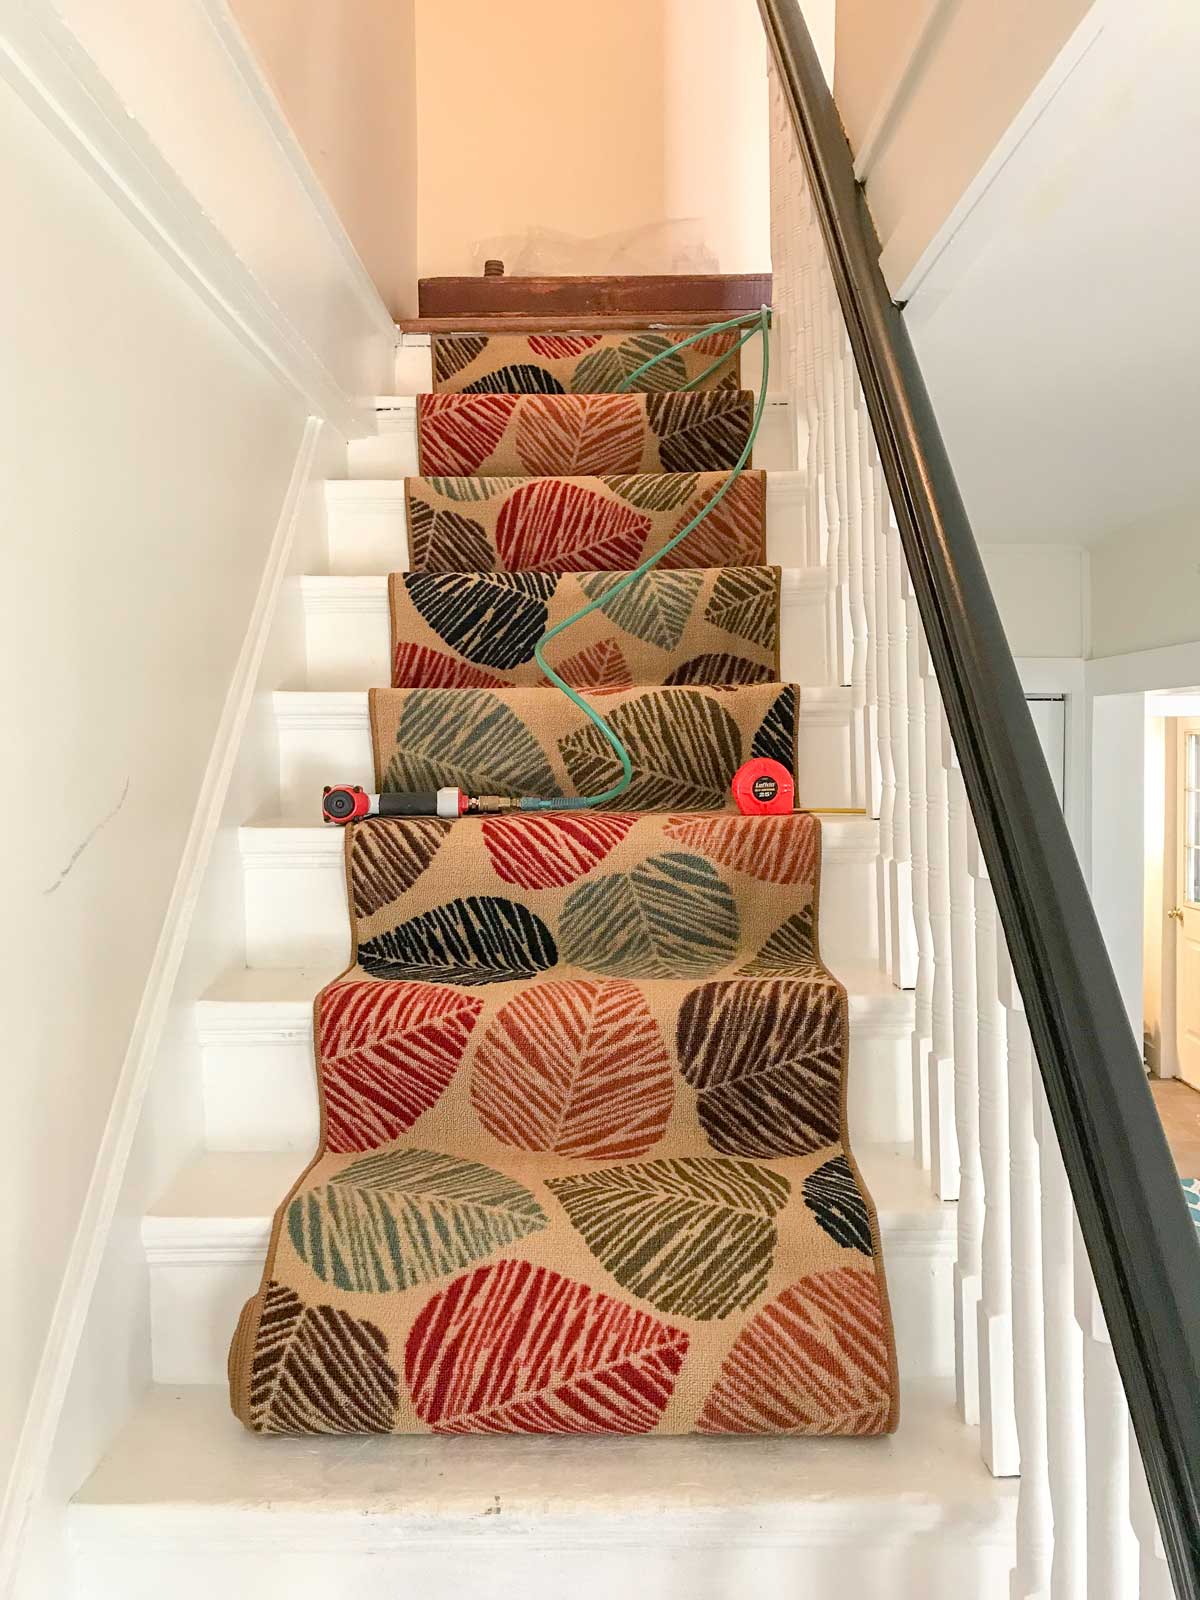
Lay your carpet over the first few steps but don’t let it roll all the way out. It easier to move and adjust it when your working.
Old houses can be wonky.
Make adjustments as needed. We have stair trim that sticks further in on one side than the other at the top steps. That made our staircase runner center awkwardly. Plan around and compensate for any unevenness in your staircase before you start tacking your carpet! Mine is off-center, but it didn’t fit right otherwise.
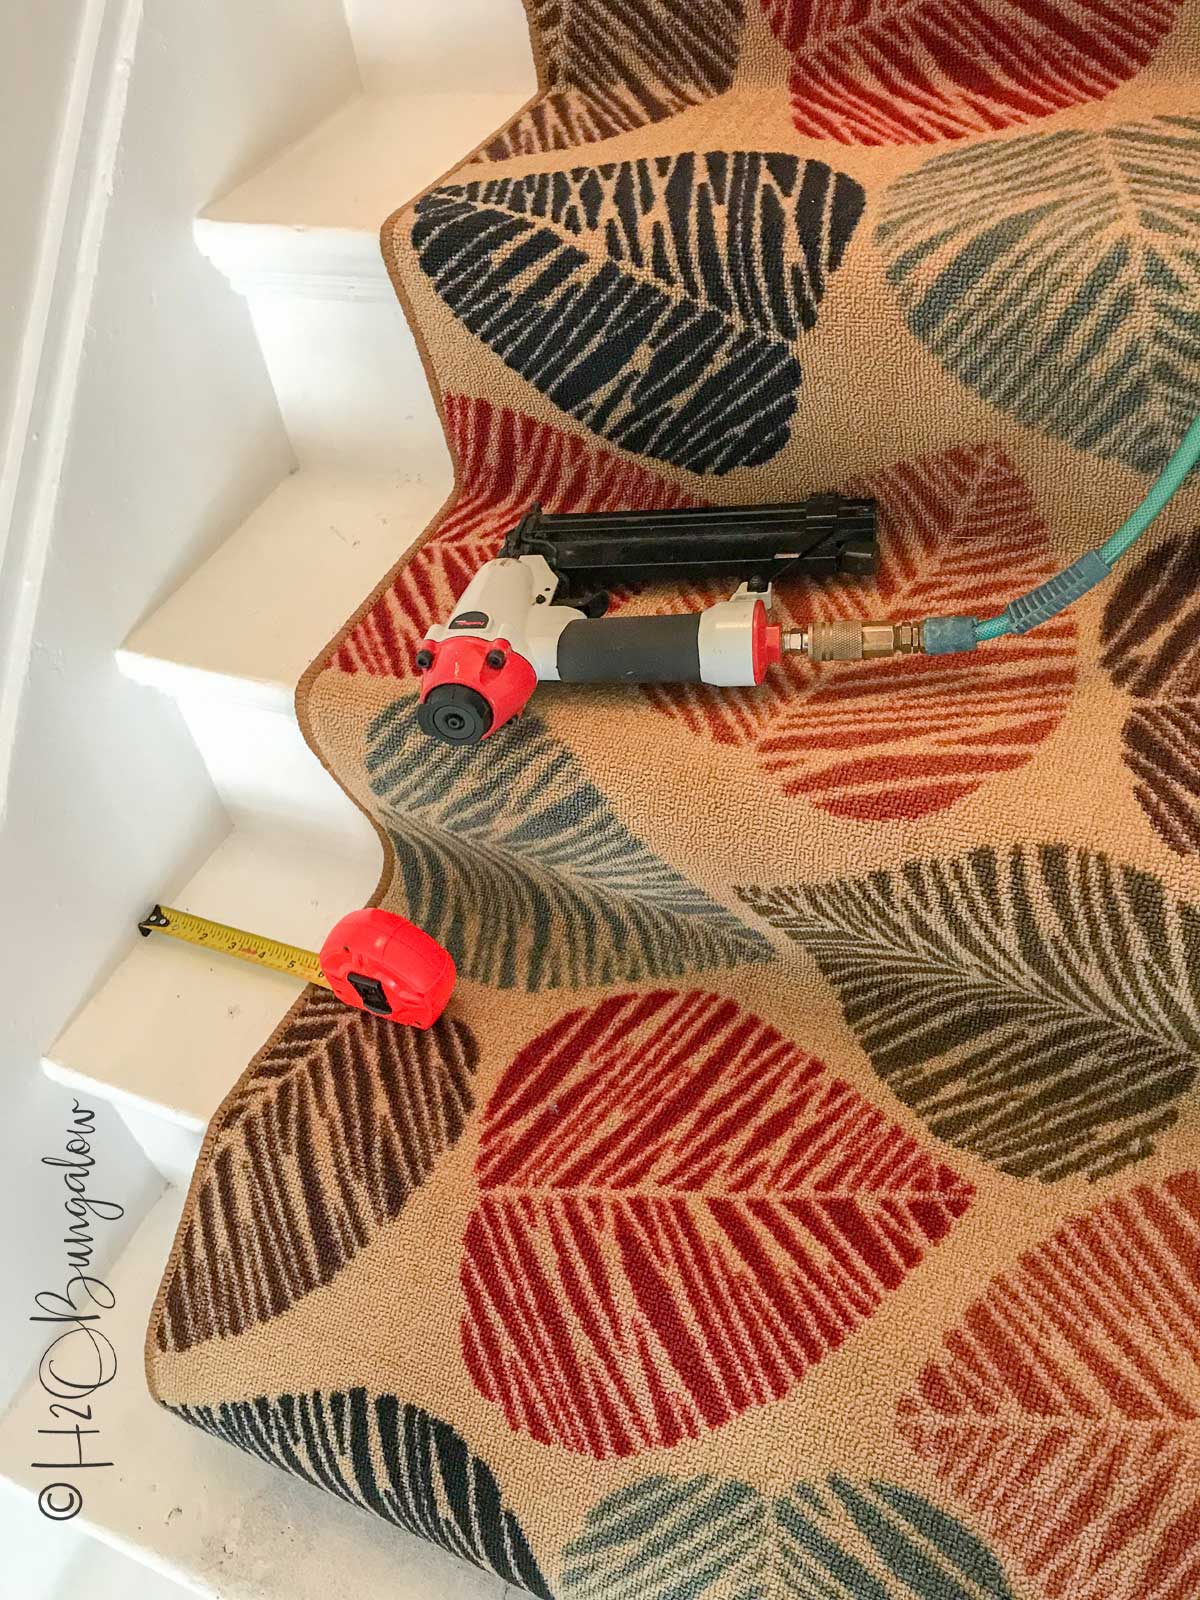
Measure and mark your staircase on each side where your staircase runner will line up. Begin at the top of the riser and tack your carpet runner here first. Slowly work along the top line of your runner, adding staples to secure it.
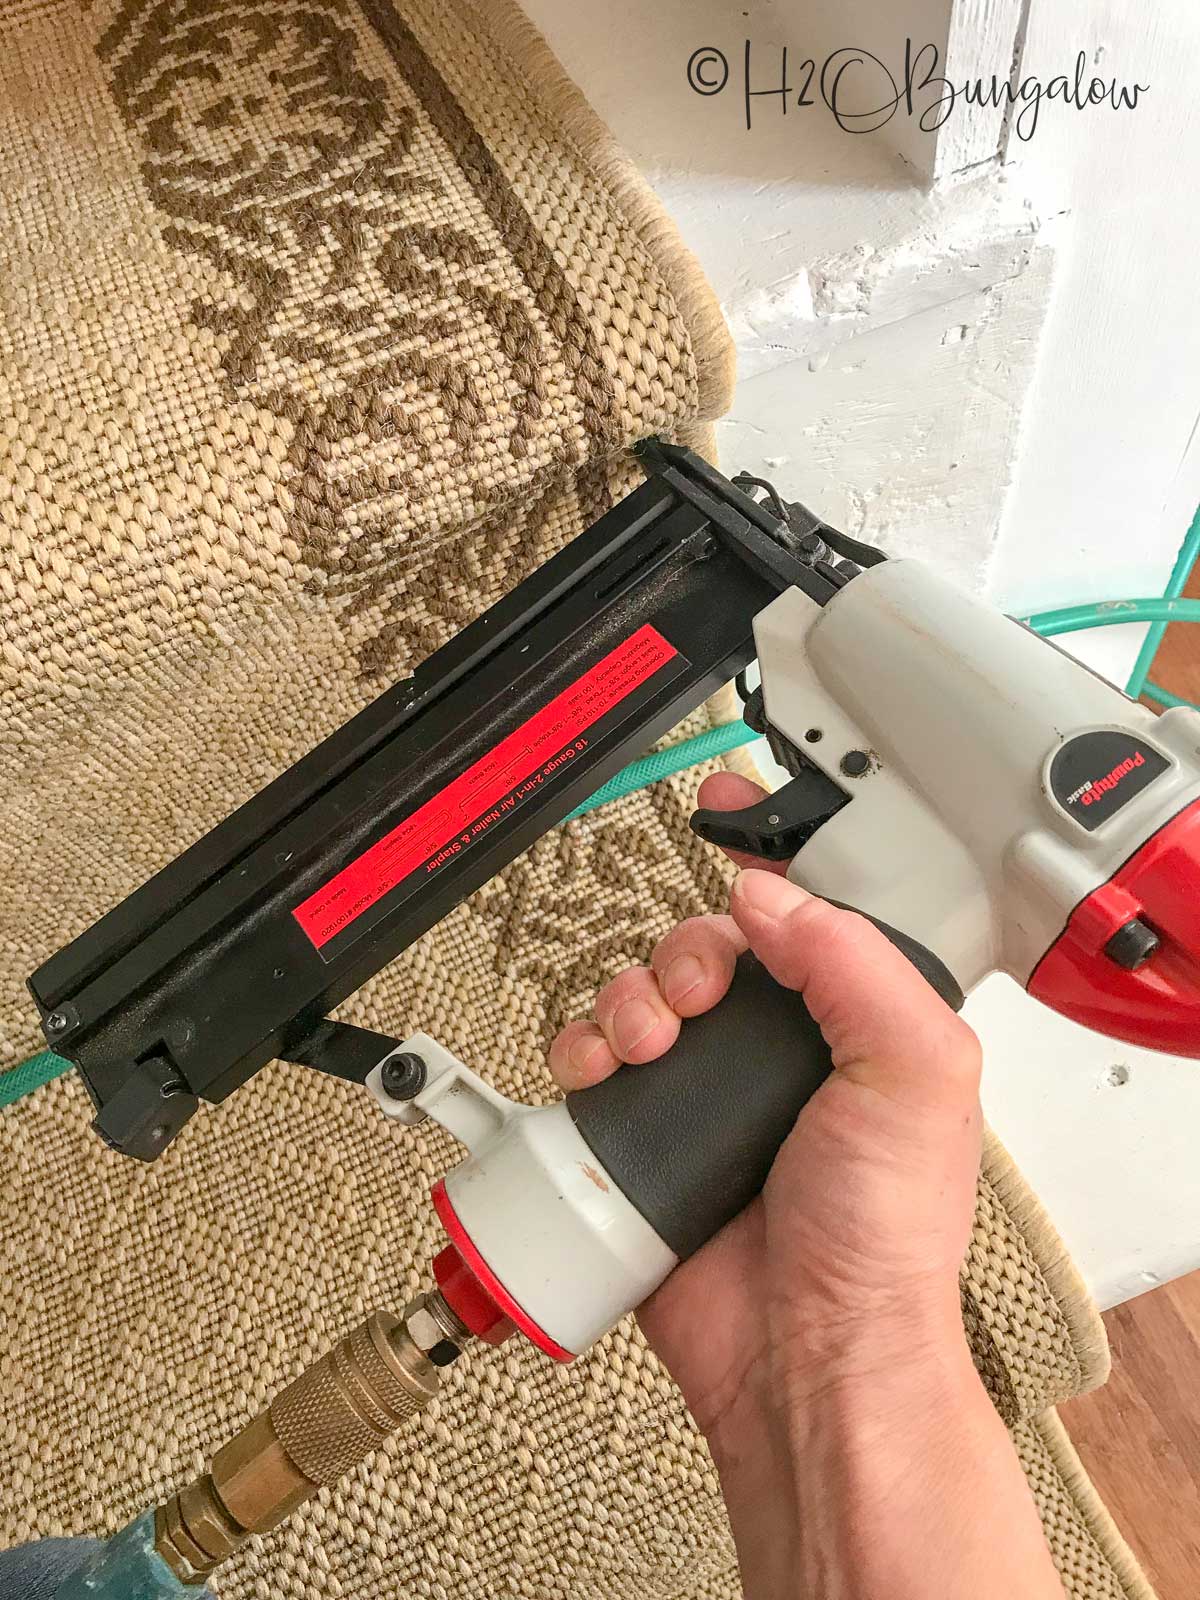
An air compressor staple gun also known as a pneumatic staple gun worked the best for this project. It’s easy to use and not heavy. These can be rented by the day.
Next, you’ll gently pull and hold the carpet taught and secure it.
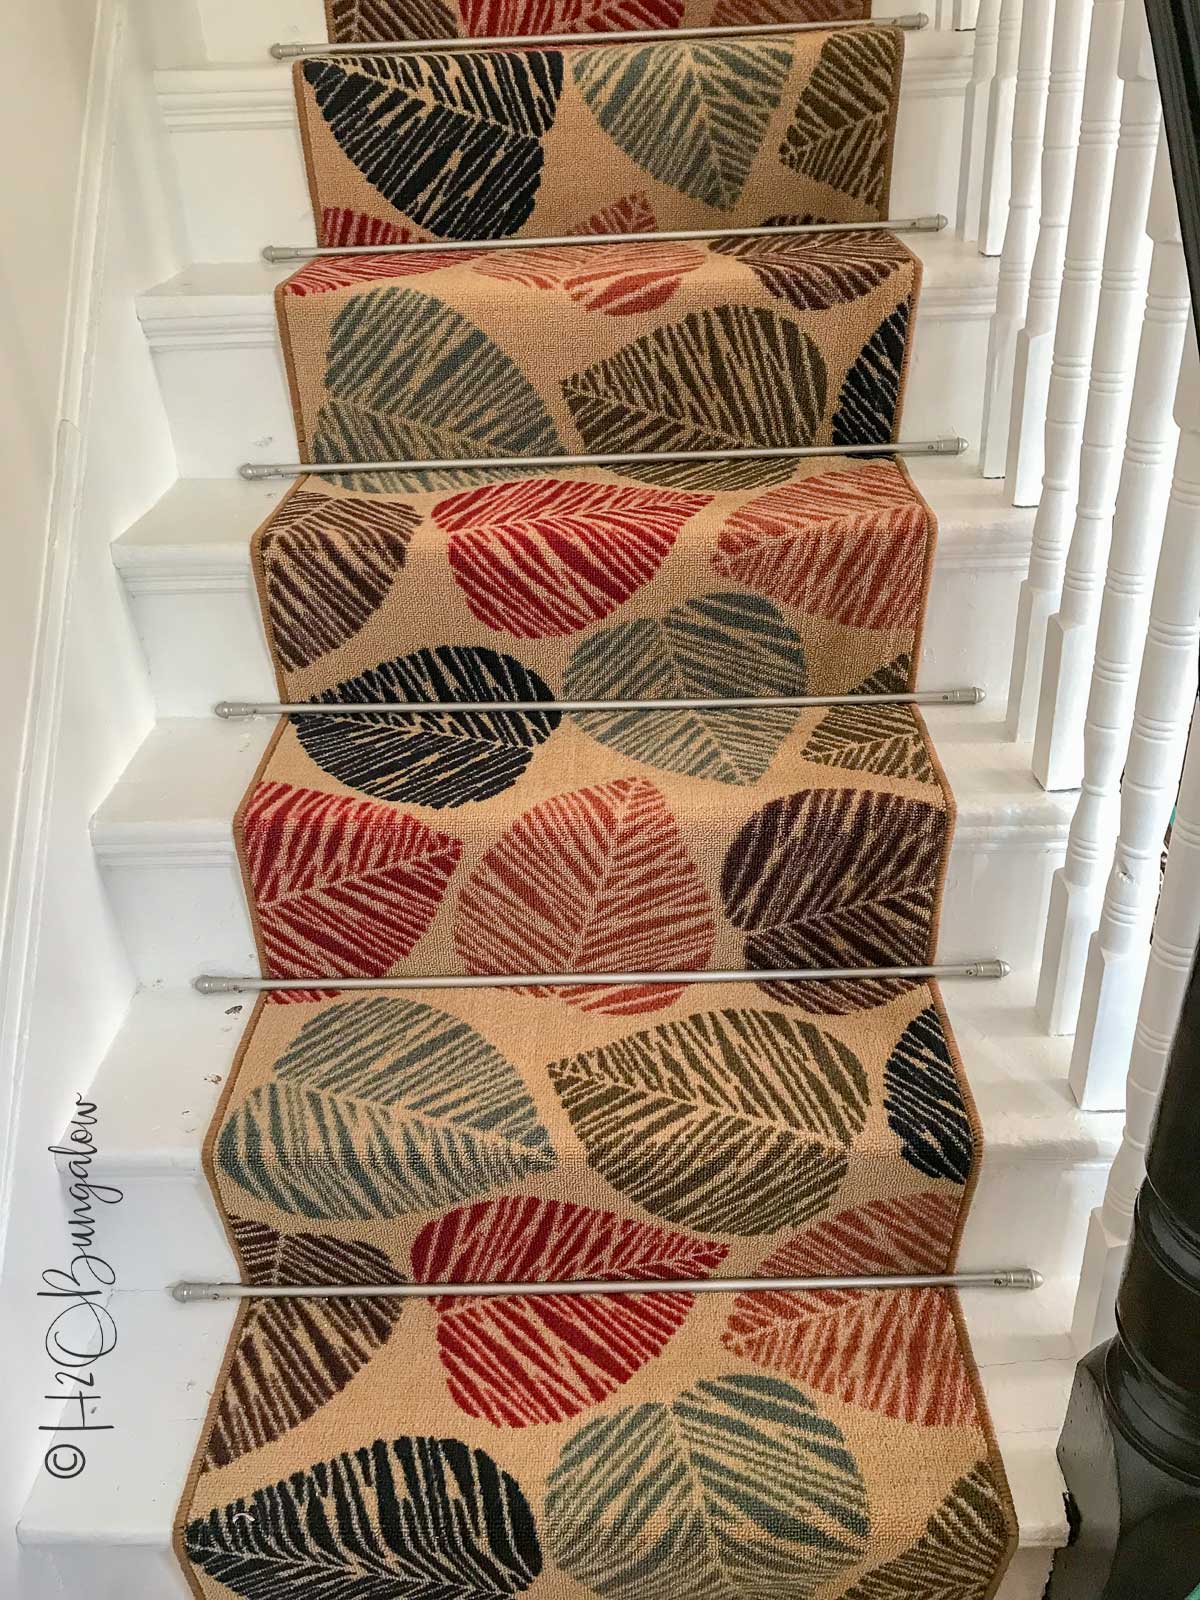
If you’re planning on using stair rods on your steps, don’t tuck and tack the runner to the underside of the stair tread or down the sides of the risers. Only tack across the bottom of the stair riser where the riser and step meets and then again on the sides of each step. The carpet will not be attached on the riser sides. The stair rods will appear to hold the carpet down.
You’ll see this in the finished photos.
If you’re not using stair rods on your staircase carpet runner, then tack the underside and sides of the risers and you work your way down the stair risers before attaching the carpet runner to the step. You’ll see this in the photo below.
Gently pull and keep the carpet taught as you work your way down.
When your finished with the last step, staple the runner to the last riser next to the floor. Measure the length needed and trim the end the same as the beginning by cutting a fresh squared cut and securing the end with the self stick edging tape.
How to Install Stair Rods on Steps
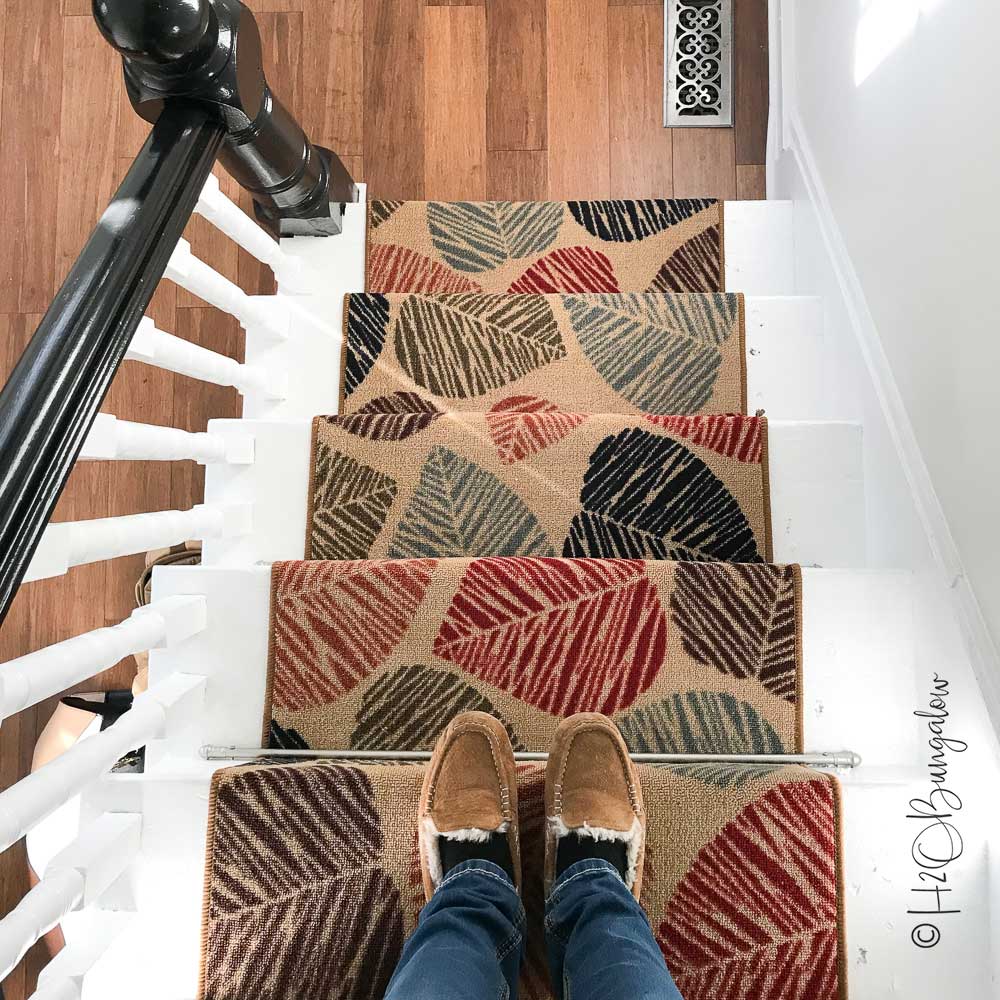
I used stair rods over my carpet runner on the main staircase.
Notice how the sides of my stair runners are not stapled in the picture below?
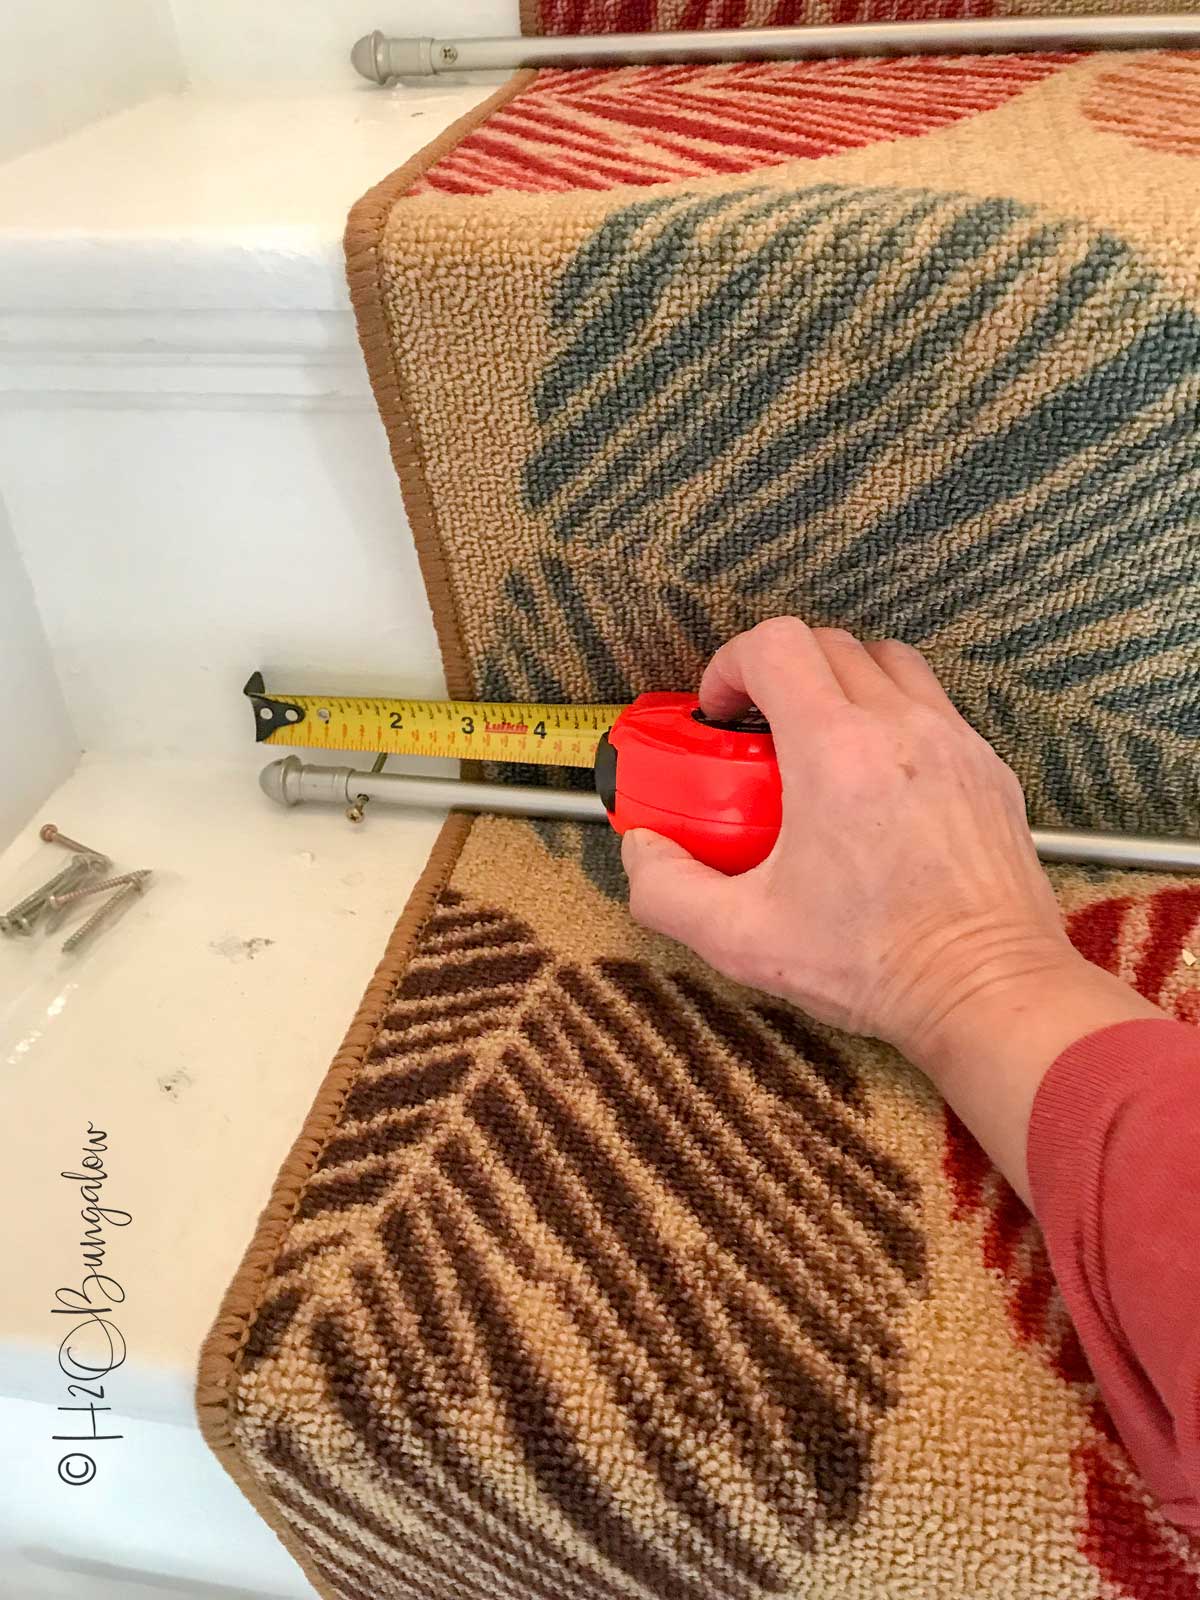
Install the carpet rods after you’ve installed your carpet runner on your wood staircase. Measure the length of the carpet rods and decide on a placement.
You’ll want them to be even the entire way down your staircase with the same amount of overhang on each side. Use the hardware that comes with the stair rods. Some stair rods have hardware that attach on the riser and the stair tread. The stair rods I used were pretty inexpensive and just used screws that mounted on the base of each riser.
Now that I’ve shared how to install carpet runner on wood steps you can see how easily this can be done in a few hours. Especially if you don’t have any prep work.
When these wear out, it will be no big deal to install a new set of DIY carpet runners.
This is the 3rd floor loft bedroom in the North House Lodge. My DIY carpet runner on this staircase looks great with my DIY painted wood floor and German Smear faux plastered wall. I love it and so do our guests.
Pin this for later and share it with your friends on Facebook!
This is a doable home improvement project that makes a big impact. I saved huge dollars over paying for expensive carpet and installers. I knew I could figure out how to install a carpet runner on stairs myself and save big budget dollars. Of course, I’m sharing it with you so you can save too!
Do you have a staircase that needs a new carpet runner? Tell me all about it in the comments below friends!

Juanita Mille says
WOW…your stairway runner project is great! I do not have stairs in my home (thank goodness), but several of our married kiddos do and so I will pass on your great idea for this to them! Thanks for sharing and inspiring, Wendi!
Wendi says
Hi Juanita and thank you for passing along my project! It never dawned on me that I could put my own carpet runner down much less do it on a budget. I’m thrilled to be able to share this project since so many people have stairs. I hope your kids find it useful! Thanks for your note & visit!
Barb says
This is lovely. I got so excited when I saw the title of this blog and figured “I can do that”, until I realized my steps leading to my basement suite are cement! But I will pass this on to my sister so thank you.
Wendi says
Hi Barb! That is SO funny! Yes, you can do that but wood steps are much easier…LOL Thanks so much for passing this along to your sister. And thanks for reading & leaving me a sweet note!