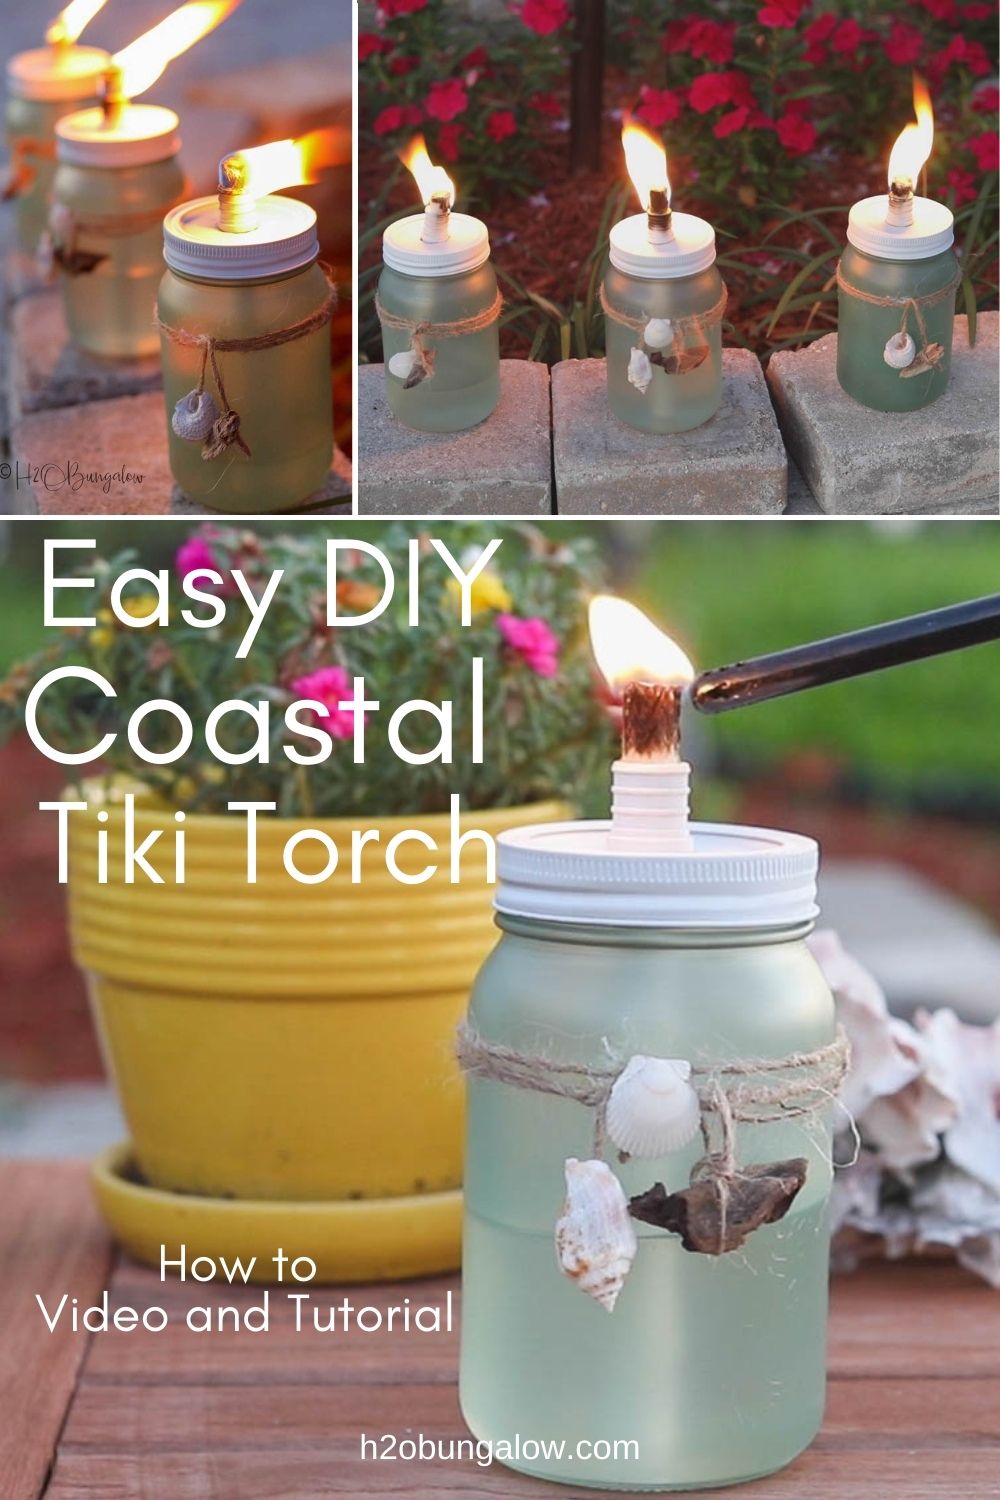
Today’s project is a DIY tiki torch tutorial and video. Now that we’re spending more time outside, we need to keep pesky bugs away with this budget friendly DIY homemade tiki torch that looks as good as it works. I used plain jars and gave them a coastal sea glass look and added a little decorative trim to jazz them up a bit. I’ll show you below how to make a DIY tiki torch, it’s simple!
Ever since I finished the backyard makeover, we’ve been spending a lot more time outside in our backyard. Unfortunately, so have the no see um bugs and thirsty mosquitoes!
I wanted pretty coastal themed table-top tiki torches to keep the bugs away. Since I couldn’t find any that were reasonable and pretty I decided to make my own.
Because watching something being done is easier than reading about it alone, I made you guys a short video on how to make a DIY tiki torch. I used small shells and driftwood to decorate my tiki torches the same way as my DIY Coastal Tealight Candle Holders, but you could decorate them any way you like.
This post contains affiliate links, as an Amazon affiliate I earn a fee from qualifying purchases at no additional cost to you. Thank you for supporting H2OBungalow!
How to Make a DIY Tiki Torch
Supplies needed to make a DIY tiki torch
- Glass jar with lid – Dollar store, left over jelly jar, etc.
- Sea Glass Paint in Sea Foam
- High Heat Enamel Spray Paint, white
- 1/2″ metal coupling – this is a good deal.
- Wick
- Jute twine
- Sea shells, beads, ect
- Bug repellant torch oil
- Needle nose pliers
- drill and drill bit
Step 1. Drill a hole in the jar lid for the coupling
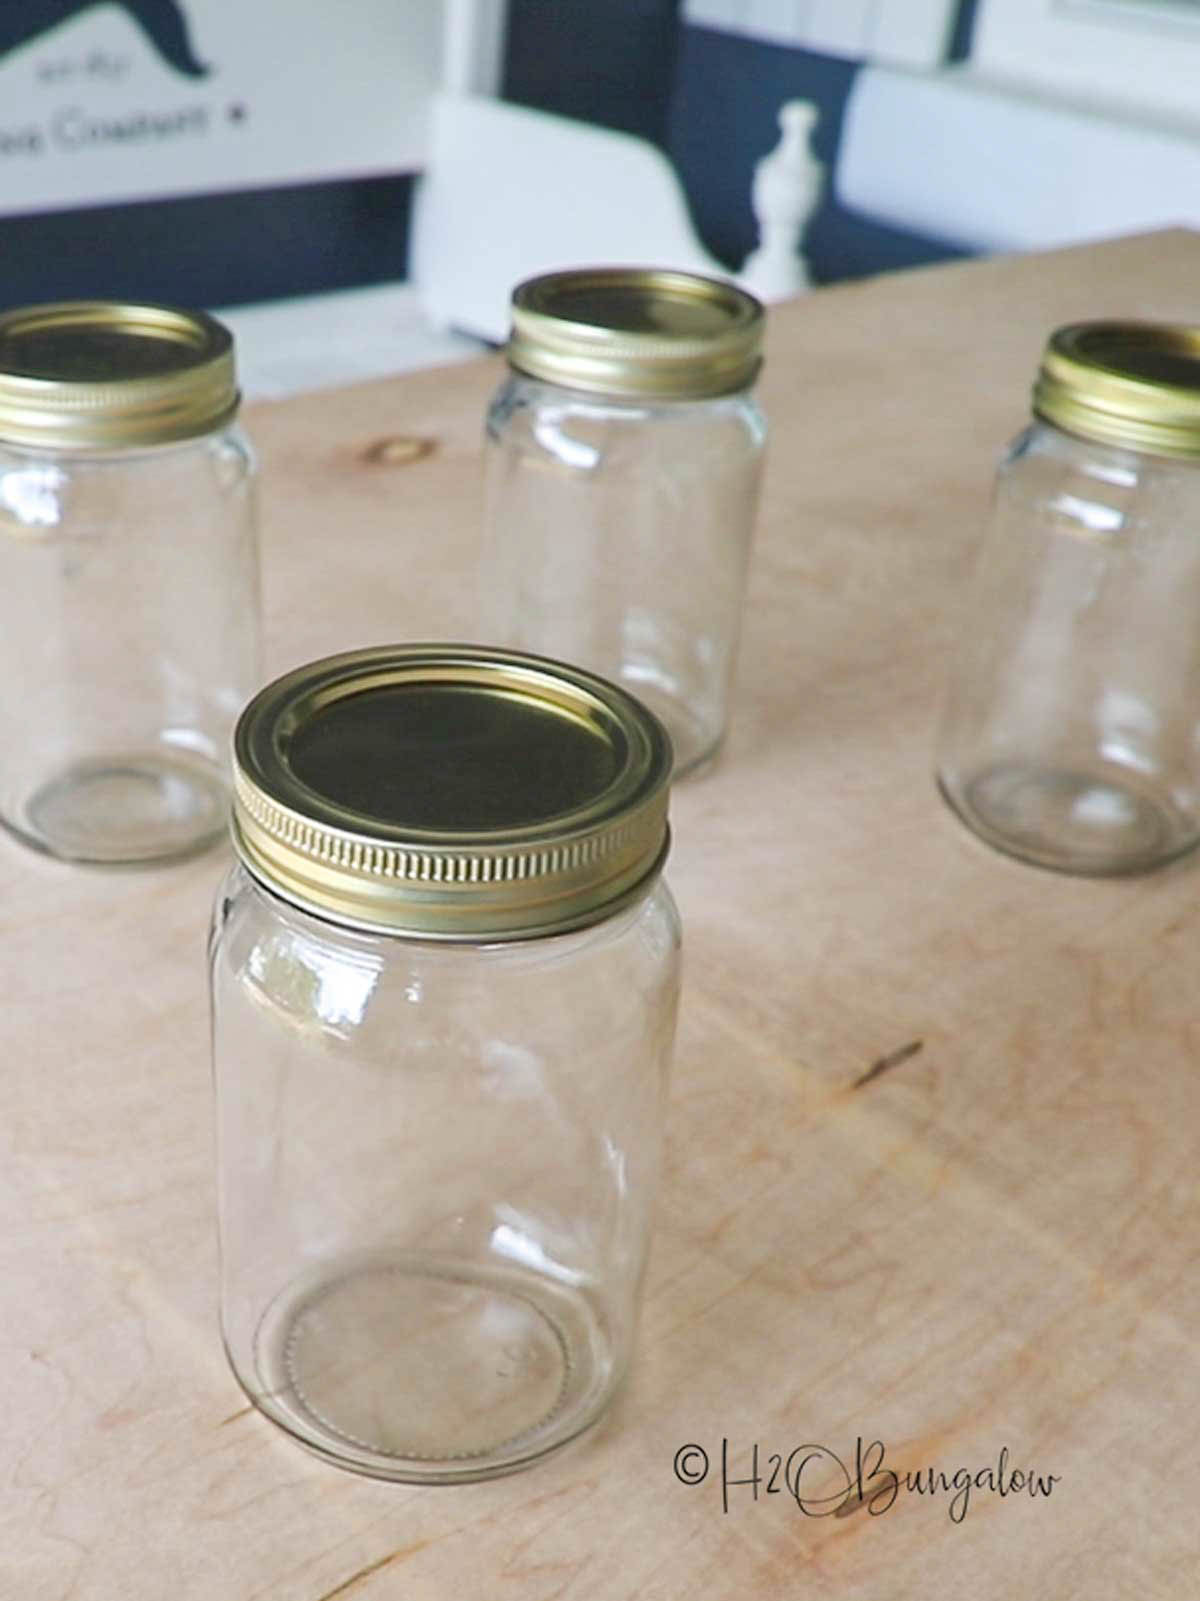
The jars I used are 16 oz, and are from the Dollar Store. They have lids like Mason jars. Any glass jar with a metal top will do. I liked these because the center of the lid lays flat for drilling. I used the largest drill bit I had for the pilot hole. I made sure it was slightly smaller than the 1/2″ coupler I planned on using. Next, I took the needle nose pliers and gently pried back the edges until I had an opening large enough to fit the coupling in. You’ll see this in the video.
Step 2. Assemble the lid
Place the coupling in the lid top.
Step 3. Paint the jar and lid
Paint the glass jar of your DIY tiki torch with the Sea Foam spray paint. Don’t over-coat your glass. After making a few of these, the sea glass spray paint looks more like sea glass with a thinner coat of paint.
Next, paint the torch lids with the hi-heat resistant spray paint. This heat resistant spray paint comes in black too, which is what I used on my BBQ makeover last year. It was faster and easier to paint them together by sticking the couplings into a piece of cardboard to hold them straight to paint.
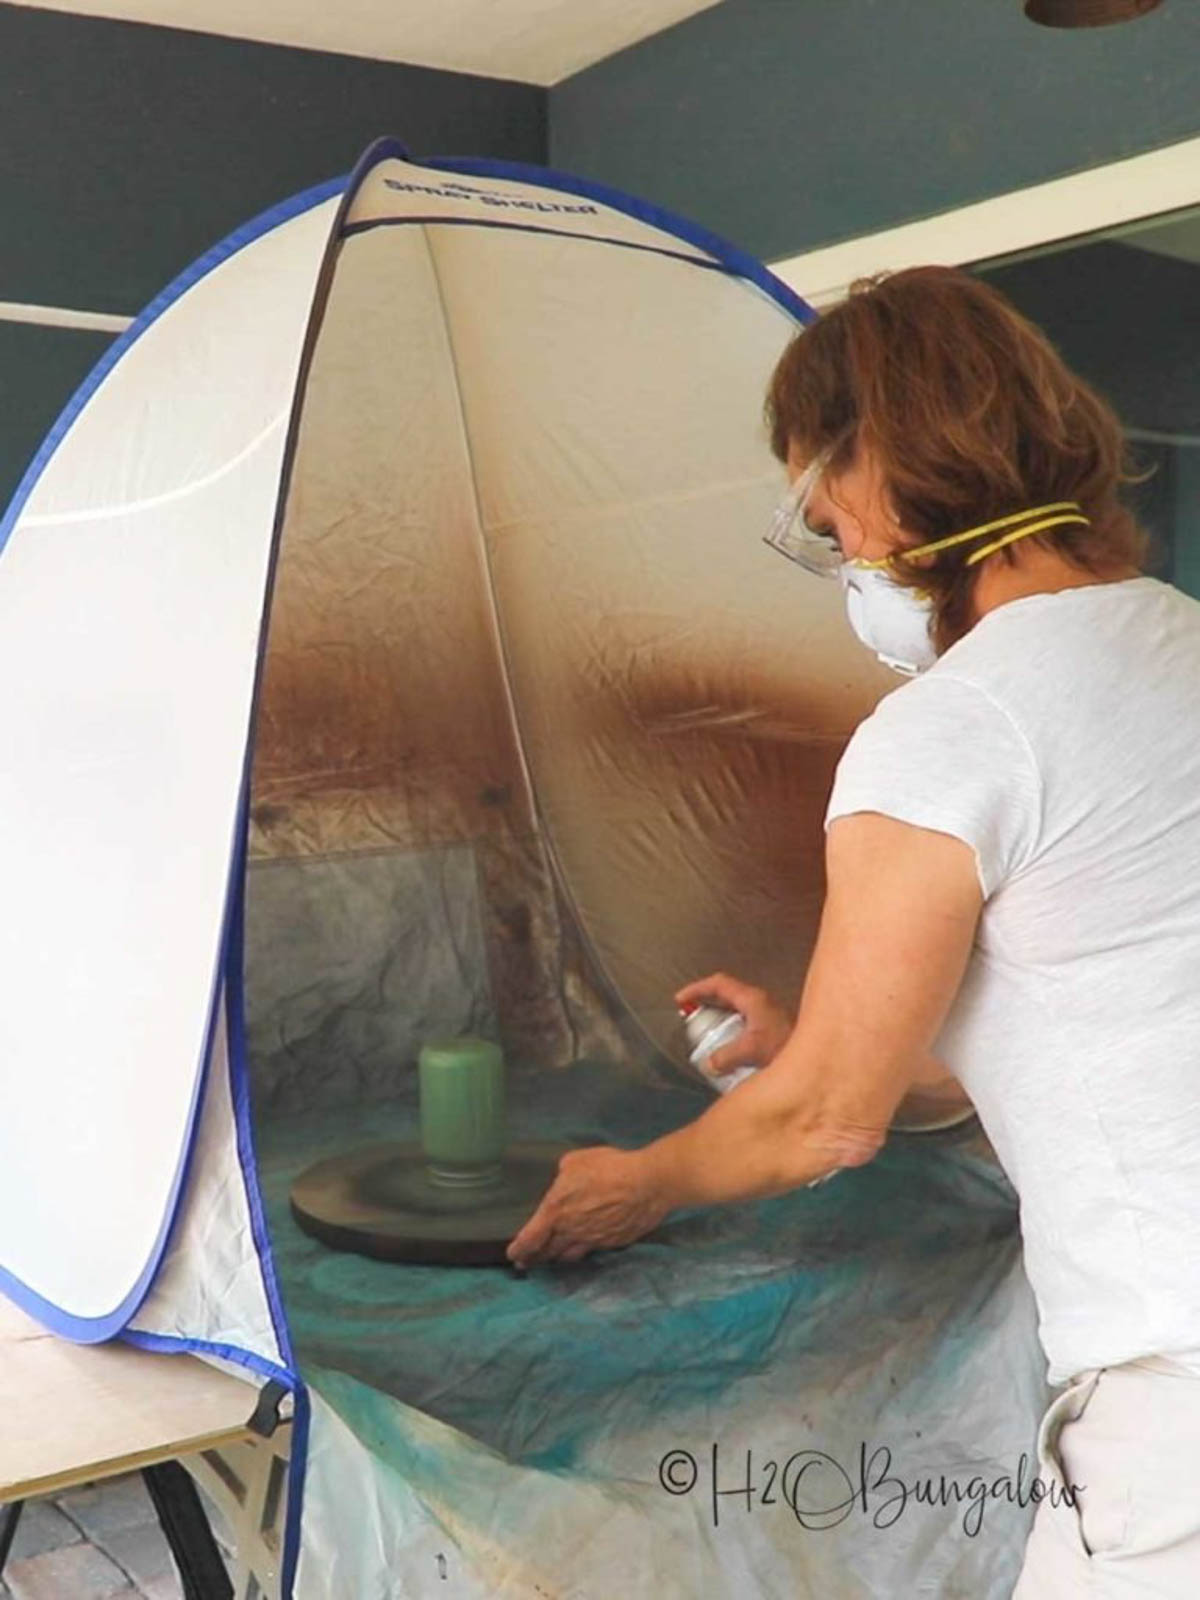
My favorite paint tip – You’ll see in the video I use a lazy-susan to paint and spin it around as I’m painting to get an even coat. Mine came from the thrift store for a few dollars. I use it on almost every project!
My small paint shelter is great and protects the areas so I can paint anywhere without any paint overspray. I have all 3 sizes of these paint shelters and they are well used!
Step 5. Add decorative trim to your DIY tiki torch
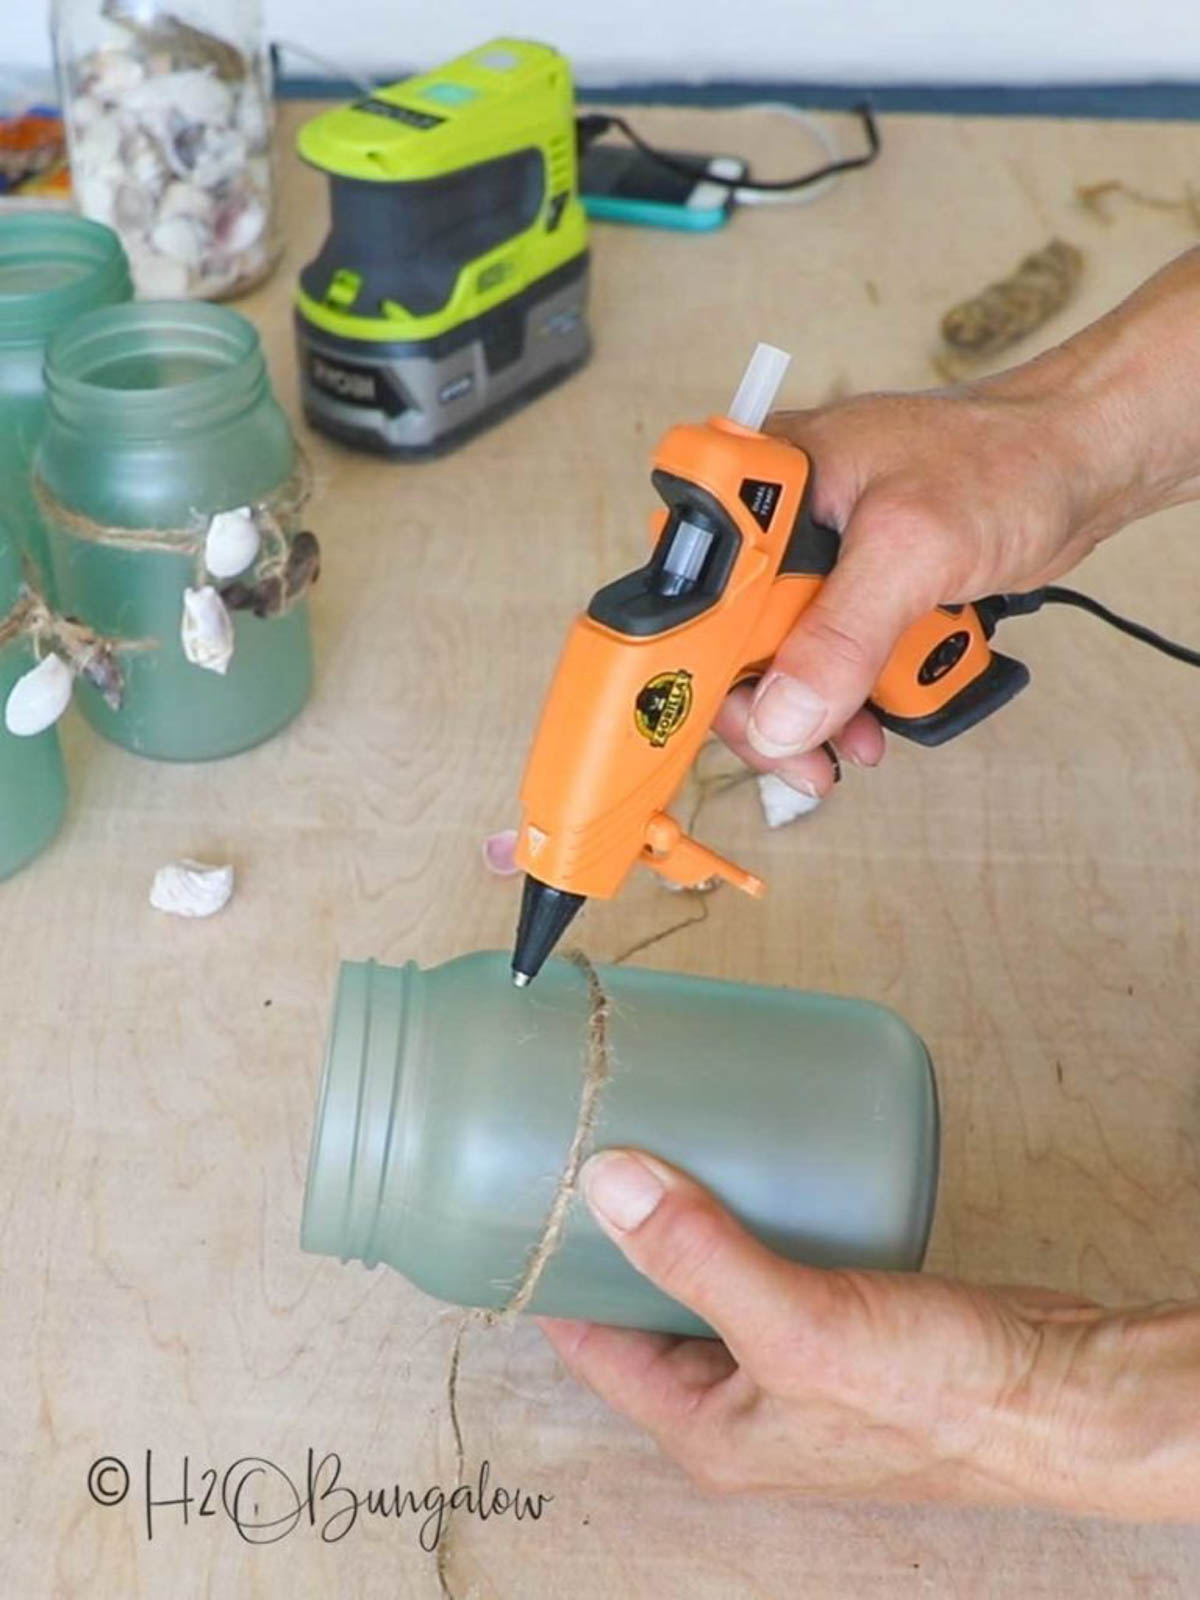
Add jute twine and shells or other decorative items to jazz up the outside.
Step 6. Add wick, and tiki fuel
Add the tiki torch wick, by sliding it into the coupling. Trim it to about 1/2 – 3/4″ above the top of the coupling and let it sit for a while to absorb the fuel. Add the bug repellent torch fuel. My torches are filled about half full with tiki fuel. The fuel will last a long time and it doesn’t evaporate.
If you want the ambiance of pretty outdoor torches without a scent or want a natural torch fuel, you can mix up a homemade tiki torch fuel. Mix in 1-2 tsp of your favorite essential oils. Mosquito repelling essential oils are citronella, peppermint, lemon, eucalyptus, basil, clove, thyme, lemongrass, geranium, and lavender.
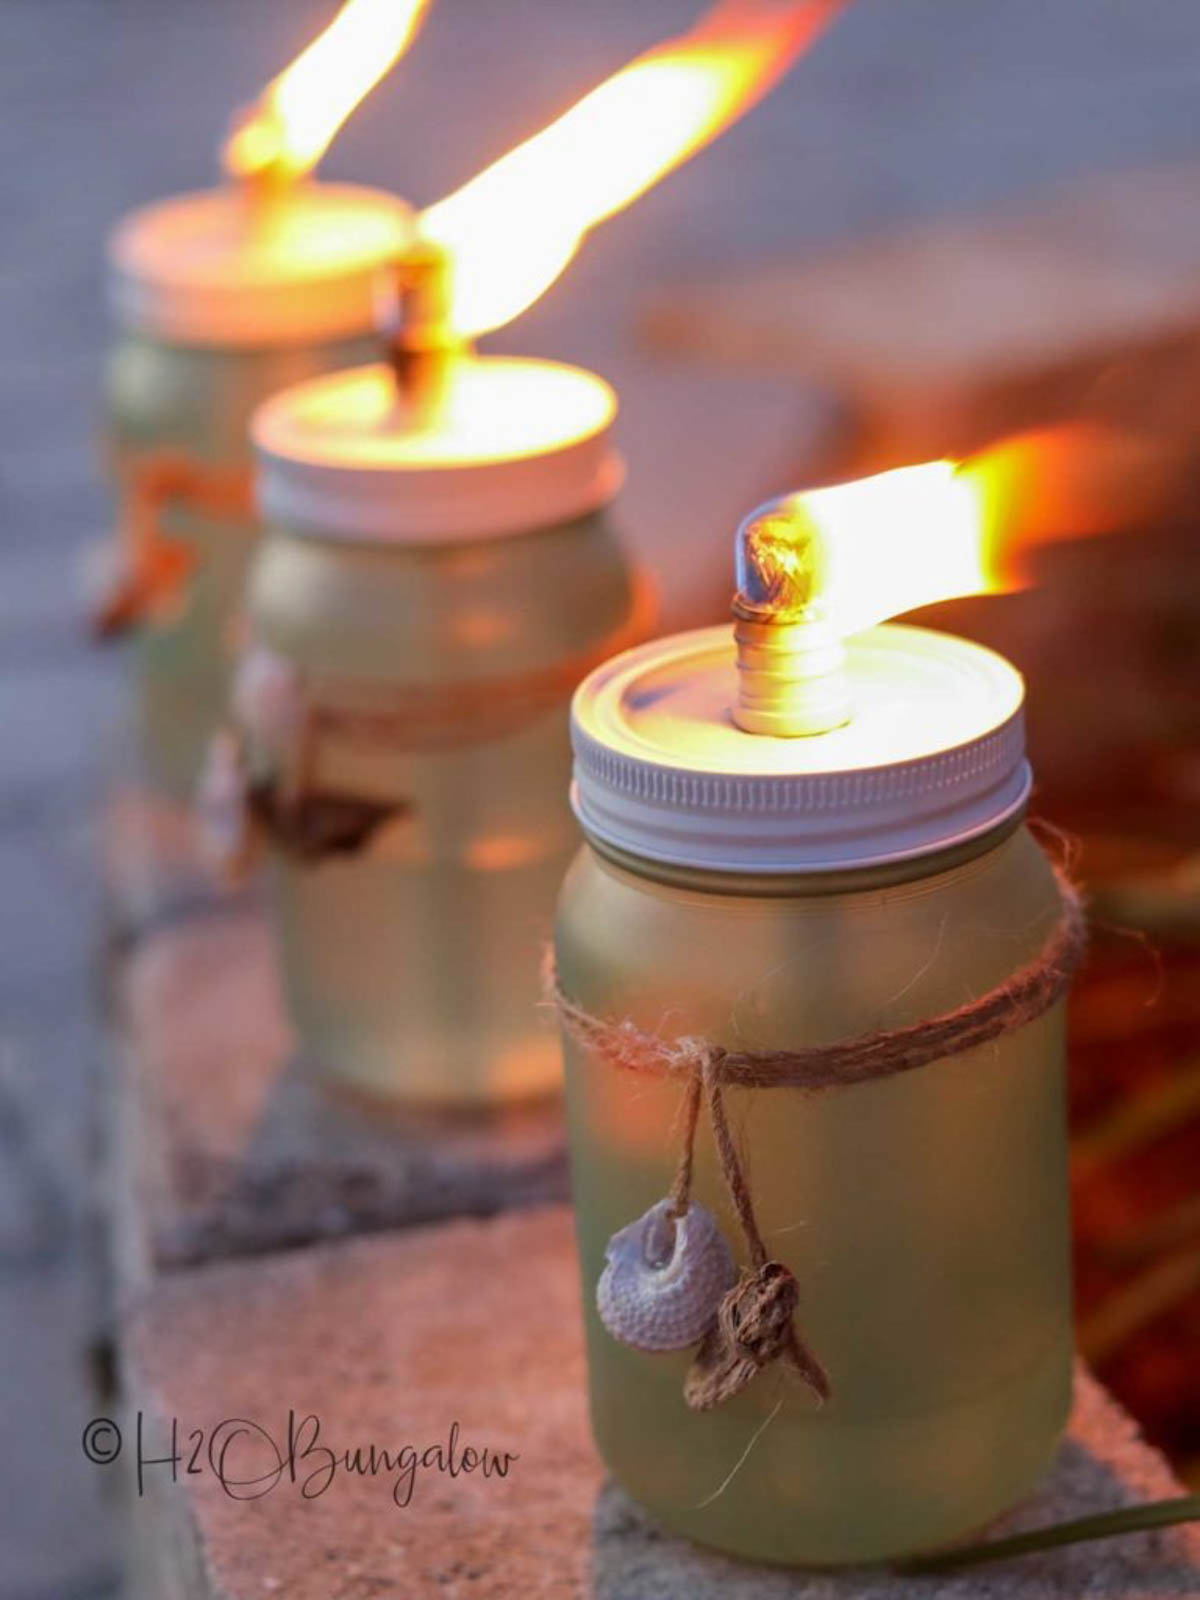
That’s it. It’s pretty easy to make a DIY tiki torch from a glass jar. You can make a set of these in an afternoon and use them the same night.
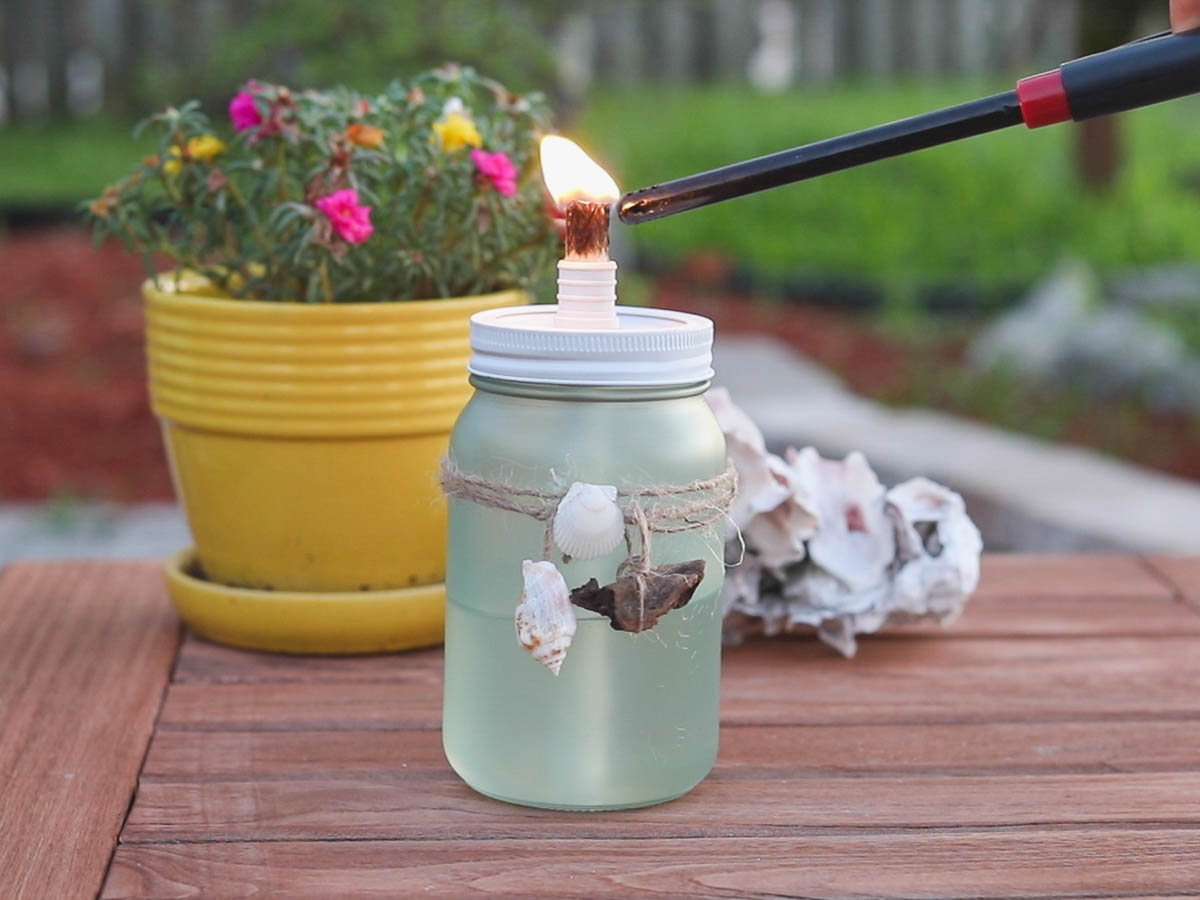
They look as good as they work! Place several of these around your outdoor area about 1/2 hour before going out and it will make a huge difference. No need to worry about how to keep your tiki torches burning either. I lit mine on a breezy night and they stayed lit just fine.

Do you have or someone you know have pesky outdoor bugs that bite or just want pretty lanterns that won’t blow out easily? Pin my DIY tiki torch project and share it with your friends on Facebook!
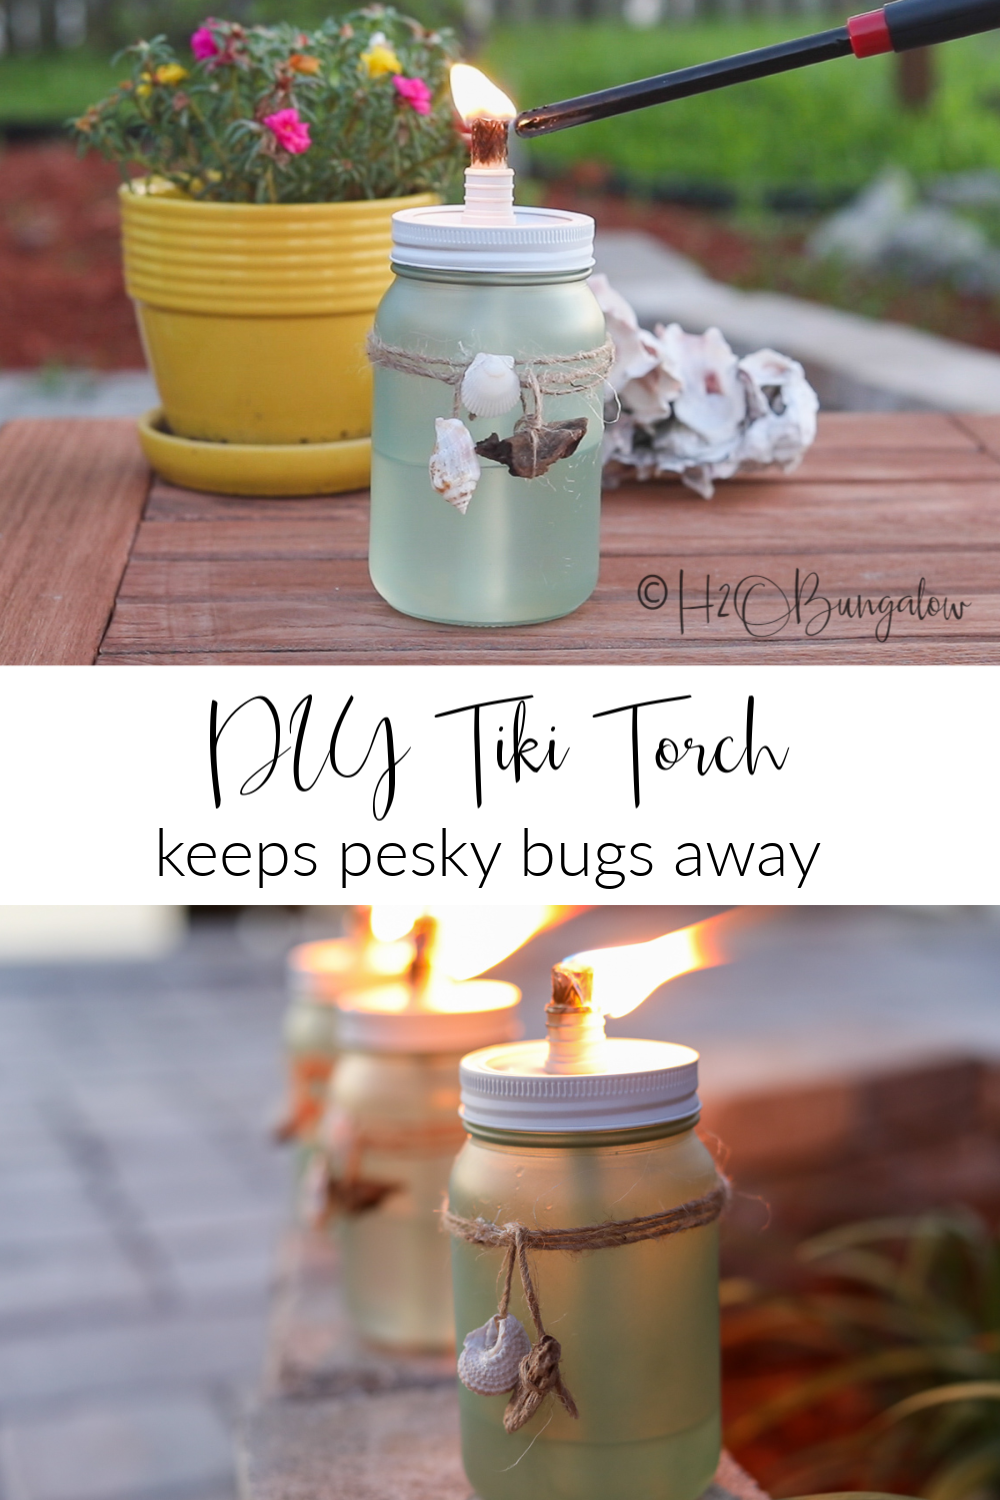
If you’d rather buy a decorative tiki torch than make a DIY one, here are a few that I found and love!
I like these little pineapple torches
If you want tabletop tiki torches like the ones I made try this set of glass tiki torches.

Gladys says
These look so pretty! I’ve been seeing people using these on Instagram and since I’m in Canada I haven’t found the same tiki torches online. So I may just have to try this and make my own!
Wendi says
Hi Gladys!
Thank you! It’s an easy project to make and so much less expensive than buying pre-made ones. I hope y try it! Thanks so much for your visit and sweet comment.
Tina says
I love the look of the torches. Has it been working with the no-see-ums? We just purchased a relatively new product called Spartan Mosquitos, and it has been working great. Just hang up the cylinders and no mosquitos. Which says a lot for where we live. We’re on 7 acres with 5 of the acres wooded, south of Atlanta. I would usually get eaten up in the early evening, but not this year. I may make the bottles and just put candles in them, since they’re so pretty.
Wendi says
Hi Tina!
Thanks so much. Yes, the torches have worked well so far for both. We get the no see ums more than mosquitoes depending on rainfall. I can imaging your place in the wood (as beautiful as it sounds) get more mosquito action. The torches are so pretty outside at night! You can use a vegetable oil instead of tiki fuel! Thanks so much for your note!
Kirstin says
I’ll have to try this, and even the homemade torch fuel…..Do you need to let the wick sit for a little bit in the fuel so it can soak it up?
Wendi says
Hi Kirstin!
I’m SO glad you mentioned this! I was thinking I’d forgotten to mention that. Yes, the tiki torches light much better after they’ve sat a while! I’ll add that to my instructions now! Thanks for the reminder:)