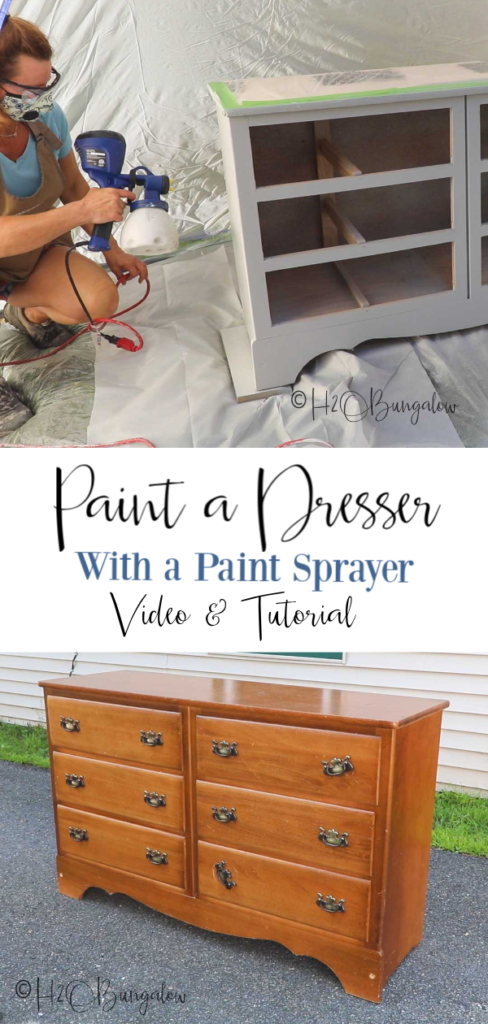
Today I’m going to show you how to paint a dresser in 7 steps. Even though this tutorial and video will be most helpful for beginners, I share a few furniture painting tips that advanced furniture painters will find useful too.
A dresser makeover isn’t hard to do and it’s a lot cheaper than buying a new one. You can take an old thrift store dresser and give it a new look for a fraction of the cost of a new one in a weekend. Sounds simple right? Well it actually is if you follow these few simple steps to paint a dresser.
I’ll share how to paint furniture with a paint sprayer, how to get a two toned look with a stained top and painted base along with lots more useful furniture painting tips below and in my video.
Sending out a big thank you to HomeRight for sponsoring this post. Of course, all creativeness and opinions are my own. I also use affiliate links in this post, if you make a purchase I’ll receive a small commission at no cost to you. Thank you for supporting the brands that keep H2OBungalow going!
I love painting furniture and wish I had time to do it more often. It’s been a while since I broke out my HomeRight Super Finish Max Paint Sprayer and shared a painted dresser furniture project with you guys. My all time favorite painted furniture DIY project is the Stained Top Painted Bottom Furniture Makeover where I made a matching set of nightstands for the Americana room at the North House Lodge. I’ve also used my Super Finish Max for a ton of other projects like painting my wicker chair and applying stain and weathered wood accelerator to the DIY headboard I built out of shiplap.
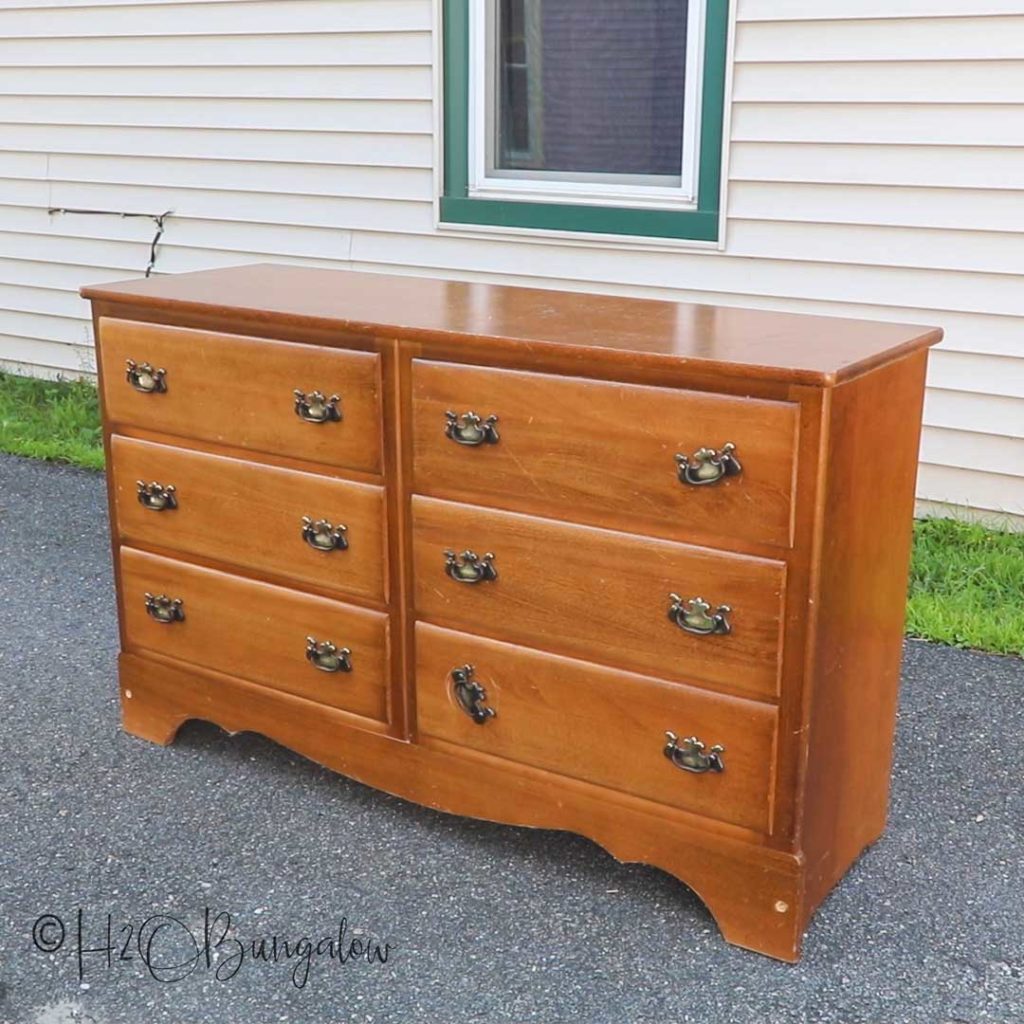
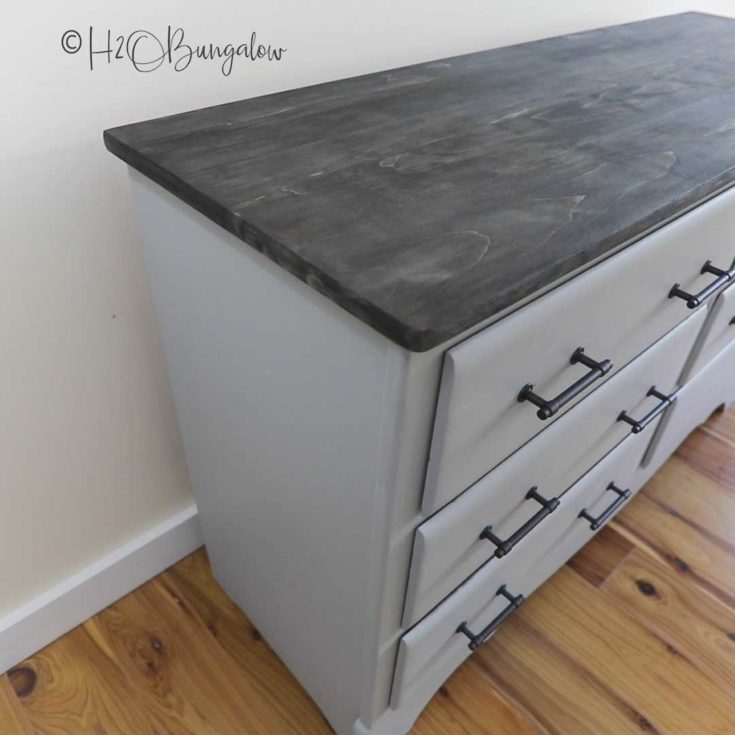
I picked this dresser up at our local thrift store in Ludlow for the North House Lodge. It was well constructed, solid wood and had a nice shape. All it needed was a fresh coat of paint, new drawer pulls and some imagination to make it a wow.
I need a rustic modern dresser for one of the bedrooms in the North House and this one was perfect!
I also made a step by step video tutorial on how to paint a dresser with a stained top to go with this post. I share a ton of useful advice and tips for any kind of furniture painting. If you’ve never used a paint sprayer to paint a dresser before, you’ll get a good idea of how easy and quick it is to use from my examples in this project.
If you only want to paint a dresser one color all over, follow the steps outlined below and skip the sanding and staining part for the top.
Here’s a list of the supplies I used for this paint project.
- Dresser
- HomeRight Super Finish Max Paint Sprayer
- HomeRight Large Paint Shelter
- Grey Flat Latex Paint
- 12 – 3″ spaced drawer pull handles
- TSP – cleaner and degreaser
- Durable gloves
- Paint brush, 2″
- Painters Rag’s
- Minwax Prestain Conditioner
- Minwax Stain in Ebony
- Minwax Polycrylic in satin
- Random orbital sander
- Sand paper, 80 and 180 grit
- Disposable plastic drop cloths
- Tack cloth
- Safety goggles – these are great if you wear prescription glasses!
- Respirator – this is my new favorite
I have a good tutorial on How to Prepare Furniture for Painting. It covers all of the steps including how to make repairs on furniture before painting, When to use a primer, which ones work the best and more useful information. It’s worth a read if you’re new to furniture painting.
Let’s get on with my painted dresser tutorial, ok?
How to Paint A Dresser in 7 Steps
Step 1. Make any repairs necessary.
Give your dresser a once over to see if anything needs to be repaired. Check all of the drawer glides, check for deep scratches that may need to be sanded down or other defects in the wood. Repair as needed before moving on tho the next step.
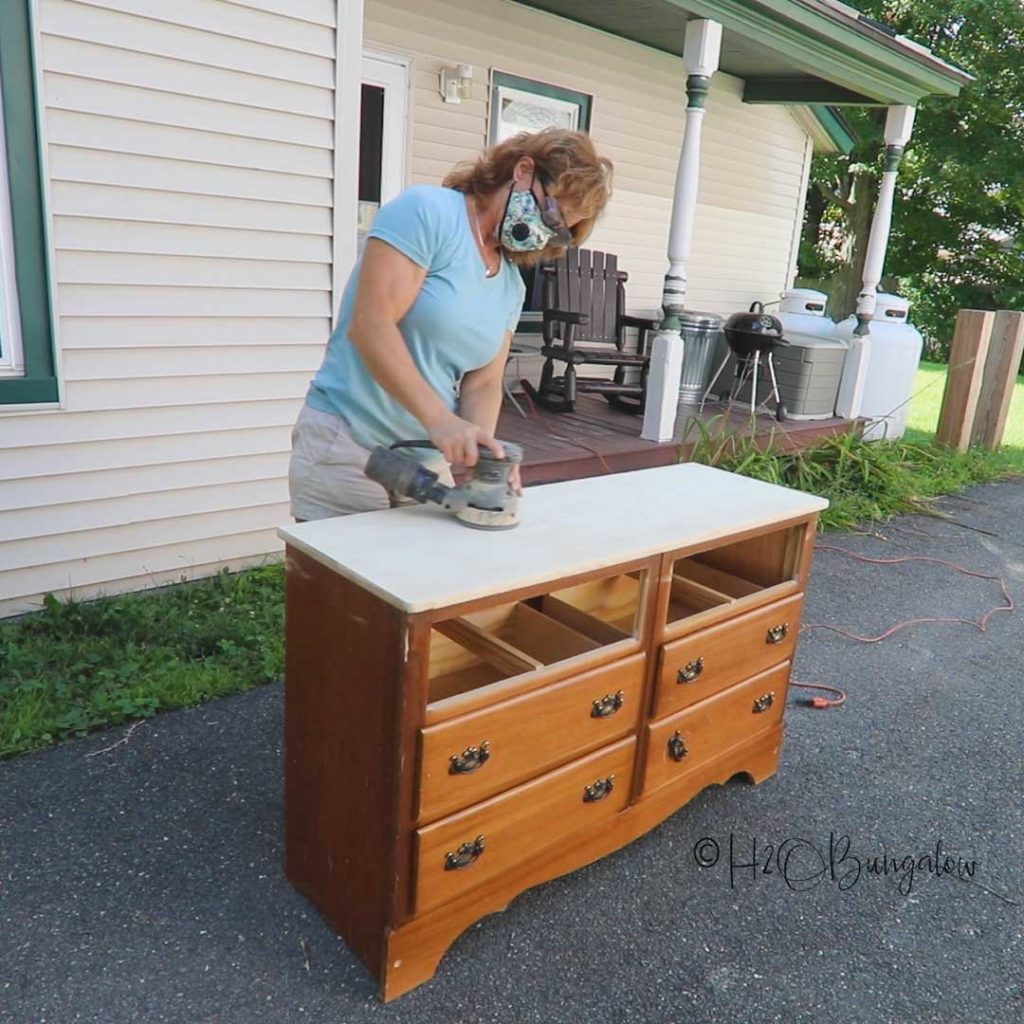
Step 2. Sand the top of the dresser.
If you’re planing on doing a two-tone furniture makeover with a stained top, painted bottom like mine you’ll sand the top now. This type of furniture makeover works best on a solid wood furniture top.
If you’re planning on painting your dresser one color all over, move on to the next step.
Use a random orbital sander following the grain of the wood. Begin with 80 grit and finish with 180 grit for a super smooth surface.
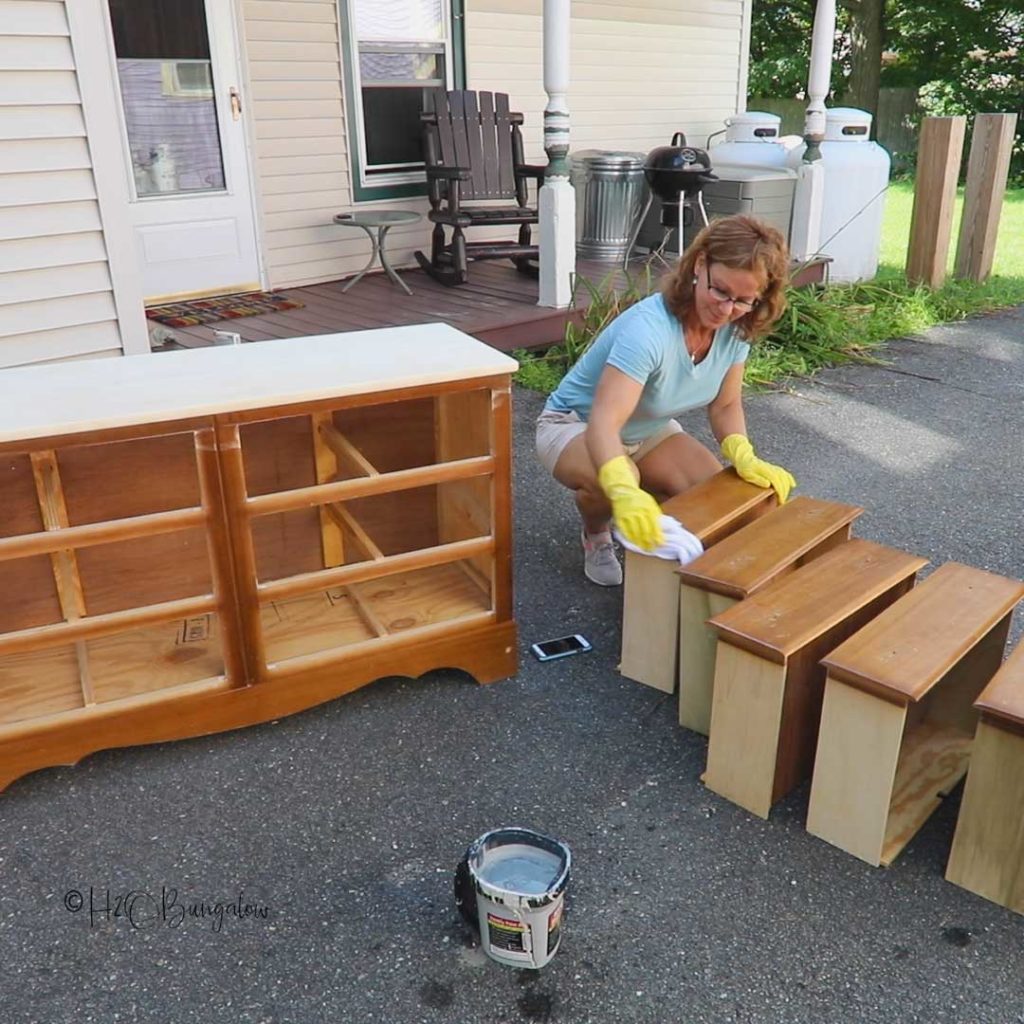
Step 3. Degrease and Degloss the dresser before painting.
Use a mixture of TSP and water or Simple Green to thoroughly wipe down all of the surfaces that will be painted.
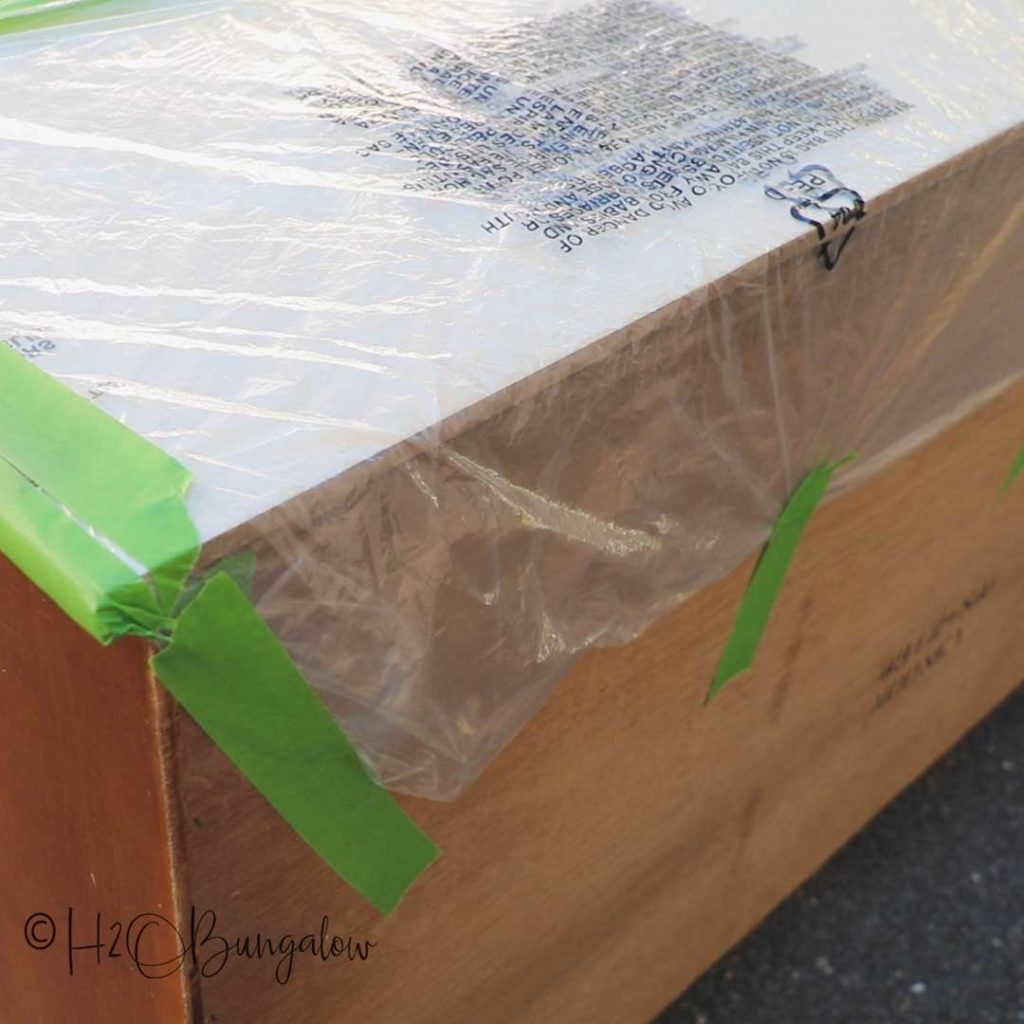
Step 4. Protect areas you don’t want painted with painter’s tape and a plastic drop cloth.
You’ll notice I used a large plastic bag for this step that came with something I ordered. You’ll see in my video I also used a clear shower curtain I was about to toss to cover the drawers too. Why not find new uses for stuff laying around?
I like Frog Tape for my painting projects. One of my favorite ways to apply painter’s tape is in layers, especially when using a paint sprayer since it blows air and you want a good seal to protect your surfaces from paint. Look closely on the video and you’ll see how I get a perfect edge with two layers of tape.
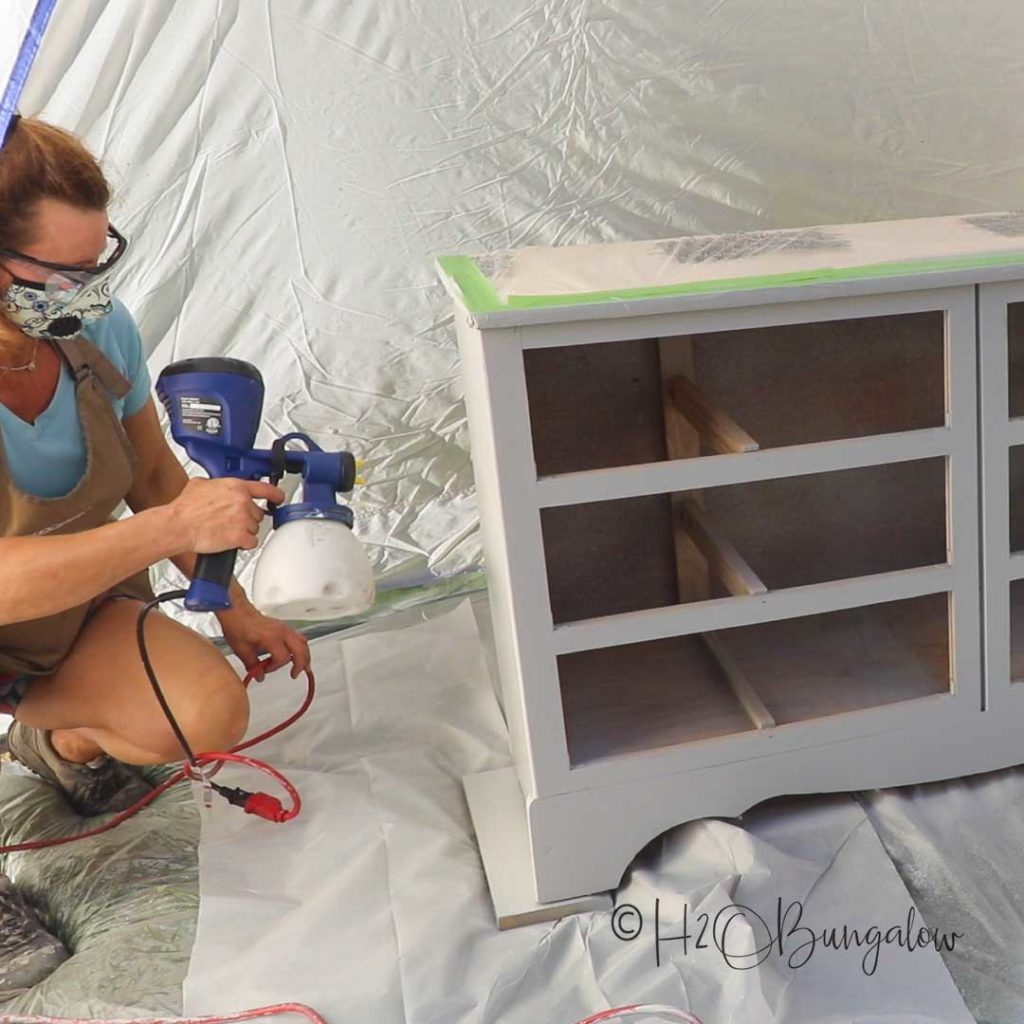
Step 5. Paint with a HomeRight Super Finish Max Paint Sprayer.
Apply two coats of paint to the base and drawers allowing them to dry in between.
Always start with a test spray to adjust the paint flow and direction. Depress the trigger and use slow passes from side to side finishing one area before moving on to the next one.
When the dresser and drawers are dry to the touch, remove all of the painters tape and plastic. Sit it aside and allow to dry overnight.
Step 6. Stain and seal the dresser top.
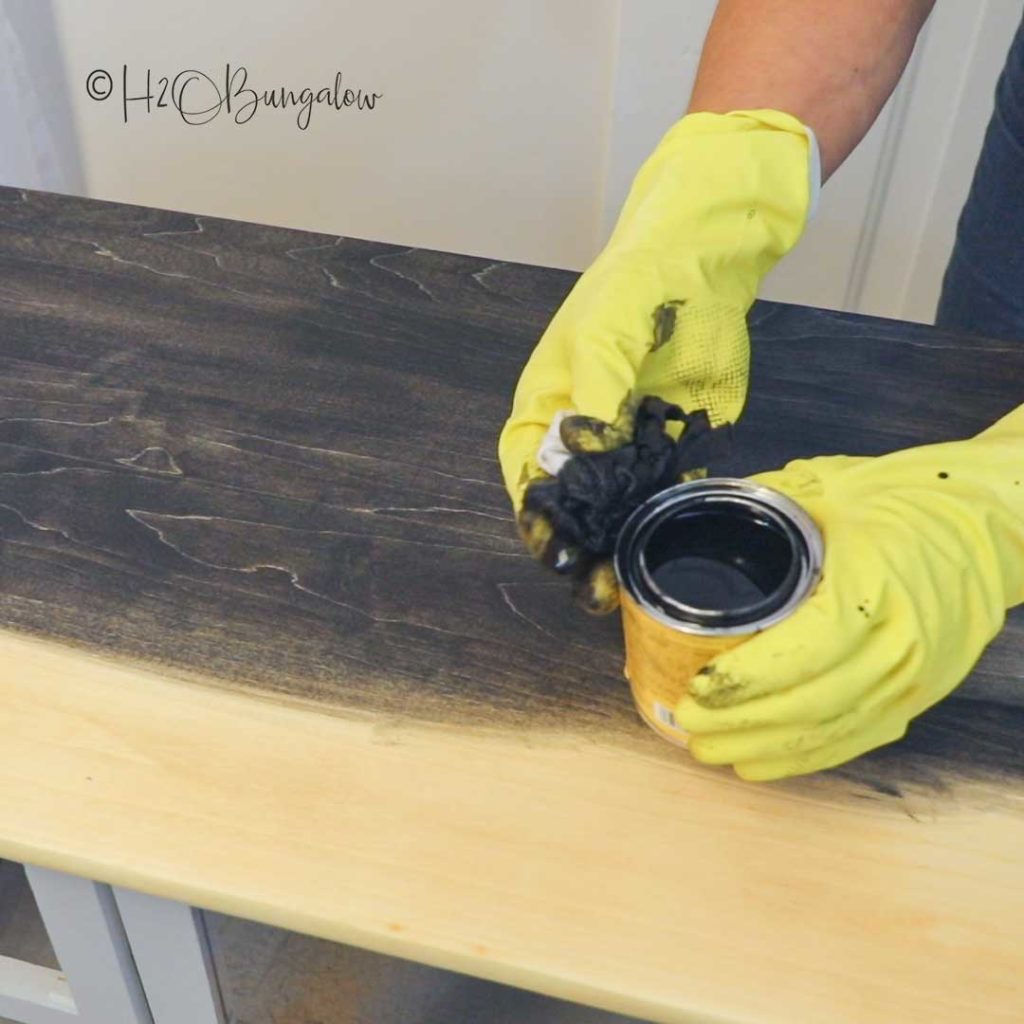
I use a prestain conditioner to treat the bare wood before staining to prevent blotchiness and an uneven stained appearance. Apply one coat with a paint brush, wait 10-15 minutes and wipe off the excess.
Next, apply tone – two coats of stain with a clean painter’s rag in the direction of the grain. When done, allow to sit overnight.
Seal the stained dresser top
Use a polycrylic and a brush to apply three coats of poly to the dresser top. I like to do a modified water base finish because it looks most like a finish from a furniture store. Again, you’ll see this in the video. I dip the tip of my brush in water, tamp off all the excess and then dip it into the poly.
Apply to the dresser top following the wood grain, working in sections and always keeping a wet edge. When dry, sand lightly with 220 grit sand paper. Go over it with a tack cloth before adding another layer of poly. Apply at least 3 coats of poly to protect your wood.
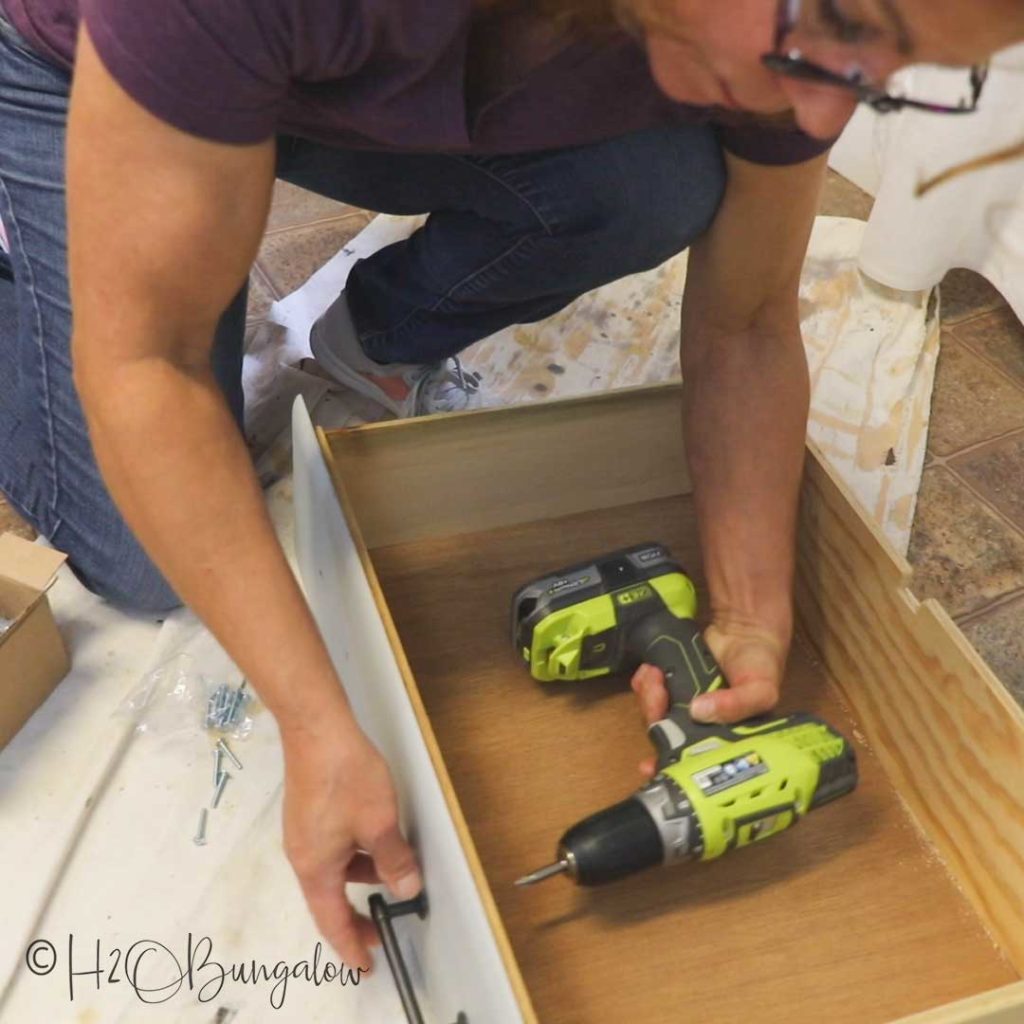
Step 7. Add the drawer pulls back onto the dresser drawers.
If you haven’t yet, watch my video to see how to paint a dresser to see these steps in detail and get lots of extra tips on refinishing furniture.
I answer a few common questions about how to paint a dresser below.
How much does it cost to repaint a dresser?
Usually, you can repaint a dresser for under $20 if you have a few supplies on hand. If you’re a hobbyist DIY’er, you probably have a stash of sand paper and a few supplies that you can use. Knobs can be repainted and reused to save money.
I purchased a quart of flat latex paint, a small can of stain for this dresser makeover and new drawer pulls. The biggest investment would be the HomeRight Super Finish Max Paint Sprayer which you can pick up for about $100. It’s a great investment if you plan on painting multiple pieces of furniture or do regular DIY projects.
What is the best kind of paint to use on a dresser?
I prefer water based paint in either a latex or chalky finish. They are the easiest to use and clean up with only soap and water. There are lots of good choices available in craft stores and big box stores like Lowes and Home Depot.
Can you repaint over varnished wood on a dresser?
Yes you can paint over varnished wood. I’d recommend lightly sanding the entire surface first to give the paint a good surface to adhere to. If you’re painting a light color over a dark varnished surface, I’d also recommend priming the entire surface first or you may have bleed through of the old varnish color. I go over this in my post on How to Prepare Furniture for Painting.
Can you paint a dresser without sanding?
Yes you can paint a dresser without sanding if the surface is in good condition with a few exceptions. You can apply a coat of paint or primer directly over most surfaces and follow with a coat of latex or chalky type paints. If you are painting over a laminate surface you’ll want to go over the entire surface with a high grit sand paper to help the paint adhere to the laminate surface.
When painting over a pre-painted surface always check to be sure you are using a water base or oil base paint over the same kind of paint! There’s an easy way to test this. Use a cotton ball with a little rubbing alcohol on it. Rub the painted surface and if any color comes off onto the cotton ball it’s latex paint. If not, the painted surface is oil base paint.
Do you love my makeover and painting tips? Share with your friends on facebook and don’t forget to pin it!

Whew! that was a lot to share today! Honestly, though… Once you know how to paint a dresser and a few simple furniture painting tricks it becomes easy.
I love painting furniture with my Super Finish Max because it’s such a huge time saver and it’s easy to use. I’ve shared a lot of painted projects on the HomeRight website over the past 4 years or so I’ve worked with HomeRight.
Do you have a furniture piece that’s been waiting for a makeover? For more inspiration for your project check out these great makeovers 🙂
A dresser makeover isn't hard to do and it's a lot cheaper than buying a new one. You can take an old thrift store dresser and give it a new look by painting it in 7 steps.How to Paint a Dresser in 7 Steps
Materials
Tools
Instructions
