I’m sharing how to faux paint a copper door today. I love the new look of my front door. Like, really..love it! I’ve wanted some curb appeal since the day we moved in. For the past year and a half every time I pulled into the driveway, I saw ugly. All I’d see was the no appeal front of the house and thought ugh…I can’t wait to paint this!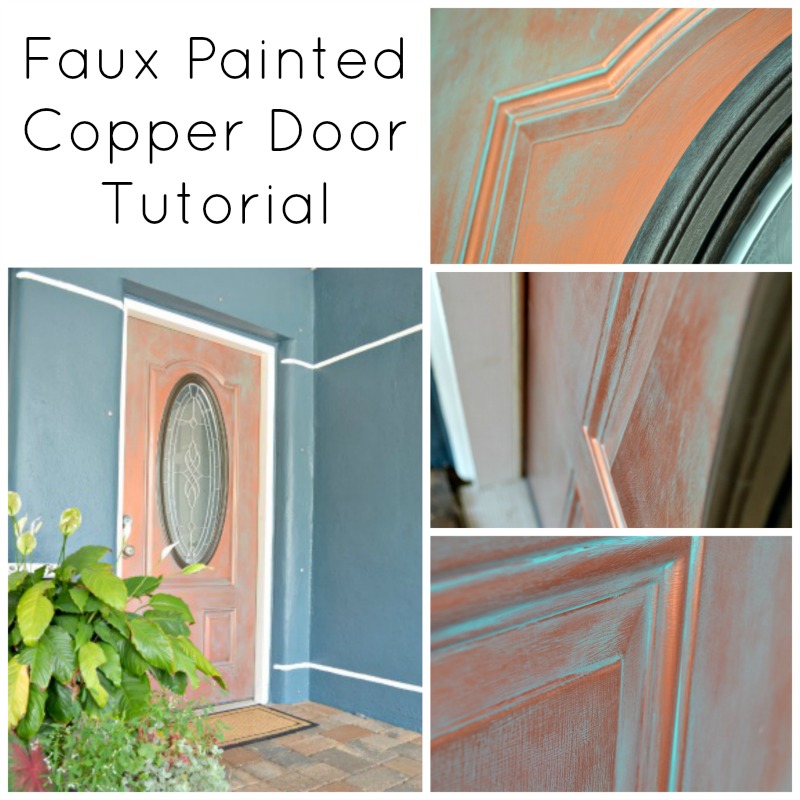
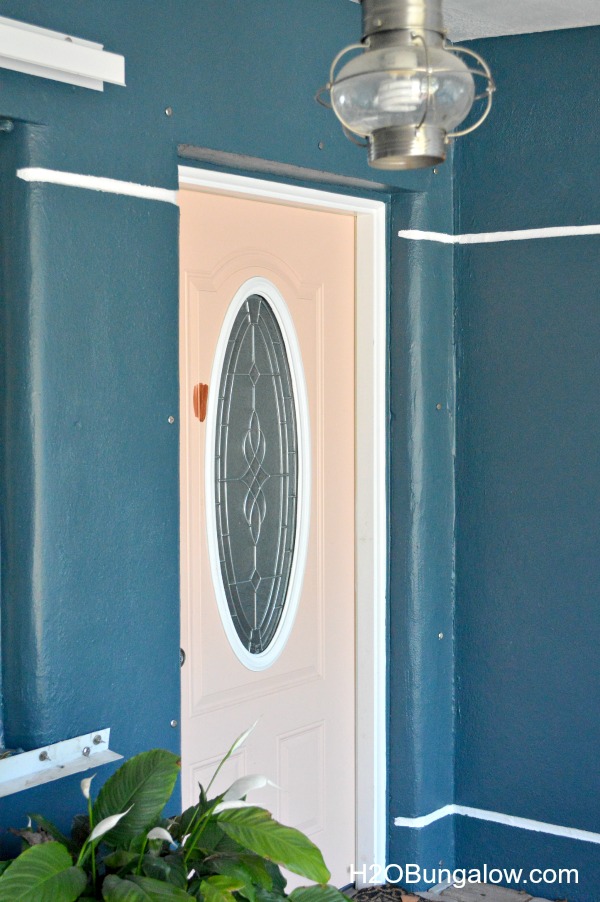
I recently finished painting the exterior of the house which was a huge improvement. Then the front door stood out even more and not in a nice way. It was a watered down pale peachy color.
Yawn….with the personality of a wet paper bag.
This peach wwasn’t doing it for me. Not good. Not me! I wanted my front entryway to be unique, stunning and a make a bold statement. I wanted personality and lots of it!
I decided a long time ago that I would faux paint a copper door. I wanted a cool nautical coastal vibe without being typical.
Do you want to know how to faux paint a copper door? It’s easier than you think. Start with these supplies.
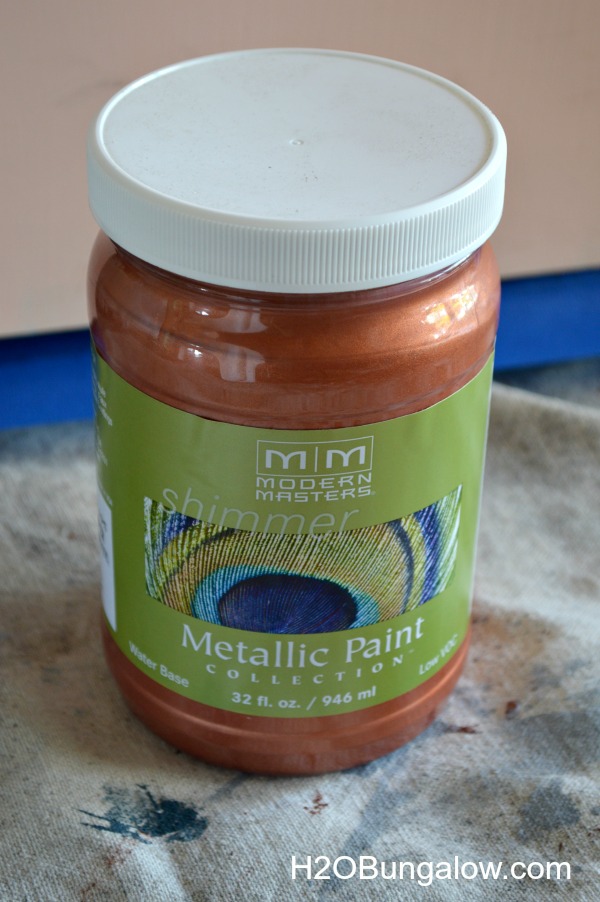
- Copper metallic paint, I used Modern Masters
- Glaze or extender, I used Modern Masters
- Acrylic craft paints, teal, green, black
- Thin disposable gloves
- Painters tape
- Velor roller in the 4″ size
- Small rag or cheesecloth
- Clear exterior paint sealer
- TSP to clean and degloss the door
Begin by washing your front door. Use a deglosser if it’s already painted. I like to use TSP. Tape off the edges and any windows with painters tape. It’s best to take off the hardware like the doorknob. If your feeling lazy like I was, just tape it off too.
I used Modern Masters Copper paint. I loved it for this project.
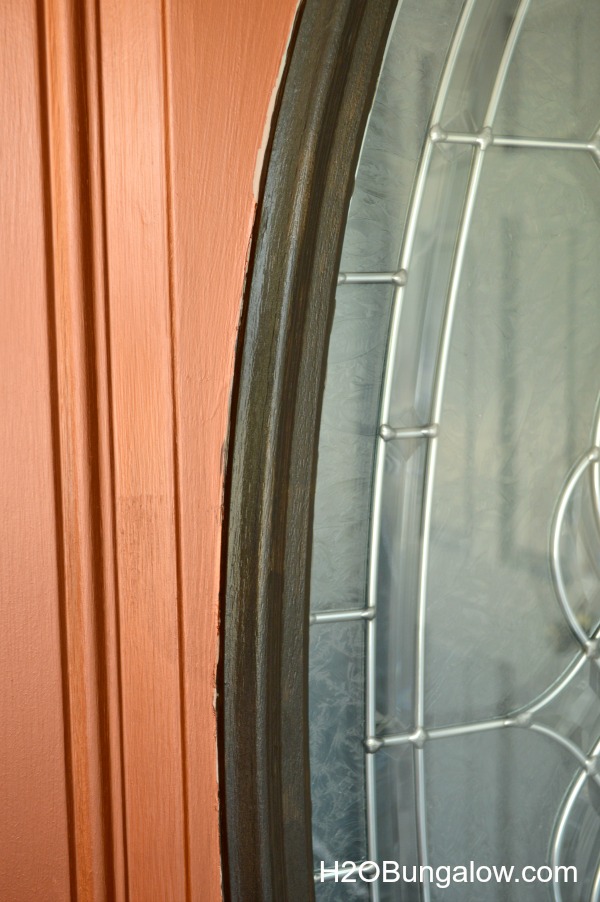
Start by painting several thin coats of the copper paint with the velour roller. I like the 4″ size the best and it will give a nice smooth finish.
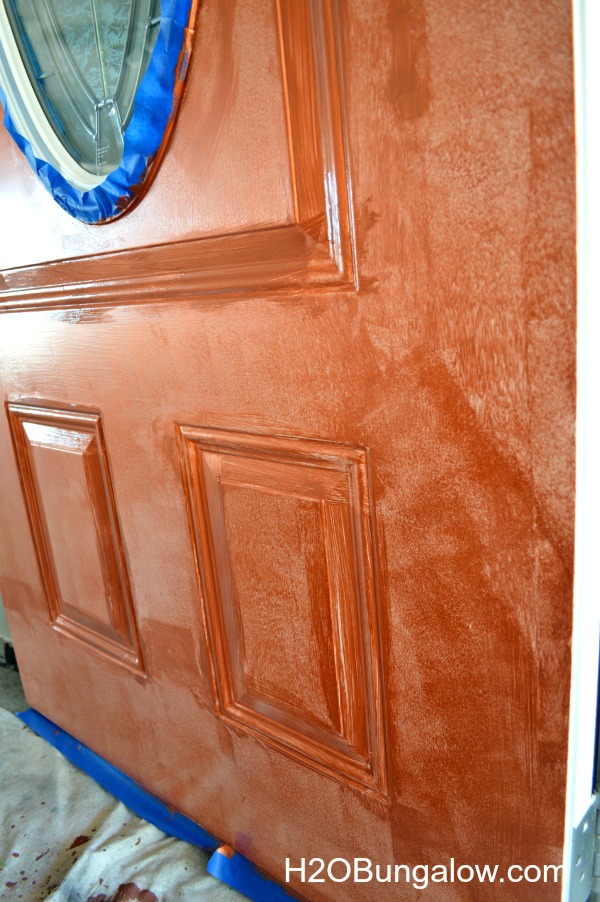
I liked the bright copper…but, I didn’t LOVE it. Every time I walked up to the front door I kept thinking…It’s missing something. You know that nagging feeling that just kind of sticks with you?
I know me well enough to know If was feeling like that already, it wouldn’t change later. But, I was busy, so I put off dealing with it.
One morning I just started. It wasn’t planned.
I just did it.
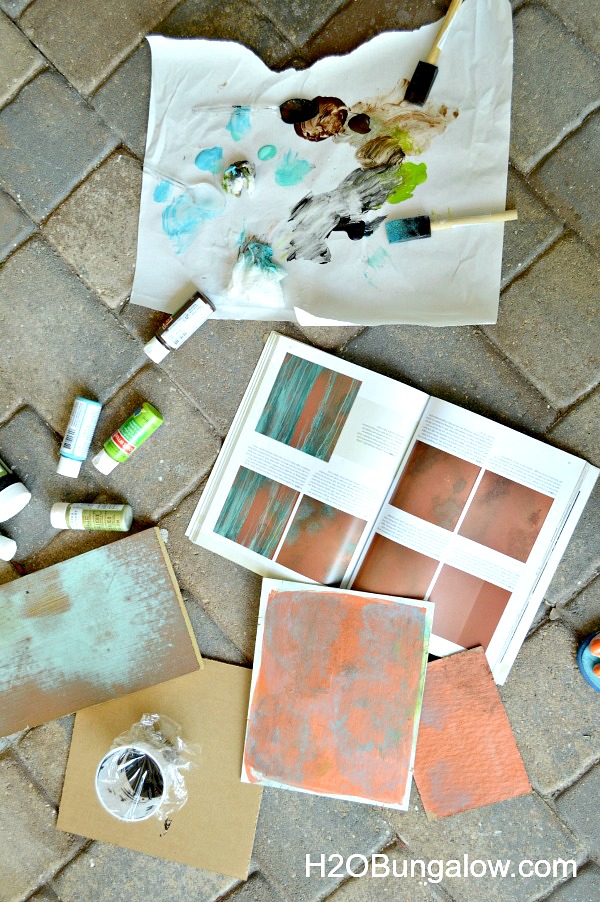
Over morning coffee I just started thinking about aging the copper and giving the door some depth. I thought I could make a few sample boards to see if I could replicate the aged copper patina from one of my books. I grabbed a handful of acrylic colors, and tore off a sheet of freezer paper to mix the paints on. Freezer paper works well because it doesn’t absorb the paints.
A few hours later..
I was all over that door. Our contractor, the postman, everyone who came by had to see what I was doing… What the crazy lady who lives in the construction house with a dumpster and porta potty in the front yard was doing. It was really pretty funny.
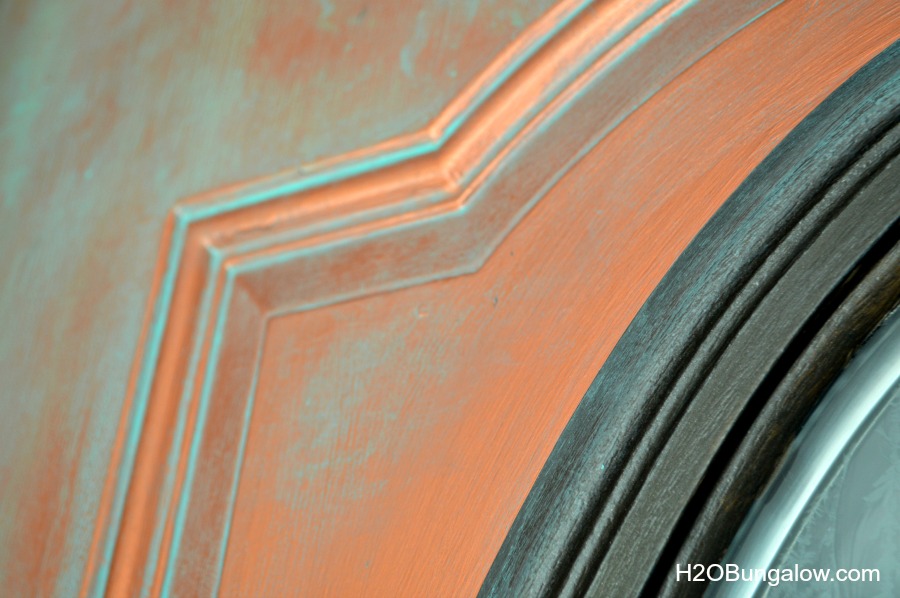
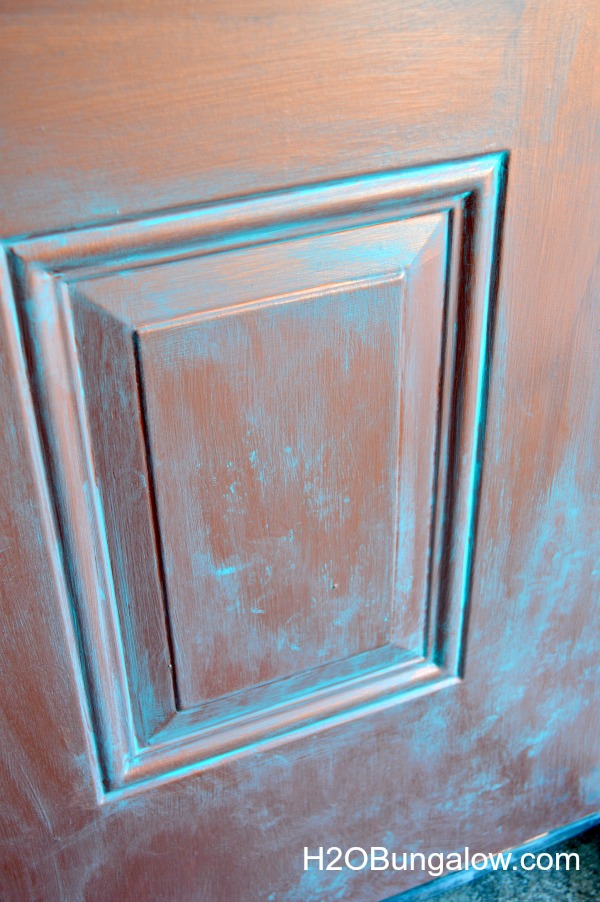
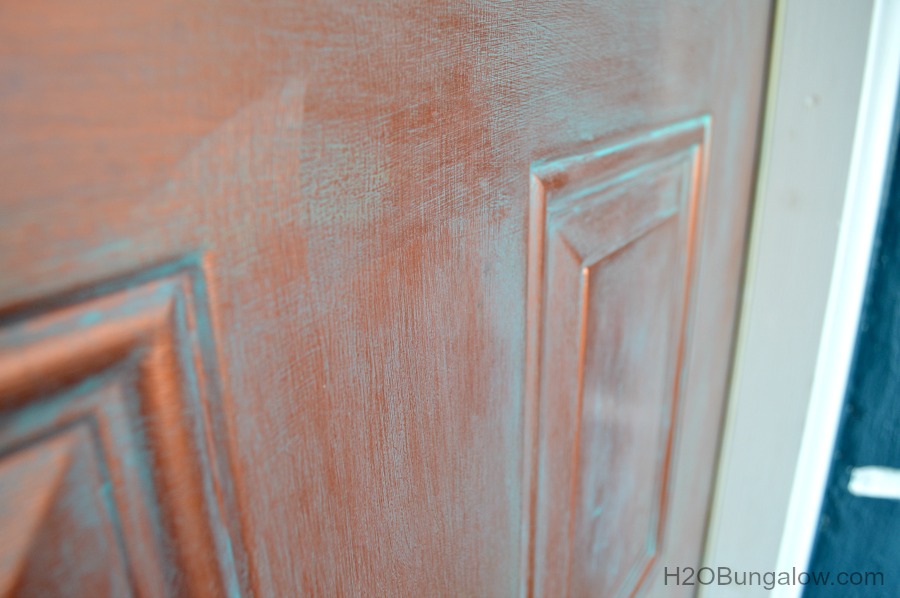
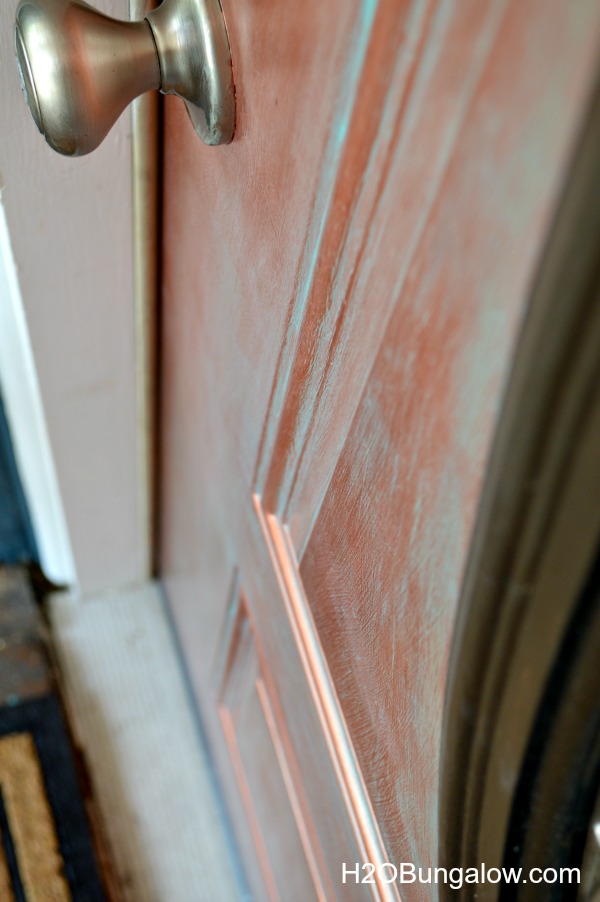
Here’s a rundown on how to faux paint copper. I painted my front door, but you could easily paint something else with an aged faux copper patina.
Start with a white clean lint free cotton rag scrunched up. Squirt little dabs of paint about the size of quarters on a plate or freezer paper like I did. Have a small bowl of extender to dip your rag into nearby. Dip your rag in the extender and then the paint. I dipped my rag in the turquoise color first and the heaviest. Dab it on and then work it by rubbing it in until you like the finish. This is almost like the reverse of polishing metal, except your putting on color.
Next, while it was still wet and tacky I mixed and added the other colors to my wet rag and continued to work an area until I had variation in the color. Use the same spot on your rag. You want lots of color variations, tones and mixtures. Natural aging has other color hues in it. I sparingly added those colors in random places and blended them well. The key is blending and working your colors and edges.
It’s a good idea to try your hand at a few sample boards like I did to get a feel for the colors and mixing them with the glaze. It’s easier than it sounds and a few sample boards can be a big confidence builder.
Here’s another tip, don’t make hard lines on the edges of areas you are working and don’t let an area dry too much before moving onto the next spot. I didn’t like the hard edges and had to work to get rid of them.
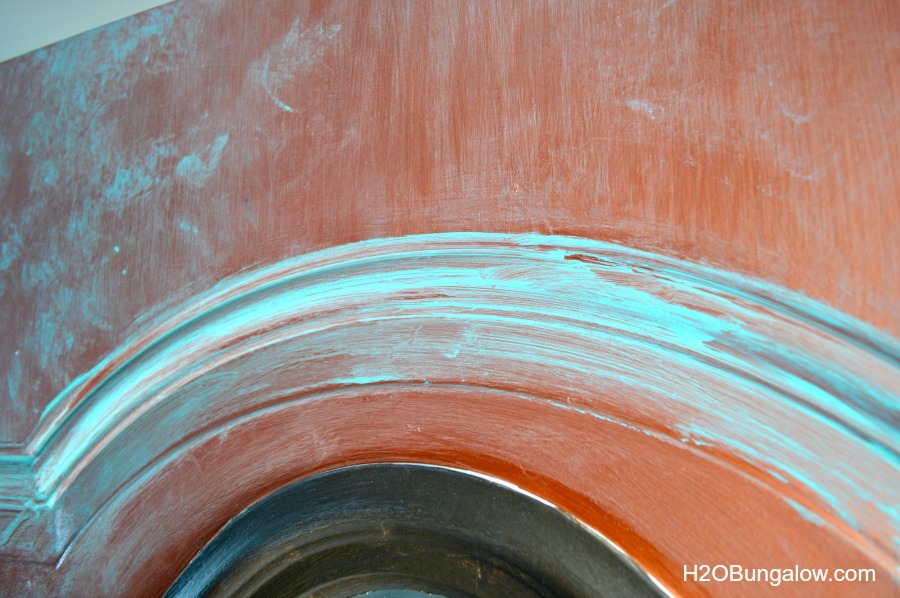
The paint will get tacky as your working it. I liked that stage because it gave me the best consistency to rub it into cracks and rub off what I didn’t want. Work in thin layers. Add more layers to make some areas heavier like you’d see in a natural aged patina. Put it heavy in cracks and crevices. Wipe the excess off which will be most of it.
It will look like this after you’ve wiped off the excess.
FYI, as you’re working on the layers it will look worse before it looks better. Just keep rubbing it in and working the glaze. Remember to add more extender to your rag if needed and wipe it over an area to keep it tacky and workable before it dries.
Keep working an area until your happy with the look. Be sure to step back and get a perspective from a distance. That’s how everyone will see your door, from a distance. Spots that don’t look so good close up look awesome from a few feet back.
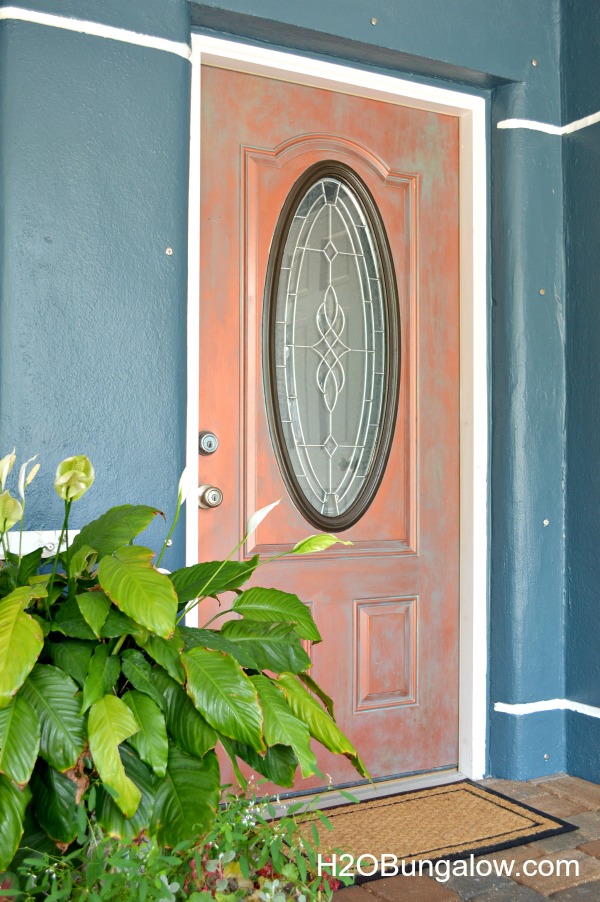
When your done, you’ll have a super unique, custom front door. I love that my front door is different from the other beach houses in our neighborhood. I have a master plan for our house and this door is part of it.
Now, every time I walk up to my front door I think about how much I LOVE it!
I had no idea I could faux paint a door to look like aged copper a few months ago. I wanted a copper door originally but that was not a budget friendly choice. Being a DIY’er has plenty of benefits, one big one is that we tend to find solutions to make what we want. In this case I did.
We are finally making headway and moving beyond the uglies in the project house. A little step here and a little project there are making a big difference. I’m not cringing as I drive into the driveway each day and for that big step I’m grateful 🙂
Would you faux paint a copper door or try another project?
Love a good dose of DIY home decor, home improvement, the challenge of woodworking and creative ways to make your home look fabulous?
Me too!
I’d love to share mine with you. Click here to sign up for my post emails and I’ll send a quick note when I have a new project to share.
Social media fan? Don’t be shy say hello! I love when you guys do that! I’m interactive on Facebook and I share lots of other projects and, useful inspiration for the home and content I don’t share anywhere else. Follow H2OBungalow on Facebook here
Oh heck, just follow me on all social medias. We’ll have some fun…promise:) Follow H2OBungalow on Instagram , Follow H2OBungalow on Twitter , Follow H2OBungalow on Pinterest, I’m on Periscope! @H2OBungalow
I use affiliate links in my posts. If you should make a purchase I will receive an itty bitty commission at no cost to you. Thank you in advance for supporting my blog…my two cats and our boxer dog


Jamie says
That is beautiful!! What a statement for a front porch! Thank you for sharing it with us at the #HomeMattersParty
Wendi says
Hi Jamie and thank you:) It’s a much better look than the peachy front door it was!
Brooke @ Putter Home says
That’s really interesting. I never would have thought to do a door in copper. Wish I didn’t have pink/copper colored brick – I might just try this! Would be fun to do inside, maybe against a black wall. Could be stunning!
Wendi says
Hi Brooke, It took me a while to get the courage to try the copper door. I really love the look, it was different and nautical. You could try this technique on just about anything, home decor, interior walls, etc. Have fun with it! Thanks so much for your visit and comment!
Lindsay says
Awesome job! It looks so great! Thanks so much for sharing at Merry Monday!
Wendi says
You’re welcome Lindsay! It was fun trying something new and different from everyone else!
Jodi Jackson says
I love this, this would have been my next choice!! Lol
Wendi says
Hi Jodi..My door is one of those projects you either love or it doesn’t do it for you. I still love it:) Thanks so much for your visit & wishing you a wonderful Thanksgiving!
Heidi says
I would have painted the door a dark copper. It is unique but it looks washed out to me and lacking “pop” .
Wendi says
Hi Heidi, The color is hard to photograph, especially because the blue from the house reflects back on it. It’s definately not the bright pop of color that many people prefer. Thanks so much for stopping by & have a great day!
Mary-In the boondocks says
Love the color on this. Another great project. I’m taking notes!!
Wendi says
Thanks so much Mary:) This was a fun project, and the finish isn’t hard to do. Try it on something! I’m sure you’ll come up with a smashing idea:)
Kathleen says
Fabulous idea. We finished painting the house exterior a pale powder blue (due to the light grey roof tiles), and the front door, which is exactly like your style, a slightly darker value in coral (with the pink undertone). It’s a lovely contrast but lacking the umph factor until I saw your idea, which I will now tackle with the utmost happiness. Again, thank you for your creative ideas.
Wendi says
Kathleen, Once again thank you! Your colors sound wonderful. A copper door would be stunning next to a pale blue. I love seeing my door every time I drive up to the house, I know you will too. Again…Share a picture when you complete your project!
Jeanette says
WendI, I had to pop back over and check out your door. Fantastic job! What fun to walk up to a copper door. ~Jeanette
Wendi says
Jeanette…Thanks so much! I had this project in my head for the longest time and finally just did it one day. Someday, when we are done with the inside construction I’ll be able to work on the outside do more with the entryway!
Patty says
Amazing,I love the way it turned out. You are so talented and a great inspiration. Thanks for sharing.
Wendi says
Patty…Thank YOU for leaving me such a nice comment. I create for comments! Really, nice comments like yours make my day. I love how the door turned out also. It was easier to make than it looks and it’s fun to be unique!
Marie@The Interior Frugalista.com says
Wow Wendi, I love what you did with your door – so unique and outside-of-the-box! Thanks for the chuckle this morning re: the crazy lady with the porta potty in the front yard. LOL I think it’ll be that gorgeous door that grabs their attention and no the porta potty.
Hugs,
Marie@The Interior Frugalista
Wendi says
Hi Painter friend! I wish you could see the door in person, it really looks stunning! I love that it’s unique in our neighborhood too.. I’m sure it will be seen much better as soon as they take away the porta potty..it completely clashes with my choice of colors!! Haahaa
Dana says
What a fantastic idea Wendi! The freezer paper and paint is a super paint hack. Thank you!
Wendi says
Dana…Wow, thanks {happy smile}… The freezer paper was me grabbing whatever was easy and close by. It worked so well for mixing paint I will use it again.. plus no clean up! I love my front door now. Thanks for the kudos! Your visit & super nice comment is totally appreciated!
Nancy @ Artsy Chicks Rule says
That is truly amazing Wendi!! You did a fantastic job!!! It looks soooo much better than the before!
Nancy
Wendi says
Thanks Nancy! The peachy color was taunting me every…single…time I walked up to the front door. It was nothing short of ugly. I love the copper door now. It really does look liked aged copper!! Thanks so much for stopping by and leaving a super nice note:)
Christy@Confessions of a Serial Do-it-Yourselfer says
Beautiful, Wendi! It really looks like copper!
Wendi says
Christy…Aww Thanks! I’ve planned this project for so long, so it feels really – really good that it turned out! Yes, it does look like real copper, especially in person 🙂 Thanks so much for taking the time to leave me a thumbs up!