This little bath storage cabinet makeover has been a long time coming. It was a neglected run down cabinet hidden away at the back of my closet for almost a year. It was also a lot more work than I initially thought it would be. Only because I was kind of figuring out how to do this as I was going along. Oh, and then there was an extra little twist I had to work into this makeover as well.
What kind of twist you ask?
This project is for Themed Furniture Makeover Day, and you guys know what that means! It means I had to fit my makeover into a theme.
This months theme for our group of furniture refinishing bloggers?
Animals.
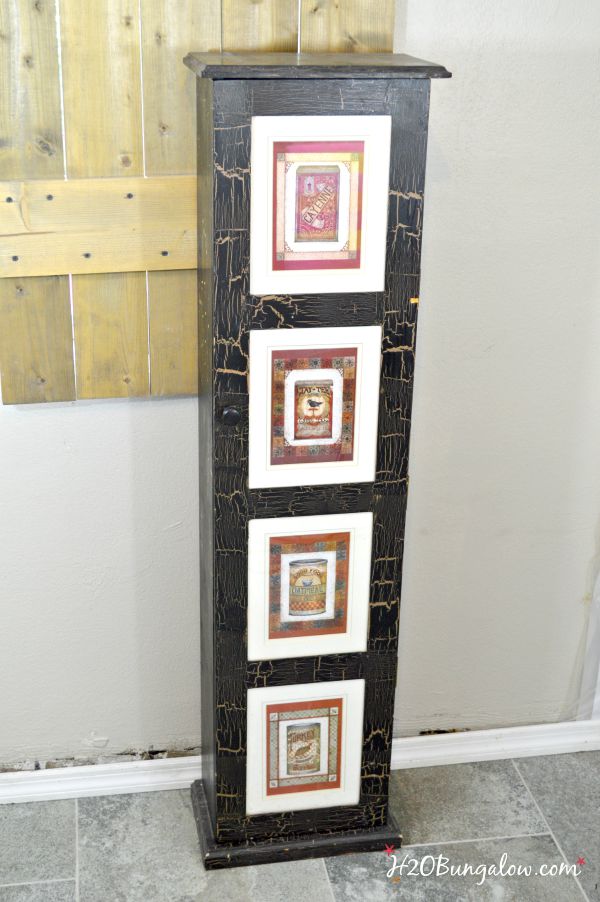
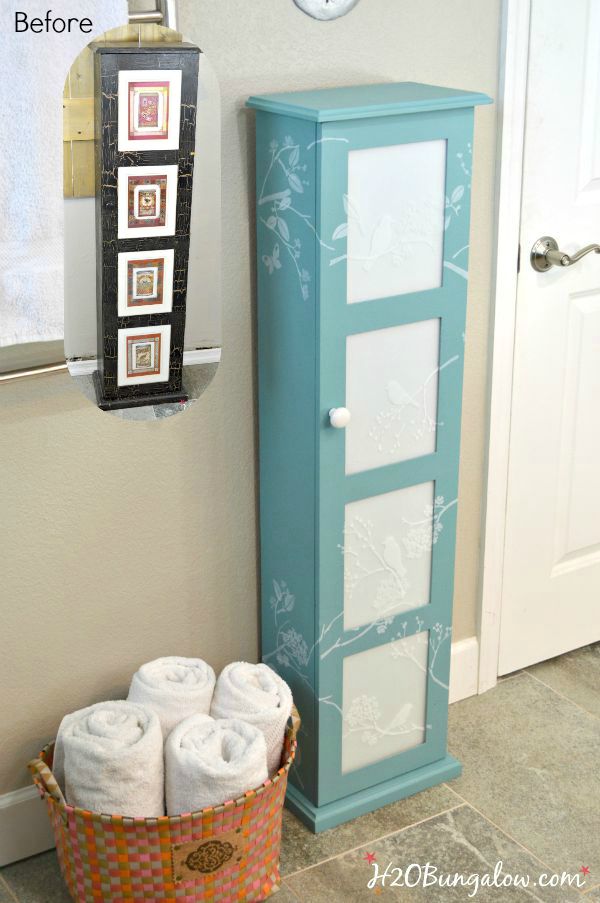
This little beat up storage cabinet was tucked away in my closet but I was using it as a bathroom storage cabinet. It was a tad too ugly to take out. I made it over somewhere around 2001, and it looked like it too. It was time.
All I had to do was make my bath storage cabinet makeover fit an animal theme. Simple, right? I think the challenge was making over my cabinet into something I’d actually like and use.
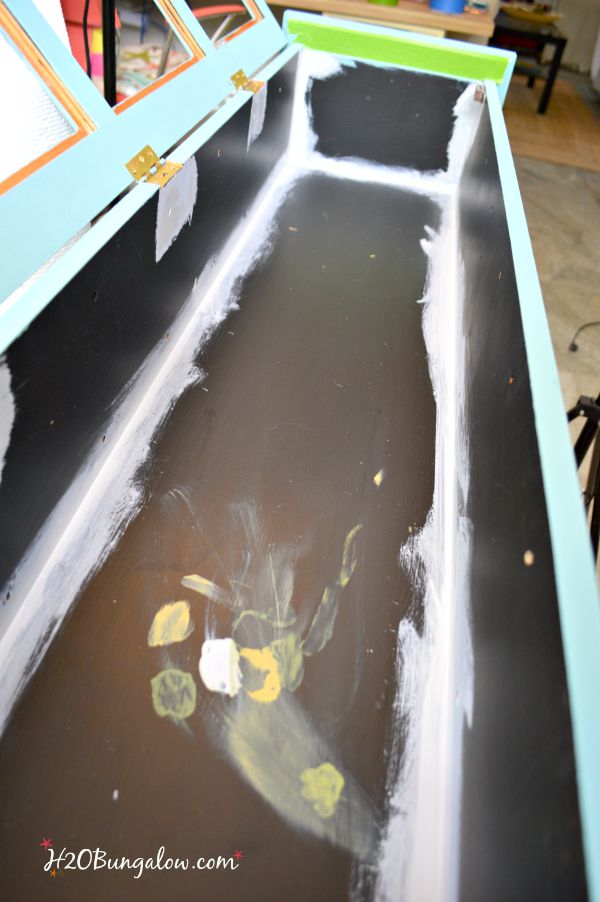
Digging through my stash of supplies felt like I was trying to come up with a new outfit for date night 🙂 I mixed and matched paints, decorative items, stencils and finishes until I had piles of stuff everywhere. I even tested out several paint combinations on the inside of my storage cabinet.
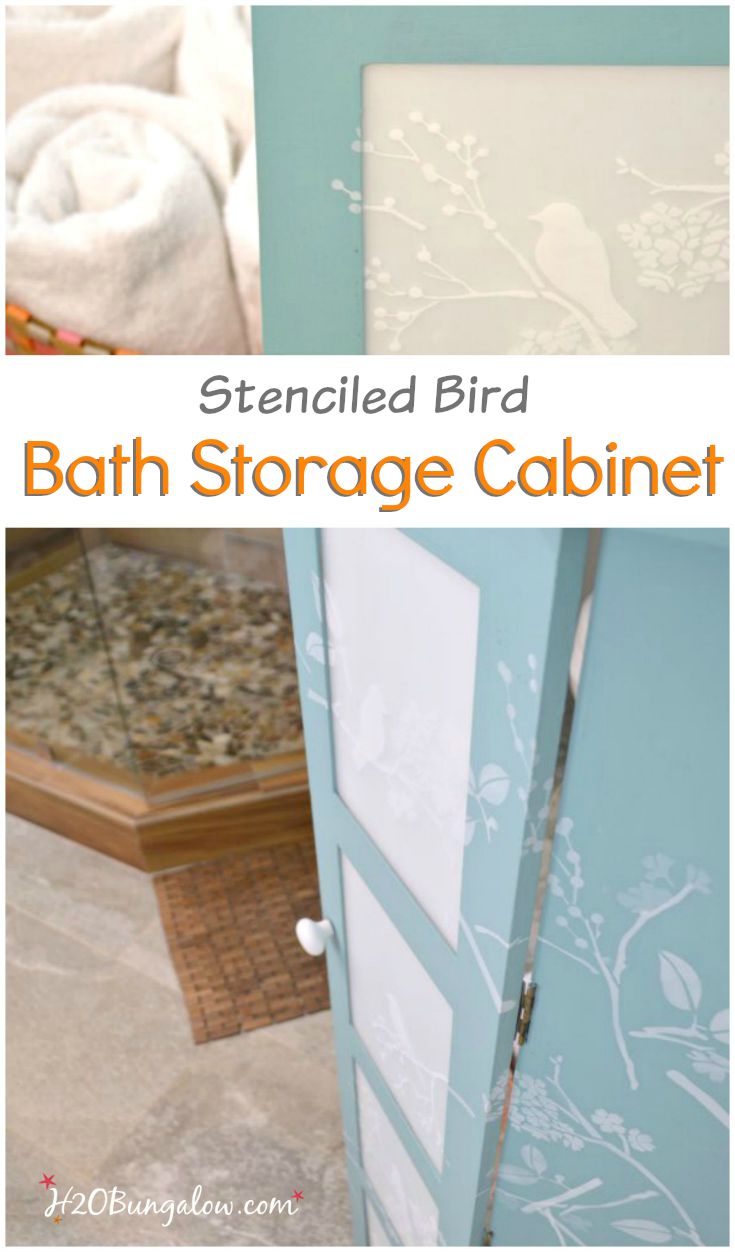
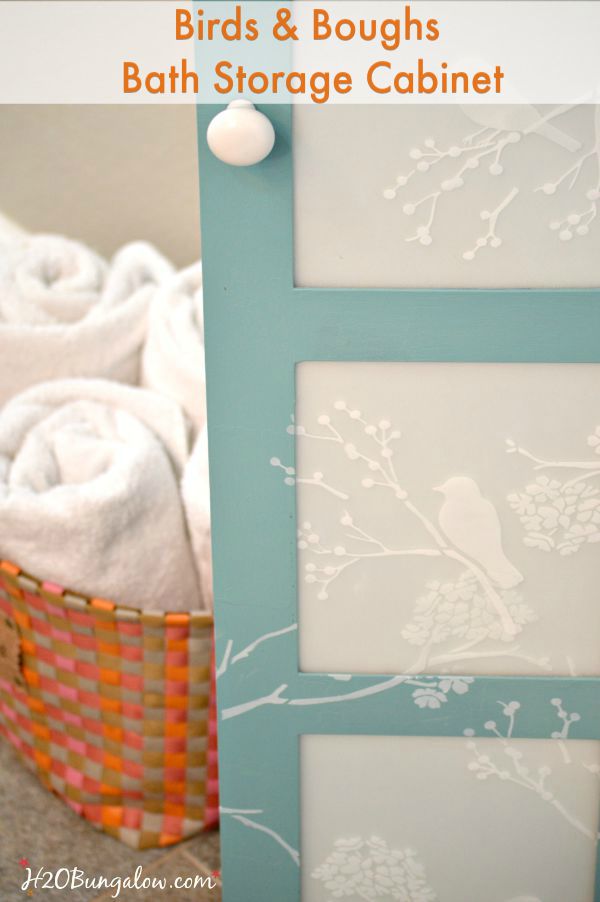
I ended up choosing a light grey called Yesteryear for the inside and a pretty blue-green Cascade on the outside. Both are acrylic based which I think will wear well for a non-distressed bath cabinet. I decided to frost the glass panels with frost glass paint and stencil the entire cabinet with my bird stencil in a white acrylic based multi-surface paint. I picked a poly sealer from my stash from DecoArt because I had some left over from another project. I also like the finish and it’s at an afordable price point.
I’ve never tried frosting glass before this project. I’d just picked up a jar on clearance at Michaels and was itching to try it out. It worked great…after a few learning curves and one ruined glass panel that I had to switch out :). How to frost glass is a technique and a post on it’s own, so I’ll share it next week.
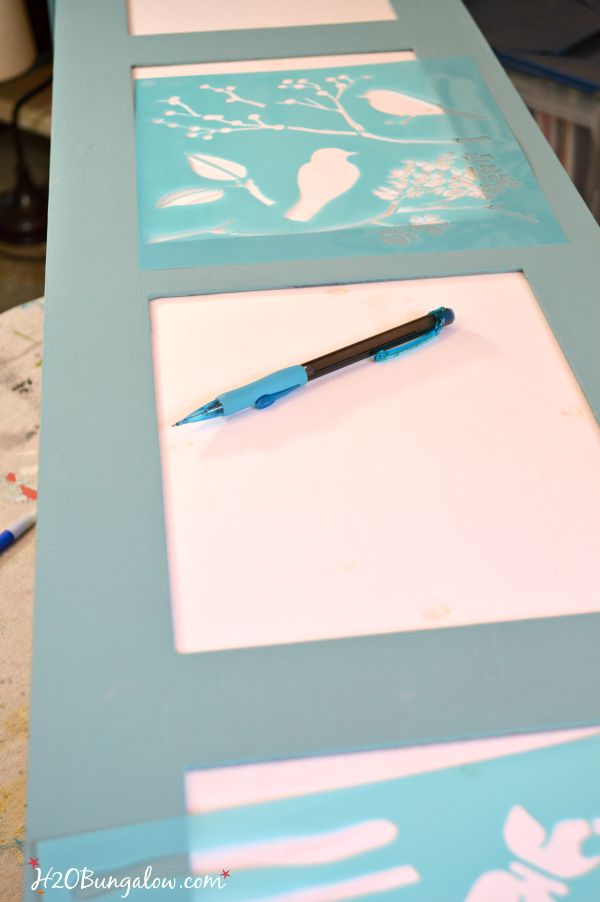
Once I had the glass frosted, I still needed to add my birds and branches. I used plain copy paper in the glass openings to test stencil layouts on paper before ruining any more glass 🙂
Once I had my stenciled bird layout, I built my design out from the center. This stencil was kind of complicated since there were so many pieces that make the whole. If you’re trying this, start with the bare branches and add the leaves, flowers, birds or butterflies in layers. I layered each one of these on the entire project before moving on and adding a new layer.
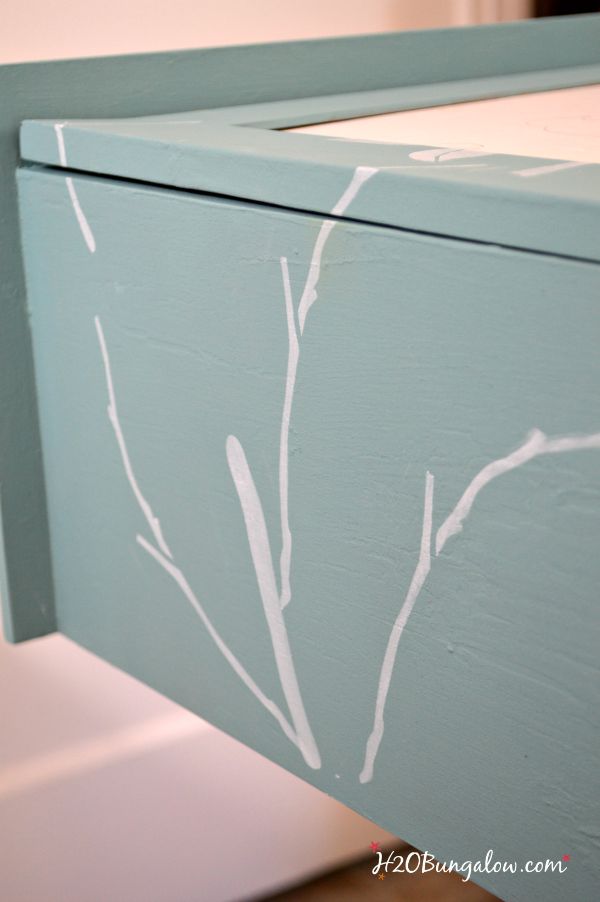
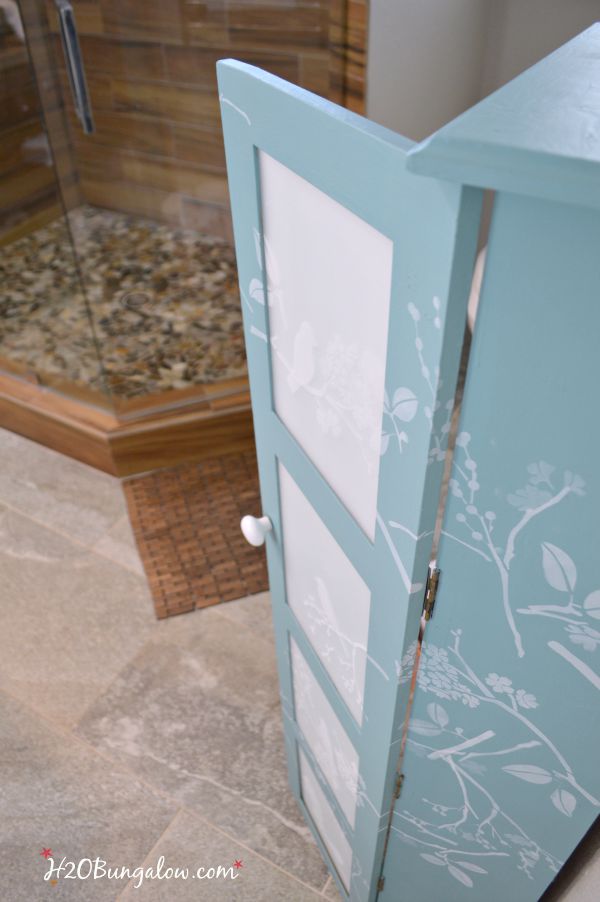
I wanted this bathroom storage cabinet makeover to be unique:) So I decided to stenciled my pattern over corners and across the frosted glass inserts. I took the glass in and out several times in this process. You’ll only have to do this once because I’m showing you the easy way 🙂
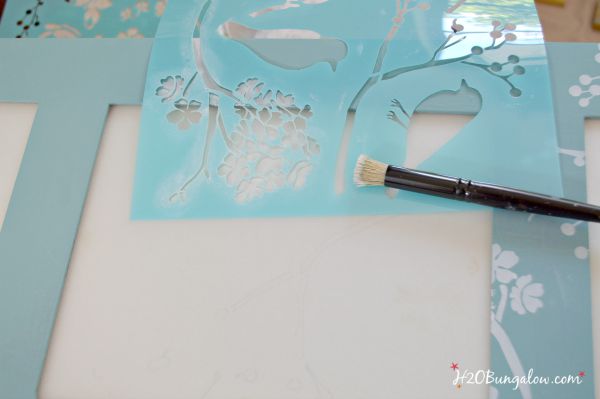
With the glass insert in place, position the stencil.
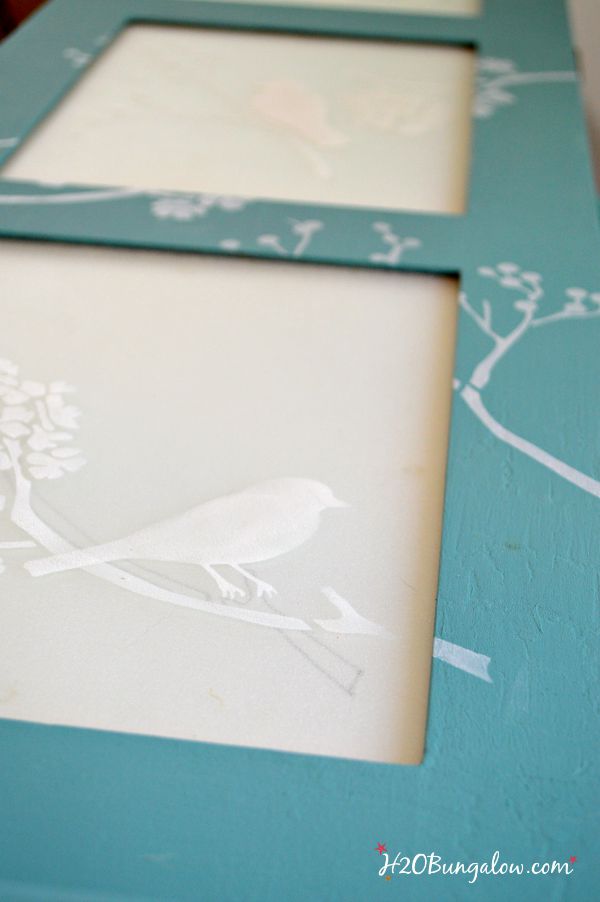
Next, stencil the area on the cabinet frame and on the glass where the stencil lies flat only. Don’t worry about stenciling where the stencil isn’t laying flat. Your glass will look like this. Next, take out the glass, line up the stencil on a flat surface and fill in the gaps at the edges. Easy, right?
I sealed my cabinet with two coats of poly since it was headed for our bathroom, and lots of humidity.
When I put it all back together and put the shelves back inside.
I loved it! It was worth all the extra work.
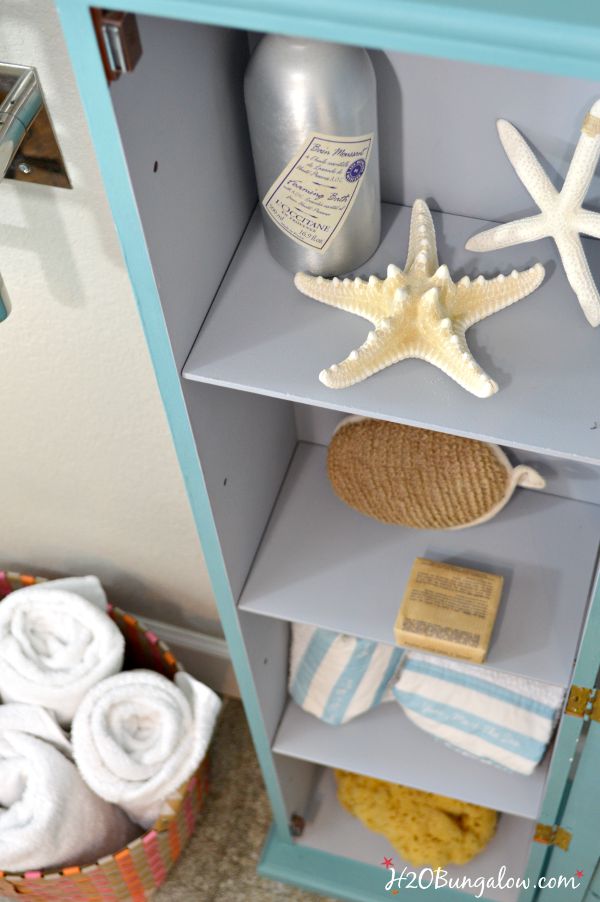
There’s plenty of room inside to keep the all the items I’d keep in a medicine cabinet or a closet. Of course I made it look pretty for you guys. It won’t look this tidy next week;)
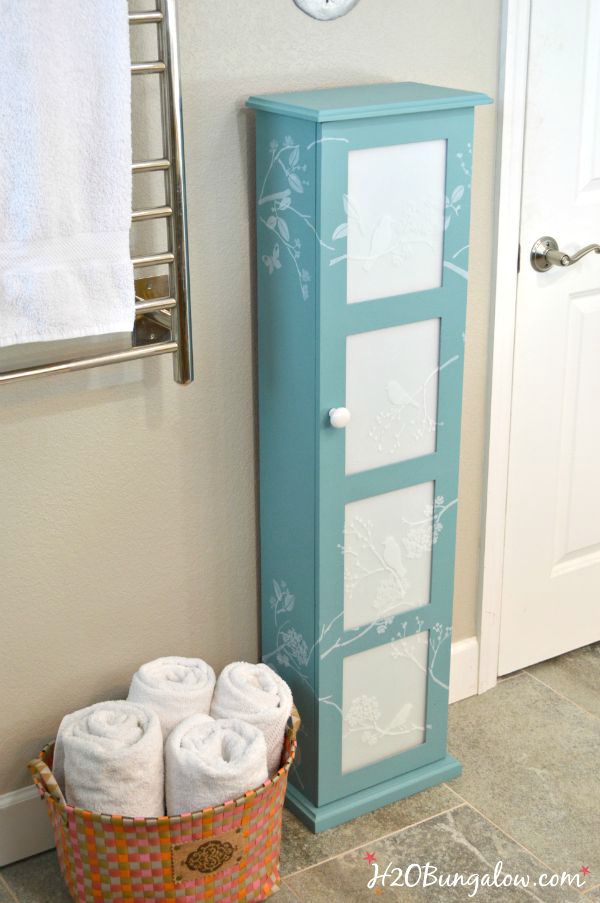
I’m happy with the wild bird and twig pattern I created. It kind of cascades down from the top left to the bottom right.
The stenciling looked the best with plain ol’ white copy paper behind the frosted glass. I love that the glass is frosted. The new look is clean, crisp and fresh.
..and yes, that’s our heated towel bar. Seriously, everyone should have one. They keep towels fresh in the humid summer and warm and toasty in the winter. If you haven’t seen our awesome master bath addition and the DIY Open Shelf Vanity I built, you need to! This was just one of the many Creative DIY Shelving Ideas for Organizing and Styling for your Home.
I love a good before and after picture don’t you?
So what do you hink of my frosted glass bath storage cabinet makeover? Could you use one of these too?
Here are a few of my favorite Themed Furniture Day projects Faux Painted Cargo Furniture and I still love my Starfish Stenciled Side Table.
OK, my friends, are you all ready for more animal furniture makeovers? How about several. Browse all the projects below. Click on any photo you’d like to see and it will take you to that post!


Adriana Wilford says
I like how the decor knows no boundaries – free like a bird 😉
Looks so much better than before. Very lively…thanks for sharing it with us!
Much love,
Adriana
Wendi says
Hi Adriana and thank you! I enjoyed creating this piece and we love the extra storage it provides:)
Russ @ Dads's Toolshack says
Super cool restoration project. I picked up a bathroom cabinet recently from good will, it is water stained and rough. Im planning to sand it down and stain it. Maybe ill try adding some blue touches somewhere like you did!
Wendi says
Thank you so much! Sounds like your project is off to a good start. I love Goodwill for finding a diamond in the rough! Have fun with your project & adding some blue touches sounds perfect. Thanks for your visit!
Jody says
My beautiful stained glass window in the front door got broken. I love the bird stencil. So big piece of glass and a stencil and the jar I bought at Christmas and my problem solved.
Wendi says
Jody, I’m so happy you’ll be able to find a way to make your glass look good again! Share a picture on my H2OBungalow FaceBook page when you finish it!
Richard Leverette says
Awesome tips! I will make it for my bathroom according to your ideas. Thanks for your tips.
Wendi says
Thank you. So glad you found my tips useful 🙂 Thanks for your visit:)
Koury Jean says
Thanks for your tips. That’s a good idea for my bathroom. It’s so nice cabinet. It’s truly that you are very dextrous. I don’t think I can do a lovely cabinet like you.
Wendi says
Thank you. I love furniture makeovers and this one is definately one of my favorites!
Cyndee says
I love this! You did a beautiful job! So pretty!