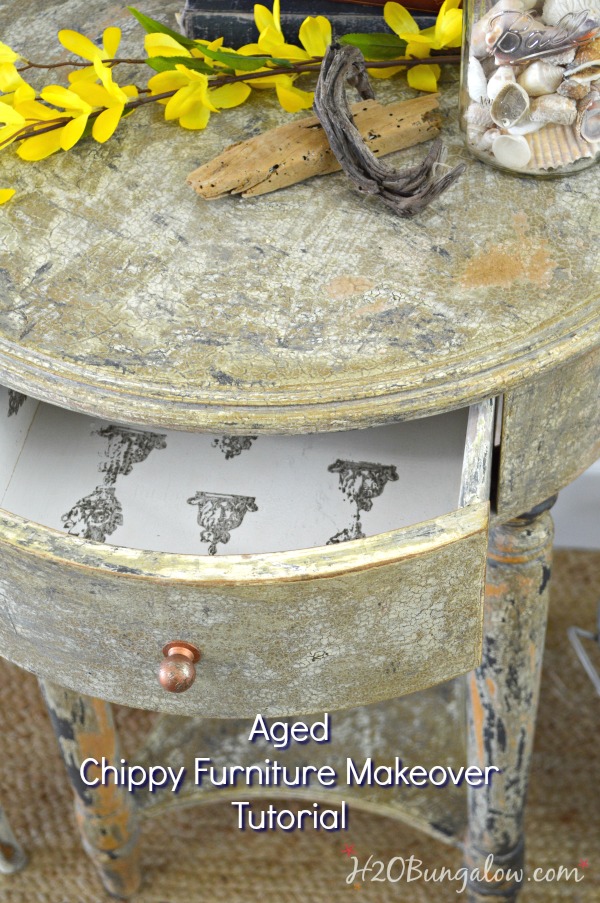
Not every furniture makeover is about applying paint. Sometimes you just gotta take it off. Off, as in strip it down. I didn’t plan this makeover, it took on a mind of its own once I started working on it. Today I’m sharing an aged chippy paint finish tutorial.
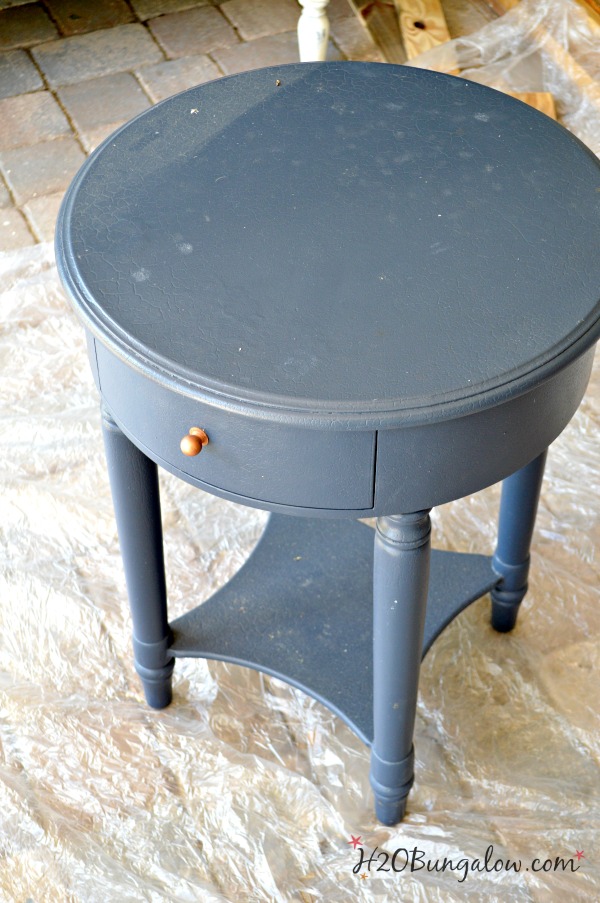
This table has been with me for years, it’s sturdy and has great lines. The challenge has been that it’s kind of a formal style which just doesn’t come close to the laid back casual coastal style that suits coastal living. The second and probably bigger challenge was that it had a crackle finish. I painted over the original cracked finish a few years ago and didn’t like it, at all.
I put it back in the garage, and there it sat.
Until a few days ago when I figured I strip it down and start all over.
I love stripping paint.
Not.
As soon as I started scraping away the layers a light bulb went off, and I decided to make it old looking with a chippy paint finish. This style of makeover is easier than it looks.
Supply list for Aged Chippy Paint Finish Tutorial
I use affiliate links to help you find the products I love and used.
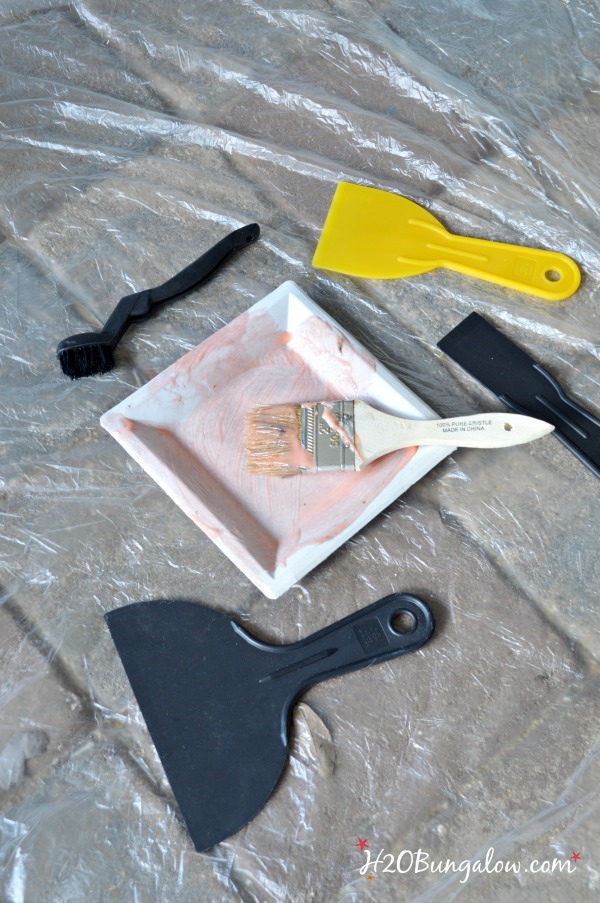
- Citristrip
- canvas drop cloth Don’t use a plastic one like I did, paint stripper can eat through it.
- plastic scrapers Don’t use metal, it can dig in and ruin the wood.
- wire brush for cracks and details.
- thick disposable paper plate , like Chinet or a glass container.
- chip brush
- safety glasses
- chemical resistant protective gloves The thick ones work best, I tried thin ones and they don’t hold up.
- odorless mineral spirits I’ve linked the product here so you can see it, but you can find this a lot cheaper at a local store.
- painters rags
I have a useful two-part series that covers striping everything from doors to furniture and cabinets with lots of tips and tricks to save time and shorten the workload. If you’ve never stripped furniture before, you may want to read through or pin it for future reference. Even if you have, you’ll probably pick up a tip or two:)
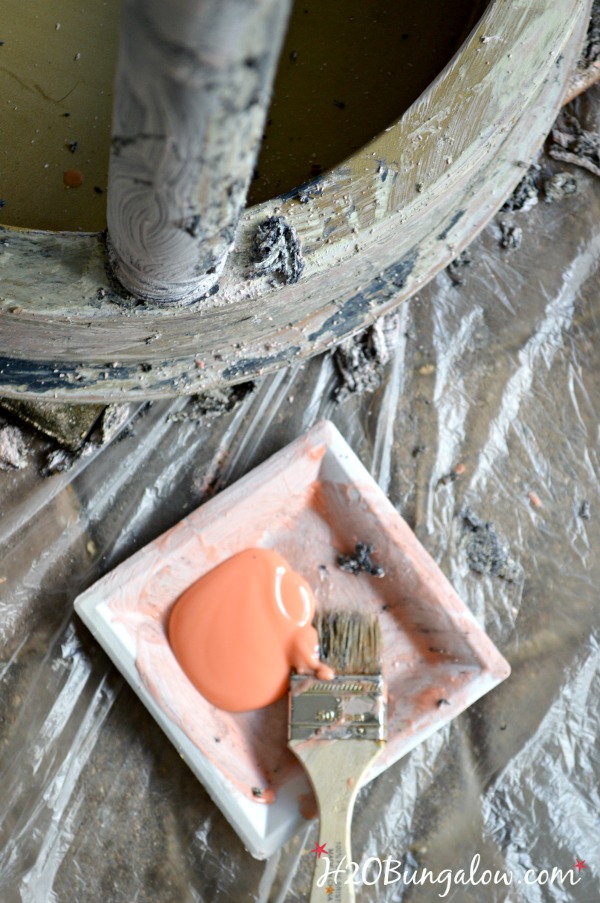
These are my tools of choice for stripping paint of furniture to get a chippy paint finish.
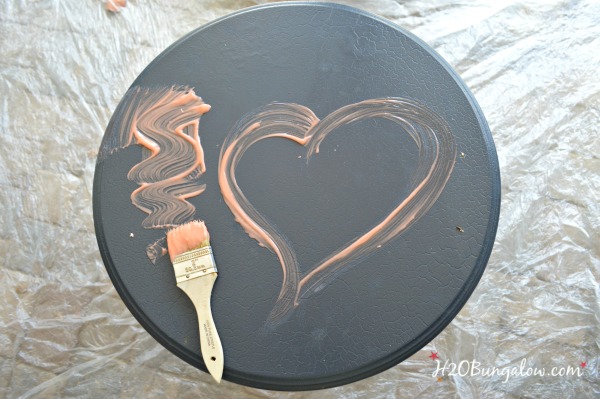
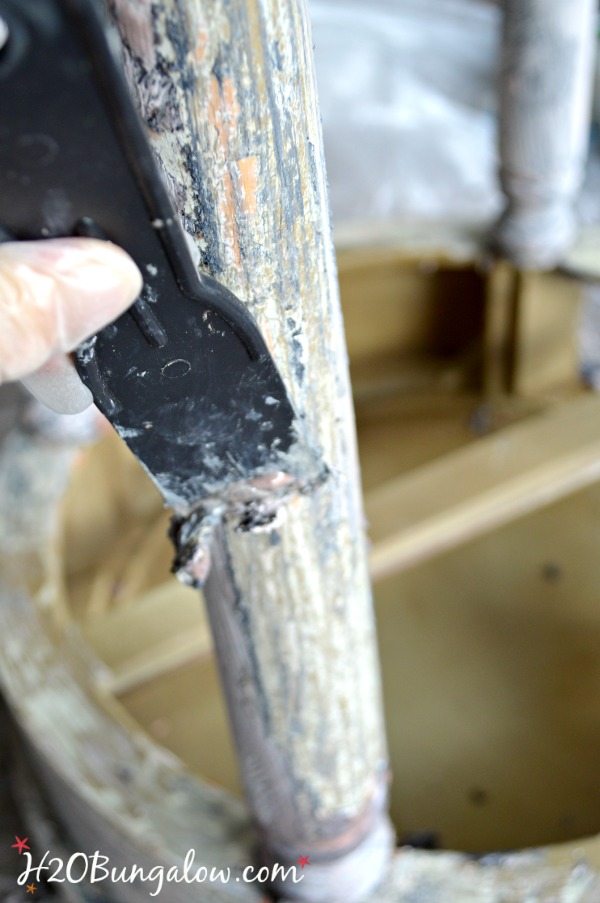
Apply the stripper with the chip brush. Test a small section to see how well the stripper will work on the paint. To get the perfect chippy paint look it’s best to work on a section at a time.
Use the scraper to get more paint off where you want to age the furniture piece with a chippy paint finish. When you’ve removed almost as much paint as you’d like, quickly douse a steel wool pad in the mineral spirits and run it over the scrapped paint area. Follow up with a clean white rag to wipe off any residue of the paint remover so it doesn’t continue to strip more paint off.
You’re trying to duplicate an aged look with layers of paint wearing off. This is the base for your aged chippy paint furniture makeover.
Now it’s time to put some finish back on and add some interest that will make it look naturally old and not like it was just striped.
This is what I used.
- 250 grit sandpaper
- Amy Howard Light Antique Wax
- Amy Howard Dark Antique Wax
- Amy Howard Dust Of Ages
- wax brush I’ve been using this brand lately and LOVE it. This one is on sale now at a crazy good price with free shipping:)
- chip brush
- painters rag
Sand your chippy furniture piece lightly all over. This will also help you be sure there are no clumps of paint remover left. Sand it down a little if you find some. You’re just takin the rough spots off, don’t make the surface smooth.
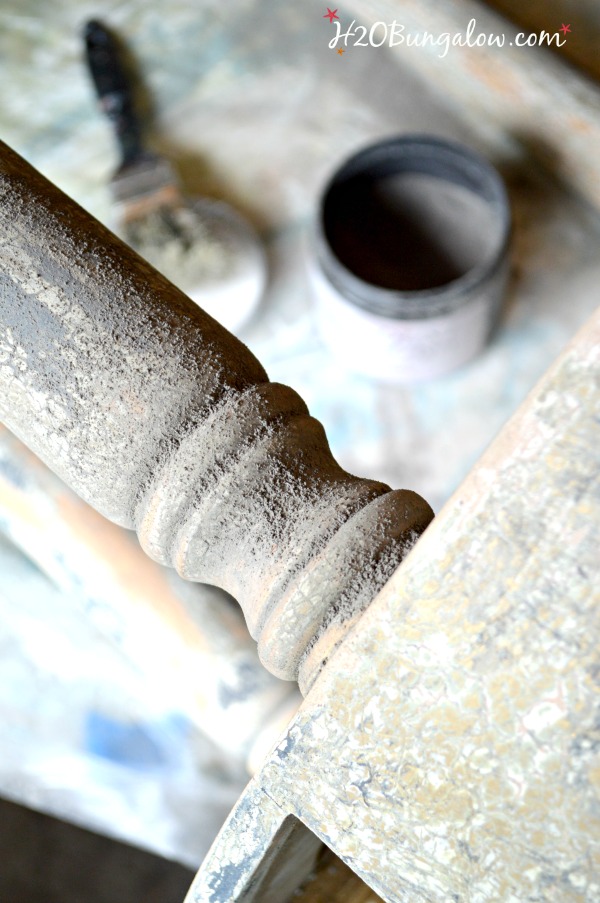
Next, apply the light antiquing wax, small sections at a time with the wax brush. I share a good tutorial on my aged desk makeover. Let the wax come to tack, which means lightly sticky when you place a finger on it. This may take a few minutes or more depending on your air temperature and humidity. Grab a chip brush and your Dust Of Ages and generously apply it all over the waxed area. Be sure to pounce it into the cracks and detail areas. That’s going to give you the best aged look. Continue working in sections until you’re done with the entire piece.
Next comes the hard part.
Let it sit.
As long as you can, it’s OK.
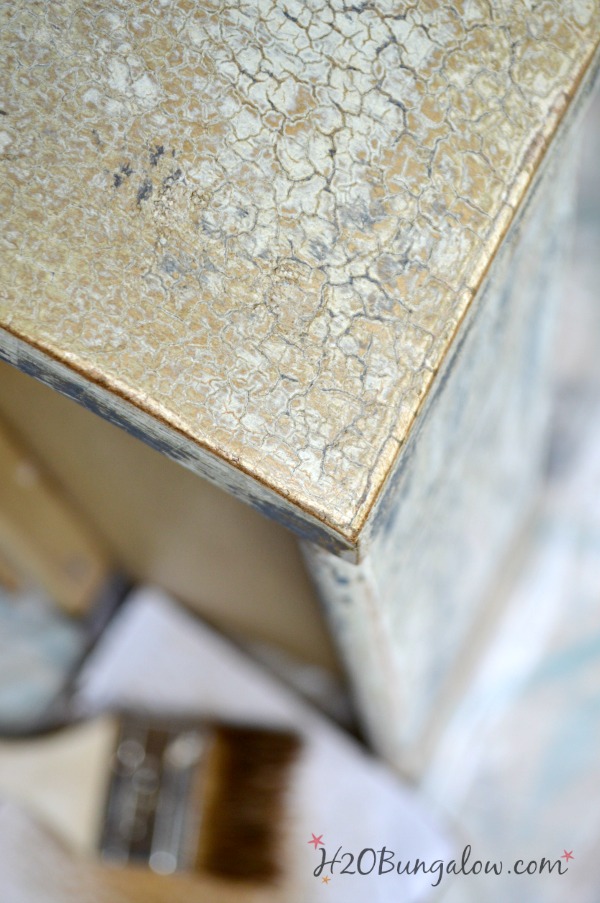
I went to lunch with a friend and when I came back I was ready to buff it. Using a clean white and lint free painters rag, start gently buffing your chippy painted furniture piece. Mine was looking pretty good at this point. The grey dust had settled into the cracks an added some detail in the areas where the original crackle was still on my table.
Don’t buff it out of the cracks!
Last you’ll take a clean chip or detail brush and load some of the dark antique wax onto it. Off-load any extra onto a piece of cardboard. My Aged Patina Desk Tutorial has good tips for using Amy Howard products in it including off loading wax, Using light “butterfly kisses” apply the dark wax to only areas that needs extra detail, and that would darken or have more wear naturally through use.
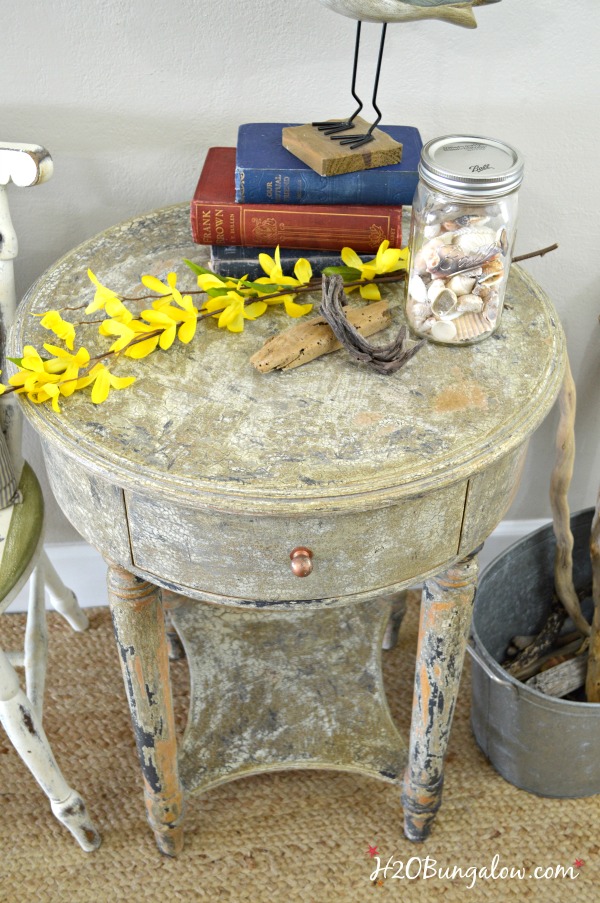
I concentrated on the table edges, high points of the legs, the edges of the lower shelf and around the drawer edges.
I feel that the piece looks right, more than see it when I’m adding dark wax detail. I used a lot on the legs.
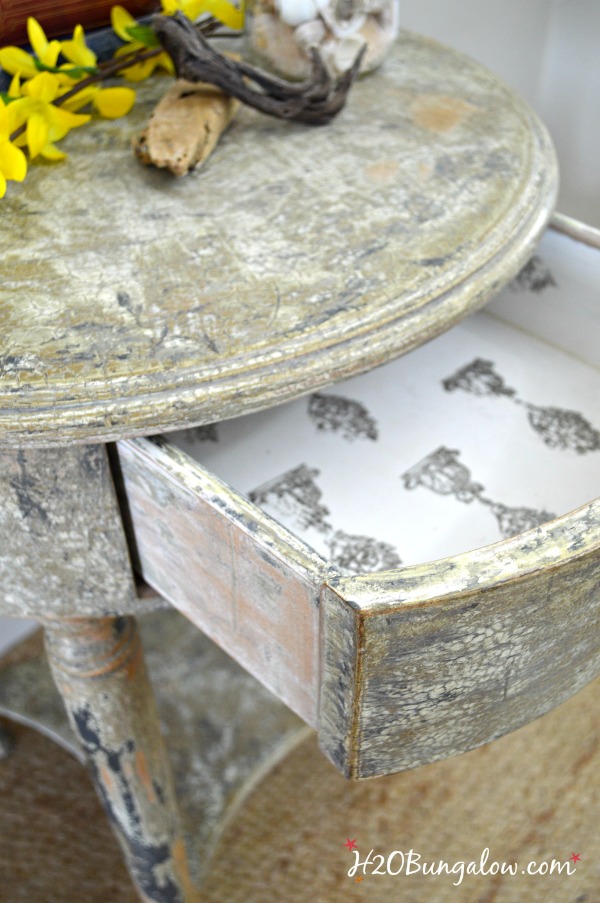
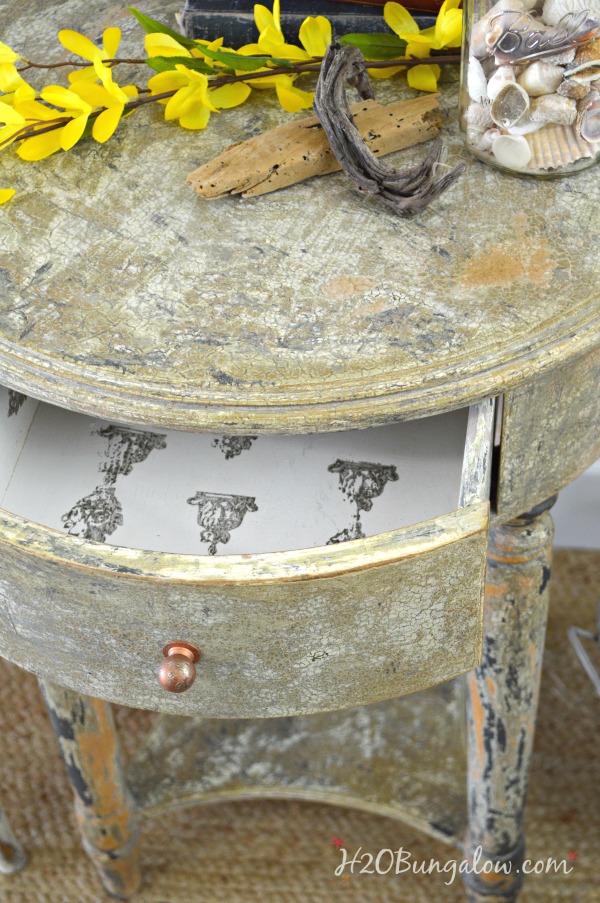
I painted the inside of the drawer with Amy Howard’s One Step paint in Bauhaus Buff, and used my latest crush, the Friffery Clear Stamp and the permanent Decor Ink in Athens from Iron Orchid Studios. You’ll see several more über cool projects with IOD products soon;)
I love the little surprise. I think it looks like wallpaper.
I think the aged chippy paint finish dramatically changed the way this table looks. Even though this table has formal lines, it’s now casual. I can see it in a beachy, coastal or even farmhouse setting.
Can you?
Making over a furniture piece and giving it an aged patina is one of my favorite type of projects. I spoke about my aged desk makeover above. You may like and find inspiration in my farmhouse corner cabinet makeover and my aged white nightstands makeover projects too.
You’ll find my project linked up to these fabulous parties!
Love a good dose of DIY home decor, home improvement, the challenge of woodworking and creative ways to make your home look fabulous?
Me too!
I’d love to share mine with you. Click here to sign up for my post emails and I’ll send a quick note when I have a new project to share.
Social media fan? Don’t be shy say hello! I love when you guys do that! I’m interactive on Facebook and I share lots of other projects and, useful inspiration for the home and content I don’t share anywhere else. Follow H2OBungalow on Facebook and Instagram!
I use affiliate links in my posts. If you should make a purchase I will receive an itty bitty commission at no cost to you. Thank you in advance for supporting my blog and two fur-ball cats who believe they are privileged.

gigi says
This is just gorgeous! And, I love the stamped interior. Just gorgeous!
Wendi says
Hi Gigi! I love your name:) Thank you so much. I love how the stamped drawer turned out too. It makes such a big statement. Thanks so much for your visit!
Nancy says
What a great tutorial! I’ve been looking at the Amy Howard products and wondering about the ‘dust of ages”….so now I know! I bought a table lately, it is for my “craft room” and it’s actually “too new”…..now I think I might do this type of finish….
Nancy
wildoakdesigns.blogspot.com
Wendi says
Hi Nancy! Oh my gosh, you have to try this. It’s a subtle addition to the finish, but when you layer a few subtle touches it’s magic. I haven’t shared it on a dark piece with detail yet, but that’s the most striking. I hope you use it & thanks so much for your visit!
Mary Vitullo says
Wendi, I am in love with this. Love the patina you created. It looks real! Great makeover.
Wendi says
Hi Mary & thank you! It’s a crazy makeover but I liked it too. I know you love patina like I do. Thanks so much for your visit!
Terry says
Hello Wendi! I’m featuring this awesome tutorial over at Making Broken Beautiful tomorrow! Thank you for sharing this beautiful patina tutorial! I hope you have an amazing day!
Smiles!
Terry
The Curator’s Collection & Making Broken Beautiful
Wendi says
Hi Terry! Thank you! I know you like patina’s too:) I appreciate the feature & you have a great week!
Brenda Young says
What A great tutorial on a reverse finish! Love the technique and for sure pinning this for my followers, wonderful finished product Wendi!
Wendi says
Hi Brenda & thank you! I love the term “reverse finish”! It makes it sound like I knew what I ws doing the whole time. LOL My favorite finishes are usually the ones that I just make it up as I go along. Thanks so much for your visit!
Christy@Confessions of a Serial Do-it-Yourselfer says
Wow this finish is so cool now!!
Wendi says
Hi Christy… Thank you:) It was fun to try something new for a crazy look. The best thing about paint is that it’s paint, right? We can always paint over it if we don’t like it! Thansk for your visit:)
Mary-the boondocks blog says
That is absolutely gorgeous the colors that are blended in give it such individuality and patina. I am definitely pinning this !
Wendi says
Mary, I’m so glad you like this! I love it but….just not sure..although it looks so cool & crazy! THANKS so much for the feedback friend!!
Terry says
Wendi! What a great way to create patina that looks so natural! Thank you for the awesome tutorial too! The table turned out beautifully! I hope you have a great weekend!
Smiles!
Terry
Wendi says
Hi Terry…It’s kind of crazy and yet like you said, looks natural. I can see you doing something awesome with this tutorial & your talent:) Thanks SO much for leaving me feedback!
Gilda Friedman says
Love the finished product. Since you asked for fedback I would suggest another drawer pull that is not shiny and neww looking. I think it would be lovely in a rustic setting also without all the accessories on top. Perhaps one framed old photo of family or if using in coastal setting,a photo of the coast 50 uears ago…..showing the homes of course.
Wendi says
Gilda, Love your suggestion! An old patina covered knob would be perfect. I’m going to dig through my stash:) Thank you! A vintage coastal picture would fit beautifuly too. We have a local cafe that has the most amazing period photos of our are before it was developed. Thanks for your feedback & have a great weekend!