I’m sharing how to authentically age white painted furniture today for Themed Furniture Makeover Day. I like old stuff, time worn patina and pieces of furniture that make me want to run my fingers across their surfaces and wonder what kind of stories they’d share if they could talk. I always have. I also can’t afford to have many authentic ones. But with a little paint, a few products and patience, I can make them look old.
Our theme this month is white. The best part about Themed Furniture Makeover Day is you not only get to see my furniture makeover, you get to see several more of the same theme and in different styles:)
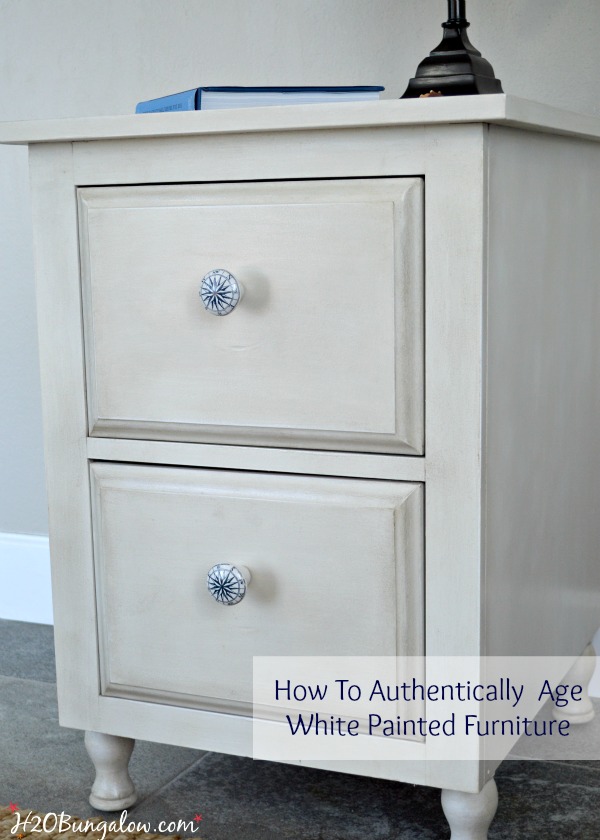
How To Authentically Age White Painted Furniture
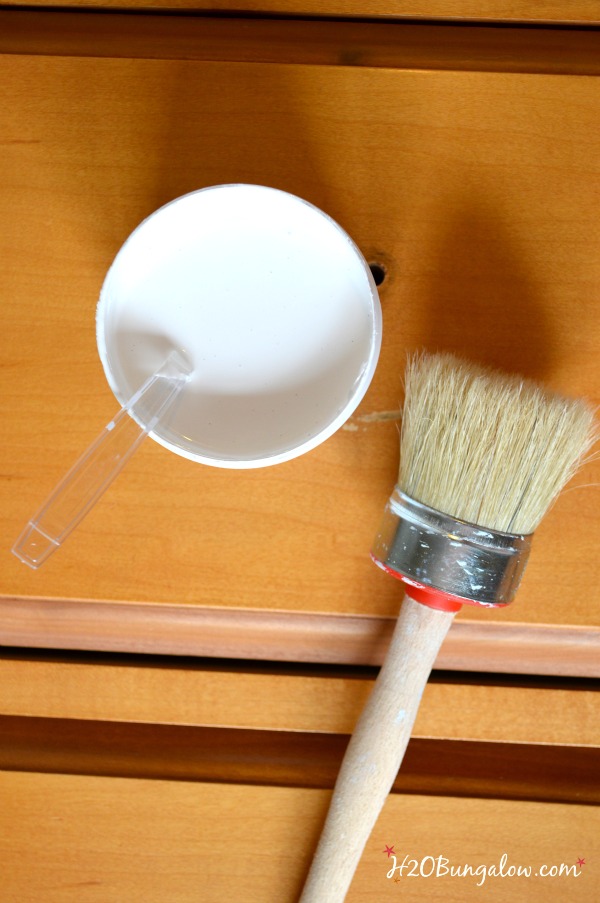
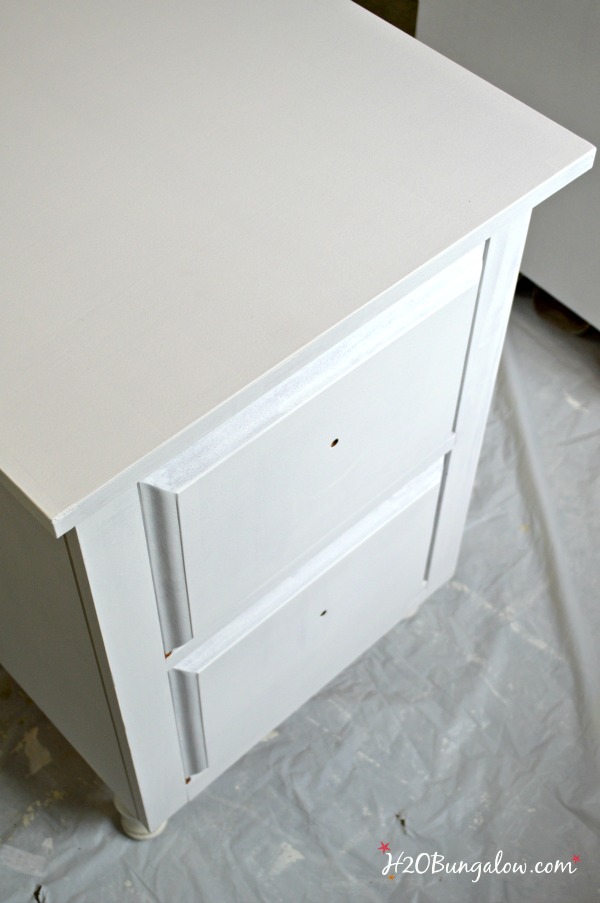
I started with two orangey wood night stands that weren’t particularly pretty but had nice lines and were really well made. I applied one coat of Amy Howard One Step Paint with a brush and a 4″ foam roller on all the flat surfaces. One coat gives an excellent coverage, but left a few thin areas here and there. My first big challenge was to leave it the way it was knowing that I’d layer more product on top of it and nature doesn’t age anything perfect, so why would I start with a perfectly painted surface?
This is one coat of paint. It’s one step, primes and seals at the same time.
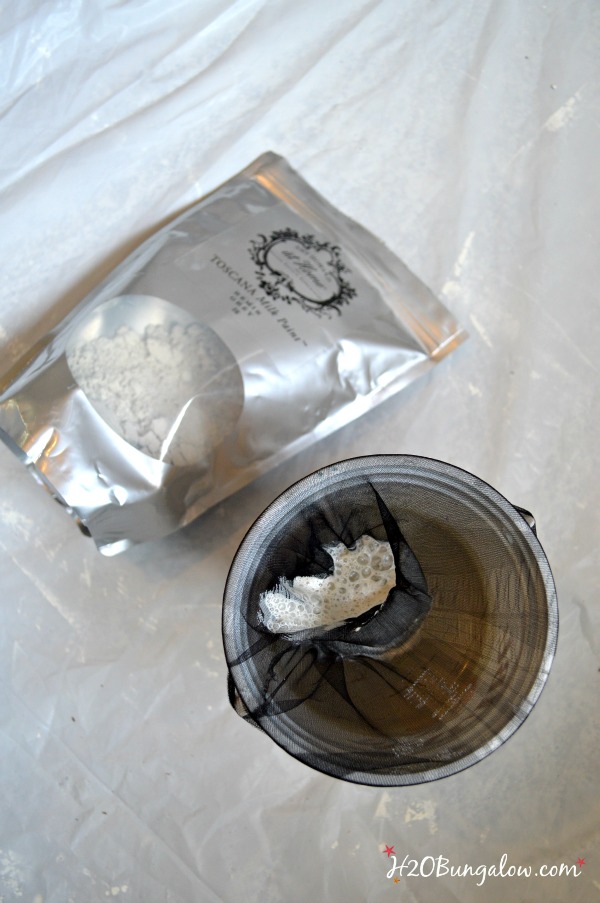
Next I mixed up a batch of Toscana Milk Paint in Remis Grey. I used 1 1/2 cup paint powder and mixed it with 1 cup water. I used my immersion blender to mix it. An old pantyhose worked great to strain the grit out .
I applied one coat of the Toscana Milk Paint.
Once more it was time to trust in the process. The paint looked like this..streaky and full of brush strokes. I just about started biting my nails over it. I was close to changing the entire project, but..nope I thought. trust the process and see how it turns out.
So I did. When it dried, all it was an even coat all over:)
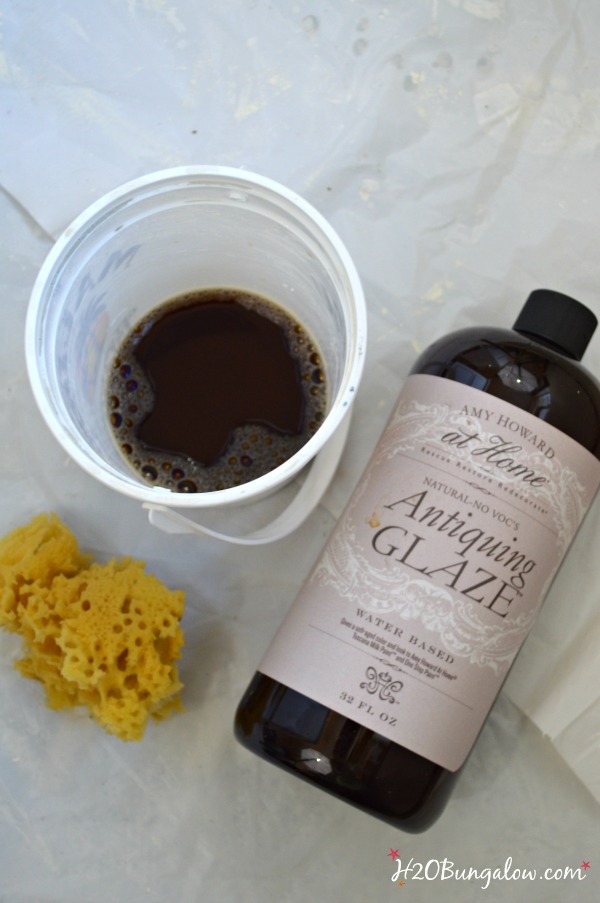
Next came the Antiquing Glaze. In my last painted furniture project, the Aged Patina Desk Makeover I used the glaze with the sponge to help age and distress the paint. Read that post to see how I used the Antiquing Glaze and the other aging products from the Amy Howard At Home Paint Line.
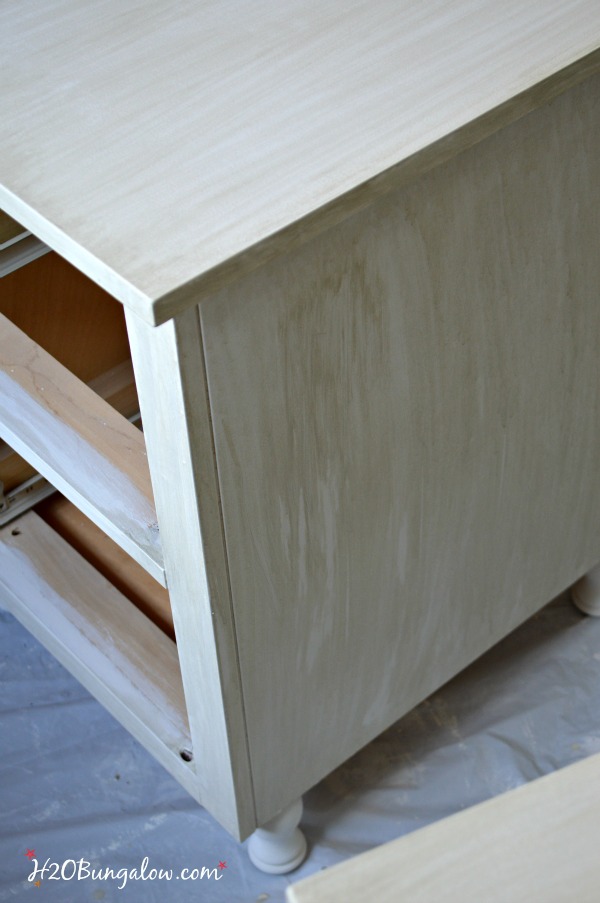
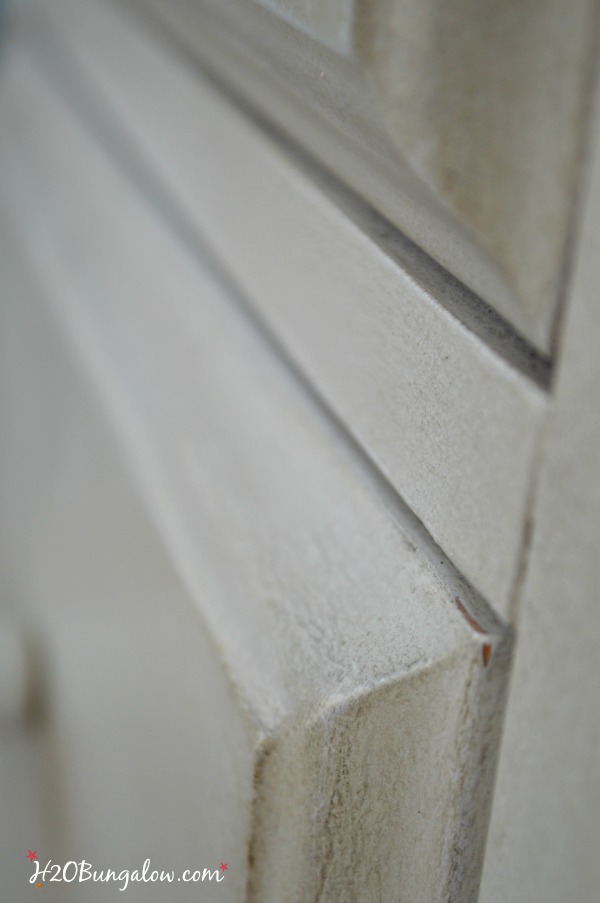
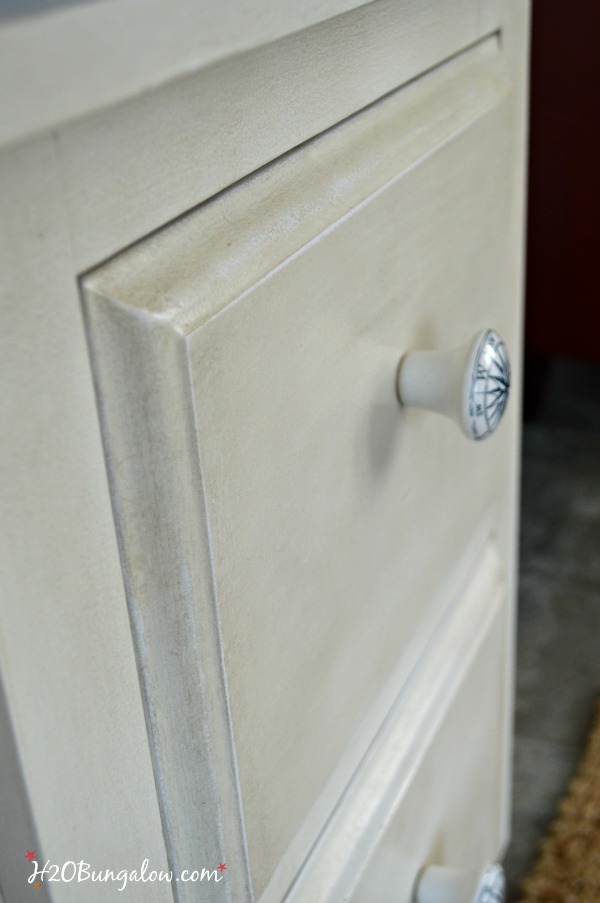
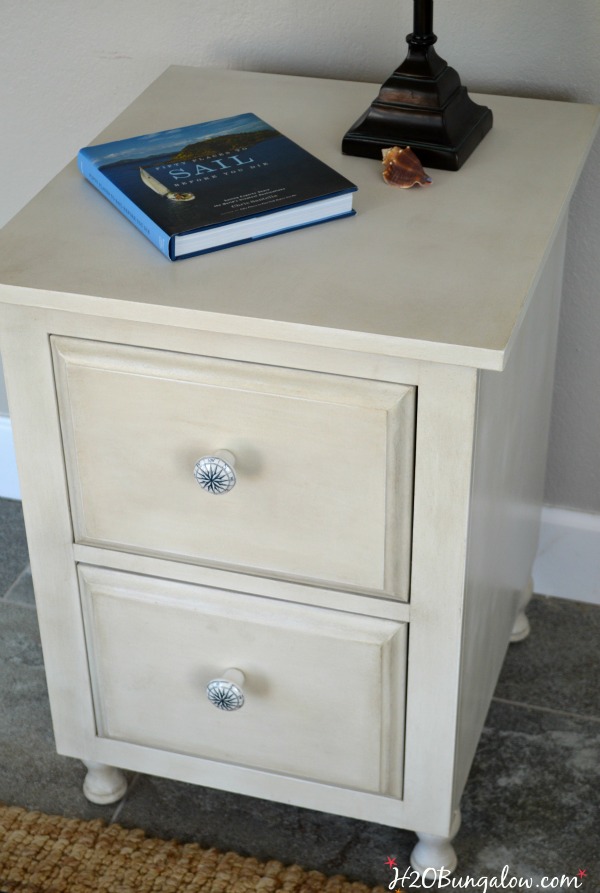
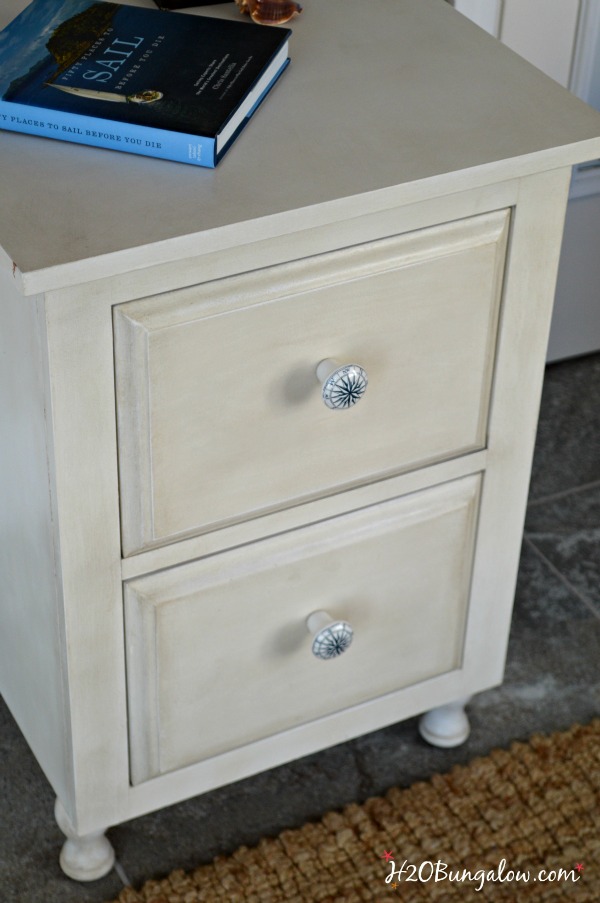
This step was another trust in the process, because it looked like a hot streaky antiqued mess when wet, but dried perfect! My white nightstand took on a beautiful aged look. Subtle, aged and a little loved, which was exactly what I wanted.
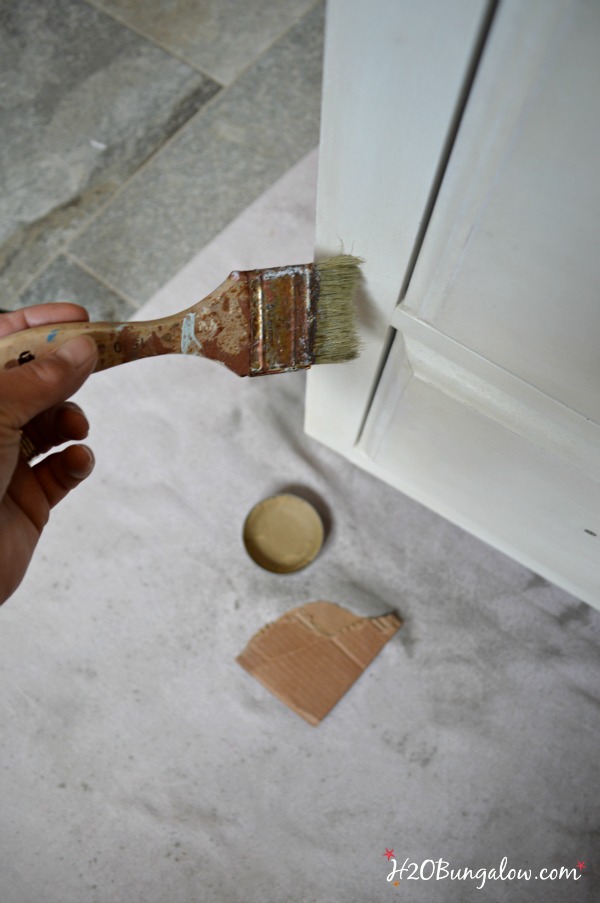
I only used the sponge to distress slightly on the drawer edges and the legs. I used the 4″ foam roller to roll on an even coat of the antiquing glaze all over and let it dry. It toned down the white a lot and brought out a nice depth in the two different coats of paint.
Next came a coat of clear wax all over, followed by a hint of the Amy Howard Light Antiquing Wax in areas that would naturally have more wear. Again, read this post to see how I used these aging products.
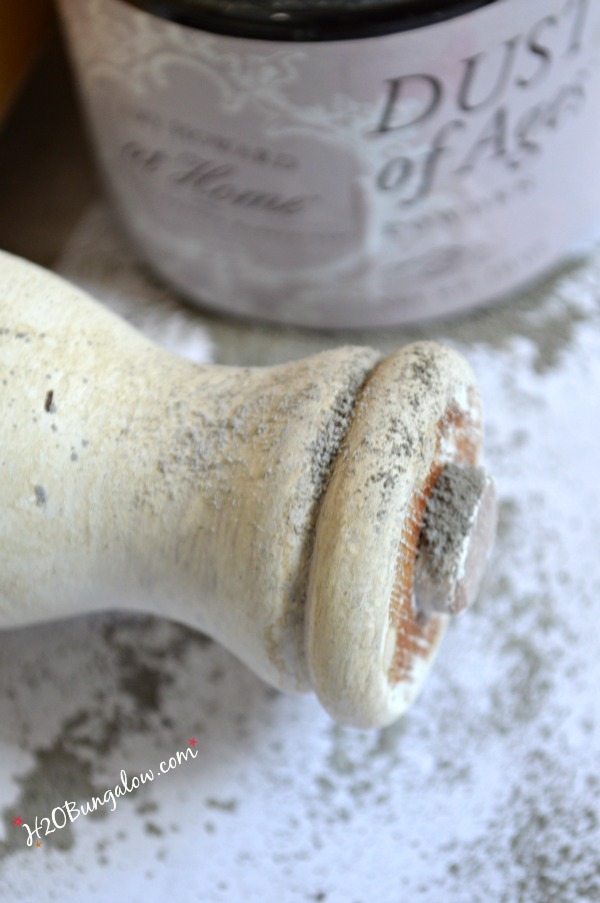
Last, I added some Dust Of The Ages to the areas where I applied the Light Antiquing Wax.
After letting it sit for about 30 minutes I lightly buffed the areas with a soft clean white cloth.
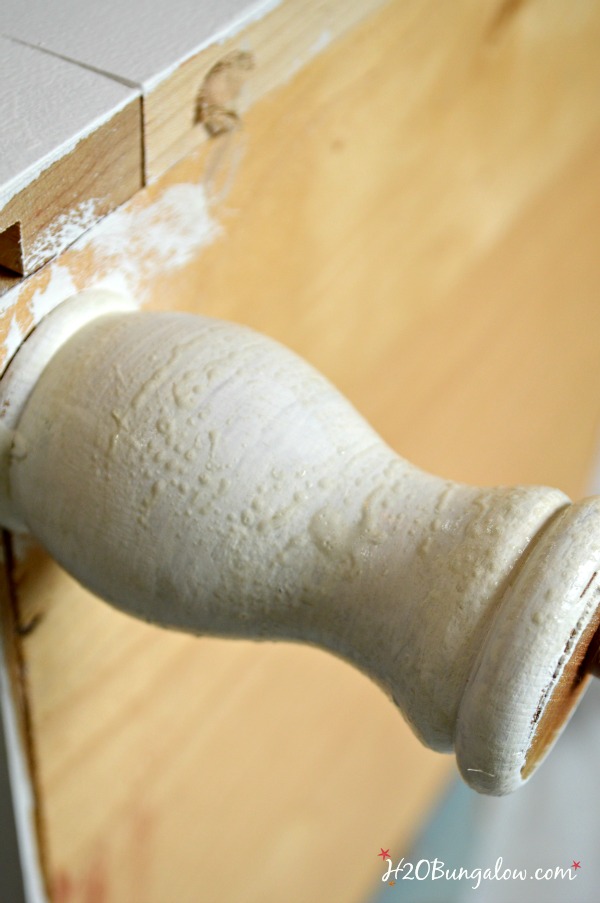
The vintage compass rose knobs were the finishing touch.
Using this technique to authentically age white painted furniture, I took boring orangey night stands into beautiful pieces of furniture with character and depth. Pieces that look aged like they have been around the family for a log, long time.
I can’t wait to put them back in our room. These will be the first step in a much needed master bedroom update I’m sharing over the next few weeks:)
If you liked today’s post on how to authentically age white furniture, be sure to check out my Furniture Makeover Gallery packed with different furniture makeovers and tutorials and read How to Paint a Dresser in 7 Steps if you are new to painting furniture. It’s a great beginner’s guide!
The best part of Themed Furniture Makeover Day is that you don’t just get to see my makeover, you get to see lots more! As always this monthly tour is filled with inspiration. Click any of the photos below to go to that project.
Love a good dose of DIY home decor, home improvement, the challenge of woodworking and creative ways to make your home look fabulous?
I’d love to share mine with you. Click here to sign up for my post emails and I’ll send a quick note when I have a new project to share.
Social media fan? Don’t be shy say hello! I love when you guys do that! I’m interactive on Facebook and I share lots of other projects and, useful inspiration for the home and content I don’t share anywhere else. Follow H2OBungalow on Facebook here
Oh heck, just follow me on all social medias. We’ll have some fun…promise:) Follow H2OBungalow on Instagram , Follow H2OBungalow on Twitter , Follow H2OBungalow on Pinterest, I’m on Periscope! @H2OBungalow
I use affiliate links in my posts. If you should make a purchase I will receive an itty bitty commission at no cost to you. Thank you in advance for supporting my blog and two fur-ball cats who believe they are privileged.![]()

TwoPlusCute says
Great job, it looks beautiful!
I loved the compass pulls. 🙂
Wendi says
Hi and thank you so much! We love the new look they have…and you know I couldn’t resist adding a nautical twist somewhere in my makeover!
Helen Holley says
It’s beautiful and l love the knobs
Too!!
Thanks for sharing,
Helen Holley
Wendi says
Thank you Helen. I appreciate you taking your time to stop by and leave a sweet comment:) The knobs match my husbands dresser knobs, we love nautical (of course), and these fit the style of my nightstands perfectly!
Shanna Gilbert says
Beautiful job my friend! The layering process turned a not so great piece into a gorgeous one!
Wendi says
Hi Shanna, Thanks! They were the most boring nightstands you could imagine, and that orangey wood color…awful! But they had so much potential and were so sturdy I couldn’t pass them up:)
Amy | Canary Street Crafts says
Great tips for aging furniture, Wendi! Your nightstands are beautiful.
Wendi says
Thank you so much Amy! It was fun to try new techniques to get the aged look I wanted.
Nancy @ Artsy Chicks Rule says
Wow, what a super cook finish on there Wendi! It really does look aged perfectly. Great job! 🙂
xo
Nancy
Wendi says
Thanks Nancy! I didn’t want to distress these so they’d fit the style of my room, but I needed them to look like they’ve been around the block a few times! LOL..
Jeanie @ create&babble says
Very pretty Wendi! I’ll refer back to your tips when I try out the Toscana and Antiquing Glaze for the first time!
Wendi says
Jeanie, You’ll have fun with it. Definately check back on my tips…or call me. Working on a big piece is slightly different that working on the test molding. I’m loving the products though!
Lucy @ Patina Paradise says
Wendi, your aging finish on these is so subtle and elegant and I can’t wait to see them in your new made over bedroom! ;o)
Wendi says
Thanks Lucy! I wish I’d been able to get more contrast in my photos where the details would show more. The aging is subtle, but beautiful when looking at the whole piece. I’m happy to have finally painted something for me! LOL!
Kim @ Hunt & Host says
You did a beautiful job and this is a great tutorial!!!
Breanna says
Definitely going to have to try this technique! Thanks for the tips 🙂
Jeanette says
Wendi, thank you for such a great detailed tutorial. I was rushed though my project and it shows. I’m going to follow your steps on my next project and slow things down.
gail says
whoa! what a transformation Wendi! The nightstand looks amazing. “trust the process” that should be my motto. I sometimes get in a panic during the process!
super job on changing these nightstands, making somethng old look perfectly aged and loved!
pinning!
gail
ps can’t wait to hop over to the other sites… so many great projects!
Marie, The Interior Frugalista says
Really great makeover Wendi and quite the transformation! I still haven’t tried Amy Howard’s products but every time I see one of your pieces where you used her product, it makes me want to try them more and more, especially the Dust of the Ages. Looking forward to seeing your bedroom makeover reveal!
Christy@Confessions of a Serial Do-it-Yourselfer says
Great makeover, Wendi! It really does look authentically aged. I’d love to try a few of her products on a piece after getting a taste of them at Haven! XO
Amy @ Highstyle Restyle says
It looks beautifully and naturally aged…great work!
Paula@SweetPea says
You really did make this piece look old. I really enjoyed learning about Amy Howard products at Haven. You’ve seemed to master how to use them!
Mary-the boondocks blog says
It looks really beautifulWendi and the glaze on top really adds polish to it. I also love the pretty knobs you added.
Susie@TheChelseaProject says
Great makeover and tips. Love the color combo! I really must try these products. XO
Wendi says
Hi Susie..you’d love these products! They give the painter the ability to do so much with patina and style, I’m loving them:) Thanks so much for your visit!
Larissa ~ Prodigal Pieces says
Love the aged-to-perfection you did, Wendi! Thank you for sharing your tips. 🙂
Wendi says
Thanks Larissa, I’m having a good time with this paint line. I can’t wait to get them in our updated bedroom!
Lindsay Eidahl says
Great makeover and tips!
Wendi says
Thanks so much Lindsey!
Karin Chudy (ART IS BEAUTY) says
You did a great job! All those techniques really added to the piece!
Beautiful.
Hugs,
Karin
Wendi says
Thank you so much Karen. I’m thrilled with how they turned out, especially after having several moments when I thought I’d ruined them!