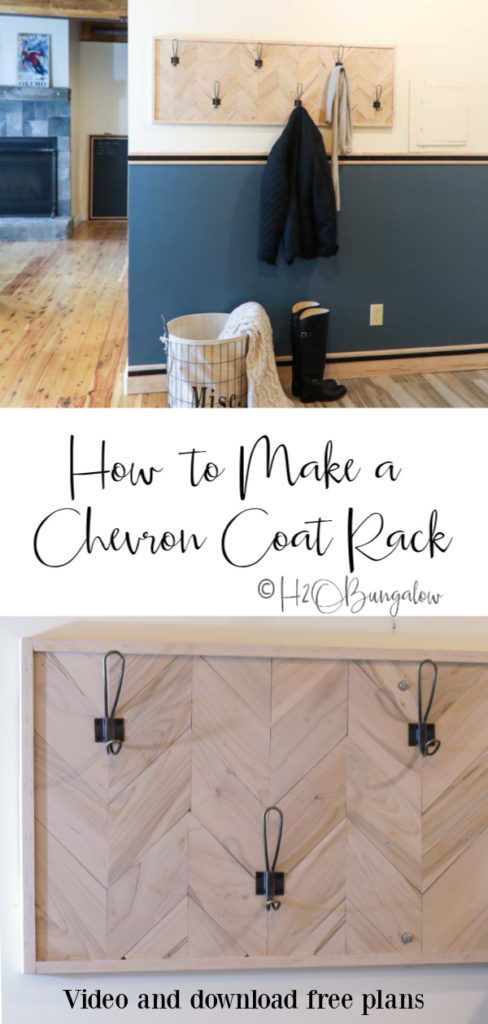
I’m excited to share my chevron DIY coat rack this week! Today’s tutorial will show you how to make a wall-mounted coat rack, how to hang a coat rack on the wall, and even better, you can download my free coat rack plans with detailed instructions and a supply list.
So many of you commented on my DIY coat rack last week when I shared my new Modern Rustic DIY Mudroom Entry from the Mill Place! You guys know how much I love a pretty entryway coat rack. I’ve made a lot of them! My DIY Live Edge Coat Rack is one of my favorites, I’m also in love with the Modern Rustic DIY Vintage Hook Coat Rack I made for one of the other North House Lodge locations. I have several more DIY coat rack tutorials in a variety of styles. I’ll list more below.
In the meantime, let’s get on to this heavy-duty wall-mounted coat rack I just finished.
As an Amazon Associate I earn from qualifying purchases. The affiliate money I earn helps cover the overhead costs of H2OBungalow…Thanks so much in advance fore your support!
How To Make a Chevron DIY Coat Rack
Download my free woodworking plans, supply list and very detailed step by step instructions here.
Supplies needed
- 1 x 4 boards, I used ambrosia maple casing from the Ornamental Moulding Rustic line (see last weeks post for details on where to find it)
- 1/2″ plywood
- Vintage style coat hooks
- Wood glue
- Measuring tape
- Drill
- Brad nailer
- Miter saw
- Safety glasses – These are my favorite. Especially if you wear glasses!
Somethings are better when you can see the details. I’ve made a Youtube video of my DIY coat rack project. It’s a lot easier to make than you’d think.
Don’t forget to subscribe to my YouTube Channel!
Step 1. Cut the plywood base and the 1 x 4′ casing to size.
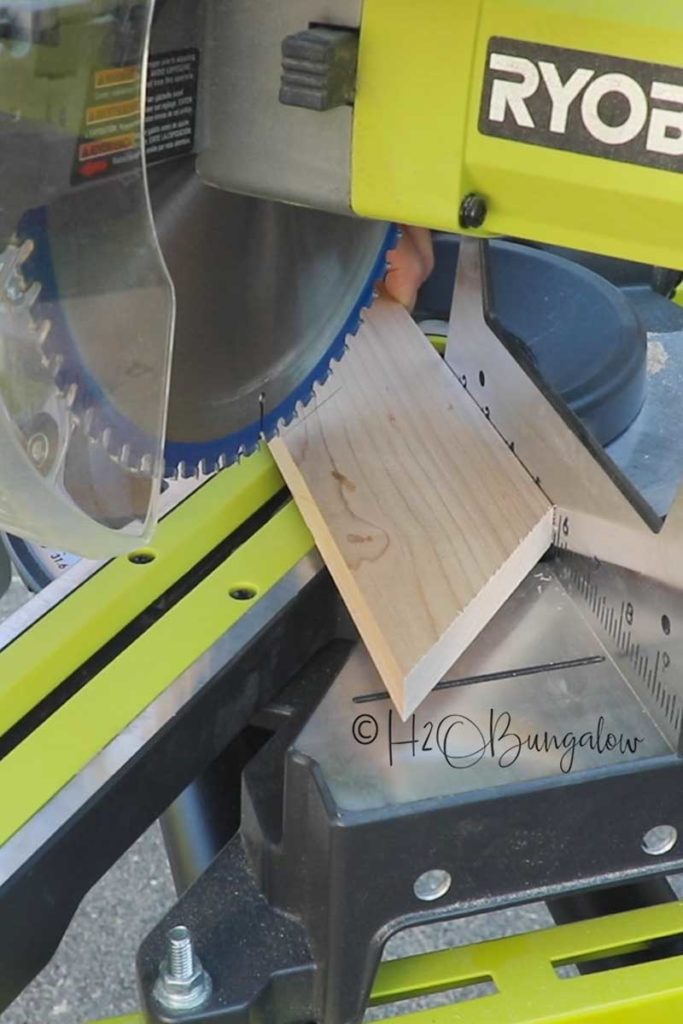
Cut the plywood to size of the coat rack you’d like to build, mine is 48″ by 18″. Set your miter saw to 45° and cut the 1″ x 4″ boards into 6″ pieces (parallelograms) like you see below.
Step 2. Mark the center of the back board.
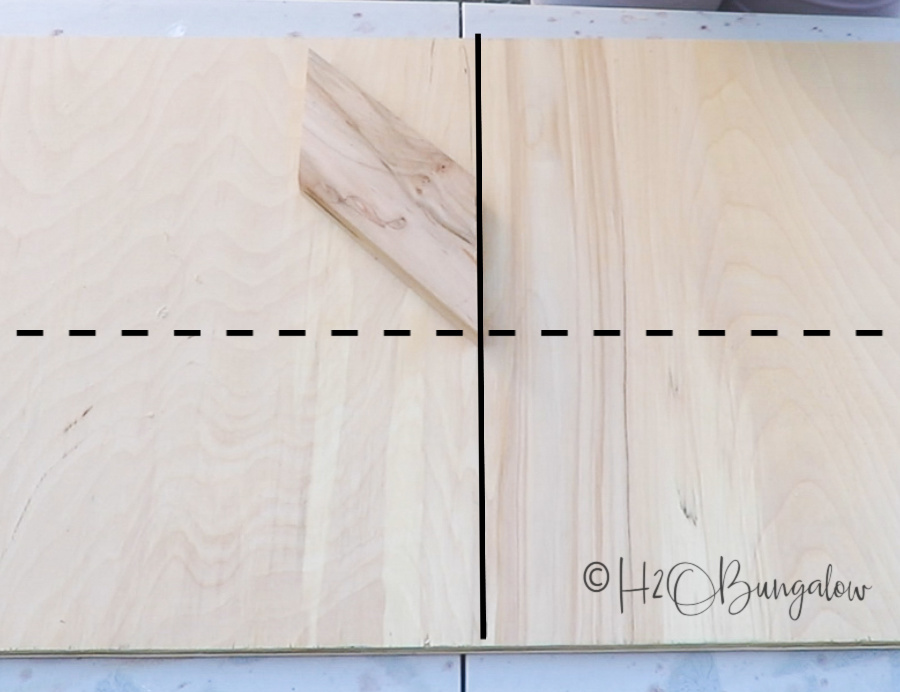
Make a line down the center of the plywood and again across the width. You’ll use these lines as a guide to center your first rows.
Start on the center line and place the first 6” piece so a cut end lies along the vertical mark you made. Place the next piece opposite with the cut side against the first making an upside down “V”.
Step 3. Glue the parallelograms onto the plywood.
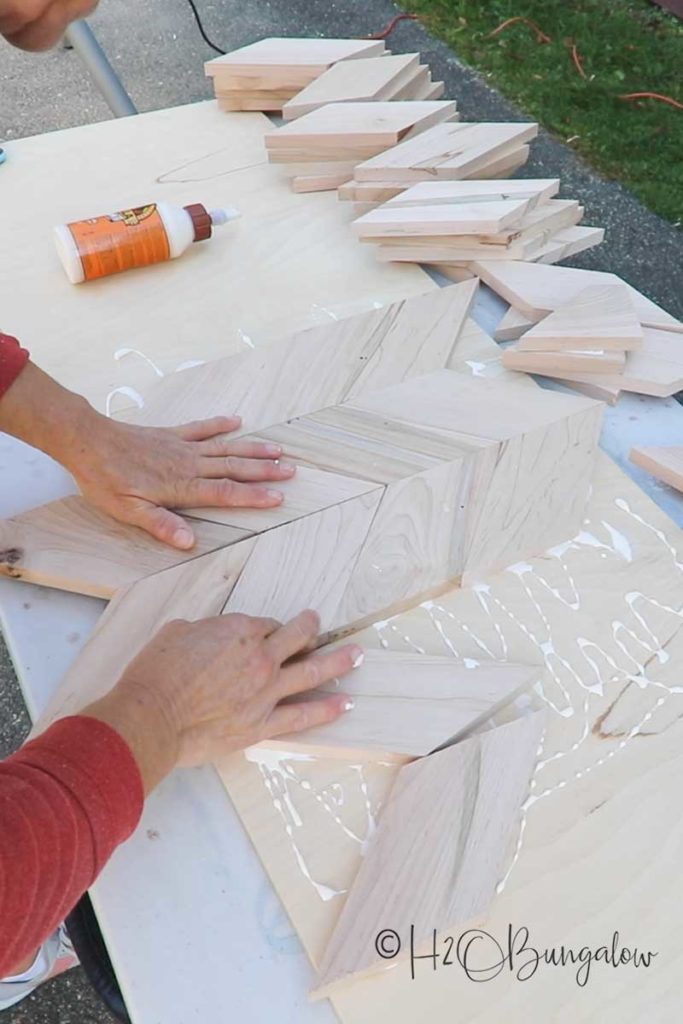
Now, you’ll glue the cut pieces down. Starting with the center row, glue the pieces down using wood glue. It’s easiest to work out from the center outward, gluing vertical rows one at a time.
Step 4. Trim the overhanging piece off the backboard.
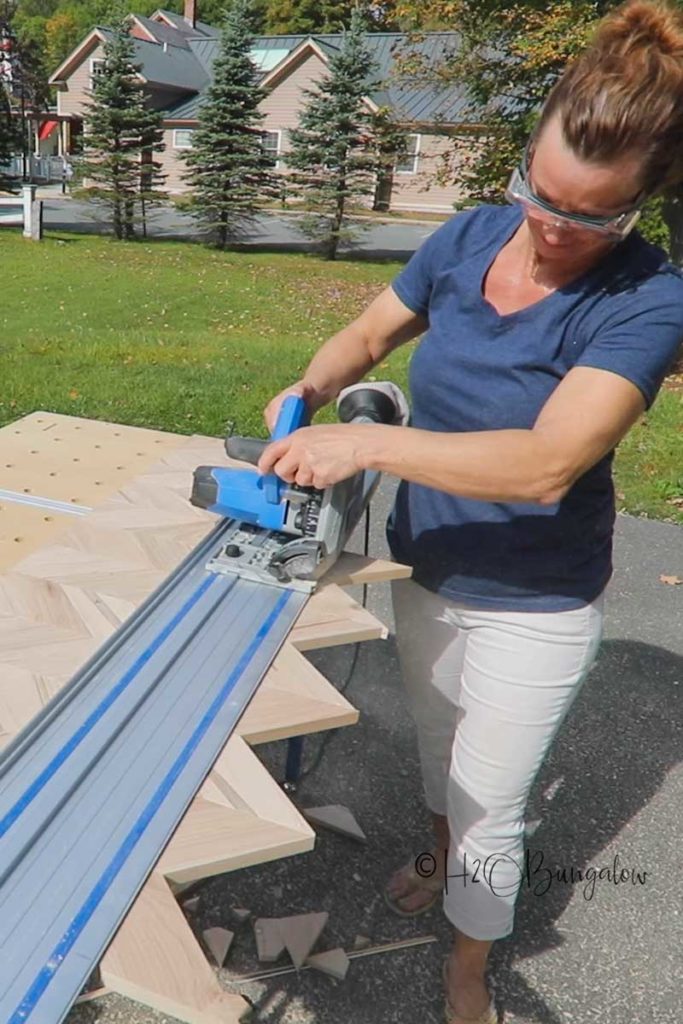
Trim around the edges of the chevron coatrack board with a circular or plunge saw to cut off the overhanging wood pieces. Sand the edges and top with a sanding block if needed to remove rough edges.
Step 5. Add the frame.
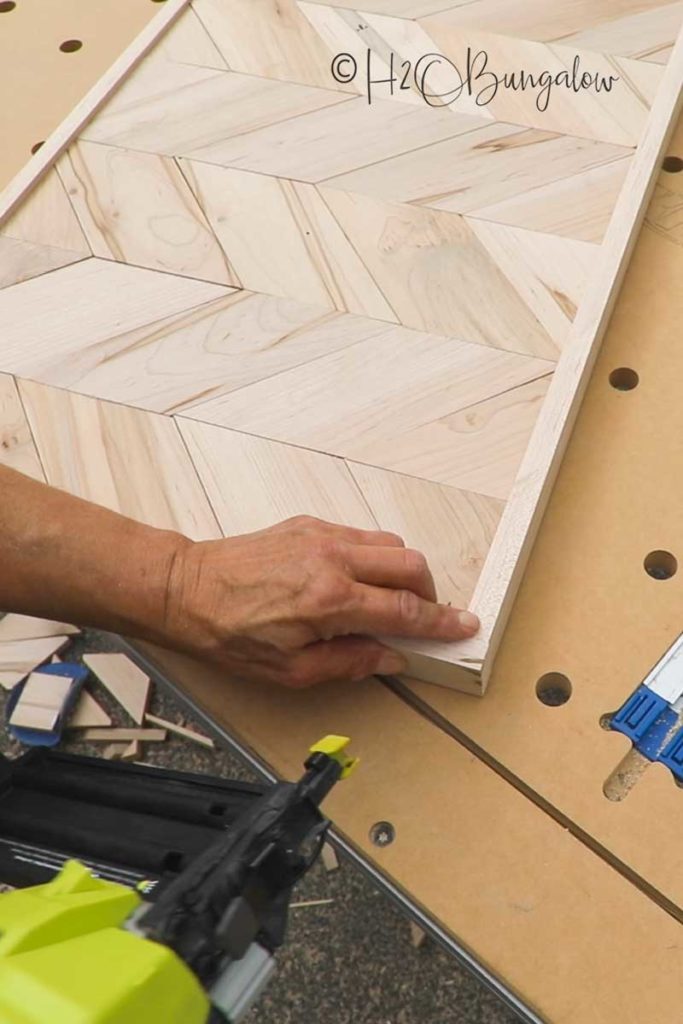
Lay the chevron board so the pattern is facing up on a flat surface. Lay the first 48” on its side against the coat rack base. The frame will be slightly higher than the coat rack.
Attach a 48” frame piece with a brad nailer using 1” nails about every 6” apart. Attach the other long side next. The ends will be flush with the end of the coat rack base.
Last, re-measure the two short ends, trimming these frame pieces if needed, Attach them with the brad nailer.
The two end frames will overlap the long side frames you’ve already connected.
Step 6. Mark the hook locations and drill pilot holes.
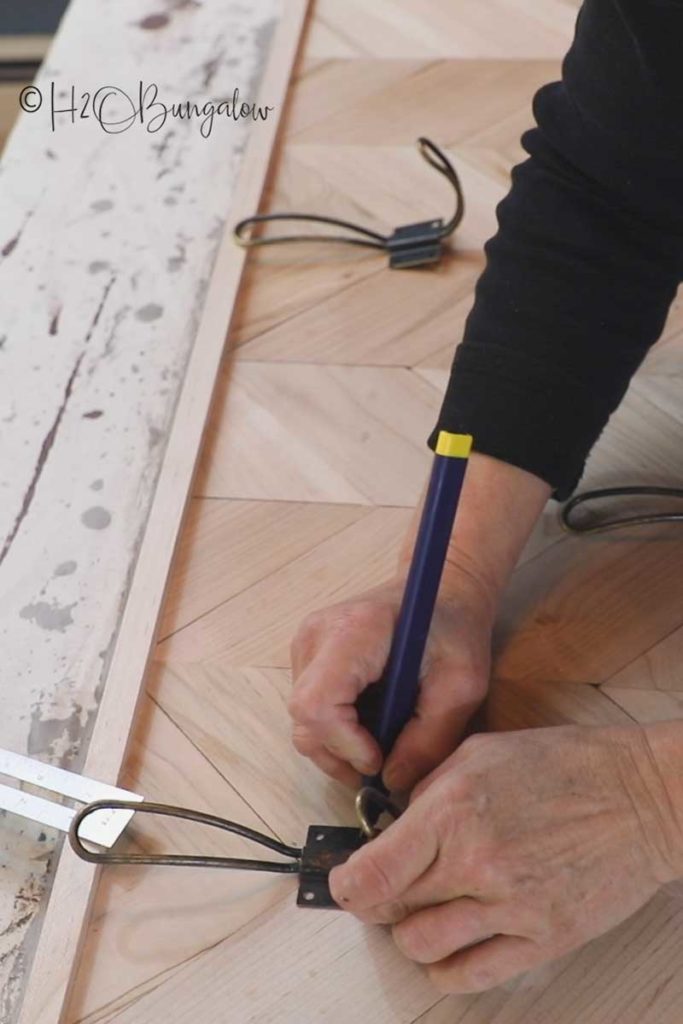
Mark the position of the coat hooks and drill pilot holes with a ⅛” bit for hardwoods and 3/32 bit for softwood.
Step 7. Hang your chevron coatrack base.
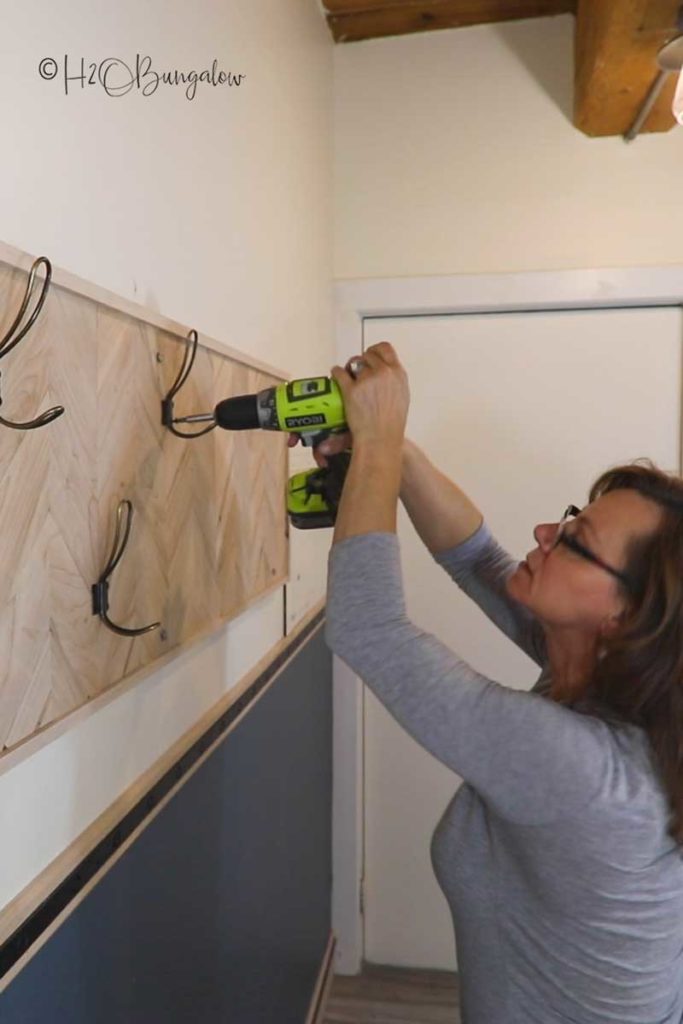
This coat rack is heavy and coats can be heavy. You’ll want to mount it to the wall with 3” lag bolts into the studs in the wall.
Step 8. Attach the coat hooks.
Last, you’ll attach the coat hooks onto the DIY chevron coat rack with 1 3/4″ screws. You’ll want them to grab through to the back of the plywood base to hold the hooks for durability.
The best thing about learning how to make a chevron pattern with wood is you can do much with it! Think about it, a chevron wood headboard would be gorgeous, or make wall decor.
Be creative! The sky’s the limit when you learn a few woodworking skills!
Don’t forget to pin this project for later and share with your friends on Facebook!

Part of what makes this DIY coat rack so gorgeous is the detail in the wood. I used left over ambrosia maple casing from last week’s mudroom entry project.
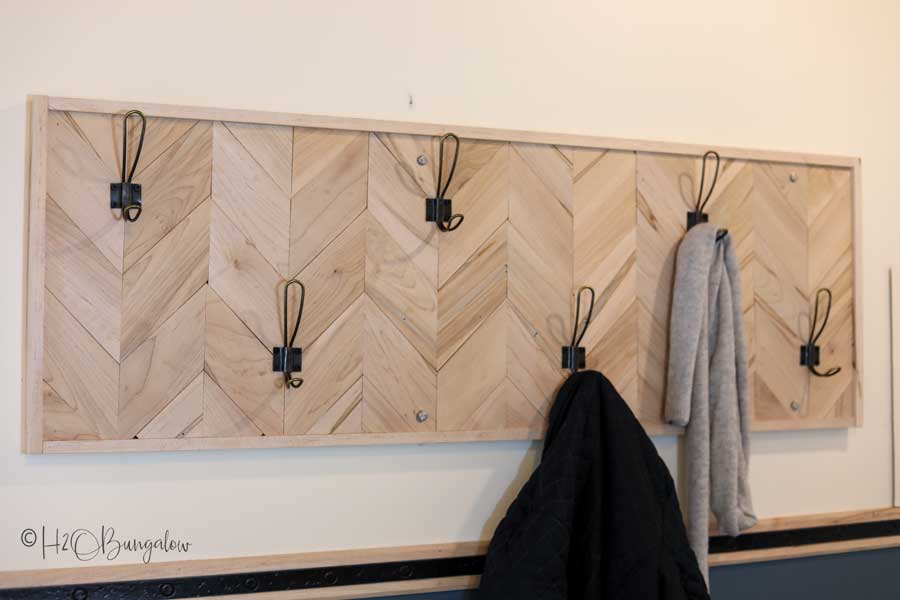
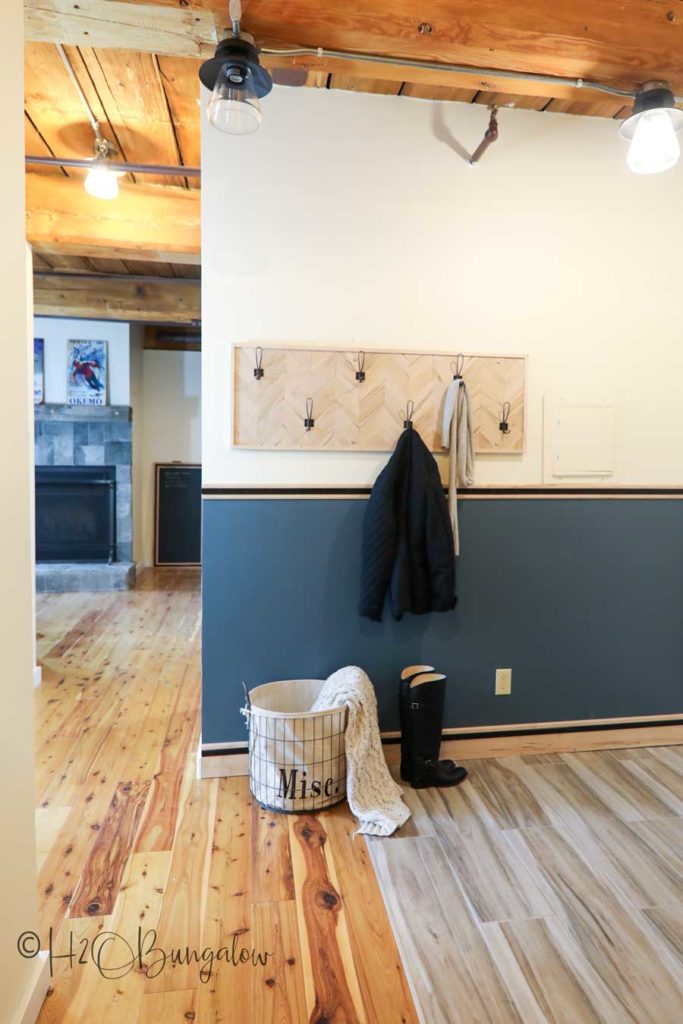
I love my modern DIY entryway coat rack on this wall. It goes perfectly with the maple rustic chair molding and baseboards I used in the mudroom.
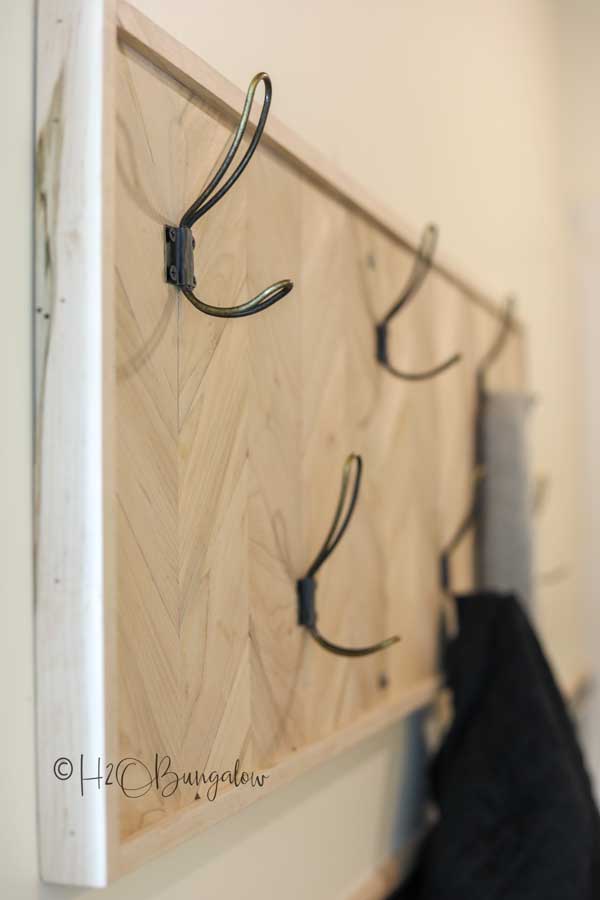
The hooks are perfect for this style of coat rack too. A little vintage and a little modern.
As I mentioned earlier, I love a pretty entryway. To me, it says come on in and stay a while. Looking for more DIY coat rack ideas?
You may like one of these
DIY Coastal Style Whale Coatrack

Chevron DIY Coat Rack

Update an entryway or mudroom with this modern DIY wall mounted coatrack that's sturdy and beautiful.
Materials
- 1 x 4 boards, I used ambrosia maple casing from the Ornamental Moulding Rustic line
- 1/2" plywood
- Vintage style coat hooks
- Wood glue
Tools
- Measuring tape
- Drill
- Brad nailer
- Miter saw
- Safety glasses
Instructions
- Cut the plywood to size of the coat rack you'd like to build, mine is 48" by 18". Set your miter saw to 45° and cut the 1" x 4" boards into 6" pieces.
- Make a line down the center of the plywood and again across the width. You’ll use these lines as a guide to center your first rows.
- Start on the center line and place the first 6” piece so a cut end lies along the vertical mark you made. Place the next piece opposite with the cut side against the first making an upside down “V”.
- Starting with the center row, glue the pieces down using wood glue. It’s easiest to work out from the center outward, glueing vertical rows one at a time.
- Trim around the edges of the chevron coatrack board with a circular or plunge saw to cut off the overhanging wood pieces.
- Sand the edges and top with a sanding block if needed to remove rough edges.
- Lay the chevron board so the pattern is facing up on a flat surface. Lay the first 48” on its side against the coat rack base. The frame will be slightly higher than the coat rack.
- Attach a 48” frame piece with a brad nailer using 1” nails about every 6” apart. Attach the other long side next. The ends will be flush with the end of the coat rack base.
- Last, re-measure the two short ends, trimming these frame pieces if needed, Attach them with the brad nailer.
- The two end frames will overlap the long side frames you’ve already connected.
- Mark the position of the coat hooks and drill pilot holes with a ⅛” bit for hardwoods and 3/32 bit for softwood.
Tip: Do not attach the coat hooks yet. It's easier to work with a flat board when you're mounting it to the wall, measuring and drilling pilot holes to hang it on the wall without hooks. - This coat rack is heavy and coats can be heavy. You’ll want to mount it to the wall with 3” lag bolts into the studs in the wall.
- Last, you'll attach the coat hooks onto the DIY chevron coat rack with 1 3/4" screws. You'll want them to grab through to the back of the plywood base to hold the hooks for durability.
- That's it!
Kirstin says
That turned out great. I love the chevron look. When we were in Switzerland one of the old castles we went in actually had chevron patters “painted” on the walls
Wendi Wachtel says
Thank you Kirstin!
I remember you mentioning that a while back. I’m so hooked on this pattern in wood, it was fun and pretty easy to do. I can imaging it was a bit harder to paint it. Especially because they didn’t have painter’s tape then! Thanks so much for your note!