Today, I’m sharing designer inspired bathroom vanity plans and a video on how to build a vanity.
I found the most beautiful rustic vanity with a concrete counter in a favorite trendy retail store. Hint…there’s a P and a Barn in the name. The $1299 price tag was way out of my renovating budget but I loved the simple lines and 2″ concrete countertop was awesome!
So, of course, I built my own bathroom vanity version but a lot cheaper.
If you’re looking for a bigger vanity, you might like my DIY Open Shelf Vanity with plans I built a few years ago. That one is 60″ long and has two sinks.
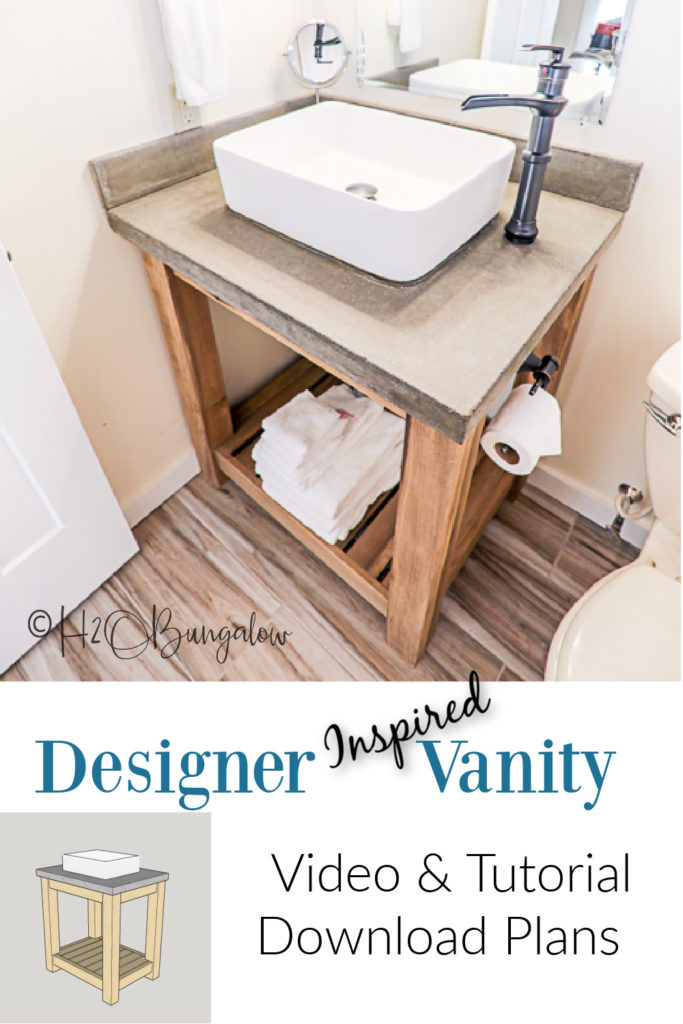
Single Bathroom Vanity Plans
This post contains affiliate links, as an Amazon affiliate I earn a fee from qualifying purchases at no additional cost to you. Thank you for supporting H2OBungalow!
You can watch my video on how I built the vanity and follow along my building process.
Material needed to build a bathroom vanity
- Miter saw
- Table saw- optional only needed if you notch out the lower shelf.
- Jigsaw
- Random Orbital Sander
- Drill
- Kreg Jig K-4 or the Kreg Pocket Hole Jig 320
- 2 1/2″ pocket screws
- 1 1/4″ pocket screws
- 200 grit sandpaper
- Tape measure
- Kreg Multi-tool- optional but a time saver!
- Safety goggles
- Face mask
How to build a DIY wood vanity
You’ll want to download the plans if you plan on building this project.
• Table saw
Cut lumber to size.
Cut the four legs first. Always start with a fresh cut to square an end before measuring the length to mark where you’ll cut.
Next cut the front, back and sides.
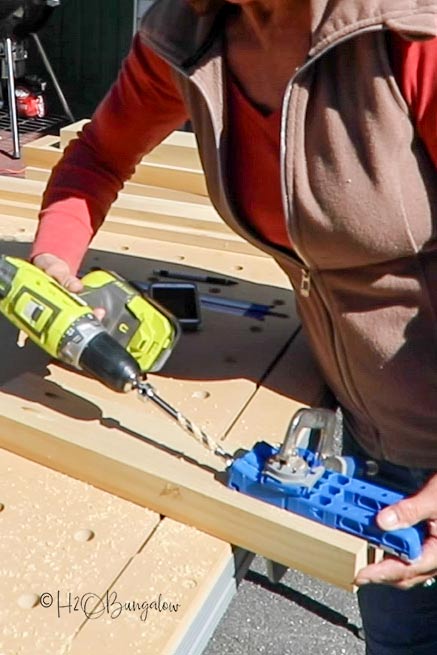
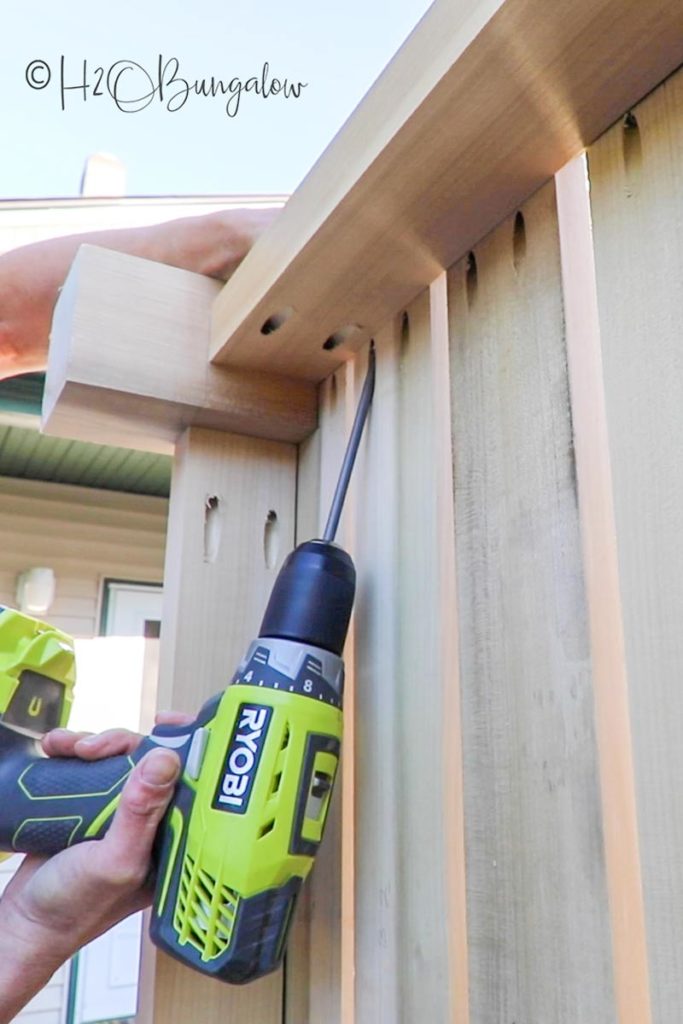
Add pocket holes
Make two pocket holes on the inside of each end of the front, back and sides of the top and bottom pieces. It helps to mark the spots first.
Assemble the front and back
Attach a top front piece to a leg insetting it ½” from the front. The top will be flush to the top of the legs.
Next, mark 3” up from the bottom of the leg, position the lower front piece ½” in (or use your shim). Connect with 2 ½” pocket screws. If you added notches to your lower shelf supports, they will face inward.
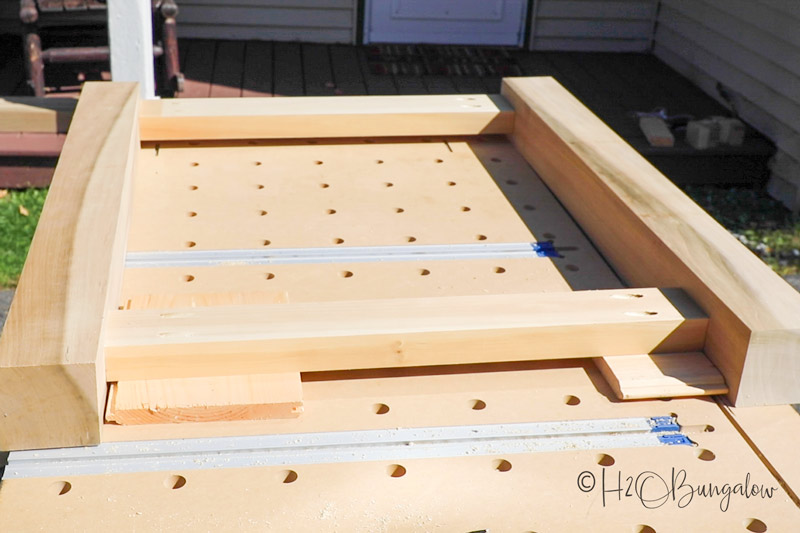
Do the same for the other side.
Connect the sides
Attach the first top side piece. It will be flush with the top of the leg and inset ½”. Next add a bottom side piece 3” from the bottom and inset ½”.
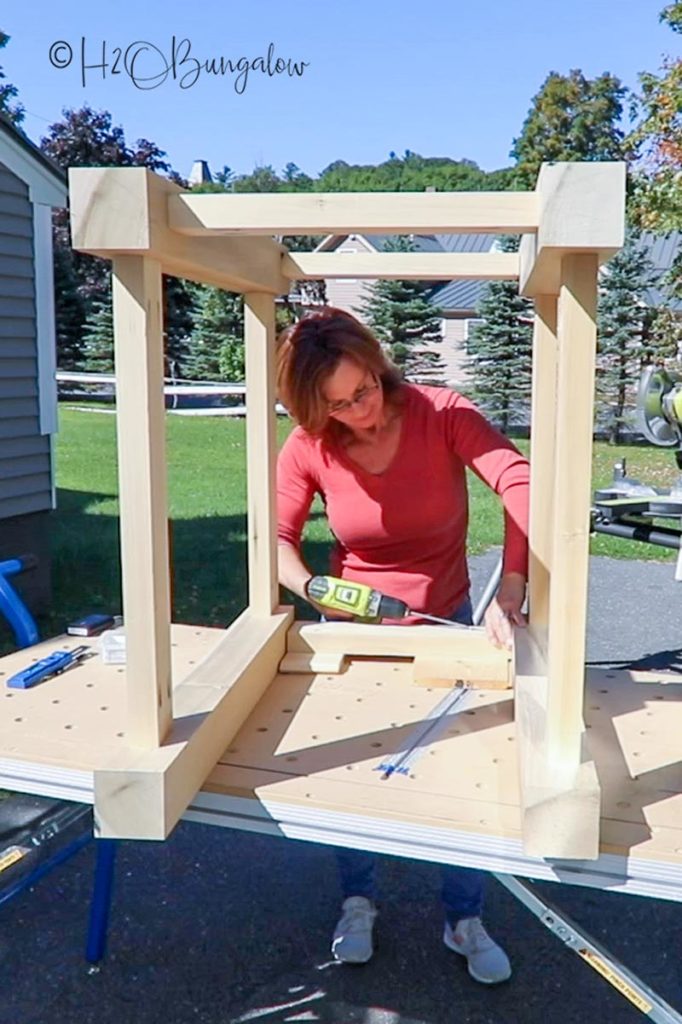
Do the same for the other side.
Add the bottom shelf onto the DIY vanity
Align the slats to have 1/2″ spacing on the lower shelf. Notch out the two slats on the sides. Attach them with the 1 1/4″ pocket screws.
Sand the entire bathroom vanity
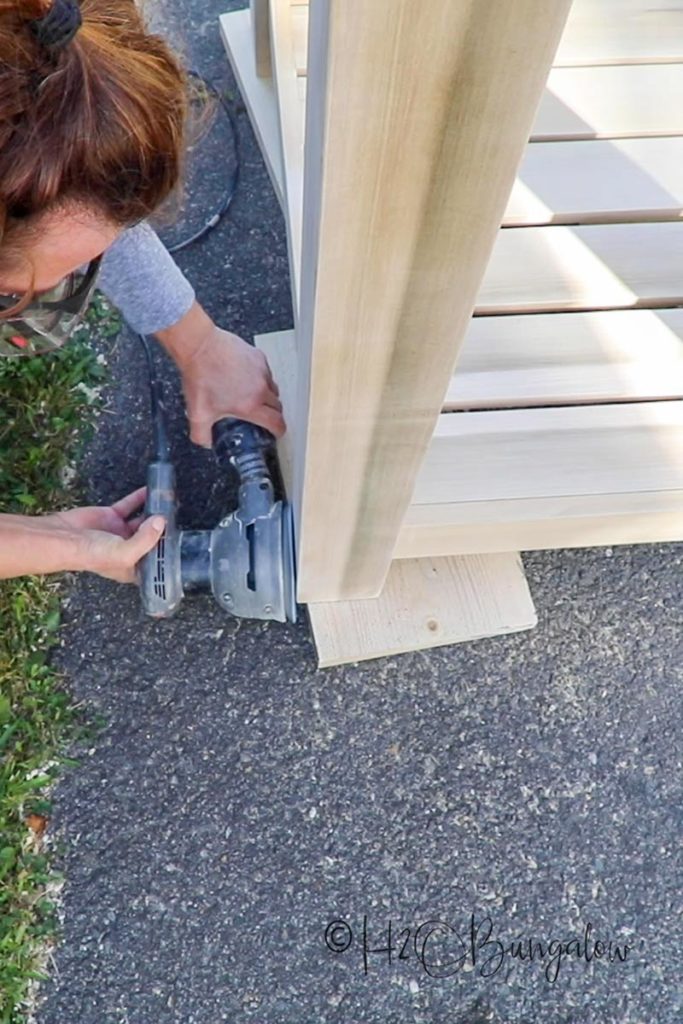
Sand all of the edges and rough spots before finishing. This is especially important if you’ve planed your wood first, the corners will be sharp!
Can I stain or paint a wood vanity?
You can do either stain or paint the vanity. If you choose to paint it with a sprayer, you may want to paint the lower shelf slats before attaching them to the base.
If you’re staining it, you may want to add a coat of poly over the stain to help with water resistance.
Do I need special plumbing for an open shelf vanity?
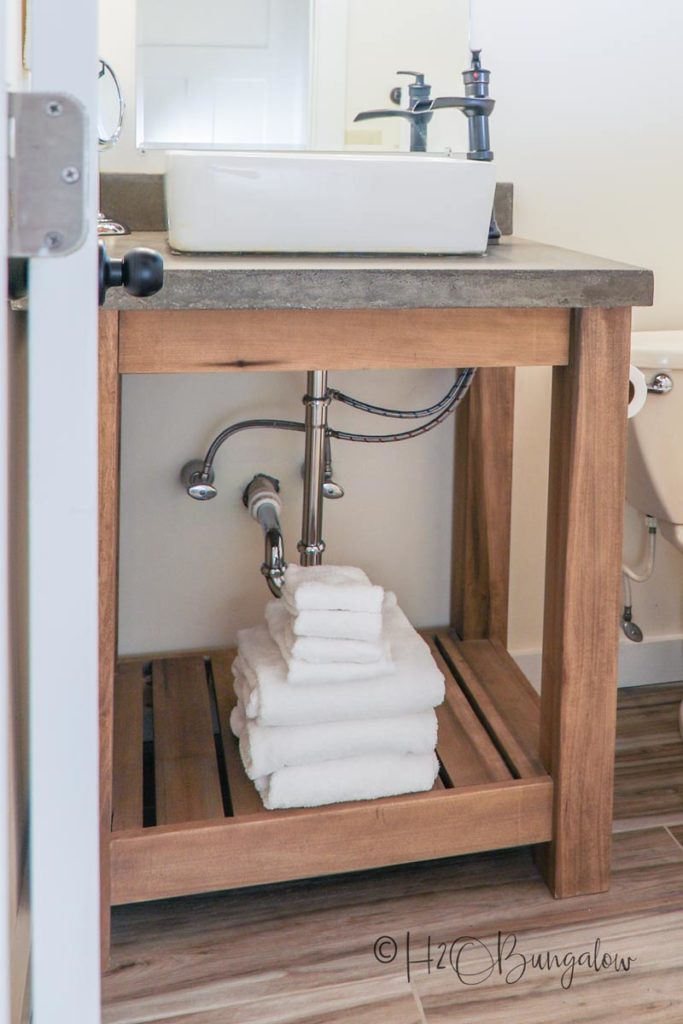
The plumbing connections will be the same as a regular enclosed cabinet base bathroom vanity. What you may choose to use is a chrome p trap and drain pipe instead of pvc since it will be visible.
What type of top can I put on a DIY vanity?• Kreg Jig
Pin this now and share with your friends on Facebook!

What type of countertop top can I use with these bathroom vanity plans?
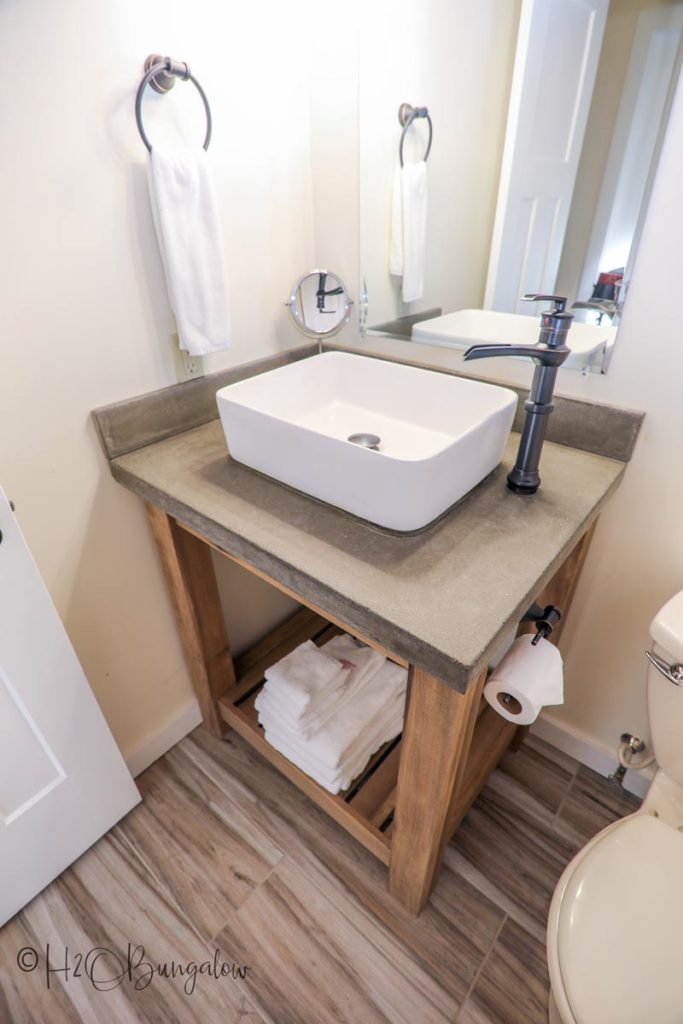
You can fit any type of top and sink you’d like. I poured my own concrete counter top for my designer inspired DIY vanity. I’ll share the tutorial for that in a few weeks.
If you’d like to know more about using a concrete counter on a bath vanity, see my post How to Wax Concrete Counters.
• Dri
This• Random orbital sande
This is a very sturdy vanity. Paint it a solid color and it will look more modern, leave the wood natural or stained and it will look rustic.
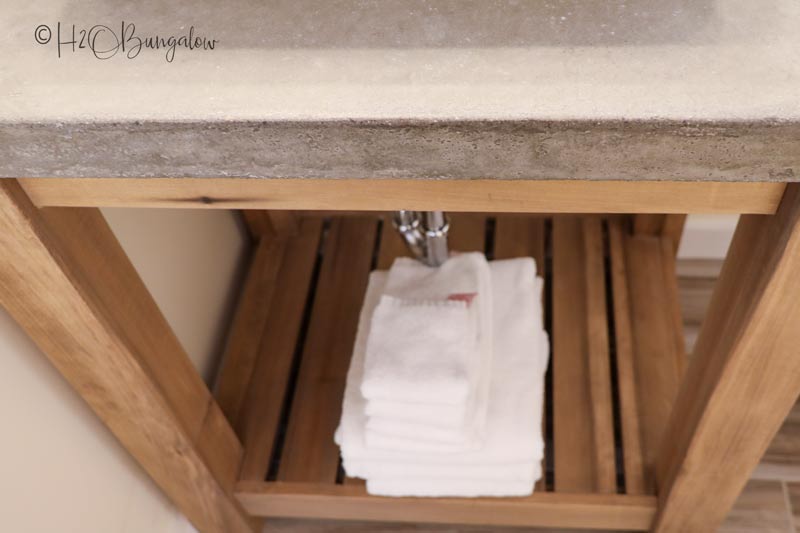
You can build this vanity! All it takes is some basic building skills and a few tools my friends!
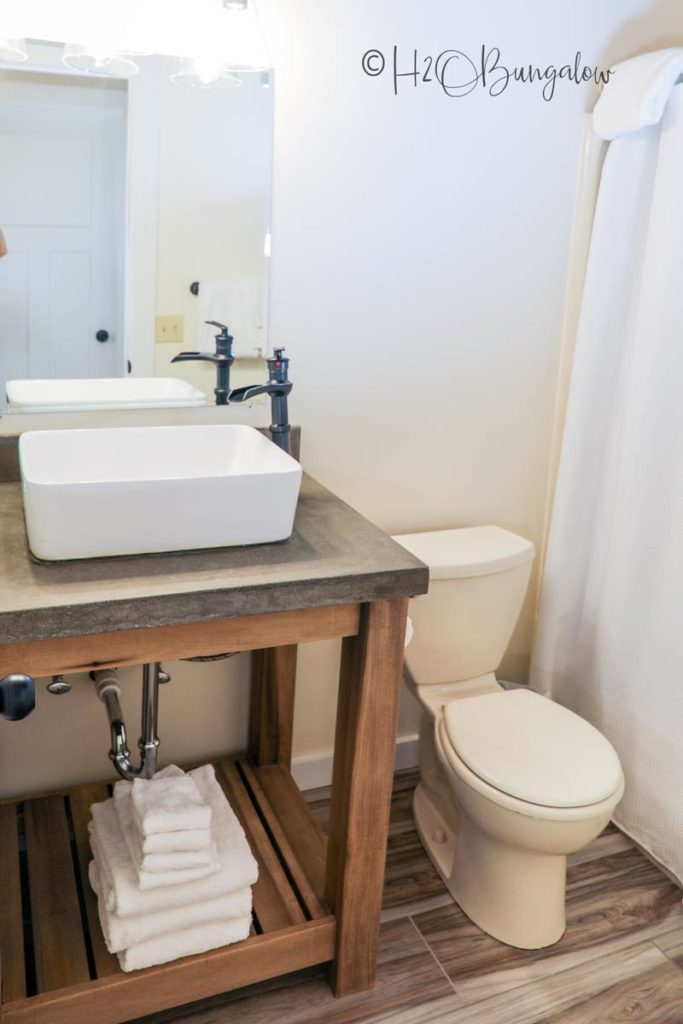
Of course, if you do use my designer inspired bathroom vanity plans for your own home,I’d love to see! Share a picture on my H2OBungalow FaceBook page!

Meghan Grace says
You and your blog are a wealth of information! I love this vanity!
Wendi Wachtel says
Hi Meghan!
Thank you so much for your sweet words and taking the time to leave me a note! So glad you like my vanity! I’m hoping to have the concrete counter top tutorial out soon too!