Today, I’m sharing my DIY blue painted kitchen cabinet reveal and kitchen tour with you! My DIY blue painted kitchen cabinet reveal makeover shares 15 creative DIY’s that made me love my kitchen again.
Some were simple kitchen upgrades and others were a bit more work but all were on a budget and I couldn’t be happier with the results!
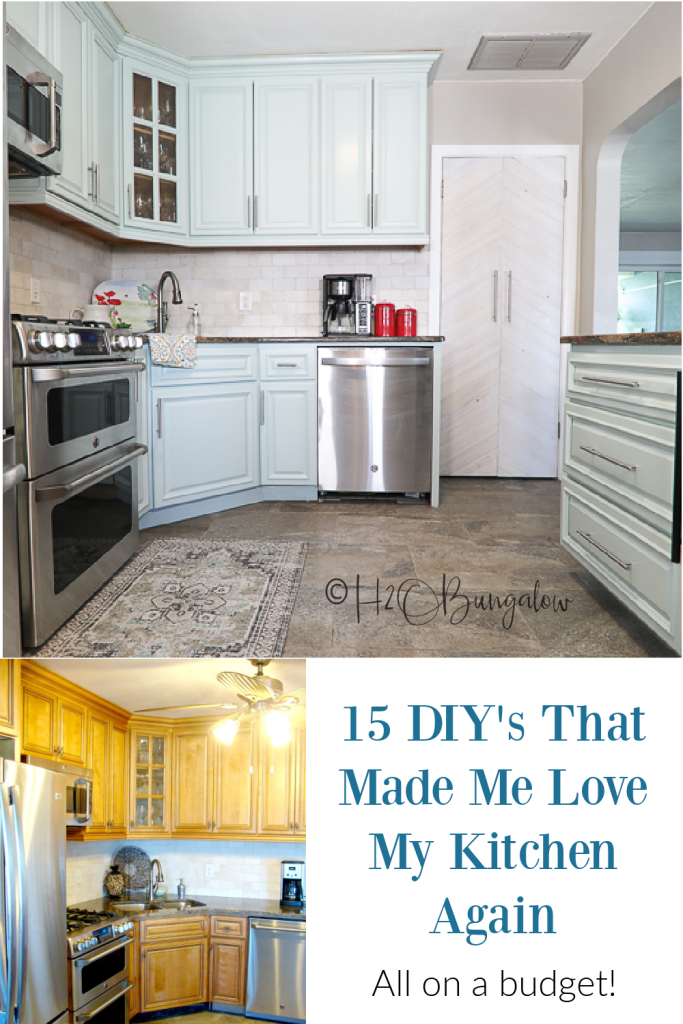
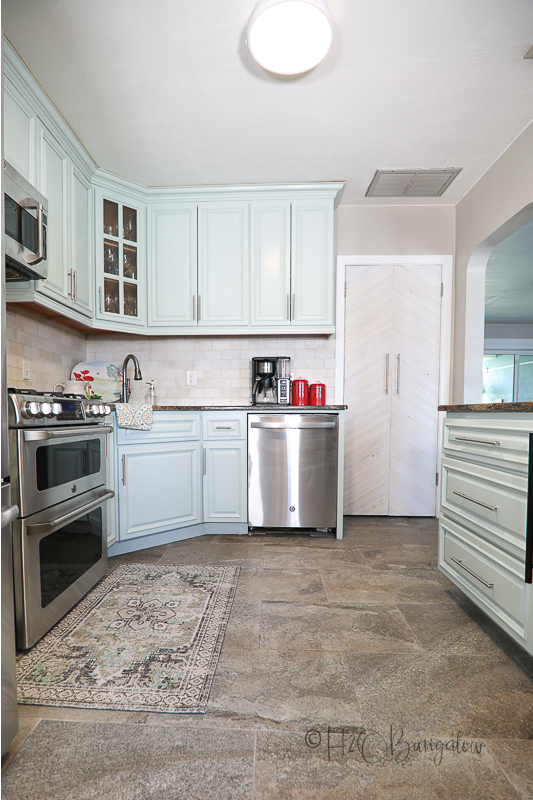
This is what my kitchen cabinets looked like before I painted them and updated my kitchen..lots and lots of brown wood. The dark tones sucked the light out of my space and made the kitchen look dark like a cave, the giant ceiling fan didn’t do much for the space either. Most importantly, this room was completely at odds with the decorating style of the rest of my coastal home.
Needless to say, it was time for a refresh.
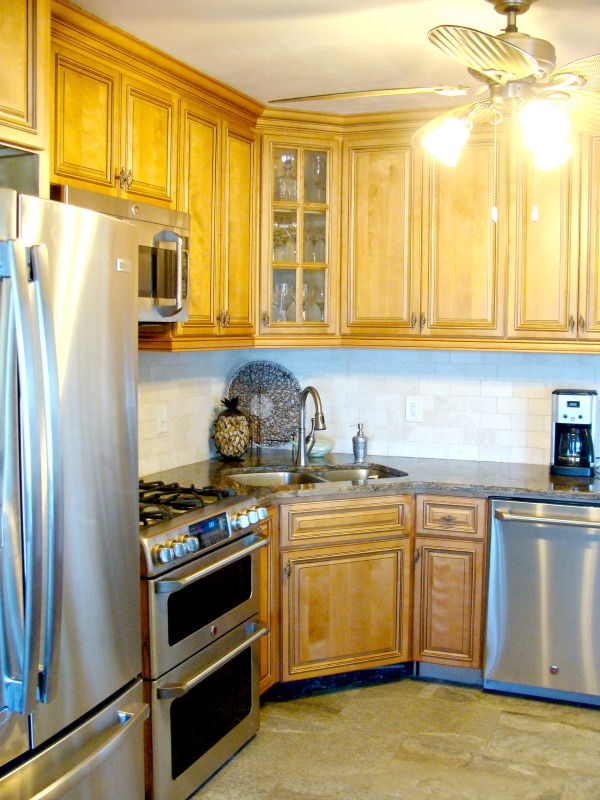
15 Updates That Made Me Love My Kitchen Again
Transforming the kitchen has been a project and a process. Earlier this year I committed to updating my kitchen and decided to break it down into a series of little projects over several months. That made the most sense for me and my work schedule. Especially since I commute to Vermont to work on the North House Lodges so much.
Today, I’m basking in the joy of a new looking brighter kitchen that reflects the style rest of our home. Let me give you a blue painted kitchen cabinet tour and share my 15 DIY projects that made me love my kitchen again.
You will also love the new dining room table I built, our dining room has a whole new look now!
1. Painted the kitchen cabinets
I used Silver Sage color by Behr in the new Urethane water based paint formula by Sherwin Williams. Because this was a huge project, as many of you have seen in my Instagram feed, I broke it down into 3 steps and worked on it when I could over a few months. Prepping, painting the bases and then the spraying the doors and drawers.
It took a while but was well worth it!
I have so much to share about painting kitchen cabinets choosing the right paint and painting tips. In the meantime, you’ll find a good tutorial in the next section.
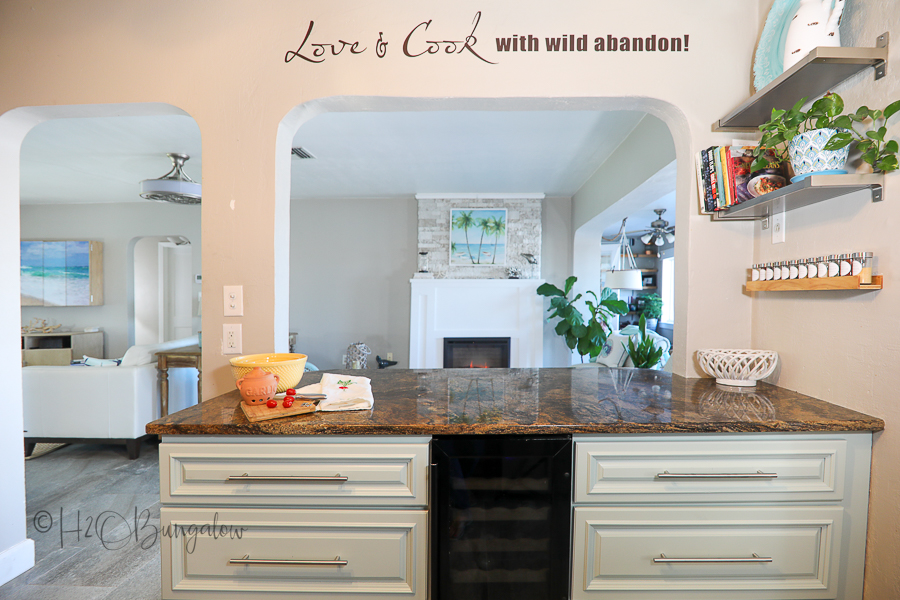
2. Updated the kitchen island.
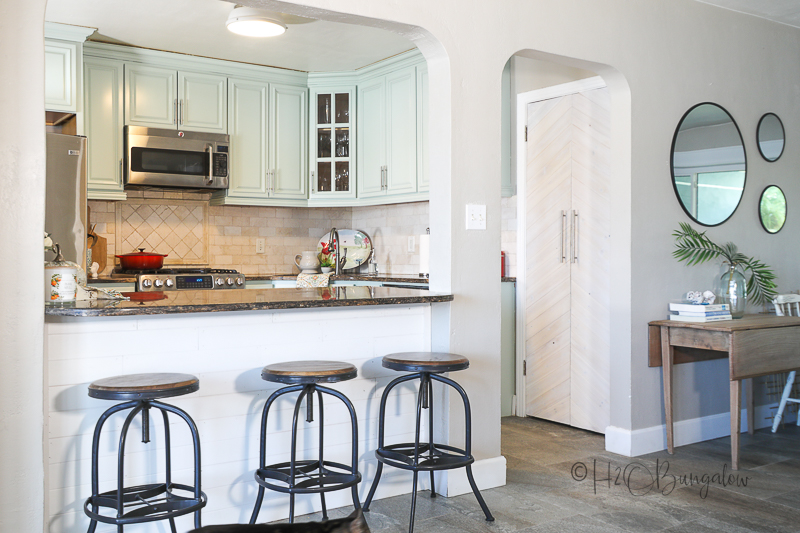
Our island faces the living area in our small coastal home. Planking the front of our island and painting it a bright white tied the kitchen and living areas together.
My How To Makeover A Kitchen Island shared the steps and has a tutorial on how to paint kitchen cabinets and how I updated the island. There’s a good video in this post too.
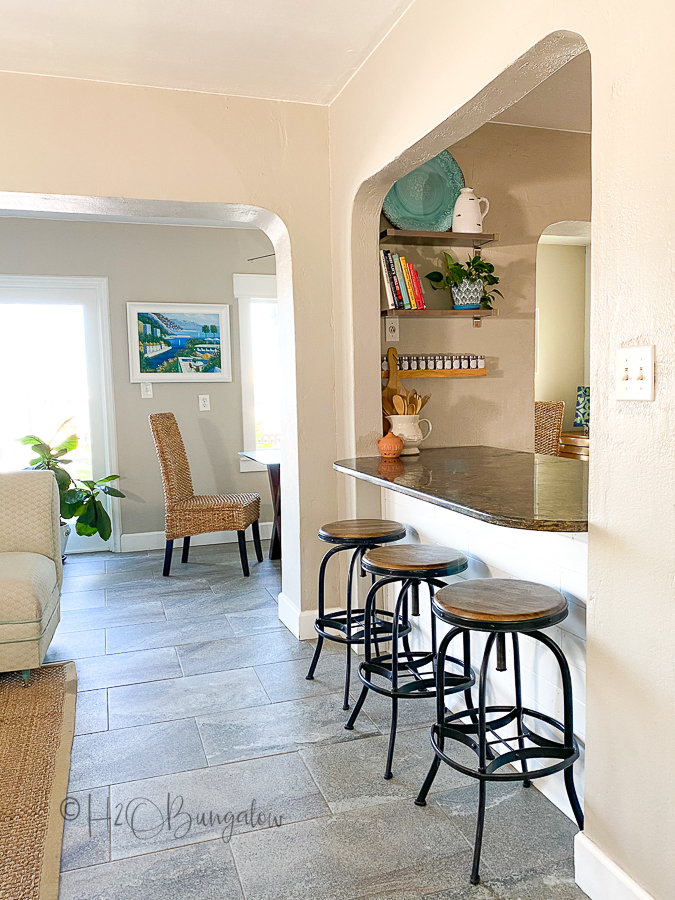
3. Added a pantry
Our pantry was once a hallway to the bedroom behind the kitchen. We closed it off and converted the space into a much needed pantry.
The bedroom behind it is my office and now has a doorway to the right of the table in the photo below.
4. Organized the Pantry to maximize space
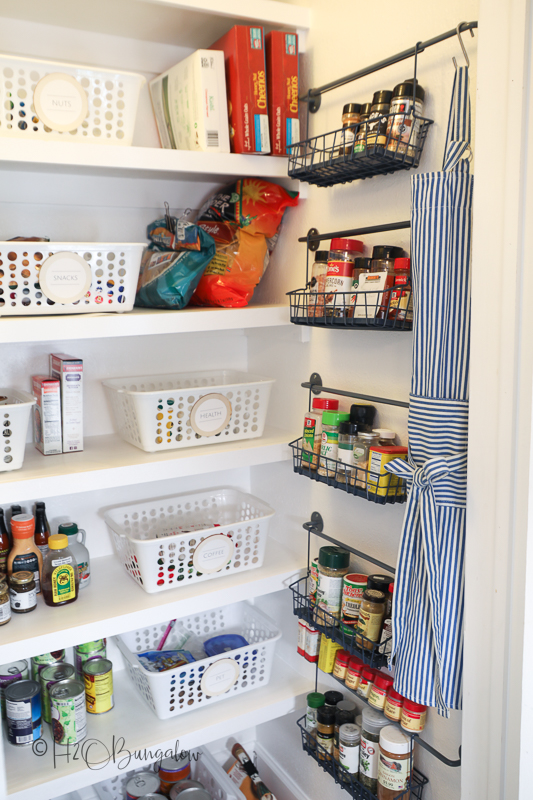
Small spaces can look cluttered quickly! I updated and organized our pantry and shared a few space tricks in my How To Organize A Pantry And Get More Space a few months back. I’m not kidding when I share that this a game changer and the best pantry organization method ever! My pantry has stayed easy to keep organized for years!! You can download my free printable basket labels in that post too.
5. Used blanks walls
This wall spice rack is an Ikea hack and a super way to keep spices organized and easy to see. Just mount several rails with clip on baskets one over the other on an open wall.
6. Updated the pantry doors
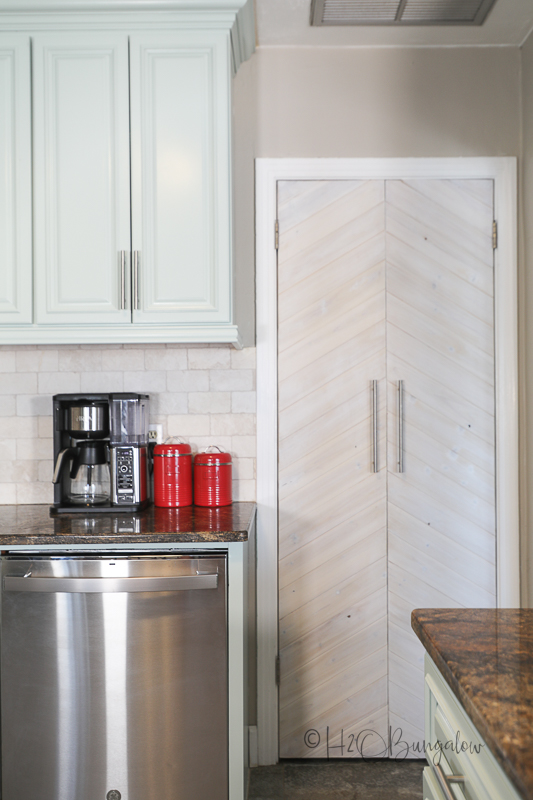
Next, I moved on to adding a faux front to the hollow core doors of my pantry.
Yes, these doors were a set of bifold doors at one time. Now they open outward like french doors. Since I was painting my kitchen cabinets a pretty coastal blue, I thought updating the bifold doors would make a big difference. It did!
See how to update any door in my Hollow Core Door Makeover On A Budget.
7. Added new color to the kitchen decor
I needed to add a little contrasting color into my new light blue painted kitchen. After trying a few different colors I liked the muted poppy and a little green the best. The platter was a Tuesday Morning find. I found the perfect muted Poppy colored canisters here.
8. Added extra shelves to the kitchen cabinets
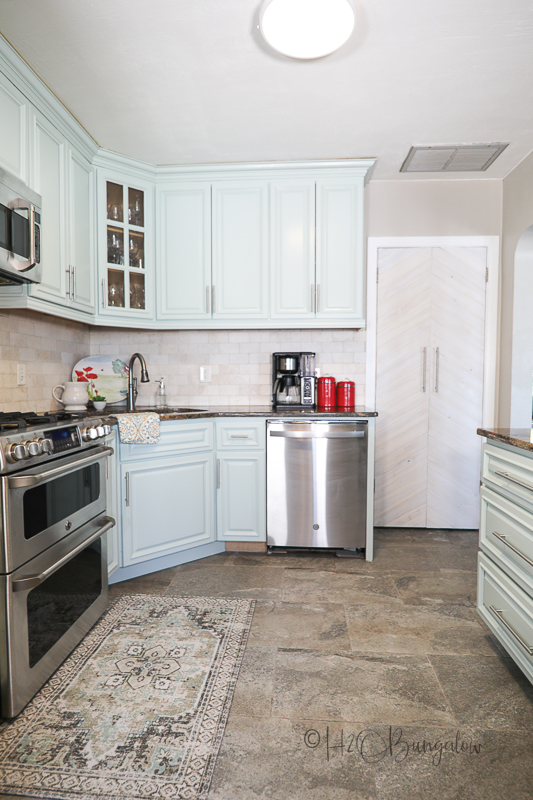
Like I mentioned earlier, our kitchen is really small. One way I maximized storage space was to use taller cabinets when we first put the kitchen in. Our ceilings are low so these are only 36 inch cabinets with crown molding to the ceiling. It gives the illusion of taller 42″ cabinets.
I just about doubled my shelf space when I shared How To Add Extra Shelves To Kitchen Cabinets. Now every size bowl or cup has its own designated space.
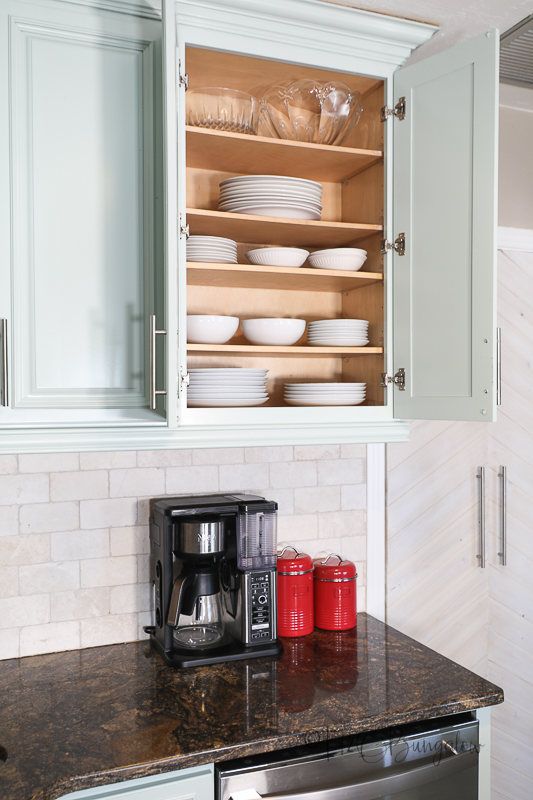
My favorite part about the extra kitchen shelves is the short shelf that holds travel mugs! No more digging in the back having over-crowded shelves! I don’t loose lids either because they stay attached to the mugs.
It’s a great solution for short people too!
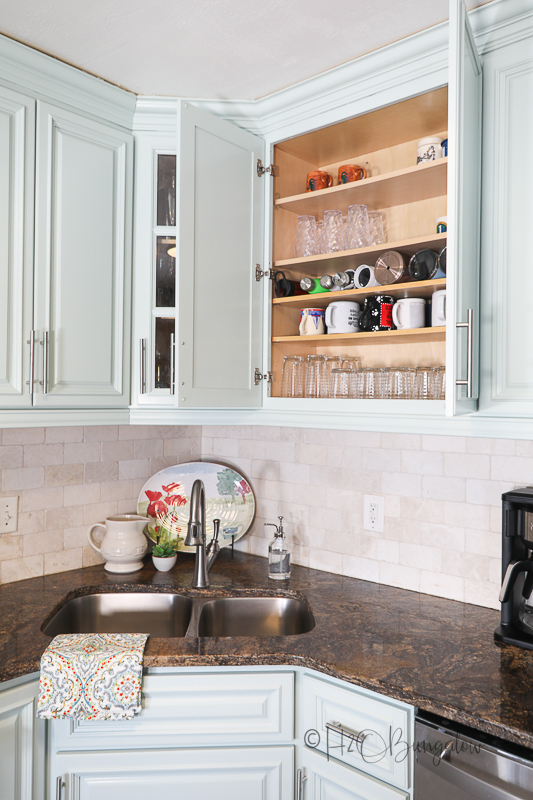
9. Prioritized kitchen cabinet space
Another huge space saver for us was to use the large corner cabinet under the sink for appliances. What a giant amount of wasted space it was before! Now, I keep the few cleaning supplies we use in a basket on the floor of the pantry and store the big ones we don’t use as often on a shelf in the garage.
It’s a much better use of space!
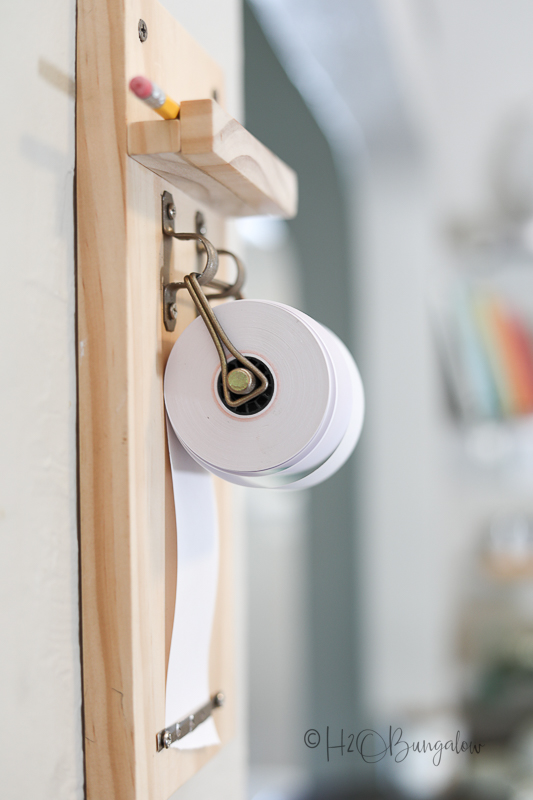
10. Made a wall mounted note holder for the kitchen
Since I was always writing notes to myself about what to pick up at the market I made this note holder. You’ll never guess what I used for the cutting bar! HINT…Most people have at least one in their kitchen drawer! Check out my How To Make A DIY Wall Mounted Paper Roll Note Holder to see what I used.
It’s a good scrap wood project!
11. Changed out the cabinet hardware
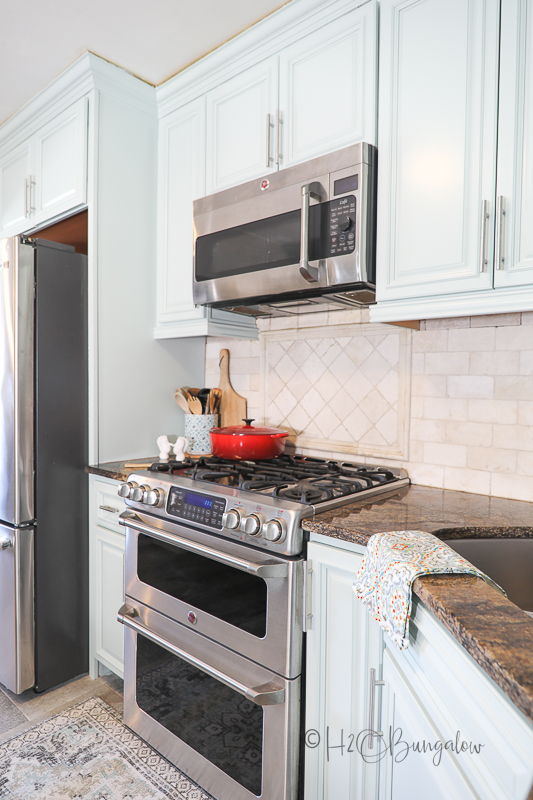
Changing out the cabinet hardware was no-brainer for my blue painted cabinet kitchen makeover. I use these 7″ bar cabinet pulls on the cabinets. I found the matching 4″ bar pulls for the small drawers and used 12″ bar pulls for the big island drawers.
12. Added a floor rug
I never thought I’d do this but adding a floor rug or mat made the space much cozier. I found this one at a local store but these 2 x 3 rugs are close to what mine looks like. It has muted blues, greens and dark grays that compliment our granite tile floor.
13. Changed out the ceiling light
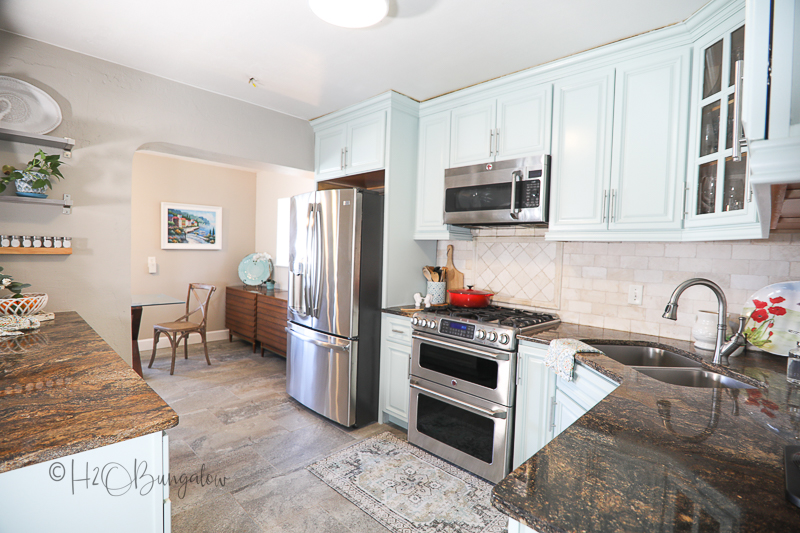
Do you remember what the big ceiling fan looked like in my before photo? Tossing the old dark ceiling fan that came with the house was a no-brainer. After searching through what felt like hundreds of kitchen lights, I opted for this vintage enamel style light. I love it in our space!
14. Added a wall spice rack for the ones I use the most.
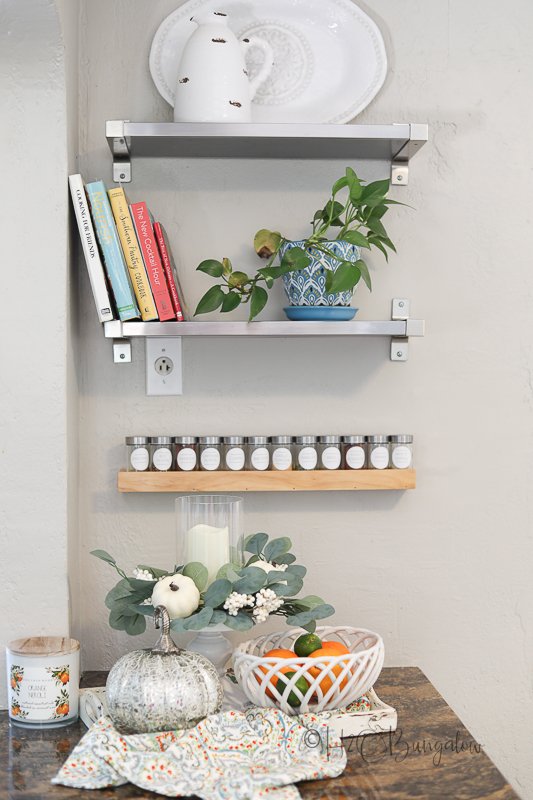
This display spice rack holds the spices I use most often. The labels match the ones from my pantry makeover. Check out this tutorial and download my free label template in my DIY Wood Spice Rack.
15. Added shelves for decor and utility
Once again, I hit up Ikea for these inexpensive modern kitchen shelves. They added interest to the room, utility in that they hold items I use a lot. Best of all in this small space kitchen, they accent the height of the room because they are stacked on top of each other. It gives the illusion of a taller room.
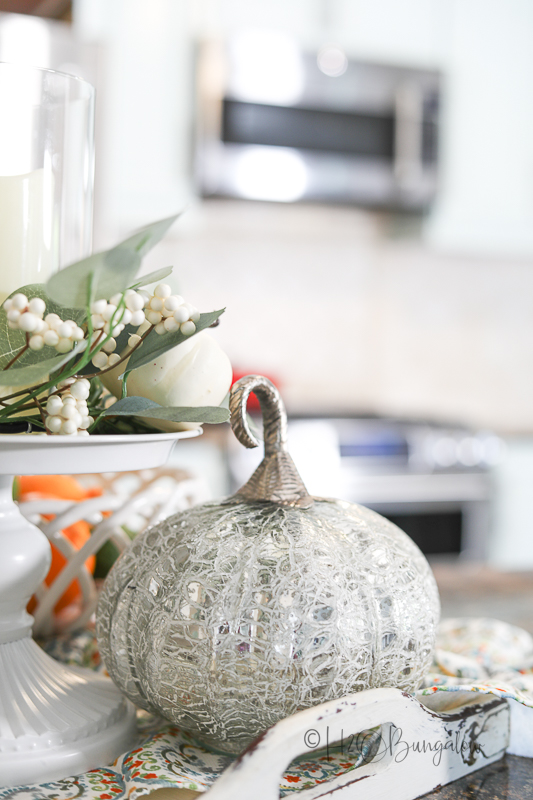
I know it’s a bit early to put out a pumpkin but I fell in love with this mercury glass pumpkin with a metal stem. I’ll call it wishful thinking for fall to come soon.
So there you have it. My coastal kitchen makeover tour.
Pin this now or save with your friends on FaceBook to save my look or ideas you’d like to try later!

I’m thrilled with how light and bright the kitchen feels now. Especially since the island and the rest of my kitchen cabinets are all the same color. I’m on the fence about the brown granite counters but for now they’ll have to stay.
What’s next in the grand scheme of giving my home an update?
Well…
You see the dining space behind the kitchen? That’s getting a whole new look too! Everything that’s in there now goes! I’ve got plans to build a new kitchen table and bench as well as a freestanding cabinet that will sit on the other side of the refrigerator.
The table and bench legs arrived yesterday and I can’t wait to get started on that project!

I hope you enjoyed my DIY blue painted kitchen cabinet reveal and kitchen idea tour and found inspiration to update your kitchen with a few of the ways we updated ours!

Paula says
Love it! LOVE IT ALL. Beautiful colors and innovation. Love the new pantry, too. The entire area is so much brighter, cleaner and comfortable flow.
Wendi Wachtel says
Paula,
Thank you so very much! We are loving the bright and clean look too. I’m excited to share the new look shaping up in the dining area …soon!
Lisa says
Beautiful!
Wendi Wachtel says
Thanks so much Lisa!
susan says
It’s beautiful! I love the color of the cabinets! Wish I had all the talent you do
Wendi Wachtel says
Hi Susan!
Thanks so much for your sweet note. It’s really a matter of taking one step at a time. You can do this too!
Chelsea Schalton says
I’m in awe of your vision and execution. The transformation is astounding and gives me so many ideas for my own kitchen. Painting the cabinets such a peaceful color immediately calms the space. The visual clutter is gone.
Thank you for all the details and the postings over the past 8 months showing each project as it was tackled and finished. Your “new” kitchen is just marvelous!
Wendi Wachtel says
Hi Chelsea!
Thank you so very much! It makes my day when I hear that I’ve helped inspire someone else with their own home challenges. I’m excited to start sharing the dining table I’ve been working on. I hope there are more ideas in the next space you can use as well!
Tracy L says
Wow! Pretty and pracical
Wendi Wachtel says
Thank you so much! Yes- this was definitely a budget make over and I’m thrilled it turned out so well!
Maria says
Wow looks amazing love the organized closet: such a pretty way to organize
Wendi Wachtel says
Thank you so much Maria! Yes! The organized pantry looks good and even better is that it stays that way!