We’ve got butterflies! Monarchs, little yellow ones, a lavender one and a few others that I can’t wait to identify visiting our new landscaping. My DIY butterfly garden landscaping is about 4 weeks old and already has several butterflies visiting each day.
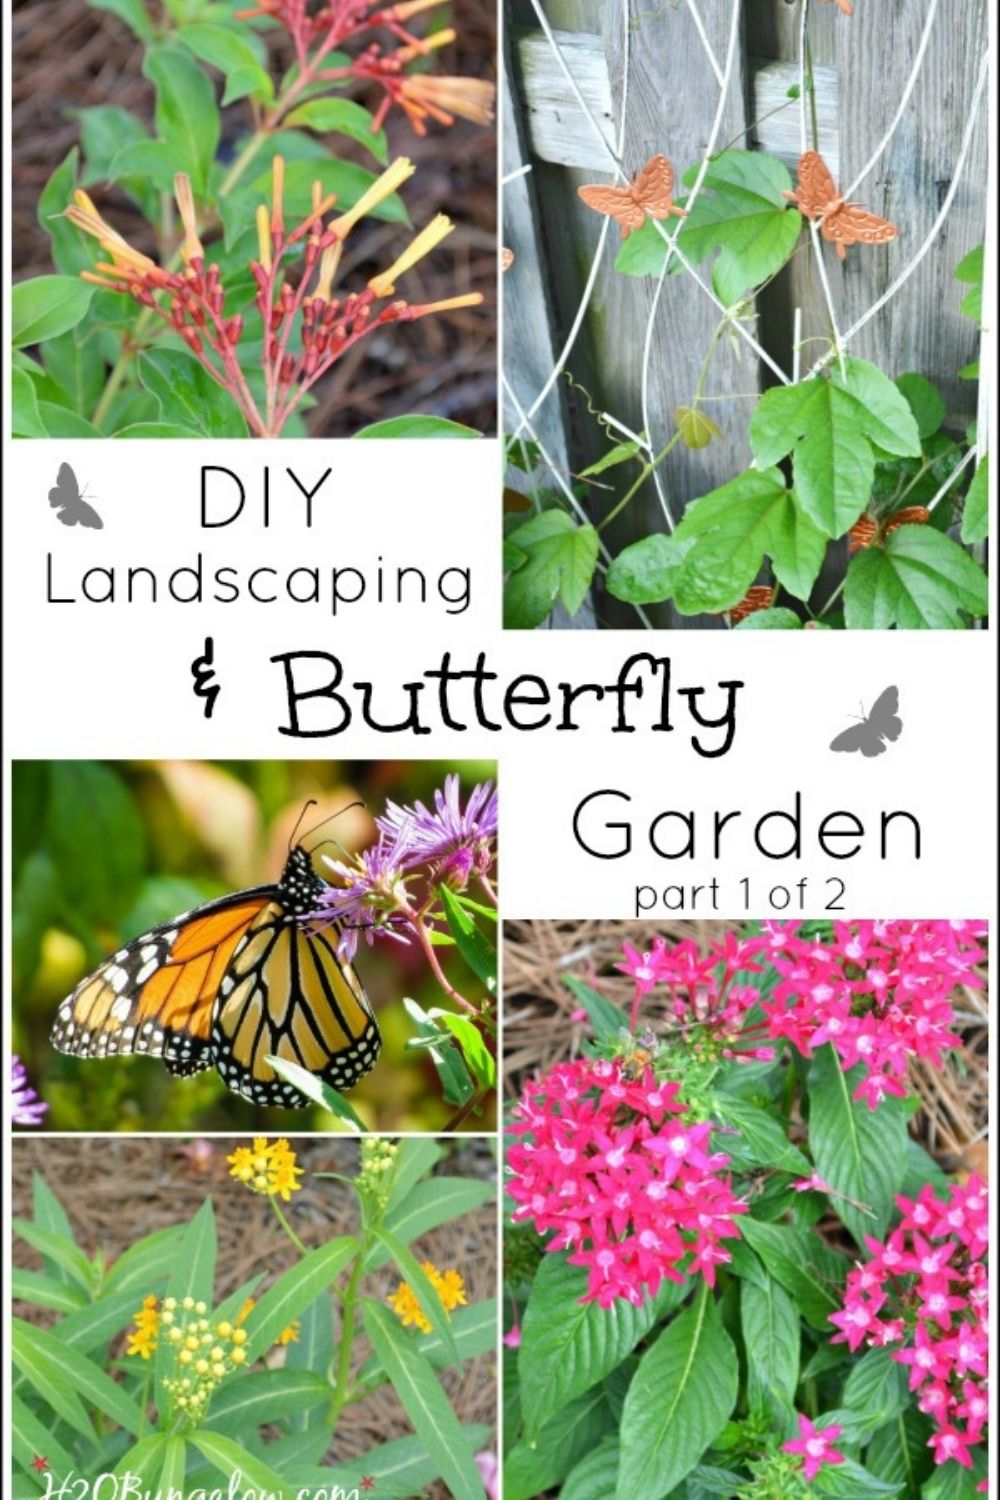
I even made a couple of Turtle Topiaries that are oh so cute! We’ve finally started prettying up the outside of the house and I found a solution that looks beautiful, is environmentally friendly and low maintenance. I’m not just happy… I’m bouncing with excitement. Today is part 1 of a 2 part post on my DIY butterfly garden landscaping project that I’ve waited weeks to share with you all!
For you to truly understand my excitement, I think I should share how far we’ve come. It’s been almost 3 years since we rolled up our sleeves and jumped into this project house. Silly me, thinking I’d have it done in a year.
When we moved in, the house wasn’t visible from the street. See that bush to the left? It covered the entire front yard. I’m not kidding… not even close. The front yard was an overgrown mess. We found the dog statue with a broken ear, and a lot more “hidden treasure” aka, junk, underneath and inside of the bush. See the white pvc pipe sticking up? That was the irrigation system, or I should call it the irritation system, because it didn’t work 🙂
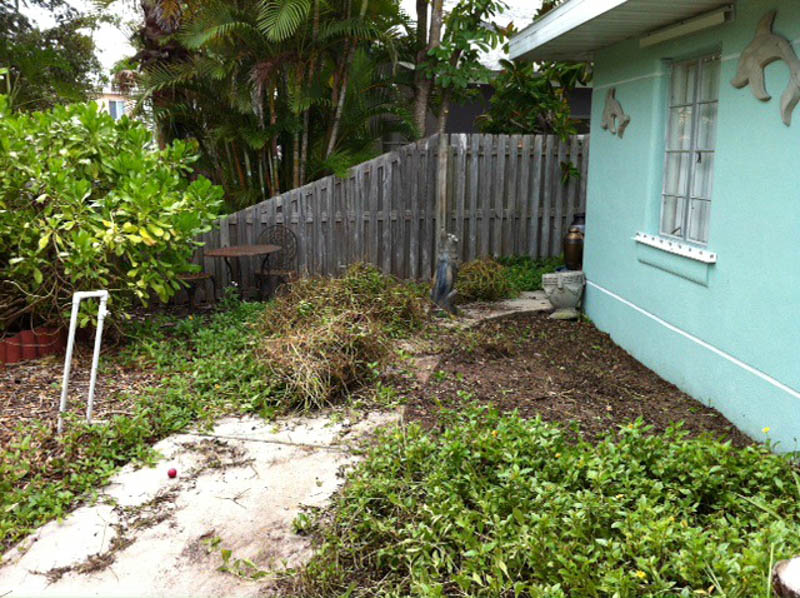
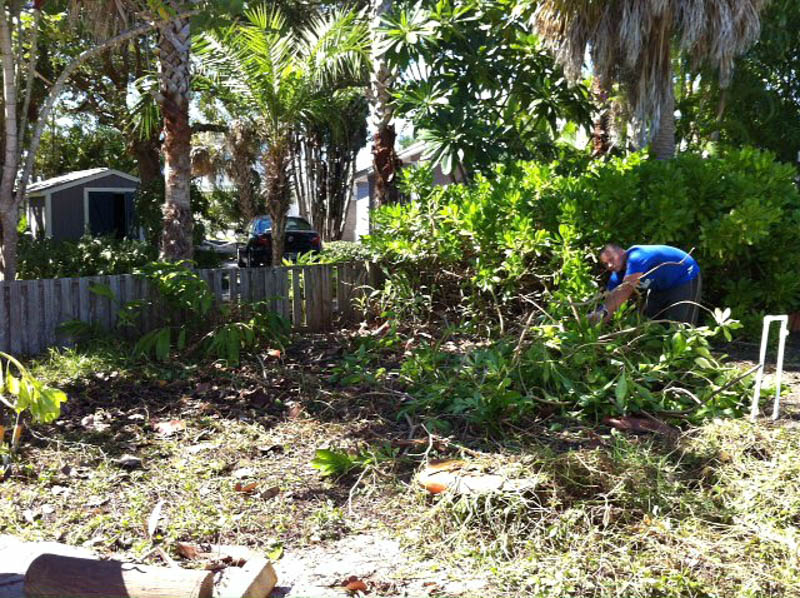
My son Austin and I worked on it for weeks. Chopping and hauling huge piles of branches to the street for pick up.
And then we just left it. Our attention was all about the inside. We were focused on important things like the kitchen and bathroom remodel.
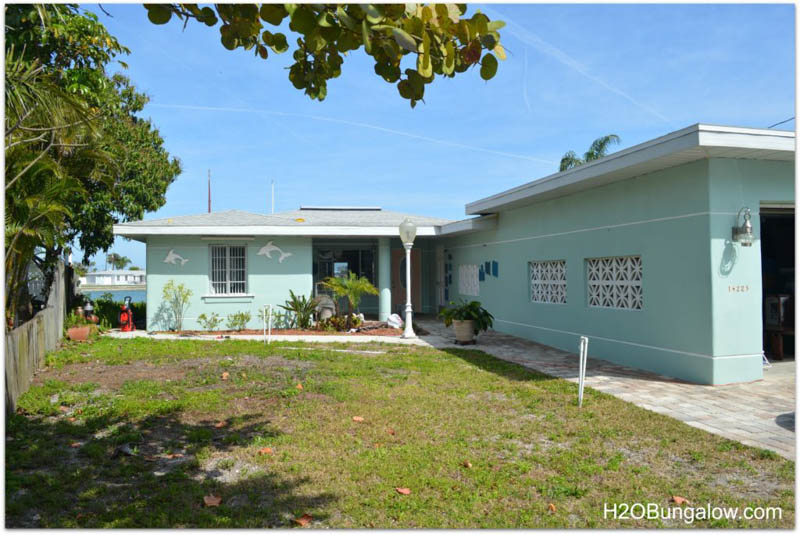
The week after I painted the house, we had a dumpster and a big flashy Porta Potty planted right in the middle of the yard….for 6 months while our awesome master bath project was in construction.
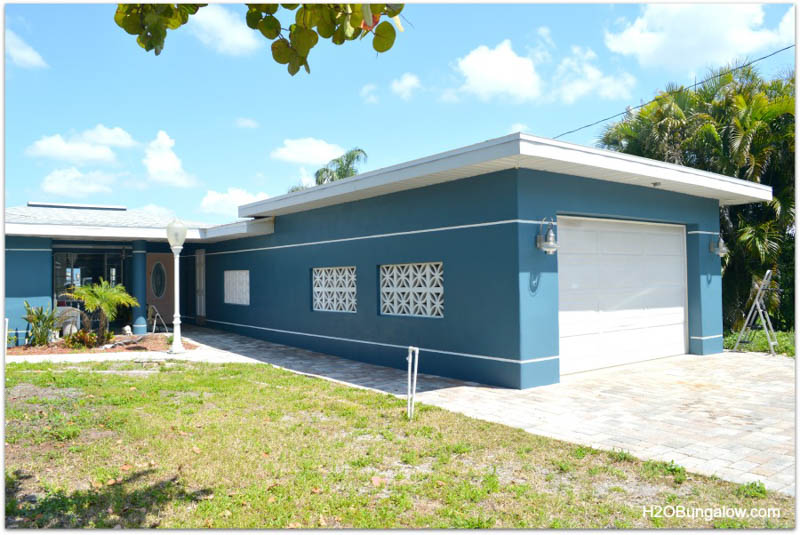
Needless to say, I’ve had a long time to think about landscaping, curb appeal and what I wanted/needed to do to make our house look good from the street. I knew I wanted something pretty, easy to maintain, and not drain the bank account.
Sodding the yard was never a consideration. Grass doesn’t grow well in our area, especially without the aid of chemicals and fertilizers. We don’t use either on the yard because we live on the water where dolphins swim by our dock every day.
What’s simple to maintain, pretty, and environmentally friendly?
Well…river pebbles are pretty and they remind me of the beach houses in the northeast where I grew up. That was my plan, simply to make my whole yard pebbles with a few native trees or bushes. It was a great plan, too…until I received the estimate. Gulp. Nope, not an option.
…And then a friend said why don’t you plant a butterfly garden using Fl natives. Yes!
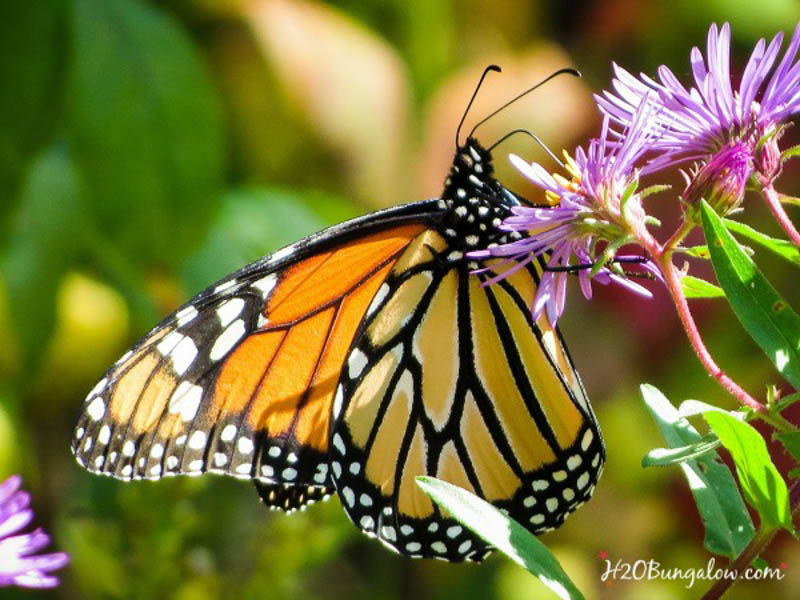
Since I knew nothing about Florida natives or butterflies, I started my new DIY butterfly garden landscaping project with a little research.
Before I could check out plants, I needed to identify our USDA hardiness zone, and our area’s characteristics. Here’s a good site to look up your hardiness zone or click here. You’ll also need to know details like your soil type. Is it sandy, clay or rich in organic matter? You’ll want to know how wet or dry your planned landscape area is and how much sun it gets.
I needed to see what the Florida native plants and butterfly friendly plants looked like to make sure I’d like them. Having the benefit of an experienced gardener and good friend who shared her books and lists of plants as well as a personal garden tour made that part easy.
She also shared the North American Butterfly Garden Guides that has a list of butterfly friendly plants. Just click on your area in your state and you’ll get an excellent list of butterfly friendly plants for your state and local area.
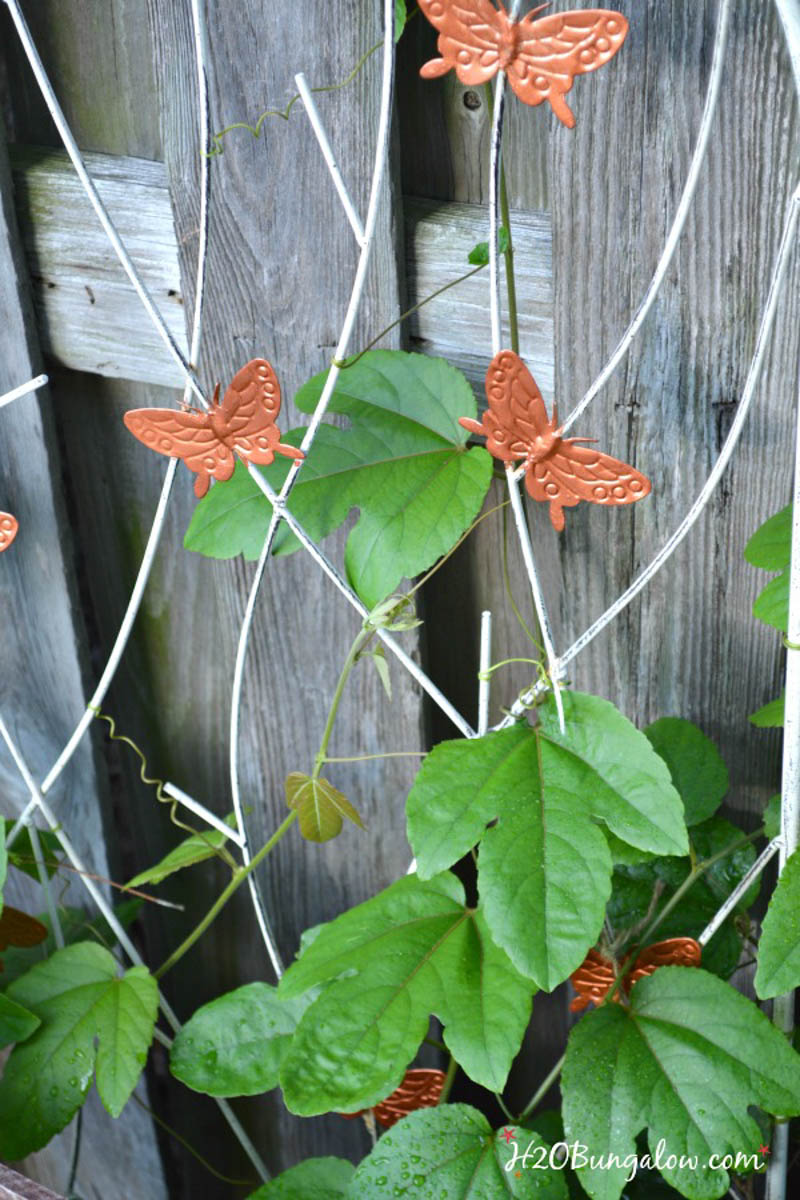
With my gardens characteristics in mind, I made a list of the list of butterfly friendly plants that would work well in my yard. I picked my favorites based on color, mature size, growth habit, etc.
Since I was planting a Monarch butterfly garden, I was careful to include plants that support the full life-cycle which included larva and nectar plants. I choose a dominant color theme from my list as well. I love how reds, oranges and yellows stand out against the deep grey blue color of my house.
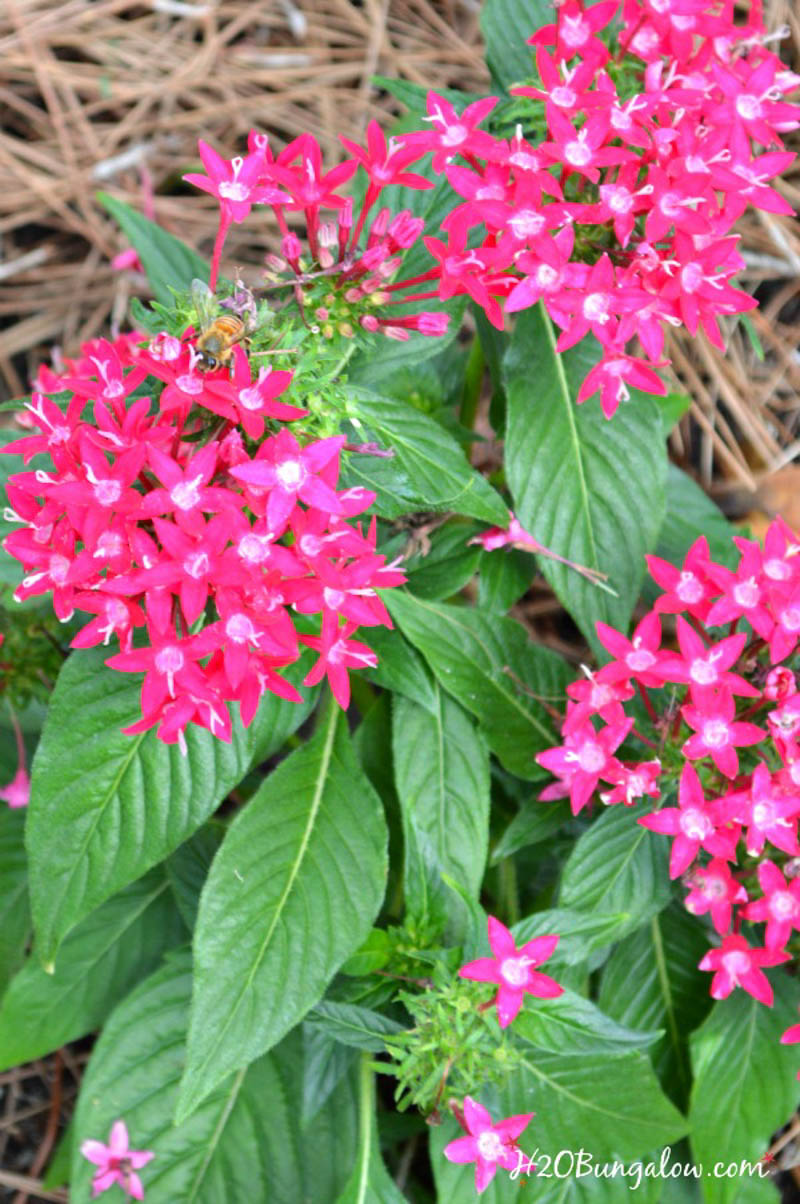
Now that I had a list of which plants I liked, and would work in my yard, I started planning a layout. I made a rough draft of my front yard and the area I wanted to turn into my DIY butterfly garden and landscaping.
I started designing my layout with the shapes of what I wanted each area to be filled with. I placed my plants in the same way I’d arrange a room. Starting with the biggest items first and working my way down to the small items or fillers. This is my landscape plan below. Simple, but it worked.
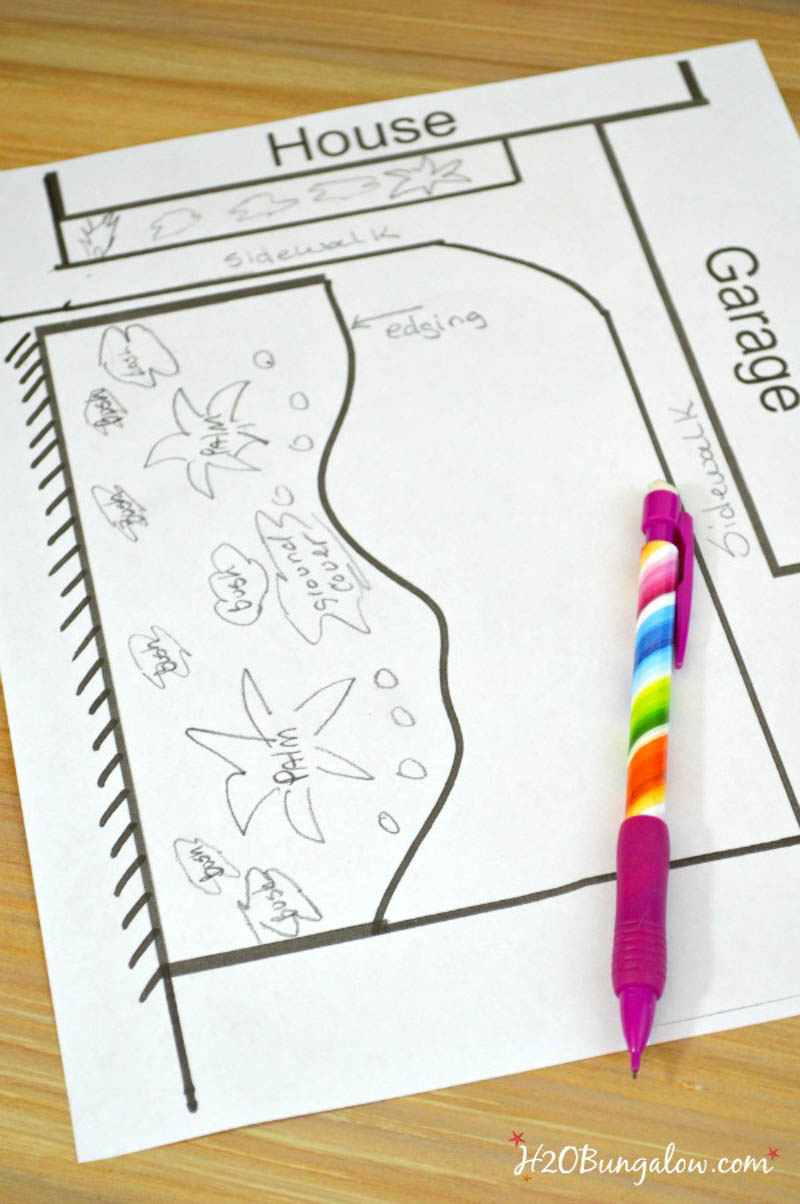
Not in big detail, just a few palm trees, bushes, ground cover and some accent plants. At this point I knew which palms and a few of the bushes I wanted. The rest of my selection was based on what mature shapes I needed in my DIY butterfly garden and landscaping. Basically, I planned my new space with color, texture and mature shape in mind and choose my plants to fit my design.

Ok, got all this? Are you ready to plan a butterfly garden or a new landscaping project of your own? Start with the above information and I’ll post part 2 next Thursday. That post will cover prepping the area, planting, edging, a fantastic mulch alternative, and a few more tips for attracting butterflies. Plus I’ll share an excellent free butterfly gardening printable you can download.
Ready for more? Read part 2 Budget DIY Landscaping! You can also see my current Spring Garden Tour 2018 with my butterfly garden in full bloom. If you are dreading spring yard work, check out my 10 Spring Lawn Care Tips for a beautiful summer lawn. If you want a grand tour of it all, check out my 2019 Coastal Home Tour!

Gail England says
How do I make a homemade umbrella or a homemade canopy
Wendi Wachtel says
Hi Gail!
I’m not sure about a canopy or umbrella but I’ve thought abut adding sail shades in our yard. Do a google search for them and you’ll see the options. I know they are durable and last a long time too. Good luck!
Sandy Lockwood says
I live in Michigan but winter in Florida. We arrive in December and leave in April. Do you have suggestions for a short term butterfly garden that would sustain their lifecycle while I’m gone? I love my Michigan butterfly garden. Thanks,Sandy
Wendi says
Hi Sandy! That’s a good question. Here’s a list of the perennials I use. They all do well year round as long as they get regular watering. Milkweed (reseeds itself well), Firecracker bush (gets big), Cardboard plant, I also use a lot of pentas, they don’t like the heat/direct sun in summer though. This fits my local climate on the West central coast of Fl though. Hope that helps!
Mona says
I like your way of thinking about get rid of things not needed in the kitchen and store in the garage.
Thanks for sharing
Wendi says
Hi Mona! I know you were commenting on my How to Organize a Small Kitchen kitchen post, even though it showed up on my butterfly gardening post. How odd!! Yes, I’m a big proponent of less clutter in my kitchen area. Even with that I still have to re-tidy at times to keep things in their place! Thanks so much for your sweet note and glad my tips are helpful!
Lou Lou Girls says
Beautiful! I get so excited each week to see what you have been working on because it’s always AMAZING! Thank you for sharing this with us. Pinned and tweeted. I hope to see you on Monday at 7 pm, so we can party!!!! Lou Lou Girls
Wendi says
Thank you so much! Our home is a work in progress and I get itchy for progress if it sits too long without a good project!
Shannon @ Bohemian Junktion says
I love butterflies. Can’t wait to see the finished garden.
Wendi says
Shannon, It’s been so much fun watching the butterflies each day. There are so many and so many different types that visit. The main visitor is the Monarch and some are huge. Thanks so much for your visit & I should have the second post live by tomorrow eve:)
Larissa ~ Prodigal Pieces says
We try to grow a butterfly garden around our house too, and love what you’re doing Wendi!
Carole West @ Garden Up Green says
I like that you drew your plan first prior to planting. This simple step is so helpful. I welcomed butterflies by accident this year by adding zinnias. They are loving them!
Carole
Wendi says
Hi Carole, Thanks for the reminder that the butterflies love zinnias! I do too. Drawing out my garden plan made this project so much easier to select plants, plan the space and stay in the budget. Thank you for stopping by & giving this non-gardener a thumbs up!
Patty says
I can’t wait to see part 2 of your garden. There is just so much you can grow in your zone to attract butterfly’s. You have done everything the right way, preplanning is so important to get the best of what you want whether it be a butterfly garden, an English garden, or a country garden, but mostly it is important to have fun with it and enjoy it. I think your garden will be gorgeous.
Wendi says
Patty… Thank you! I’ve had fun with this project. It’s the first time I’ve planted anything with forethought and it made such a difference in the outcome and layout. I love the butterflies and can’t believe how many visit. Thanks so much for your sweet comment!
Jamie | anderson + grant says
You are so well prepared! I love how you laid everything out and really thought about what you’d be able to grow. That is the most important step and normally the one that I skip 🙂 Can’t wait to see your second post. Doesn’t it feel great to see a project like this coming together? (Even if it did take longer than expected!)
Wendi says
Jamie, I feels great to check off one more project in this project house. It’s taken so long to get the outside done, I’ve felt bad for the neighbors having to look at the half done ugly house! I’m excited to share part 2, it’s completely changed the look of our front yard!