Making a DIY nailhead trimmed cowhide seat was one of those projects that I decided to do on the fly. I made my mind up as I walked by the rocker and thought to myself “gee that little rocker would look good with something to jazz it up”, and so it started. My idea of a 30 minute project that kind of grew bigger.
The second floor in the North House has two bedrooms, this chair sits in what will be the Americana Room. I’m giving each room a theme to make it fun for guests. If you’re just now tuning in or catching up and aren’t familiar with my newest DIY adventure, you can read about the North House Lodge here. I should mention the lodge came furnished, which is great. The challenge is deciding where to start making over or refurbishing everything since I’ll only get a few months a year in VT to work on the many projects I want to do.
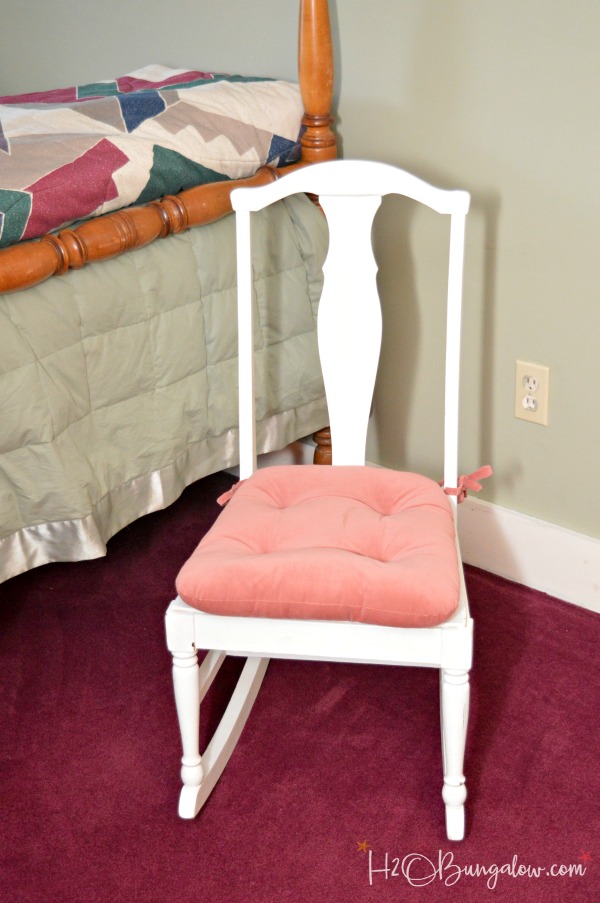
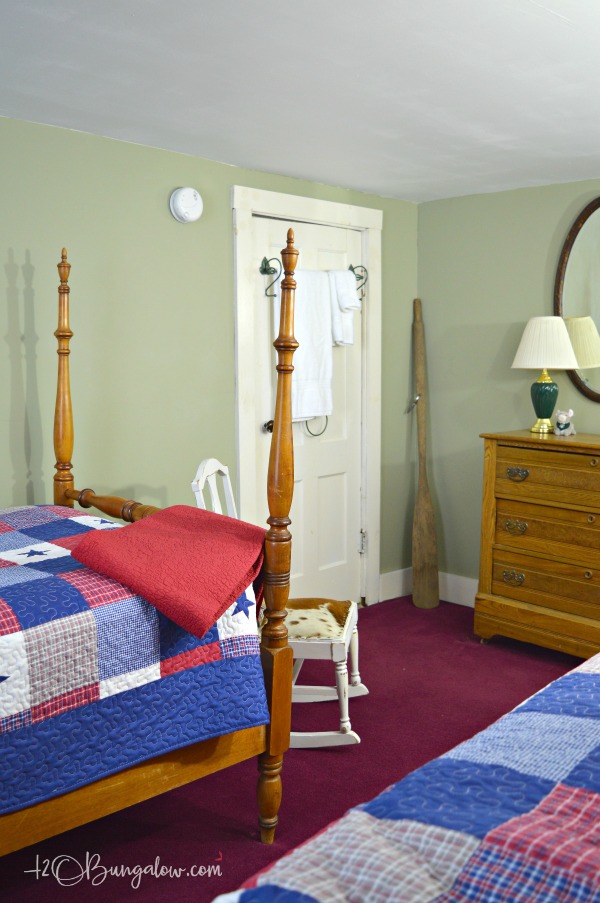
This is what my chair and the room looked like to start with. I kind of liked the little rocker but it needed some sprucing up to fit into the new theme of the room.
Like I mentioned earlier, I made up the idea on the fly as I was cleaning out the closet it struck me that a cowhide seat would look great on it and with the theme of the room.
Since I’m writing this after the fact, I’ll admit this was not a 20 or 30 minute project. It can be, and will be much easier for you after I share what I figured out as I went along.
Supplies to make a DIY Nailhead trimmed Cowhide Seat
These are the supplies you’ll need to fit a cowhide or leather onto a wood seat base. I use affiliate links to help you find the products I used.
- 2″ high density foam
- metal upholstery tacks – there are many to choose from in this link
- cowhide or leather
- spray adhesive
- scissors
- hammer
- needle nose pliers
- large screw
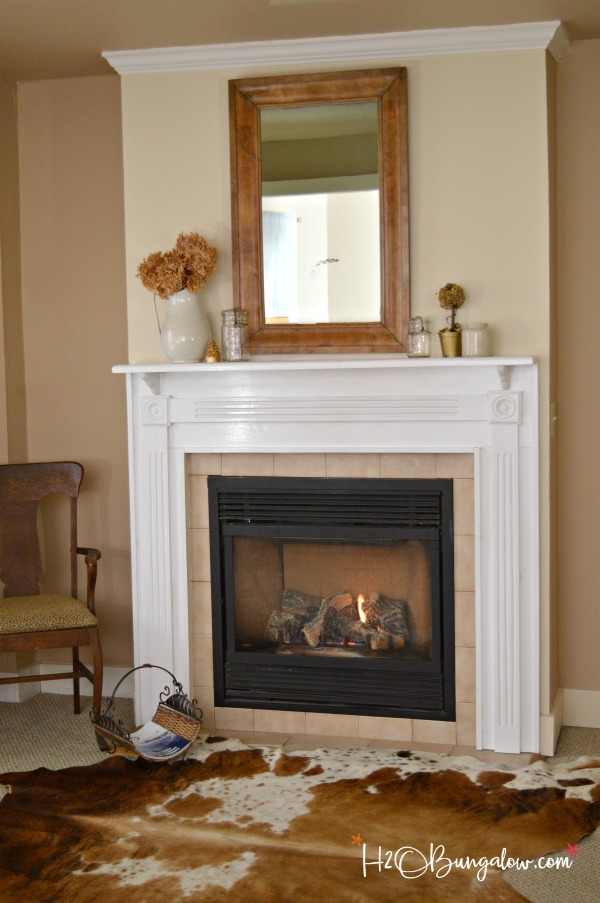
You guys have seen my cowhide several times over the last few years. Most recently it made an appearance in my How To Remove Veneer from Wood project. I’ve had it for years and it just wouldn’t lay flat anymore. Unfortunately that meant it was a tripping hazard so it was time to find a new purpose.
This rocker probably had a woven seat of some kind at one time. You can see where the board was nailed onto the seat and the entire rocker was painted white. The paint was fine, it just needed some distressing to fit the look I wanted. I used a regular sanding block and distressed a lot of the raised areas and edges.
Since my seat already had a 1/4″ board attached, and the cowhide I had was thick, I decided to attach the hide to the top of the seat. I didn’t think my staple gun wold hold the cowhide if I recovered the seat like I did for the ladder back chair makeover when I recovered the wood seats for the chairs by the fireplace downstairs.
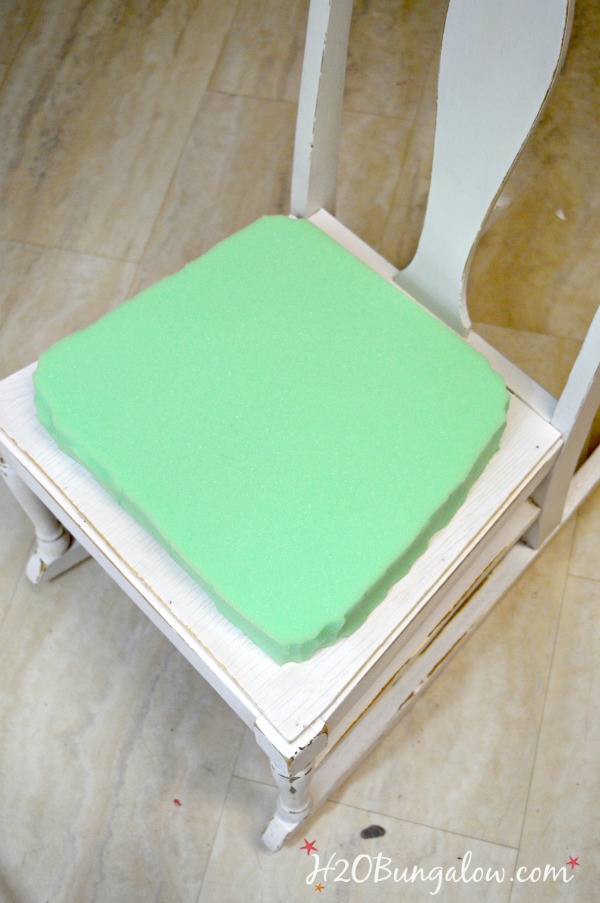
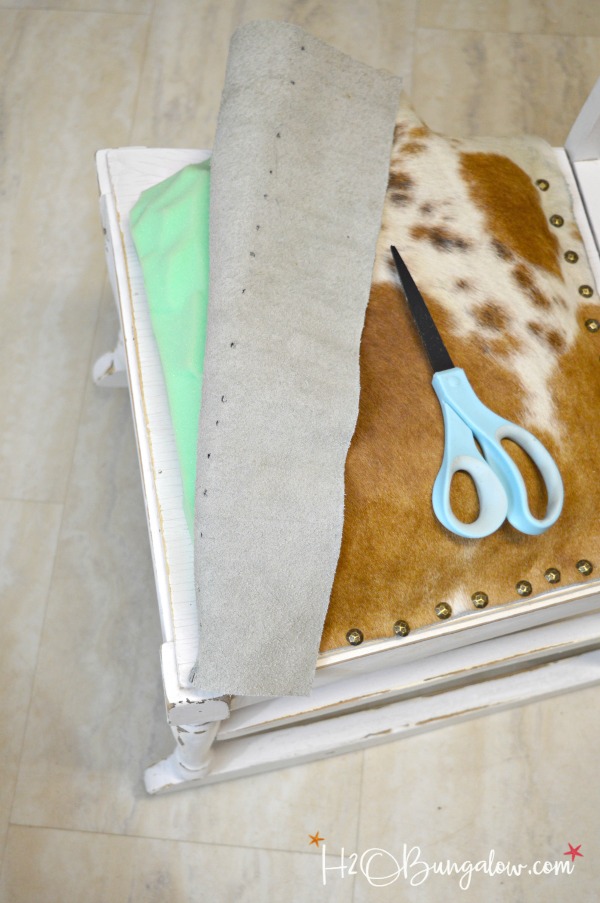
I cut the foam to fit the chair seat with a margin of seat exposed around the edges. Use a little spray adhesive to secure it to the chair seat once it’s trimmed. You’ll notice I cut and angled the edges down a bit as well which you can see in the picture of the foam below. Keep in mind I’m showing you what worked and not what didn’t work. There was a bit of trial and error with my DIY cowhide nailhead trimmed cowhide seat project 🙂 The good news is that you can skip all the “error” part and move on to getting your own project done and a lot faster than I did!
You probably noticed holes in my cowhide in the picture above. I learned it was much easier to punch holes in the hide in advance. Before I tried this, the nail heads kept bending 🙁 I used a long screw to put the holes in the cowhide. Not high-tech but it worked great.
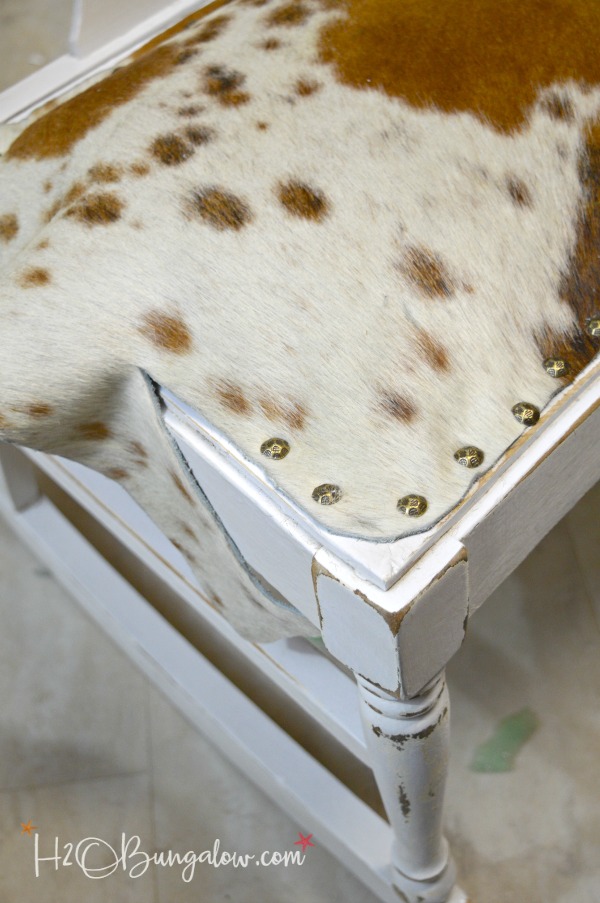
The next big tip I have to share is to cut the hide to the shape of your seat on 2 sides only. Leave an area that can be trimmed on the other two and trim the excess off as you go along. It’s much easier to cut the hide too big and trim the edges as you work! I’d recommend cutting the front side and starting the nailhead trim there first, working your way around the sides and to the back. You’ll have the best control on the front and want that to look the best since it’s what is seen first. On my nailhead trimmed cowhide seat the front was the third side I tacked down but that was because I hadn’t figured this out yet 🙂
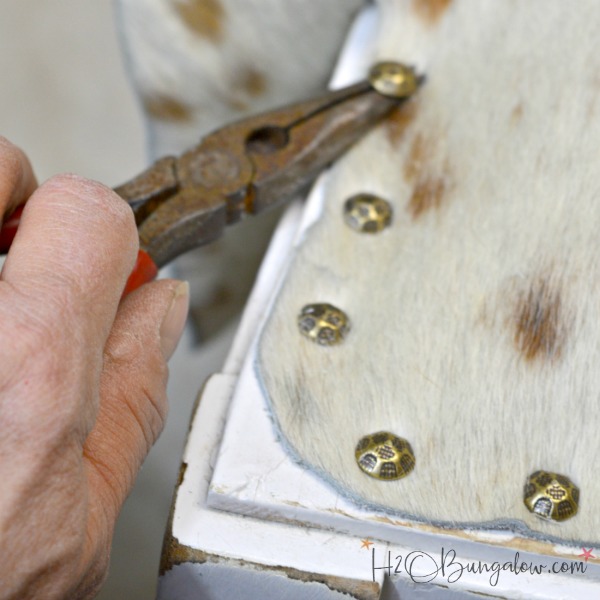
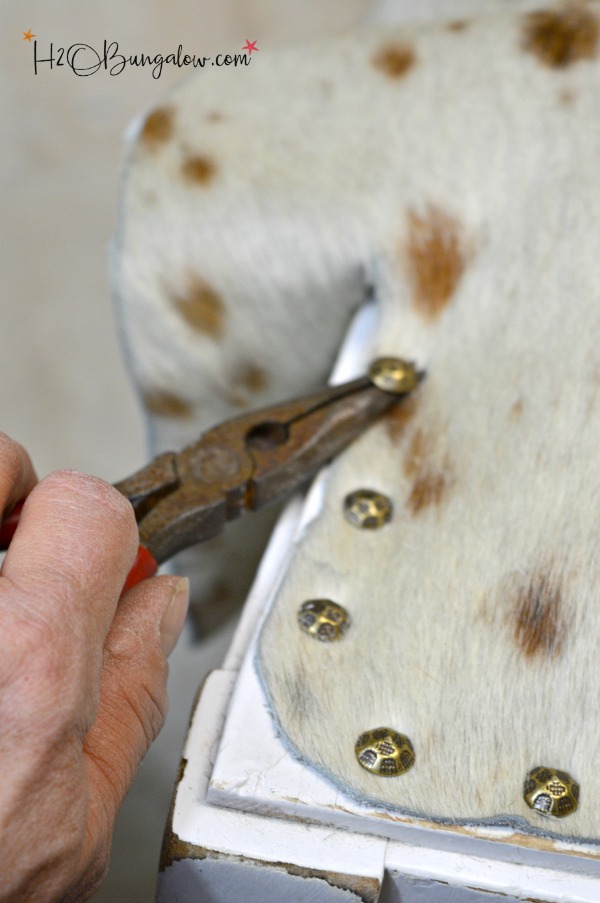
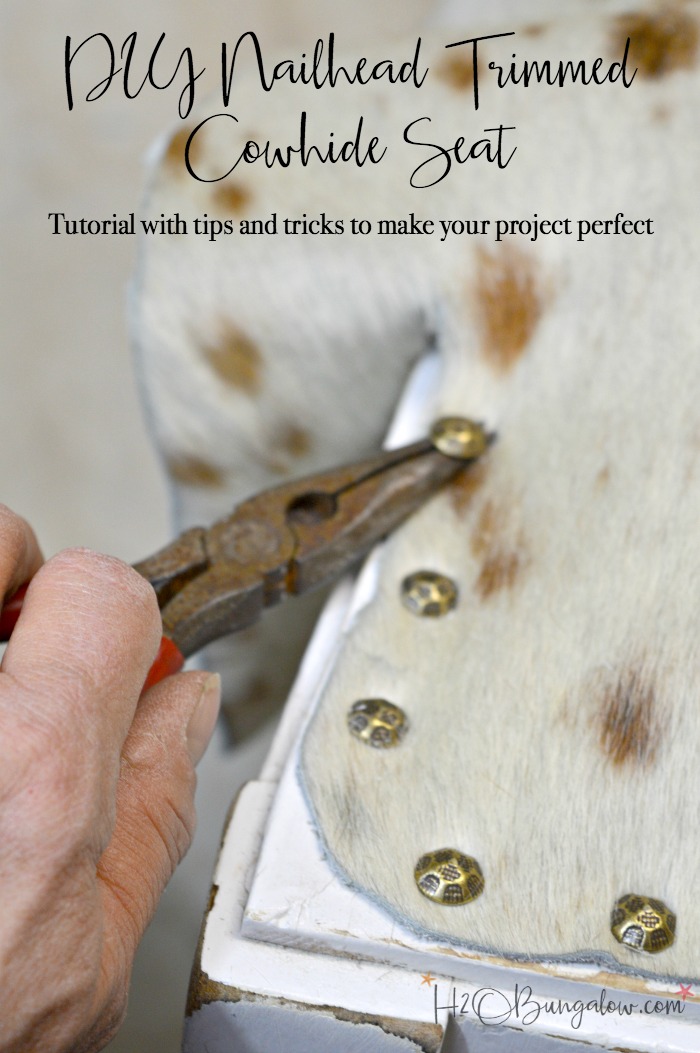
The next big ah-hah in this project was holding the nailhead with needle nose pliers and tapping lightly with the hammer to set the nail.
After tacking the first side down, you’ll start to gently pull and stretch the hide over the area you’re working on, trimming the excess off as you go along.
making a nailhead trimmed cowhide seat isn’t complicated, it just takes a little patience.
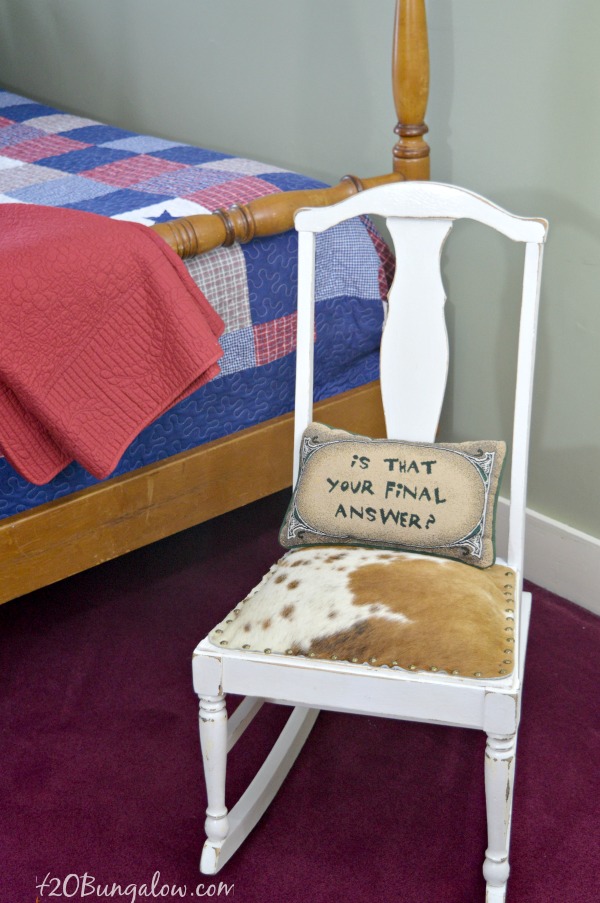
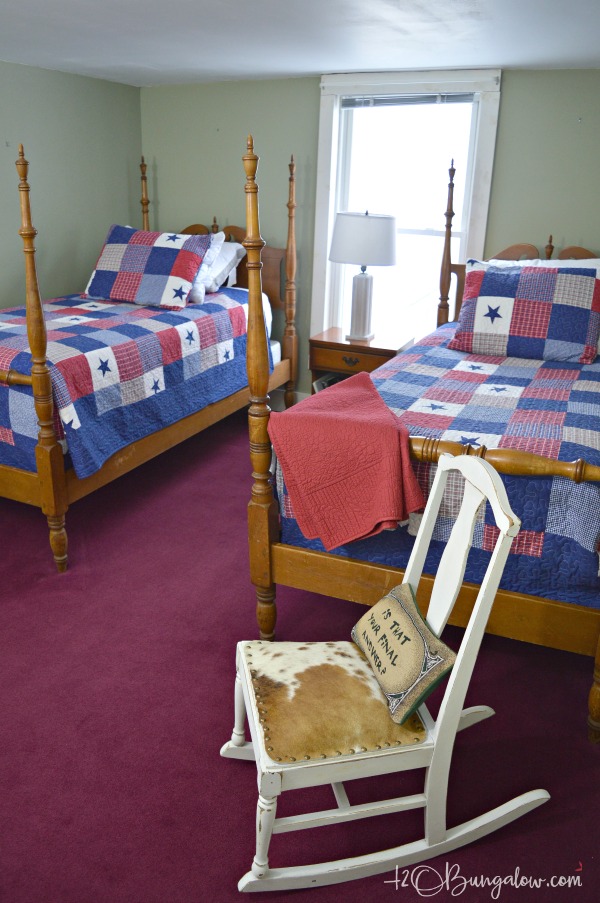
This little rocking chair looks fun and helps the room with some personality. You can see some of the new changes that are going on in the background, like new themed bedding and a few decor items. This room will be really fun when it’s done.
Yes, I have the carpet to change out, curtains to hang and walls to paint yet. They will come soon.
Want to make a DIY nailhead trimmed cowhide seat too? Don’t forget to pin this so you can find the tutorial later!
Te best part is I have a lot of cowhide left over so I’m sure there will be more hide projects in both the North House and the Bungalow in the future!
You’ll find my project linked up to these fabulous parties!
Love a good dose of DIY home decor, home improvement, the challenge of woodworking and creative ways to make your home look fabulous?
Me too!
I’d love to share mine with you. Click here to sign up for my post emails and I’ll send a quick note when I have a new project to share.

Lisa House says
Love the chair and the beds! I would make a small pillow covered in faux fir to each bed if they were in my house. Looking forward to seeing how the room develops.
Wendi says
Hi Lisa! What a good idea to make faux fir pillows for the beds! I’ll keep that in mind. The room looks so different already. It’s been a fun progression. Paint and creativity do wonders!! Here’s a link to my latest project that shows how much the room has changed. https://h2obungalow.com/2017/02/diy-vintage-oar-nautical-curtain-rod-tutorial.html Thanks so much for your visit and sweet comment!
Tania says
Oooh, I love that!!
Tania
Wendi says
Hi Tania & thank you! I loved how the project turned out. The nailhead detail really stands out. I’m looking forward to trying it on other projects as well. Thanks so much for your visit & comment!
Chloe says
So creative and such a wonderful new look for this chair! I am looking around wondering what I could use the same treatment on! I would love it if you would stop by and share at Celebrate Your Story! Here is the link if you have a sec! celebrateanddecorate.com/celebrate-story-60/
Wendi says
Hi Chloe and thank you! I’ve been looking around for another project to use this on too! It’s pretty easy and looks so darn good. Thanks so much for your visit and I’ll try to link up. Have a great day!
gail says
I’m loving the look of the room Wendi. That rocker turned out really sweet. Good tips about cutting it larger than need be and trimming a little at a time.
gail
Wendi says
Hi Gail & thank you 🙂 That made such a big difference since I had to stretch the cowhide and the cushion was underneath. I’ve been thinking of so many other project ideas to use the cowhide for, especially that I have the general idea of how to attach it down pat! Thanks so much for your visit my friend!!
Marie from The Interior Frugalista says
This post took me back to using nailhead trim for the first time on a DIY headboard. A lot of colorful words were exchanged during that one. Great tips, including saving your fingers from the almighty hammer using needlenose pliers (learned that one the hard way). Swooning over those beds in the room!
Wendi says
Hi Marie & oh my gosh I get it! My language was a bit colorful at first with those little nailheads too! Argghhh! Aren’t those beds just gorgeous? They will fit the theme of the room perfectly when it’s done! Thanks so much for your visit my friend!
Michelle says
Thanks for the tips Wendi, those nailheads are a pain to try hammer in straight. Using needle nose pliers is going to make a big difference and save my fingers too 😉
Wendi says
Hi Michelle I hope they help make a project easier for you! Yes, those little buggers were a pain until I got the hang of prepunching holes and using the needle nose pliers. I can’t wait to try this on another project in the near future:) Thanks so much for your visit!
Patty says
Wendi, your little rocker turned out so cute, I love the beds in that bedroom and I can’t wait to see it completed, it will be amazing.
Wendi says
Hi Patty ad thank you:) Ohhh aren’t the beds in that room awesome? I feel in love with them immediately when I walked in. The carpet changed out yesterday, and I’ll paint the walls sometime in the near future…meaning could be a month to several months! LOL I have some really fun decor planned for that room too. Can’t wait to share it! Thanks so much as always for your note:)