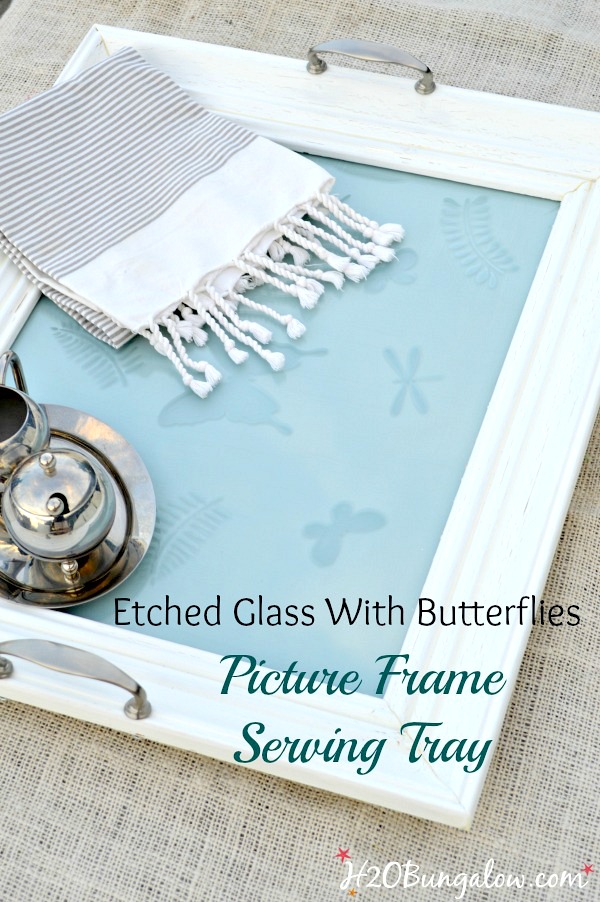
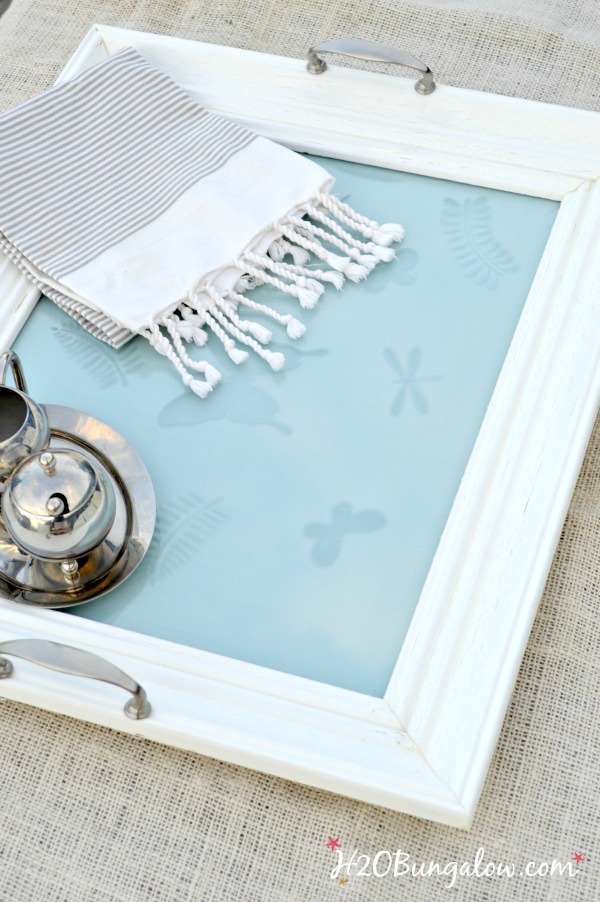
I think you’ll love this DIY picture frame serving tray tutorial I’m about to share. Finding supplies won’t be hard since there is never a shortage of frames and wall art in the thrift stores…ever!
While I was digging through the piles of frames to find the perfect one for my upcycled serving tray project, I had to remind myself that there’s always something for everyone, and to think nice thoughts because someone loved those items at one time.
… and now I love the one I brought home too:)
How to upcycle a picture frame into a serving tray
Supplies you’ll need to make a serving tray out of a picture frame.
- wood picture frame with glass
- adhesive stencils
- glass etching creme I couldn’t find the brand I used.
- rubbing alcohol
- 1/4″ board cut to fit 1/2″ over the back of the frame opening
- 2 handles
- DecoArt Chalky Finish Paint, in Everlasting and Vintage
- DecoArt Ultra Matte varnish
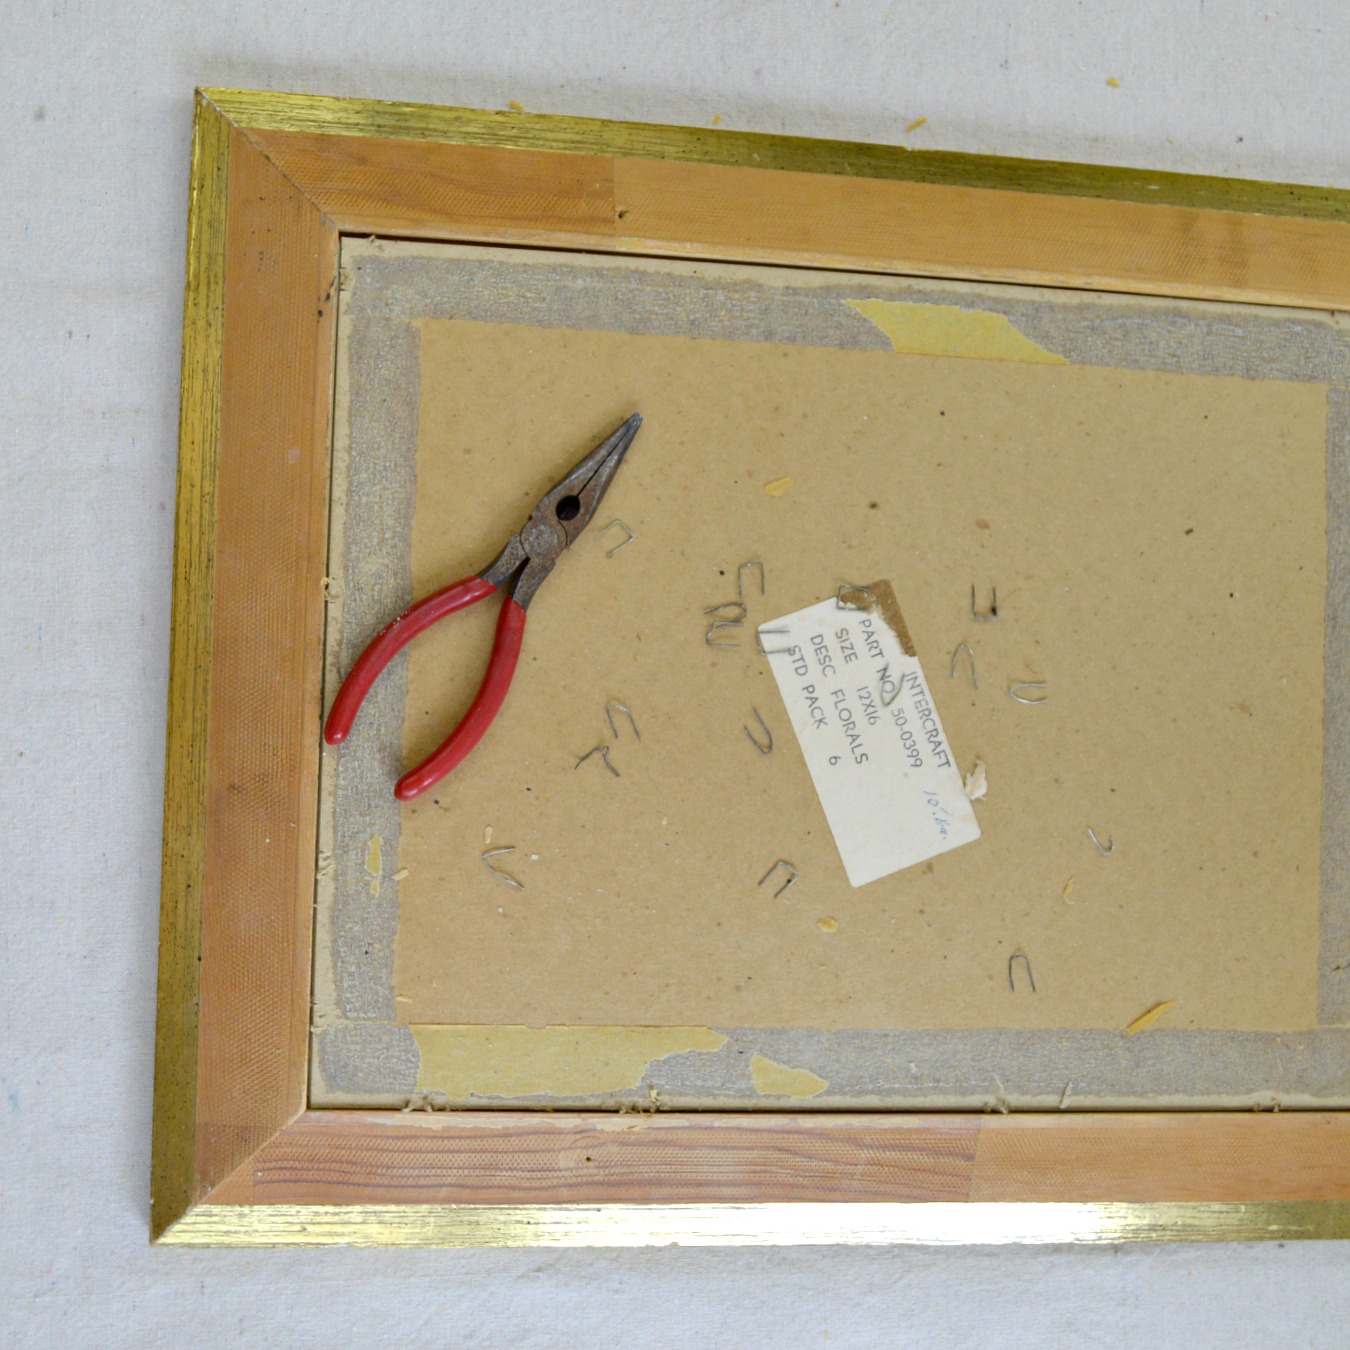
- needle nose pliers
- drill
- Small wood screws
- paper towels
- painters tape
- TSP (Trisodium Phosphate) powder to degloss and clean
Picture Frame Serving Tray Tutorial
Take the frame apart and put the glass and the other parts aside. Wipe the frame down with TSP to clean and degloss it.
Paint the front and back of the wood frame and paint one side and the edges of the 1/4″ board. I used DecoArt Chalky Finish in Everlasting on this project for the frame.
Allow it to dry and follow up with a coat of the Ultra Matte varnish to seal and protect the paint. I love the Ultra Matte varnish for projects & use it on furniture too. It holds up extremely well on a high use items, like my desk top:)
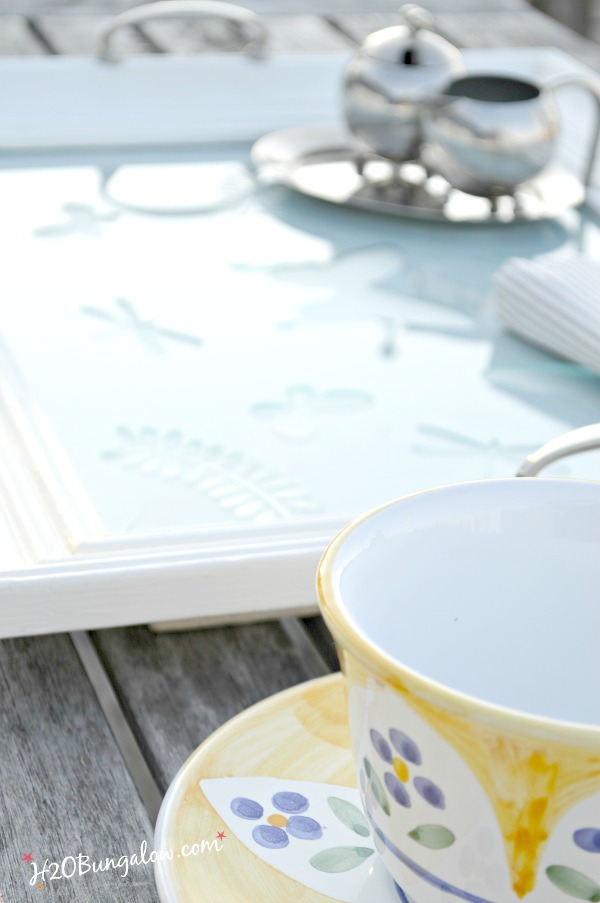
Prep the glass for the etching cream by cleaning it and then wiping it with alcohol. Place your adhesive stencils on the glass. If you want the glass on your picture frame serving tray to be smooth, the etched side will face down on your tray. That means you’ll need to make you pattern backward if there is one.
Following the directions of the brand of stencil creme you are using, apply the stencil creme. I used DecoArt’s stencil creme which I liked a lot, but couldn’t find a link to share the product 🙁
Rinse the glass in cold water, peel off the stencil and also rinse it thoroughly.
I decided to paint the backing that goes under the glass. I just flipped over the paper and painted the back with Vintage Chalky Finish Paint.
Easy!
Next pre-drill where the handles will attach to the frame, just don’t attach them yet:)
See how easy it is to get a perfect alignment of the handle holes? Nice trick isn’t it?
Next comes the mystery step since I completely forgot to take a photo of this step..so sorry!
Reassemble the glass with the etched side down, painted backing and some cardboard, or the original cardboard if needed to get a tight fit so the glass doesn’t move in the frame.
Drill pilot holes in the four corners of the 1/4″ board that you cut earlier. Place the board over the back of the frame and carefully screw the board to the frame. I’ll say this again…carefully!
Why?
Because this is the step where I broke my glass and had to remake a piece of glass and etch everything all over again! Ugh!!
Make sure the screws are not too close to the glass area and don’t tighten the screws too much. I used self sticking felt pads over the screw heads so my tray wouldn’t scratch anything.
Last, attach the handles onto the tray.
Enjoy!
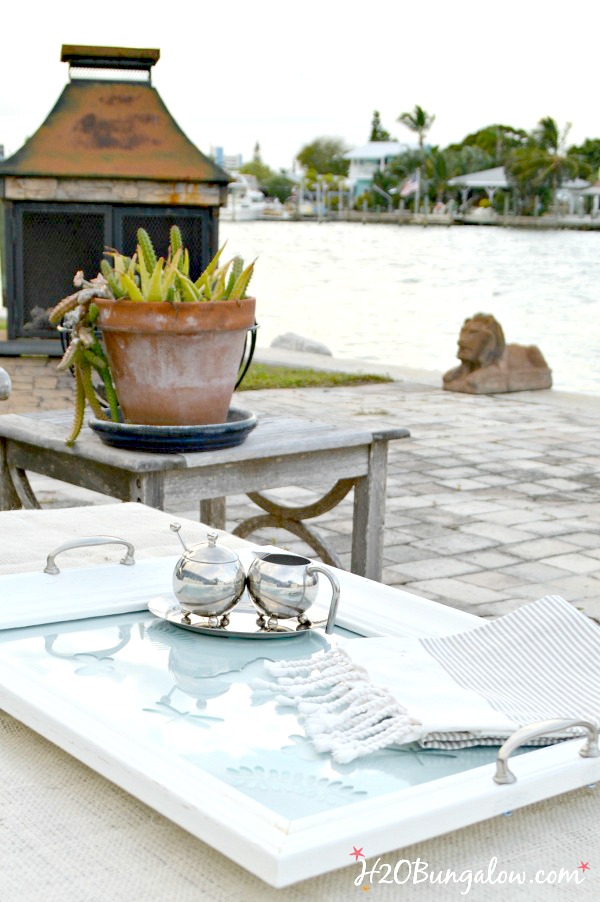
I’m ready for a quiet afternoon, sitting by the water with a good book and a nice hot cup of tea. Care to join me?
Has my picture frame serving tray tutorial inspired you to go find an ugly old frame and create something beautiful?
Want more fun projects? You may like My DIY Etched Glass Coffee Station Canisters. Or perhaps an upcycling project is your thing, see my DIY Twin Headboard Bench With Storage. If you love butterflies, see my butterfly wall organizer 🙂
You’ll find this project linked up to these fabulous parties!

I’d love to share mine with you. Click here to sign up for my post emails and I’ll send a quick note when I have a new project to share.
Social media fan? Don’t be shy say hello! I love when you guys do that! I’m interactive on Facebook and I share lots of other projects and, useful inspiration for the home and content I don’t share anywhere else. Follow H2OBungalow on Facebook and Instagram!
I use affiliate links in my posts. If you should make a purchase I will receive an itty bitty commission at no cost to you. Thank you in advance for supporting my blog and two fur-ball cats who believe they are privileged.


Linda at Mixed Kreations says
Oh your tray turned out so pretty! I have a couple frames that I’ve been wanting to make into trays and just haven’t gotten to it. Like everything else on my list, lol. I love the color, and I recently learned how to etch on glass. Now I just need to get with it. Thanks for sharing! Pinning!
Wendi says
Hi Linda and thank you! I loved adding the etching and it was so simple! Have fun creating your own trays it’s the perfect spring project!
Angie @ ambient wares says
It’s beautiful and that trick has me smacking my head! Why didn’t I think of that? 😀 Pinning!
Wendi says
LOL, Angie I know exactly what you mean! I felt like that too when I learned it. Sometimes the simplest things are the coolest. Thanks so much for sharing my project/tip! Have a great weekend!
Vineta @ The Handyman's Daughter says
As soon as I saw this, I knew it would be the perfect gift for my mom. She loves butterflies, and I can just picture her taking the tray out to the backyard for a quiet afternoon. Thanks for the inspiration!
Wendi says
Vineta, You are welcome 🙂 This would make a lovely gift and budget friendly too. We are butterfly lovers here, and I fell in love with those stencils the moment I saw them! Thanks so much for your visit and have a great week!
Amanda @The Kolb Corner says
I love this–so cute!!! Thank you for sharing at Merry Monday!
Wendi says
Hi Amanda & thank you:) It really was a fun upcycle and the etched butterflies were fun to make:) Thanks so much for your visit!
Brooke Riley~Re-Fabbed says
Fabulous! I have been wanting to do some kind of a tray out of a picture frame, and I LOVE your idea about the holes for the handles. THAT is something I will for sure be doing! Thank you for the inspiration! Turned out awesome. Thank you for sharing with us at The DIY Collective!
Wendi says
Hi Brooke. Sharing good tips and projects is part of what makes blogging so rewarding:) Glad you like my project and handy tip! Have a fabulous week & thanks for your visit!
Lucy @ Patina Paradise says
What a super upcycle for a tired frame! So pretty! Oh the possibilities you have inspired!
Wendi says
Hi Lucy! I know you’ll take this idea and run with it making some tired old frame fabulous! Thank so much for your visit!
Bonnie says
I love this upcycled tray. Breaking the glass must have been a real pain. I’m glad you etched a new piece because it’s beautiful!
Wendi says
It was Bonnie! I was so frustrated with myself for not looking closer and double checking where I was drilling:( It was a big lesson, look twice…drill once! LOL I’m glad I redid the glass, I think the etching is part of what makes this tray so special. Thanks so much for your visit!
Serena @ Thrift Diving says
Awww….. Super cute, and your photography looks great! 🙂 I’ve got a lot of old frames that I can do this with. Thanks for the idea! 🙂
Wendi says
Thanks so much Serena! I’ll bet you not only have a stash of frames, but you have realy good thrift stores with lots to pick from too! Thank so much for your visit!
Sue@betwixthomeandschool says
Wendi, bravo! The etched butterfly tray is so inviting with the sky blue colors. Great tips on attaching the handles. Wonderful post,
Wendi says
Thanks so much Sue. I love sharing litte tricks like the handle one with my project. Sharing the knowledge is what makes blogging so special:) Yes, we love the tray too. I can always use more girly things!
Marie, The Interior Frugalista says
Excellent tip for marking the handle screw holes Wendi! I do this for hanging pictures and never thought to do it for hardware. Your tray is so pretty – pinning to share. I’m swooning over that fireplace girl!
Wendi says
Thanks so much! I love sharing little tricks that are time savers like the handle one. We like the tray too, I’d imagined a project like this for the longest and was just waiting for a chance to make it:) Thanks so much for your visit!
gail says
Your picture frame serving tray is awesome Wendi. I made one when I first started blogging, and have been wanting to do it again. I have so many frames in my stash!
love your trip about the painter’s tape.
pinned!
gail
Wendi says
Hi Gail and thank you! I wanted to make one of these for the longest time! I need to come raid your picture frame stash, heck, I need to raid your everything stash! You always find the best stuff! Thanks for your visit!
Mary-the boondocks blog says
This is absolutely gorgeous Wendi. I love everythng about it, the color, the etching the fact that it’s near the water! Perfection!
Wendi says
Thank you Mary! It’s perfect for spring:) The vintage blue under the etching was a good choice, it looks great! Thanks for your visit & your thumbs up my friend!