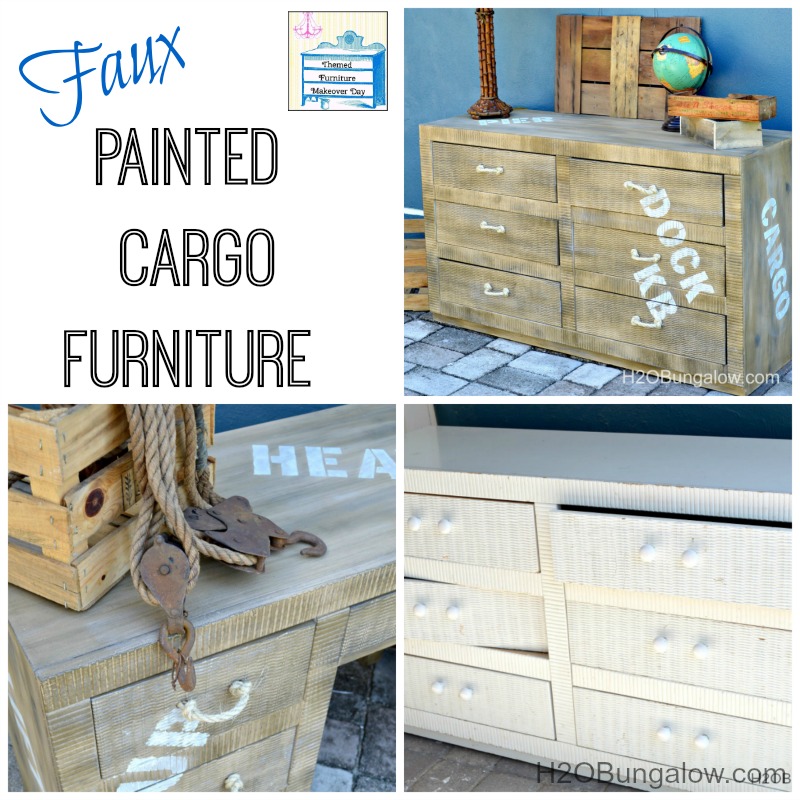
Hi there. Let me introduce myself, my name is Mud, and I’m going to share a tutorial for faux painted cargo furniture today. It’s also Themed Furniture Makeover Day, and you’ll find some super projects from fabulously talented bloggers linked below too!
Here’s a link to the September and August Theme days.
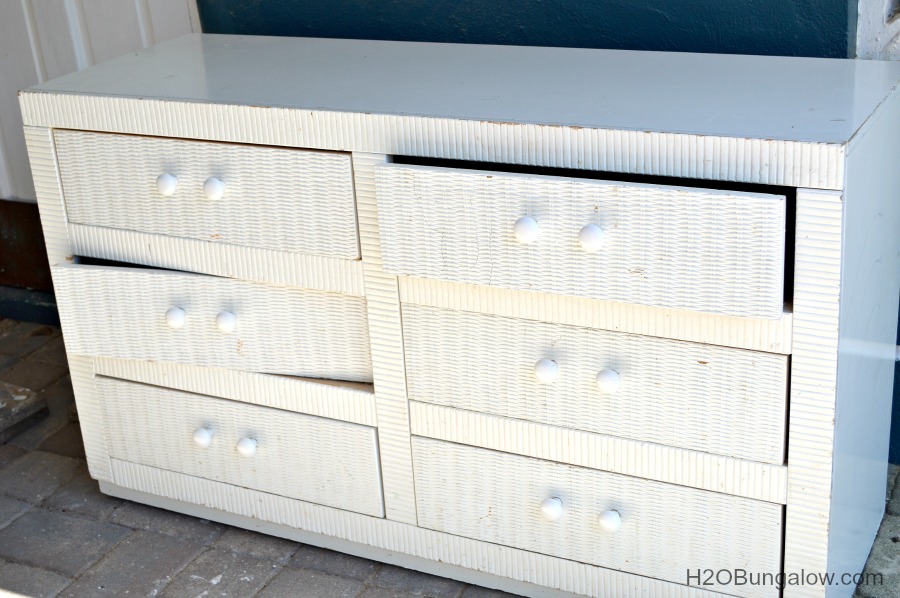
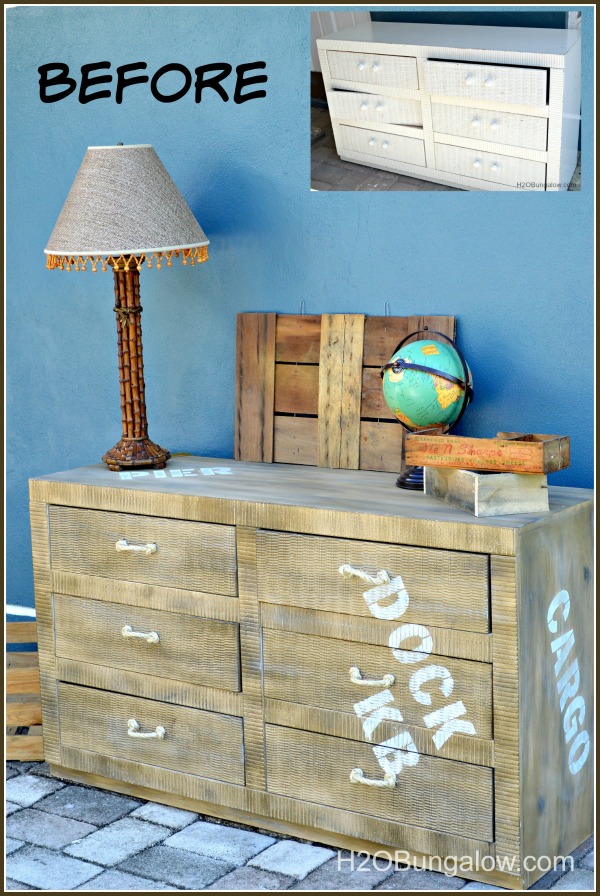
I transformed a beat up white wicker bedroom set into something a rough and tumbly an 11 year old boy would love to have in his room. Whoaaa… white wicker you’re thinking, for a boy??
I can assure you…
There’s nothing feminine about this industrial style furniture makeover that looks like it’s just arrived from the Congo on a big freight ship!
I started with this beat up white wicker dresser and desk set. It’s been around for a long, long time. In fact it was my sister-in-laws when she was young and it was used as baby furniture for both of her boys.
But boys grow up.
And this was not going to cut the mustard any longer. Which is where the water started getting muddy. You see this makeover was a birthday present. Simple enough, right? However the birthday was last years birthday and I’m very, very late in delivering this gift. Needless to say, Auntie Wendi has been slowing sinking in the eyes of an 11 year old 🙁
But let’s get back to where I share how to faux paint cargo furniture. This project was inspired by shipping pallets and crates that look like they were just unloaded off of a big old cargo ship onto a pier.
Here’s the supplies you’ll need for a faux painted cargo furniture project.
- 1 pint each of 3 paint colors. Pick a pallet or piece of wood you want to copy and select 3 colors that you see in the wood, a light medium and dark.
- Glaze or Modern Masters Paint Extender
- Chippy worn out paint brush at least 2″ wide, the cheap ones work the best
- Clean, white painters rags
- Block letter stencils
- Sponge
- Black craft paint for words
- Frog tape for delicate areas
- Medium grit sandpaper to distress the stenciled words
- 5/8 jute rope. 25″ length for each drawer handle
- Extra glue to help secure the inside of the rope handles
- Modern MAsters Dead Flat Varnish protective topcoat
This supply list contains affiliate links.
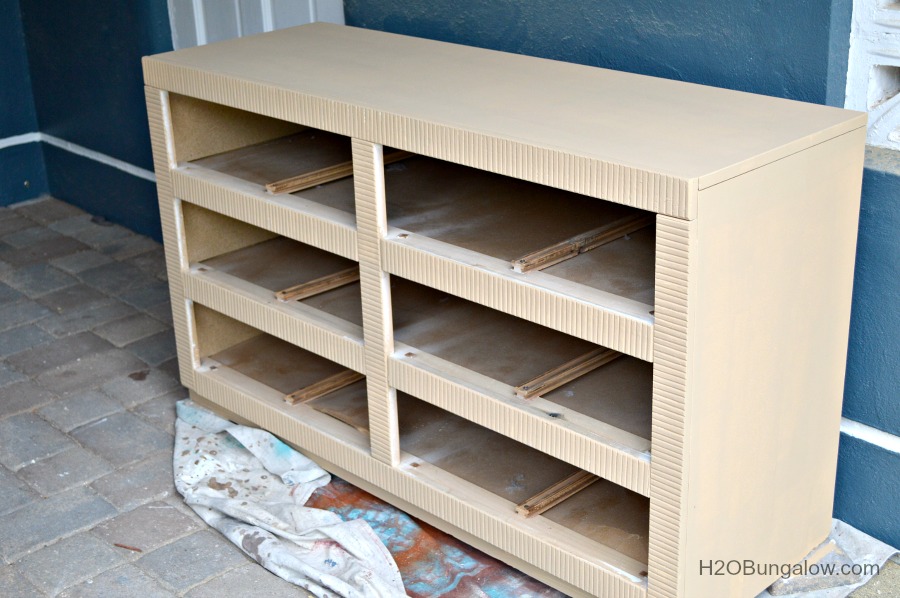
After prepping and priming if needed. Start by giving your furniture a coat of paint in the medium to light wood shade you have.
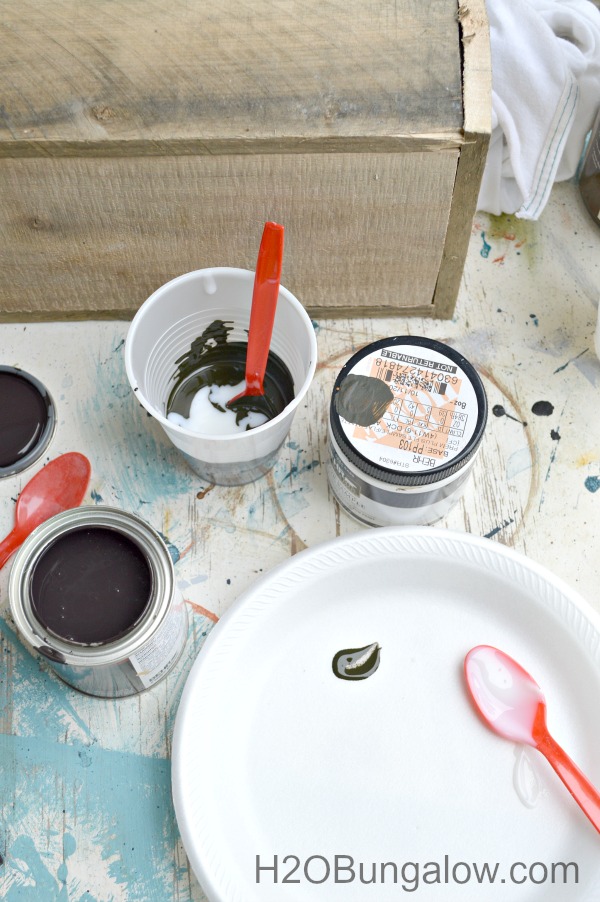
Next you’ll mix your second layer of paint. I used Modern Masters extender and mixed my paint colors until I had paint colors similar to the pallet in this picture. I used about 3 different shades in my layers. The first layer is about 30% extender. It will keep your paint workable for a longer time. I mixed the extender and paint in the next 2 layers until I liked the color.
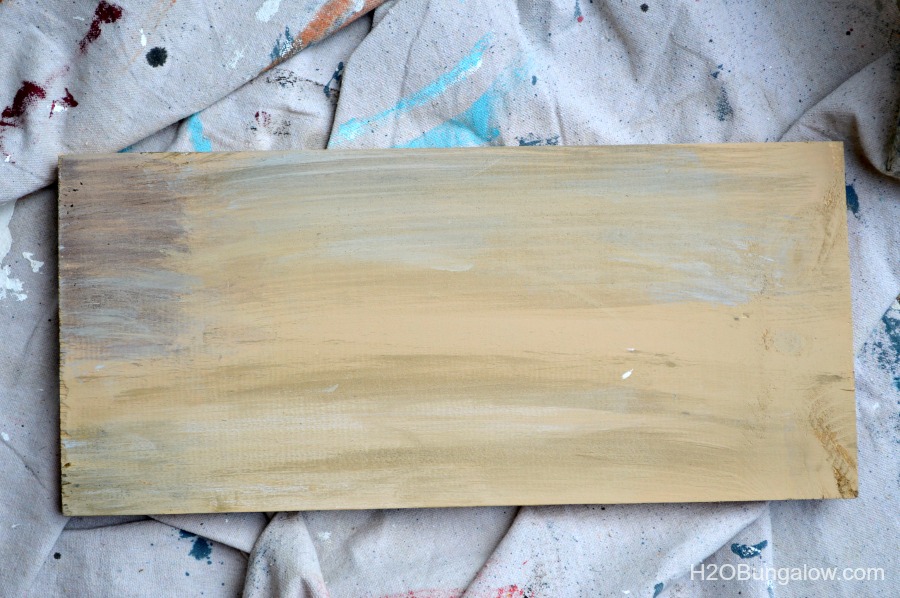
I always use a sample board to test my colors, ideas and mixes. I’d rather goof up on this then a piece I’m working on:) If you’re new to furniture painting, check out How to Paint a Dresser in 7 Steps, it’s a great beginner’s guide.
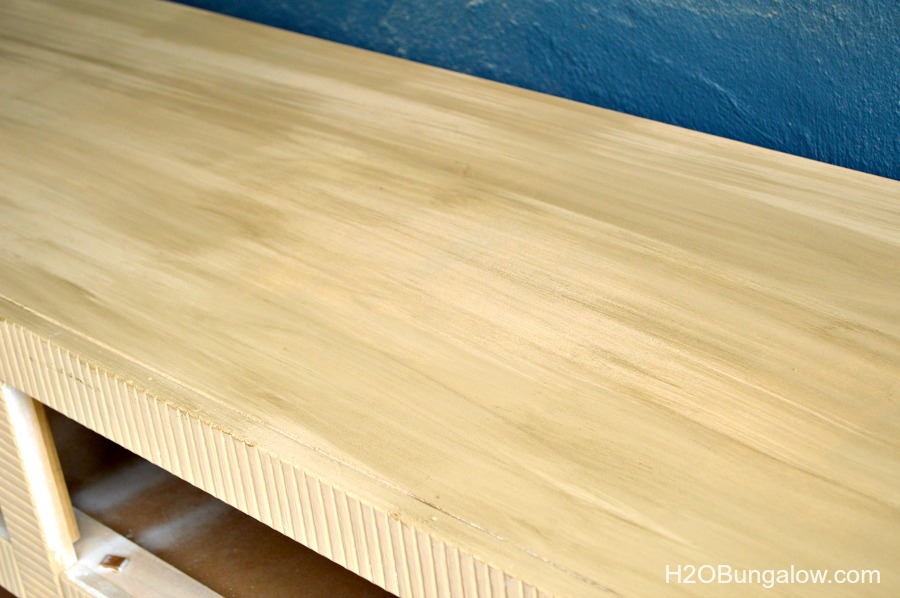
Start with the first batch of mixed paint and glaze. I use a cheap chip brush that looks like it’s falling apart for this. It gives a good texture. You don’t want to paint this on, you’ll work it on. Dab your brush into your paint and then dab it a little onto a rag to make sure you don’t have too much on your brush. Make long straight strokes all the way across the surface. Follow straight lines like planks of wood.
Brush on each stroke and wipe it with a clean rag. You’ll pick part of the paint back up and blend the rest. Continue to work everything in a straight line like a plank of wood. Follow the same steps for the other color layers, just use less paint.
A few more tips to make your painted cargo style furniture look authentic.
Finish each layer on the entire piece or pieces of furniture before moving on to the next layer of color. Use less layering for the following layers and don’t try to make everything even. Put your drawers back in when your working on those areas and blend across them. Again, make some areas darker than others like aged wear and tear would naturally show.
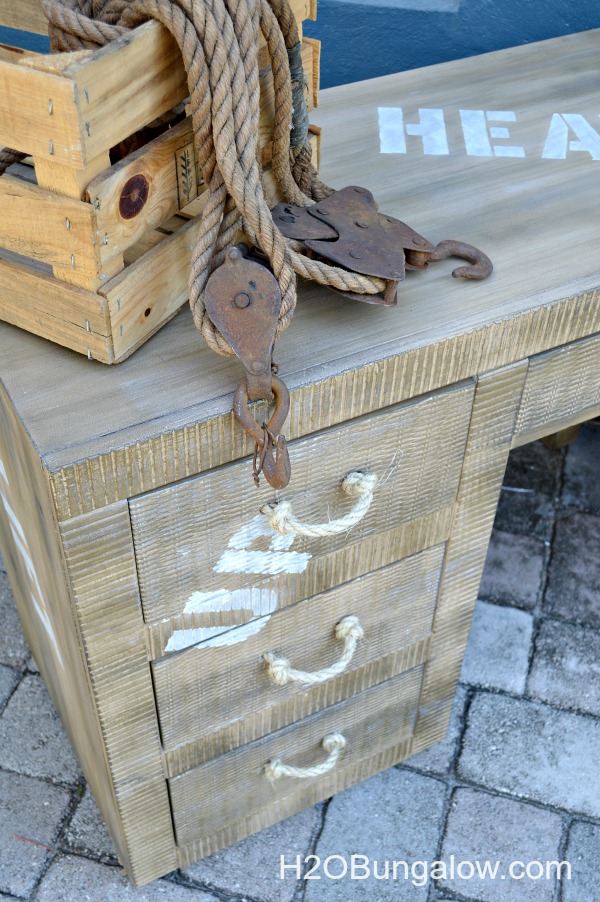
I twisted my brush in a circle to add a few knots here and there just to give it some detail.
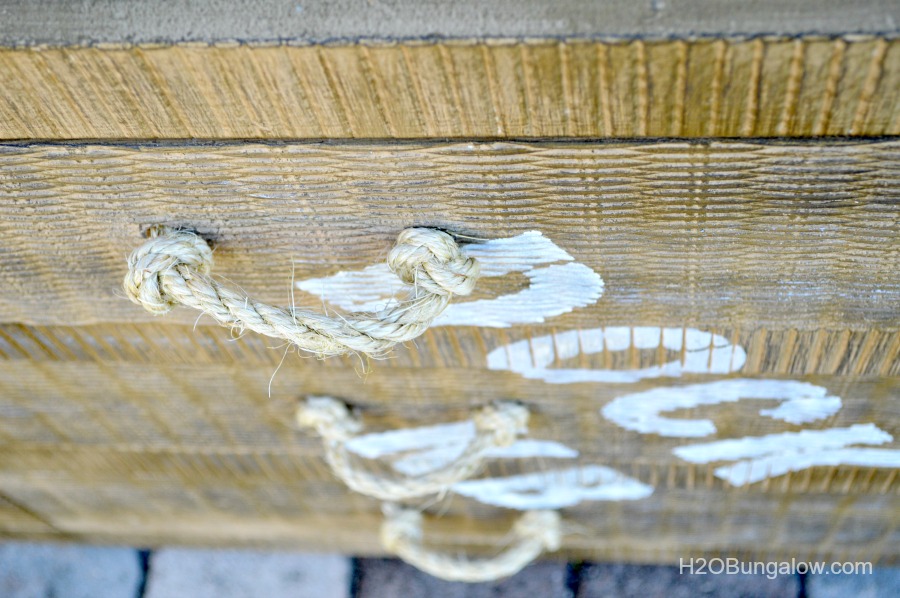
The rope handles are made with 5/8 mm jute rope. I tied another knot on the inside and added glue to the knots to give them durability. Hopefully enough durability to withstand an 11 year old boy:)
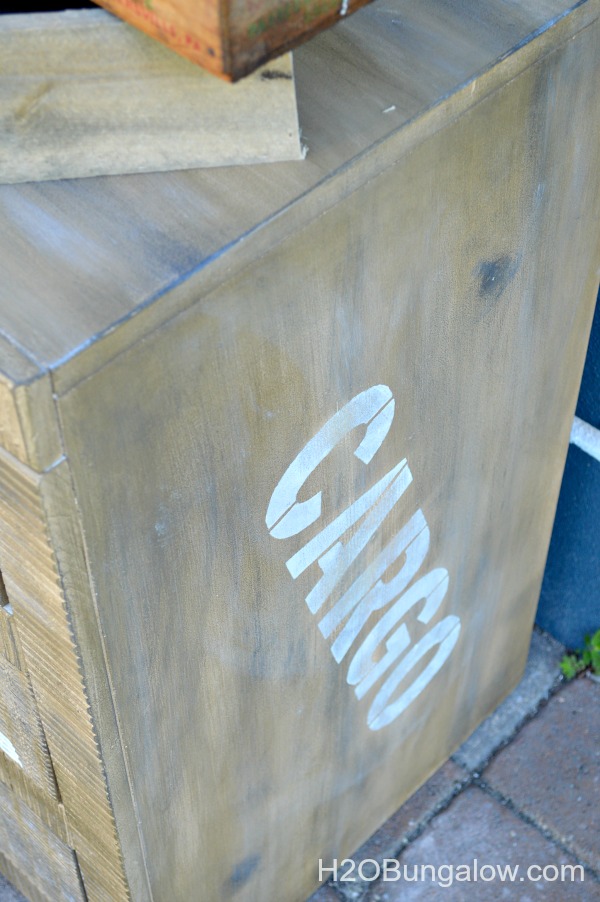
I got crafty and added his initials in the dock name too, KB.
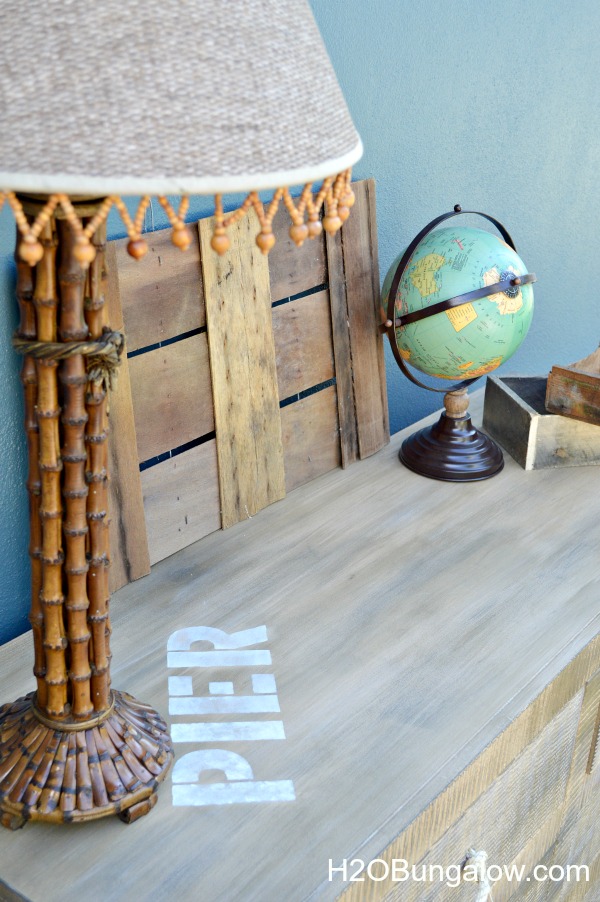
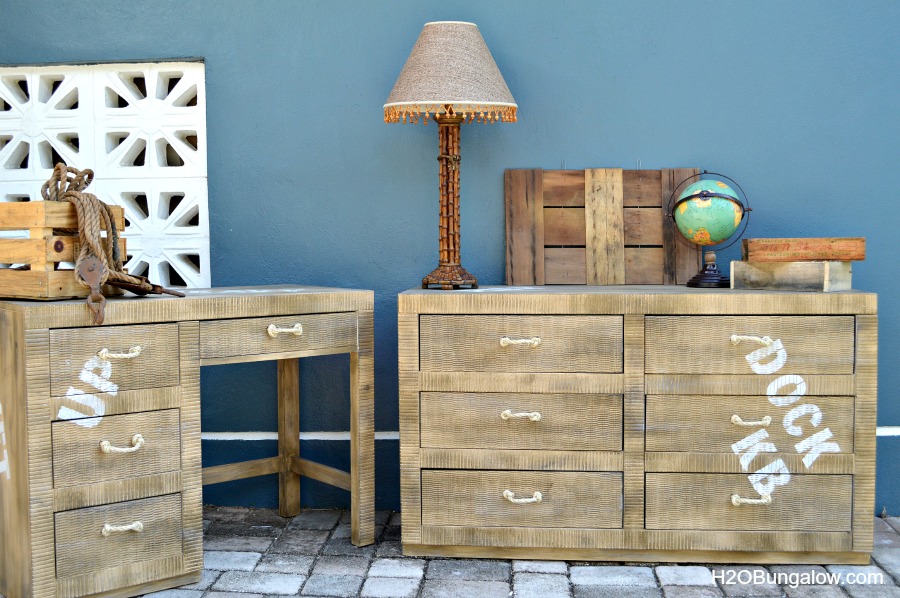
My faux painted cargo furniture looks kind of grungy, used and dirty. It’s definitely different from the white wicker.
I’m thinking it’s just the way an 11 year old boy would like it to look for his room.
So what do you think?
Is this faux painted cargo furniture enough to get me out of the mud house?
I certainly hope so!
But wait! There’s more! Every month a talented group of bloggers get together and share a themed furniture makeover! This is probably my favorite post of the month. It’s always packed with great ideas and lots of interpretation of the theme.
This month the theme is word and letters!
Love a good dose of DIY home decor, home improvement, the challenge of woodworking and creative ways to make your home look fabulous?
Me too! I’ll share mine with you!
Click here to have my posts sent to your mailbox fresh off the press.
Social media fan? Don’t be shy say hello! I love when you guys do that!
I’m very interactive with my readers on Facebook and I share lots of extra projects and, useful inspiration for the home and content I don’t share anywhere else.
Follow H2OBungalow on Facebook
Oh heck, just follow me on all social medias. We’ll have some fun…promise:)
Follow H2OBungalow on Instagram
Follow H2OBungalow on Pinterest
I’m on Periscope! @H2OBungalow
I use affiliate links in my posts. If you should make a purchase I will receive an itty bitty commission at no cost to you. Thank you in advance for supporting my blog…my two cats and our boxer dog
I know you don’t want to miss a single creative idea I share! Sign up for my email here or follow me on Bloglovin here.


[…] Former white wicker dresser is now the perfect dresser for a boy’s room […]