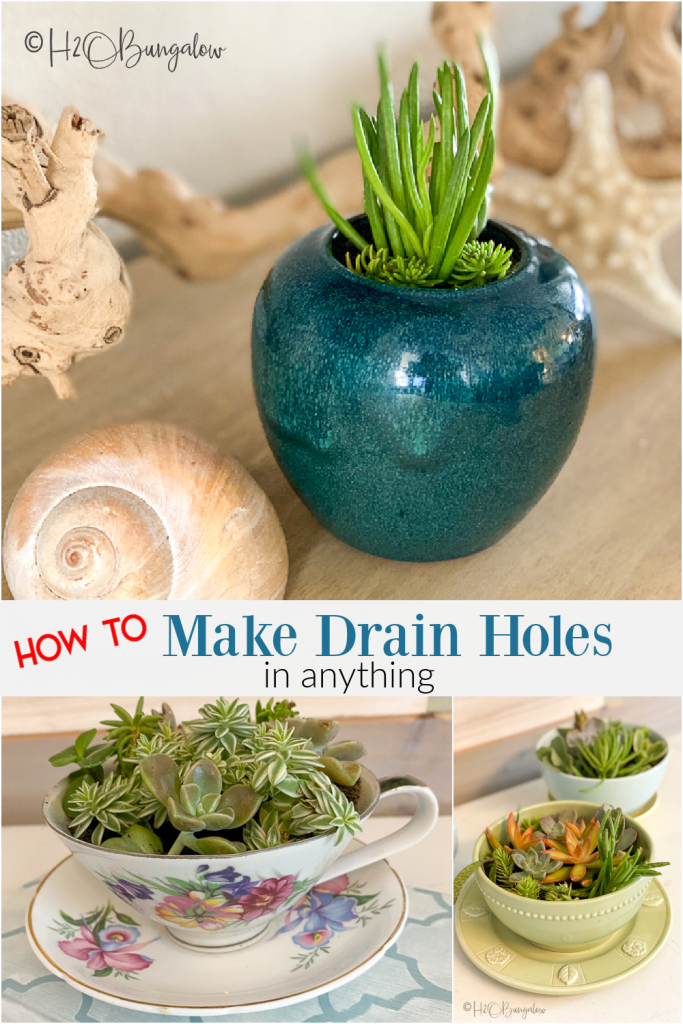
I can’t wait to share how to drill drain holes in ceramic planters and pots today. Once you know how to make a drain hole in a ceramic pot or any container you want to plant a plant in, you’ll never look at planters the same!
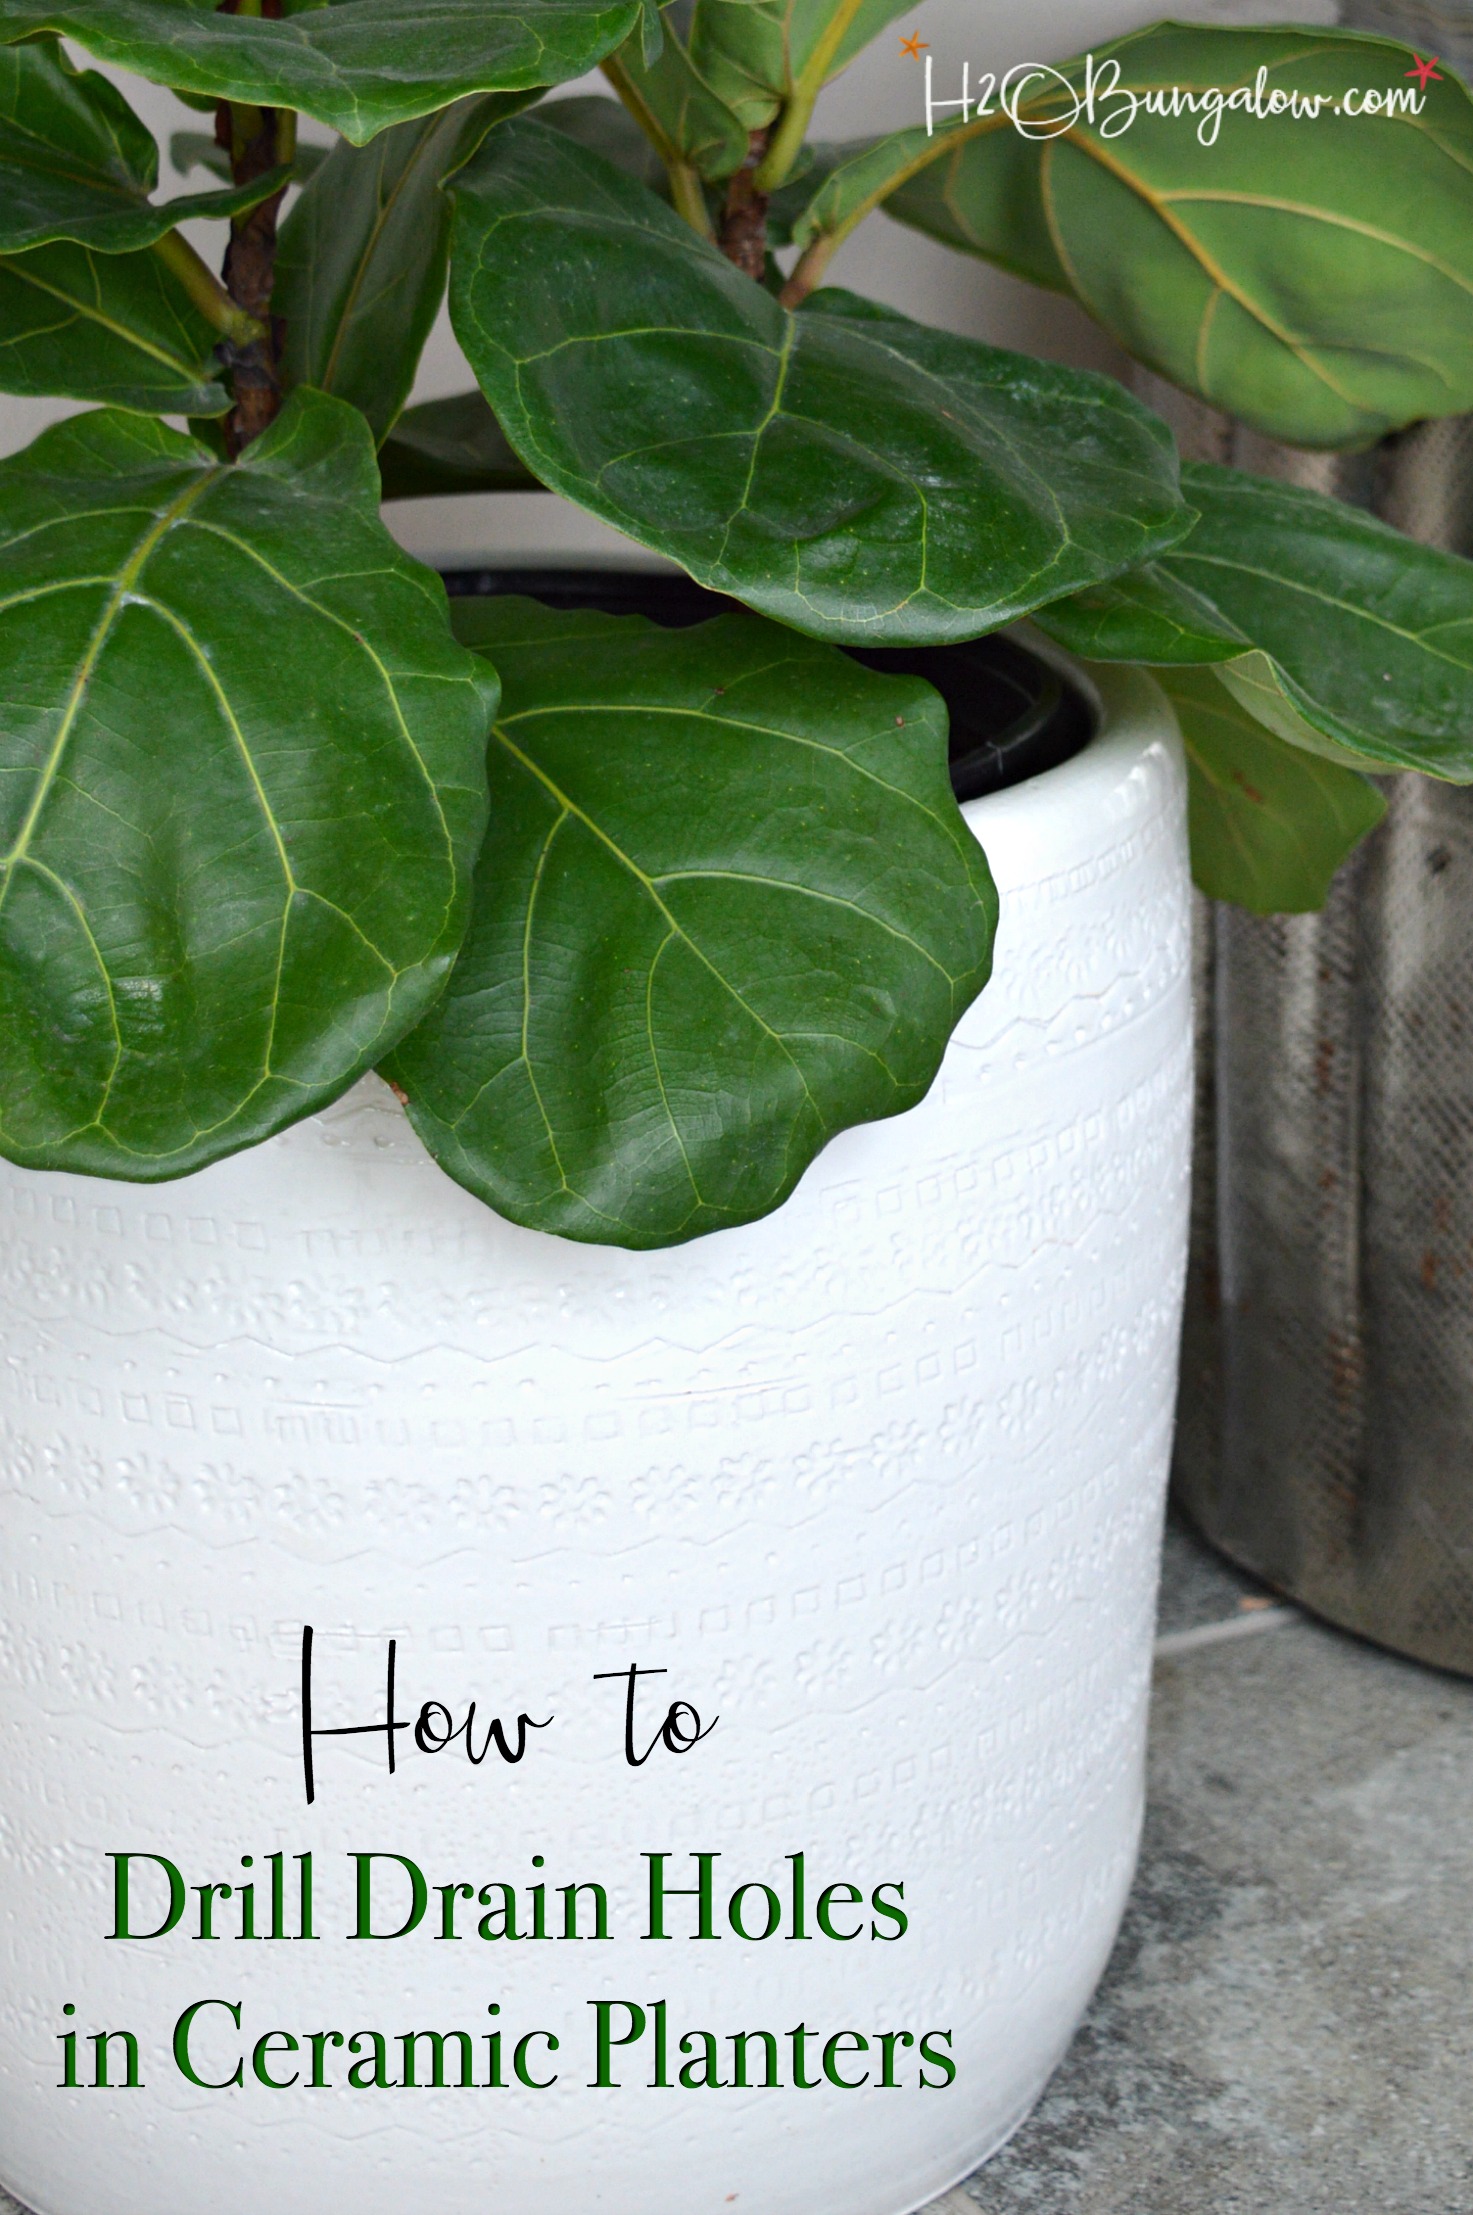
I had my heart set on a pretty white ceramic planter when I found my new fiddle leaf fig a few years ago. You’d think they would be easy to find. Easy as in no big deal, a dime-a-dozen white planter. Wow, I was so wrong.
After searching all over town. I found a few gorgeous white ceramic containers that would be perfect as a planter, but they didn’t have any drain holes in the bottom. Then I found lots of ceramic planters at our local big box store, of course they all had drain holes and were about twice the cost or more.
Then I remembered testing out a drill bit that cut through tile at the International Builders Show. Hmm…. could it be that simple I wondered.
The answer is an easy, yes.
I’m updating this post to alos show how to drill drain holes in containers and thrift store finds like tea cups, teapots, ceramic bowls and anything else you’d like to make into a planter by adding drainage holes to.
Looking for more planter ideas? Check out my Wooden Key West inspired Planter, How to Build a Flower Box Planter Tutorial, these DIY Wall Hanging Planters, this DIY Planter Umbrella Stand Tutorial and this Easy DIY Self Watering Planter Tutorial!
How To Drill Drain Holes In Ceramic Planters For Water To Drain Out
This post contains affiliate links, as an Amazon affiliate I earn a fee from qualifying purchases at no additional cost to you. Thank you for supporting H2OBungalow!
Supplies needed to make drain holes in ceramic containers:
- Drill, any drill will do
- Masonry drill bit – use on unglazed surfaces like terra cotta or concrete
- Glass and tile drill bit – use on a ceramic glazed planters, bowls, cups or other glazed containers.
- Painters tape
- Safety glasses – these work over prescription glasses!
Tip: Newly planted plants need extra attention! I use Superthrive to water new plants for the first week. Then every few weeks or so. You’d be amazed at the results!
Step one: Prep the container to drill drain holes in the bottom.
Place the ceramic planter on a piece of wood wider than the bottom of the planter. If you’re adding drain holes to make a planter pot from a teacup, small bowl or decorative ceramic, work on a table. It will save your back.
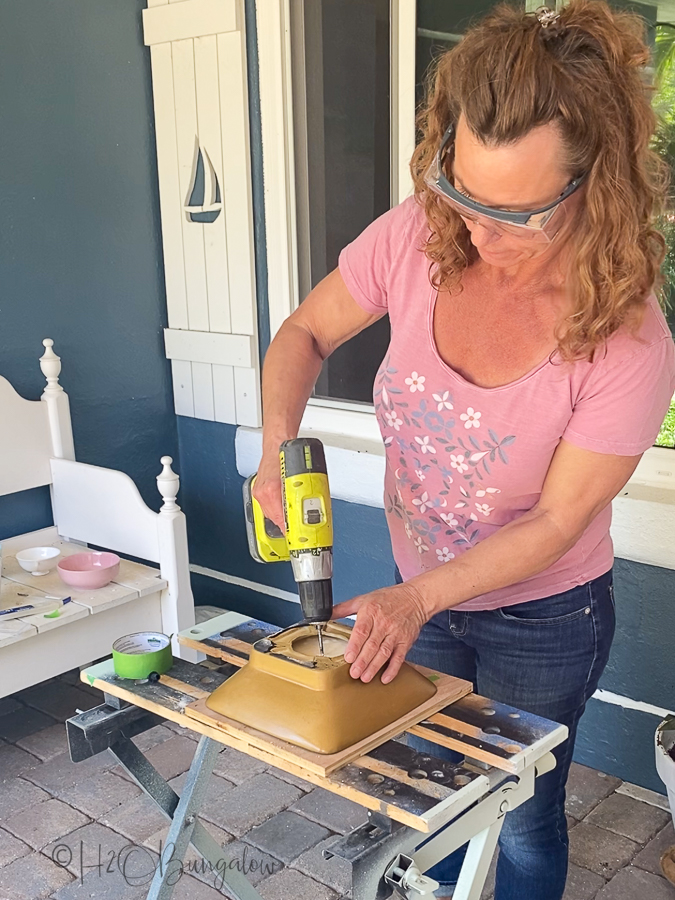
Step 2. Begin Drilling
What is the best drill bit to use to make drain holes in ceramic containers?
Choose the right drill bit when adding holes to make a planter from a container. Unless you are planning to drill just one or two planters, don’t buy the cheap no-name brands, the tips wear down fast.
- If you’re drilling a pot that is made of terra cotta, use a masonry bit. You can use a diamond bit too, but after trying it, I like the masonry bit a lot better.
- make drain holes in glazed containers, like tea cups and bowls with a drill bit for glass and tile.
Always wear your safety glasses when drilling holes in ceramic or glass!
Choose the right size drill bit to make drainage holes in your containers. Small containers need small holes, etc.
If you are drilling on a glazed surface, it may help by adding painters tape to the surface so the drill bit doesn’t move or skate all over when starting to drill a drain hole.
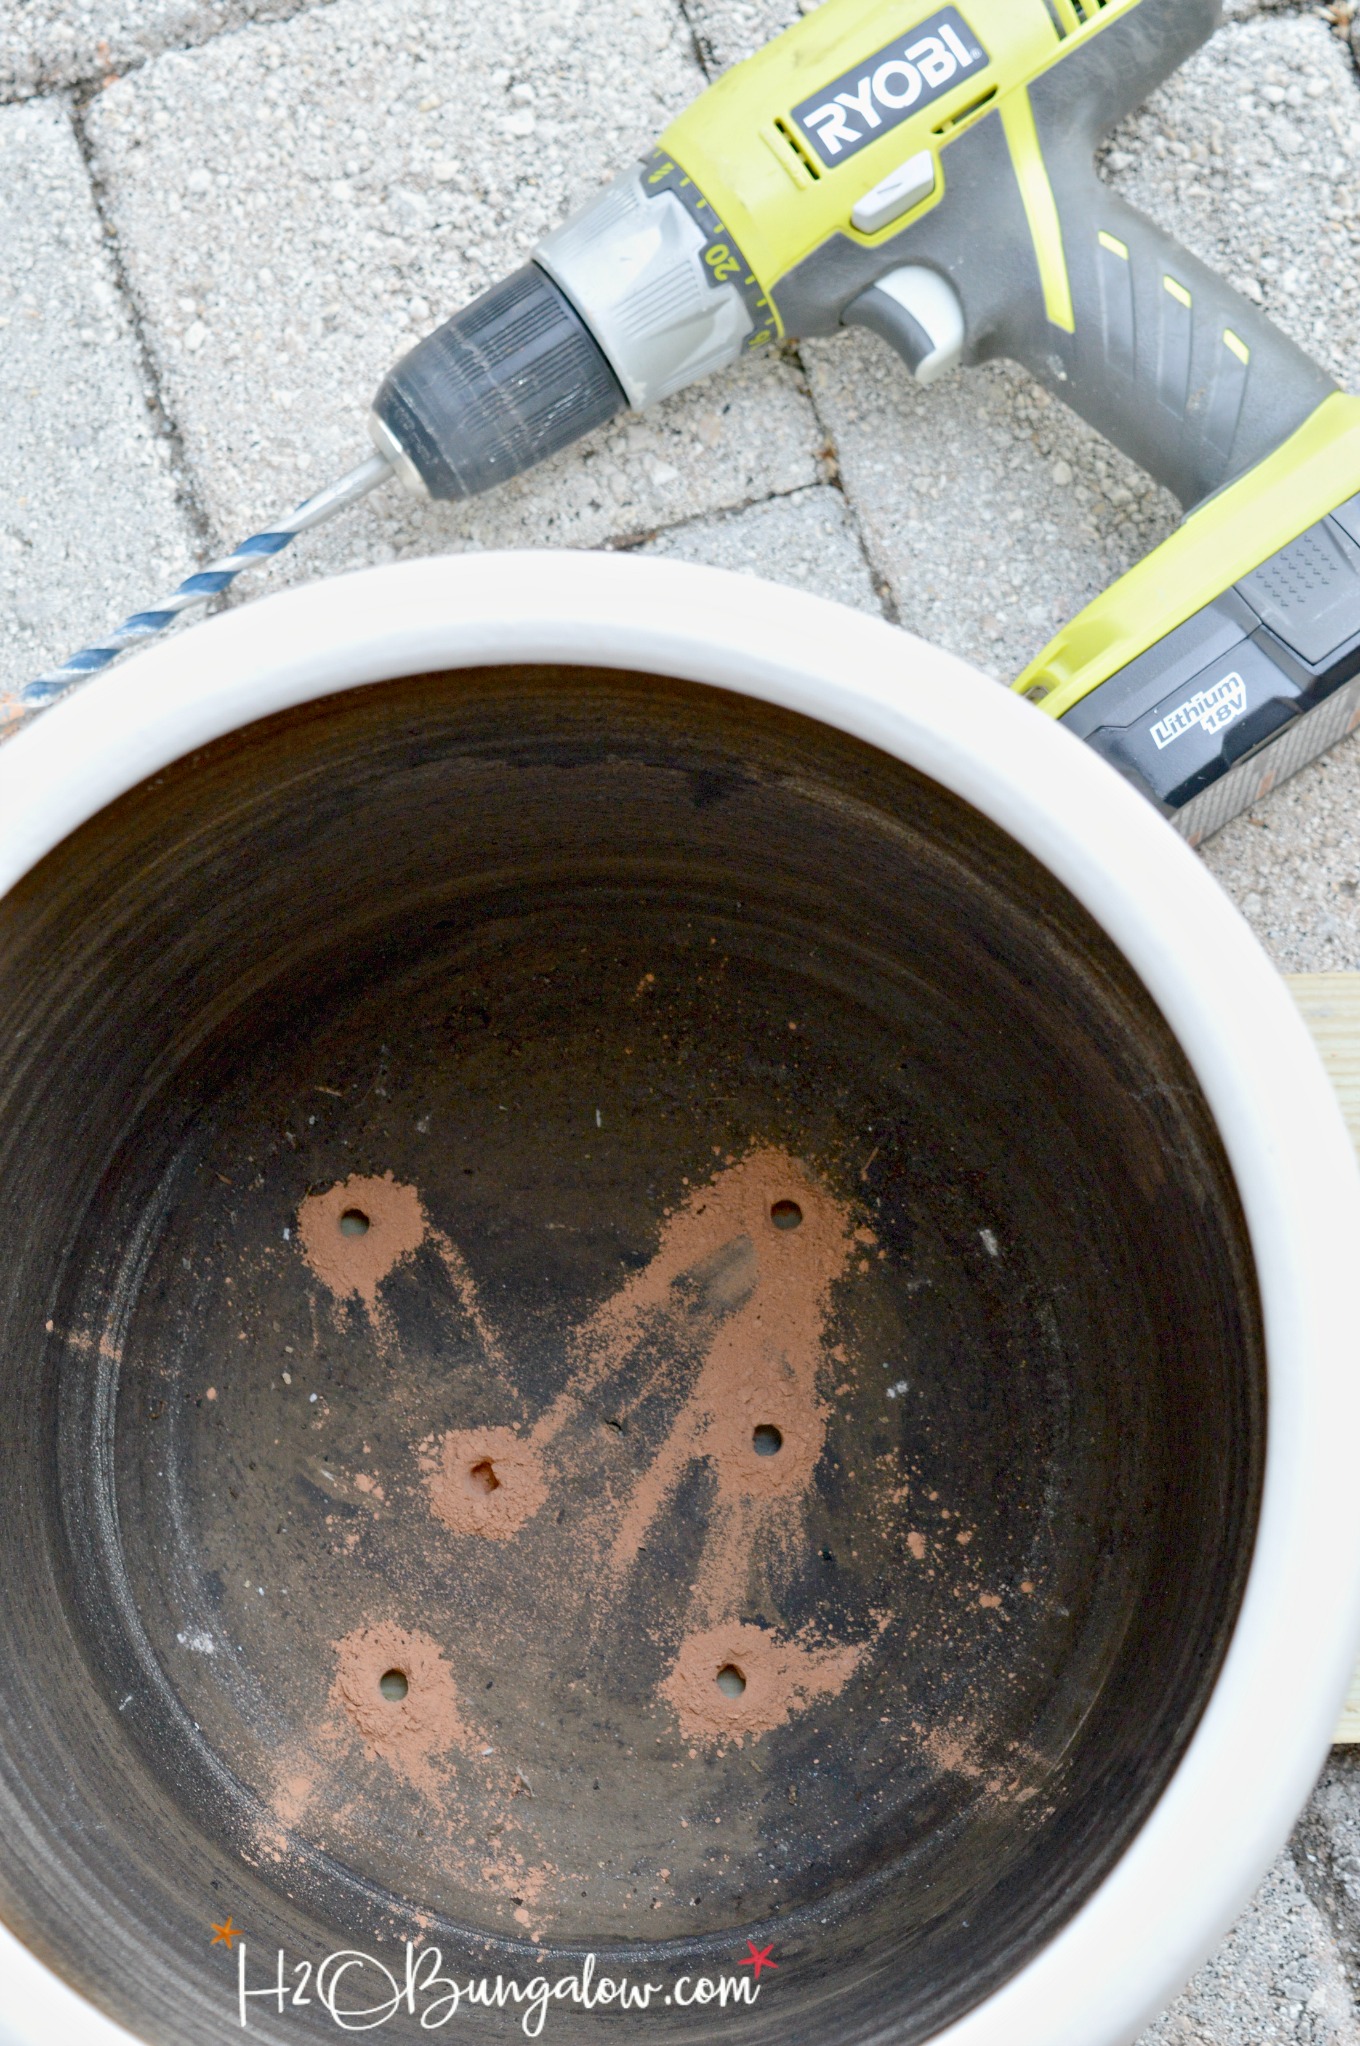
Set the drill torque on low, about #4 position. Drill and use a speed of about 1/3 of the full throttle, in other words, slow speed to start the planter drain hole. and begin to drill. Use enough pressure to begin making a hole.
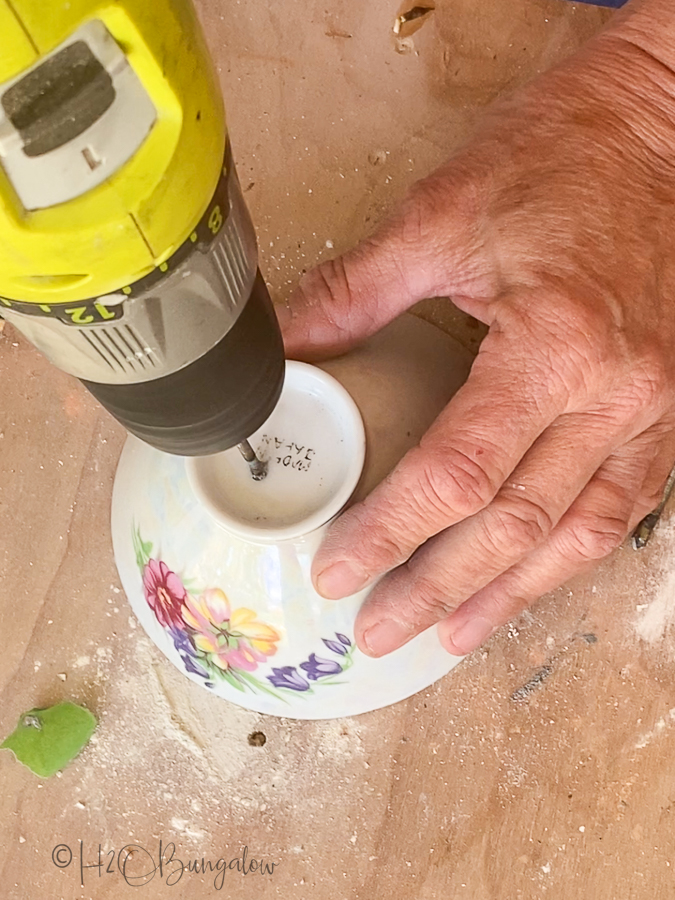
Making a hole in ceramic containers will happen at different speeds. Be patient and don’t push too hard on delicate surfaces. Keep a steady and firm pressure as you drill. Terra cotta drills really fast. The tea cups and small bowls took a lot longer than the big pots.
On very hard or thick surfaces, like cereal bowls and teacups start drilling at low speed and then move to hight speed.
If the drill bit begins to heat up, pour a little water over the hole while you’re drilling the drain hole to cool it down.
My rule of thumb for drilling holes in containers is if the bottom is mostly flat I start drilling from the inside. If it’s not, like my teacup, I start drilling from the bottom.
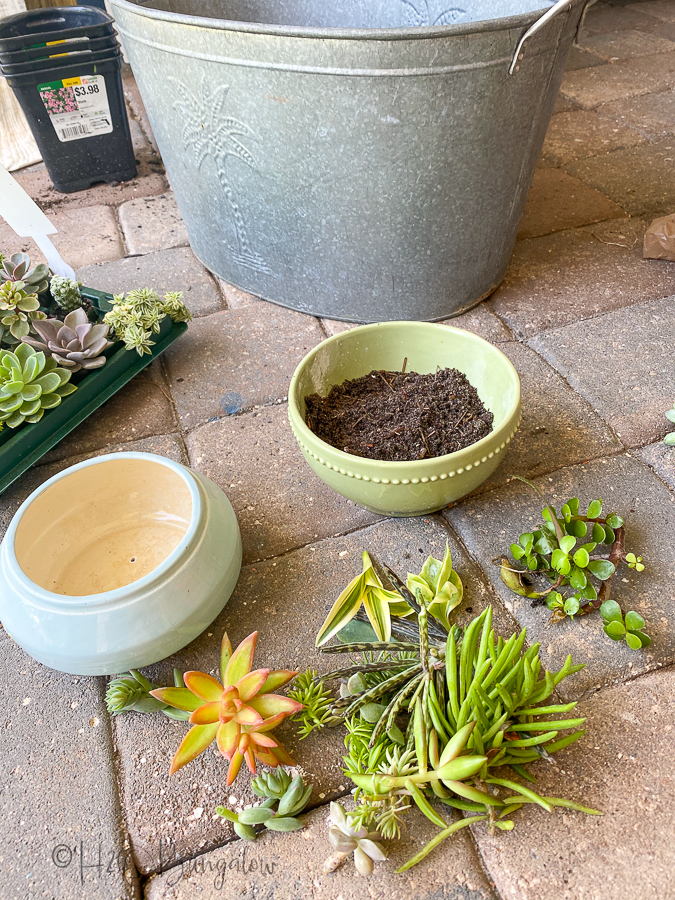
What can I drill holes in the bottom of to make a planter?
Take a stroll down any thrift store shelf or visit a garage sale to find lots containers you can make planters out of.
Remember, you can drill drain holes in anything ceramic! Here are some ideas of what you can turn into a planter by drilling drain holes into the bottom.
- Old cookie jars
- Canister sets
- Mixing bowl sets
- Tea cups and saucers
- Interesting shaped ceramic vases and vessels
- Bowls, cereal bowls, soup bowls
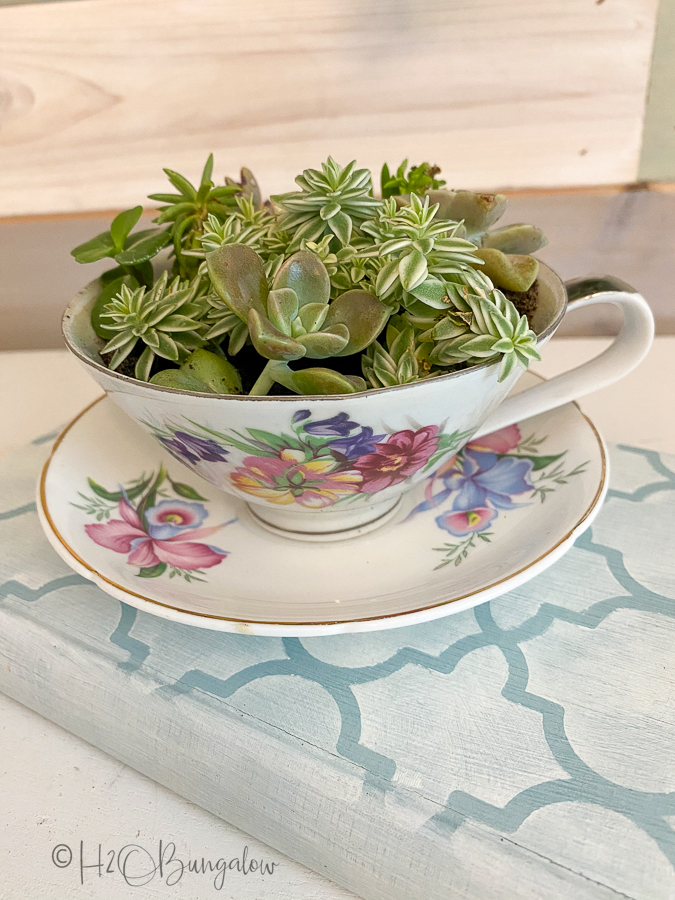
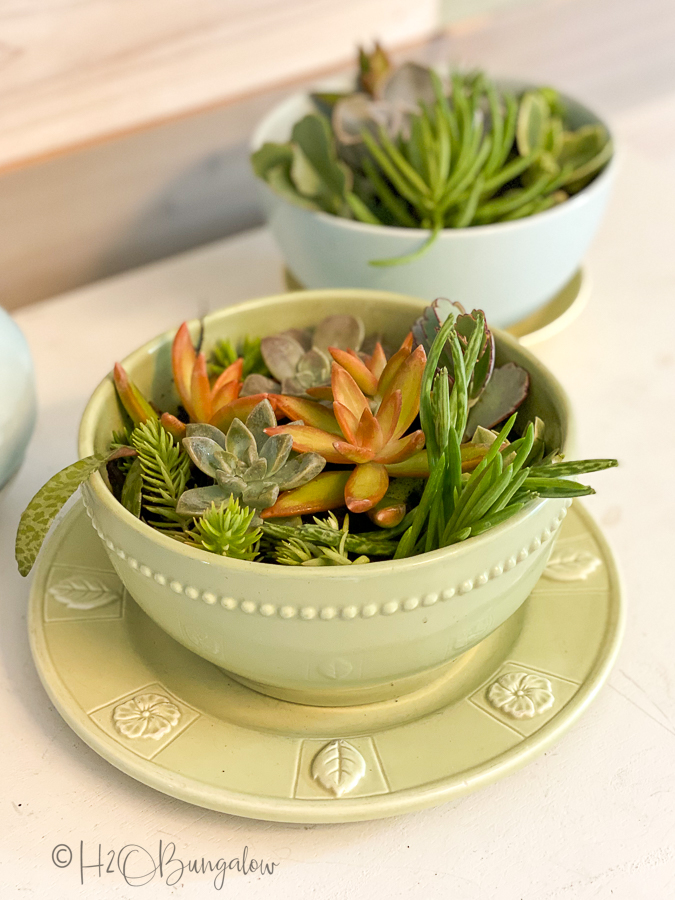
Don’t forget to be creative! Mix saucers, bowls and small plates to catch the water draining!
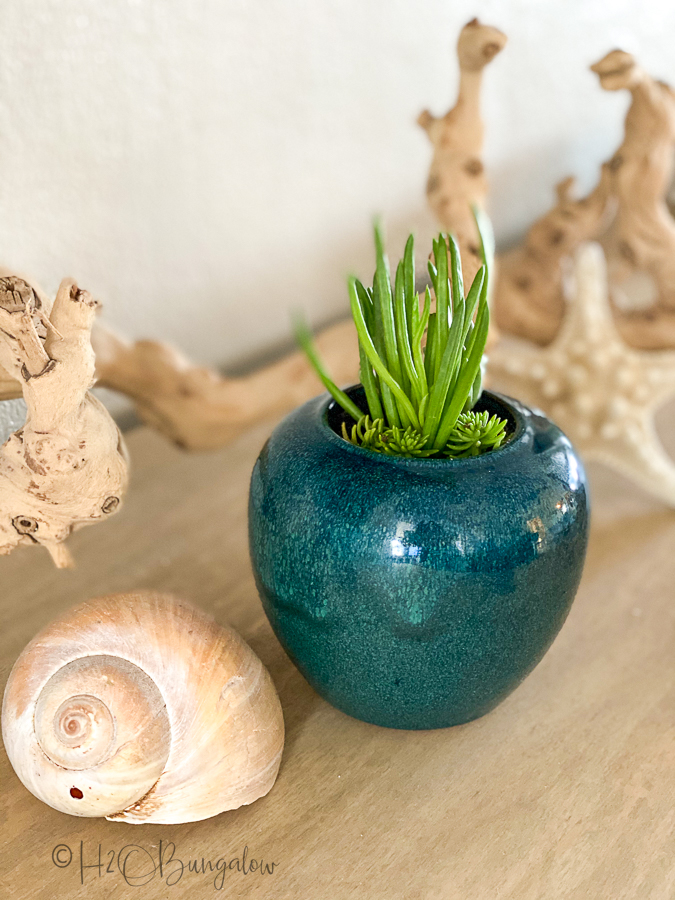
This little blue-green vase had the best shape for a distinctive plant!
Your imagination is the only limit on what you can turn into a planter.
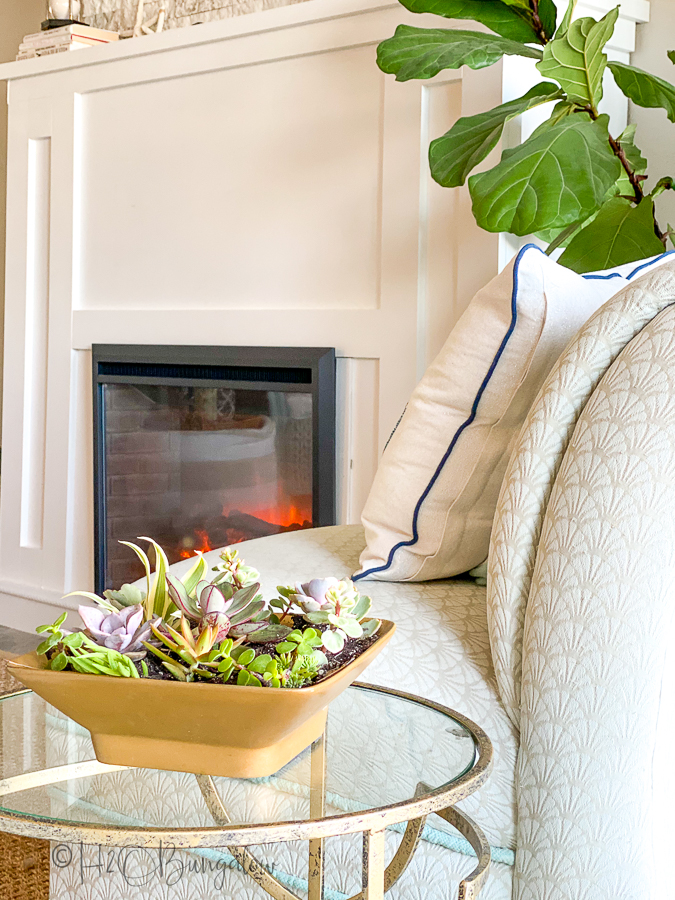
Pin my how to add drain holes to ceramic containers and share on Facebook with your friends!
I like pretty things. I also like practical skills. It’s even better when my practical skills allow me to buy more pretty things with a lot less mulah!
Now that I’ve shared how easy it is to drill drain holes in ceramic planters are you ready to try a few around your place?

Samantha says
I love to use my Old cookie jars and even empty plastic bottles in my garden. I like your creativity . I will try to this one with my small plants.
Wendi Wachtel says
Hi Samantha!
Thank you so very much! I can imagine how pretty your planters must look in your garden! Thanks so much for your visit and leaving a note!
Marie|The Interior Frugalista says
I have a few of these that could use drain holes! I am swooning over the lace pattern of your pretty white planter. I must keep my eyes out for Superthrive as well because this girl’s thumb is far from green.
Wendi @H20 Bungalow says
I love the lace pattern also. Let me know if you try the project and how it works out for you Marie! Thanks for visiting.