Today, I’m sharing how to make a pallet wood wall. You’ll also find a useful tool for taking apart pallets and tips for installing a wood wall over wall paper.
If you’re considering adding a wood accent wall to your home and are not sure which type of wall wall looks best. Read my post on DIY Shiplap vs Planked Wood Walls. I share lots of useful tips on adding a wood wall.
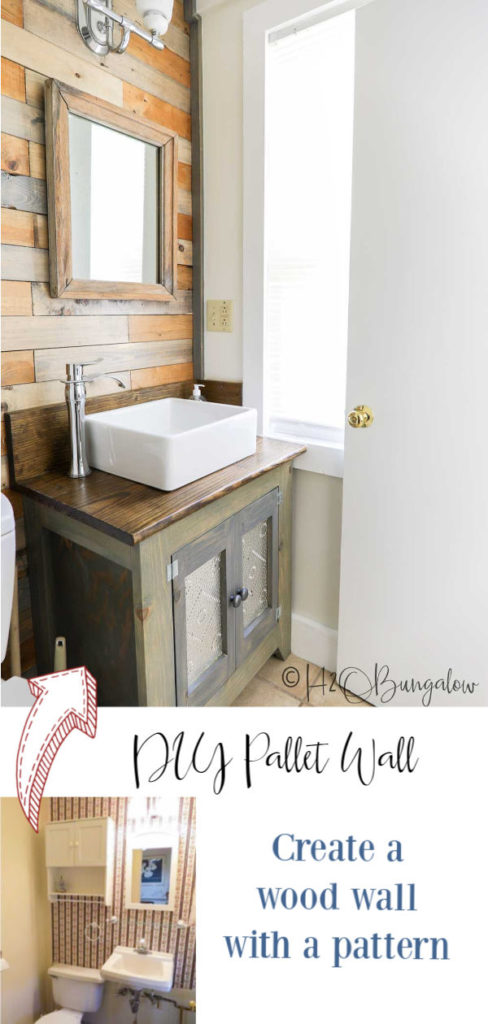
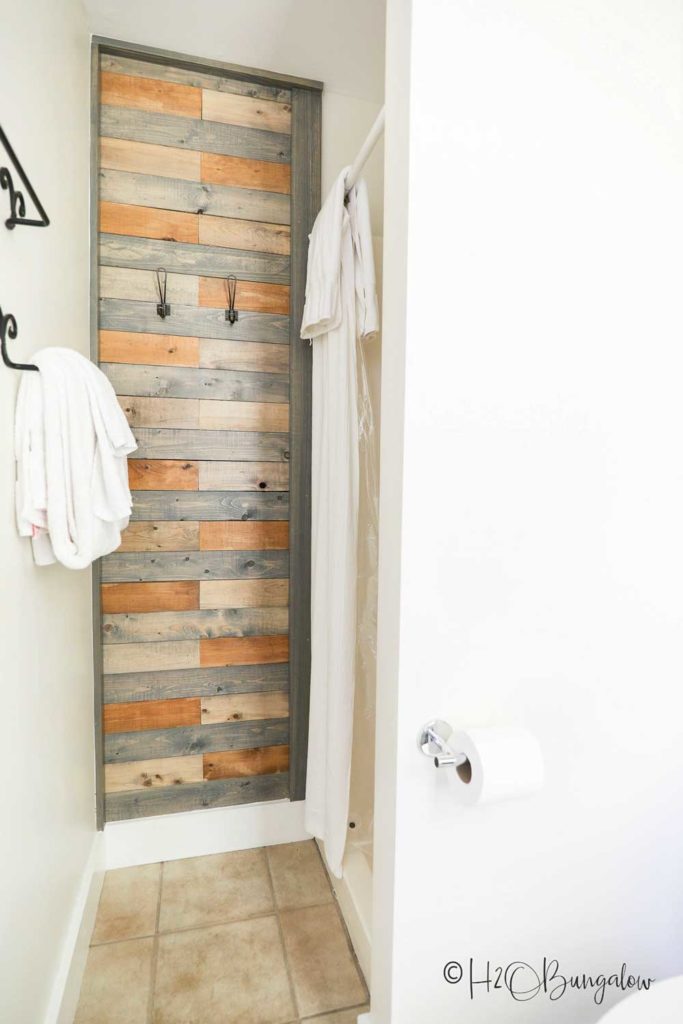
This little bathroom in the North House Lodge was screaming for a new look when we bought the place 3 years ago. I didn’t want to go to the trouble of removing the wallpaper and potentially repairing damaged drywall in some areas. Adding a pallet wood accent wall was the quickest choice for a new look.
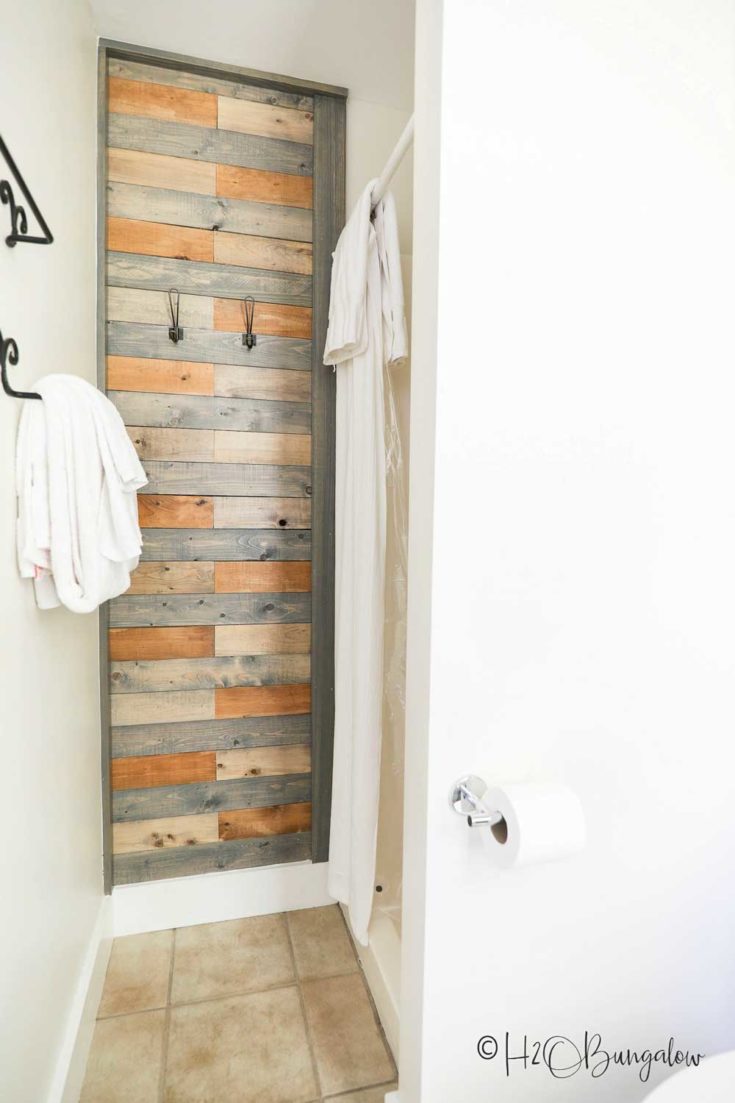
Similar to my cedar DIY Multicolored Wood Plank Wall, I stained my pallet wood three different colors. This project is different because I made a pattern with the three different colors of wood. You can choose either, a random pattern with stained wood pieces, a recurring pattern or something different like a chevron pattern.
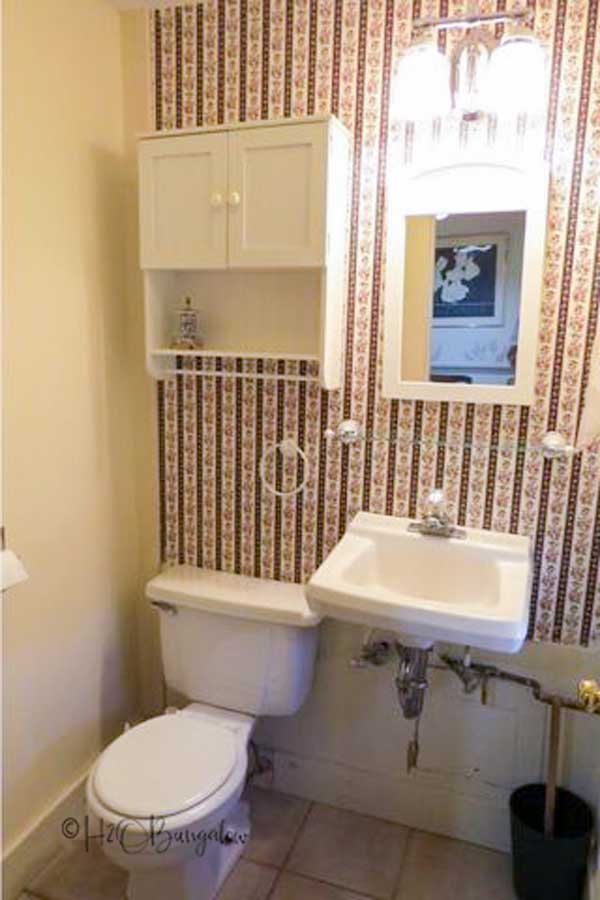
This is what the tiny bath looked like before.
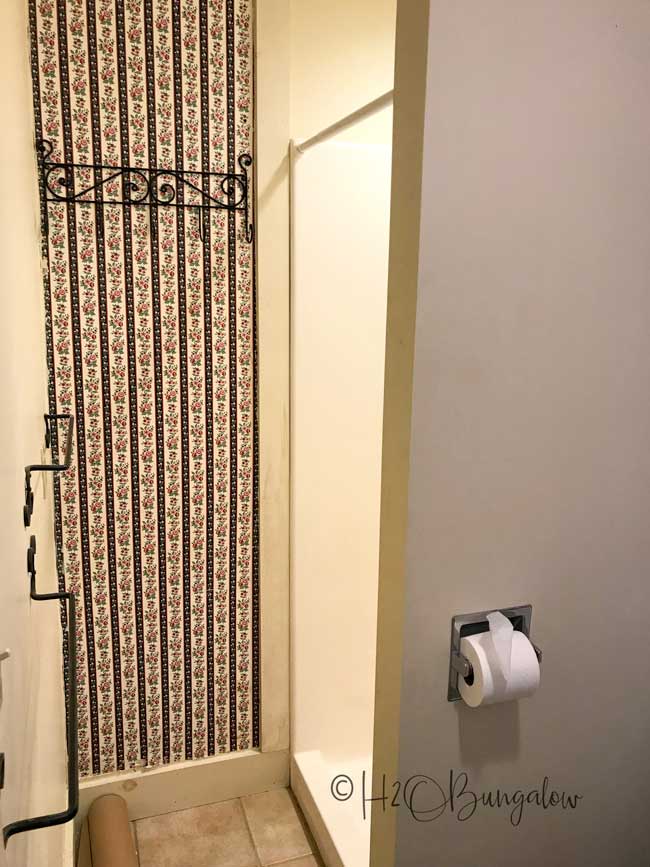
It had another small wall next to the shower of wall paper too.
How to Make a Pallet Wood Wall
Materials needed for this project:
- Strapping wood or pallet wood
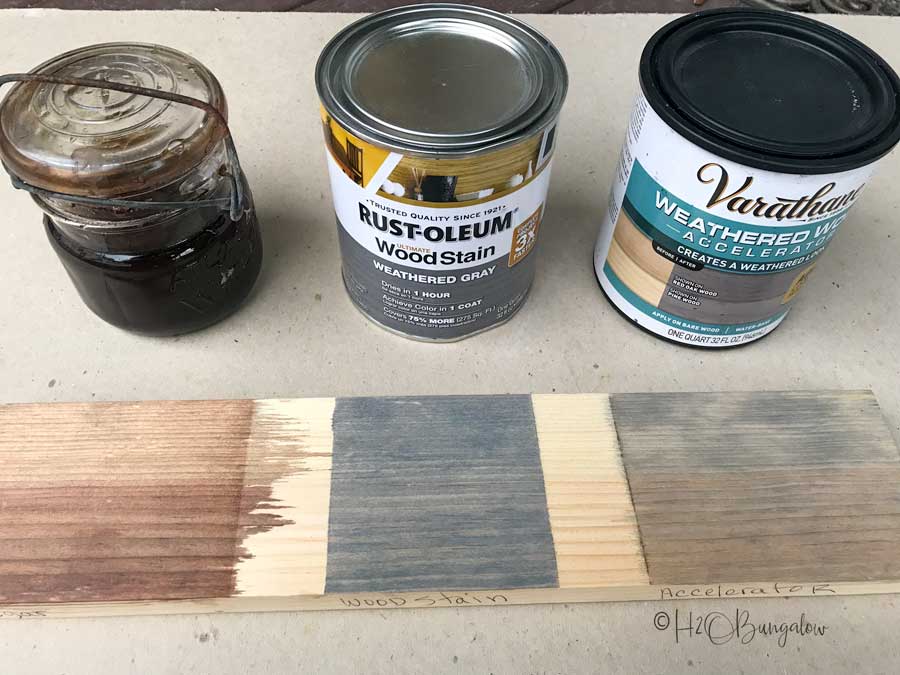
- Wood finish, I used these three
- Indoor / Outdoor Wood sealer
- Duck Bill Wrecker – if you are using pallets
- Miter saw
- Brad nailer
- 36″ level
Step one. Measure and Cut all the wood to the same size lengths
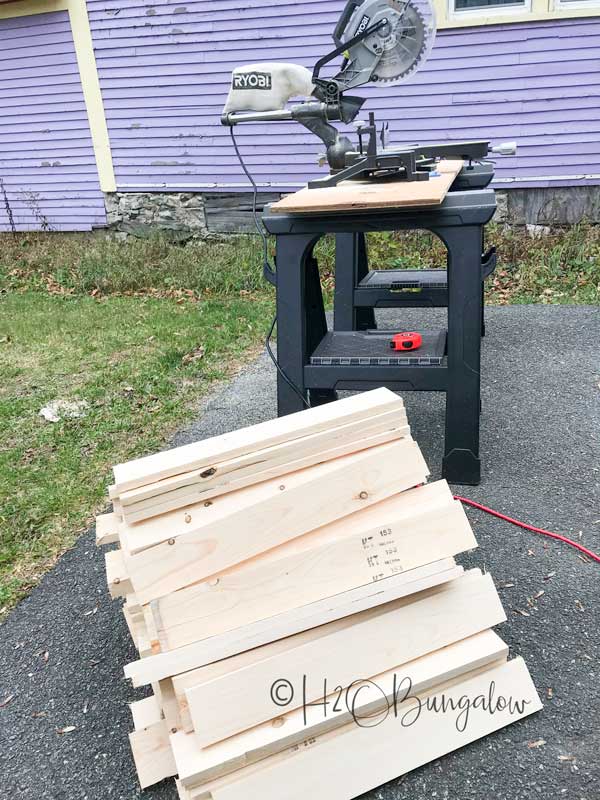
I cut 130 pieces of wood, each 2 feet long for this wall. Divide the stack into three piles.
If you are using pallets, try using this Duck Bill Pallet Wrecker to save time taking them apart.
Instead of collecting pallets I used the wood that pallets are often made from, strapping wood.
Time saving tip! This task will go by much quicker if you make a wood stop to the length of each board you have to cut. Clamp a board onto your work surface at 24″ from the blade. Place your wood so the end of the board touches the stop and cut. Every board will be the same length.
Step two. Stain pallet wood.
Stain each piece and put aside to dry overnight. Keep the stained wood colors separated.
Similar to my cedar DIY Multicolored Wood Plank Wall, I stained my pallet wood three different colors. But this project is different because I made a recurring pattern with the three different colors of stained wood.
If you are using real pallet wood, you may want to sand the top of the wood so your stain colors will take and show more.
Step Three. Paint and prepare the wall.
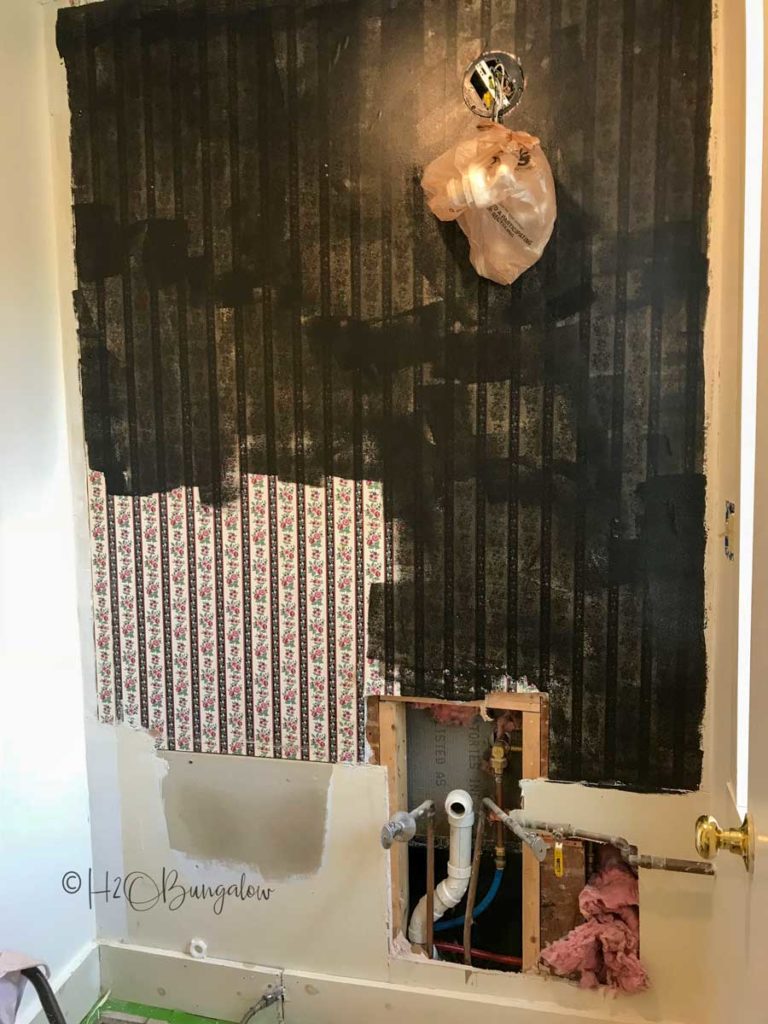
Remove hardware and light fixtures from the wall. You’ll see I wrapped the light fixture in a plastic bag so it wouldn’t get paint on it.
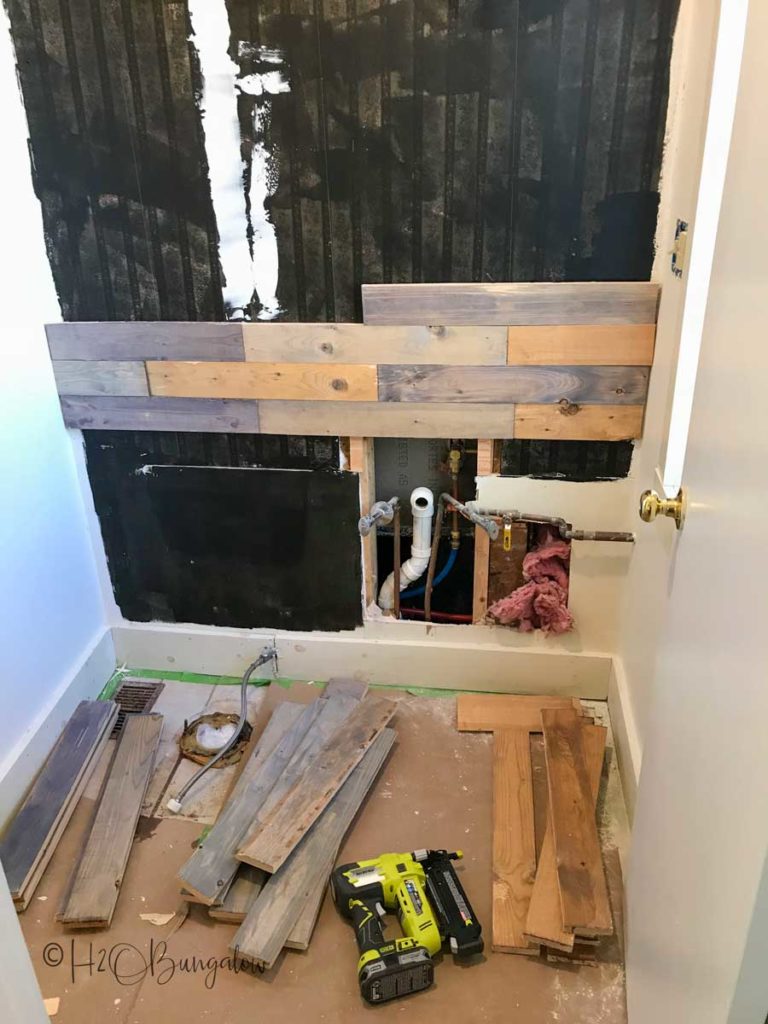
Pallet wood is low quality wood, which is great for character. It will have uneven sides and holes where knots in the wood were. Strapping wood will shrink a little, has even sides and some knot holes too. The easiest way to not have the red roses showing through was to give the wall a quick once over with a dark paint.
Step Four. Choose a pattern for the wood pieces.
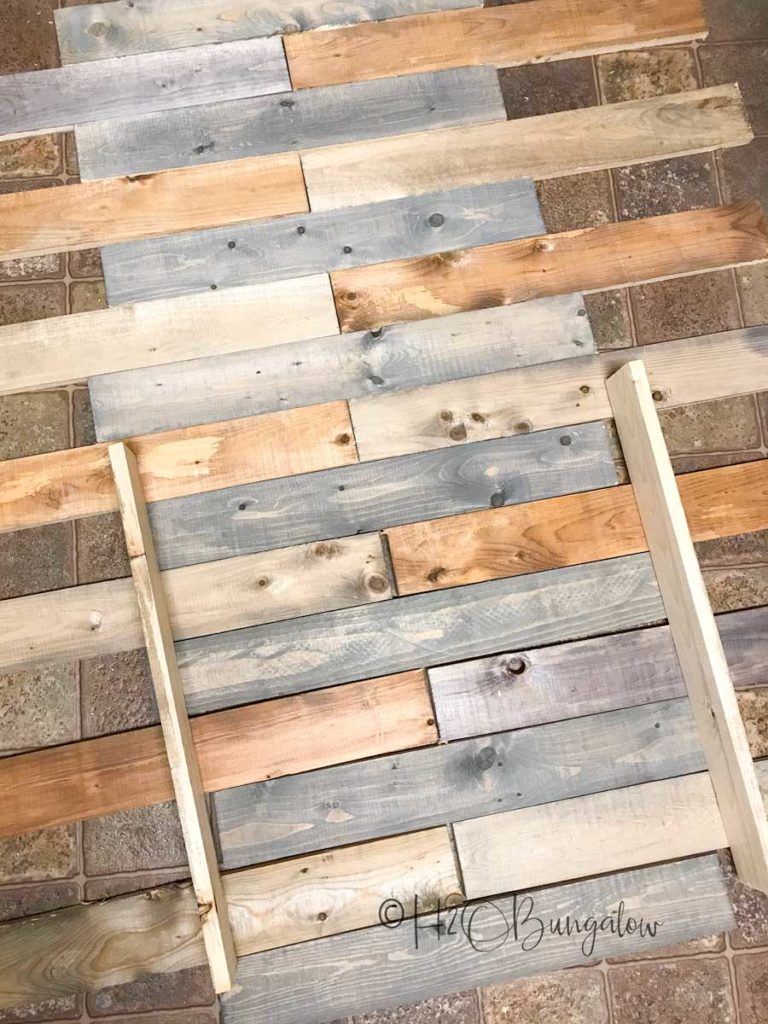
Lay the stained pallet pieces on the floor in different patterns to figure out what pattern you like best. If you’re installing a wood wall on more than one wall like I did, check to be sure the pattern will work for both walls before proceeding.
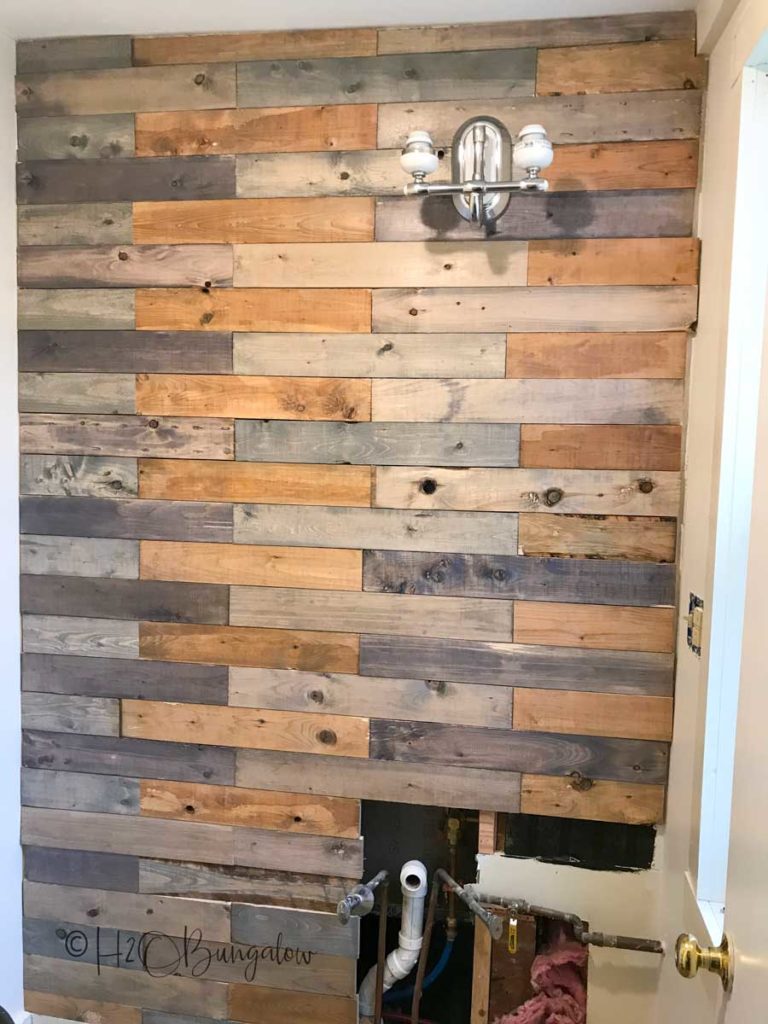
Below is the pattern of stained wood I decided on. I put the two strips of wood on the sides to see what it would look like on my narrow wall.
Tip – Keep a small section of pallet wood pieces in the pattern you’re using nearby. It’s nice to refer back to while you’re working.
Step Five. Attach pallet strips to the wall.
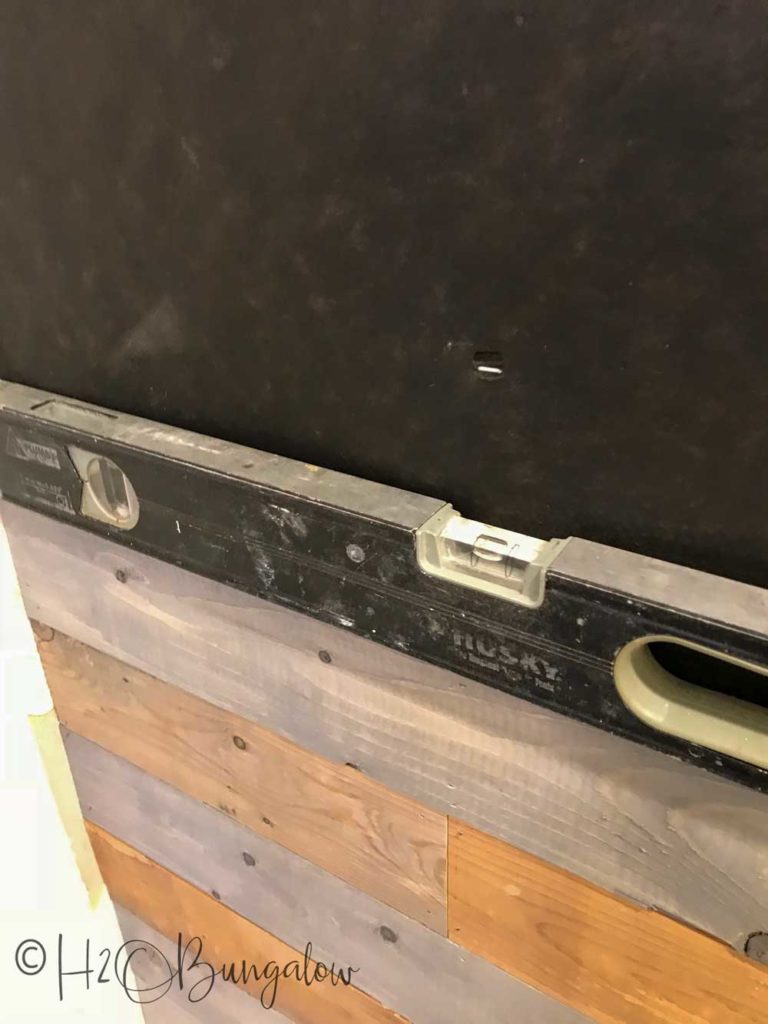
Take a pencil and mark the stud location on each wall by drawing a line from the floor to ceiling where the studs are located. Use a level to mark a straight line across your wall. Follow this line, start a few feet from the bottom, using a brad nailer attach wood to the wall.
Plan for about a 1/4″ gap at the ends of each row.
Place two brad nails on the top and bottom of each piece at the ends. Add additional brad nails on the stud lines when they are not located at the ends of the wood pieces.
Check to be sure the wall is level at the first row and a few more times as more rows are added.
Step Six. Trim wall edges.
Cover the gaps at the edges of the wall with lengths of stained 1″ x 2″s.
Step 7. Seal the wood.
Because this pallet wall is in a bathroom where there will be steam and humidity, I sealed the wood by rolling on a good indoor outdoor sealer. This will prevent the two water based stains from leaching out of the wood.
That’s it! You can make a pallet wood wall using pallets or wood strapping. I prefer the wood strapping because all the boards are the same wood, same depth and even so it’s easier to keep the rows level.
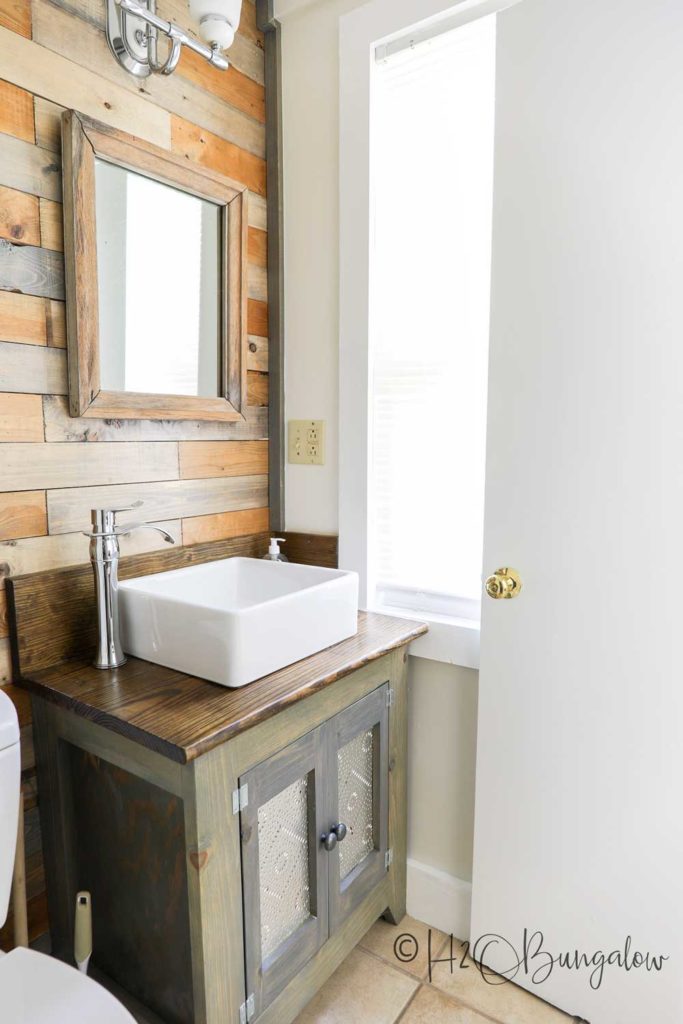
Yes, We built the vanity as well. I’ll share a tutorial on that soon along with the free woodworking plans.
Creating a pallet wood wall is a great way to inexpensively add modern rustic character to a room. It’s perfect for this bath in the #54 side of the North House Lodge, one of our vacation rental houses.
Don’t forget to pin this for later and share on FaceBook!

Don’t forget, if you’re considering adding a wood accent wall to your home and are not sure which type of wall wall looks best. Read my post on DIY Shiplap vs Planked Wood Walls.
How to make a pallet wood wall with different colors of stained wood, installed in a pattern. Easy project with extra tips for the beginning woodworker.How to Make a Pallet Wood Wall
Materials
Tools
Instructions

Katarina - Sukhirugs.com says
Wow, this turned out beautiful! The pallet wood wall adds a vintage vibe and a touch of elegance to the bathroom. It makes you feel like you stepped in an urban oasis. Thank you for sharing a detailed explanation on how to DIY this project! I also love that this is an inexpensive, yet wonderful way to transform a bathroom.
Wendi Wachtel says
Hi Katarina,
Thank you and I’m so glad you like my pallet wall project! It was a huge improvement over what was there when we got the place. Thanks so much for your note and visit!