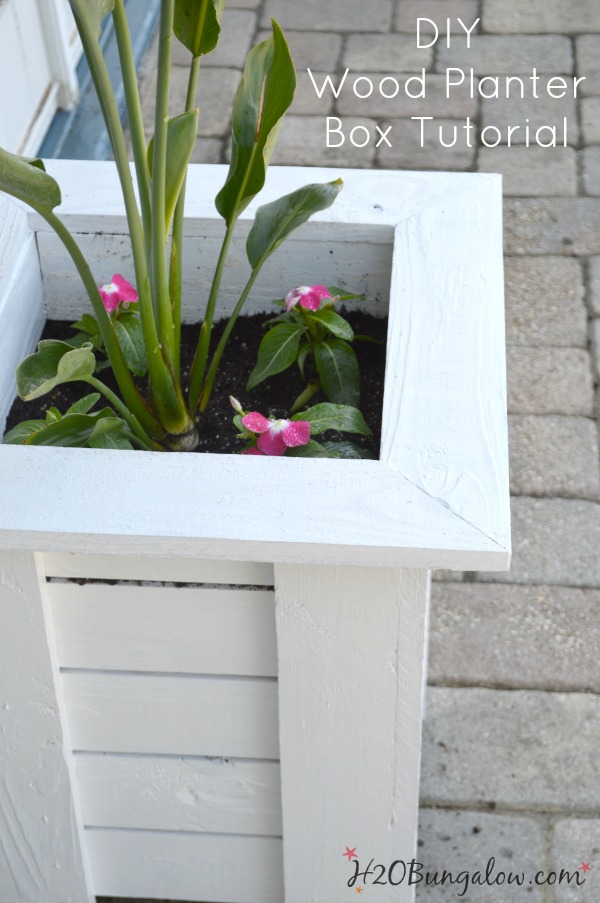
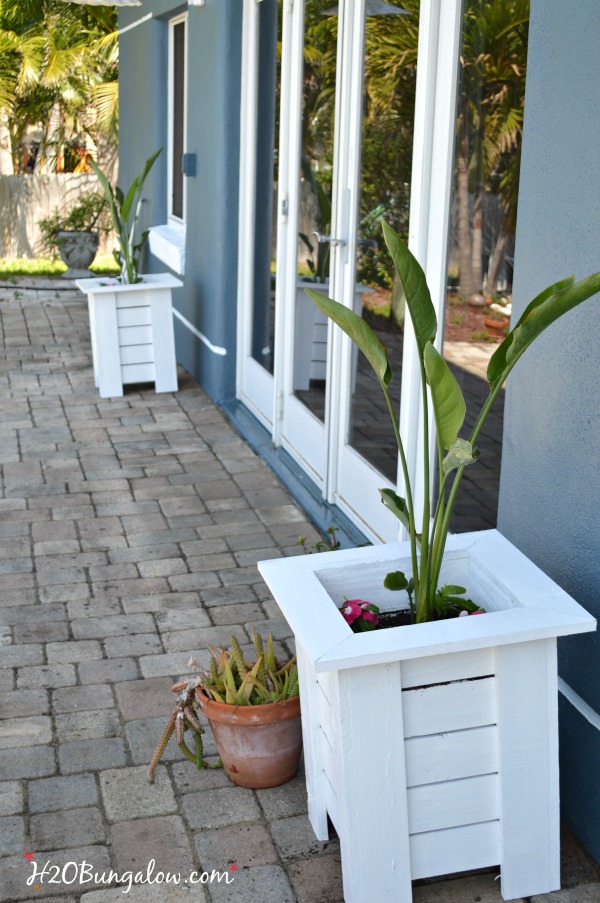
My project today is a Key West inspired DIY Wood Planter Box.
Hey guys, it’s that time again! I’m talking about the Power Tool Challenge Team monthly challenge. This month’s theme is Spring, which means we can create anything our hearts desires as long as it fits a spring theme. My project this month is a Key West inspired DIY Wood Planter Box.
I fell in love with Key West when we visited last year. I loved everything about the colorful island. Key West has its own style, It almost doesn’t feel like part of the US, with influences from Cuba, the Caribbean and Europe. The bungalows and houses are as colorful as the people, dotted with tropical, Colonial, Victorian and a smattering of other home styles.
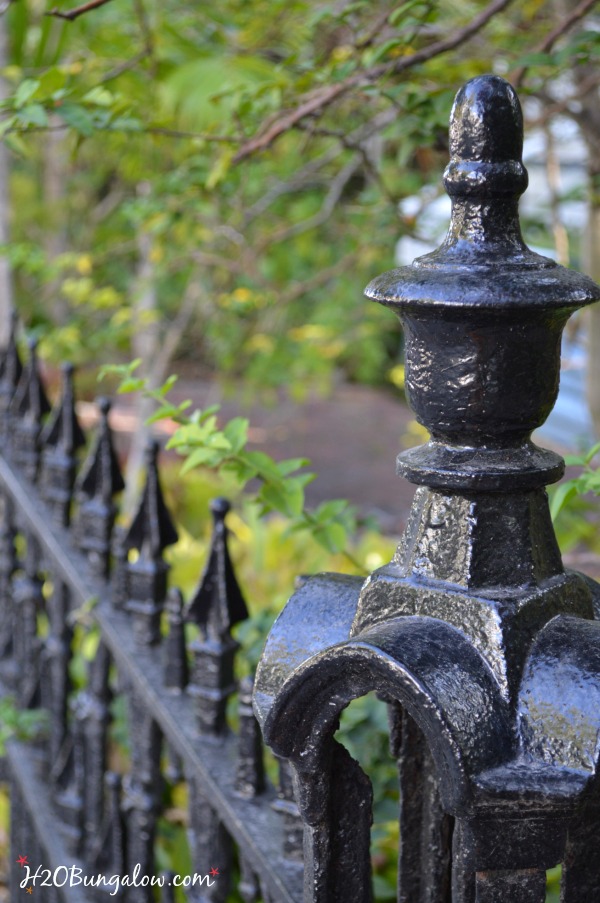
It has some of the most beautiful ironwork I’ve ever seen.
I’ve been thinking of ideas to add some Key West style to our little place ever since.
This project is the first of several creative ideas 🙂
My set of wood planters was also budget friendly since they were made from a pile of wood that I purchased for a project that didn’t happen. I’ve worked on using that wood up ever since!
I’ve updated this project and tweaked a few things. You can now download my free plans in my Wooden Planter Box Plans post.
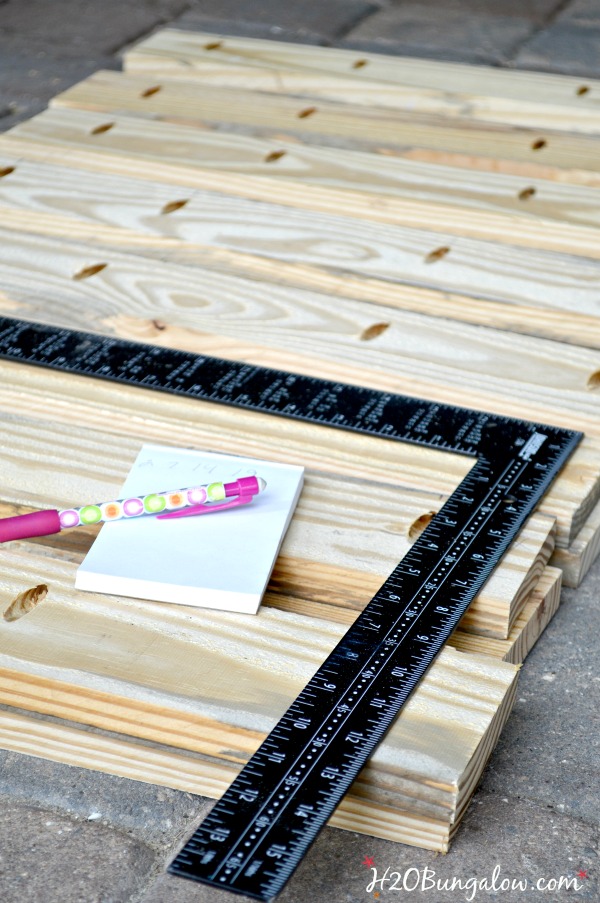
Start with the corner supports. Make pocket holes with the Kreg Jig in four of the side pieces at 2, 7, 14 and 19″. Connect two sides with pocket screws to make the corners. You’ll have four of these.
There are two choices in putting the planter together.
This is what I did.
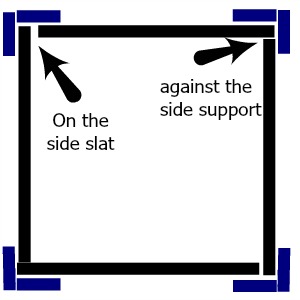
I made a simple drawing of how I attached the side slats to the end supports. See how one end buts up against the side support and the other end of the same side slat rests over the side slat before it?
This made my planter square all around.
If that’s too much thinking for you, just assemble two sides and then connect them with the remaining slats. This was my original idea until my Dad turned the corner as I was beginning to assemble my sides. We had a debate over the two ways to assemble my wood planters.
He won.
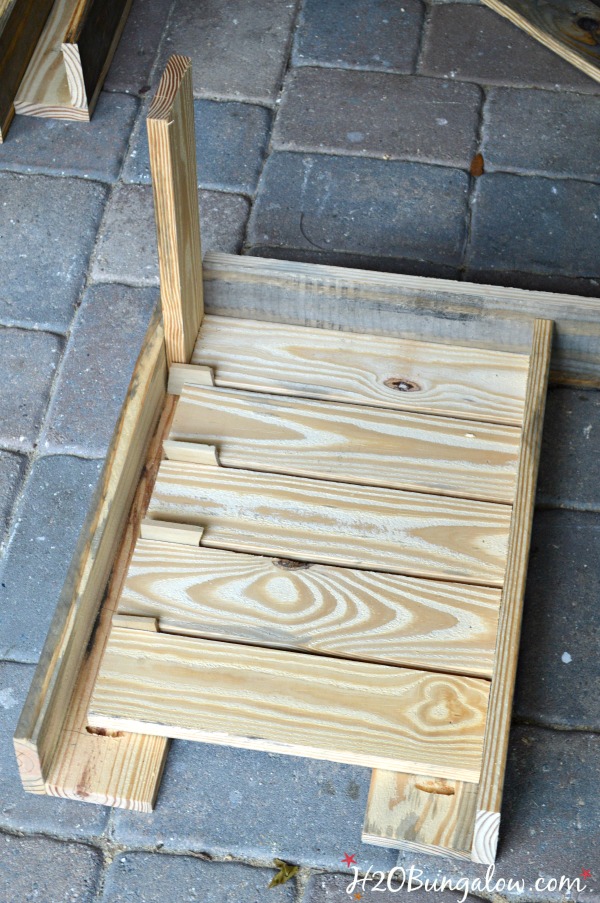
Either way, they will look good. You can see how I assembled the planters from the pictures below. The pieces make it more tedious than difficult:)
I used the spacer trick again to hold my slats in place while I nailed the boards with the brad nailer.
Here is what my DIY wood planter box looked like as I assembled the side slats to the corners.
After the planter base was assembled, I added a bottom to the inside of the planter. It can be set at any depth. Nail two inside slats on opposite sides lay the inside slats on top and secure them with the nail gun.
The last step is to cut the top frame and secure it with the nail gun.
I was running behind as usual and put my first coat of paint on early that morning before I broke out my compound miter saw to finish the last few steps on my DIY wood planter boxes.
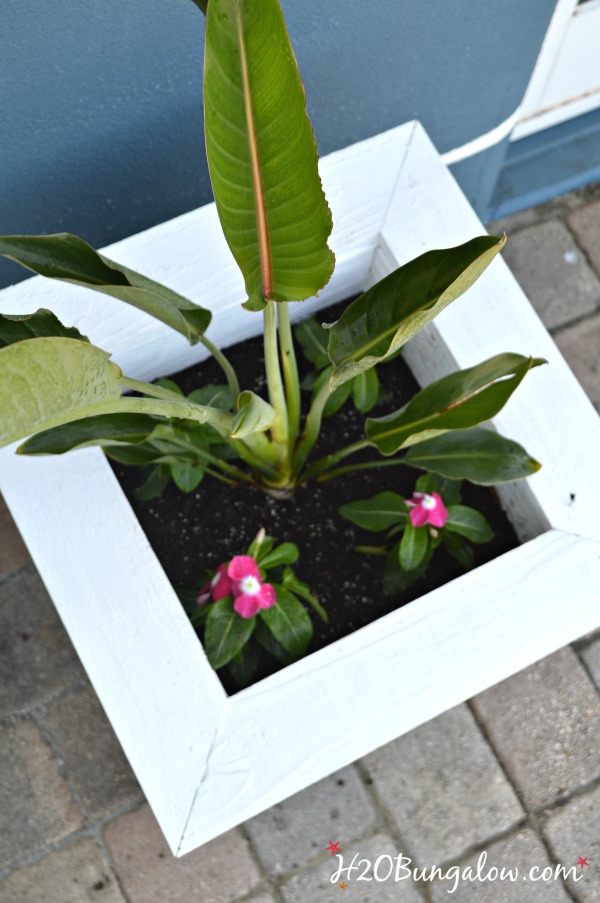
Add a few plants and you’re good to go!
If you’re using untreated wood, make sure you add a plastic liner. I stapled a heavy duty shower liner to the inside.
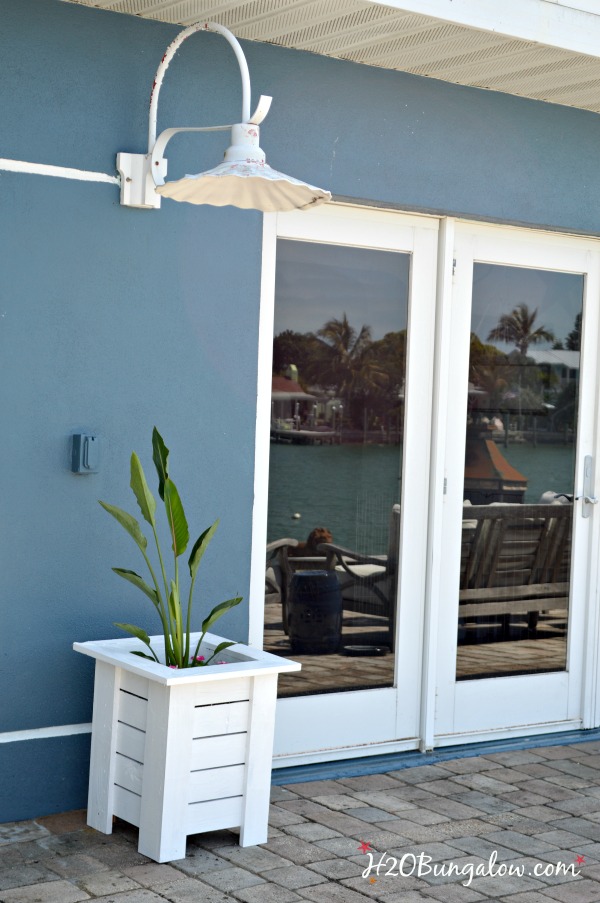
I made these for our back yard.
It’s almost like we have two front yards since our backyard is on the water with boats and people passing by all the time.
It needs curb appeal, although I guess you’d call it bay appeal, since we face the bay.
I have more ideas to give our backyard more of the Key West tropical vibe. I wish they could all be done now.
But hey…This was a good start.
I mentioned my Key West inspired wood planter box was part of this months Power Tool Challenge Team’s theme. Take a look at the rest of the awesome projects my friends and team mates put together this month! Click on any of the links next to the descriptions to go to that project. 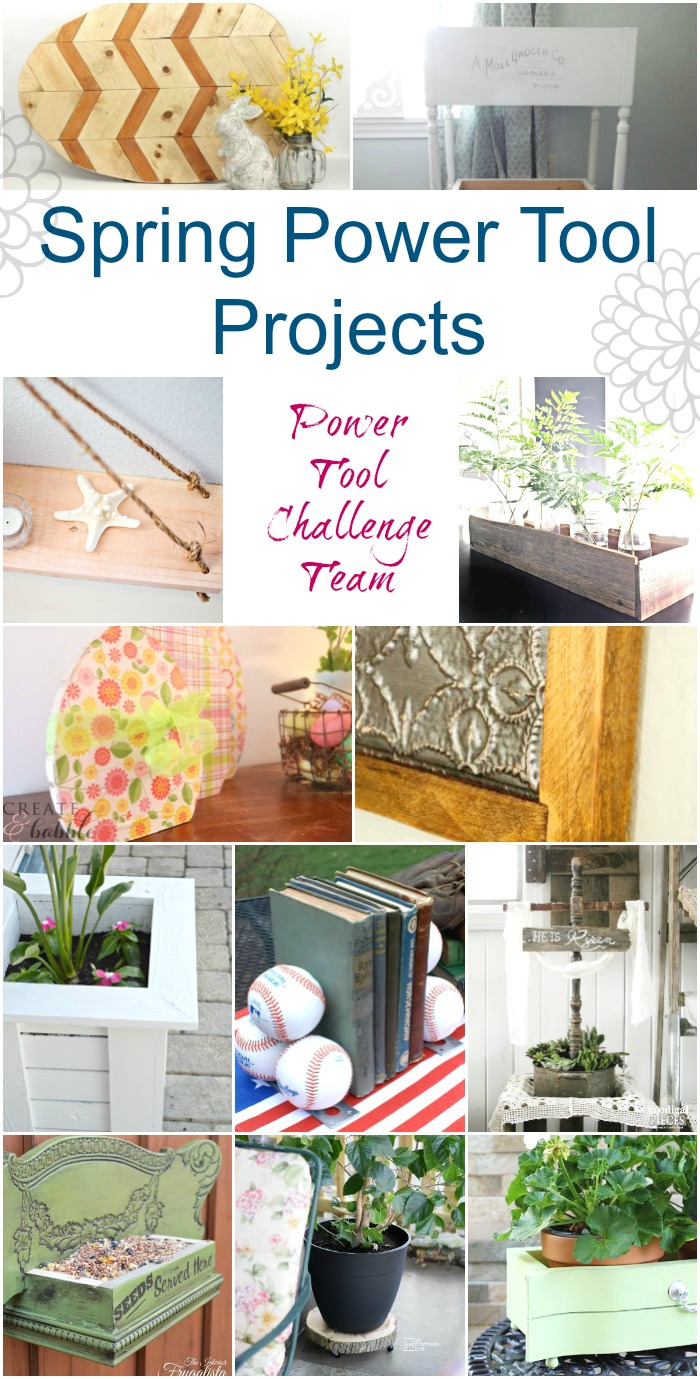
Chevron Wood Easter Egg by Kim Six Fix
Fruit and Vegetable Bin by Designs By Studio C
Wooden Swing Shelf by Domestically Speaking
Wooden Easter Eggs by Create And Babble
Repurposed Easter Cross by Prodigal Pieces
Planter Box Centerpiece by Refresh Restyle
Upcycled Drawer Front Planter by Confessions of A Serial DIY’er
Rustic 3 Panel Wall Decor by Designed Decor
Key West DIY Wood Planter Box by H2OBungalow – That’s me!
Baseball Bookends by Virginia Sweet Pea
Chair Back Bird Feeder by Interior Frugalista
Wood Slice Rolling Plant Stand by My Repurposed Life



Sara says
These are so great! Thanks for sharing at Merry Monday!
Wendi says
Hi Sara & thank you! We love them, this project was long overdue!
Lori says
These are awesome! I need to make some for my patio! Would you be willing to share these at our link party?
thestonybrookhouse.com/2016/03/dishing-it-digging-it-link-party-88.html
Wendi says
Hi Lori & thank you! I will try to make your paty. It’s been a crazy week and we are on our way out of town. Thanks so much for your visit!
DeDe Bailey says
Love it! This group has inspired me to get all those projects off my to do list! This one has been on that list for 2 years now!
Wendi says
Hi Dede, I know, me too! The group keep me hopping and I definately get more of the big build projects done when I’m motivated by you all & a deadline! Thanks so much for your visit!
Jenny @ Refresh Living says
I love that you built these beautiful planters from scratch!! Well made and gorgeous – as usual!
Wendi says
Thank you Jenny! I love how they turned out and building them was crazy inexpensive – especially compared to purchasing them at our local stores! Thank you so much for your visit:)
Kim (TheKimSixFix) says
This is fabulous. The color and elevated feet are the perfect beachy style. They look so great by your house!
Wendi says
Thank you Kim:) They look and fit exactly like I’d hoped they would fit. If I had your awesome hose holder/planter I’d be in great shape for the backtyard. I suppose I have to build one of those too:)
Vineta @ The Handyman's Daughter says
Beautiful! We have a brand new deck that seems pretty bare right now. I can’t wait to spruce it up with a few of these planters!
Wendi says
Thank you! I know you’d do a great job on a set of these too. I can’t believe how inexpensive they were to make. Share a picture on my FB group when you do I’d love to share them. Thanks so much for your visit and have a great weekend:)
gail says
I love your planter Wendi! You did a great job and the tutorial is perfect!
pinning!
gail
Wendi says
Thank you Gail. I struggled on the tutorial, it was easier to make than my photos portrayed. They look so good, I’m getting motivated to pretty up the backyard. Sheesh, there is never a shortage of projects to do! Thanks so much for your visit!
Debbie @ Refresh Restyle says
Great project! I need a few on my patio!! Love, love, love!
Wendi says
Hi Debbie, These would look awesome on your patio, especially with your pretty view! Thanks so much for your visit:)
Christy@Confessions of a Serial Do-it-Yourselfer says
Another amazing project, Wendi! That view!!! I loved Key West also…we had a stop there after a cruise. I think I could spend a whole vacation there. 🙂
Wendi says
Hi Christy and thank you! We love the new planters, they fit perfectly as an accent by the back doors. Yes, Key West is a lovely place full of personality and beauty everywhere. Thanks so much for joining in!
Larissa ~ Prodigal Pieces says
Those are so adorable and I’ve been wanting to create something like this for beside our garage. Perfect! 😀
Wendi says
Thanks Larissa. You’d love these and they were crazy easy, especially with the brad nailer! I thought of using them on each side of our garage doors, but realized I’d forget to water the plants there, and then they wouldn’t be so pretty. LOL Thanks so much for your visit!
Maryann @ Domestically Speaking says
Love them Wendi – they are perfect on your patio!
Wendi says
Hi Maryann & thanks! Our back patio needed something to jazz it up in the worst way. Making a set of these was much less expensive than purchasing. Thanks so much for your visit!
Paula@SweetPea says
Your planters are so pretty and look great flanking your sliding doors. Having property on the water is challenging since you have to have both sides looking good since they are both seen by two different sets of traffic.
Wendi says
Hi Paula and it is a bit of a challenge trying to keep both sides pretty. We love boating down the waterways, looking at all the fun backyards for ideas…I hate to think what people think of ours since it’s still in the transition mode!
Heidi says
Love it! It works so well with the entrance. Keep the ideas coming.
Wendi says
Thank you! We love them too. I’m already planning the next curb appeal project, and can’t wait to share it! Thanks so much for your visit Sis! XO
Mary-the boondocks blog says
Very well done Wendi. It looks like it could easily fit into my neighborhood as well.
Wendi says
Thank so much Mary! I’m certain these planters would work for your place too. Since I used my existing wood pile to make them, these are up your alley too. Thanks so much for your visit!
Serena @ Thrift Diving says
Adorable, Wendi! I would love to make some of these for my patio this spring! Sorry I couldn’t do this challenge. I’m SWAMPED! 🙂 Next challenge, though, I’m down! 😉
Wendi says
Hi Serena and thank so much for visiting. I KNOW you have your plate full right now:) Best of luck to you in Denver…We are rooting for you!
Marie, The Interior Frugalista says
Your planter boxes are perfect and I just love how fresh they look painted white against your blue stucco. Judging by the reflection in the patio door glass, your have one gorgeous view on the back of your house. As we had another snowfall last night, I am green with envy!
Wendi says
Marie… Thank you! They did freshen up the back yard…alot! We love our view and sitting waterside is always nice, especially this time of year when the temps are perfect for being outdoor:) I think you should come down here and be a winter Floridian, lots of Canadians winter in our area! LOL!
Marie, The Interior Frugalista says
Oh I know, and those snowbirds make me green with envy.
Wendi says
Yup…. like I said, you should join the flock. We’d have too much fun if you came down too!
Cher @ Designs by Studio C says
Super Beautiful!! You did an awesome job – I love the style! 🙂
Wendi says
Hi Cher and thank you! I kind of jotted down the way I wanted them to look on paper and started cutting, so glad my “plans” worked!
TwoPlusCute says
They are stylish and I pin this so I have a reference on how you assembled it.
Wow, pocket holes and mitered cuts, a lot of detail.
(Loved the spacer trick.)
I have a question though, what did you put inside the planters so the dirt doesn’t spill through the gaps?
Wendi says
That is such a good question about the liner. I used a plastic shower liner and stapled it to the inside. It worked great and will last. Drainage was easy, I just cut slits in the bottom. …On the wood cuts and project, they weren’t hard to do. Just tedious:) Thanks so much for your visit!
Joe says
how many inches wide should spacing be?
Wendi says
Hi Joe, I can answer that. I used a 1/4″ piece of plywood cut up in small parts for the spacers. Have fun making one!
Amy says
Very cool Wendi, I really like that style. They look fabulous at your house.
Wendi says
Hi Amy & thank you! I like the style too, it feels tropical-plantation. This is the first of several back-yard projects I need to do. Hopefully I’ll tackle more before the heat sets in! Thanks so much for your visit:)