Like most of our home improvement projects, my DIY rustic mirror frame has been a long time in the works. This months theme for the Power Tool Challenge Team is home improvement, and was the perfect motivation to check this big item off the wish list.
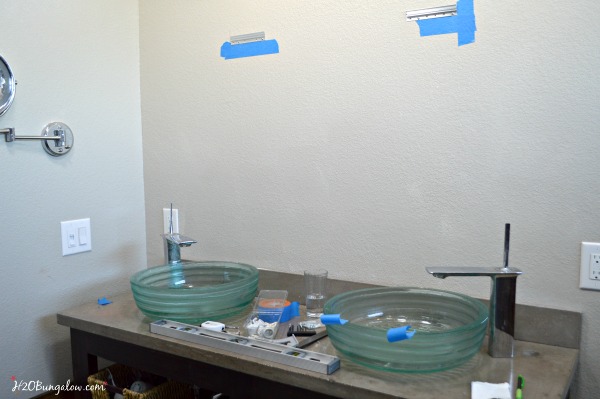
I could have picked any one of the many projects on my wish list, baseboards, a closet redo, our front yard fence outside. I picked a DIY project that has been on the list for over a year and it’s something I need everyday. My master bathroom mirror. When we finished the construction in our contemporary master bath remodel, I leaned a cheap plastic framed mirror against the wall with full intention of tackling the project soon after.
…and there it sat.
For months I bent down and put myself in odd angles to see what my hair looked like when I was drying it.
I made a cheap door mirror into a beautiful DIY rustic bathroom mirror.
I’m excited to share this DIY project with you! I use affiliate links to help you find the products I used for this project.
Supplies to build a modern rustic mirror frame
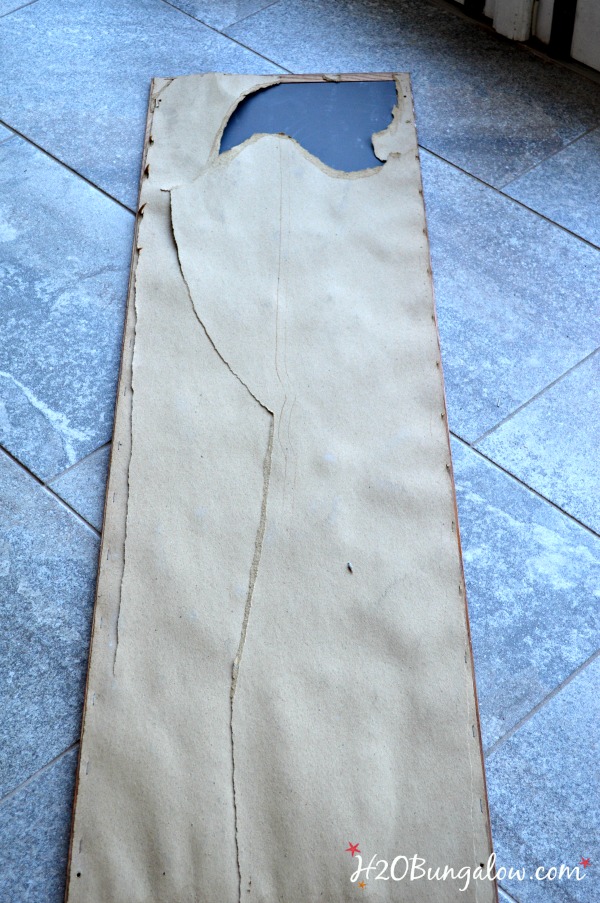
- cheap framed mirror, mine is 14″ x 54″ Take it apart and measure the mirror for your dimensions.
- 4 – 1″x3″ @ 8 feet I used select pine
- 1″ Kreg Jig screws but if you build a lot this multi pack is a great deal
- pre-stain conditioner , I used water based
- 3 stains, I used waterbased Minwax Wood Stain in Gunmetal, Early American and Expresso
- 6 Simpson Strong Tie plates 1 13/16″ x 5″
- wood glue
- 12″ French Cleat cut in half
Tools
- compound miter saw – I use a 10″ Ryobi with laser and love it
- Kreg jig – If you build a lot the K4 is the best system
- drill – I use this one
- table saw – I use the 10 ” portable
- hacksaw
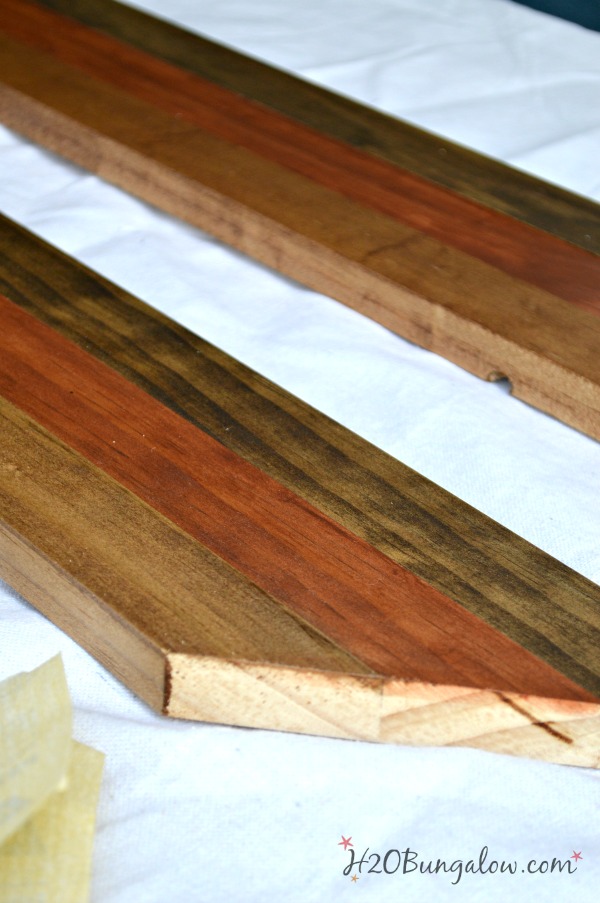
I used three different colors of stain on each layer around the DIY mirror frame. Start by staining your boards. Be sure to stain the outside edge and inside edge. Cut wood as needed to fit for the 4 sides of the DIY rustic mirror frame factor in a 15″ margin, which allows for 6″ on each end that will fit the frame angle and a little extra.
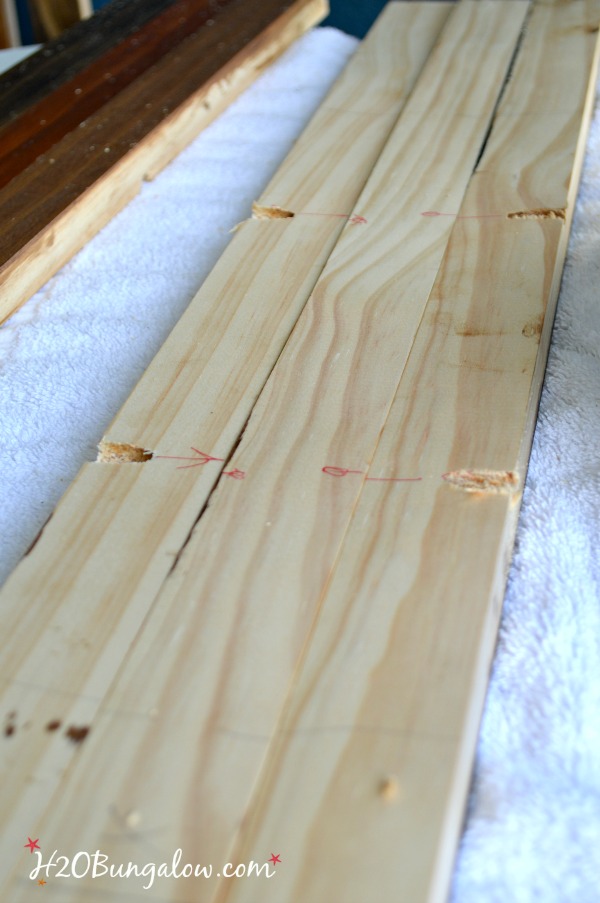
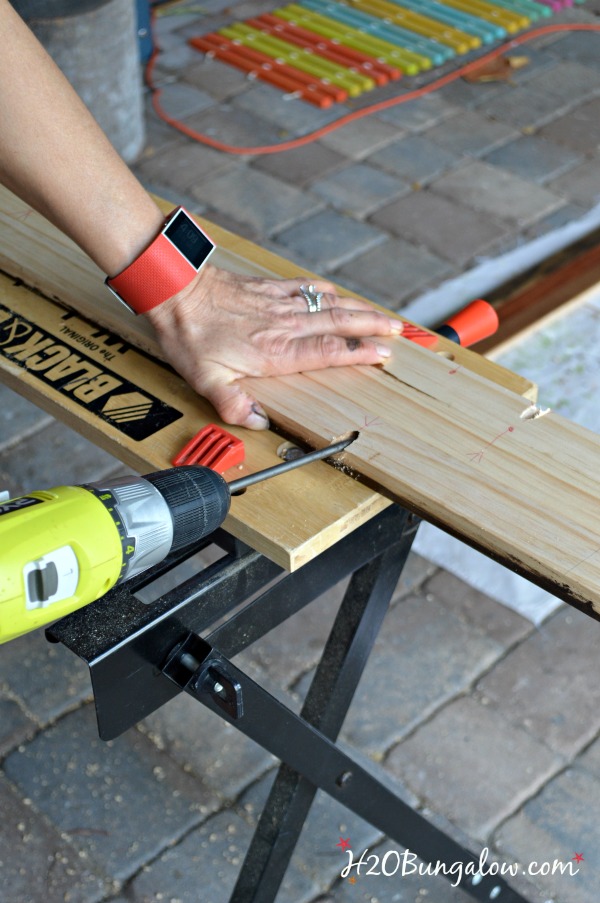
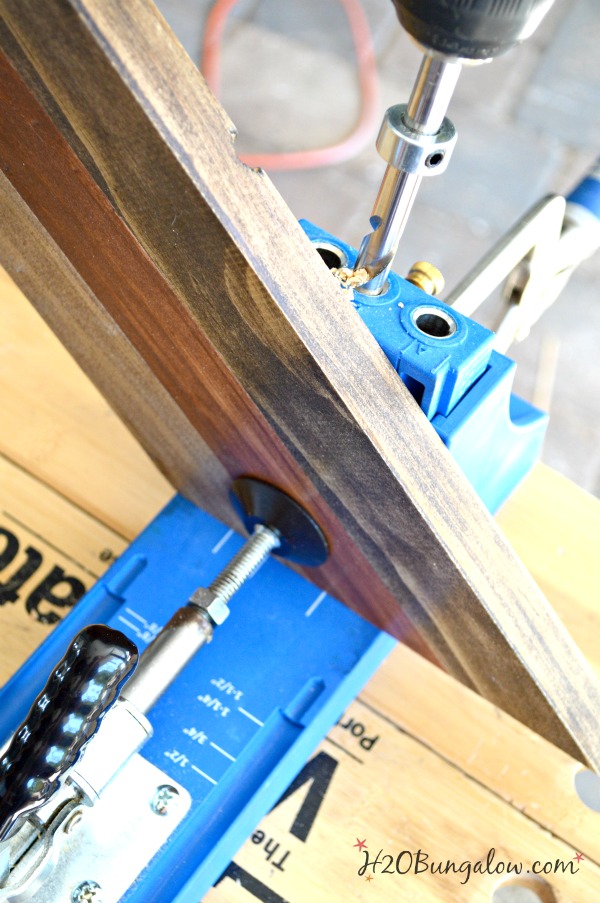
Next, mark your boards and drill connecting holes with the Kreg Jig. One note here, drill the Kreg Jig holes on the center boards going out instead of the other way around (like I did). You won’t have the drilled edges visible in your finished DIY rustic mirror frame.
I realized this after I drilled my holes.
I like to mark all over the back of my boards to avoid mistakes. Items like where to line up, and where to put Kreg Jig holes are helpful.
Connect the boards on a flat surface to get the best fit. I used a 1″ Kreg Jig screw for this project. If you need help choosing which screws to use in your projects, this Screw Selector Wheel is a huge help 🙂
After the boards are connected, you’ll cut your 45 degree angles with the compound miter saw. Touch up the stained boards if needed at the edges. I like to wax stain instead of adding a clear topcoat. I’ll share that technique another time.
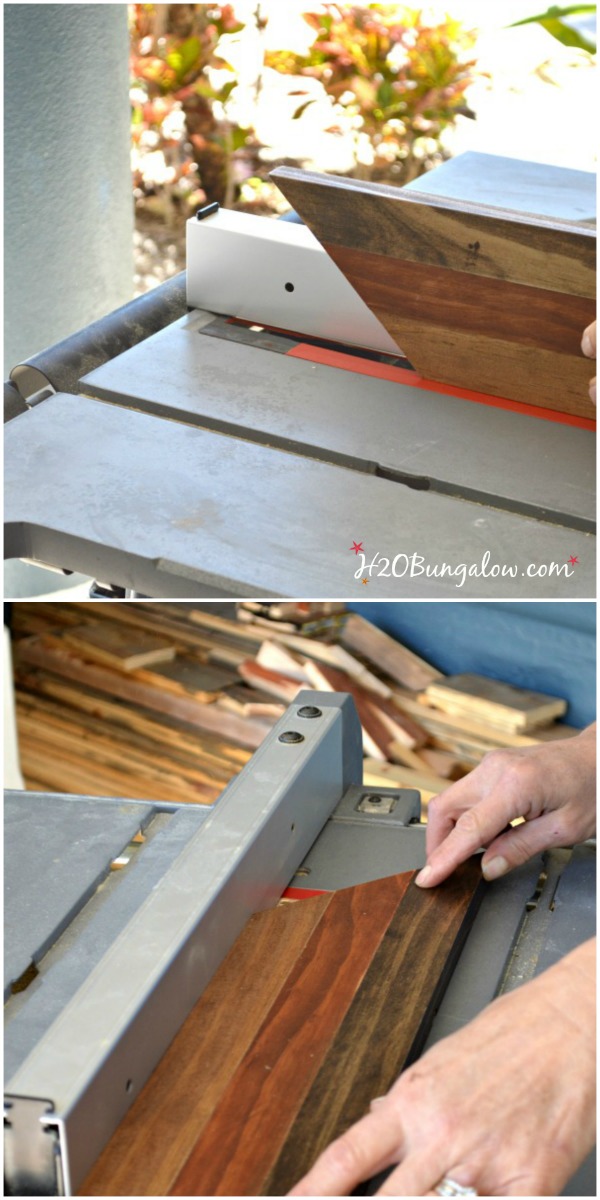
Cut a groove to hold the mirror on the inside of the frame with a table saw. I set the blade to cut a hair more than 1/8″ deep and 1/4′ wide to fit the thickness of the mirror and to make a shelf for it to rest on.
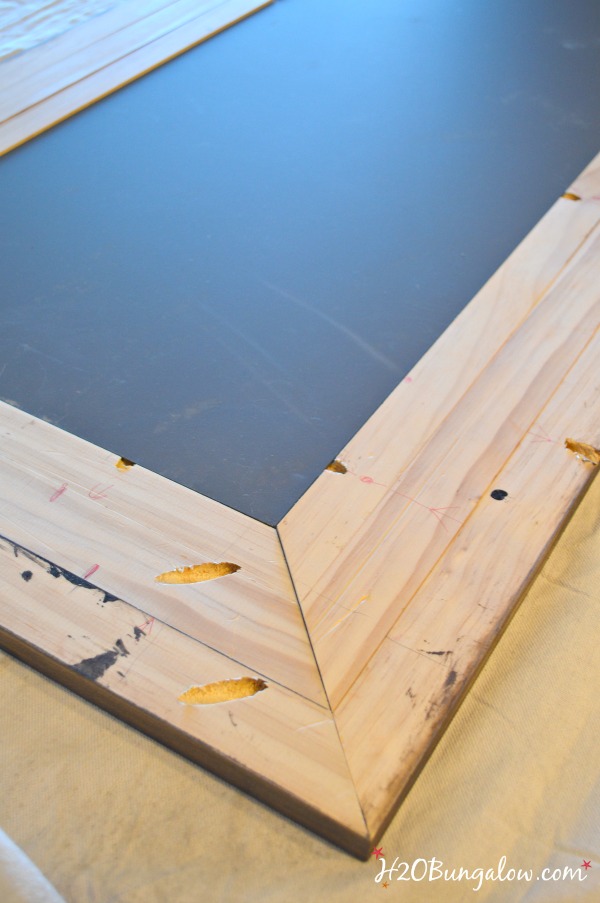
I always test my cuts and pieces as I work my way through a project. Make sure the 45 degree angles fit well and the frame is square. Make any adjustments if needed. If everything is good, move on to the next step. Cut two Kreg Jig holes on each end of the side pieces of the DIY rustic mirror frame.
This mirror was mounted on a closet door when we moved in. Can we say U-G-L-Y?
Before connecting the frame parts, fit the mirror in place and once again, be sure everything fits as it should. I ended up tweaking the end grooves to 1/16″deeper to get a better fit on the corners my DIY mirror frame.
I completely forgot to take a picture of what holds the mirror in place. I used 5″ Simpsons Strong Tie plates (linked in the supply list) at each corner and at the top and bottom center to hold the mirror in place. We had a little play so I cut pieces of cardboard to put under the plate like a shim. It worked like a charm!
I cut a 12″ French Cleat in half with a hacksaw to hold my DIY rustic mirror project.
So, what do you think?
Me?
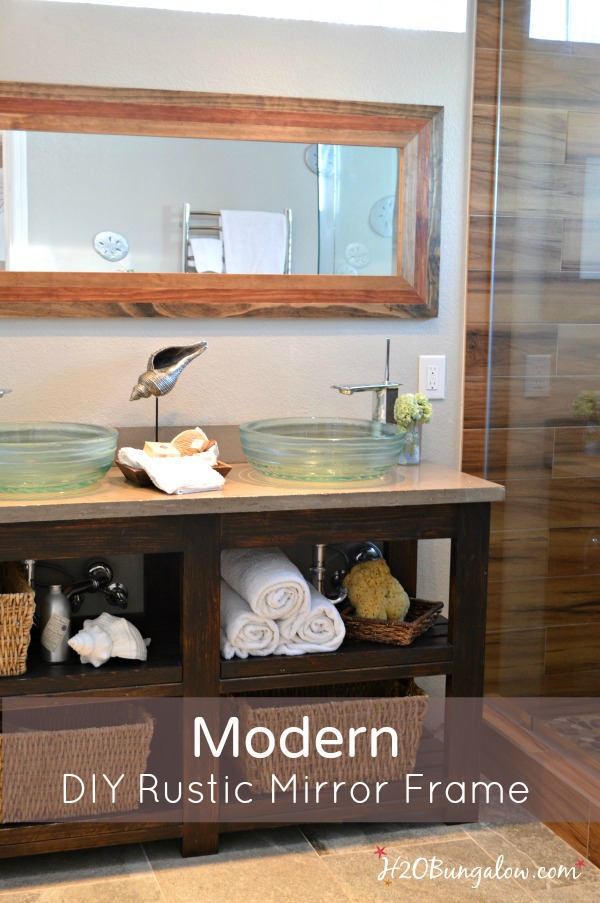
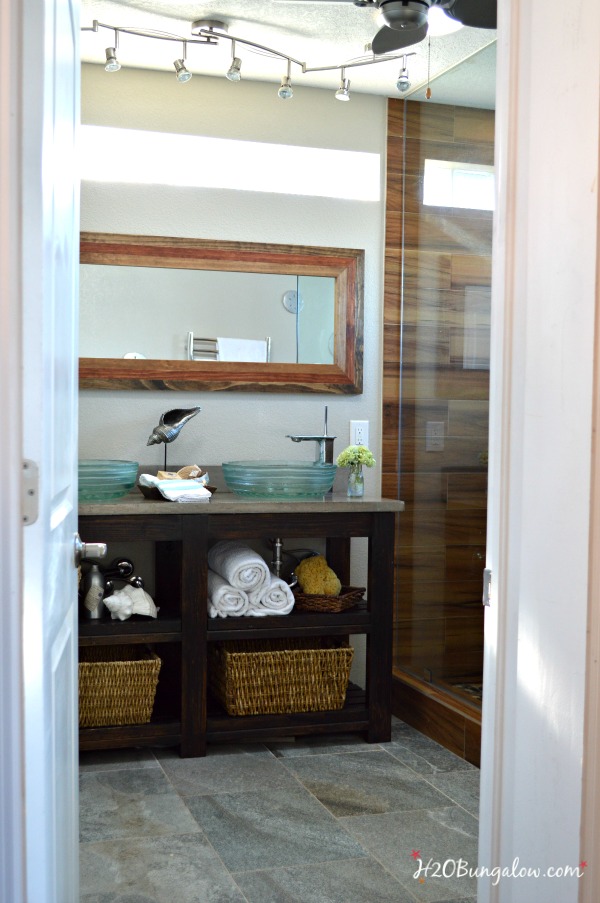
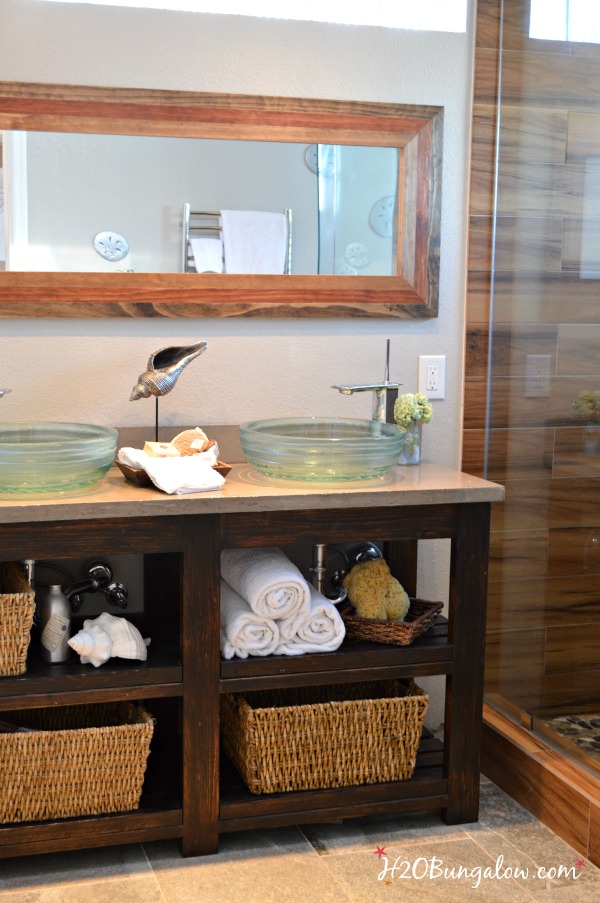
I’m thrilled! The reason I made my mirror long and narrow is our shower is oversized and in wood look tiles. A traditional vanity size mirror would have made our bath look overly crowded and busy. We’ll use a full length mirror elsewhere.
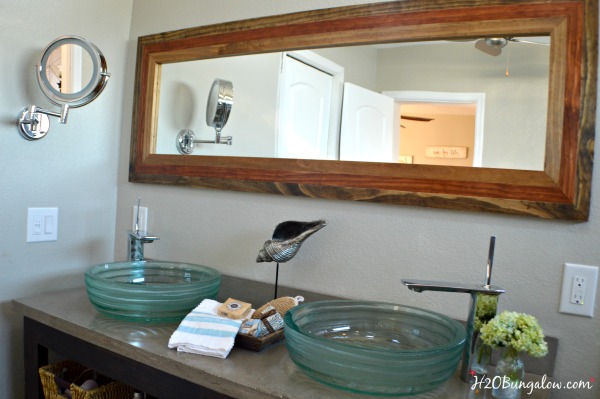
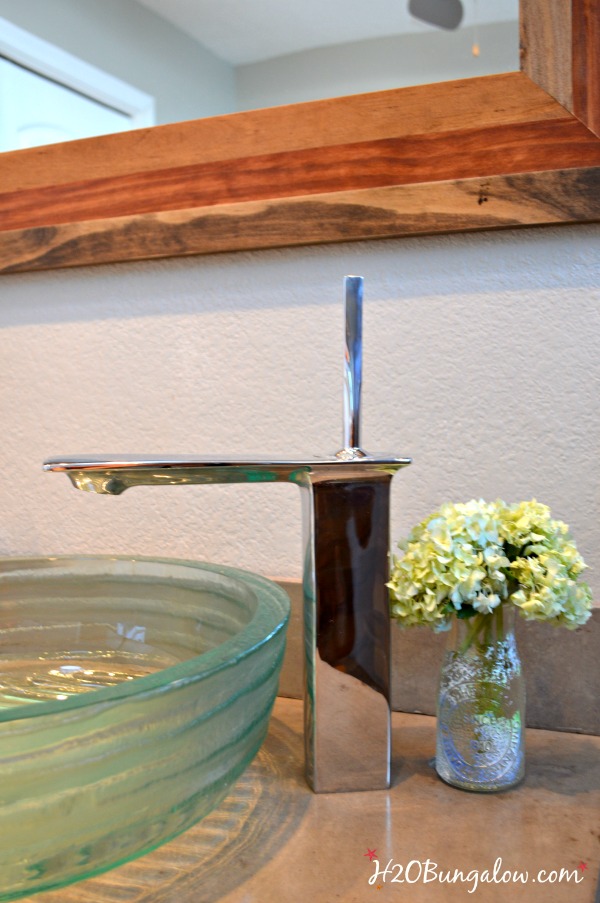
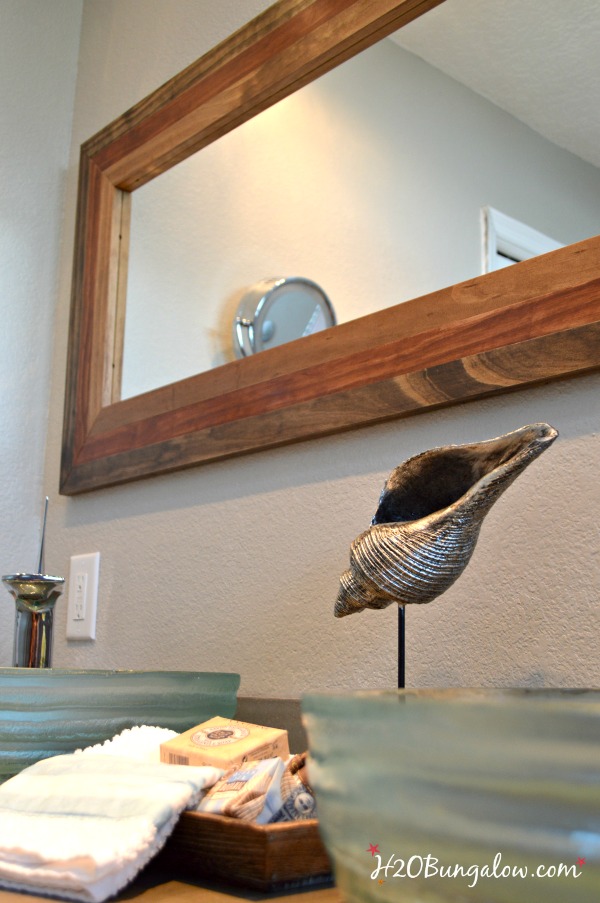
I like that my DIY rustic mirror frame is also modern and a bit unique. It fits our contemporary bath and style.
No more bad hair days! I finally get to see the back of my head when I’m drying my hair 🙂
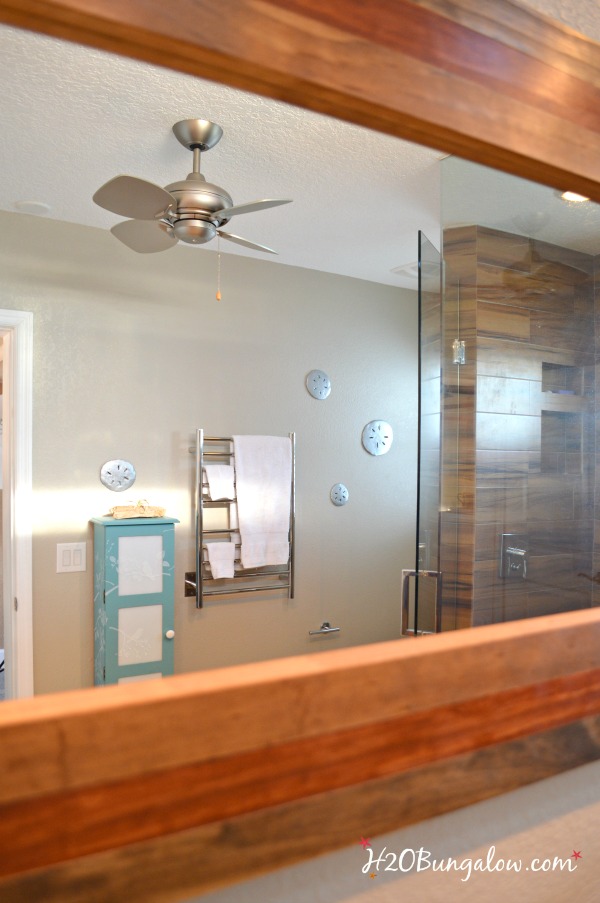
The room also looks brighter.
The blue on my Bath storage cabinet makeover really pops with the wood tones. See my silver sand dollars on the wall? They were from leftover concrete when I made the concrete counter for the vanity.
The simple and modern lines of the three toned stacked wood mirror frame work well with the DIY open shelf vanity I built. I share free downloadable plans for the project in that tutorial.
This DIY rustic mirror frame for my master bath vanity completes my contemporary master bath renovation project and room.
Next month I’ll tackle another big project on my list, like maybe baseboards;)
I can thank my friends from the Power Tool Challenge Team for the motivation to finish my much needed DIY bathroom vanity mirror project!
Be sure to take a look below and check out the other fabulous home improvement projects my friends and team mates have shared for this months Home Improvement theme of the Power Tool Challenge Team.
DIY Shutters Create And Babble
DIY Fireplace Mantel Shelf Her Tool Belt
Industrial Paper Towel Holder by Virginia Sweet Pea
Blanket Ladder by Refresh Restyle
Cedar Hose Planter by Kim Six Fix
DIY Vanity Sliding Drawer by Interior Frugalista
How To Patch A Hole In Drywall by Designs By Studio C
Wall Mount Staghorn Fern by A Piece Of Rainbow
DIY Painted Stairs Makeover by Thrift Diving
DIY Modern Rustic Mirror by H2OBungalow
s
Love a good dose of DIY home decor, home improvement, the challenge of woodworking and creative ways to make your home look fabulous?
I’d love to share mine with you. Click here to sign up for my post emails and I’ll send a quick note when I have a new project to share.
Social media fan? Don’t be shy say hello! I love when you guys do that! I’m interactive on Facebook and I share lots of other projects and, useful inspiration for the home and content I don’t share anywhere else. Follow H2OBungalow on Facebook and Instagram!
I use affiliate links in my posts. If you should make a purchase I will receive an itty bitty commission at no cost to you. Thank you in advance for supporting my blog and two fur-ball cats who believe they are privileged.![]()


Barbara says
Wendi,
The mirror is truly a masterpiece! I love the colors you got in the wood from the stains. It could sell for several hundred dollars, I think. You are an excellent woodworker! Not to mention your skill with tools. I wanna learn to use jig saws and mitre saws and drills!
Wendi says
Hi Barbara and thank you so much! I learn new skills with each new DIY project. You can learn too, just take one project/tool at a time. It’s rewarding & fun! Thanks so much for your visit and leaving such a nice comment!
Emily says
Your mirror is beautiful, Wendi! I love how you combined different stains to create a variation in color! My husband is in the process of building frames for our bathroom mirrors right now – we’ve never tackled a project like this, so we’ve learned a couple of things along the way 😉 Thanks for sharing your beautiful mirror at Merry Monday this week 🙂
Brooke Riley~Re-Fabbed says
Fabulous, as usual! You have a ton of talent, and I love the different colored stains. Beautifully done piece of art!
KariAnne says
Wendi,
This looks amazing! What a great tutorial.
I need lessons. 🙂
Happy day friend!
karianne
Wendi says
Thanks so much KariAnne!
The Good Gears says
Nice mirror! And thanks for step by step pics. I’ll do it for my vanity mirror.
Wendi says
Thank you so much! It wasn’t a hard project:) Please share a picture on my H2Obungalow FaceBook page when you build one too.
Paula@SweetPea says
I love the way you used three different stains to give the frame a unique look. This mirror is perfect in your bathroom!
Wendi says
Thanks so much Paula Using three colors makes the frame unique and it was so easy too!
Larissa ~ Prodigal Pieces says
That mirror is gorgeous! Yes, the pocket hole system is one of my favorite tools. You rocked it, Wendi!
Wendi says
Thanks so much Larissa! I was just having that conversation with my Dad about the pocket hole jig too. It’s a serious game changer!
Serena @ Thrift Diving says
What a cool mirror, Wendi! I like that you and hubby won’t have to fight for the mirror since it’s so long! 🙂 And that shell is soooo cute!
Wendi says
Thanks Serena! I’m loving having a mirror after all this time. I have no idea why it took me so long to get to this project!
Christy@Confessions of a Serial Do-it-Yourselfer says
Your mirror is absolutely stunning!! The perfect finishing touch in your gorgeous bathroom! XO
Wendi says
Thanks so much Christy! It’s a bit different from my normal style but the perfect fit for our bathroom!
ananda says
hi wendy, what a beautiful mirror!! your bathroom is GORG!!! pinning!
Wendi says
Hi Ananda & thank you! I had fun with the different wood colors and trying a new style. We love the bathroom it’s probably my favorite project in this house:)
gail says
Beautiful job on the mirror Wendi! Your bathroom is lovely and the mirror fits perfectly.
gail
Wendi says
Thanks so much Gail:) I really enjoyed making this project. Of course, I’m enjoying it even more on the wall since I had no mirror for the past 17 months! LOL
Marie, The Interior Frugalista says
Wow Wendi, your mirror looks perfect with your shower tiles and the room as a whole. I love how you finished each piece of wood in a different color stain. You really rocked this mirror girl! Thanks for the tutorial too. Pinning, IGing, FBing to share.
Wendi says
Hi Marie and thank you! I was a little stumped initially on mirror style that would fit the room. I think it compliments the shower too, and LOVE having it up on the wall so I can see!
Cher @ Designs by Studio C says
Oh. My. Gosh!! Love, love, love the mirror frame and the colors of the stain… It looks fabulous with that vanity!
Wendi says
Thanks Cher! I’m just happy my vision and the finished project aligned on this one! LOL Especially since I connected the wood before cutting my angles 🙂
Patty says
Wendi, your mirror is beautiful and the different colored stain give it the extra special custom feel and it has a real beach look to it. Another great job and another great tutorial.
Wendi says
Hi Patty & thank you so much! I liked the tri-color idea for this project. It made a simple build look a lot more sophisticated. Thanks so much for your visit & have a great weekend!
Kim (TheKimSixFix) says
This is so beautiful. I never would have thought to combine the tri-colored stains, but it really makes the entire piece. Plus the size and heft is just perfect for the space! Love it!
Wendi says
Thanks Kim, I agree on the scale. The shower has such a big presence that putting a normal vanity size mirror on the wall would have made the room feel overstuffed and crowded. Plus I like unique things:)
Mary-the boondocks blog says
Wendi it looks really great. I love that you chose to make it with three colors, it makes it so much more interesting and gives it so much depth. Your bathroom is gorgeous!!
Wendi says
Hi Mary & thank you!! I like the colors too. Using different stains made a plain project so much more interesting. We love our bathroom addition. Especially because this house diddn’t come with a master bath! Thanks so much for your visit my friend:)
Amy says
Oooo Wendi I love the mix of stains, it’s so pretty! You’d never know that it was a cheap mirror!
Wendi says
Hi Amy & thank you! The stains really made the project look special, even though it was cheap. The whole thing didn’t cost more than $30:)
Jeanie @ create&babble says
Wendi! It is gorgeous – That mirror is perfect for your bathroom – pinning!
Wendi says
Thank you so much Jeanie! Now that it’s in place I don’t know how I did without it for so long!