This is a sponsored post written by me on behalf of FrogTape®. All opinions are 100% mine. Today, I’m sharing what I do when painting over dark colors. If you’ve ever tried to paint a light color over a dark colored wall you know how challenging that can be. Especially if you’ve tried to paint over a dark color without a primer! Follow these tips for painting over dark colors below and get a perfect paint job every time.
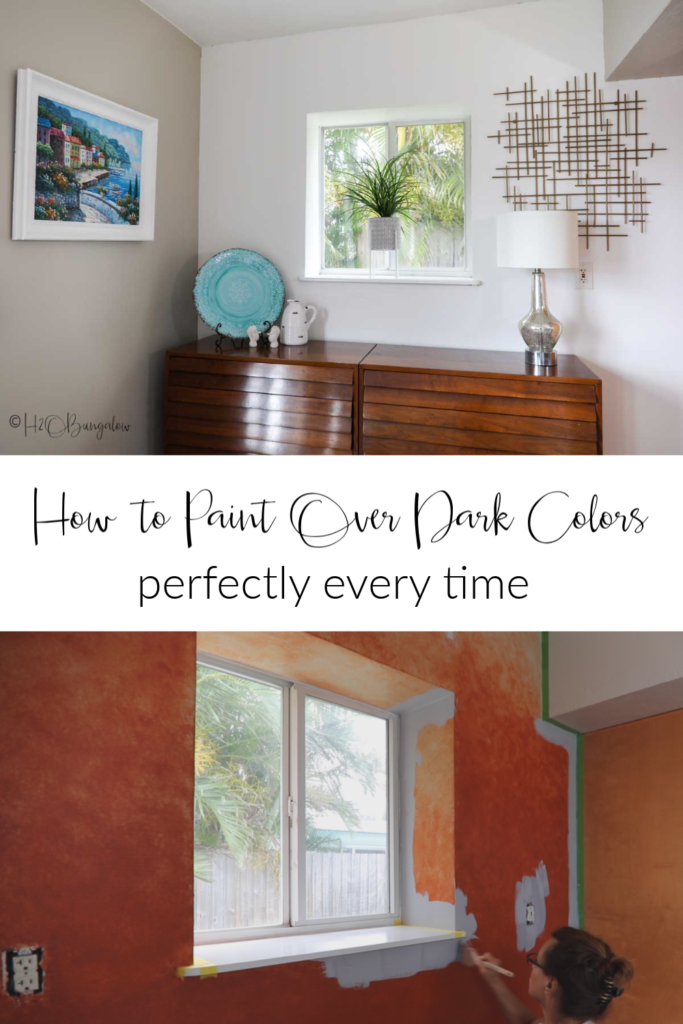
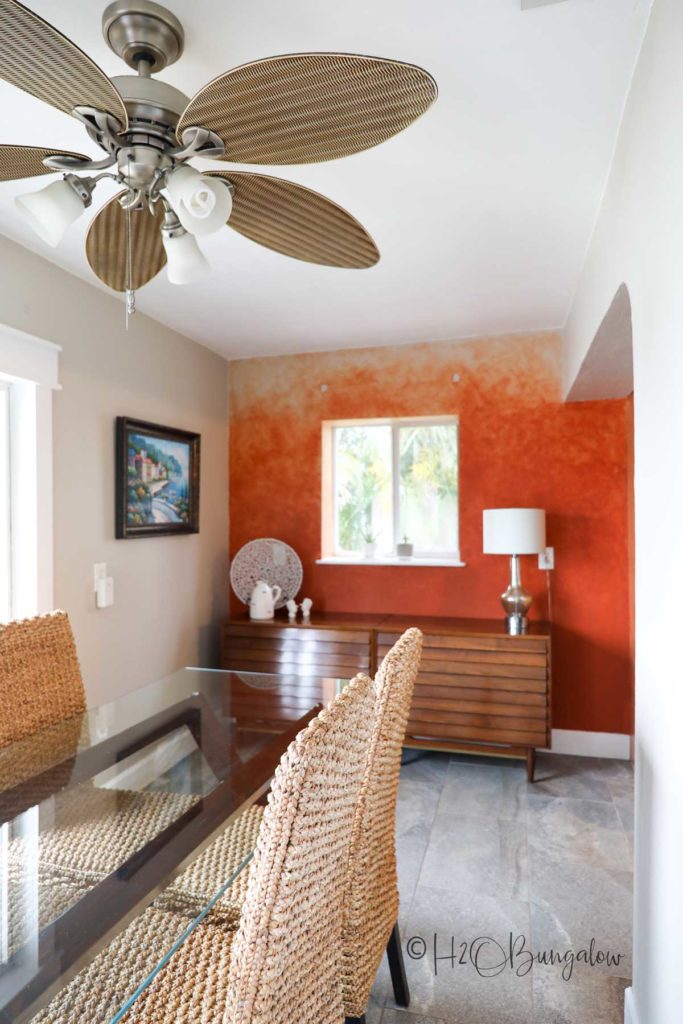
I just finished painting my dining room with a beautiful white, light color. My orange wall was an attempt at an ombre feature wall several years ago. I never loved it and didn’t get around to repainting that wall, even though I’d walk by and think about painting over the orange wall pretty much every time I looked at it.
I finally tackled this paint project last week!
DIY Steps for Painting Over Dark Colors
Painting a light color over dark walls isn’t hard and I share the steps below.
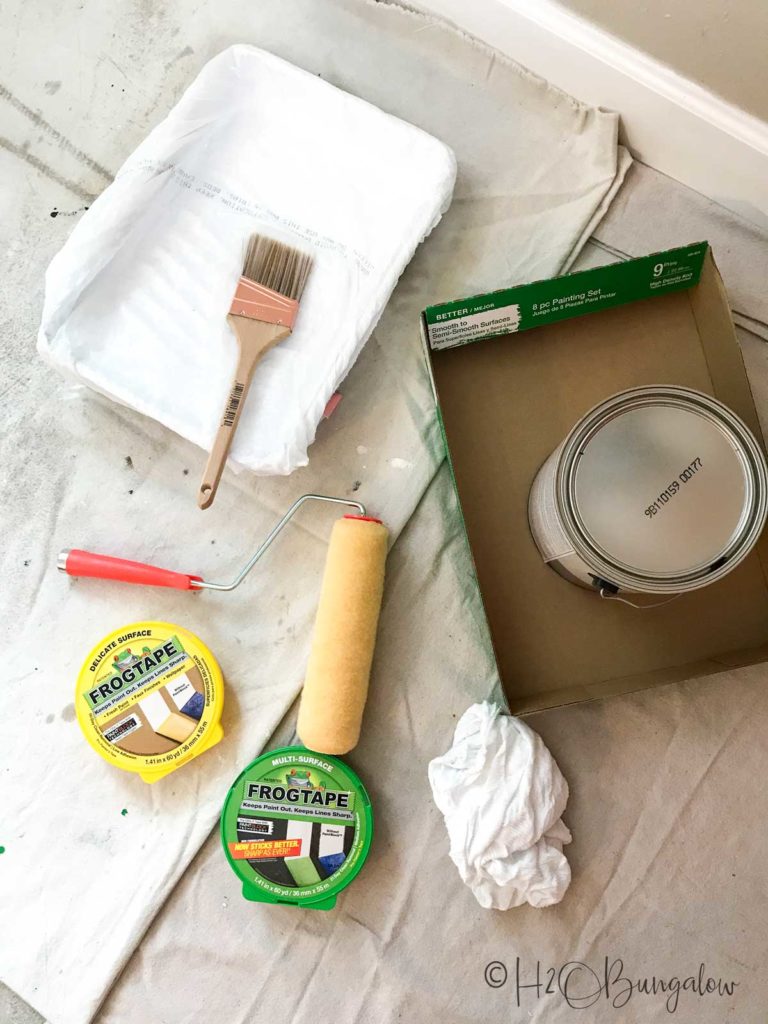
Supplies needed for painting over dark colors.
- Paint
- FrogTape®, green, for previously painted walls
- FrogTape®, yellow for delicate and freshly painted surfaces
- Primer, tinted light gray
- Spackle and putty knife, to repair picture hanger holes
- Clean painter’s rags
- Quality paint brush
- Paint roller and tray
- Drop cloths
- Ladder
- Sturdy container to hold paint like a big plastic cup.
Step 1. Prep your paint surface.
Remove outlet plate covers and picture or curtain hanging hardware. Patch the walls where needed with Spackle and a putty knife. Last, wipe all the surfaces down that will be painted, including walls. You’d be surprised how much dust can settle on a wall behind a piece of furniture.
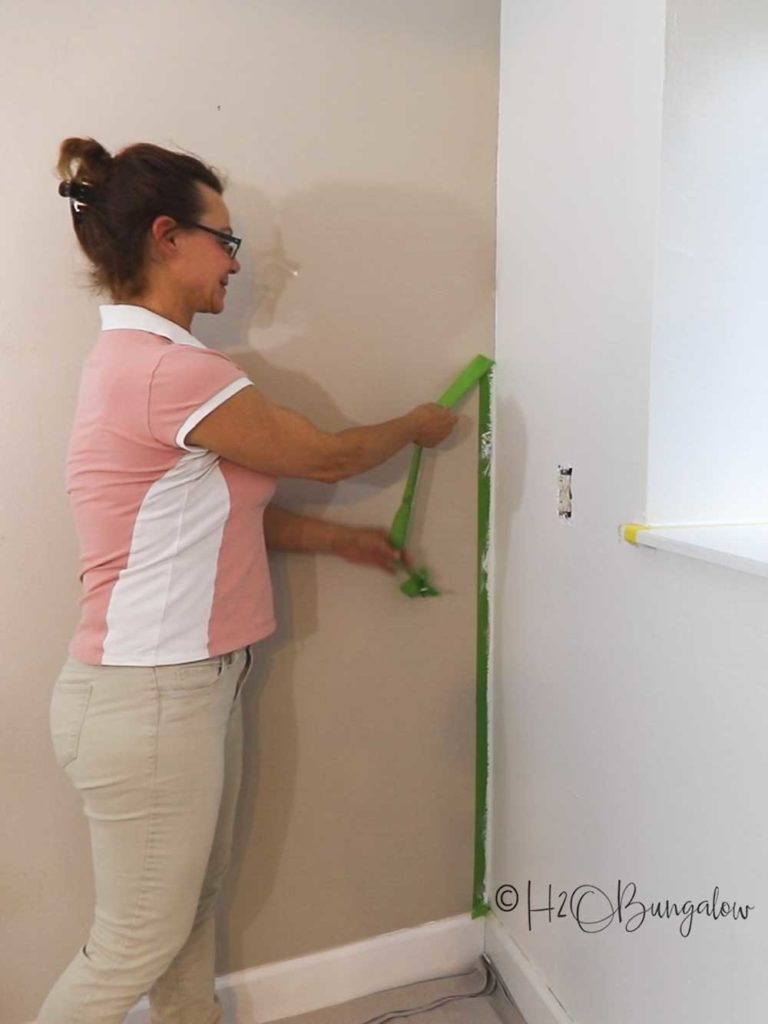
Step 2. Protect surfaces from paint with FrogTape®.
I always choose FrogTape painter’s Tape for my painting projects, especially where I want perfect crisp taped edges.
All FrogTape brand Painter’s Tapes are treated with patented PaintBlock® Technology, a super-absorbent polymer that reacts with water water in latex paint and instantly gels to form a micro-barrier that seals the edges of the tape, preventing paint bleed and saving time because you don’t need to do touch-ups.
Tips for using FrogTape Painter’s Tape when painting a wall or other surfaces.
- Overlap painter’s tape pieces when applying painters tape on walls or baseboards. The tape will lift off in one continuous piece if you start where you ended to lift the tape.
- Run your finger over the edge to get a good seal for a crisp edge after applying painters tape.
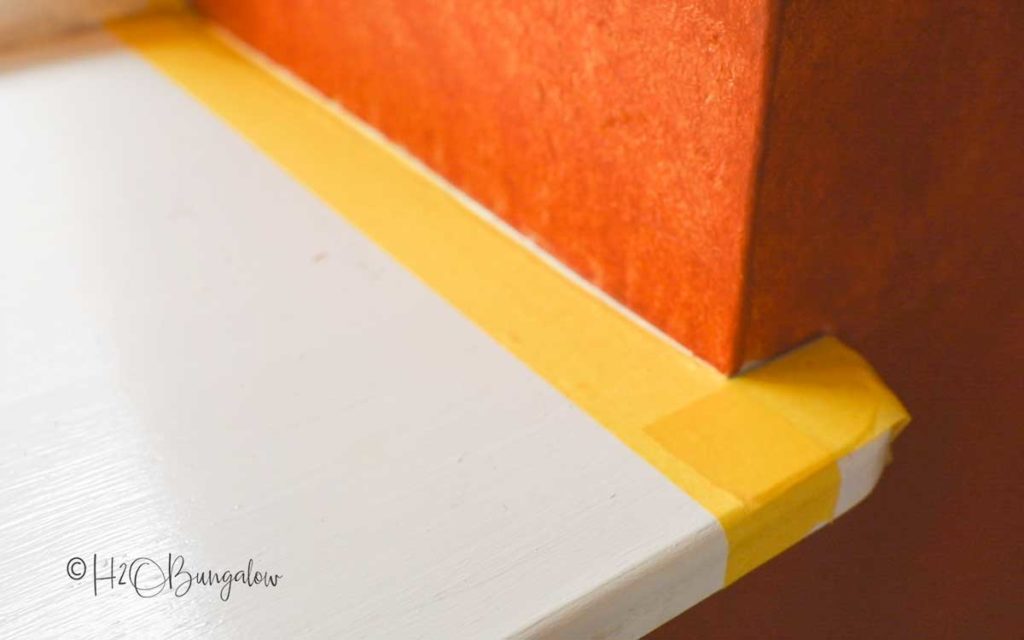
- Always use FrogTape Delicate Surfaces, on dry freshly painted and delicate surfaces like wallpaper, veneer, laminate, vinyl and drywall (primed only).
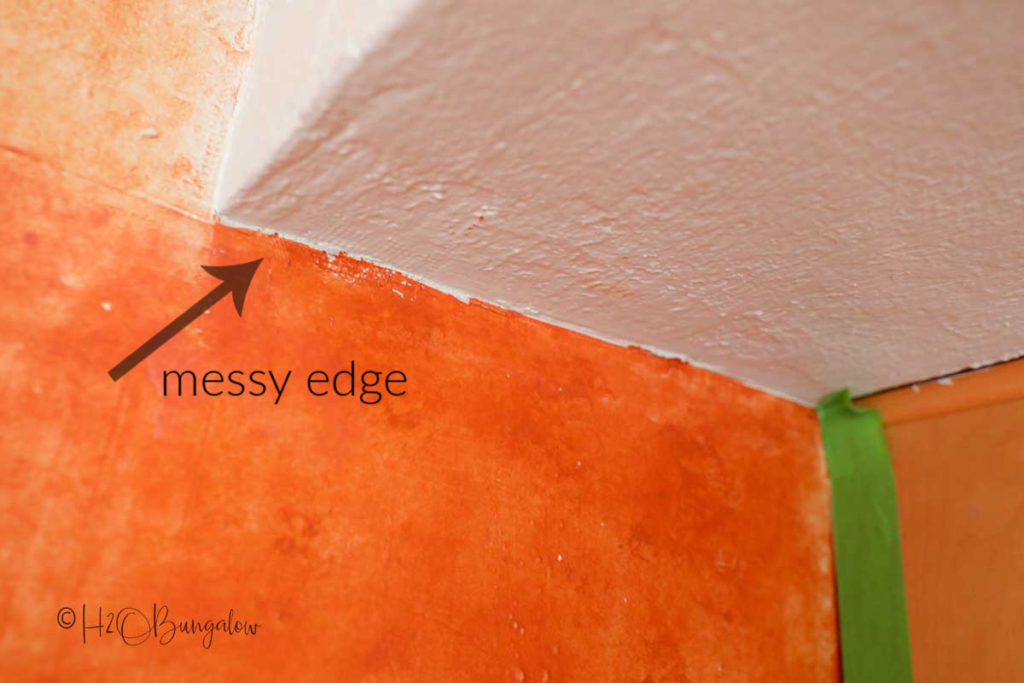
- Tape wall and ceiling edges a fraction of an inch away from a dark painted wall to ensure all of the dark paint will be painted over.
- Always remove painter’s tape by pulling it off at a 45° angle.
- Remove painter’s tape when the paint is dry to the touch. Do not let it sit overnight or longer before trying to remove it!
Find more very useful painter’s tape tips in this post 12 Genius Painters Tape Tips For a Perfect DIY Paint Job.
Next, you’ll lay drop cloths down to protect the floor and and cover any furniture or other items from paint and paint splatter. I like to fold mine neatly so they lay flat and are not a tripping hazard. The last thing you need when painting is to trip with a container of paint in your hands!
Step 3. Apply two coats of primer.
Do it right the first time!
Painting over dark colors without primer is a waste of time. Don’t skip it! You’ll be unhappy with the results and will have to repaint your wall again or live with a blotchy wall.
What’s the best primer for painting over dark colors? There are several good primers on the market. Any of them will work as long as you use a latex primer that’s been tinted light grey. If your primer isn’t grey when you purchase it, have your paint store tint it light grey. The new light wall color will go on better and more evenly. I’ve done this for years for all of my paint projects, walls and furniture.
You’ll notice I painted my picture frames on the wall white with my mini-makeover too.
Another time-saving tip I’d like to mention is that since I had primer and wall paint to apply on this project, I placed the paint tray inside of a kitchen trash bag to cover the paint tray. Tuck the extra plastic under the tray to keep it out of the way when rolling on paint. When done, slip off the trash bag by turning it inside out. Hold the paint roller inside the trash bag to remove the roller sleeve when slipping off. It works great, everything is contained in a trash bag and there is very little to clean up. It makes switching paint colors easy!
You’ll apply two coats of primer over the dark wall.
When applying primer or any paint, start by cutting in the edges and places a paint roller can’t reach or would touch another surface like the ceiling. Next, use the paint roller to apply a coat of primer to the rest of the wall. Wait for it to dry. Apply a second coat of primer by cutting in first followed by rolling the wall with the paint roller.
Drying time will be shorter if you place fans to direct airflow on the wall. This is especially true when it’s humid outside! That’s always for those of us who are in Florida!
Step 4. Apply two coats of light color wall paint.
What’s the best paint to use when painting over dark colors? When you’re choosing a paint, select a good quality paint to paint over a dark color. I always buy a good quality but not the best for this type of painting project. You will always need two coats of paint when painting a dark color over a light one. Don’t bother spending the extra money on a guaranteed one coat paint, it won’t work in this case.
Apply two coats of paint by cutting in the edges, rolling the walls and letting each coat dry in between. Just like with the primer.
Another important painting tip for painting over dark colors is to apply the paint evenly. Always work with a wet paint edge. This means work from one side to the other. After applying paint from floor to ceiling in an area, lightly run your roller back over that area in one long motion from top to bottom to even out the paint. It evens out the applied paint and removes blotchiness and thick spots. Do this before painting the next section of the wall.
I do this for both the primer and the paint.
If you follow these simple steps for painting over dark colors, you’ll have a perfectly painted wall every time!
Remember my orange wall?
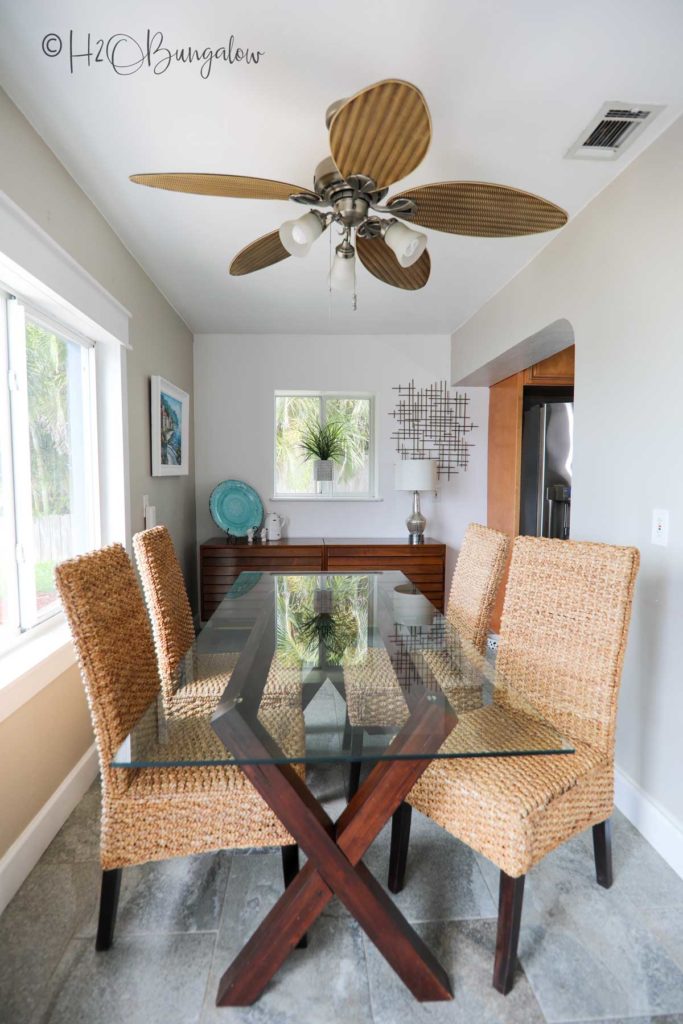
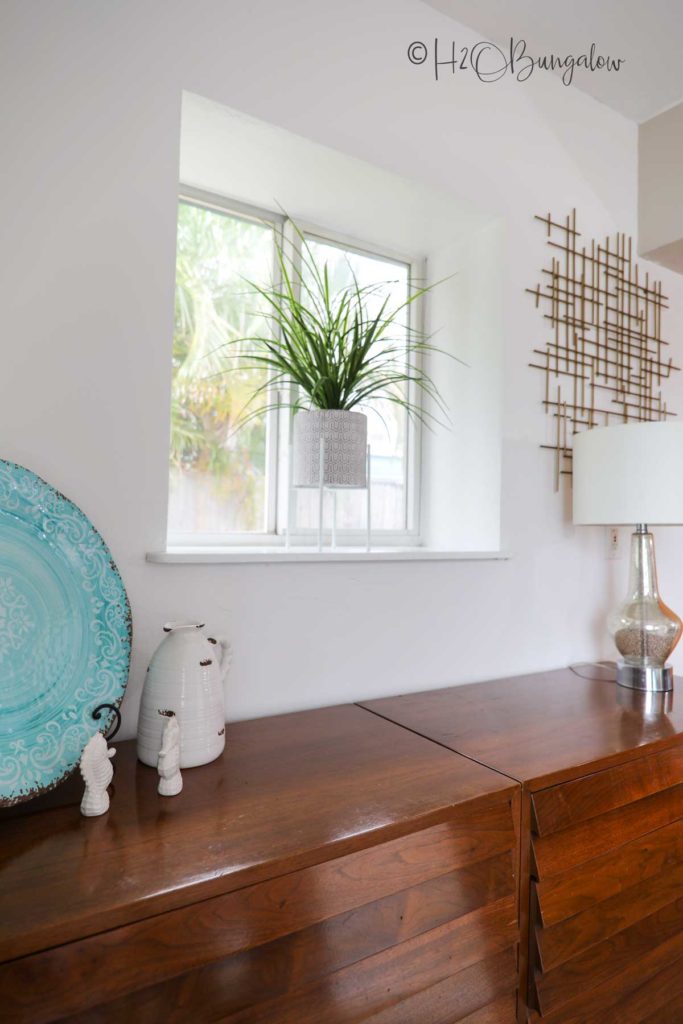
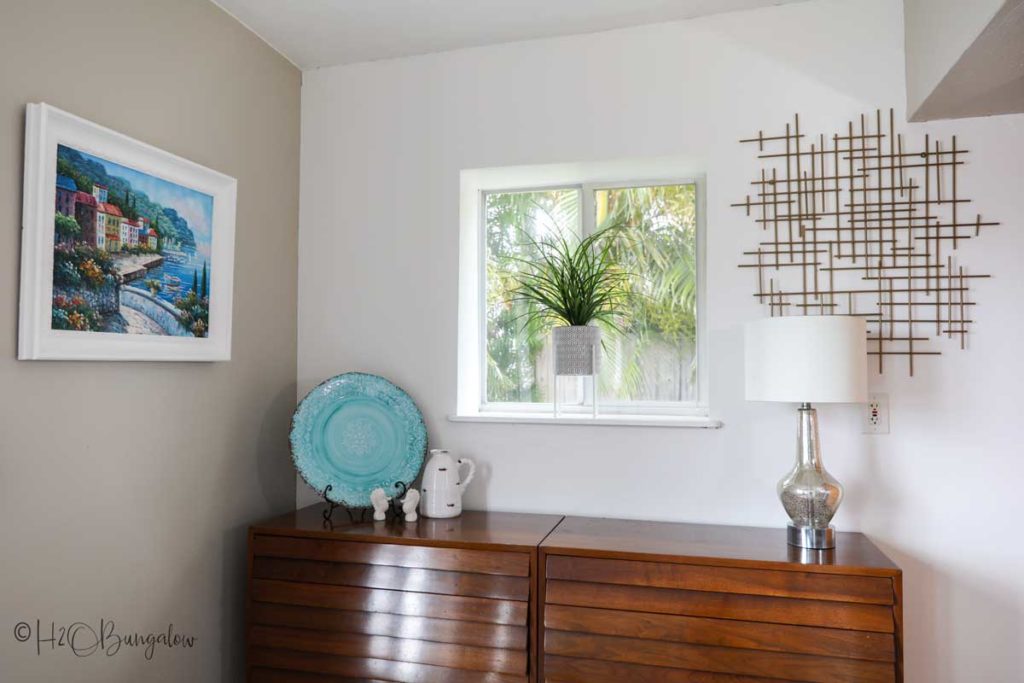
Here’s what it looks like now.
I still wanted an accent wall and decided not to paint it the same color as the rest of my walls.
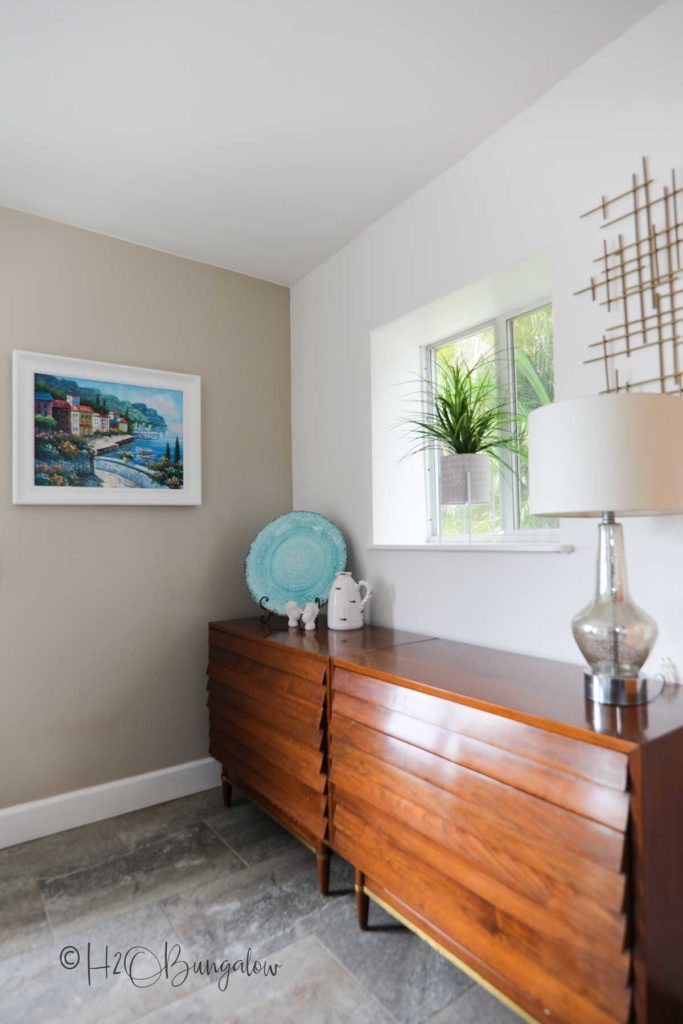
Changing to a light colored wall brightened up my small dining room a lot! I had fun shopping my house for accessories to go with my updated look.
I’m loving my picture frames painted white too. I used egg shell sheen on the wall and used the same white paint on them.
Pin these tips on how to paint over dark colors and share it on Facebook!

Are you ready to tackle painting your own dark wall with a lighter paint color? Don’t forget the FrogTape®!

Jasmine says
What a difference!! What brand(s) of paint do you usually like? Also, Where’d you get that cool cross hatch wood decoration you put up?
Wendi Wachtel says
Hi Jasmine!
I’m so glad you like my wall project and new paint color! Paints hav e improved so much over the past few years that I think finding just the right paint color is a bigger challenge than quality of paint. I’ve been really happy with Pittsburg Paints (PPG) lately they are at Home Depot now and I’ve always loved the Sherwin Williams lines. They also have a good selection of colors and shades.
The wall decor is a metal piece I found at HomeGoods or TJ Maxx. It would be easy to make in wood though. Thanks so much for your visit and note!
Jenna says
I love what paint can do! Such a beautiful transformation!
Wendi says
Hi Jenna!
Thank you so much! A little paint went a long way in making this space brighter. It really is the quickest way to change a space up! Thanks so much for your visit and sweet comment!
Kippi says
Stunning makeover with paint! Bright and calming now with the orange covered.
Happy summer,
Kippi
Ps. Please share this post on my site at YTSBH https://kippiathome.com/2019/07/01/youre-star-garden-week/
Lynne says
Great job! Your room looks so light and bright!
Wendi says
Hi Lynne!
Thank you! The orange would have been perfect in another setting. I’m loving the white and it works beautifully in our light modern beach home. Thanks so much for your visit and sweet note!
Jessica Welling says
Your dining room looks fabulous! I never think to use primer when painting walls. Next time!
Wendi says
Thank you so much! It’s been “on the list” for an update and I’m so happy I finally got to it! Try using a primer when covering dark paint, ytou’ll be surprised at how much easier it is to get an even coat of the new color. Thanks so much for your visit!
Jody says
Your room is lovely. I am not a fan of orange or pink.
Wendi says
Hi Jody!
Thanks so much! I love the new look. The orange was courageous and great in the right setting. It just wasn’t meant to be in my setting. So happy for you with your new place! It sounds perfect.
Shelley says
I actually kind of liked the orange wall, it had a cozy “grotto” feeling to me 🙂 I do think the new color made the room seem larger and cooler. I like everything about it!
Kirstin Troyer says
Oh boy! I have a few of those walls….like “what was I thinking”….lol. Of course I have only painted over a few in the the bedrooms, sill have a kitchen and a few other walls I’d like to repaint. We use frog tape too. Love it.
Wendi says
Hi Kirstin!
I totally get it! Sometimes an idea seams like a good idea at the time and later we look at it and scratch our heads and think why did I do this?? Thanks goodness for FrogTape to make this easier! LOL. I hope you get to tackling your other walls soon, too. I’m so glad I did this one. Thanks so much for your visit and note!
Vanessa says
I wouldn’t mind the orange wall, I really like orange, but I can see how much better the lighter color works with your room and furnishings.
Wendi says
Hi Vanessa!
Thanks so much! I felt like you did about the orange wall. I like orange, a lot too, but the color on the wall was kind of harsh and the ombre was…well, let’s say it wasn’t my best idea execution *huge grin*. Funny you also noticed how small my dining area is. It’s only 7 feet wide so the light color was a big boost to how the room looks. Thanks so much for your visit and very sweet comment! Hope you’re doing well and enjoying your gardens!