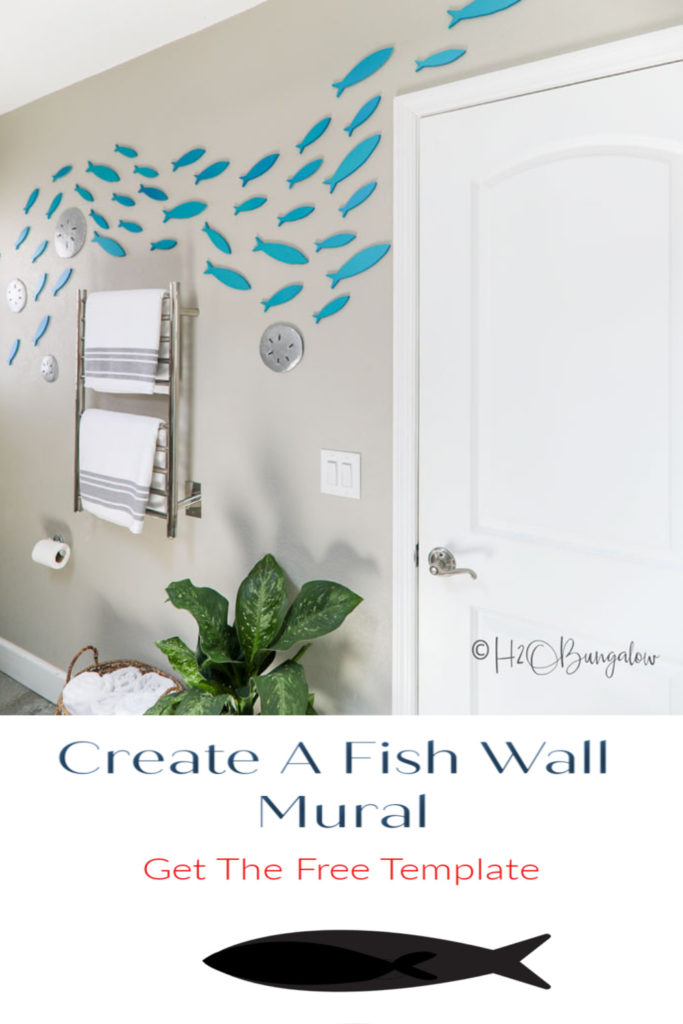
I’m going to show how to make a school of fish wall decor project using wooden fish cutouts. Best part this gorgeous coastal wall mural can be made for under $20!
If you love coastal decor projects you will love my whale bench and how to paint graphics on furniture with a free fish graphic , this DIY Seashell Decor, and my coastal rope serving tray project too.
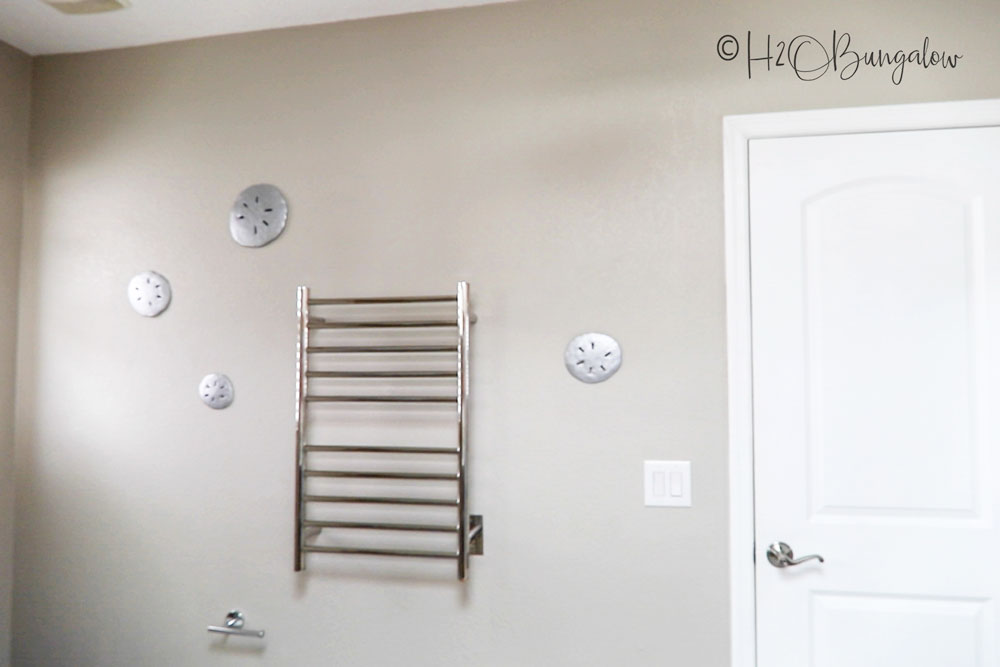
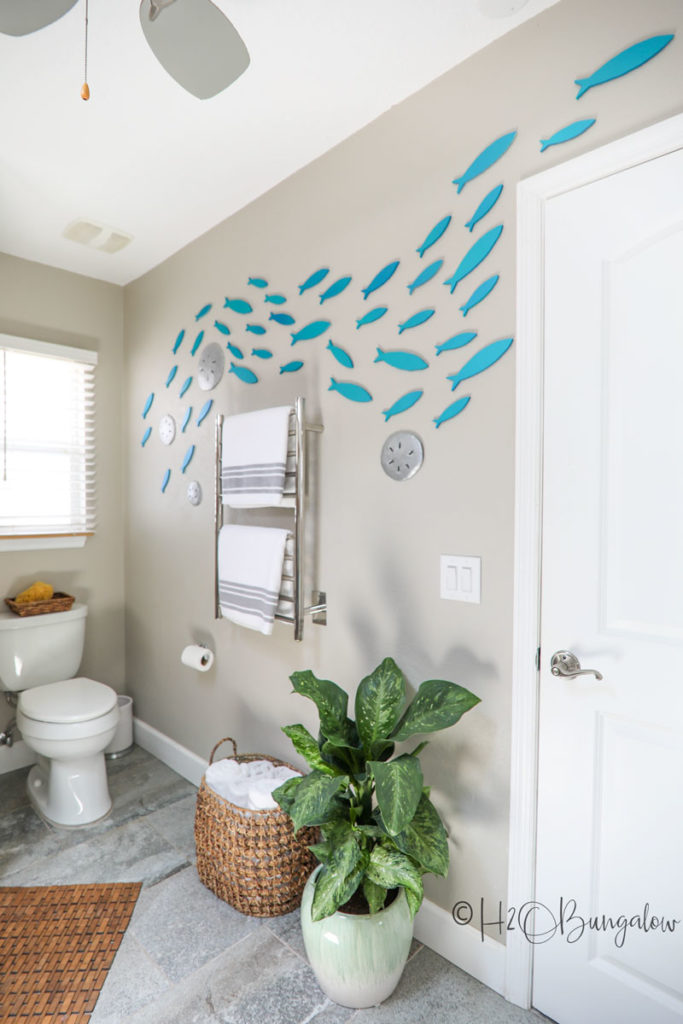
This big blank wall was the perfect place for a school of fish art to travel across and over the door. Plus, the the fish would be able to swim around the concrete sand dollars. I thought it would be a good feature.
Sending out a big thank you to HomeRight for sponsoring this post. This post also contains affiliate links, as an Amazon affiliate I earn a fee from qualifying purchases. Thank you for supporting the brands that keep H2OBungalow going!
School of Fish Wall Decor With Wooden Fish Cutouts
Supplies needed for this project
- School of Fish Template
- HomeRight Quick Finish Paint Sprayer
- Wagner Medium Paint Shelter
- ¼” chipboard 2’ x 4’
- Fish Pattern in three sizes download it in step 1
- or you can purchase these wood unfinished fish ones on Amazon
- Drop cloths
- Folk Art dark blue paint 8 oz
- Folk Art Color Shift paint – teal, 8 oz. The 4oz is a better deal than what my local craft store has.
- Repositionable spray adhesive
- Nano Tape this is what I used
- Safety glasses – Just found these clear anti-fog ones that fit over my prescription glasses!
- Respirator
I made a video with step by step instructions on how to make a school of fish wall art so you could see the steps.
Step 1. Arrange fish templates on chipboard.
Choose the number of fish in the different sizes you’d like on your wall. My free fish template has three sizes, three sizes 4, 6, and 8 inches. I made 60 but used about 50 fish. Making a few more than you think you’ll need is better.
You’ll fit more fish onto your board by cutting the excess paper off the edges of the smaller fish as I did in the video.
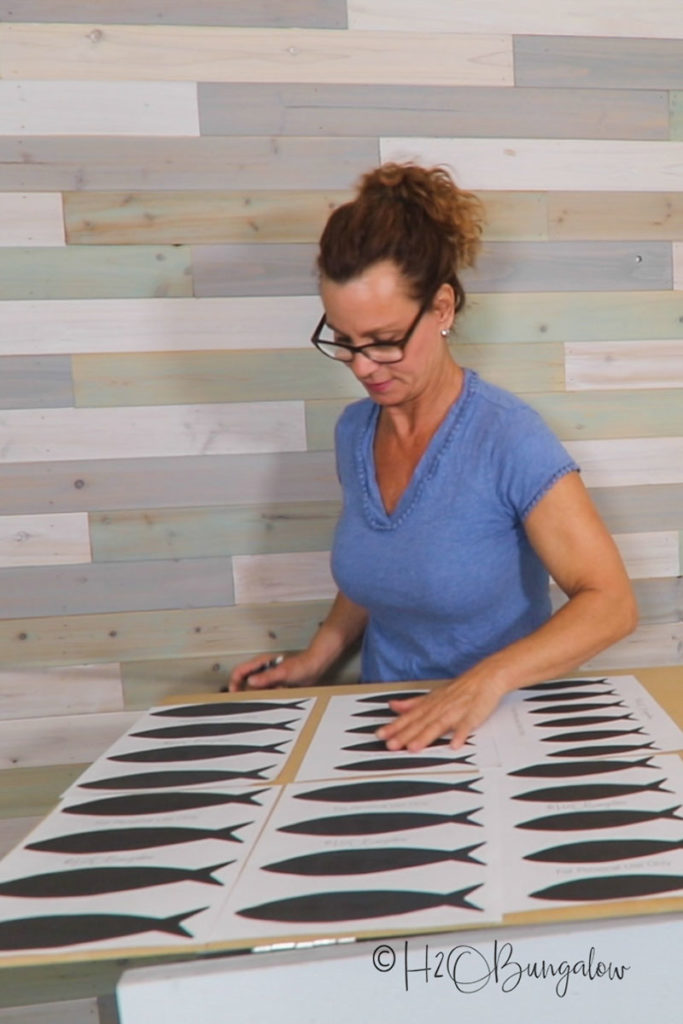
Step 2. Attach fish templates to board.
Next, mark the edges of the pages of fish, where you’ll cut the boards into smaller pieces. Cut them into smaller pieces to work with using a jigsaw. Use repositionable spray glue to tack the sheets of wood fish cutout templates to the board.
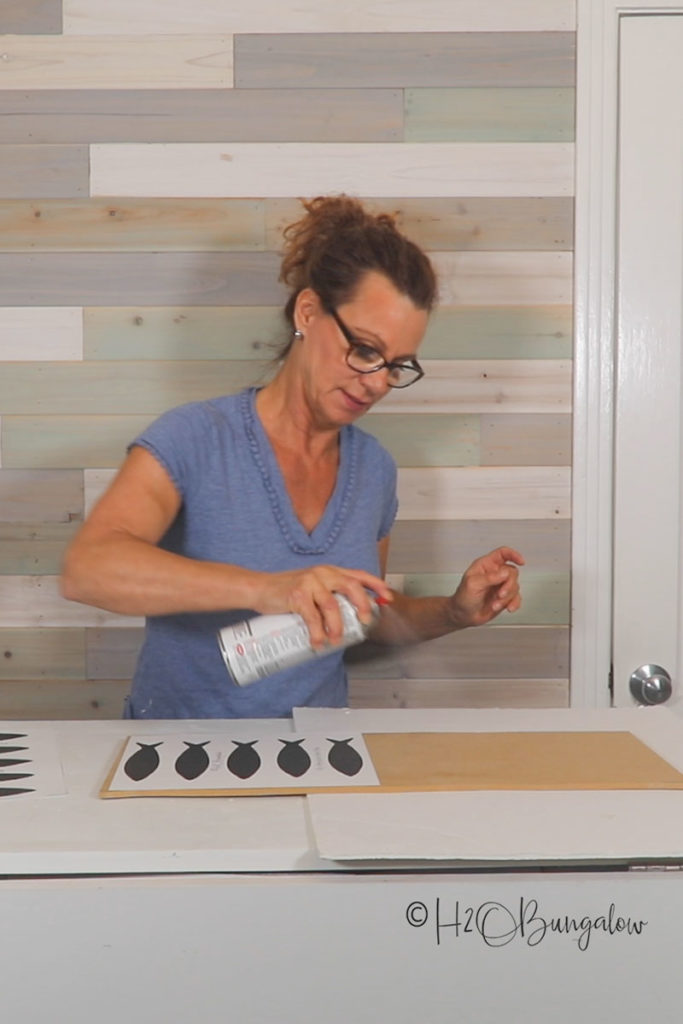
Step 3. Cut out fish.
Use a jigsaw or scroll saw to cut out the fish.
A scroll saw is easier if you have one. This hobby size small scroll saw is perfect like this one and under $100.
If you’re using a jigsaw, clamp the wood to a stable surface to keep your fingers away from the blade while you’re cutting.
Take the paper off the fish before painting them. The paper templates come off easily by peeling them back slowly and at an angle like I shared in the video.
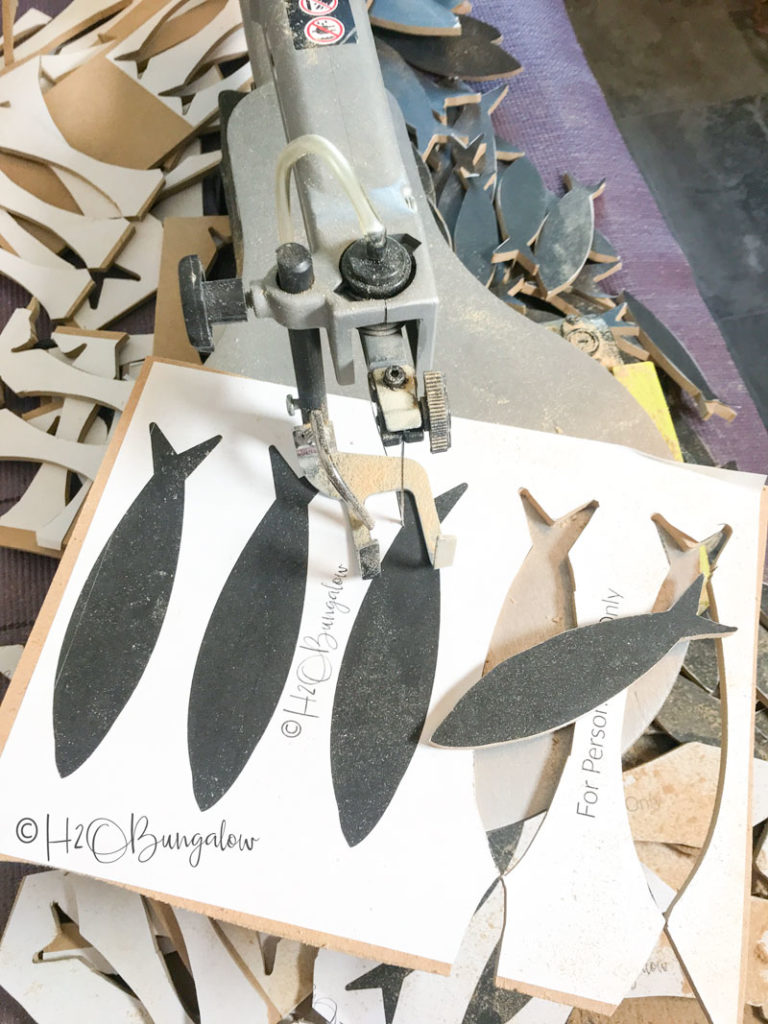
Tips to cut out fish
- Good lighting makes it easier to see
- Be consistent in how you cut the fish out
- Cut just on the outside of the fish template
Step 4. Paint the wood fish.
Painting 60 wood fish by hand would take forever so I pulled out my new HomeRight Quick Finish and my HomeRight medium Paint Shelter for this project.

It’s a great choice for small and medium projects and at just under $50 it’s a good value!
In the video you’ll see I used a primer I thought it would help the iridescent paint, it really wasn’t needed so you can skip that part. A base coat of dark blue helped the iridescent paint to have even more depth. I added a base coat of dark blue before applying the semi-opaque iridescent teal top coat.
I used 12 oz of watered down craft paint for the dark blue base and teal topcoat. I made the watered down paint with eight oz of paint and added two oz of water.
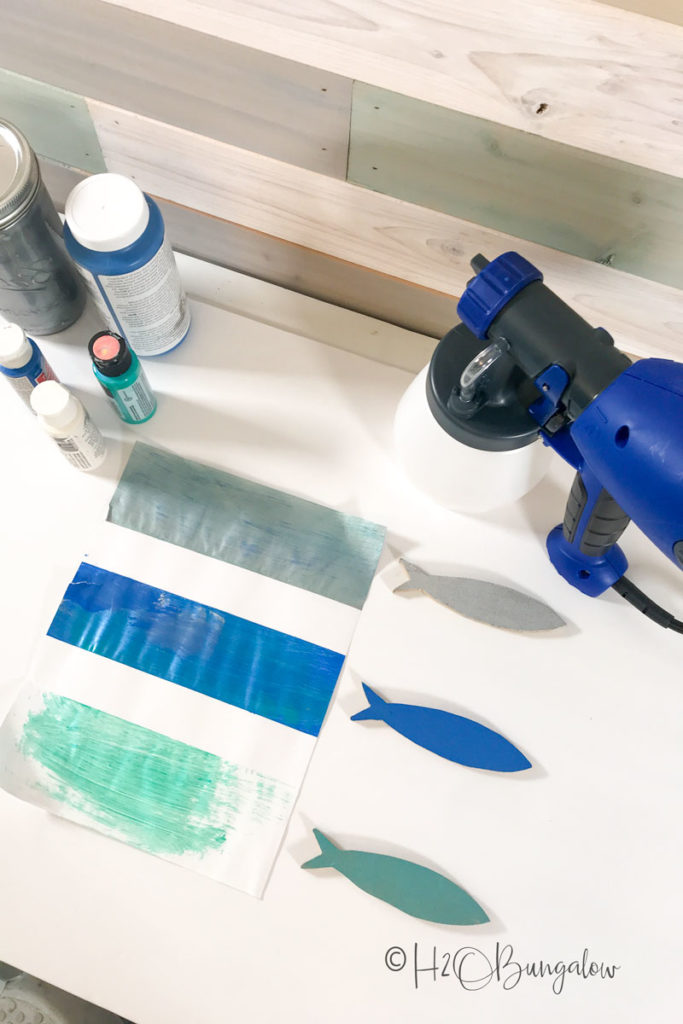
Apply the paint in long sweeping motions from one side to the other before spinning the fish to paint the other side.
Allow the paint to dry between coats. Move the fish when they are dry to the touch so they don’t stick to the cardboard.
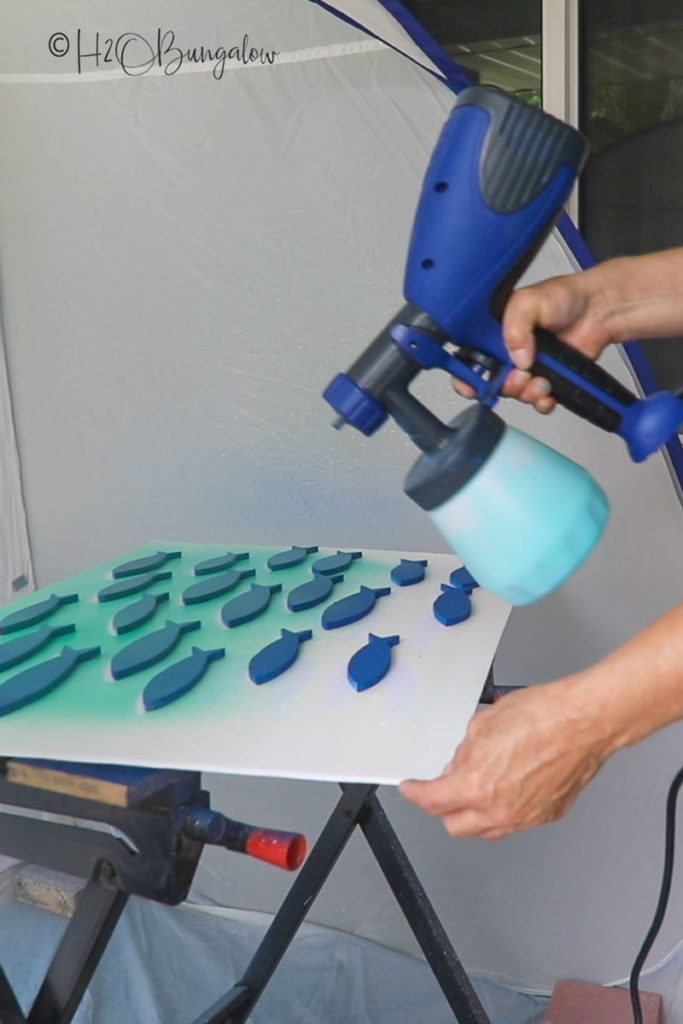
Wash the Quick Finish with soap and water and let dry before putting it away.
Step 6. How to arrange a swimming school of fish pattern on wall.
It helps to make a mock-up of the fish swimming in a school shape. Use a graphic program there’s lots of free ones online or draw in the shape by hand. taped it to the wall as a reference and placed cut out temporary paper fish on the wall moving them around until I liked the final shape of the school of fish.
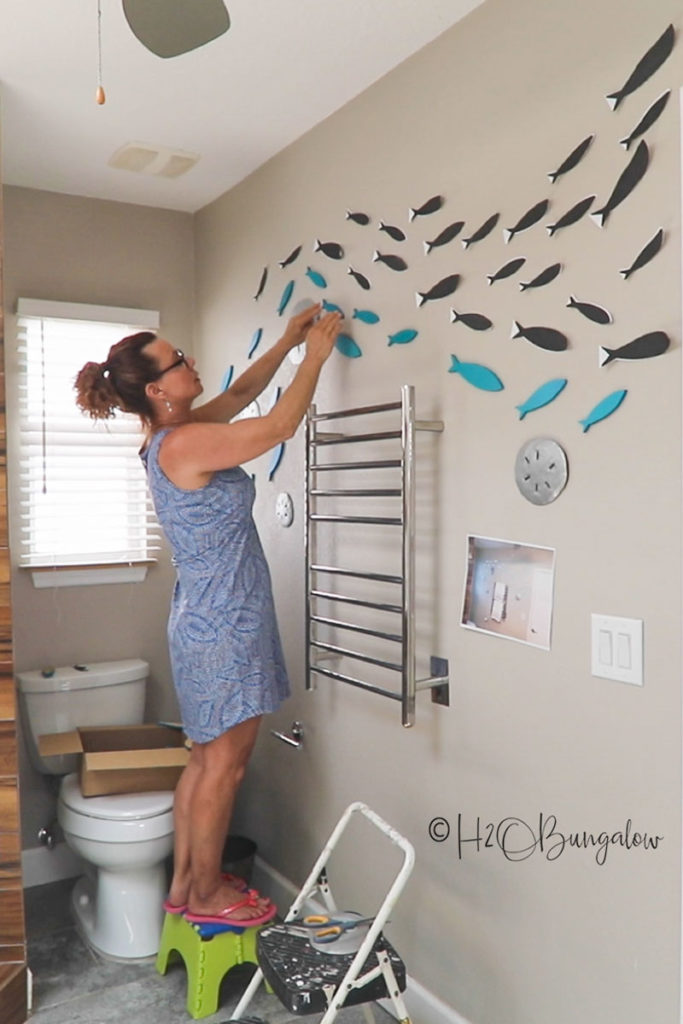
Once I was happy with my wall mural I started placing my wooden cut out fish onto the wall. I used nano tape which is a removable double sided sticky tape. You’ll see it in the video.
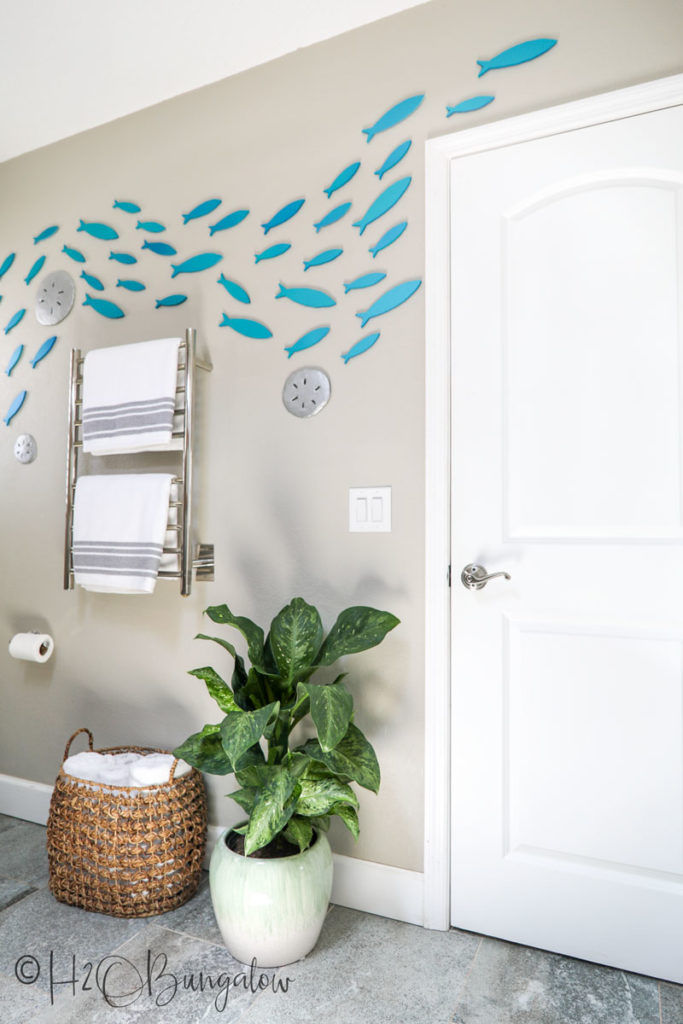
If you start at the bottom of the school of fish and work your way across the wall before starting on the next layer overtop it’s easier to copy the pattern making adjustments as needed.
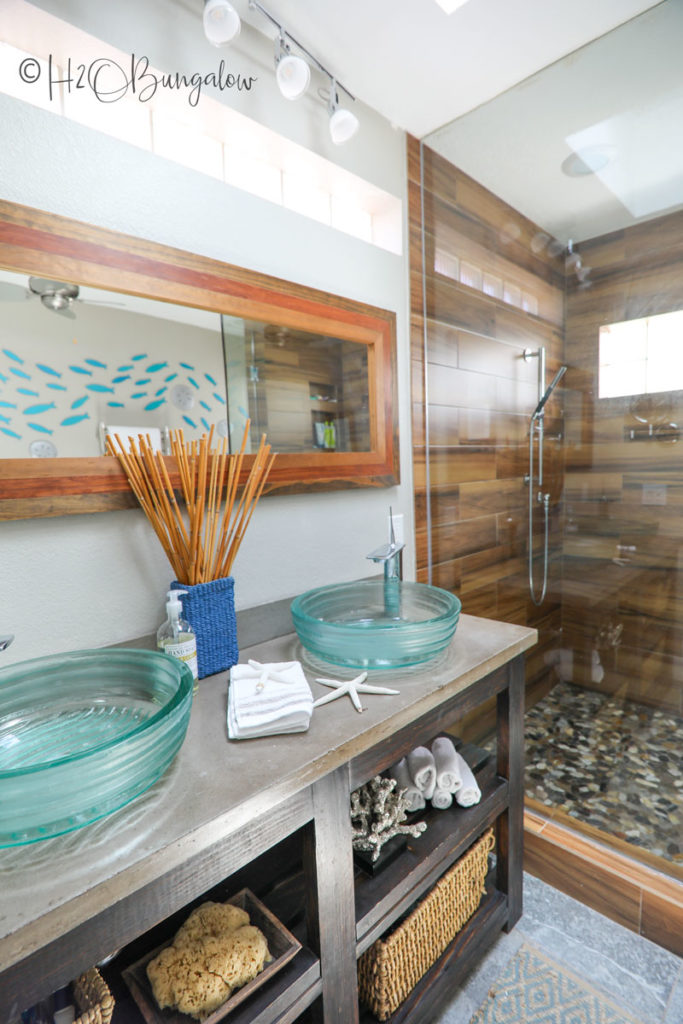
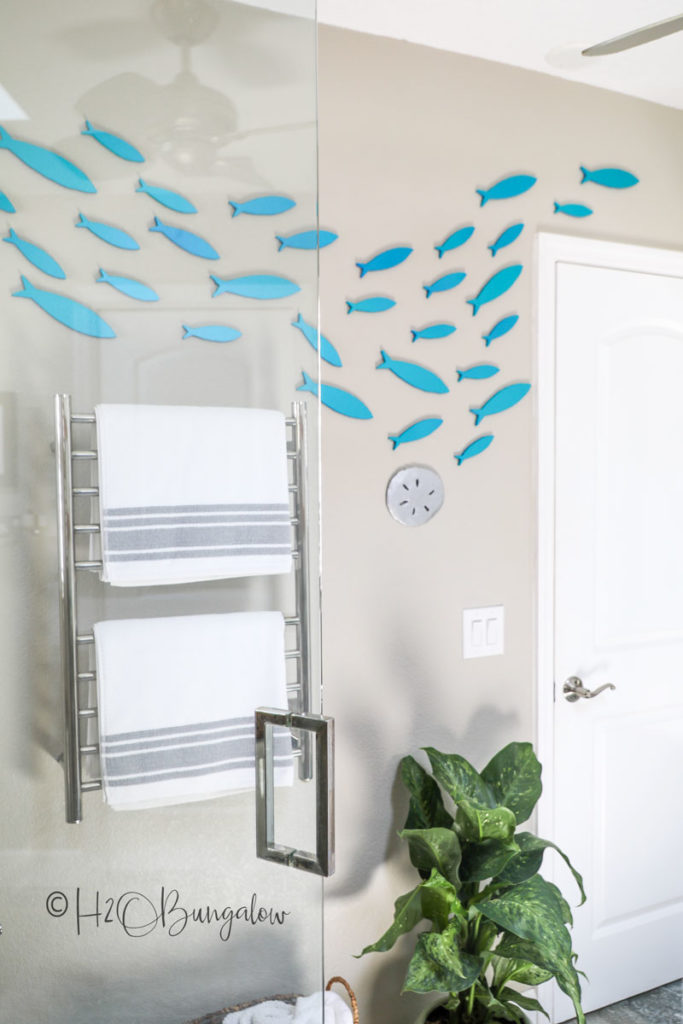
The wood fish cutouts change color from different angles, which I love.
Adding this school of fish wall decor to my master bath turned a plain wall into an interesting wall. At under $20 for the project it’s a super way to add coastal decor to a home without breaking the budget!
Pin my school of fish wall decor project using wooden fish cutouts now and share it with your friends on Facebook!

Sending out a big thank you to HomeRight for sponsoring my DIY school of fish wall decor project.
Take a peek at all of the different DIY home projects I’ve made with my HomeRight products.

Meghan says
What an adorable idea! I love it!
Wendi Wachtel says
Hi Meghan!
Thank you so much! It’s a fun project. I didn’t realize this room was lacking color until I added them. Thanks for your note!
Tina says
LOVE! LOVE! LOVE!
This is too cute! I may try this in my master bath.
Wendi Wachtel says
Hi Tina!
Thanks so much! I’m glad you like the swimming fish wall. It’s so easy to make. I also found these precut fish on Amazon. https://amzn.to/3dzHSHQ. I’m going to update the post with this link too. Please share a pic of your project if you make a swimming fish wall too! Thank you so much for leaving a note!!
Kaycee says
This is just the sweetest school of fish! I love the whimsy it adds to your bathroom, well done Wendi.