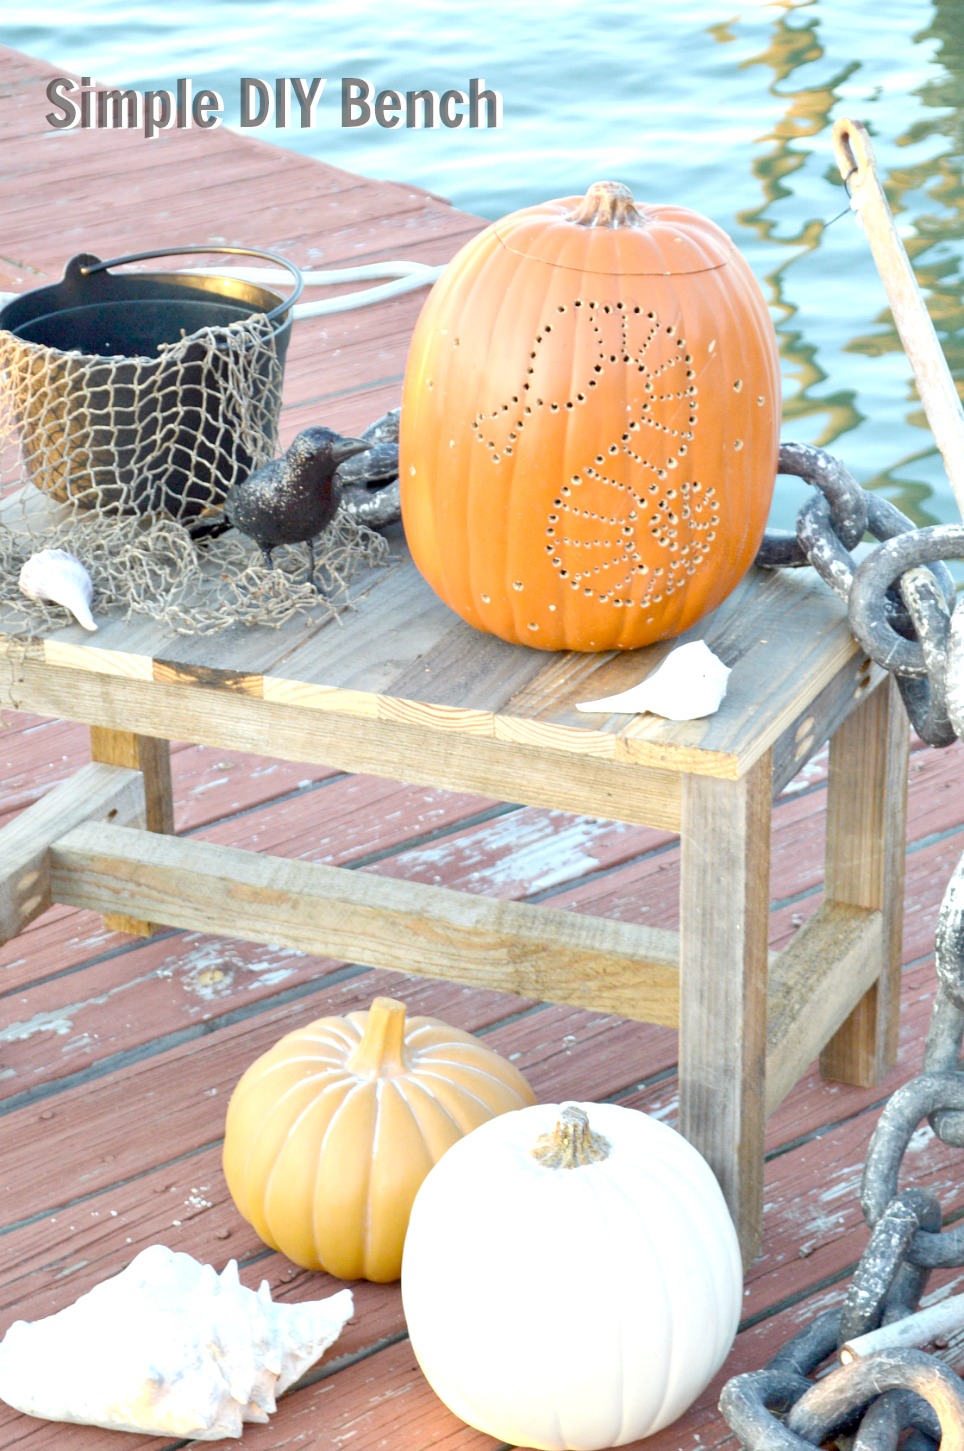
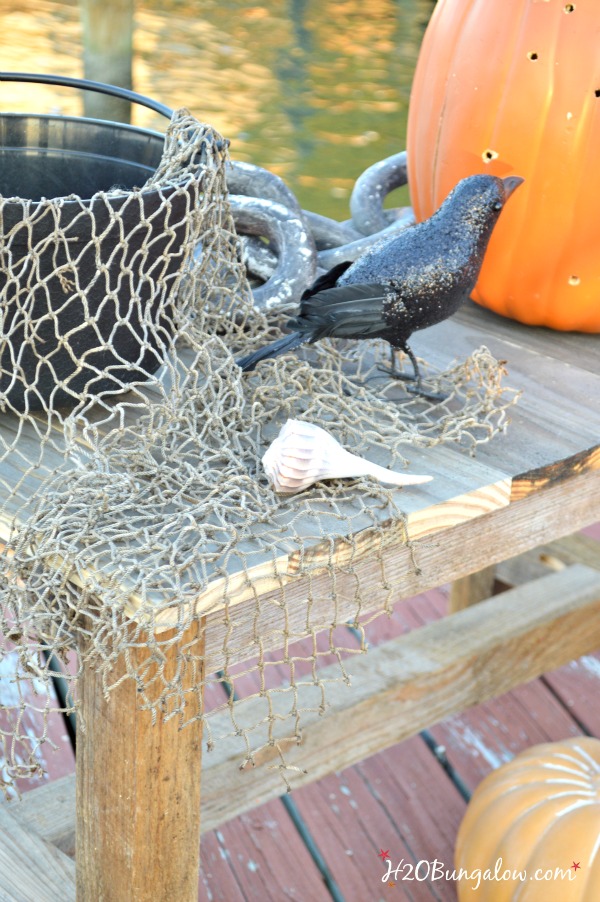
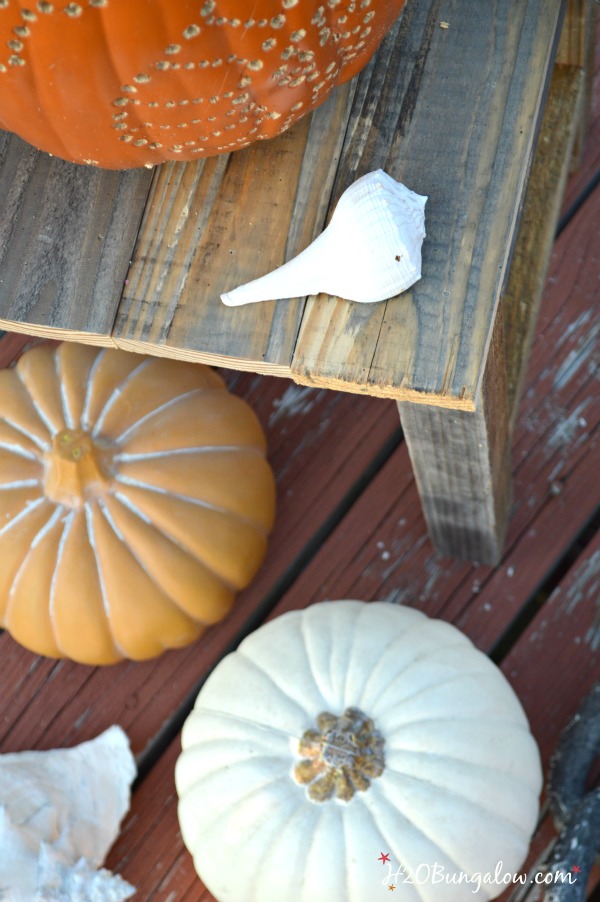
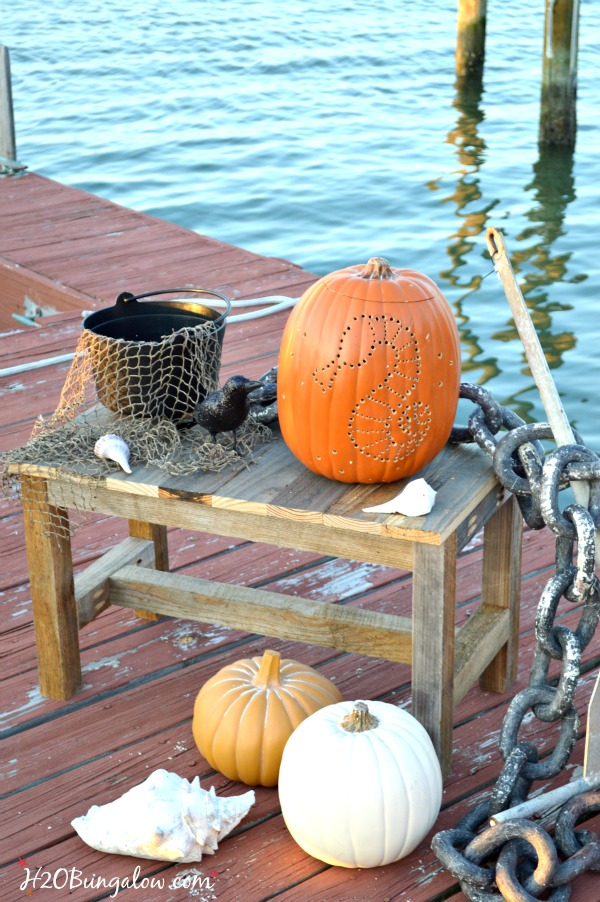
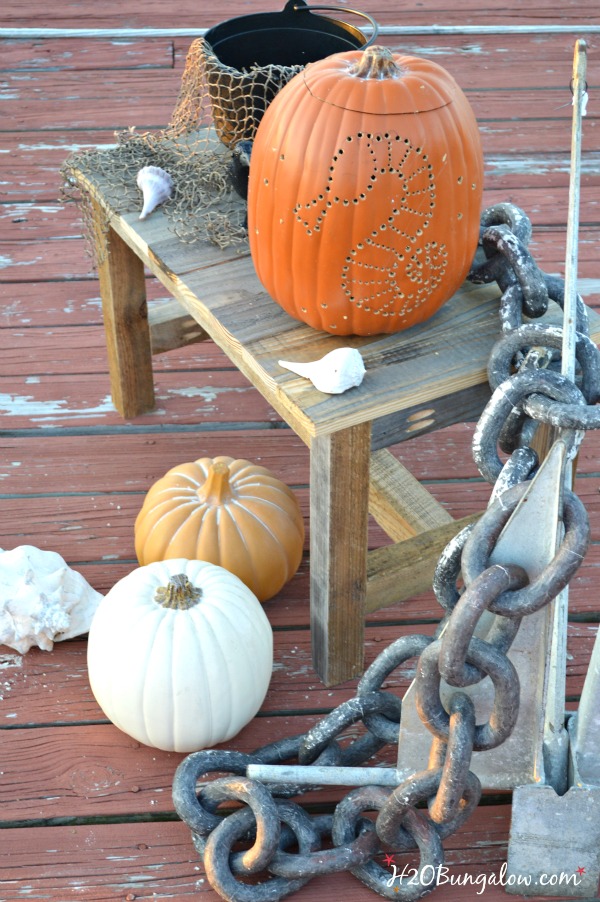
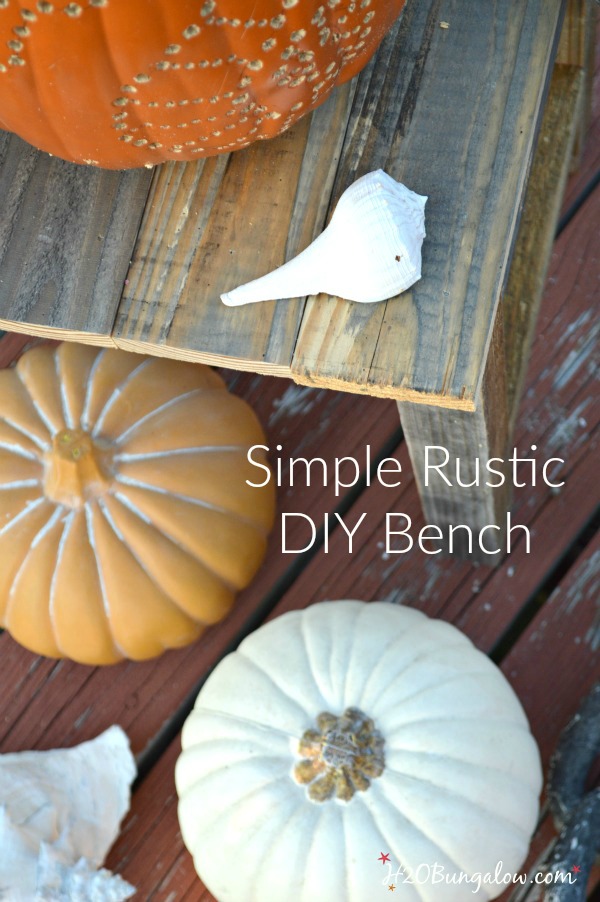
It’s time for the Power Tool Challenge Team monthly post! I love this group. A handful of us power tool loving, creative DIY’ers get together and share simple beginner projects that are great confidence builders. My project this month is a simple DIY bench to display our pumpkins at our front door.
Since we are in October..
our theme is of course…
But only in spirit 😉
Because this simple DIY bench is an easy DIY afternoon project.
My simple DIY bench is an adaptation of the DIY Patio table I built this summer. All I did was change the measurements and make it longer. I used cypress scrap wood left over from my DIY Industrial Shelves we made last year. I promised DH I’d use up all the bits and pieces of extra wood I’ve been storing (hoarding) on the side of the house, so this made DH very happy!
Cut list for a rustic simple DIY Bench
4 legs – 2″x 2″@ 16″
2 sides – 2″ x 2″ @ 24″
4 sides – 2″x2″ @ 10″
8 top boards – 3″x 1″ @ 16″
1 bottom support – 2″x 2″ @23 3/8″(cut after you measure the exact support length when the bench is assembled)
Supplies:
Saw – I used my compound sliding miter saw which is my go to for most of my projects.
Kreg Face Clamp – optional
2 1/2″ pocket hole screws, coarse
Combination square – optional
Tape measure
Pencil
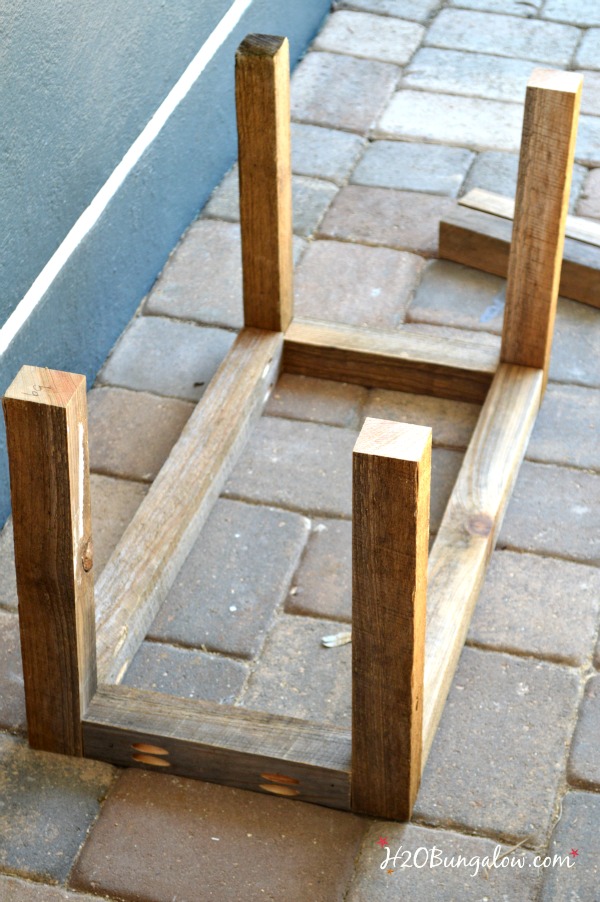
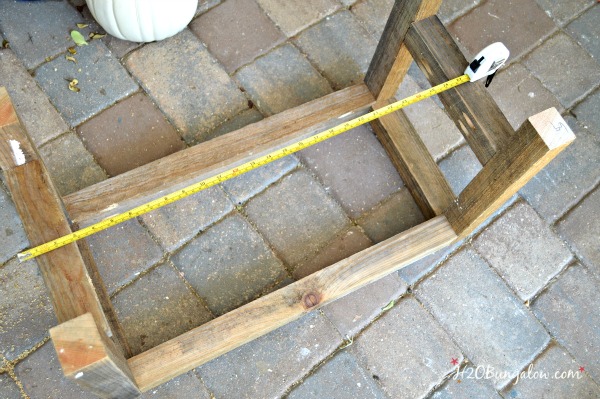
My simple DIY bench assembles exactly like my patio tables, read the step by step details in my first post here. I added my favorite tips to make this project even easier below! Most of these will be handy for other projects too:)
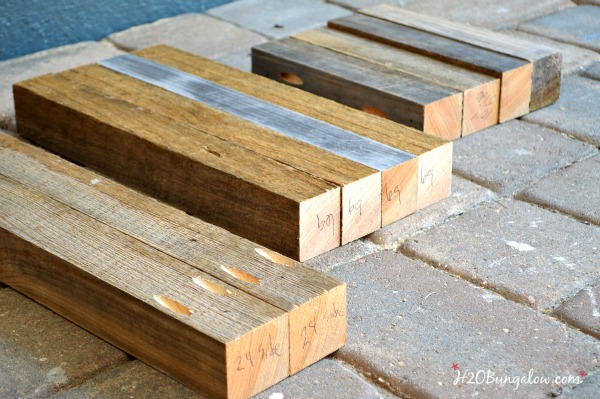
I like to line up my pieces after cutting, and label them. I tend to daydream sometimes…(don’t we all?), and this keeps me organized.
Lay the pieces together and mark where the Kreg Jig holes will go. It makes the work much faster.
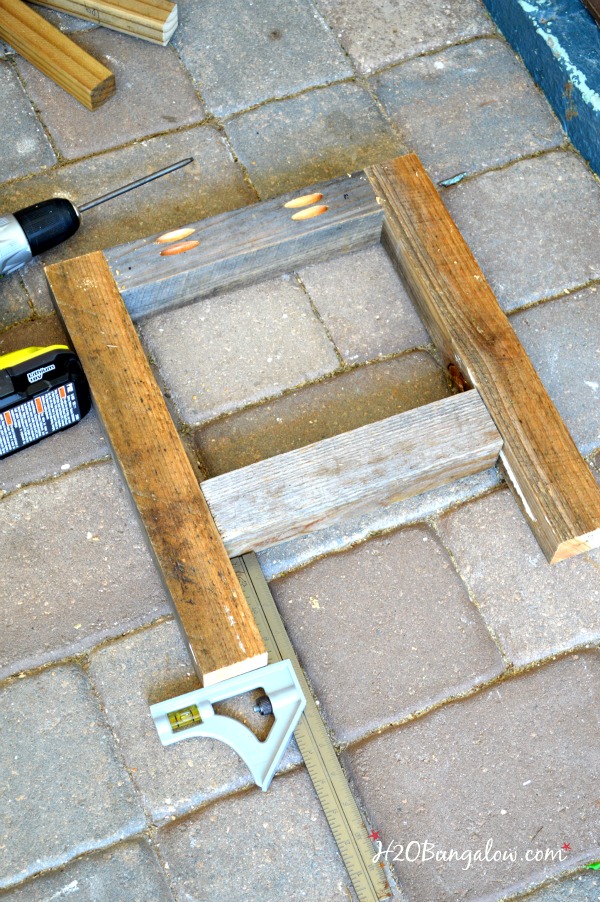
Use a square to quickly mark the bottom support position for all the legs.


Stephanie @ Mommyzoid says
WOW This turned out really nicely! I’m so impressed! It looks like you picked it up at a home decor store!
Stephanie @ Mommyzoid
PS: You need to come share this over on the Ladies Collective Linkup on mommyzoid.ca
Wendi says
Thanks Stephanie:) It’s study and its the perfect size for a bench or side table for outdoor:) Thanks for stopping by and I’ll do my best to make the party.
Pamela Smith says
I love the little bench! I could use it so many different places! I love the seahorse pumpkin too!
Terry says
What a great tutorial! I love your little bench! I do hope you will join in on Making Broken Beautiful this week and share this awesome piece! It begins every Thursday and ends Sunday! thecuratorscollection.wordpress.com
Smiles for a great week!
Terry
Wendi says
Thanks so much Terry! I’m loving my bench already and especially that it was free! Thanks for stopping by:)
Mary-In the boondocks says
Wendi it is perfect I am going to share this with the hubs and see if he can make it for us. He loves his power tools. And of course that pumpkin with the seahorse is divine. That one is for me!
Wendi says
Thanks Mary! I made this bench from scraps so it’s crazy simple. Share on the FB page if you make one! Lookout on Mon or Tues for the pumpkin post… it wasn’t finished when I used it for the staging 🙂
Maryann @ Domestically Speaking says
CUTE! I have the perfect spot for a sweet little bench. Love easy to build projects!
Wendi says
Thank you Maryann:) This would look great with your owl! I’m still trying to figure out where it will eventually end up:) An extra bench will come in hand for the holidays and company.
Paula@SweetPea says
This little table is going to be so useful! I can see it between two Adirondack chairs on your dock holding drinks and snacks.
Wendi says
You are so right! It would be great there..especially with something cold and refreshing after a day on the water.
Cher @ Designs by Studio C says
Love, love this bench, Wendi!! I really love the style and the weathered wood – you did an awesome job!!
Wendi says
Cher… this is childs play compared to your designs..BUT, it is the first thing I’ve just put together in my head:) I like the weathered wood & think I’ll leave it that way too.
Marie from The Interior Frugalista says
I would never have thought to apply tea stain to match up with naturally aged wood – you’d never know the difference, had you not pointed it out! Great sturdy bench Wendi and yes, I want to know more about your coastal seahorse pumpkin.
Wendi says
Hi Marie! I’ll let you in on a secreat.. I used wood that I stained for my project that I didn’t get to in Sept when I had to run to Dallas. It was there and already stained..so I thought.. why not? I can’t wait to share the pumpkin project too! You’ll love it!
DeDe@DesignedDecor says
It looks great! I love how the tea stained turned out to make the top look aged! I need to try that on one of my next projects!
Wendi says
Dede, it’s so easy to do and cheap too. I know you’d find a good project to use it on with all the furniture you get to refinish:)