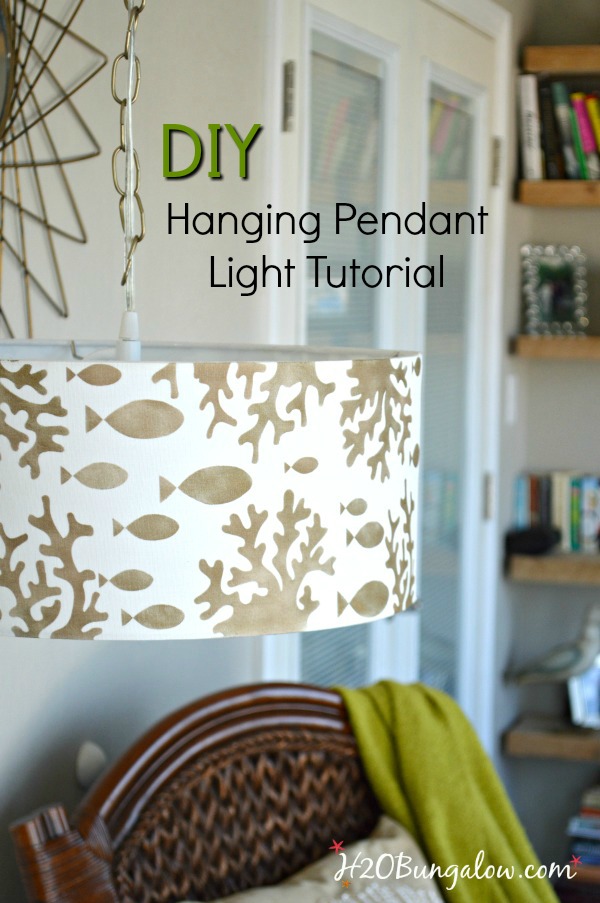
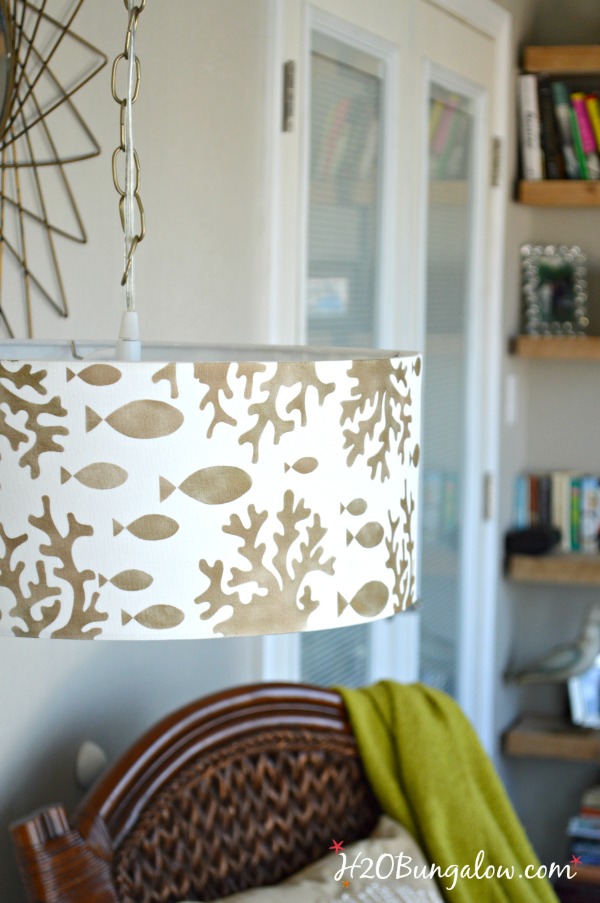
This stenciled DIY hanging pendant light tutorial with a swag chain is one of those projects that you can make as simple, or not, as your heart desires. Either way, the end result will be fabulous and look like you spent a fortune on a designer home decor pendant light.
Isn’t that the best kind of project?
The one that looks like it had a big price tag attached but didn’t?
I found this great 6″ drum lampshade and knew it was destined for something special. I knew I wanted to stencil something on this awesome shaped shade, and there started my dilemma.
Stenciling a pattern on a round lampshade.
Finding a pre-made stencil to fit was not going to be easy. So I made my own stencil to fit a round lampshade with a pattern that would end and blend into the beginning.
How To Make A Stenciled DIY Hanging Pendant Light
Supplies to make a hanging pendant light. I use affiliate links to help you find the products I used.
- 6-10 tall” drum lampshade
- swag lampshade conversion kit
- 15 feet of antique gold chain
- DecoArt Dazzling Metallics in Glorious Gold
- medium stencil brush
- Silhouette adhesive backed vinyl blank stencil material
- Silhouette Cameo machine
- painters tape
- plain paper
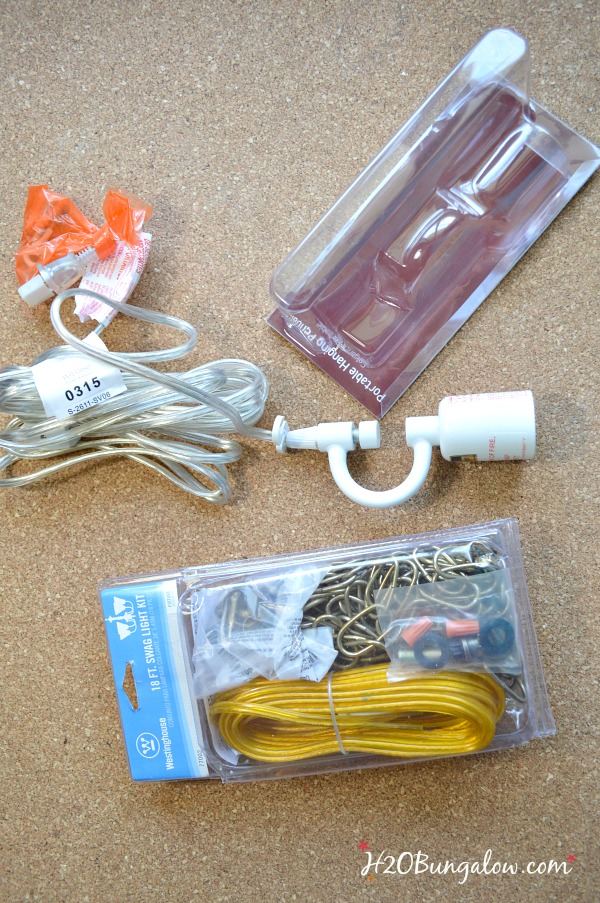
Here’s a picture of what the swag lampshade conversion kit looks like. It’s the white thingy in the middle, and it holds the lampshade from a cord. Brilliant! I had no idea I could make a hanging light from a lampshade until I found this simple part! It was cheaper to purchase the cord kit to use the chain than it was to buy just a chain alone. I’ll save the cord for another project 🙂
I measured the circumference of my lampshade and divided it by 4. Using my Silhouette I designed a stencil that I could repeat 4 times around the lampshade. If you don’t have a Silhouette, you can easily use a pattern or shape that is small enough for you to reposition the stencil randomly around the lampshade. Something like little sailboats or just fish would look great 🙂
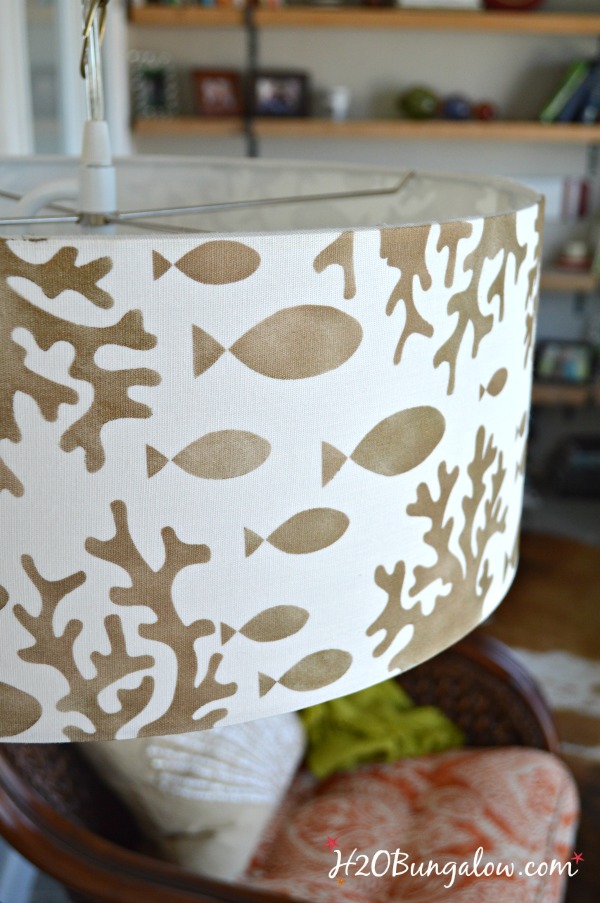
You guys know I’d pick something coastal so I used fish swimming in coral.
The Silhouette adhesive backed vinyl is perfect for a project like this since holding the lampshade, and the stencil in place at the same time would be challenging. Stenciling on a lampshade is like stenciling on fabric you want to stencil with a soft touch and use as little paint as possible.
If you’re new to stenciling, or would like some good tips, you can find them in my stenciled reusable grocery bag post.
When I got to the end of the lampshade I taped blank paper over the area I’d already stenciled to protect it.
Next, I positioned the stencil and taped it. See how part lined up where I’d stencil and part lined up over the paper covered area I’d already stenciled? I taped any stencil designs that fell on the paper and crossed into the area I’d already stenciled so I wouldn’t accidently stencil half a fish 🙂
Putting the chain and the light kit together was easy. Since the plug was already attached, and wouldn’t fit through the links of my swag chain, I had to open the links to string the wire through.
This part was tedious, I taped every fourth link along my chain, to remind me which links I’d use.
Otherwise I knew I’d stat daydreaming and have my chain and links all cat-a-wompy 😉
Using needle nose pliers I opened each marked link and threaded the cord from the light kit through. Opening a link is easy if you hold two needle nose pliers, one in each hand with a section of a link in each and twist one hand toward you and one hand away. The link will easily open. Close it the same way.
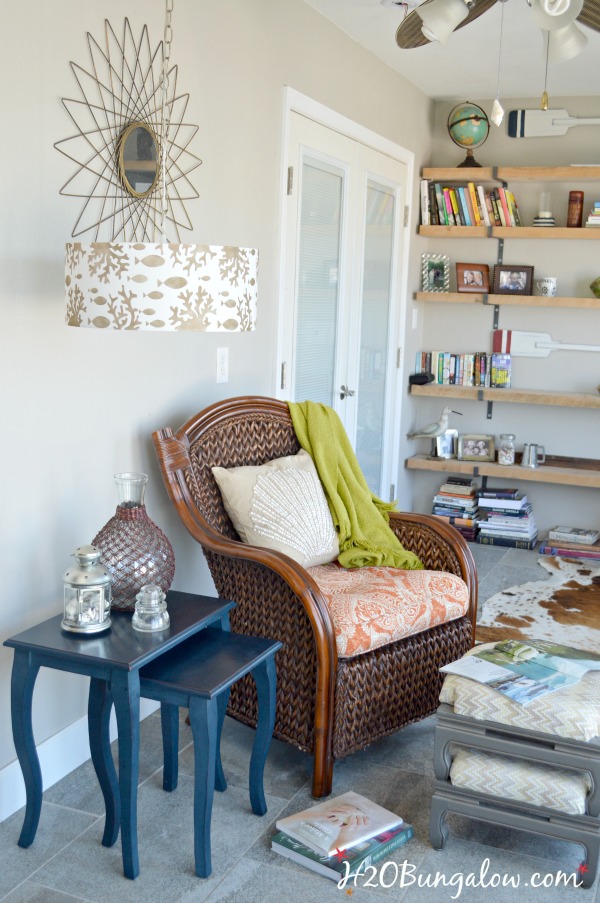
All I had left to finish was my hanging my new stenciled DIY pendant light.
I hung it from the ceiling with 2 hooks so it would swag.
I love that the pattern goes all the wy around my stenciled drum lampshade.
Kind of like no beginning and no end:)
Where would you have one of these stenciled DIY pendant lights in your home?



Erlene says
Love the look of this hanging pendant light. I’m into all things with a coastal vibe, so this is awesome.
Wendi says
Hi Erlene and thank you! I loved making this pendant light. The concept of a stencil that worked all around the lampshade was a good challenge to create too! Thanks so much for your visit and sweet comment!
Linda at Mixed Kreations says
Oh wow Wendi that is so cool! They are so expensive, than we never really find quite what we are looking for. I can but my own design on it. Love it! Pinning!
Wendi says
Hi Linda… Yes, pendant lights are expensive, really expensive. When I started pricing them out I was shocked at the cost for plain ones. The biggest challenge was finding the right size and shape lampshade. I hope you make one too, they are practical and pretty!
Keri says
Wendi, I love the stencil you designed! You did a great job on the drum shade. It looks so awesome!
Wendi says
Hi Keri, Thank you so much! Having the fish swim all the way around the lampshade was a little challenging but worth it in the end. Thanks so much for your visit!
Lynn Spencer says
Wendi, your lampshade looks fantastic. Love that you used the fish stencil in your beach house. And I must be the last crafter in the world who doesn’t yet have a silhouette or cameo…ugh,…should’ve asked for one for Mother’s Day! Well my birthday is coming.
Do you have an outlet on your celiing or is plugged into the wall? Didn’t see a cord and was curious…
Thanks for sharing your creative brilliance.
Hugs, LYnn
Wendi says
Hi Lynn. The lamp is held with a swag chain. I should have taken a good picture but the angle and area was tough. I had to take another lamp down to get the pic! The things we’ll do for a good photo, right? You must get a silhouette! I use mine more than I thought I would and love it! Thanks so much for stopping by:)
Marie says
This is so clever! What a fantastic and easy way to create custom decor for your home. I love it! Thanks for sharing at Merry Monday this week!
Wendi says
Hi Marie & thank you! I’m always happy when my idea works as well as I think it will, this stencil made the project:) Thanks so much for your visit!
CD Loken says
I absolutely LOVE your hanging pendant light, Wendi! I too have been on the fence about getting a Silhouette, but it sure looks like it makes stenciling a whole lot easier! Thank you so much for sharing at The Wonderful Wednesday Blog Hop! Pinning!
Wendi says
Hi CD and thank you:) I can’t begin to say how often I’ve used my Silhouette to make a unique stencil. It’s a fabulous machine! Thanks so much for your visit!
Carol, The Red Painted Cottage says
OMG, this is so stunning! I absolutely love your stencil and how your lampshade turned out. I’ve been on the fence about getting a silhouette and keep wondering if I would get my moneys worth out of it.
Wendi says
Carol, Do it! Get the Silhouette! I took a year to decide to get mine and wish I’d jumped ight in. I use it for so many projects and love it more all the time. This was a fun project to work on and I loved comming up with a way to make the end & beginning blend on my stencil. Thanks so much for your visit!
Kathleen says
Wow, this is so pretty!
Wendi says
Hi Kathleen and thank you so much! I had enjoyed this project, especially designing the stencil. Thank you for your visit!
TwoPlusCute says
I think my comment didn’t go through so I try again.
I pinned and love the stencil and all the detail you put into it. It’s a really pretty pendant!
And if you post it on HT, I will save it in my lights board, too. 🙂
Wendi says
Hi TPC! Thanks for trying again with your comment. That happens to me too sometimes:) Glad you like my fishy pendant light. It was fun to make, especially the stencil! Thanks for pinning it! Have a good week:)
DancingMooney says
Oh my gosh, this is so cool! I love it Wendi!
Hope you are well, and looking forward to summer! 🙂
xoxo
Wendi says
Hi Janell! Yes, this project was fun and I love the never ending stencil. I’m looking forward to summer too. Thanks so much for stopping by and hope you are well too!
Marie, The Interior Frugalista says
You couldn’t have picked a more fitting stencil, Wendi! Great stencil tips too. I love it and it looks so good hanging in your studio! I NEED a silhouette machine so bad and every year Santa misses that one on my wish list.
Wendi says
Hi Marie & thank you! I had a lot of fun with this project:) I think you need a Silhouette too! Time to send Santa a note that you’ve been very-very good! LOL Take care my friend!
Mary-the boondocks blog says
Oh my goodness, I love the stencil that you used on your lampshade, Wendi. It is perfect for the beachy feel you are after. And it fits in so well with the room.
Wendi says
Hi Mary & thank you! The stencil was fun to make and I loved the idea of it going all the way around. You know it would fit in your home as well! Thanks so much for stopping by my friend!
Debbie @ Refresh Restyle says
I absolutely love it! So affordable and beautiful! Pinning for later 🙂
Wendi says
Hi Debbie & thank you! It was so much less expensive then the ones I found on Amazon, they had price tags of about $200! I know you love the coastal style too. Thanks so much for your visit.
Julie Gaffey says
Wow Wendi, you’ve done an amazing job. I love this so much.
Wendi says
Hi Julie and thank you! This was a fun project and not so hard to do. Similar hanging lights cost so much more than this. I hope you find a place for one of these lights in your home too. Thanks so much for your visit and leaving a nice note:)