Today, I’m sharing my three steps to refinishing teak outdoor furniture. I love my teak outdoor furniture. It’s sturdy, it’s lasted 7 years in tough Florida heat and weather and it’s comfortable. What I don’t like about it is the weathered worn out appearance of the wood. It’s just not pretty and it’s definitely not inviting. My previous attempts at refinishing my wood and teak furniture all looked great at first, but they didn’t last. Not even for one summer! Below you’ll see how to clean, prep and seal your outdoor teak and wood furniture easily and with products that last.
Sending out a big thank you to HomeRight for sponsoring this post. Of course, all creativeness and opinions are my own. I also use affiliate links in this post, if you make a purchase I’ll receive a small commission at no cost to you. Thank you for supporting the brands that keep H2OBungalow going!
You guys have all seen my awesome backyard makeover I finished earlier this year. I’ve never gotten around to sharing how I refinished my teak furniture. We still have plenty of summer left and for most of you that means there’s plenty of time left to enjoy your outdoor spaces! Refinishing teak or wood outdoor furniture is an easy process, you can do it in a weekend with just a few hours of hands on time.
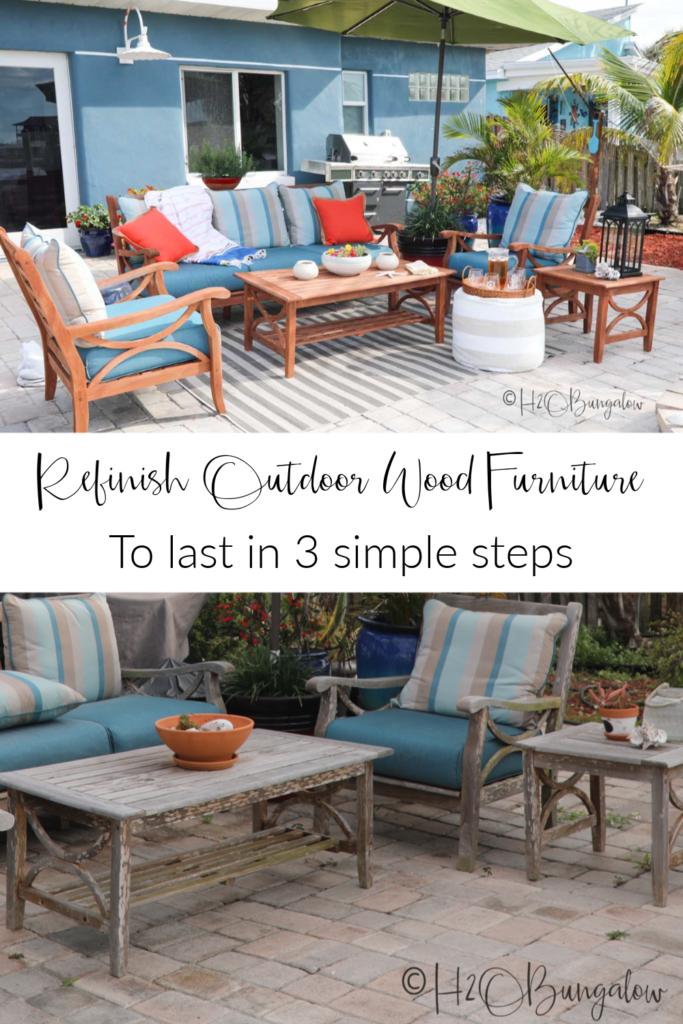
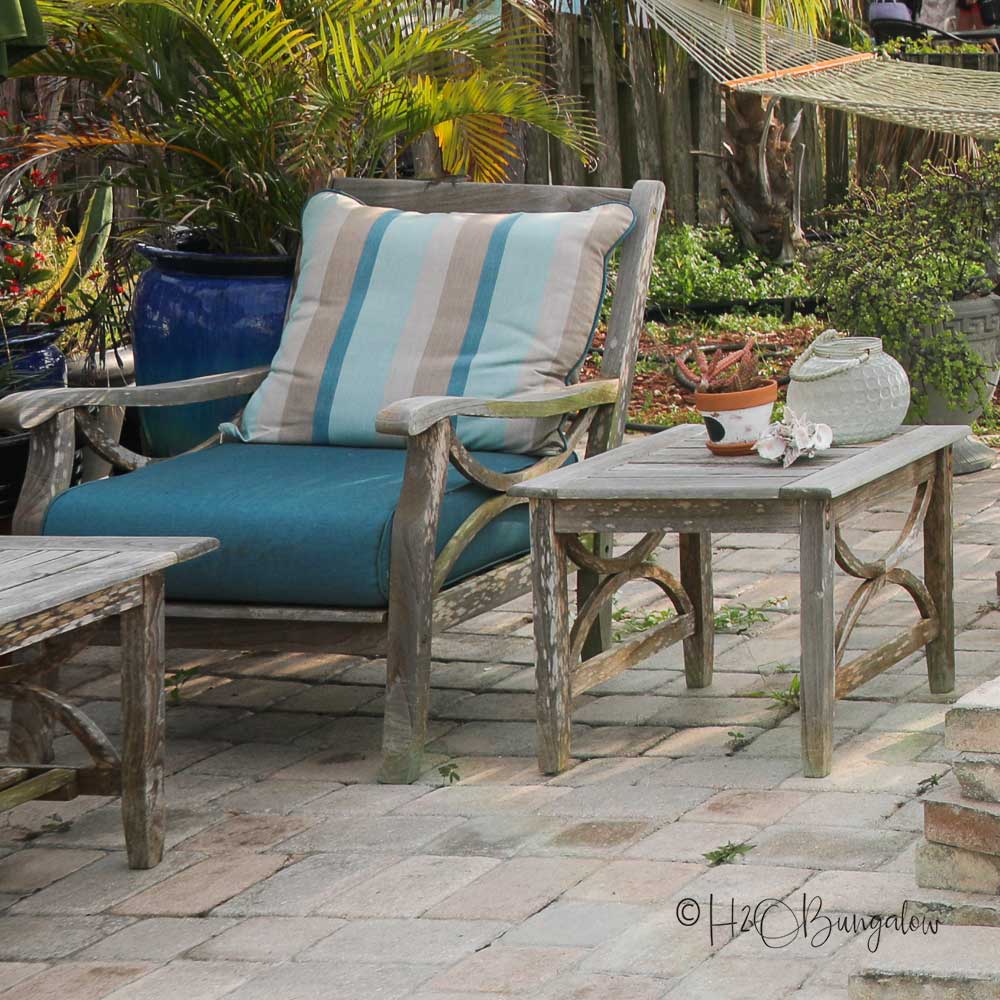
This is what my outdoor furniture looked like before I refinished it.
Look close and you can see algae and white spots on it, the wood is weathered and looks awful.
About 4 years ago I shared How to Restore Outdoor Teak Furniture using a specialty wood oil with UV protectors. That’s when I was a purist thinking I’d only use oil on teak wood and sand everything down by hand. After all that work, my outdoor wood sofa set looked gorgeous!
Unfortunately, it only looked good for about 3 months and started fading the first month. Ugh! Keep in mind, this is after refinishing my teak twice with plain teak oil. Both times, it only lasted a few weeks in the Fl heat and sun.
This time around, I wanted a fast and easy way to refinish my outdoor teak furniture that would last a long time. So, after some research, I’ve come up with a three step plan to refinish outdoor wood furniture with a product that will last.
Best of all, it doesn’t require expensive products or messy teak oil.
Supplies you’ll need:
- HomeRight Super Finish Max Paint Sprayer
- Additional Super Finish Max Paint Containers
- Wood Sealer – I used this one
- Power washer
- Large heavy duty plastic drop cloth
- Palm sander or random orbital sander
- 150 grit sandpaper
- Sanding block
- Water sealer – see below
- Clean painter’s rags
- Respirator – I use these for spray painting
- Safety goggles – these are great if you wear prescription glasses
- Disposable gloves – I like these
I’ve made a short video on how to refinish outdoor teak wood furniture in 3 steps for you.
Follow me on Youtube here!
Step 1. Clean your wood furniture.
How to clean outdoor furniture quickly.
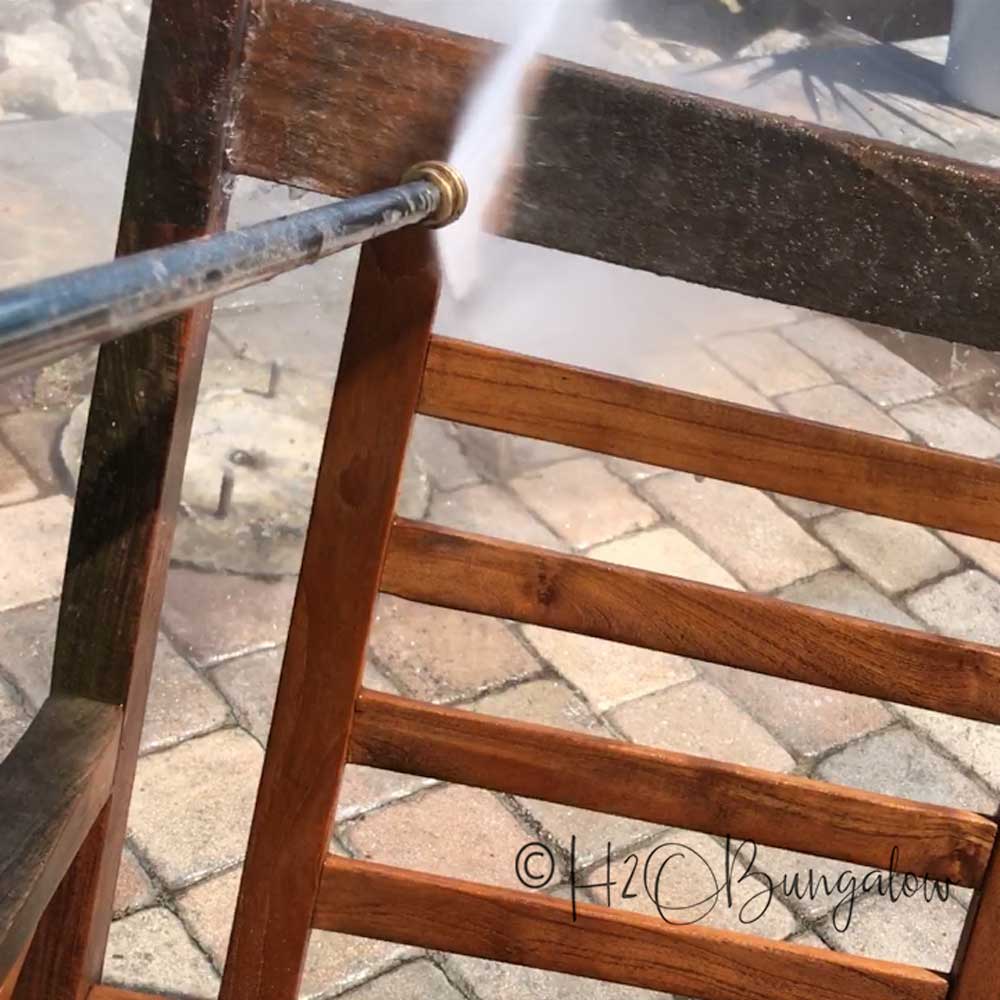
Cleaning outdoor wood furniture can be done in one of two ways. You can sand all of the surfaces with a sander which is crazy time consuming or you can power wash your outdoor wood furniture and do a quick once-over with a sander in a fraction of the time.
I’ve done both and I’ll never go back to hand sanding alone. You’ll see in my video how quickly I was able to clean my wood furniture with a power washer and it did a great job!
Is it OK to power wash teak and outdoor wood furniture? Yes! I researched and read a lot before I attempted to power wash the dirt, algae and weathered wood off of my outdoor teak furniture. Hold the pressure washer nozzle about 3-4 inches from the wood and move in a slow but steady motion. Always do a test on an inconspicuous place like the underside of a chair first.
Allow your wood furniture to dry thoroughly before moving on to the next step.
Step 2. Sand down rough patches
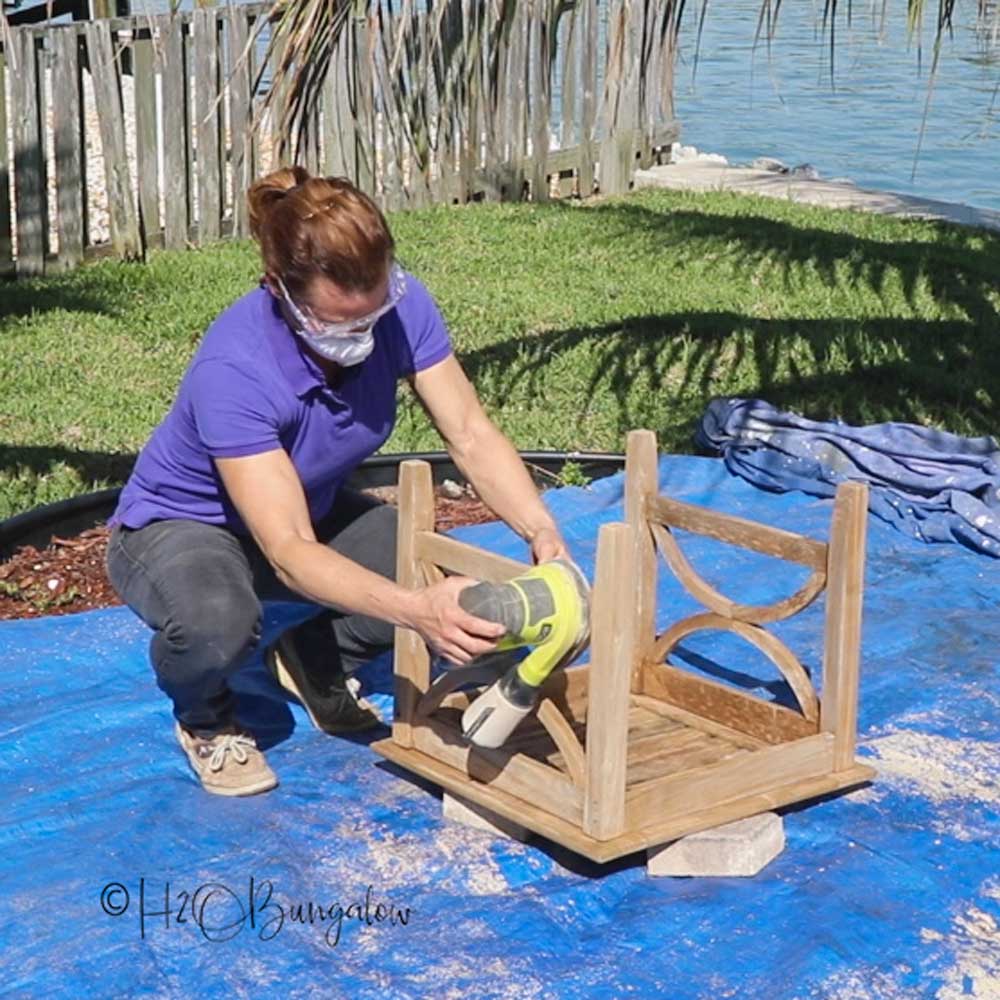
The quickest way to sand outdoor wood furniture is with a random orbital sander. Use 150 grit sand paper to smooth any rough spots or catch areas that didn’t get clean enough with the power washer. It was helpful to wrap a piece of sandpaper around a block of wood to sand areas where the sander wouldn’t fit.
When you’re done, wipe all surfaces down with a clean painters rag to remove sawdust before applying the wood sealer.
Step 3. Apply sealer to wood
Choosing a sealer for your wood furniture
Initially, I wasn’t sure if I should I use paint, stain or teak oil on my outdoor wood furniture for this makeover. I’d already tried regular teak oil and a specialty wood oil product. Neither lasted more than a few weeks before fading. I didn’t want to cover my wood with paint or just apply stain. I needed to protect my wood and have it look like it was oiled with a teak oil. After checking out a lot of products, I choose a semi-transparent water based wood sealer. Thompsons and Olympic have a water based wood sealer in Acorn color that closely matches the color of oiled teak. I used the Olympic for this project. I would have used the Thompsons since I’ve used it in my backyard already with great results but they didn’t carry it in my local store. As always, I was in a hurry to get this project done.
Refinishing outdoor teak wood furniture with a paint sprayer
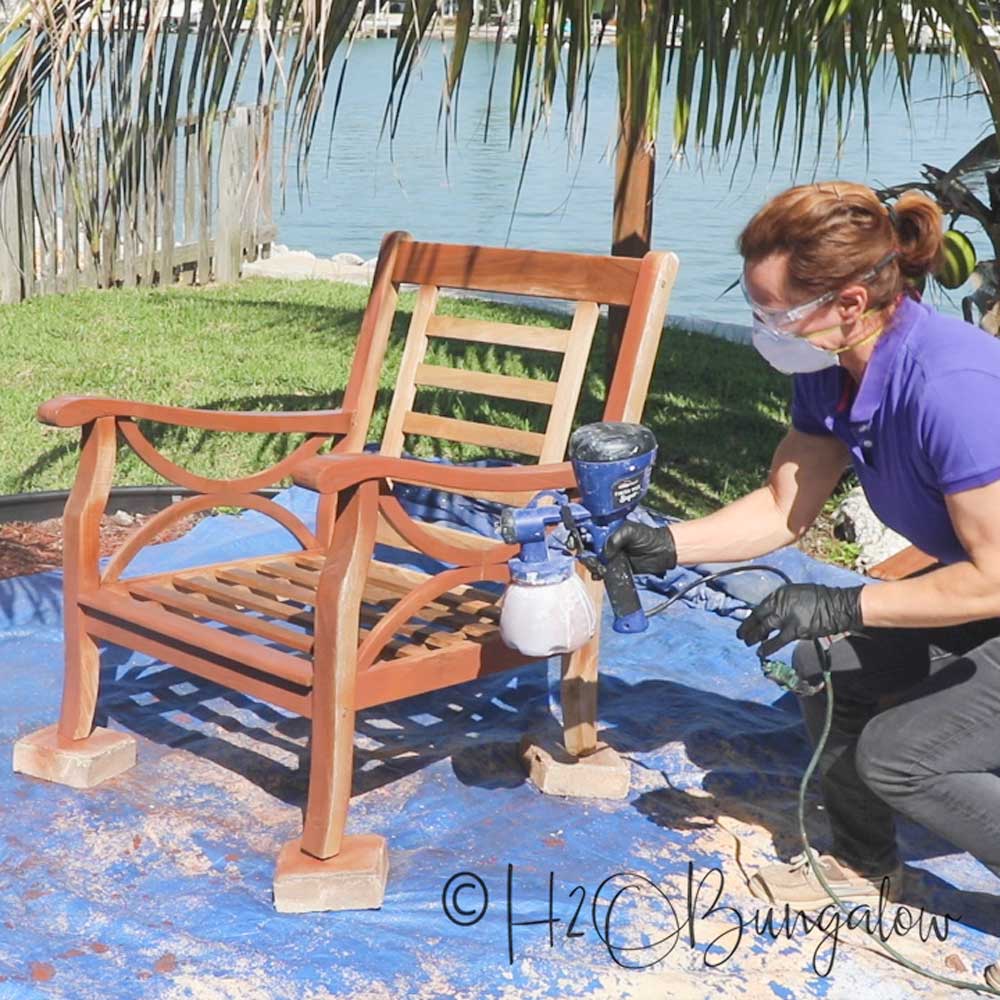
Just like with cleaning and sanding my wood furniture. I wanted the fastest, easiest and best way to seal my outdoor furniture. My favorite tool, hands down, is my HomeRight Super Finish Max Paint Sprayer for painting large surfaces with lots of nooks and crannies. I’ve used HomeRight paint sprayers for 5+ years and swear by them.
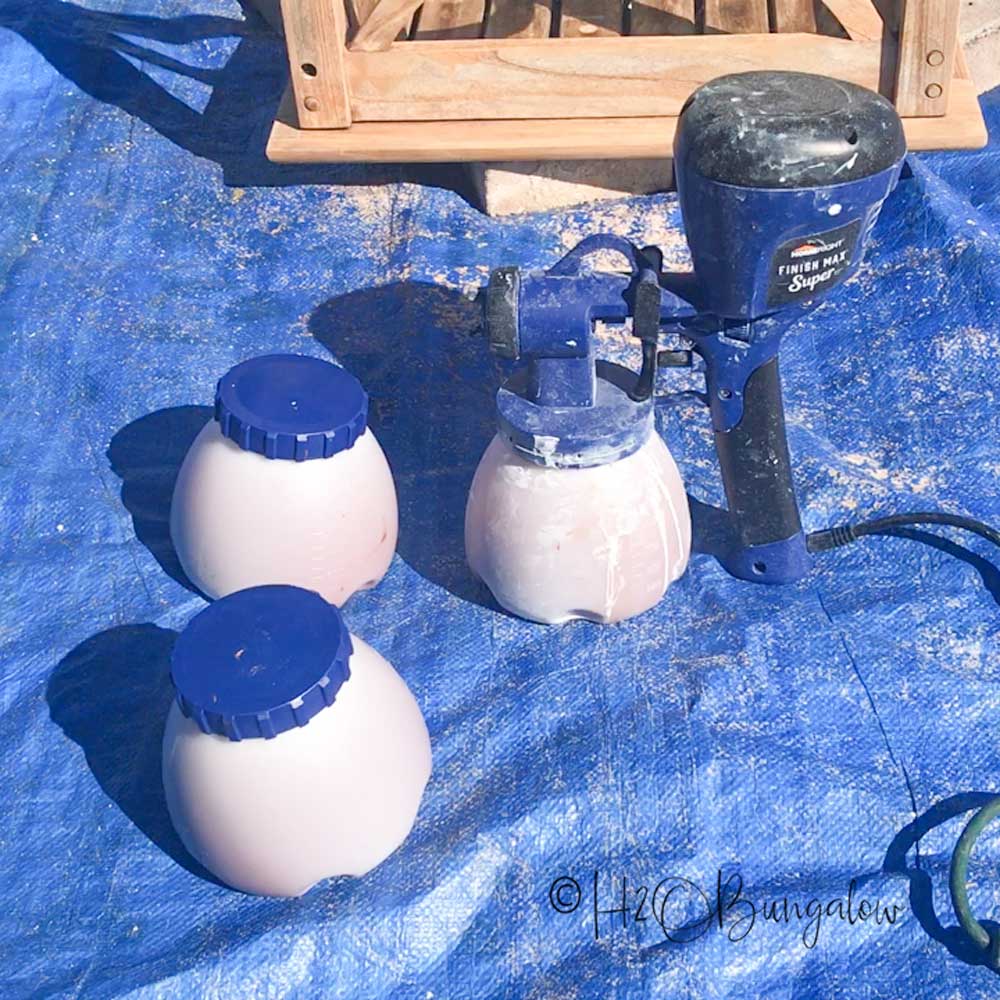
I used my Super Finish Max Paint Sprayer and ordered two extra paint containers for this project. It comes with several paint tips to use with different types and thicknesses of paint, varnish or sealer. I used the blue tip and the yellow and black Air Caps.
Before spraying your project always adjust the sprayer flow and test on cardboard or wood until you get an even coverage in the thickness you want.
Wear disposable gloves, safety goggles and a disposable respirator for this step. I like to adjust the spray to a horizontal spray pattern for this type of painting. Apply the wood sealer in a slow back and forth pattern over the wood. Like stain, the sealer will absorb into the wood. Have a clean white painter’s rag near to wipe off any excess and catch drips. Set each furniture piece aside to dry when done.
Allow it to cure for about 48 hours before putting your cushions back on so you don’t get any stain transfer onto the fabric.
Here are a few more of my favorite tips for refinishing teak furniture using my Super Finish Max Paint Sprayer.
- Always place a brick or block of wood under each furniture leg, it makes getting an even coat of sealer or paint much easier.
- Save time when spraying by pre-filling extra paint containers. Switching them quickly is much easier than stopping to refill a container one at a time.
- Start on the underside of each piece first, flip over and do the top last. It’s easier to put aside to dry.
- Work with a heavy duty plastic drop cloth large enough to hold all of your pieces.
- Tie the end of the extension cord and the Super Finish Max cords together in a loose knot. They won’t come apart as you’re moving around.
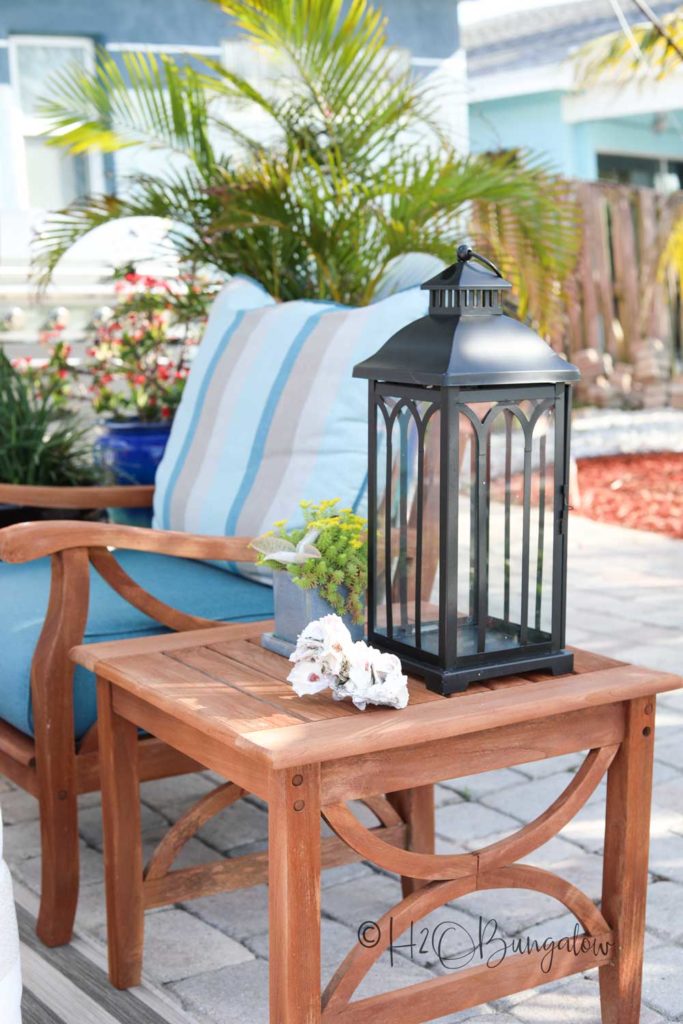
This is what my outdoor teak furniture looks like today. No more sun bleached wood, no algae and white spots. You c an see a lot more of my teak furniture makeover in my Coastal Backyard Makeover Reveal.
The best part is, I’m writing this 3 months after I refinished my teak furniture. Yes, it still looks the same! This is the 4th time I’ve refinished my teak outdoor wood furniture in 7 years and this is the only time the new finish has lasted more than a few months!
I’d appreciate if you’d pin this to save for later, share with your friends who have wood furniture in need a makeover and of course share it on Facebook!

I want thank HomeRight again for sponsoring this post. As a brand ambassador, I’ve worked with HomeRight Paint Sprayers, their SteamMachine and more products for the past 5 years or so. Take a peak at my other DIY projects I’ve made for HomeRight here!
Want to see more Super Finish Max Paint Sprayer projects?
DIY Multi-Colored Plank Wood Wall
How to Paint Wicker Furniture Quickly and Easily
DIY Rustic Headboard Out of Shiplap
Have you tried refinishing outdoor wood furniture before? Try my 3 simple steps on your next outdoor furniture makeover and I think you’ll be thrilled with the results!



dave says
Hi Wendi, What specific Olympic product did you use in the 3-step teak finishing process? Thank you.
Wendi Wachtel says
Hi Dave,
The link was in the post but I see why you couldn’t find it. This is the one I used https://amzn.to/2DgOY7a. It was a much better choice than oiling it yet once again only to have it last a few months! Thanks for your visit!
Cindy says
The furniture looks great. You are so right about some things we age and outdoor furniture age gets to the point of being too much
I Northern NJ the winters destroy outdoor pieces so they get put away.
Cindy
Vanessa says
The furniture and your entire patio all look wonderful. It’s funny how intentionally weathered furniture looks so pretty but when it’s truly ‘weathered’ not so much.
Wendi says
Hi Vanesa!
You’re right, I was thinking that too when redoing this set. We intentionally distress some stuff and love it. When the real thing comes a long it’s not pretty! Go figure! Thanks so much for your note and visit!