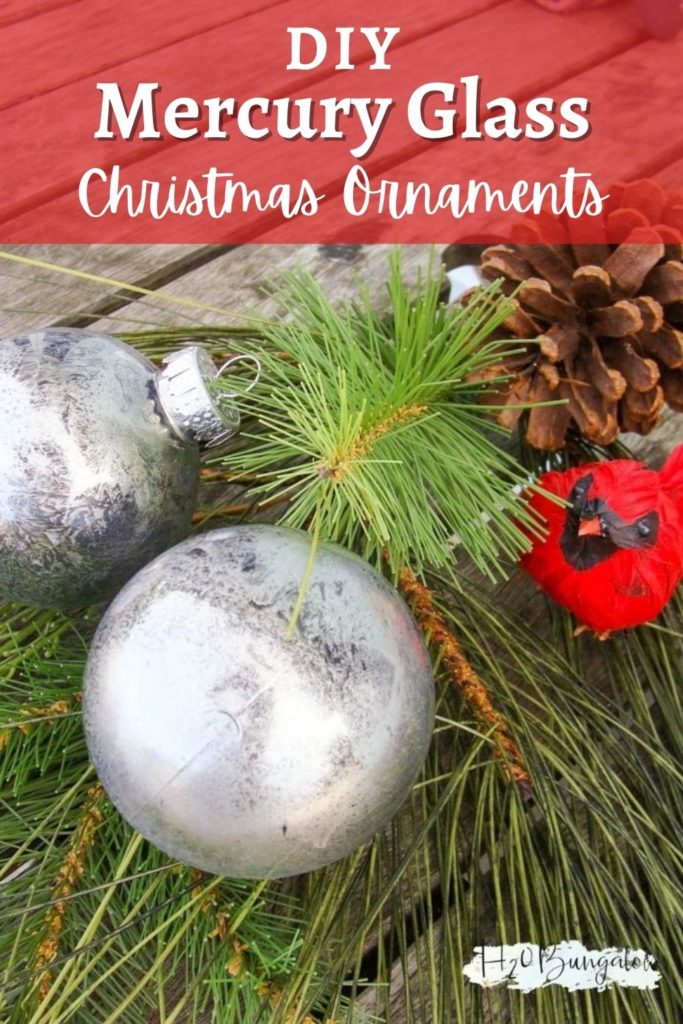
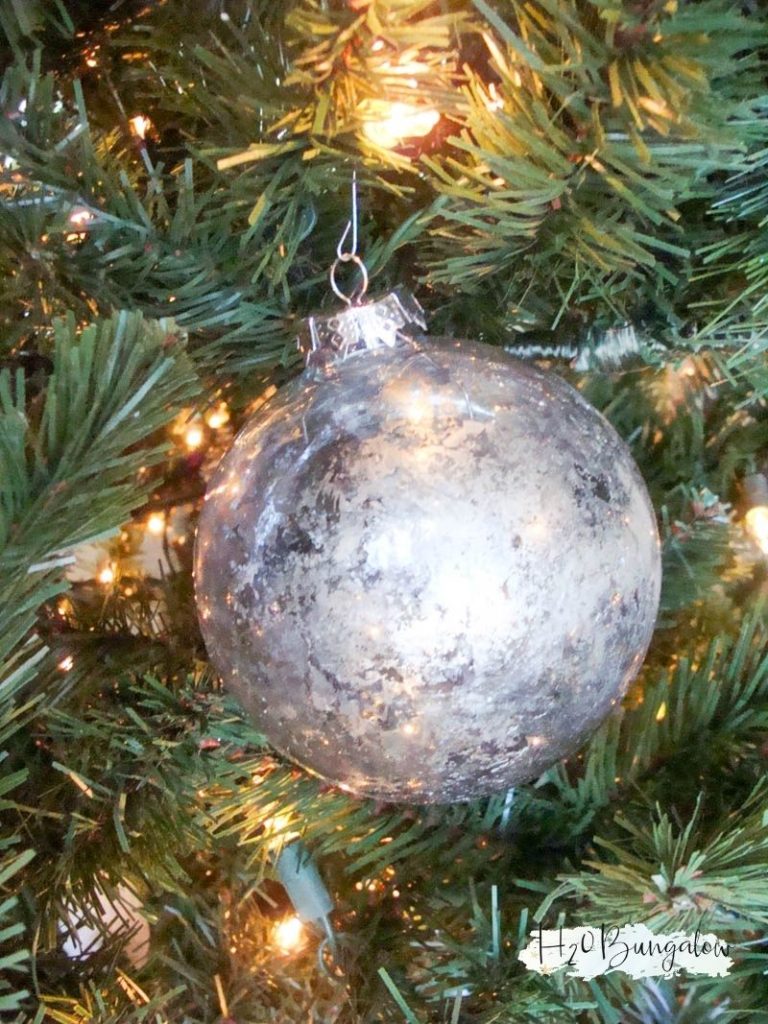
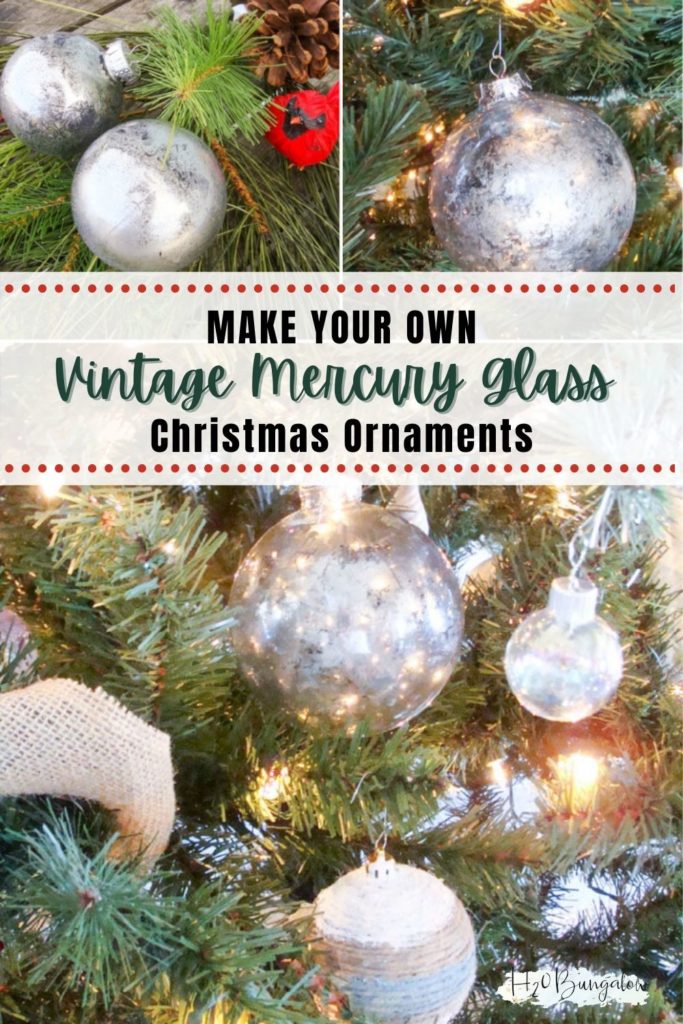
One of my favorite holiday decorations this year are the mercury glass Christmas tree ornaments I made. They add just a touch of vintage glass glam and shine to my tree.
For more DIY Christmas decor check out my DIY wooden snowflake, these cornstarch dough Christmas ornaments, these silver and gold mercury glass ornaments, and my large DIY holiday scrabble tiles.
If you haven’t noticed yet, I’m really into mercury glass this year. I just love the look and really…really have to restrain myself or I’ll keep making more!
I’ve eyed the Christmas ornaments carried by Ballards and Pottery Barn for a while, but wanted to stick to recycling what I already have and keep some “green” in our Christmas decorations.
This technique works great on both glass and plastic. Which surprised me. When finished, both look exactly the same. I like the plastic ornaments for obvious reasons… a few cats and butter fingers me, who dropped one of the glass ornament right out of the box.
This post contains affiliate links, as an Amazon affiliate I earn a fee from qualifying purchases at no additional cost to you. Thank you for supporting H2OBungalow!
This is what you’ll need to make a mercury glass Christmas tree ornament:
- Clear ornament in glass or plastic
- Krylon Looking Glass spray paint
- Black craft paint , optional but adds a lot to the vintage look of the mercury glass ornament
- Water and vinegar mix in equal parts in a misting bottle. Dollar Tree has good misting bottles for $1.
- Paper towels
A few weeks ago I posted two variations of making vintage mercury glass. Follow the steps for using the Krylon Looking Glass version. Click here to read the post. If you’re already familiar with the technique or just feel like jumping right in then here’s how I made my mercury glass Christmas tree ornaments.
Start with a clean, dry ornament. Take the hanger bracket off of the top. Spray a light layer of the Looking Glass spray over the entire ornament.
Immediately spritz with your water/vinegar solution and dab with a crumbled up paper towel.
Follow this step 2-3 more times and allow to dry in-between coats. I turned each ornament upside down on a wooden skewer to dry in-between layers.
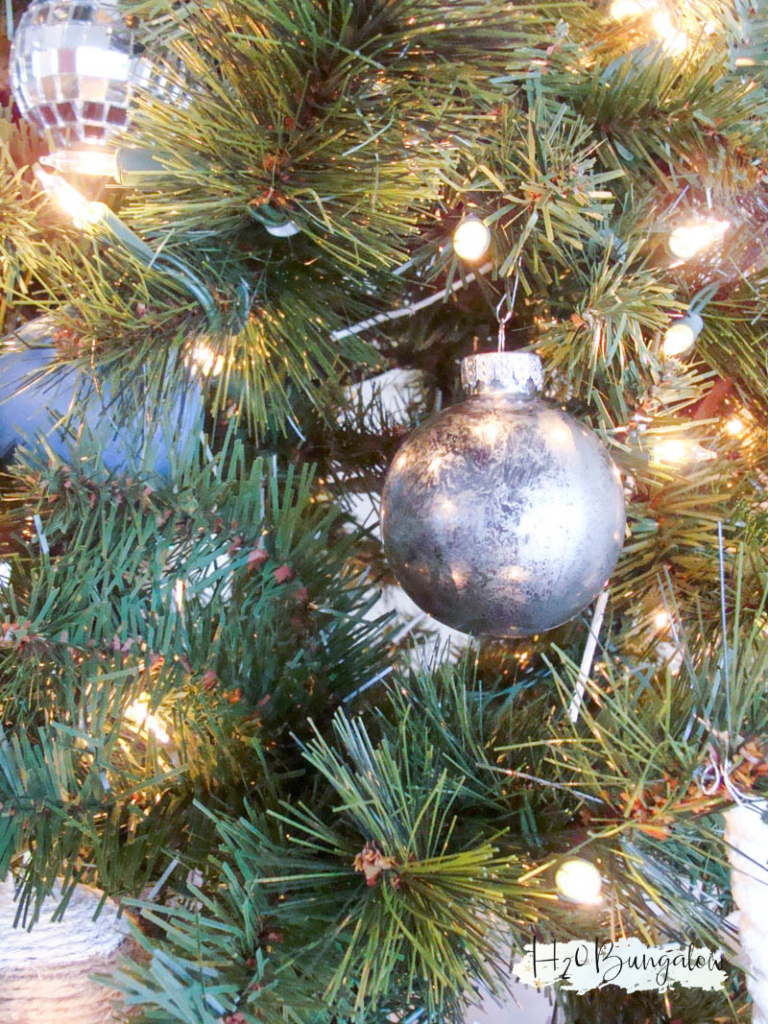
If you want the mirrored effect like vintage glass that lost some of the mirror backing then use the black craft paint.
Pour some paint into the ornament. Use your finger to cover the opening and shake it to coat the entire inside of the mercury glass ornament.
Pour out the excess paint and let it dry. Once it’s completely dry put the hangar back onto your ornament. Adding the black paint made a big difference in the depth of the finish. With or without the black paint they are so pretty!
I’m happy with my new mercury glass Christmas tree ornaments and love that I re-cycled what I had and still got the look of some of my favorite stores!
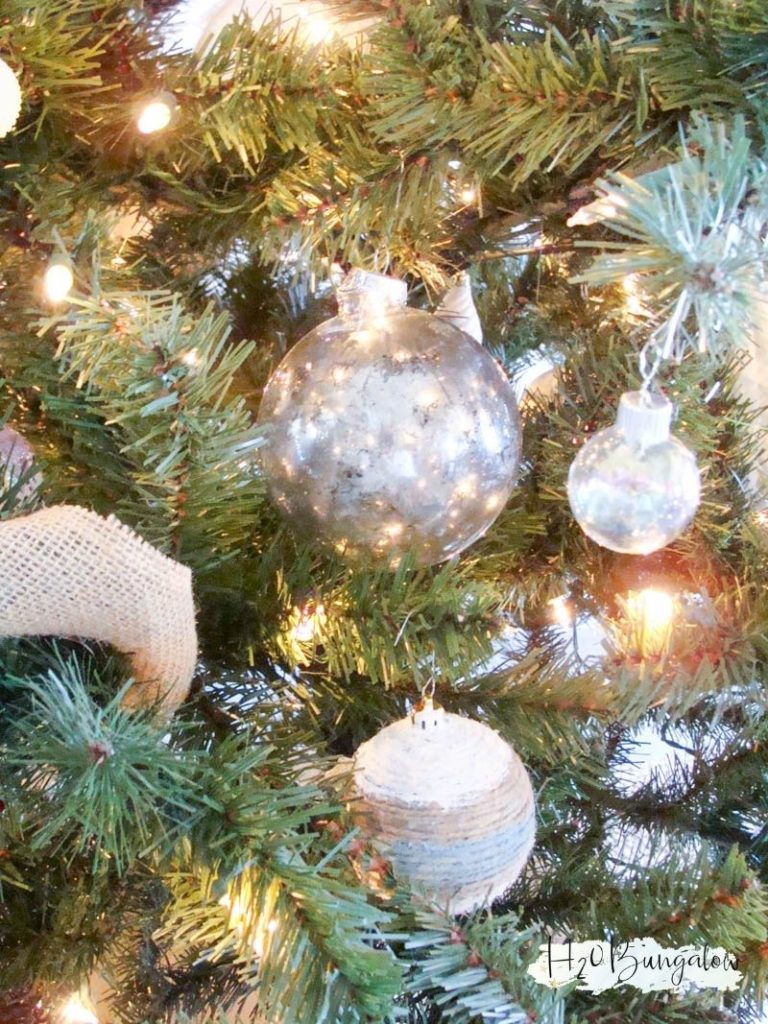
What’s next? I’m sharing the tricks the pro’s use for decorating those fabulous trees you see in department stores! It’s so easy to get the look once you know these tips!
Are you a “real tree” person or do the “faux” tree route? What’s your biggest challenge with your tree?
Don’t miss a single creative idea I share! Click here to get my posts sent to your mailbox or follow here on Bloglovin. Either way, keep in touch!
You may see me linked up to some fabulous link ups which you can see here.
Pin the Mercury Glass Christmas Ornaments to Pinterest!
katie says
Love the mercury glass Christmas ornaments!
Wendi says
Thanks Katie! They look terrific on the tree! Happy Holidays & Thanks for stopping by!
Marie@InteriorFrugalista says
You are so talented Wendi and I have to say, you take great pictures of your projects too! Love these and you’ve inspired me to try something using the black undercoat method. Have a creative day!
Wendi says
Marie,
Thank you so very much! It’s all such a learning experienece! The black undercoat on the ornaments was the finishing touch. I love them…wish I had time to make a bunch more:) Thanks for stopping by!