Hi friends! I have an easy fall home decor project to share with you today. I made this DIY birch bark picture frame and a birch covered ampersand this week.
They were inexpensive and easy to make. I love birch bark project ideas, don’t you?
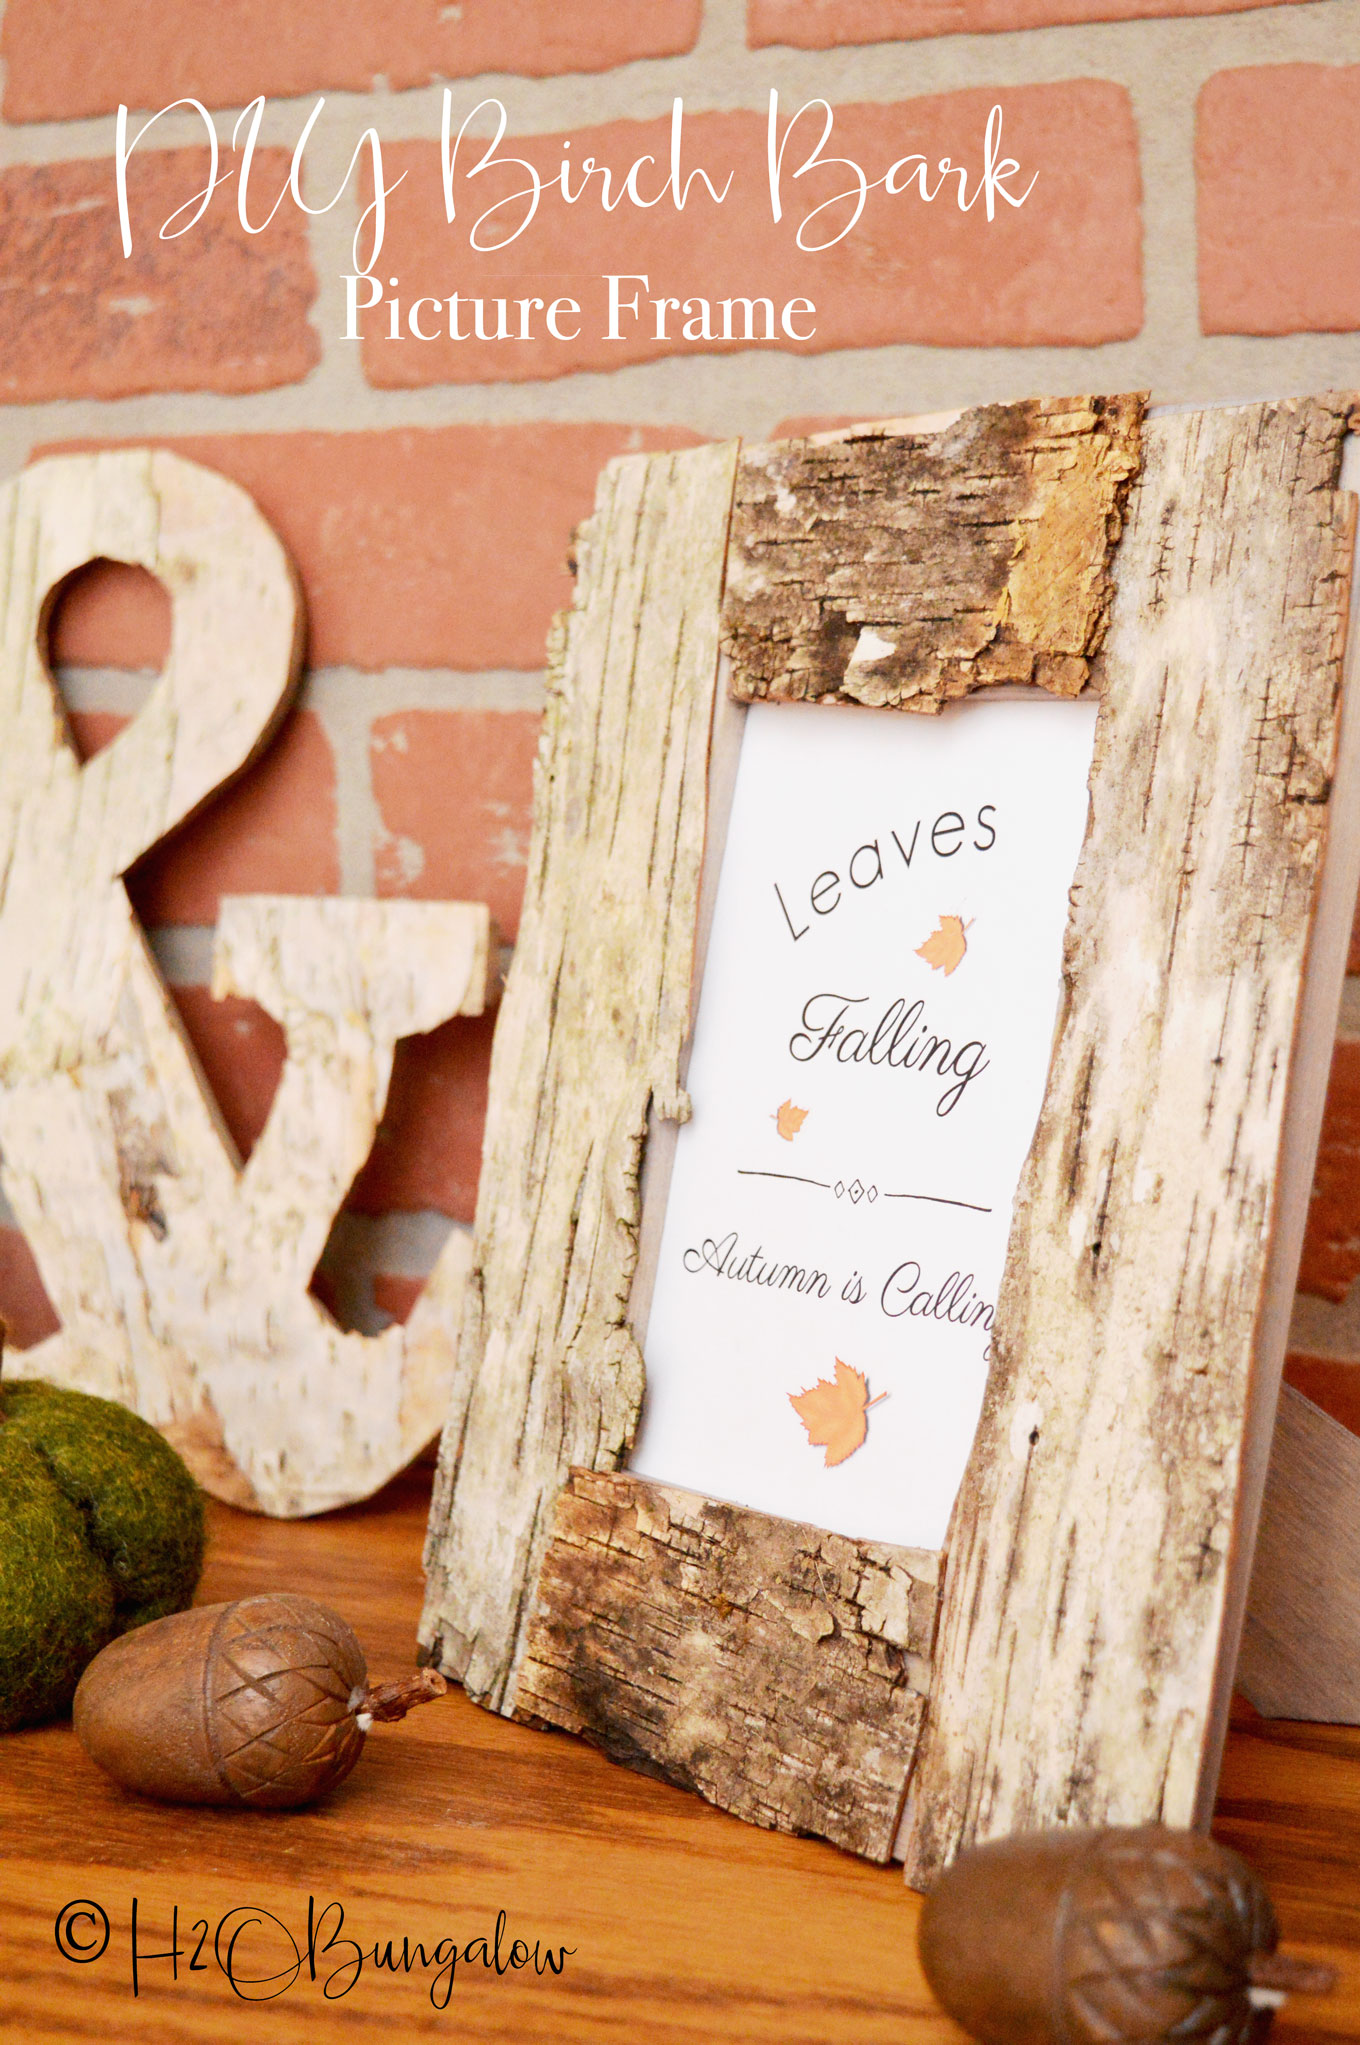
How to Make a DIY Birch Bark Picture Frame
This post contains affiliate links, as an Amazon affiliate I earn a fee from qualifying purchases at no additional cost to you. Thank you for supporting H2OBungalow!
Download my free Autumn is Calling printable to use in your picture frame.
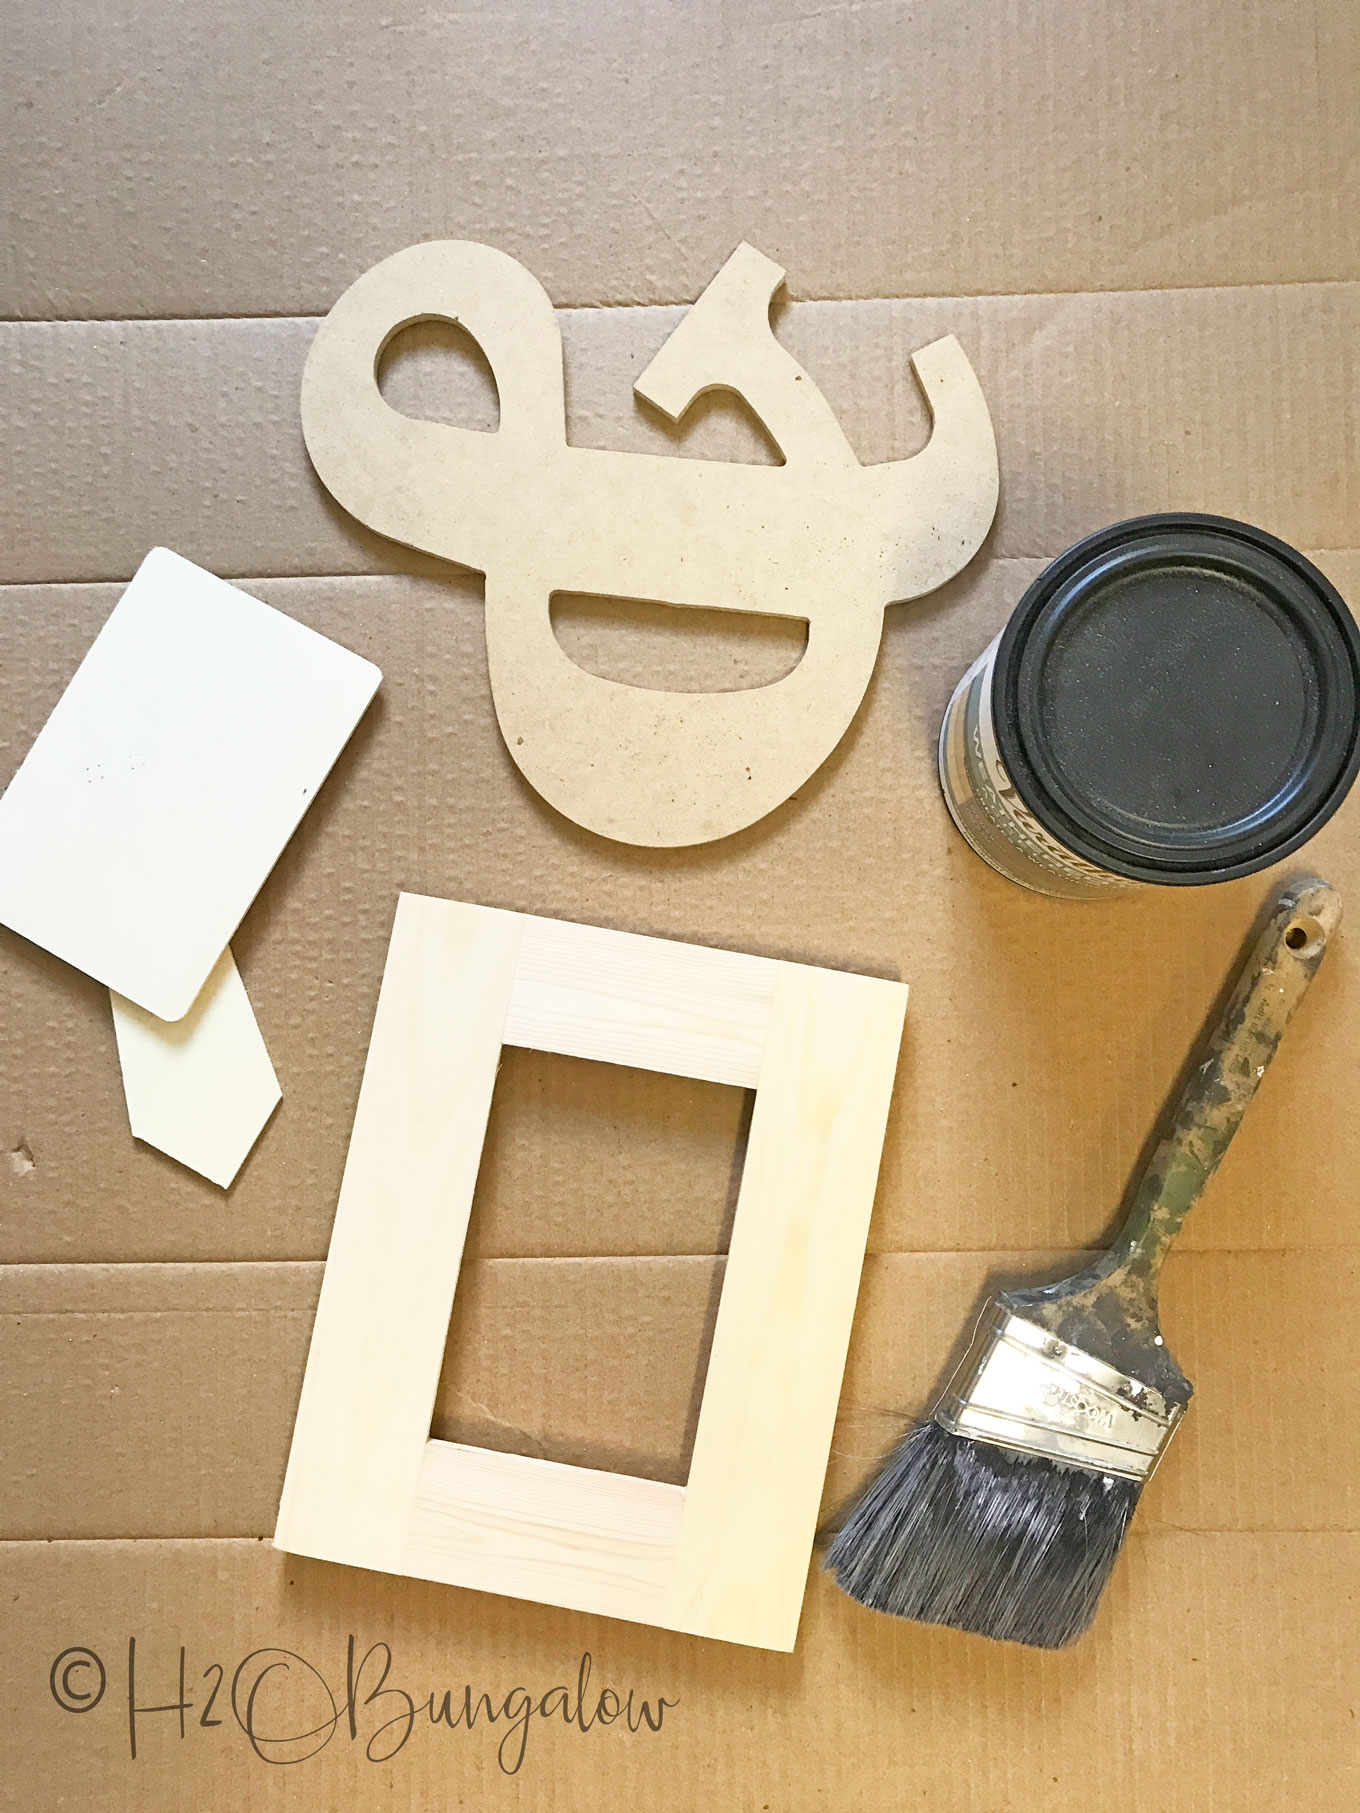
Here are the supplies I used to make a birch bark frame
- 4 x 6 unfinished wood craft frame
- birch bark – I found mine in the woods. You could skip the walk and mess and use this prepackaged thin birch park strips or these sheets of bark.
- wood glue
- Varathane Weathered Wood Ager
- paint brush
- utility cutter with snap off blade – I’ve been using this one and like it
- sharp scissors
Step One – darken the wood by putting on a coat of the wood ager.
This stuff is thin like water, use a drop cloth or cardboard to protect your work surface.
You’ll need the wood to be completely dry before moving on to the next step. I let it sit overnight inside to dry.
Step Two – Prepare the bark.
For the bark picture frame I peeled the extra course bark off of the outer layer of the bark.
For the ampersand I peeled all the woody stuff off of the the back of the bark. That left me with thin and pliable pieces of the pretty white outer layer of the bark.
If you need to soften the bark to peel the layers back just soak it in a bucket of water overnight.
Step Three- Cut or break the birch bark to the sizes you need.
For the DIY birch bark picture frame I used scissors to cut the shape of bark I wanted, which was two long sides and two short pieces for the top and bottom. I used random shapes of torn thin bark for the ampersand.
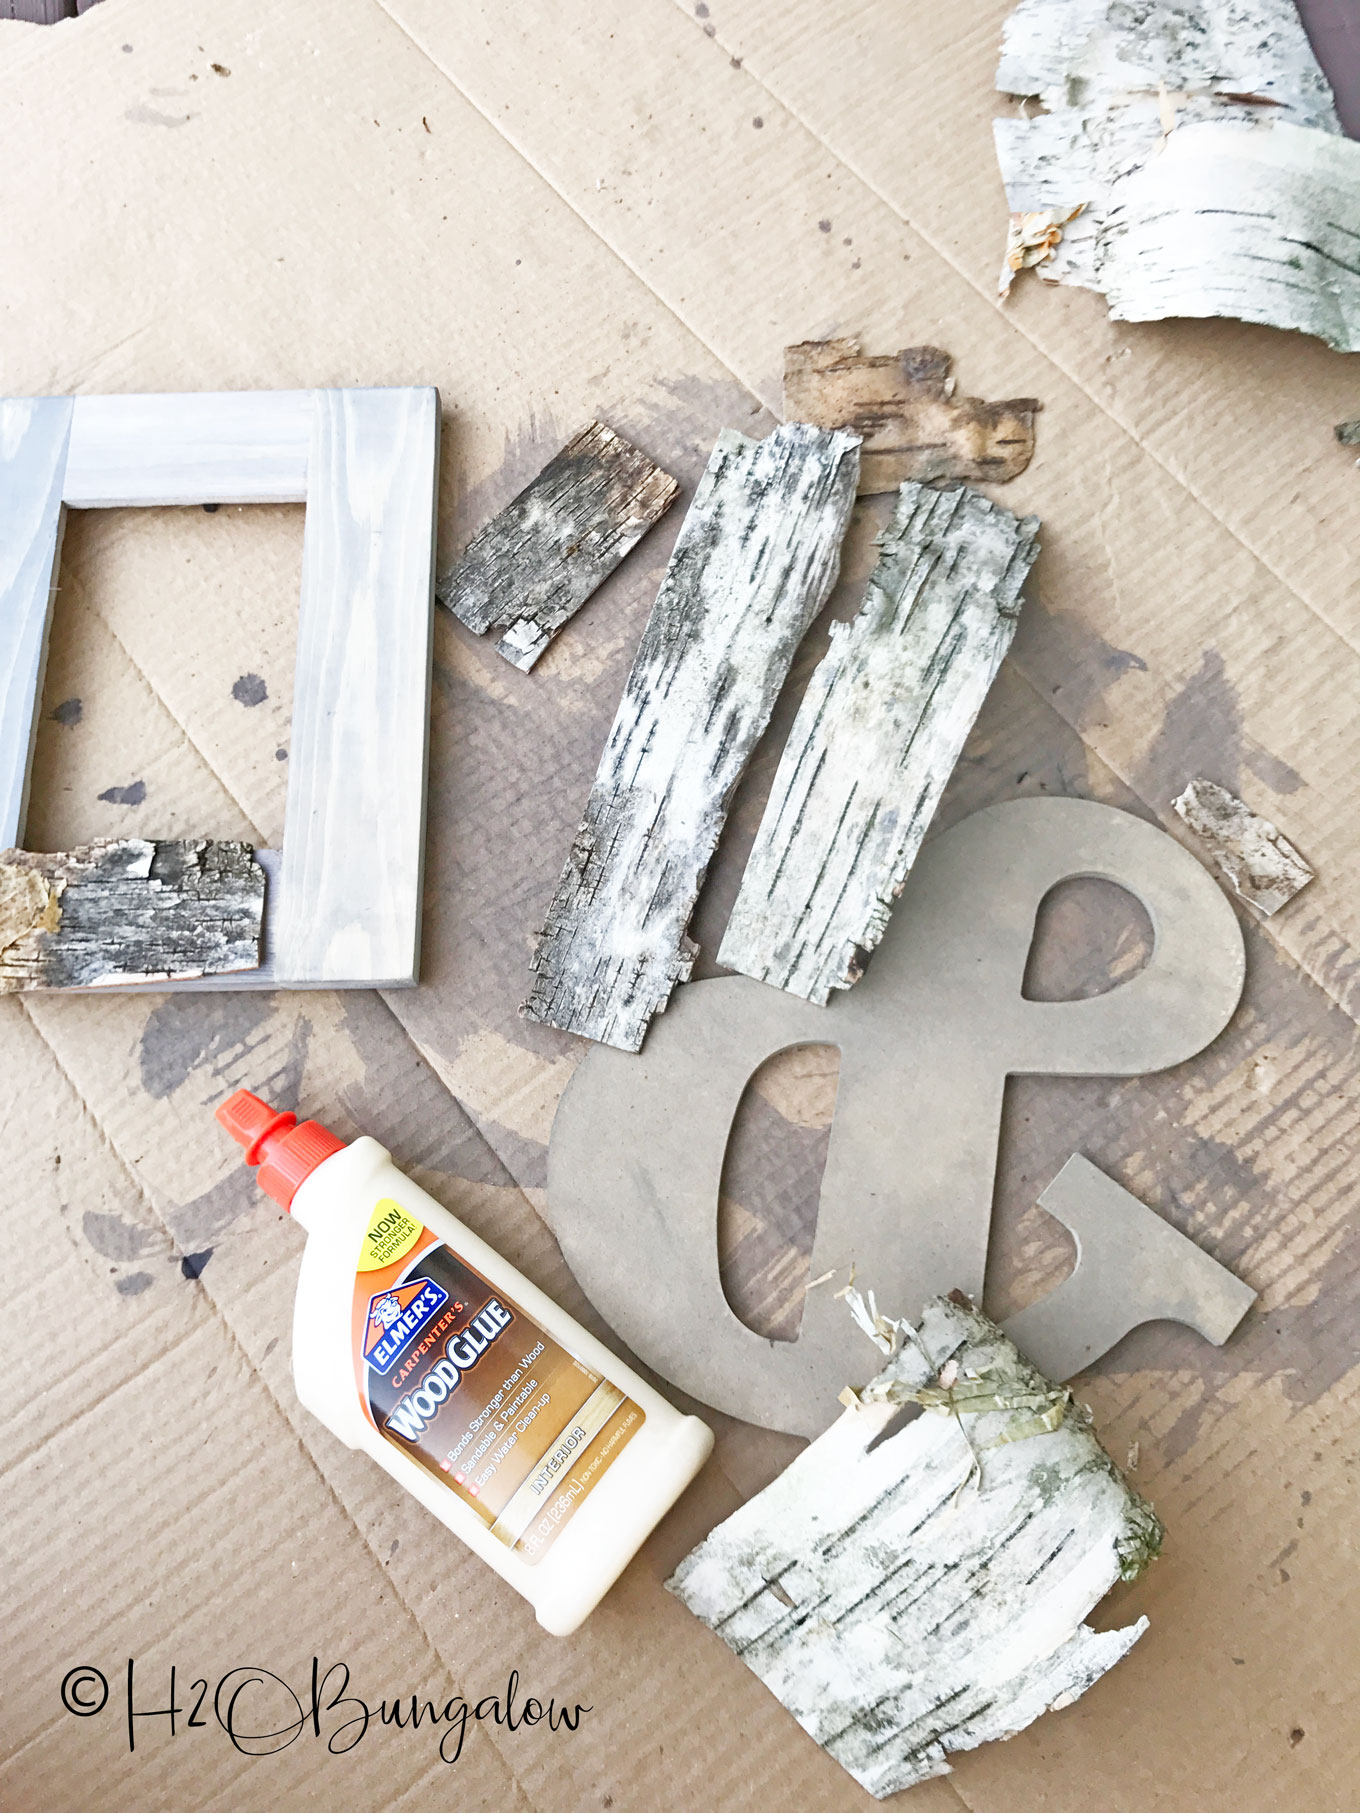
Step Four- Glue the bark onto the wood frame.
Spread the glue evenly on the wood craft frame and lay the bark pieces in place. Weigh it down with a large flat item and let the glue dry.
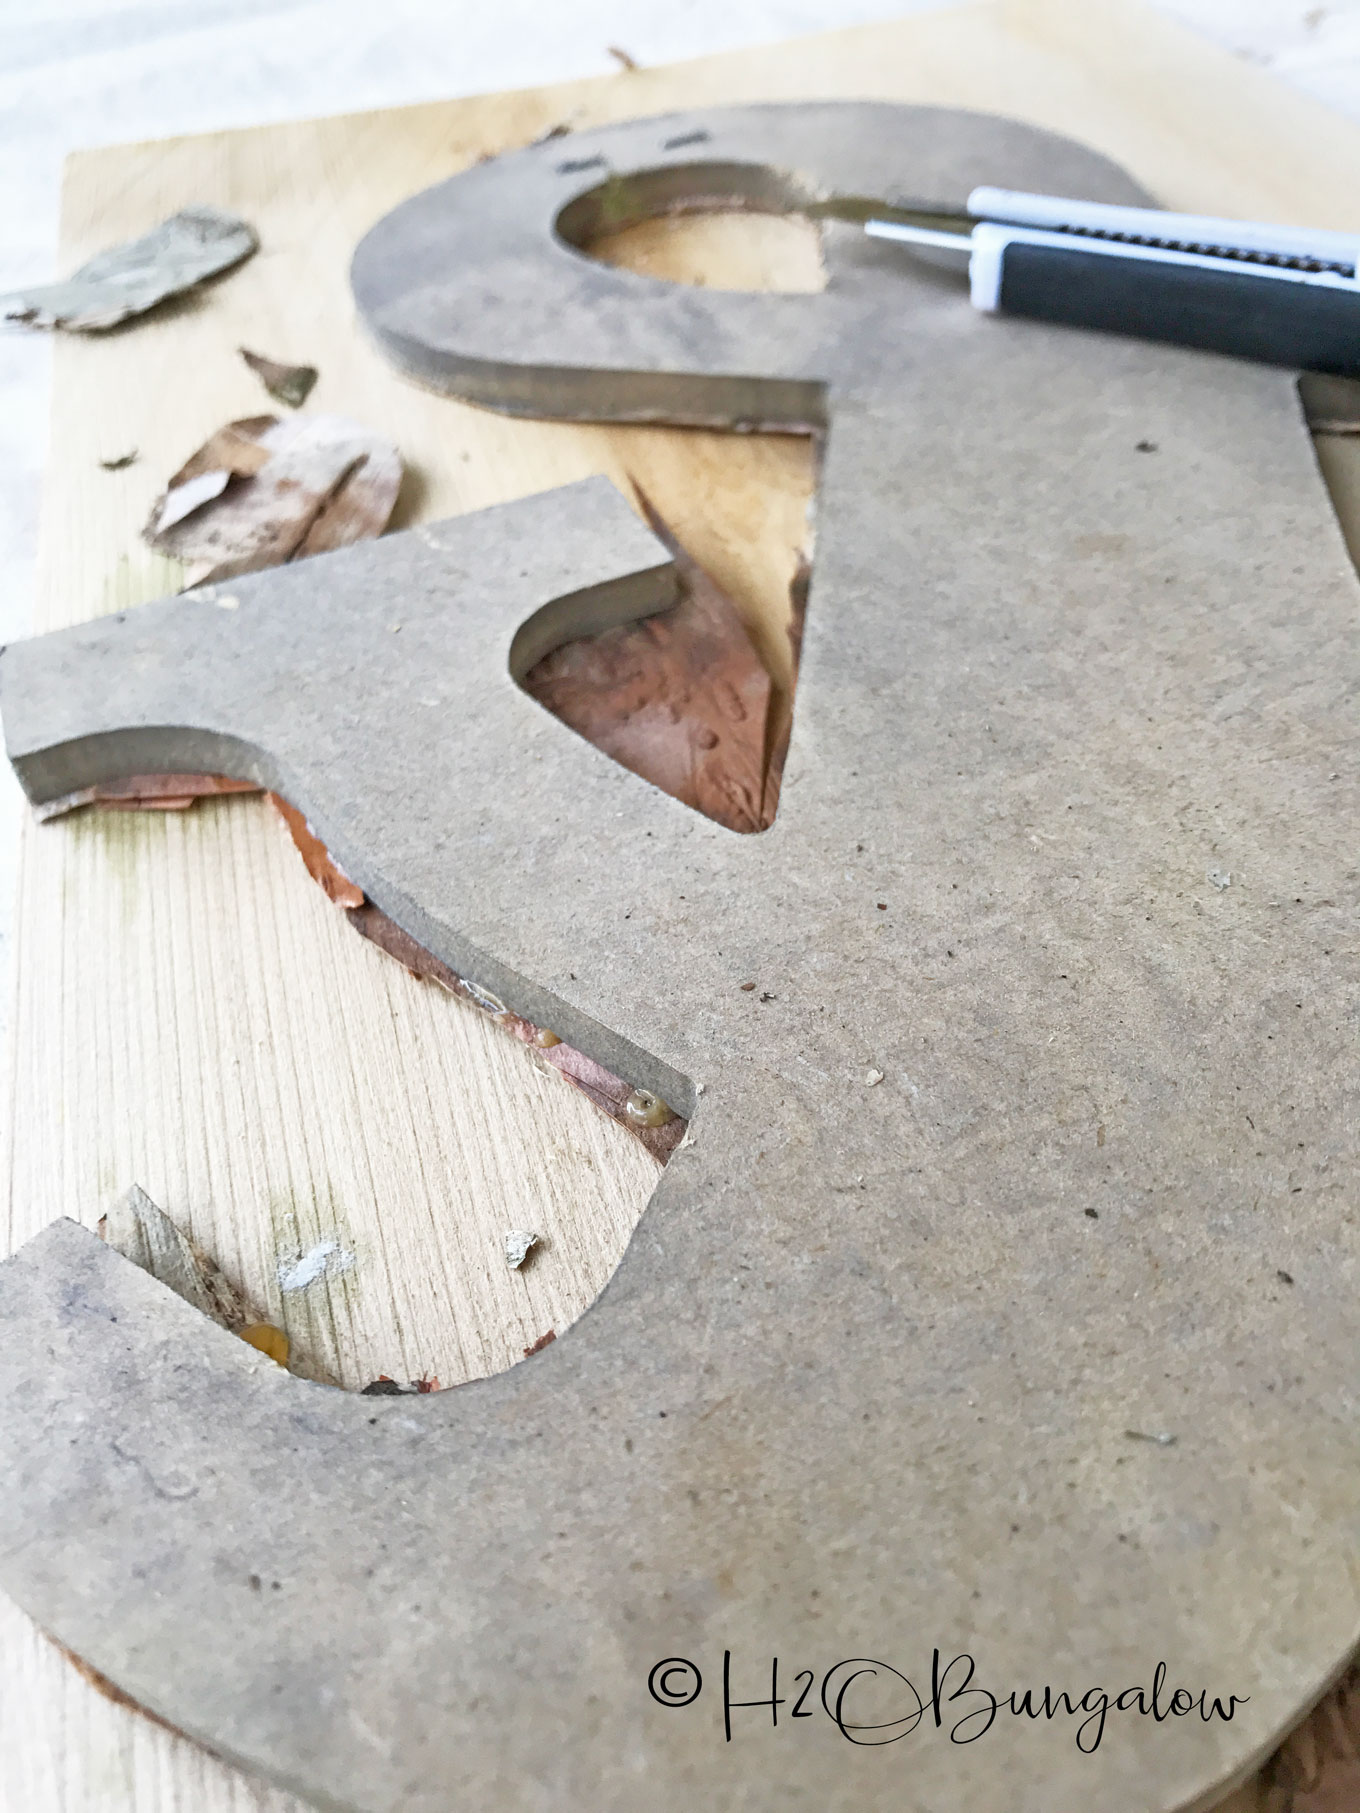
Step Five- Cut the excess bark off of the edges of the birch covered photo frame.
I used scissors to cut the bark off of the outer edges and a craft knife to carefully cut the inside edges out.
Isn’t this the cutest fall project? I made the printable to put on the inside. I think a fun family photo would look good too.
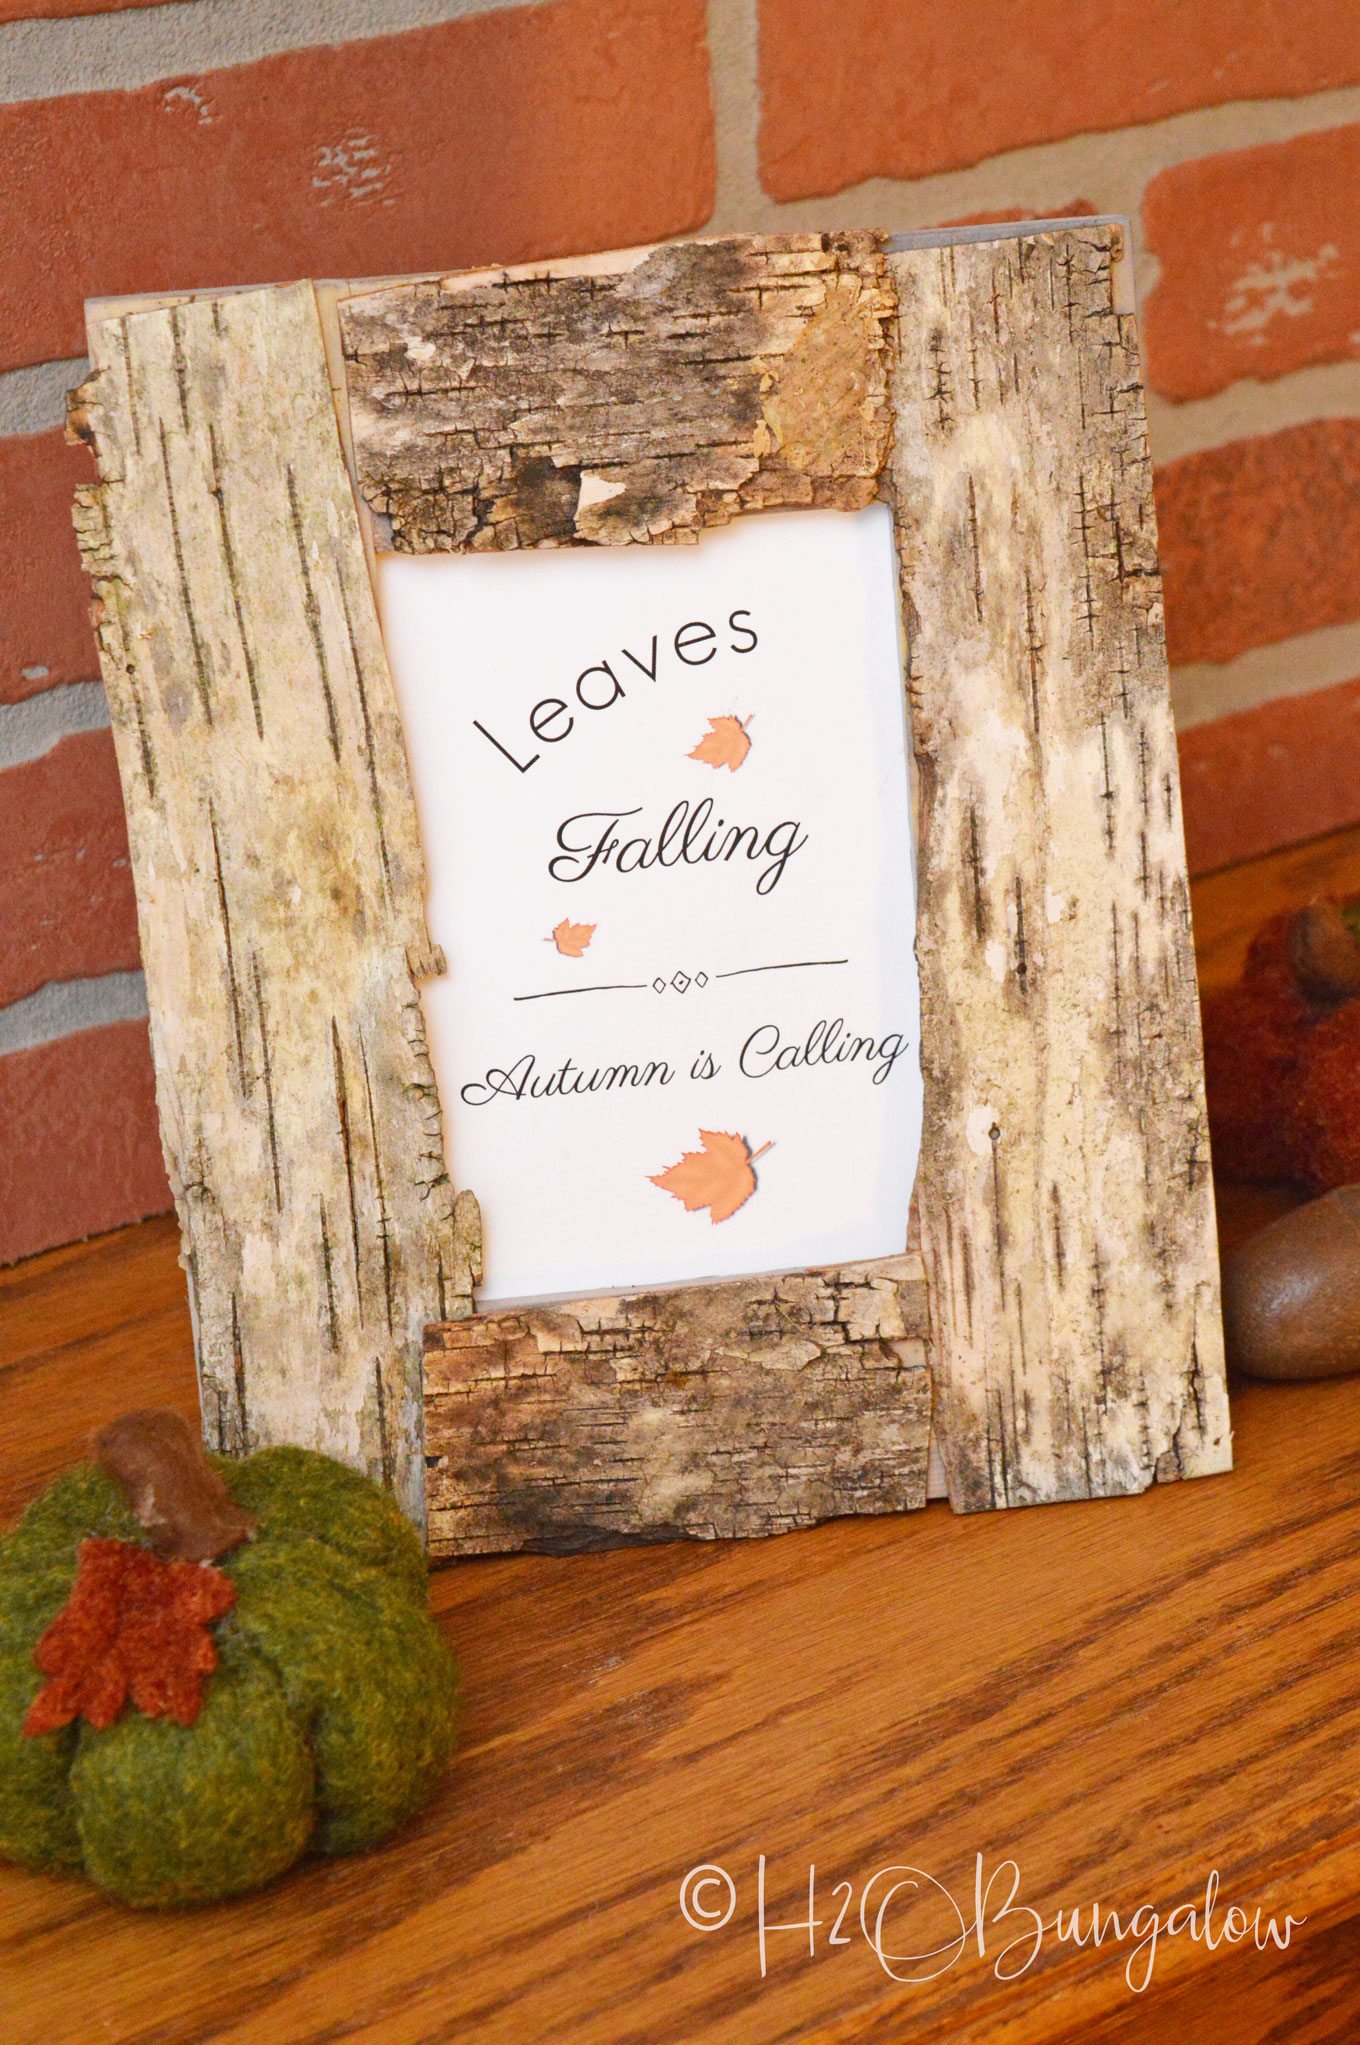
I think either of these would make sweet gifts.
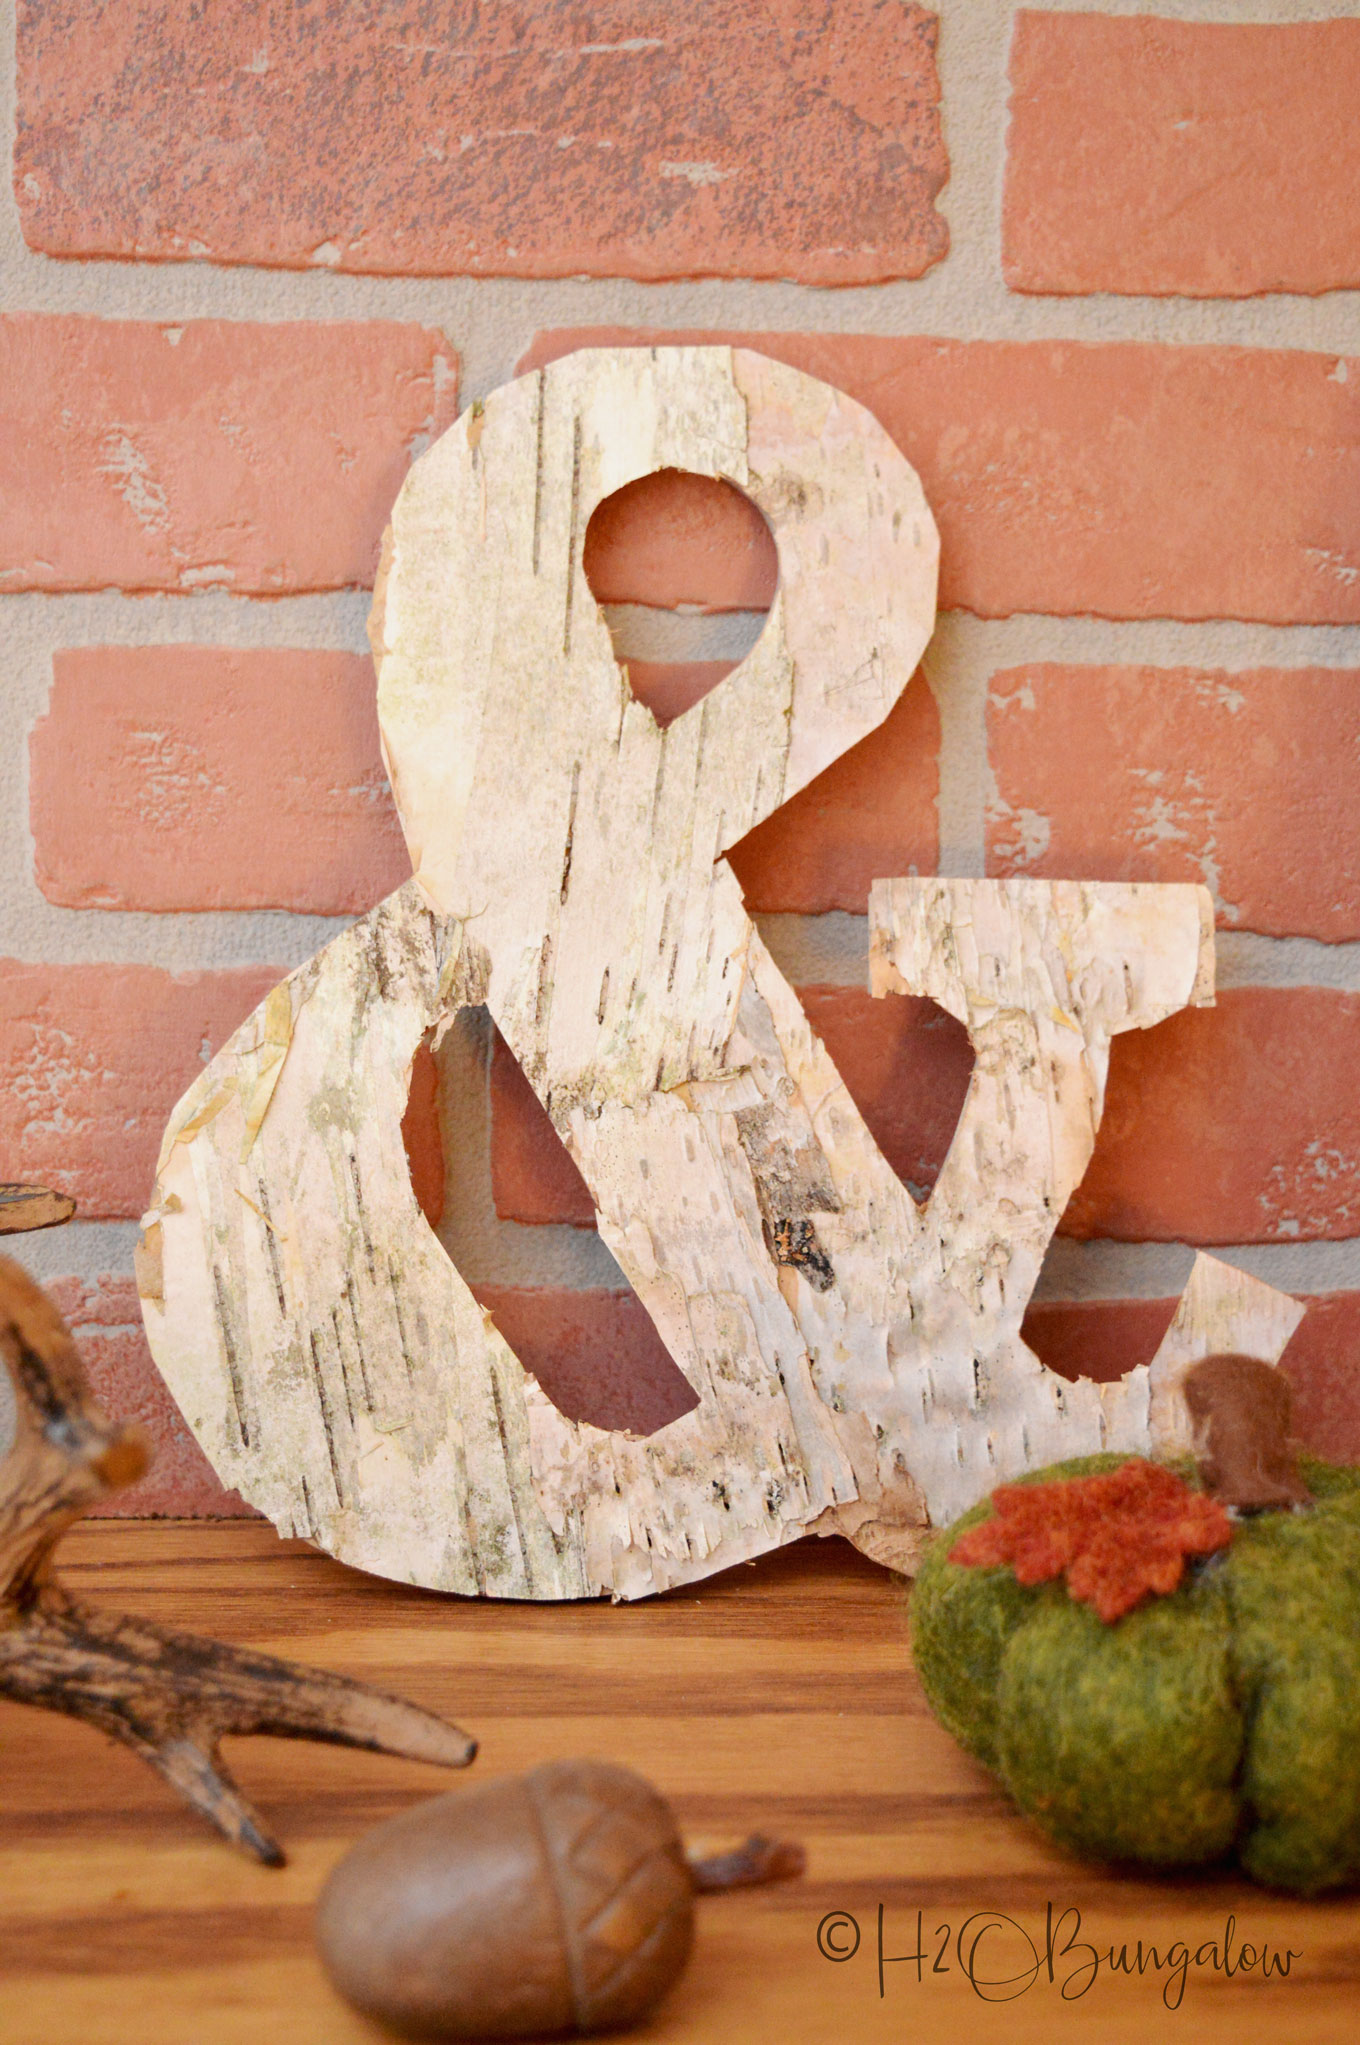
I mentioned earlier that I love DIY birch bark craft ideas. Last year I made this DIY Birch Bark Candle Holder It’s still one of my all time favorite fall projects. You might also like these DIY Birch Bark Pumpkins I made.
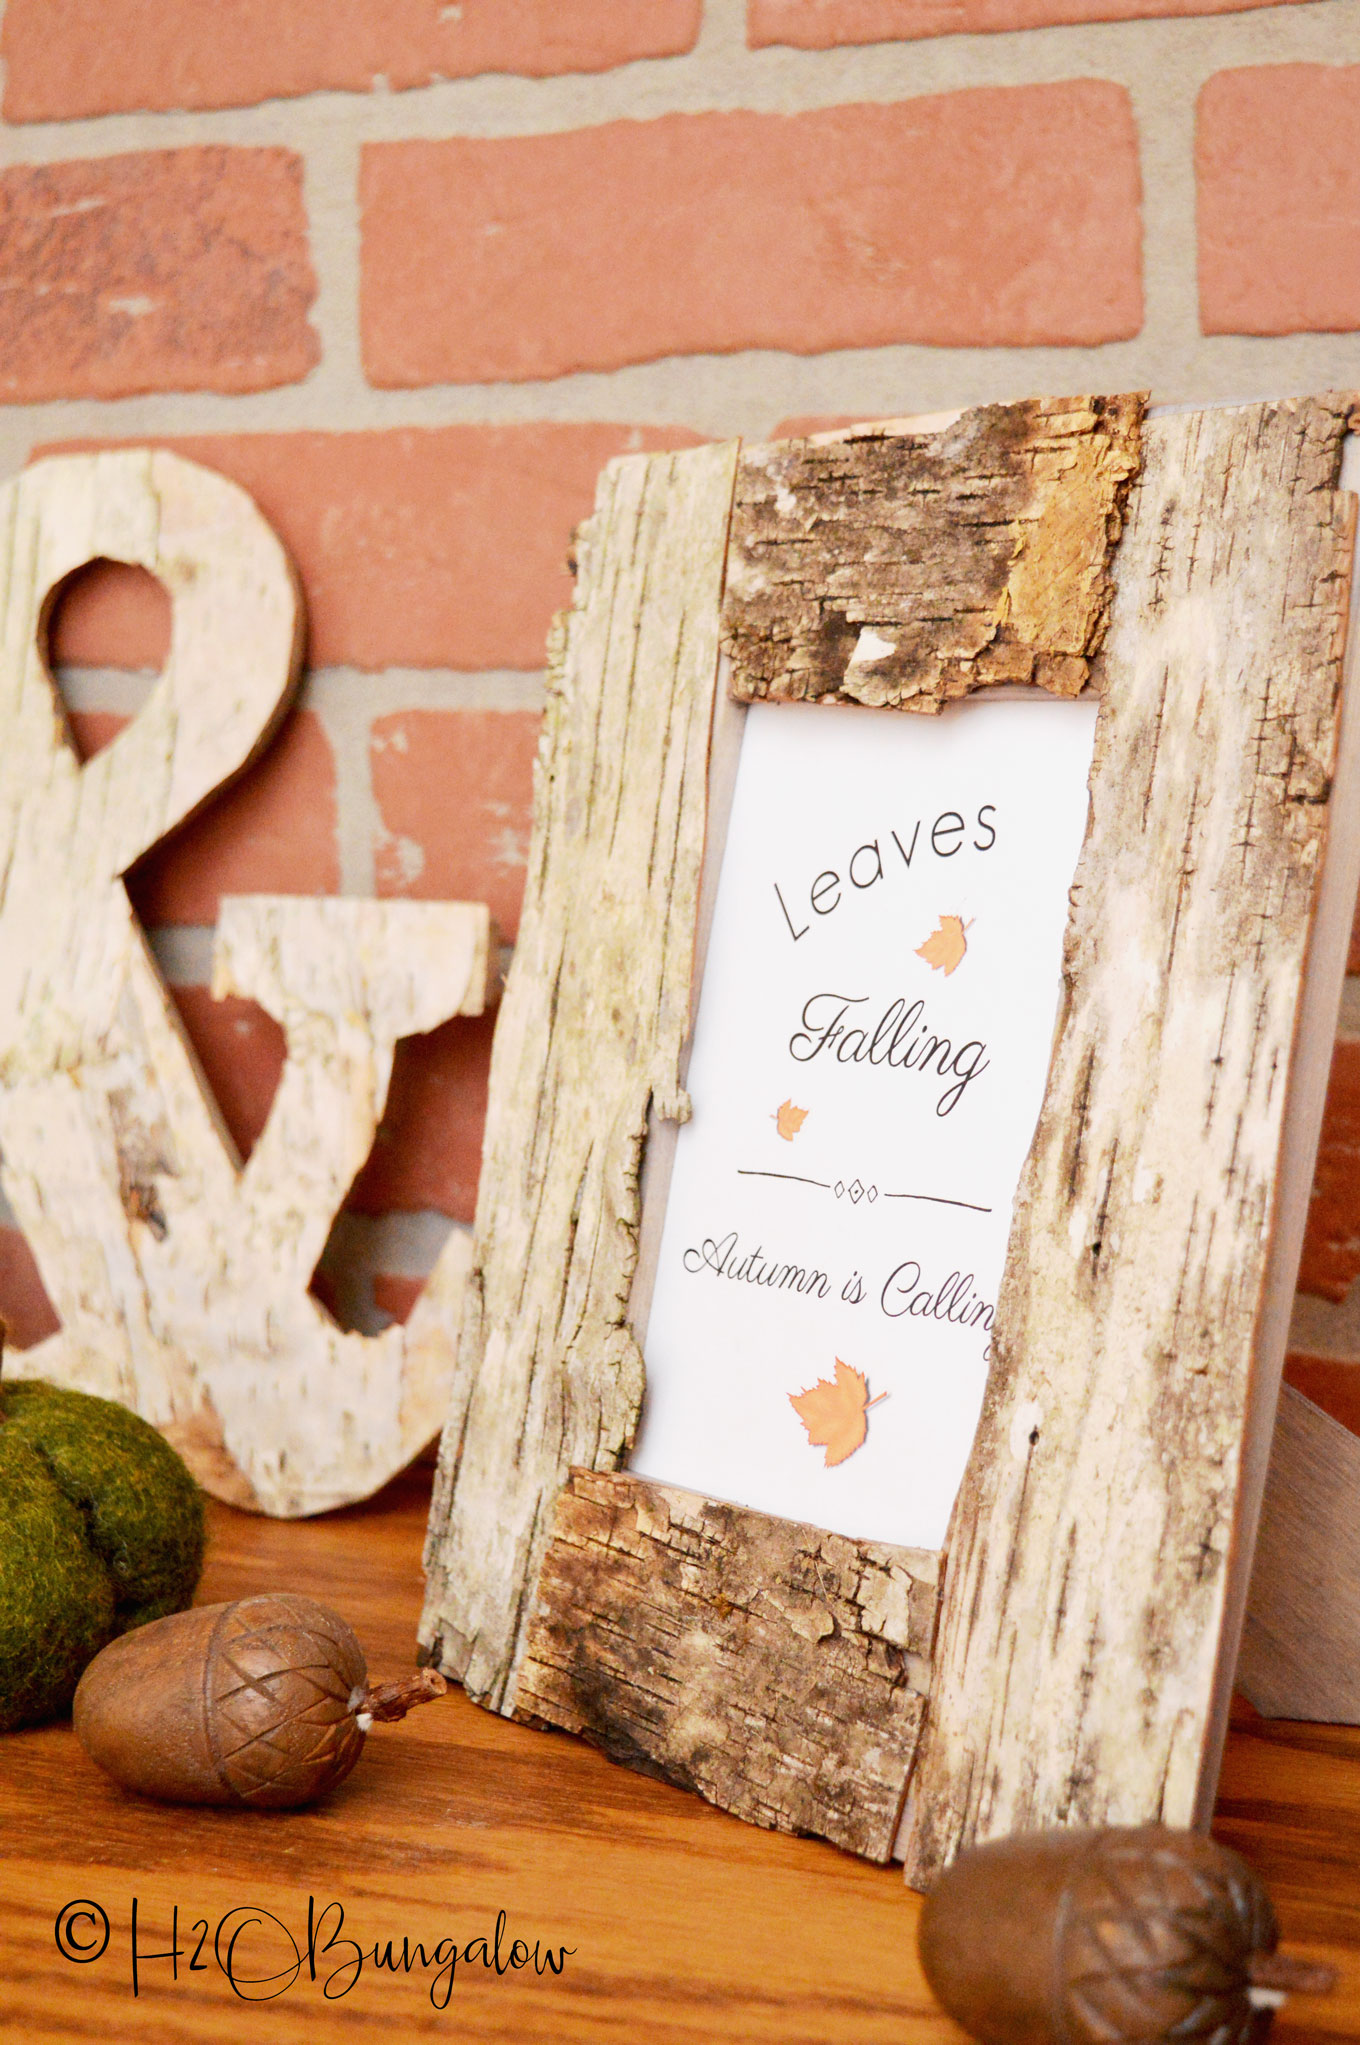
I have a place to put these in the North House Lodge, it’s just not ready yet. It will be soon though, and I can’t wait to share it with you!
Share my DIY birch bark picture frame on Pinterest!
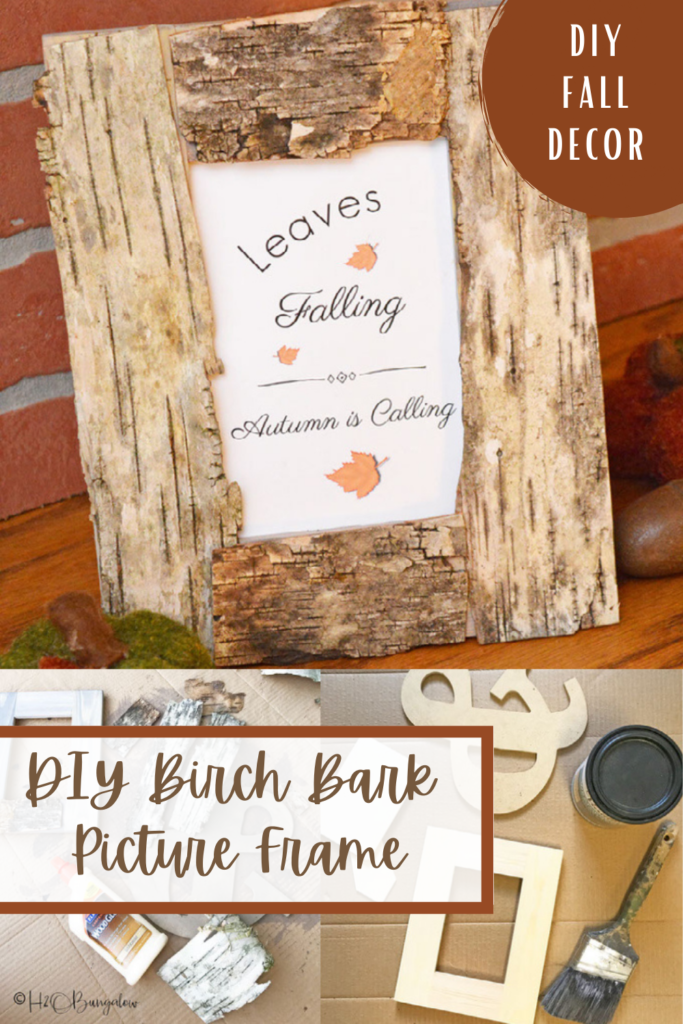
Is it feeling like fall where you are yet? Do you have a place in your home for a fall project like my DIY birch bark picture frame? What would you put in it?

Kim~madeinaday says
So pretty I love it! Thank you for sharing on Merry Monday! Hope to see ya next week! Sharing on Fb & Twitter
Kim
Wendi says
Hi Kim and thank you! This was a fun project..Ha, they are all fun or at least most are. I feel blessed to be able to do this on an every day basis. Thanks so much for hosting and sharing my project too!
FLORENCE @ VintageSouthernPicks says
What a creative idea Wendi! The bark really makes that frame pop. Think I’ll give that a try with my river birch, which always sheds.
Wendi says
Hi Florence and thank you! River birch sounds perfect! I wish I had access to birch all of the time I could make up so many more projects. I usually pick up the bark off of fallen trees when I’m walking in the woods. Have fun making some!
Linda at Mixed Kreations says
Very pretty Wendi! I love the look of birch bark. You did a fabulous job on it. Would make a wonderful gift, and nice that it’s easy to make.
Wendi says
Hi Linda and thank you:) I should heed my own words and make several of these for gifts this year 🙂 They are very easy to make and look great in practically any decor!
Marie says
I really like the rustic charm of these, Wendi! Pinned
Wendi says
Hi Marie and thank you! These would look great in your part of the woods too 🙂 Do you have birch trees in Canada? Thanks so much for sharing my project!
Marie says
We sure do, in fact, I had one in our front yard for years before it got diseased. I still have the logs in the woodpile so you know what I’m going to be doing with that bark! Thanks for the inspiration.
Wendi says
Awesome Marie! I have a few logs here in the shed too! I pulled them out of the wood pile so I could find a better use for them 🙂 I’m sure yours will be fabulous!!
Marie~The Interior Frugalista says
Hi Wendi, just wanted to let you know that your awesome DIY Birch Bark Picture Frame is my feature this week at the Talk Of The Town party!
Wendi says
Hi Marie! Thank you so very much for featuring my birch bark project! I loved making this and it was so simple too. I’m happy you liked it and hope your readers do too:) Thanks so much my Friend!
Serena @ Thrift Diving says
These are adorable! And so easy to make. Everyone needs a little 30-60 minute craft in their day! 🙂
Wendi says
Hey Serena… You are SO right! Everyone needs a little easy in their month. I need to find more 30 minute crafts and decor projects to share. I’m loving the quick gratification, I think we all need more simple in our lives:) Thanks so much for your visit!
Ivory says
Beautiful! I love this.
Wendi says
Thanks so much Ivory! I want to make more now that I have the process down pat. I hope you make one too. Thanks so much for your note!
Patty says
So cute and you are so right they would make great gifts.
Wendi says
Hi Patty and thank you! It was so easy to make too, they both were actually! Share a picture if you make any birch bark projects:) Take care!