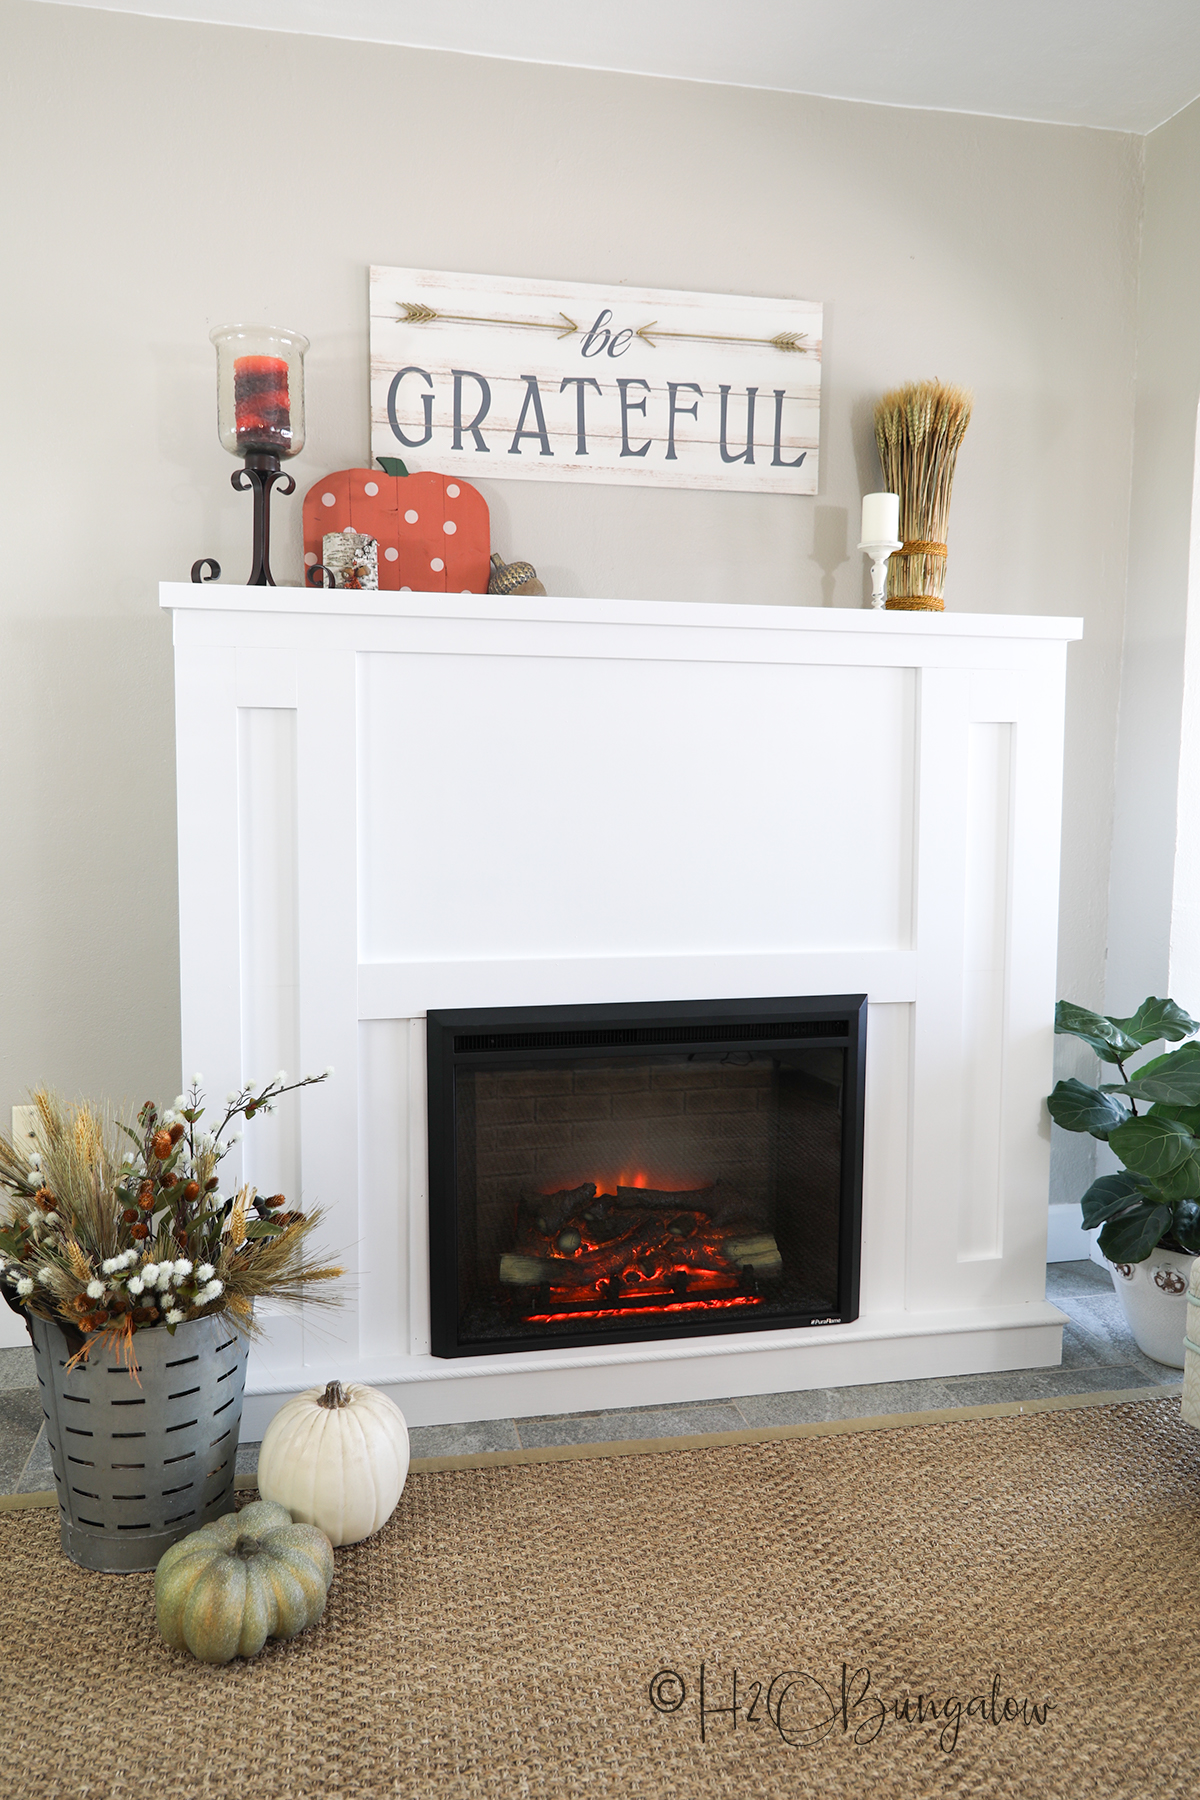
Today’s project, how to build a DIY fireplace with electric insert is such a great way to add warmth and coziness to a room. Yes friends, I’m sharing how to make a fake fireplace with a DIY mantel using an electric fireplace insert that works with or without heat. I know what you’re thinking… How good could a faux fireplace really look?
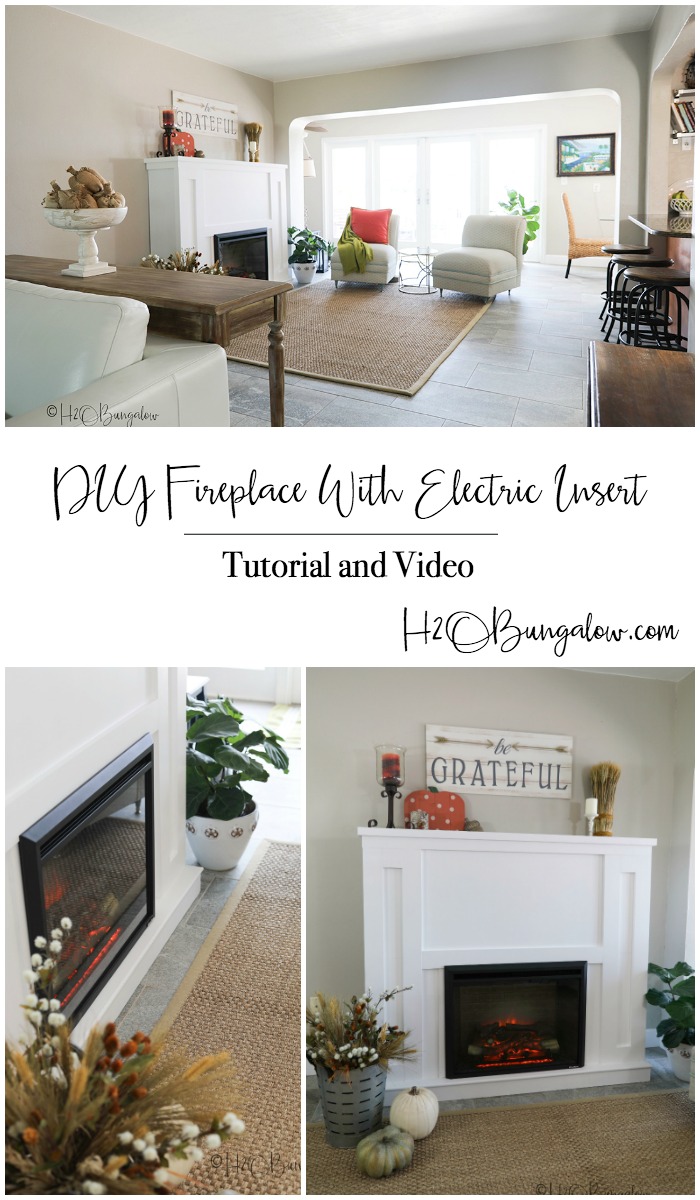
Well, take a peek below at my DIY fireplace plans and finished project and you be the judge. I also made a video of my how to build a faux fireplace with an electric insert to make this project even easier to follow. *Update* I’ve just added a DIY Faux Stone Fireplace Chimney tutorial and video. I’m wondering now why I waited so long to build this!
This project was one of my top diy projects for 2018
This post is sponsored by Finished Elegance. All opinions and project ideas are my own. You can read my full disclosure policy here. Thanks for supporting the brands that help to maintain H2OBungalow!
To me, a fireplace adds a welcome home coziness factor like nothing else. Imagine how excited I was when Woodgrain offered to sponsor this project! I’ve love Woodgrain trims and have used their products in several other projects. My gorgeous DIY Craftsman Window Trim Tutorial was built with Finished Elegance, a prefinished trim by Woodgrain that’s a huge timesaver not to mention gorgeous!
Woodgrain products can be found at Home Depot in the wood trim department. I have to warn you though, as you stroll through the store’s selection, your head will fill up with an abundance of cool home DIY projects!
Tips for Planning a DIY Fireplace in Your Home
Selecting a location for your faux fireplace.
You will need an electrical plug located inside your DIY fireplace frame. You’ll also need to cut a section of your baseboard out so your DIY Fireplace will mount flush to the wall. Also important is that aesthetically, you’ll want to select a location where your fireplace can be a focal point in your room.
How to choose an electric fireplace insert.
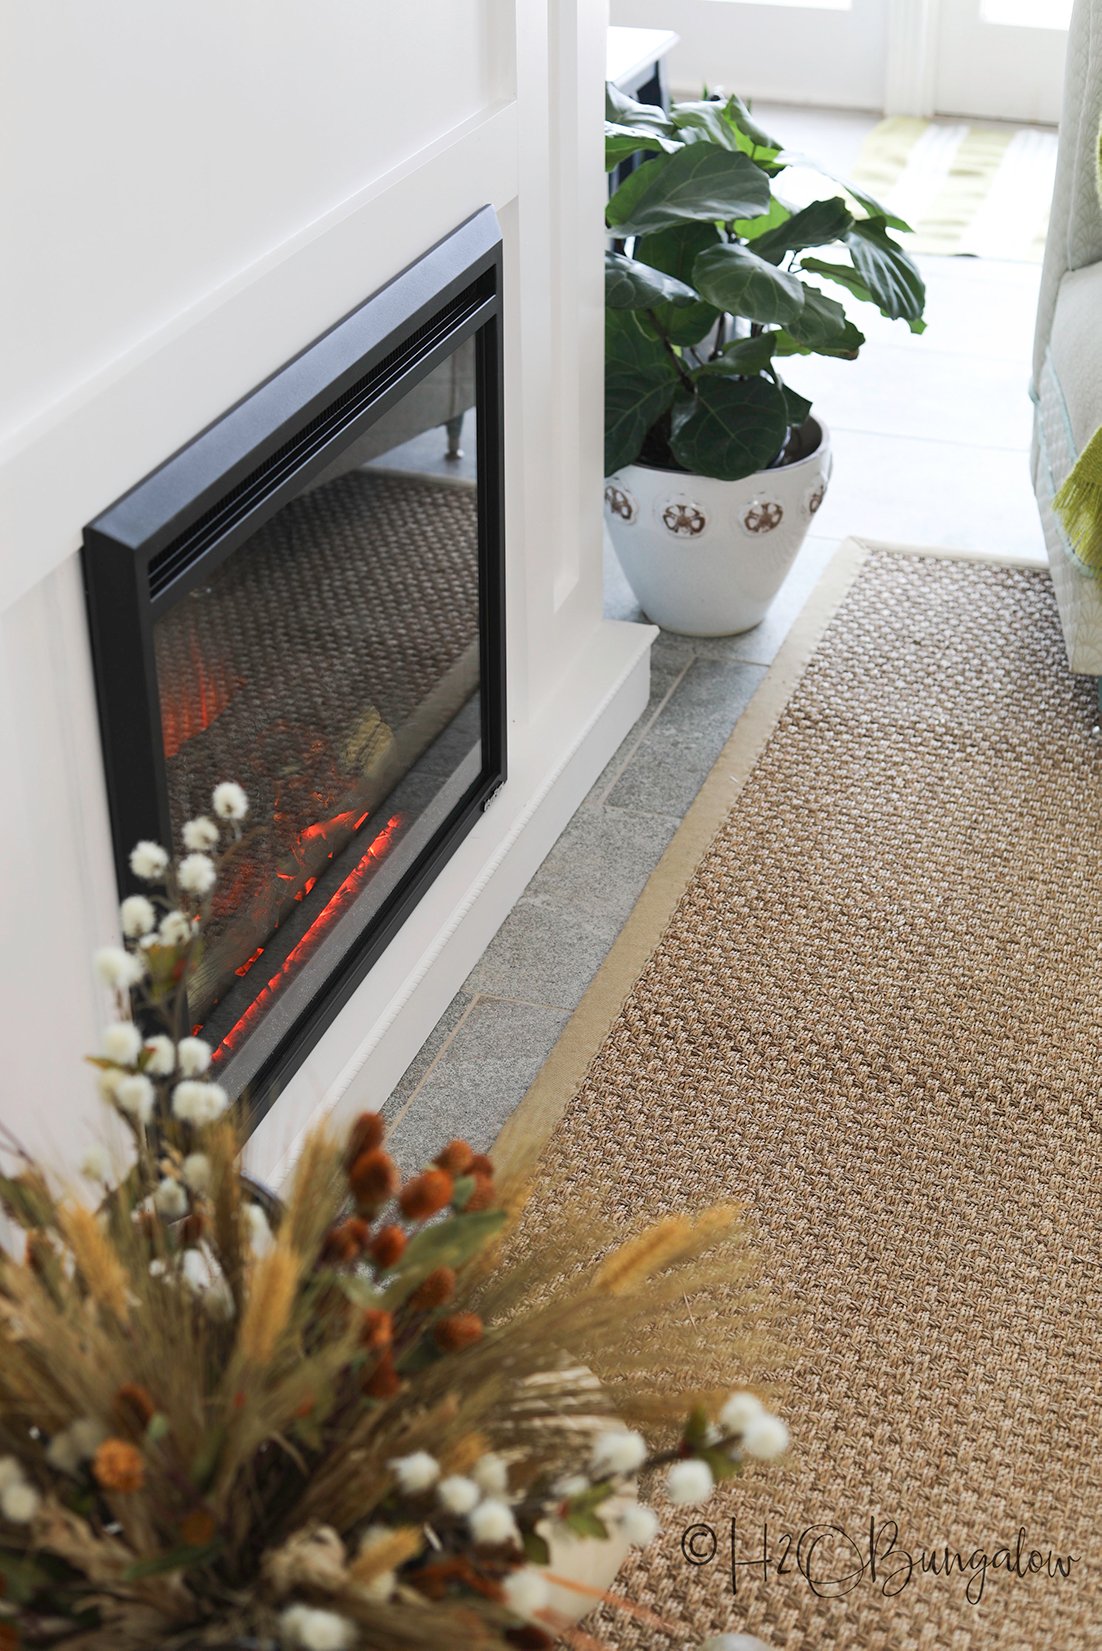
Electric fireplace inserts come in a variety of sizes from about 23″ up to 50″ wide. I chose this 30″ fireplace. Pick a size that will scale well in your room and fit the DIY fireplace surround you’re building. Most mid-range electric fireplace inserts are LED lit, remote controlled and offer a flame only and flame and heat setting. That’s perfect for us Florida dwellers who only need heat about 3 times a year! Be sure to check all the features before choosing one. I fell in love with one model of electric fireplace insert and just before I ordered it, I read that it projected the heat and flame settings on the fireplace glass when it was turned on 100% of the time. How distracting, ugh!
How do you wire an electric fireplace insert?
Electric fireplace inserts only need a plain household electrical outlet to work. What you will need to do is have your electrical outlet located inside your faux fireplace frame. I had an electrician add an extra plug on the wall where I was building my DIY fireplace, which you ‘ll see below. Let me help you avoid a mistake on your faux fireplace. If you’re adding an outlet, make sure it’s located toward the center and away from the edge of your frame. Mine wasn’t in the frame area enough and I had to chip out part of my frame to fit the fireplace electrical plug into the outlet.
DIY fireplace building tips.
I designed my craftsman style fireplace to compliment the gorgeous craftsman window trim I added to our home earlier this year. My fireplace surround has a small footprint and is versatile enough to fit beautifully with lots of decor styles.
Best of all, this craftsman style fireplace is easy to build and a great project for an intermediate woodworker or home improvement junkie like myself. It uses all flat cuts, plus, there are no tricky double angle cuts like you’d have with crown moulding. Easy peasy!
If you’d like to build a traditional fireplace, follow how to build this fireplace through covering the surround with plywood. Finish it in your style by trimming it out differently. One big word of advice, plan where your plywood seams will be in advance so you can cover all raw wood edges with trim.
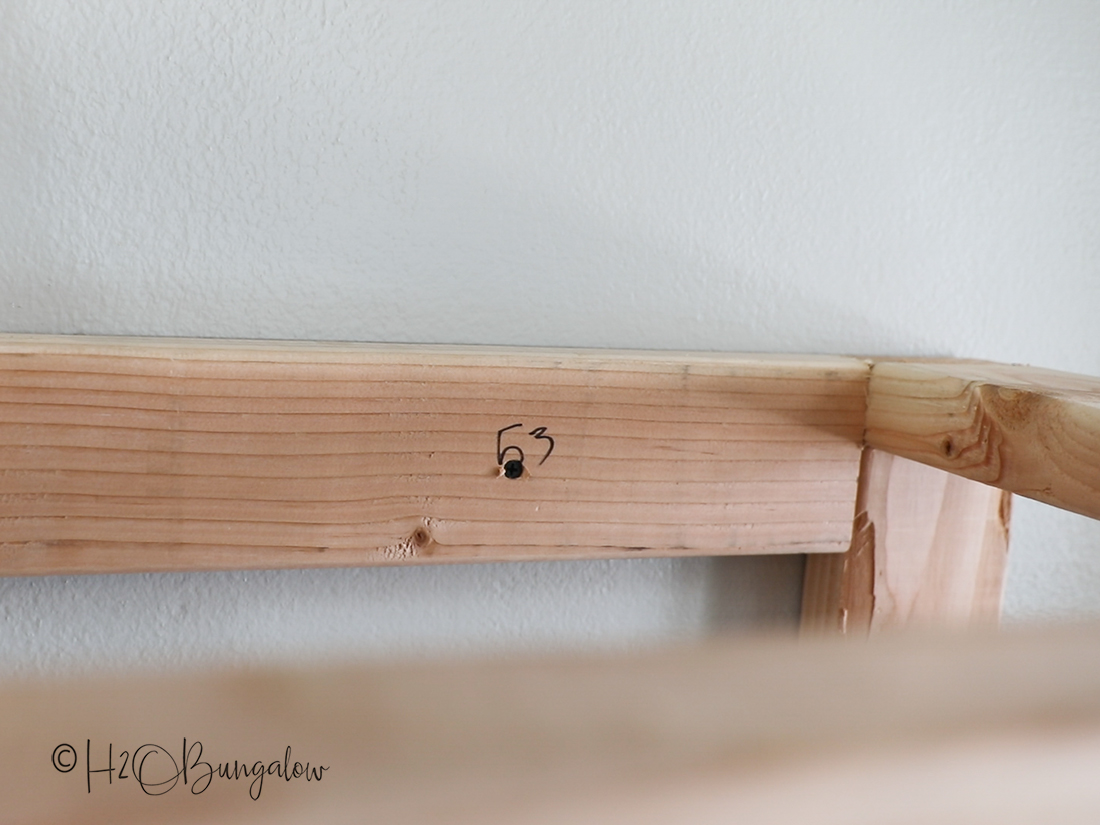
Like I shared in the video, I like to mark my wood as I cut each piece with the size, piece name as well as the location of where I’ll put my pocket holes. If your plywood has a front and back side, mark that as well so you always use the best side out. It’s hassle to go back to the store when you’ve grabbed and cut the wrong piece!
Ok, so now that we have that out of the way my friend, are you ready to build your own DIY craftsman style fireplace?
How to Build a DIY Fireplace With Electric Insert Tutorial
Supplies needed to build a fake fireplace surround that looks real.
- 1/2″ Plywood
- 2 x 4s – see my frame cut sizes below
- Electric fireplace insert – This is the one I used
- Woodgrain trim
- 3″ wood screws
- 2″ pocket screws
Tools needed for this project.
- Table saw
- Compound miter saw
- Drill
- Kreg Jig, K4 or K3
- Sander
- Brad nailer
- Caulking gun
- Builders square
- level
- measuring tape
Watch my How to Build a DIY Fireplace With an Electric Insert Video.
Step one: Build the fireplace base.
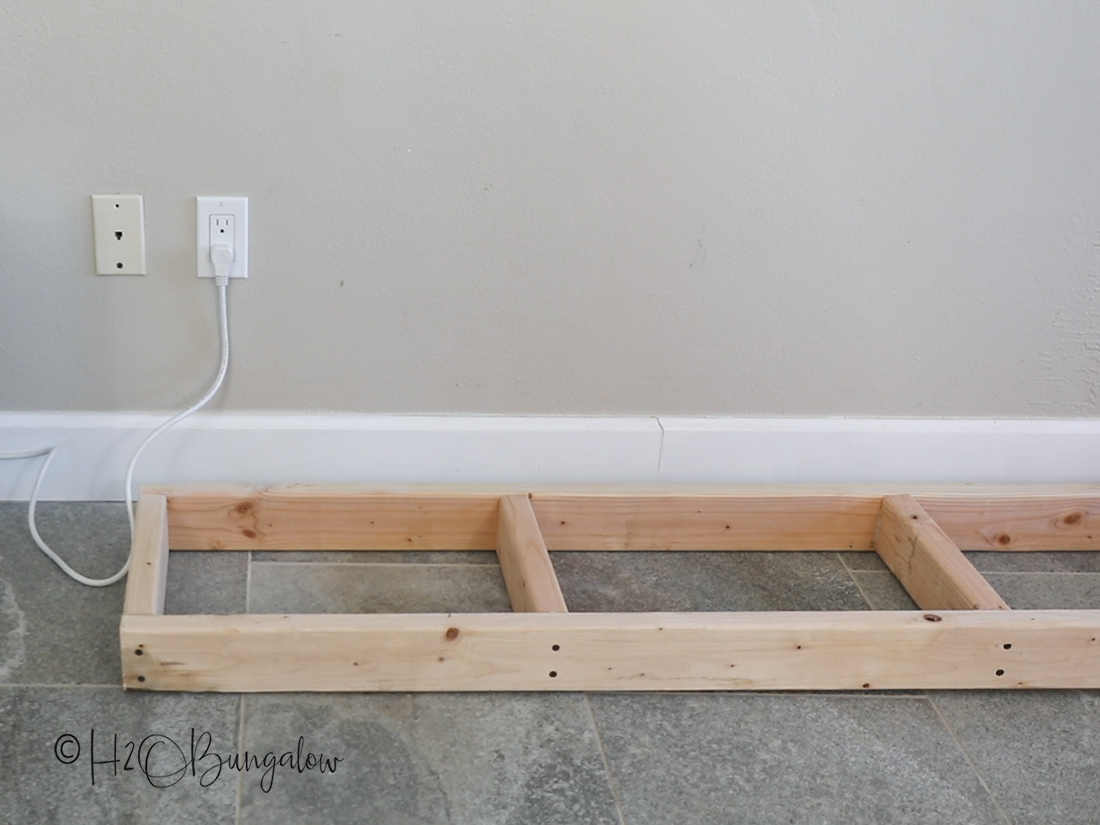
My base was 63″ x 17″ with center supports about every 18 inches. I assembled this with 3″ screws.
Step Two: Build the Fireplace Frame.
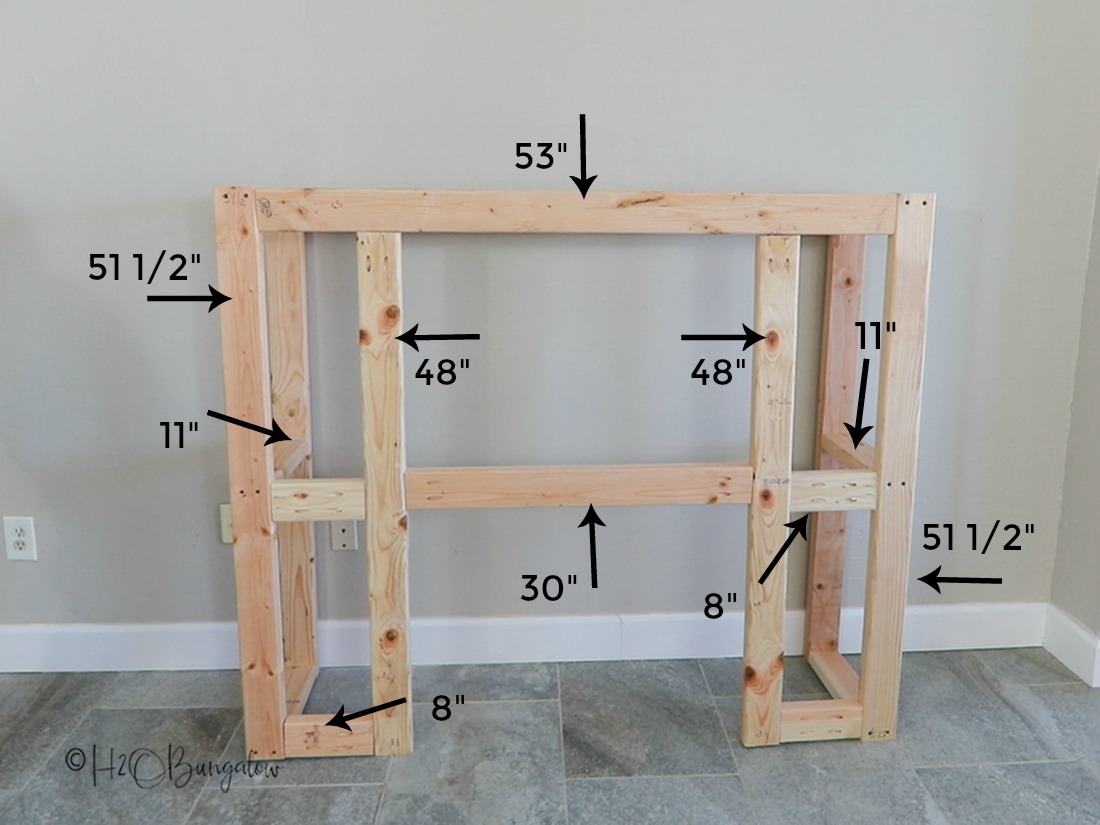
I’ve listed my 2″ x 4″ cut sizes below on the photo. I used both 3″ screws and pocket holes to assemble the frame. You could easily assemble this using just pocket holes or screws. Use a builders square to check for squareness.
Assemble the front of the fireplace surround on a flat surface first. Like I mentioned in my video, assembling the fireplace frame while it was standing up was not the best choice. Next, attach the sides of the surround frame. Add a back support at the top and bottom where the frame will rest against the wall.
Step Three: Cover the fireplace base with plywood.
Use a table saw and rip each plywood piece to size. Cut and attach the left and right sides first. Add the front of the base piece next and the top last. The front piece will cover the cut edges of the left and right sides. The top will be flush to all of the edges. You’ll add a small piece of trim to cover the cut edge of the base top later.
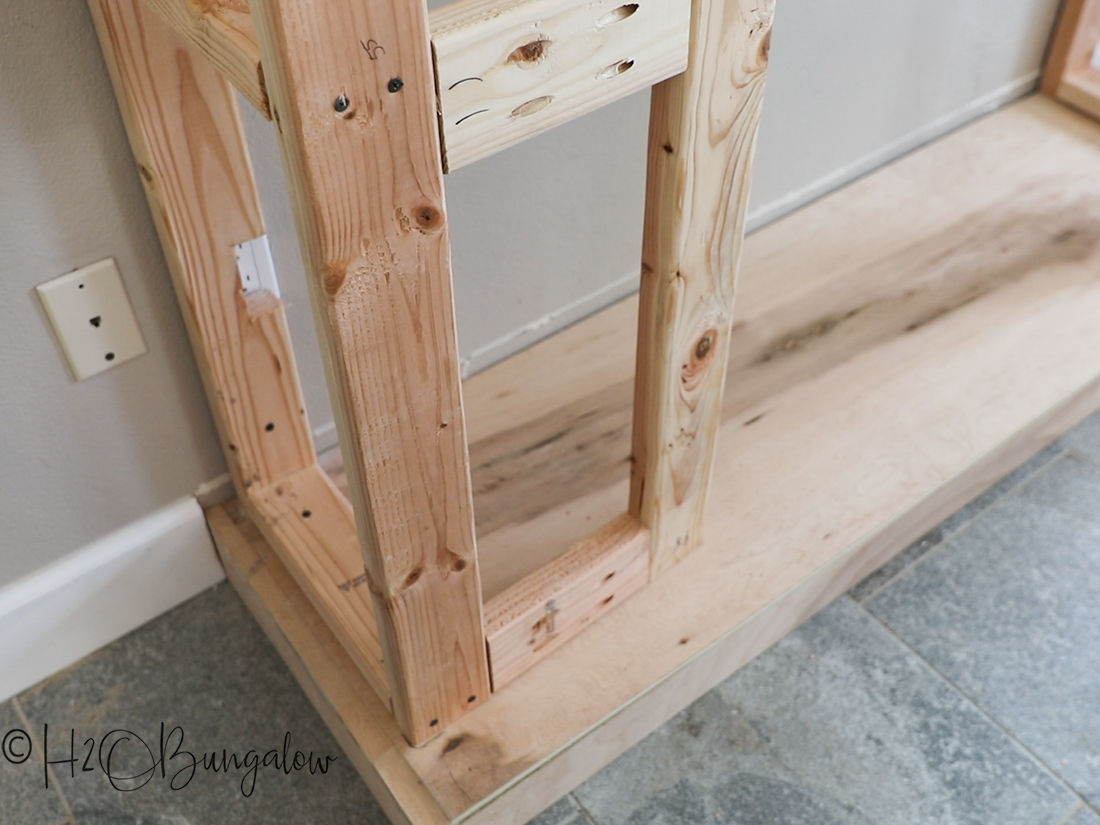
Step Four: Attach the surround frame to the plywood covered base and wall.
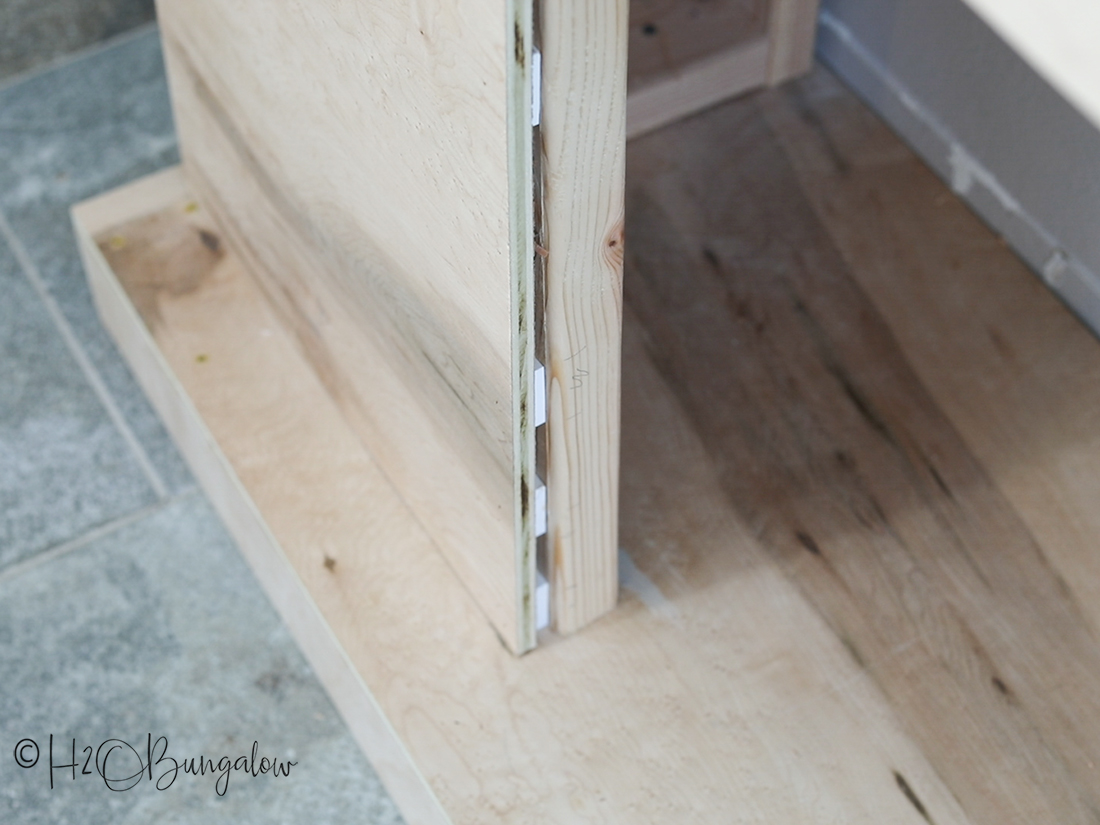
Use pocket holes and screws or 3″ nails to attach the DIY fireplace surround frame to the base attaching at center supports where available. Next, use 3″ screws to attach the frame to studs in the wall.
Step Five: Cover the fireplace frame with plywood.
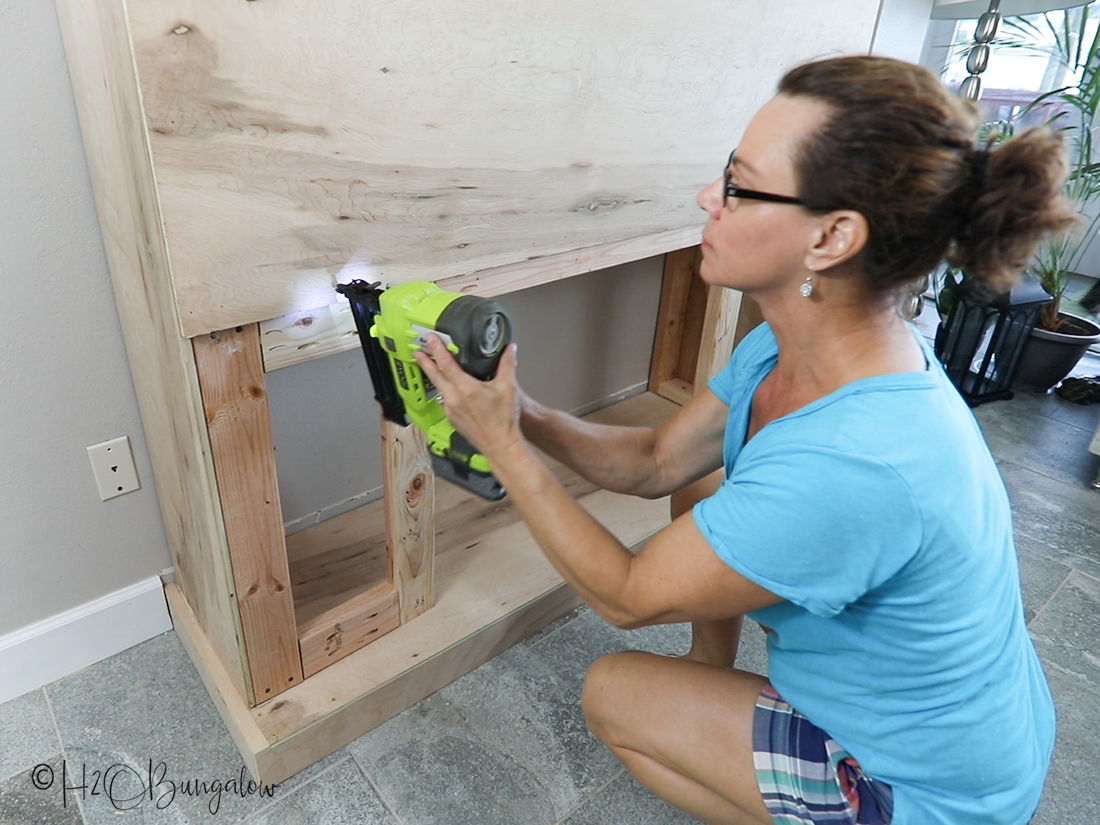
Cover the fireplace frame with 1/2″ plywood and 1 1/2″ nails in a brad nailer. Add the sides first and the front next.
I had to shim the lower left side of the front of my frame so both sides lined up evenly around the opening for the fireplace insert. If I had built this part first and on a flat surface I don’t think I would have had this challenge. It was a good fix though, and you can’t see it on my finished fireplace.
Step Six: Add the fireplace mantle or top.
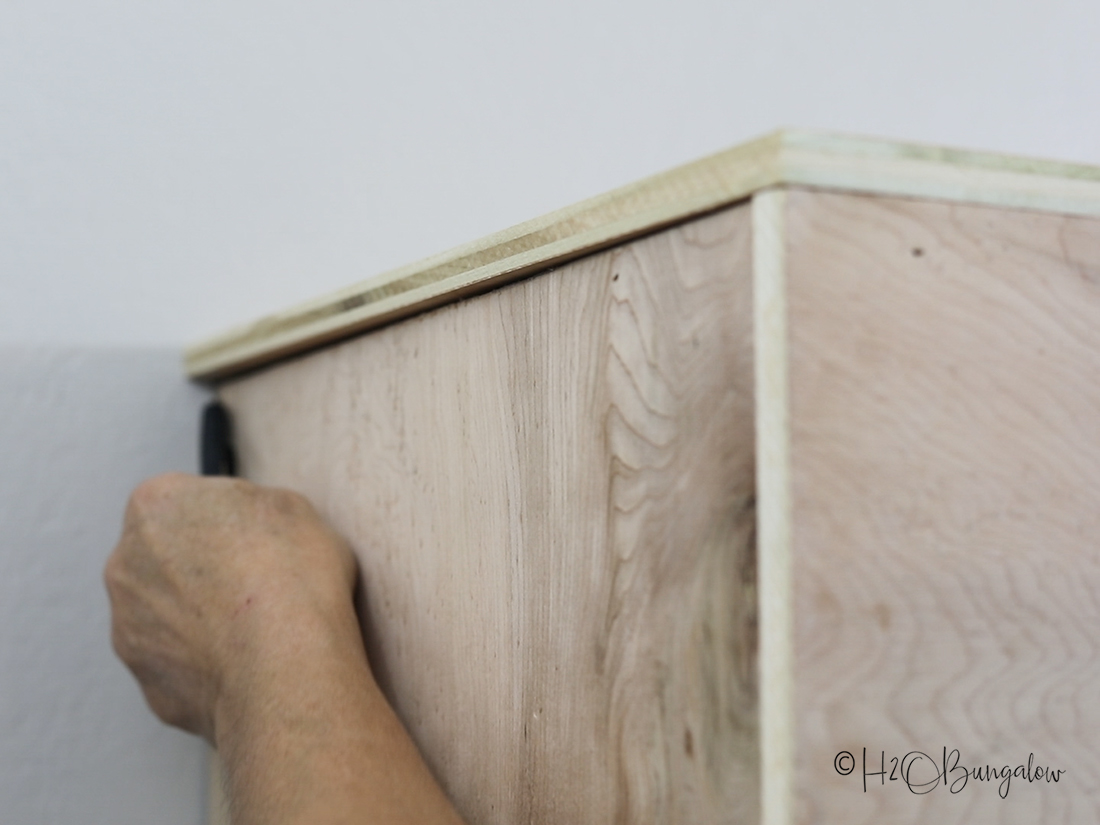
Before cutting the fireplace mantel length, lay the 1/2″ plywood on top and mark the cut line on each side. Trim as needed and attach it using a brad nailer and 1 1/2″ brad nails.
This is a good time to add unfinished wood trim to your fireplace. I added a beautiful rope style Woodgrain trim to the base of the fireplace to cover the cut edges. The rest of my trim was from the Finished Elegance line by Woodgrain and came prefinished as you’ll soon see.
Step Seven: Use wood filler to fill in seams.
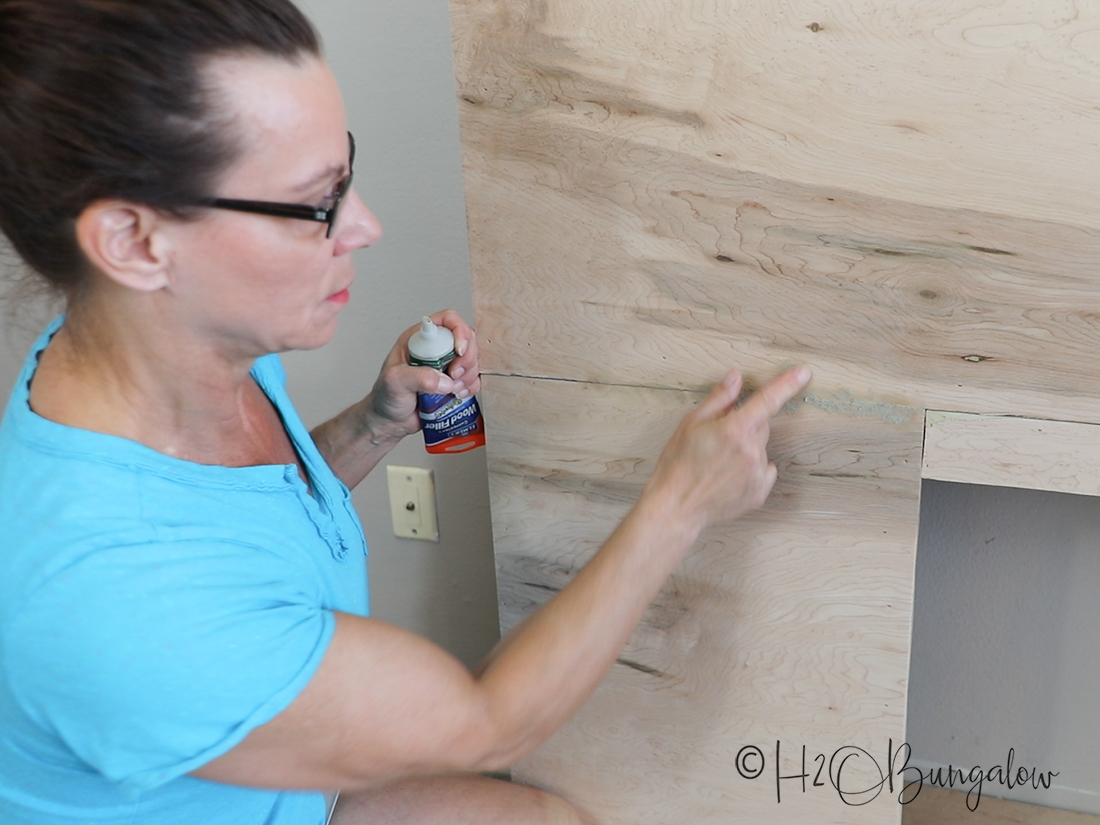
Use wood filer and fill in seams and nail holes that will not be covered with trim.
Step Eight: Sand, prime and paint the fireplace surround.
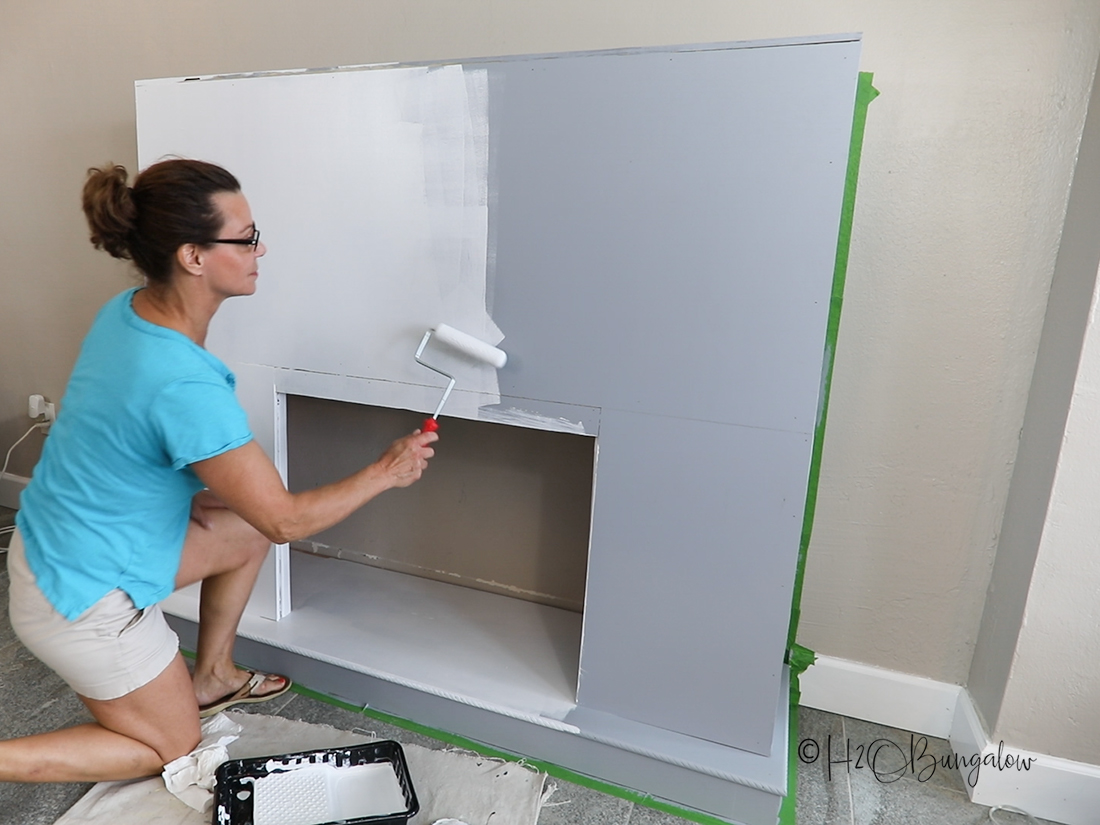
Sand the entire surface to prep for painting. Remove sawdust and wood particles by running a wet/dry vacuum over the entire fireplace followed by a thorough wipe down before priming and painting.
Except for the Woodgrain rope trim I added around the base, I saved time by painting a base coat of paint onto my fireplace surround before adding my trim. Since I wanted a contemporary fireplace and one that complimented my craftsman window casings, the rest of my trim is the same as my windows, Finished Elegance.
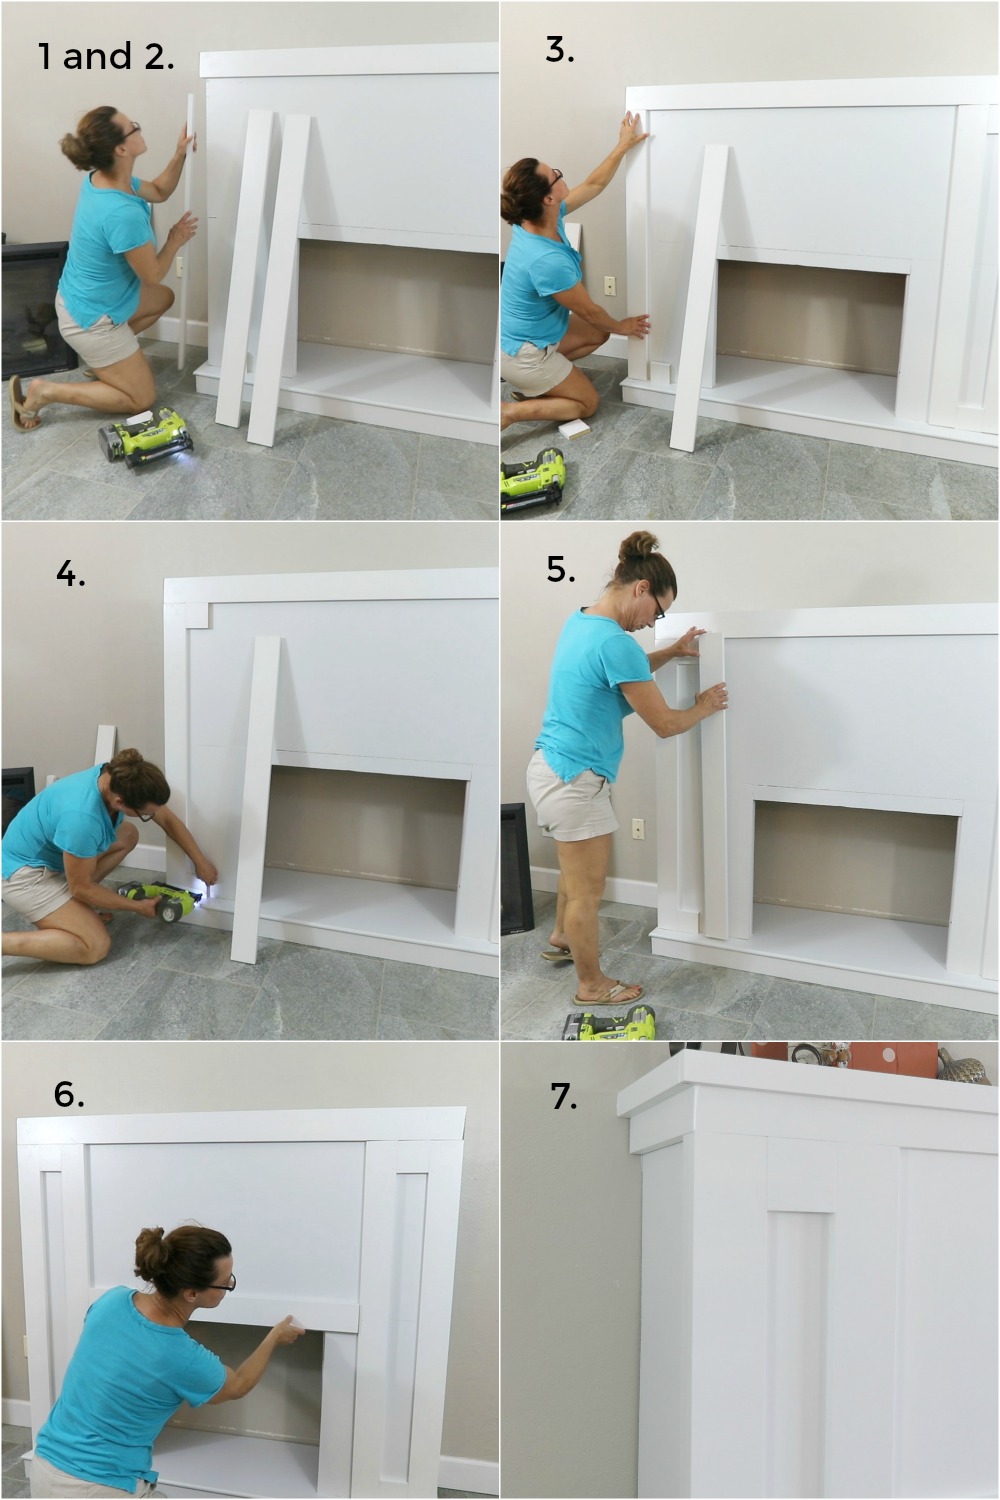
Step Nine: Add preprimed Woodgrain trim.
I trimmed out my DIY fireplace surround in this order.
- Add 1″ x 4″ trim across the top and the two sides. It will be flush with the top of the mantel to cover the plywood raw edge.
- Add a 1″ x 2″ trim on the left and right sides. It will be flush with the front of the fireplace so the next piece of trim will lay over it.
- Add a 1″ x 4″ piece of trim to the left and right edge of the fireplace front. Align it with the corner trim from the other side (it makes a corner).
- Add a 4″ x 4″ cut block to the top and bottom.
- Add another 1″ x 4″ piece of trim to the outer edge of the fireplace front.
- Attach a 1″ x 4″ across the front to cover the plywood seam.
- Attach a 1″ x 2″ trim around the top and sides of the fireplace surround. It will be flush to the mantel top and be layered over the first 1″ x 4″ trim.
Step 10: Caulk and paint
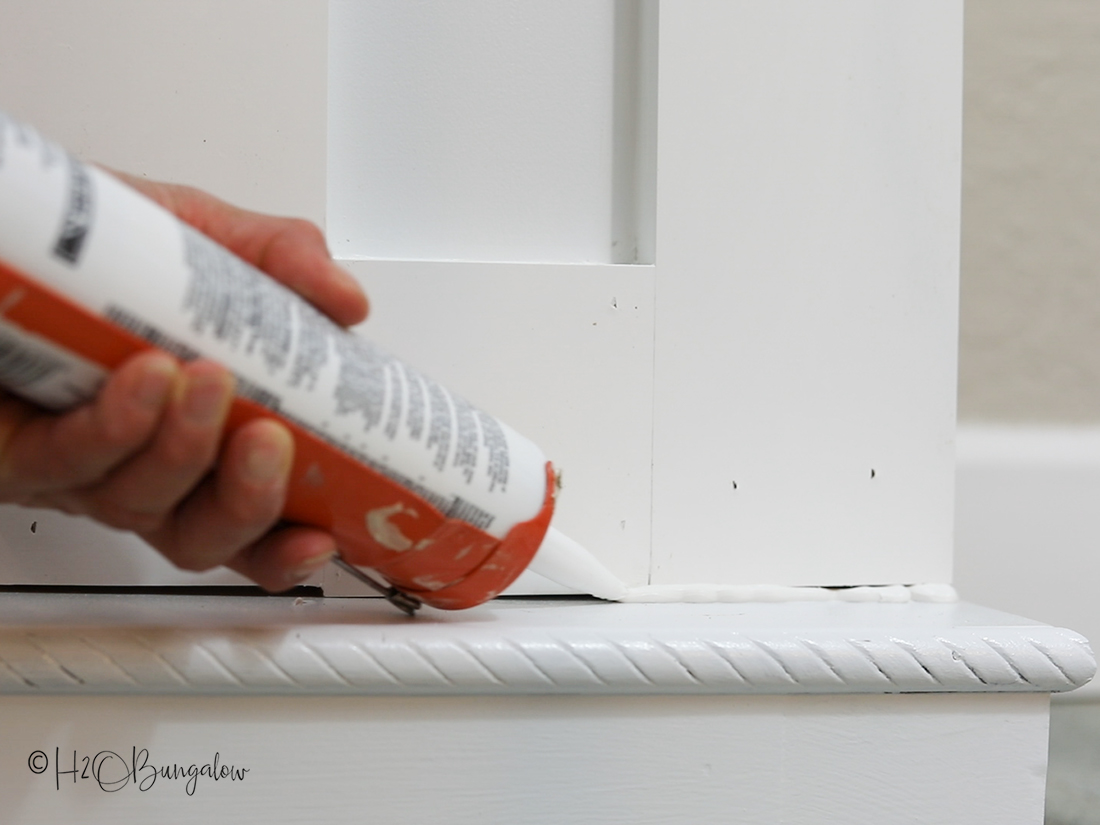
Use painter’s caulk along all the trim edges, nail holes and gaps. Once dry, follow with a final coat of paint. I know this next part is hard, but…Allow the paint to cure for at least 24 hours before sliding in the electric fireplace insert!
Later, I added another 1″x 2″ strip of trim along the sides where the fireplace slid into the surround to fill in the gap on each side. If the top trim had been higher I wouldn’t have had to do this. It looks great either way.
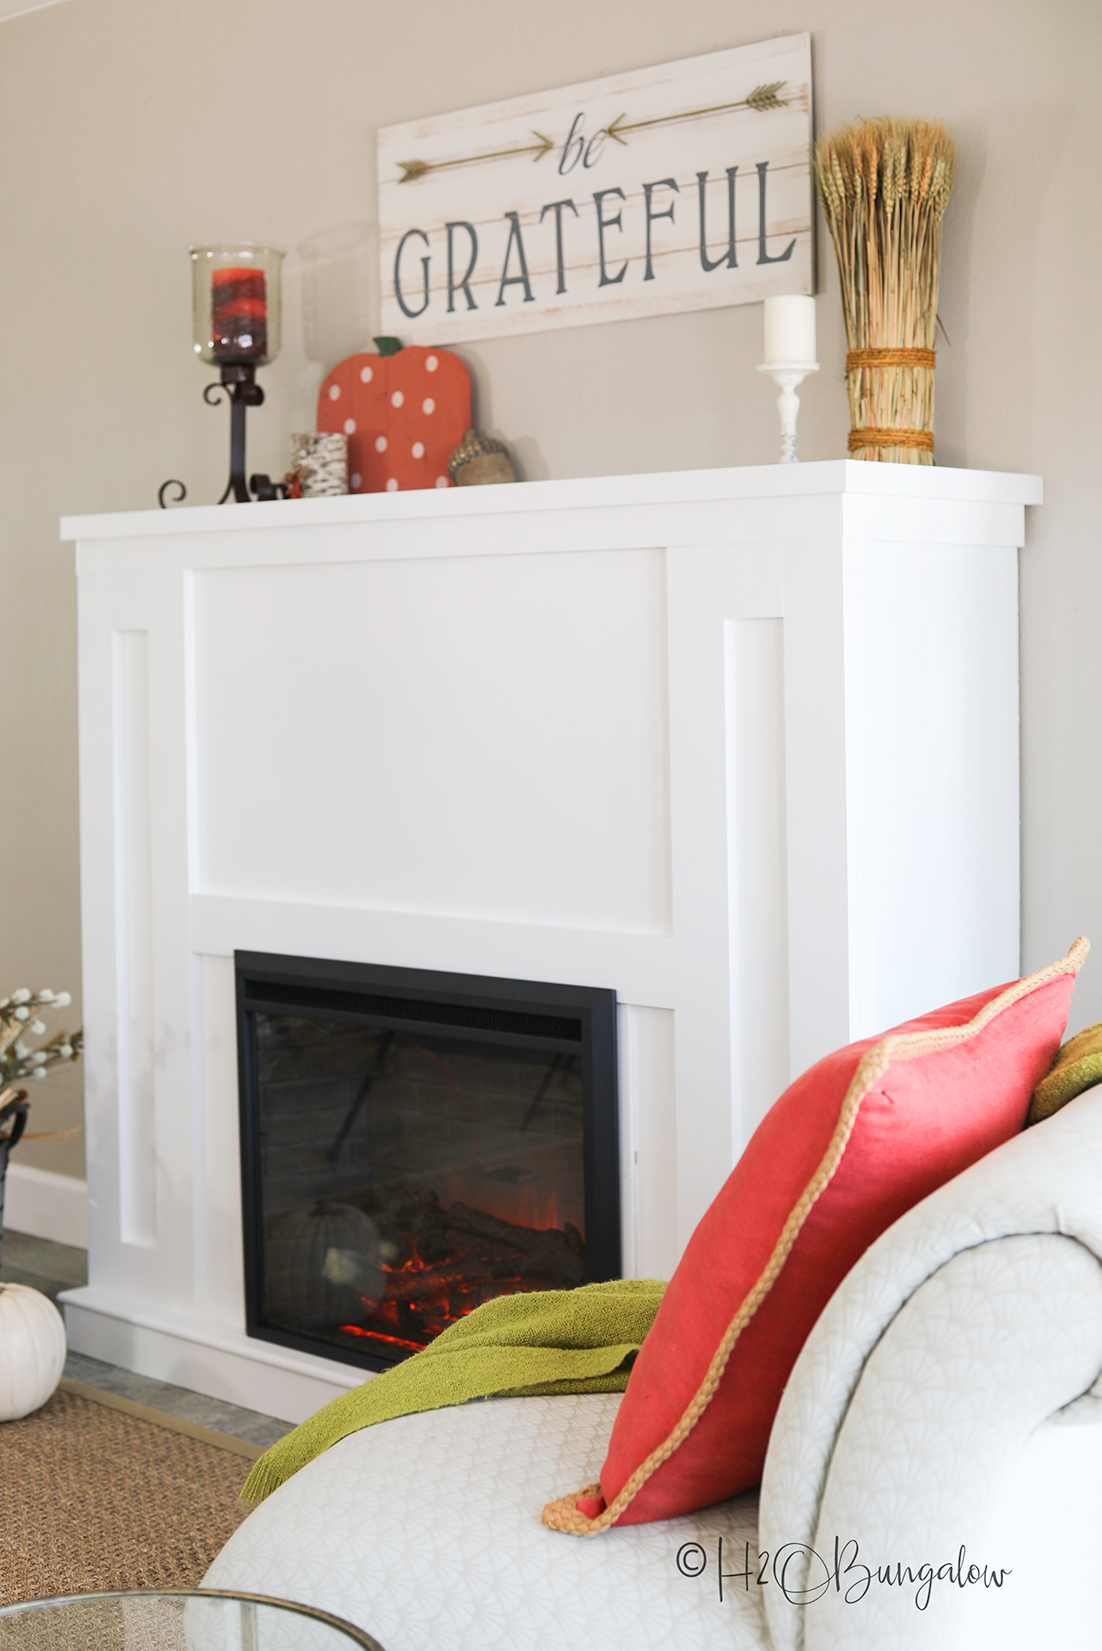
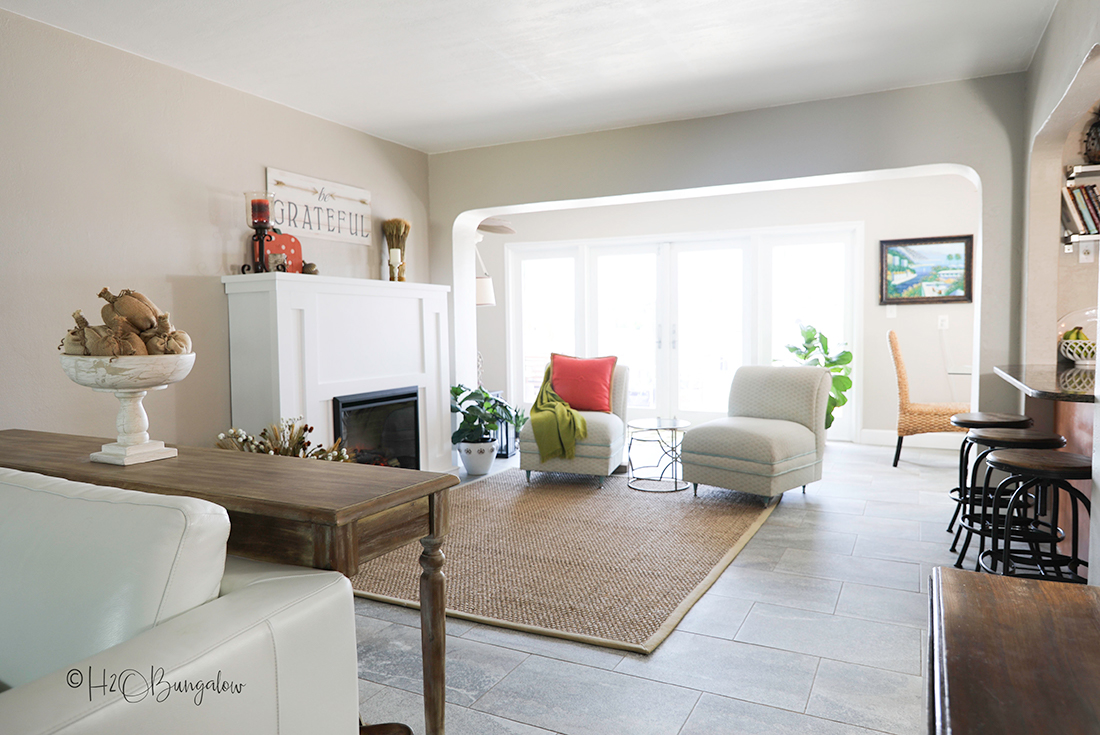
Yes, this was a big project. Was it worth the work? You betcha! I love how cozy my Florida living area is now.
Especially since it made the area just past the kitchen island a cozy retreat. Welcoming for guests and pretty for me to see as I’m preparing a meal.
Do you love this project? Do you know someone who needs a DIY fireplace for their home too?
Be sure to see the new DIY Faux Stone Fireplace Chimney I added!
It would be great if you’d share it with your friends and family on Facebook and pin it for later!
Adding a fireplace that complimented my craftsman style window trim helped my house look coordinated and decorated. Another earlier project I’d tackled was adding our own DIY baseboards. Like window trim, and upgrading baseboards, adding a DIY fireplace to your home is an affordable upgrade that the average homeowner can easily tackle.
I bet you’re wondering how I liked working with the prefinished trim boards? I loved it! Finished Elegance is a quality product that saved me hours of extra work on my DIY craftsman style window trim project and my fireplace. Each and every board was perfectly finished and uniform, which helps my project look it’s best.
Do you have a place in your home that could use the coziness a fireplace would add? Share with me in the comment section below where you’s add one in your home!
DIY Fireplace With Electric Insert
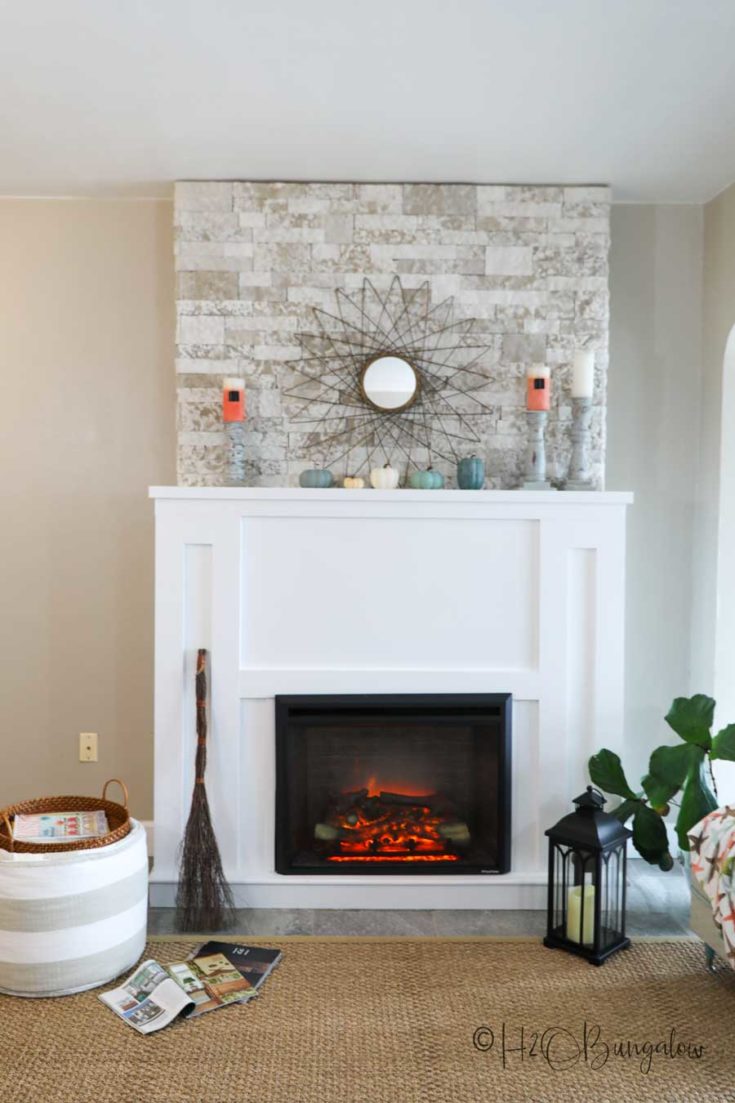
How to build a faux fireplace surround and add an electric insert for instant cozy ambiance!
Materials
- 1/2" Plywood
- 2 x 4s
- Electric fireplace insert
- Woodgrain trim
- 3" wood screws
- 2" pocket screws
2X4 cut list
- 2 at 53"
- 4 at 51 1/2"
- 2 at 48"
- 6 at 11"
- 4 at 8"
- 1 at 30"
Tools
- Table saw
- Compound miter saw
- Drill
- Kreg Jig, K4 or K3
- Sander
- Brad Nailer
- Caulking gun
- Builders square
- Level
- Measuring tape
Instructions
- Build the fireplace base. My base was 63" x 17" with center supports about every 18 inches. I assembled this with 3" screws.
- Assemble the front of the fireplace surround on a flat surface first.
- Attach the sides of the surround frame. Add a back support at the top and bottom where the frame will rest against the wall.
- Cover the fireplace base with plywood. Use a table saw and rip each plywood piece to size.
- Cut and attach the left and right sides first.
- Add the front of the base piece next and the top last. The front piece will cover the cut edges of the left and right sides. The top will be flush to all of the edges.
- Attach the surround frame to the plywood covered base and wall using 3" nails.
- Next, use 3" screws to attach the frame to studs in the wall.
- Cover the fireplace frame with 1/2" plywood and 1 1/2" nails in a brad nailer. Add the sides first and the front next.
- Lay the 1/2" plywood on top and mark the cut line on each side. Trim as needed and attach it using a brad nailer and 1 1/2" brad nails.
- Use wood diller and fill in seams and nail holes the will not be covered with trim.
- Sand, prime, and paint the fireplace surround.
- Add preprimed woodgrain trim. Add 1" x 4" trim across the top and the two sides. It will be flush with the top of the mantel to cover the plywood raw edge. Add a 1" x 2" trim on the left and right sides. It will be flush with the front of the fireplace so the next piece of trim will lay over it. Add a 1" x 4" piece of trim to the left and right edge of the fireplace front. Align it with the corner trim from the other side (it makes a corner). Add a 4" x 4" cut block to the top and bottom. Add another 1" x 4" piece of trim to the outer edge of the fireplace front. Attach a 1" x 4" across the front to cover the plywood seam. Attach a 1" x 2" trim around the top and sides of the fireplace surround. It will be flush to the mantel top and be layered over the first 1" x 4" trim.
- Caulk and paint. Allow the paint to cure for at least 24 hours before sliding in the electric fireplace insert.

ANGEL BAILEY says
I just need the measurement of the plywood cause you never mention the cuts for that. For the trim do I just follow the measurement of the width and length? Thank you
Wendi Wachtel says
Hi Angel,
I’m working on plans for the fireplace but haven’t finished them yet. Looking at the frame design I’d say it was 2 sheets of 1/2″. It’s been a few years since I made it. I hope that helps!
Amy says
This looks awesome! Thanks for sharing. Wondering, does something like this require a builder’s permit since its attached t the wall? Interested in doing one but I can’t find info anywhere. Thanks!
Wendi Wachtel says
That’s a good question Amy! I don’t think so simply because it doesn’t involve changing anything dramatically. It’s like adding shelves. I would check with your local building department just to be sure. I had a licensed electrician add the plug. That was it. Hope this helps! Thanks so much for your visit!
Gladys says
I love it! I am looking for ideas in how to make my living room look less boring, and I saw your project, and I just love it! Thank you for sharing.
Wendi Wachtel says
Hi Gladys,
You’re welcome! I’m so glad you like my DIY fireplace! We enjoyed it very much and yes, it adds a lot to a plain room! Thanks so much for your note and visit!
Jen says
how loud is it when you run it? I have a small one now that is so noisy. When we move, this looks like a great option.
Wendi Wachtel says
Hi Jen!
You can’t hear this one at all. I run it with and without the heater. When the heater runs there is a little sound but it’s not load or distracting. It’s a super option if you want a fireplace where there isn’t one. Good luck!@
herbertsch says
Hi, great project! Does the structure around the electric fireplace need some sort of exhaust?
Wendi Wachtel says
That’s a good question. The answer is no. Electric faux fireplaces are self containing. It’s not a real flame and the heat feature works like an electric heater, just blowing warm air. I hope that answered your question!
Pam Cothran says
I made a comment and forgot to add the following:
How many 2x4s for the base? Total 1/2” ply wood for this project including your base.
Thanx
Wendi Wachtel says
Hi Pam,
I’m working on the plans for the fireplace this week. They’l list out everything you need to buy and the quantities of everything. They will be available next week on the blog! Thanks for reminding me to get this done!
Pam Cothran says
Can you give the finished measurements. Size of your fireplace insert? Sure would make it easier instead a bunch of deciphering before the start of the project.
Wendi Wachtel says
Hi Pam,
I linked to it in the post, here are the dimensions: Width: 31.89″ x Height: 24.61″ x Depth: 8.78″ . I hope this helps!
Stephanie Ramirez says
Hi,
I’m considering doing fireplace project. What was the total cost?
Wendi Wachtel says
Hi Stephanie!
You’d love having this fireplace in your home! I’d say the entire project was about $400-maybe $450. The biggest cost was the electric fireplace insert. There were other less expensive ones, but after researching I liked the way the one I used looked the best and I liked the reviews too. OI’m working on the plans now, check back in a few weeks and see if they are available! Good luck!
Laura says
This looks great! I’m excited to create my own in my living room. I do have one question, do you not have to put any screws or anything from the fireplace insert to secure it to the surround? it just sits there? Thanks for sharing!
Wendi Wachtel says
Hi Laura,
Thank you so much! It’s a fun project that looks amazing! That’s a really good question. You don’t need to attach the fireplace surround. It simply slides in and sits in the opening. Easy peasy! Good luck with your project!
Kathleen Odenthal says
Wow! Thank you for sharing. The fireplace is fantastic!
Wendi Wachtel says
Thank you so much! It was a super project and completely changed my living room. I hope you get top make one too!
Paula@SweetPea says
What a great addition to your Florida home and it creates a beautiful focal point in your room.
Wendi Wachtel says
Hi Paula!
So glad you like my fireplace build project! I still love it as much as the day I finished it. I know some people may think I’m a little off my rocker wanting a fireplace in FL but like you mentioned, it’s a beautiful focal point in the room 🙂 . Thanks so much for your visit!