Today’s tutorial and video on how to get a wood wax finish will show you how to seal wood and while allowing the natural woodgrain to show through. You can use clear paste wax to seal any raw wood furniture or home decor item. A DIY natural wood finish is budget friendly and so in trend right now. Follow these steps to sanding down wooden furniture and sealing it with paste wax for an easy update on an old furniture piece.
This is one of my favorite ways to finish wood. You can see a variations of a natural wood waxed finish on my Family Heirloom Cedar Chest Makeover. Here’s an example of a waxed wood finish in my How To Remove Veneer From Wood vintage mirror project I did.
Bottom line, wax over wood brings out the natural character of the wood. It feels like a rich wood furniture finish from a store and not hobby-like the way polyurethane alone tends to make wood feel.
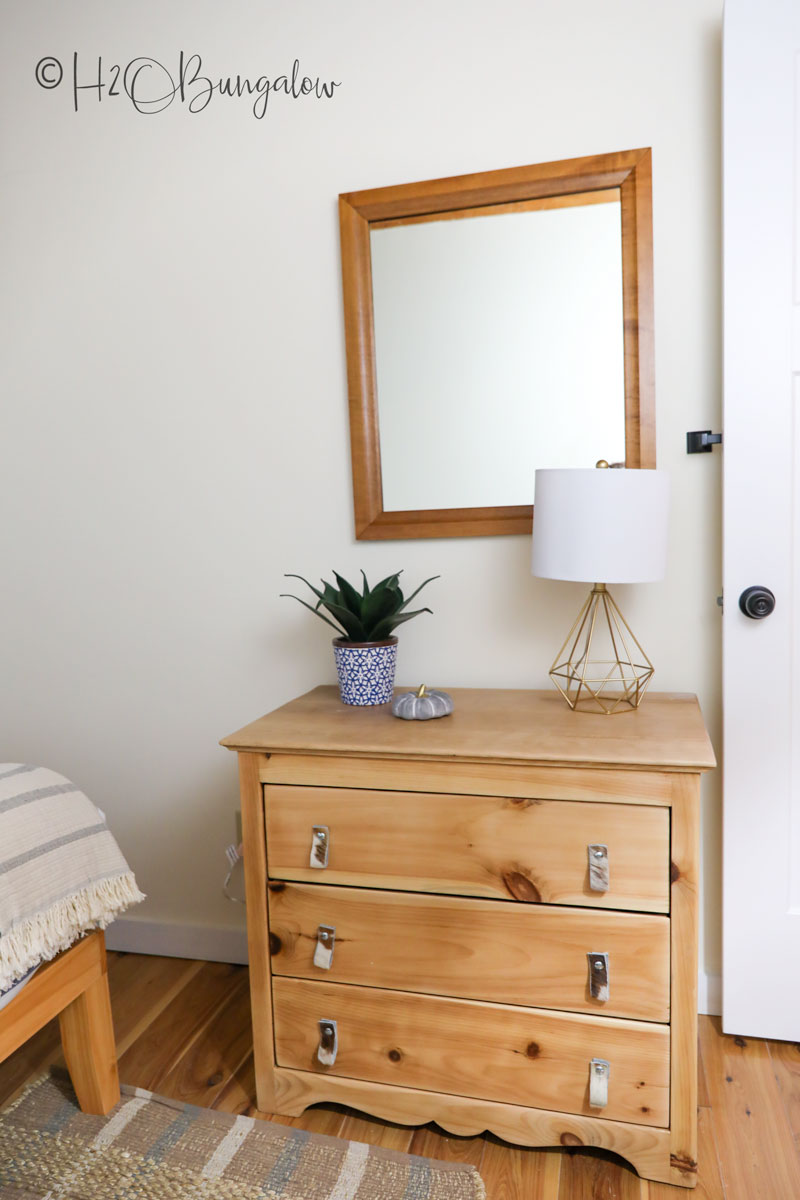
I picked up this old wood dresser from a friend. It was made around the 1950’s from pumpkin pine. Somewhere in its lifetime, the top had been replaced with maple. What I liked about using a natural finish on this piece was that it would show the vintage repairs and wood inconsistencies and really and bring out its character. The finishing touches to make the piece a wow are the DIY cow hide drawer pulls I made.
You can easily do this project over a weekend. Let’s get started and I’ll show you how to apply paste wax on raw wood or sanded wood.
How to Get a Wood Wax Finish
I use affiliate links in my posts, as an Amazon Associate I earn from qualifying purchases.
You can use clear paste wax as a sealer over raw wood, a sanded down piece of furniture or painted furniture. It’s a great finish for today’s modern wood furniture styles. Like all finishes, it has it’s pros and cons which I cover below.
Clear paste wax over raw wood will give a natural looking wood finish. You can expect a beautiful low sheen finish that doesn’t compete with the beautiful grain of the wood. Once cured, clear wax is a hard finish and feels smooths to the touch.
I made a video of my waxed wood dresser makeover so you can see the steps. If you’re not familiar with waxed wood finishes or especially applying wax onto raw wood or even painted furniture, this video will show you how to apply clear wax.
Supplies needed to get a waxed raw wood finish or natural looking wood finish.
- Paste wax – the brand I like
- Wax brush – you don”t need an expensive wax brush, just one with good bristles
- Cotton painters rags –
- Tack cloth – this is a good deal
- Spackle knife – or plastic spoon to dip out the wax
- Paper plate, cardboard or plastic tray
I’ve answered a few common questions about waxing unfinished wood.
Can you wax raw wood? Yes, you can. Use a clear paste wax when you want a natural looking wood finish on a new piece of raw wood or a furniture makeover like I’m doing.
Is finishing wax waterproof? Not completely. Paste wax cures very hard but it’s not meant to protect wood from a spill. You’d want to wipe a spill quickly. Paste wax or finishing wax over raw wood is best suited for furniture pieces that won’t get a lot of wear and tear. To add an extra layer of protection the wood can be sealed with a polyurethane before adding the wax finish.
Can you use paste wax over polyurethane? Paste wax over polyurethane works great to seal the wood under clear wax. I like to use MinWax water based poly and put on several thin coats in a modified poly application like I used on my Hairpin Leg DIY Live Edge Coffee Table.
What is the best past wax for wood? There are many good brands of paste wax for wood on the market. Ultimately, it comes down to personal preference. There are paste waxes and liquid waxes that can be used to seal wood. You’ll want to test a few to see how much shine the wax has, how easy it is to apply and how durable the wax coating is once cured.
Ok, are you ready to see how to seal raw wood?
Step 1. Repair any damaged wood
Look over your piece and get any needed repairs out of the way before moving forward. With natural wood finishes, repairs will show so the fewer repairs the better.
Again, my post on How to Prepare Furniture for Painting covers lots of tips on repairing furniture before finishing.
Step 2. How to sand furniture before finishing with wax
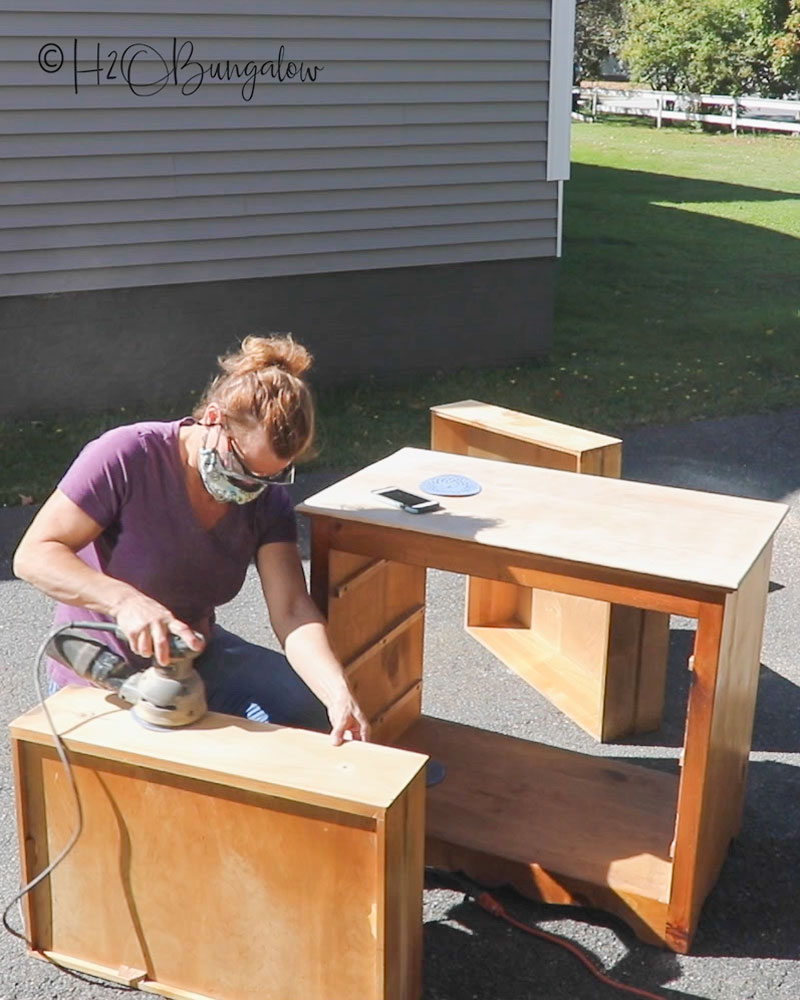
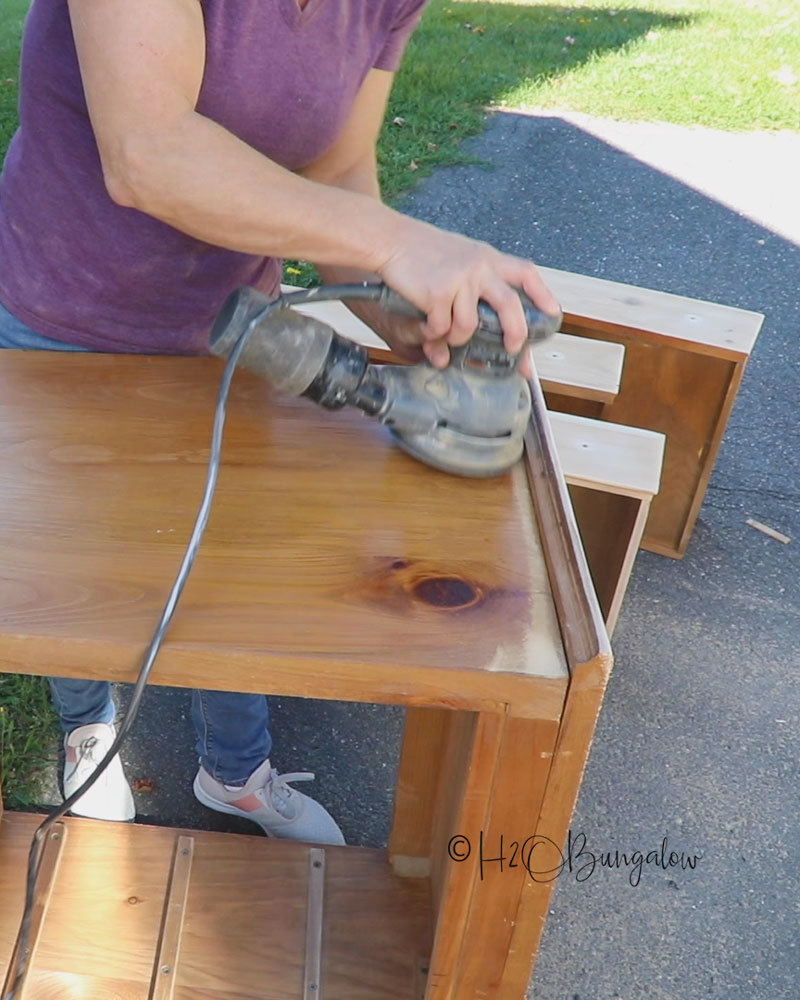
Start with a low grit and work your way to a high grit for a smooth finish if you have to sand off a light coat of paint or shellac. As much as I love my cordless tools, an electric random orbital sander will do the best job. Be sure to wear your safety goggles and a dust mask when sanding.
If you’re removing layers of paint or very thick shellac, you’ll save time by stripping the piece first before sanding. I love CitrusStrip for a gentle non-smelly way of removing old paint and shellac.
Natural wood finishes look and feel the best when the surface is perfectly smooth and sanded with a high grit sandpaper. I started with an 80 grit sandpaper and worked my way up to 220 grit all over this dresser. Be sure to sand along the grain of the wood and get all of the surfaces that will show, especially under the trim.
If you ‘re waxing an unpainted raw wood piece, sand as needed until you get a smooth finish.
Step 3. Wipe with tack cloth
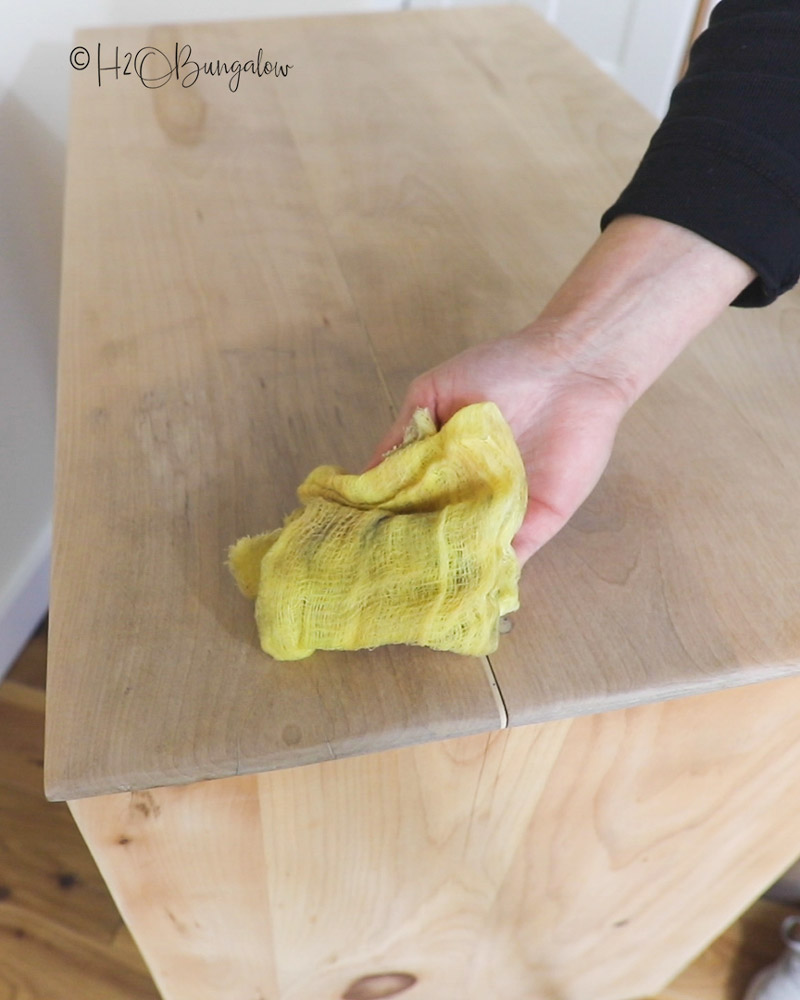
Clean all the dust from sanding your wood with a tack cloth. Wipe the surface from one edge to another along the grain. Turn the cloth over or refold it when the surface shows dust and dirt. Be sure to wipe all the crevices and molding trim too!
If you plan on sealing your raw wood with a polyurethane under the clear paste wax, do this now and allow enough time for the poly to cure before moving on to the next step of applying the wax.
Step 4. Apply clear paste wax
Apply a clear paste wax of 2-3 coats. I used Annie Sloan clear paste wax on this dresser makeover. because I already had it in Vermont where I did this project. but, my favorite clear paste wax is Fiddes.
My biggest challenge when I first tried using past wax on furniture was learning how to apply paste wax correctly. Apply too much and it turns the surface gummy, too little wax ends up being a lot of work without the nice feel and sheen of the wax.
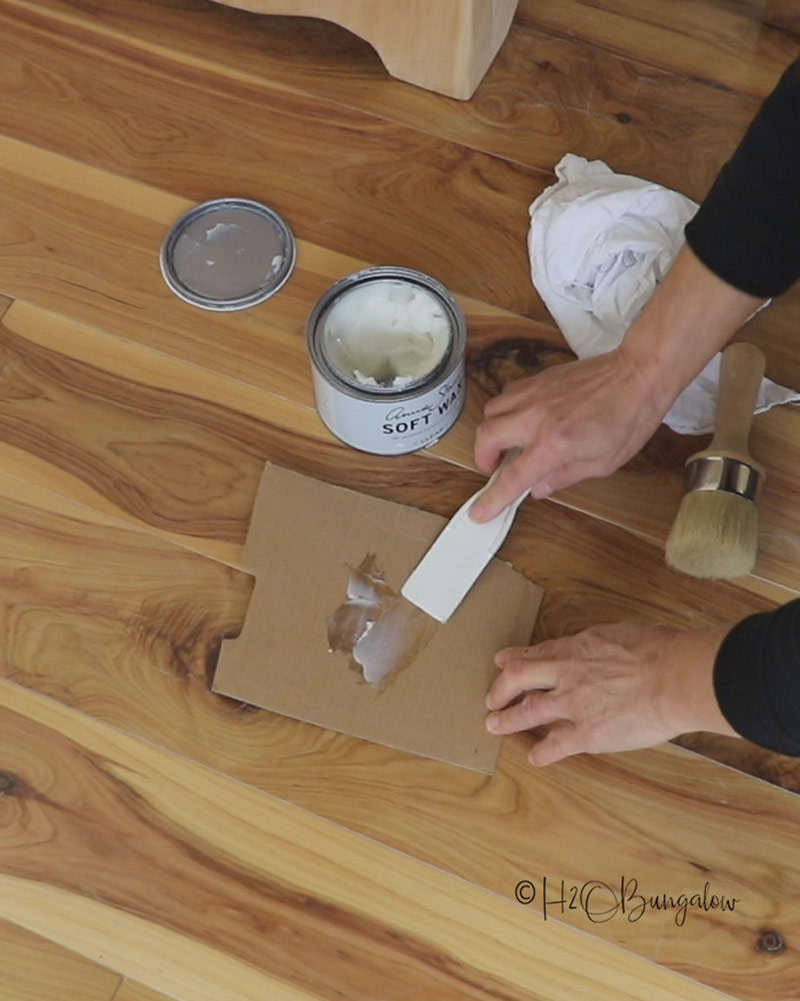
Here’s how to get a wood wax finish the easy way. Spread some wax onto a paper plate, cardboard square or other surface. Load your wax brush by rolling it around in the wax. You’ll see all of these steps in my video.
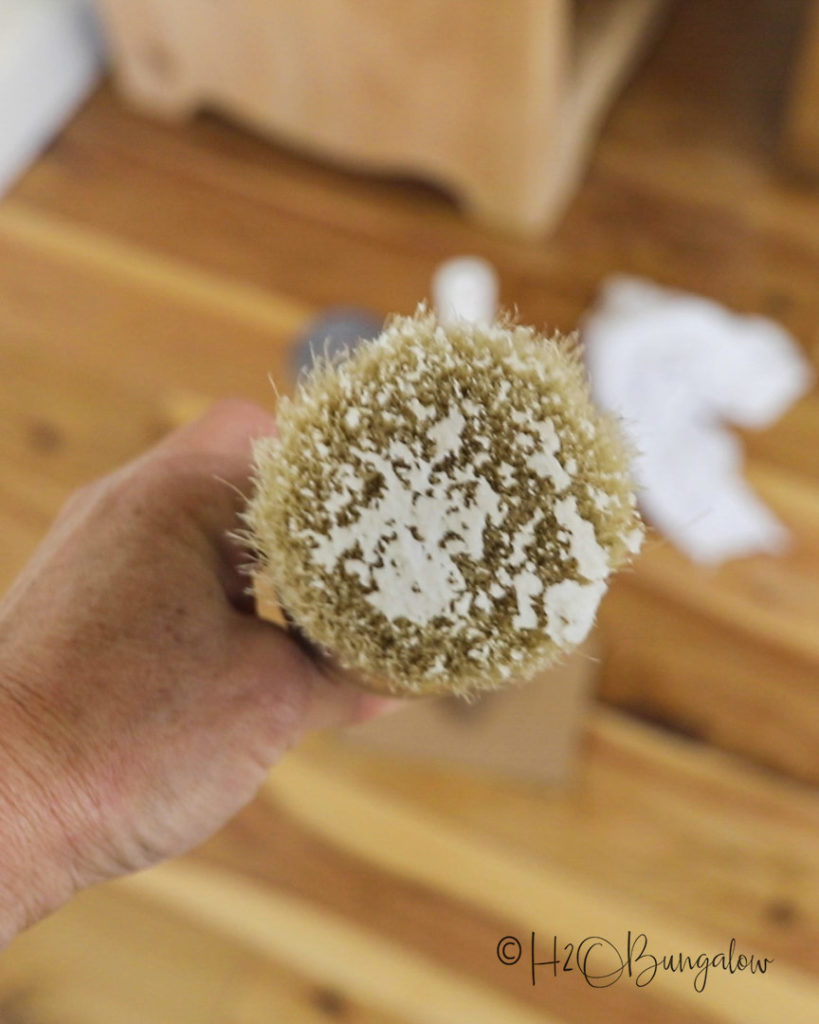
You’ll load your brush with wax until it looks like this. This is more wax than if you were waxing painted furniture which by nature of the paint is already partially sealed.
Work in roughly 12-18 inch sections at a time, applying the wax and buffing it off before moving onto another section.
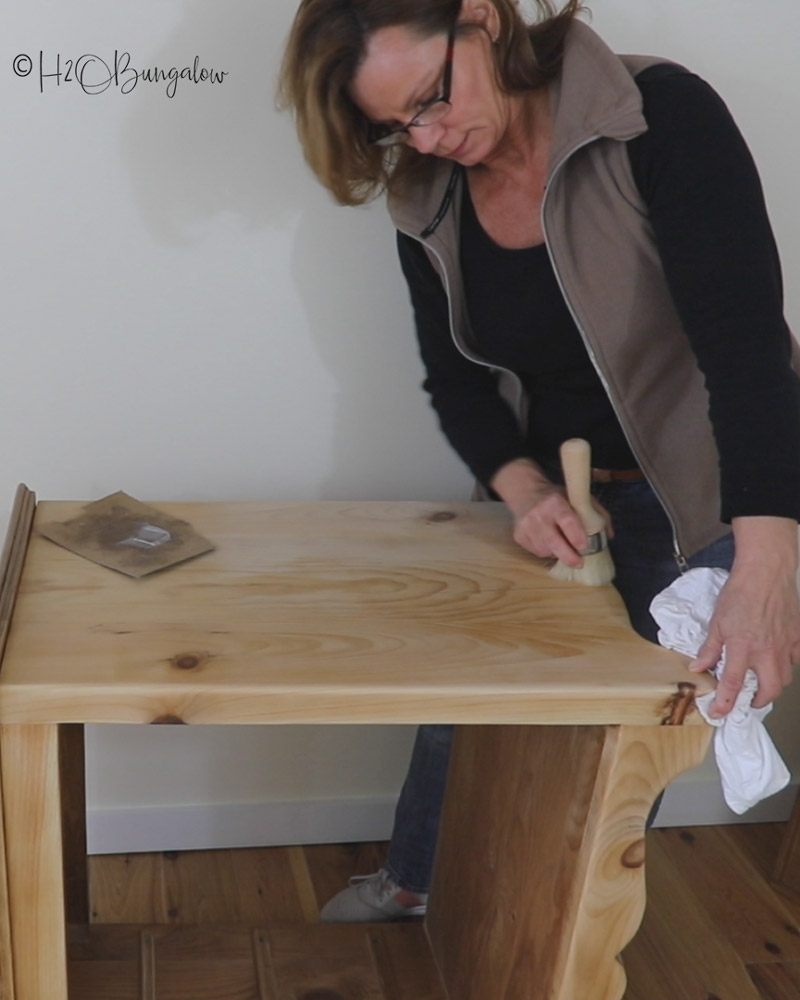
Apply the clear past wax onto the wood by running your brush in little circles over sections at a time. The raw wood will absorb the wax quickly.
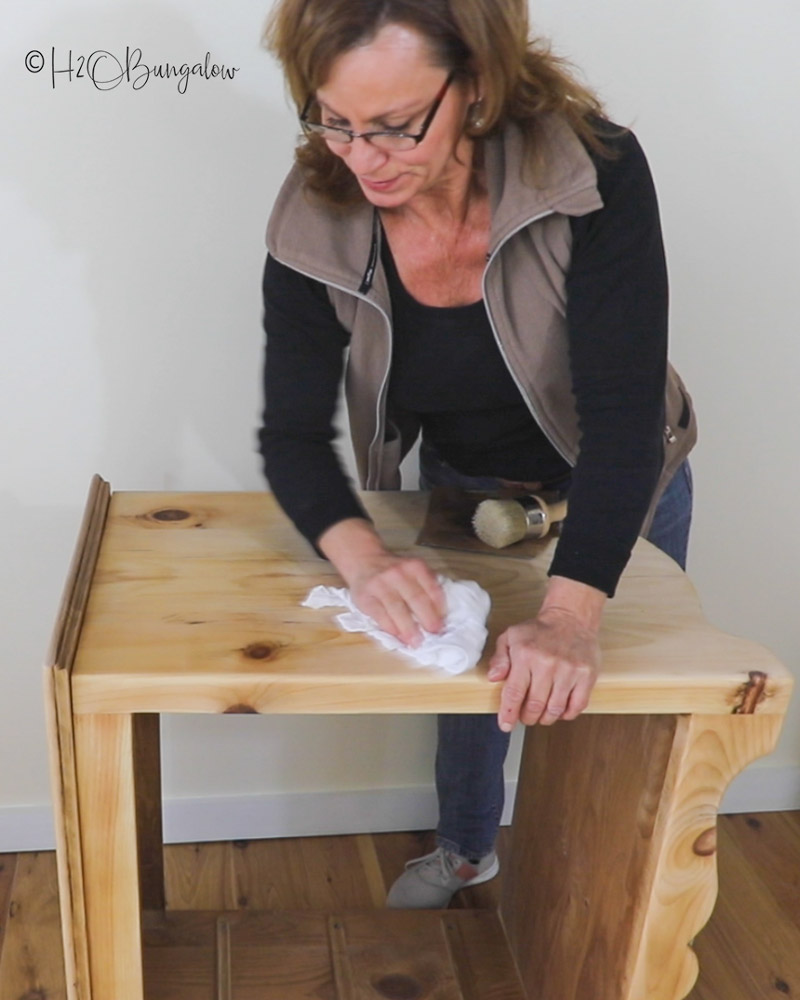
Buff each section with a clean white lint free painters rag until the wax doesn’t feel like velvet. You’ll use your fingers to feel the waxed wood a lot as you’re working. If the wood feels velvety and a little sticky when running your hands over it, you’ll need to buff the wax with the rag more.
Overlap your edges when starting a new section with a wax coating.
Allow the wood wax finish to sit for a few hours before adding another coat of wax. Some people wait 24 hours before adding additional coats. I usually just wait about 2.
Allowing your wood wax finish to cure fully is the last step. Put your piece aside and don’t use it or place anything on top of it for at least a week to ten days to allow the wax to cure and become hard.
Pin this for later and share with your friends on Facebook!
Pin this for later and share with your friends on Facebook!
Do you love the waxed wood finish as much as I do? Can you think of a furniture piece you’d love to bring down to the bare wood and seal with a wax?
Wood Wax Finish DIY
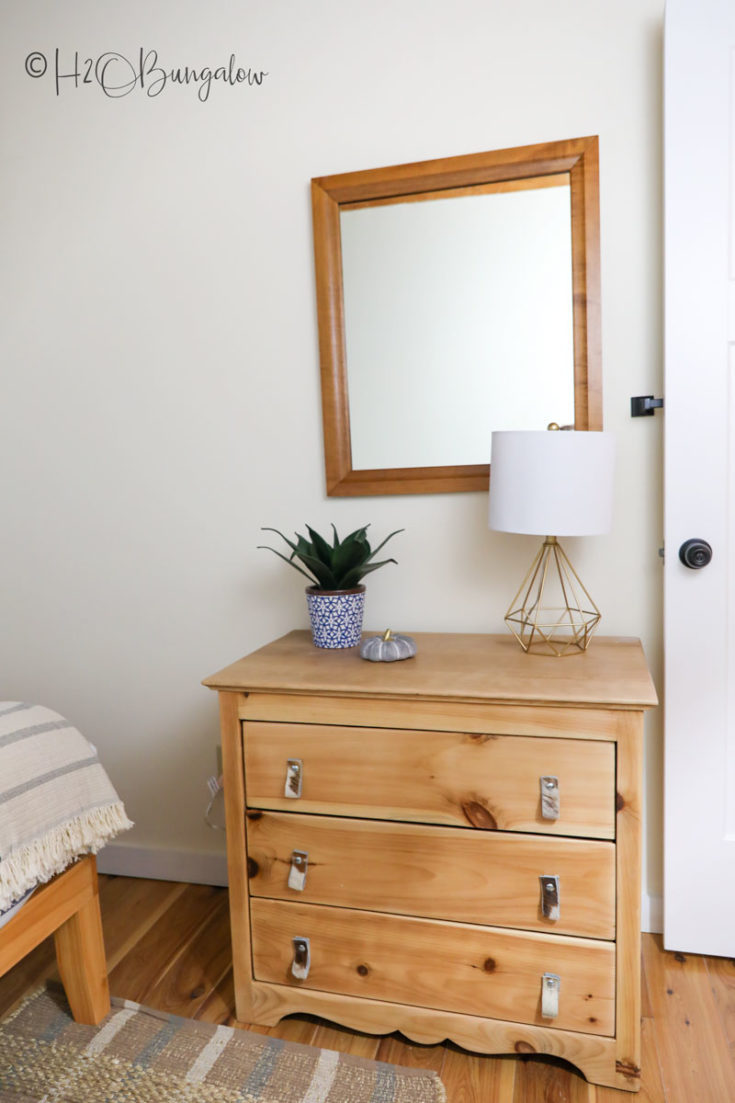
How to do a wood wax finish on raw wood or sanded wood furniture. Make a trendy DIY natural wood finish with these steps for easy update to old furniture.
Materials
- Paste wax
- Cotton painters rags
- Paper plate, cardboard or plastic tray
Tools
- Wax brush
- Tack cloth
- Spackle knife
Instructions
- Look over your piece and get any needed repairs out of the way before moving forward. With natural wood finishes, repairs will show so the fewer repairs the better.
- Sand your piece of furniture before waxing. Natural wood finishes look and feel the best when the surface is perfectly smooth and sanded with a high grit sandpaper. I started with an 80 grit sandpaper and worked my way up to 220 grit all over this dresser. Be sure to sand along the grain of the wood and get all of the surfaces that will show, especially under the trim.
- Clean all the dust from sanding your wood with a tack cloth. Wipe the surface from one edge to another along the grain. Turn the cloth over or refold it when the surface shows dust and dirt. Be sure to wipe all the crevices and molding trim too!
- Apply a clear paste wax of 2-3 coats. Spread some wax onto a paper plate, cardboard square or other surface. Load your wax brush by rolling it around in the wax.
- Apply the clear paste wax onto the wood by running your brush in little circles over sections at a time. The raw wood will absorb the wax quickly. Work in roughly 12-18 inch sections at a time, applying the wax and buffing it off before moving onto another section. Overlap your edges when starting a new section with a wax coating.
- Buff each section with a clean white lint free painters rag until the wax doesn't feel like velvet. You'll use your fingers to feel the waxed wood a lot as you're working. If the wood feels velvety and a little sticky when running your hands over it, you'll need to buff the wax with the rag more.
- Allow the wood wax finish to sit for a few hours before adding another coat of wax. Some people wait 24 hours before adding additional coats. I usually just wait about 2.
- Allowing your wood wax finish to cure fully is the last step. Put your piece aside and don't use it or place anything on top of it for at least a week to ten days to allow the wax to cure and become hard.

