How to make easy DIY large wall art for a bedroom, living room or entry in a few hours including the frame. This homemade wall art is lightweight, won’t damage walls and you can choose from hundreds of photos or use one of your own!
You may also like my Large Modern Inspirational Wall Art if you’re not looking for something so large.
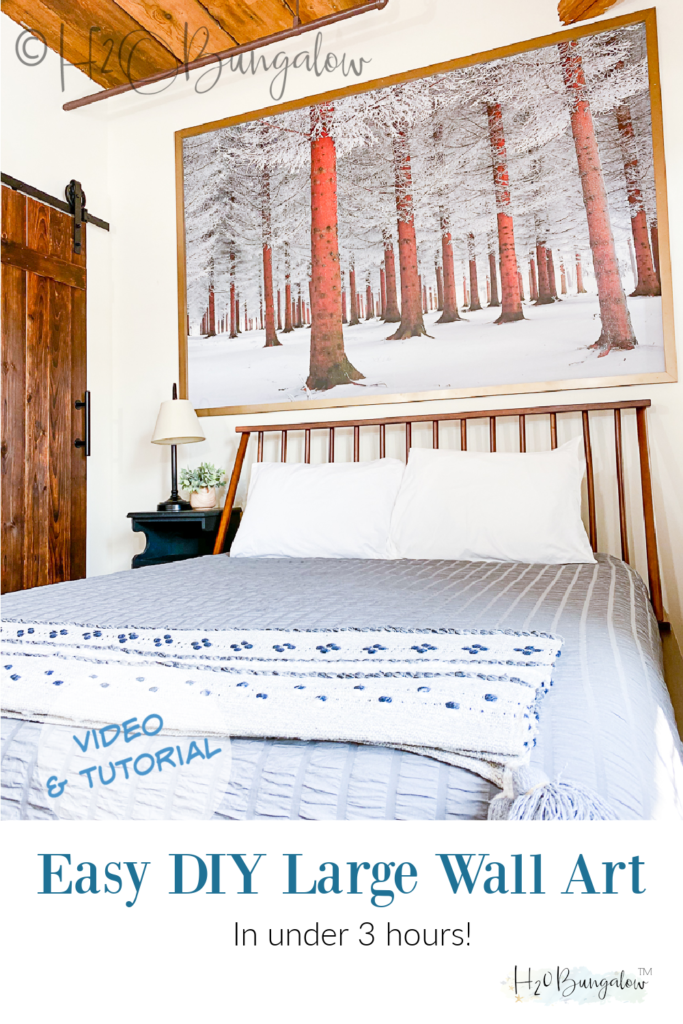
DIY Large Wall Art
Sending out a big thank you to Wallsauce for sponsoring this post. This post contains affiliate links, as an Amazon affiliate I earn a fee from qualifying purchases at no additional cost to you. Thank you for supporting H2OBungalow!
Supplies needed
- Wallpaper by Wallsauce– this is the one I used
- Level – at least 3 feet long
- Pencil
- Lhttps://www.wallsauce.com/us/adder
- 1 x 2” select pine wood or pvc
- Gold spray paint – I used this one
- Brad nailer – This is what I use
Choose the wall art or mural picture
Where do I get a wall mural to make my DIY wall art?
Order your Wall Mural from Wallsauce. They have hundreds of gorgeous murals to choose from, or upload your own photo and turn it into a mural. Make your homemade wall art to fit an entire wall or make a framed art piece like I did. Choose the size you’d like, mine is 7 feet long and 4 1/2 feet tall.
You’ll have the choice of traditional wallpaper mural or peel and stick. I used peel and stick for this project.
Features I loved about using a Wallsauce mural to make my DIY large wall art:
- Huge selection of wall mural designs on their website
- Turn your photo into wall art, upload your own photo
- I could edit the size and design to fit my wall art project
- Peel and stick wallpaper can be removed without damaging walls!
- Super fast shipping
- High quality thick vinyl peel and stick wallpaper
- Well packaged with easy to understand instructions
I made a quick video to share with you how to make large wall art with peel and stick wallpaper mural.
Prepare your surface
Start with a clean dry wall. It should be smooth and free from heavy texture.
Measure the area
Measure and mark the position of where you’ll place the wall mural. Be sure to avoid any items that will cover the wall art like a headboard or lamp.
Use a level and mark along the top of where the mural will go on the wall.
Place the first panel onto the wall
Select the first panel in your series. It will start on the left side and is pre-numbered.
Carefully peel the backing from the vinyl wallpaper and fold it about 5-7” down. Starting at one end, Line the top of the wallpaper with the line you made for the top. Press down firmly.
Pull the backing down and press the wall paper with your hands onto the wall pushing out any air bubbles to the sides.
This step was a lot easier than I thought it would be!
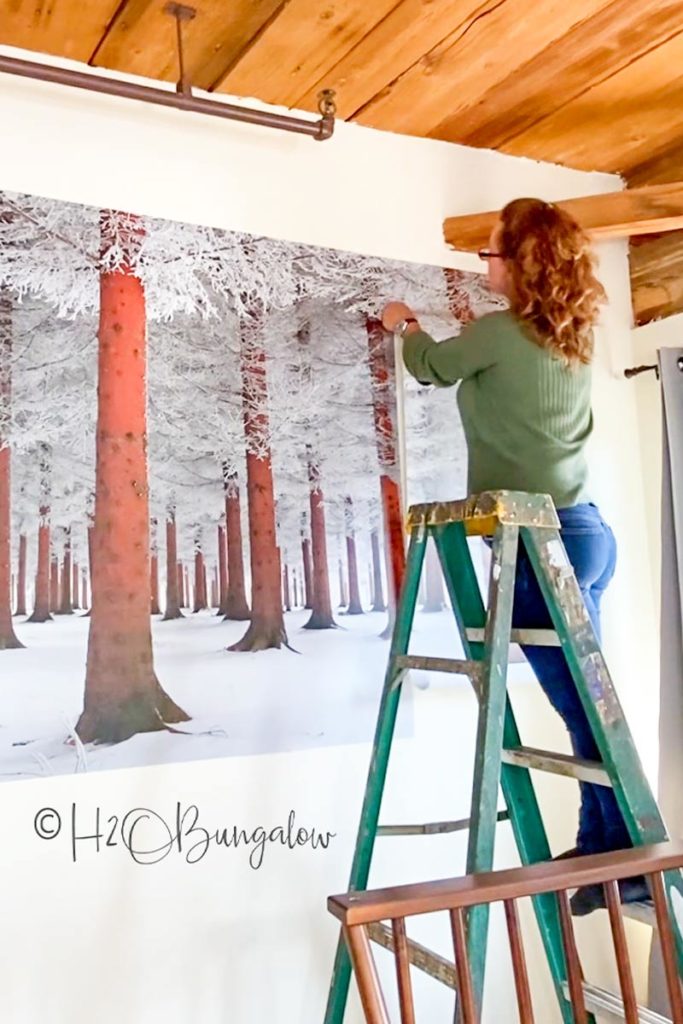
Attach the second panel
Prepare the remaining panels like the first, pulling the backing down and folding it. Attach to the wall lining up the top and side seams. It’s easy to reposition if needed. The Wallsauce mural is really thick. It didn’t damage the wall or the mural when I repositioned it a few times until I was happy with how it lined up to the first panel.
Position the seam first as you work your way down the panel and press it to the wall working the bubbles out. You’ll see how I did this in my video.
Continue until all the panels are up.
How to frame large DIY wall art
I used 1×2″ pvc for my frame because there wasn’t a good selection of lumber that week. This is the same basic frame I used for my Large Welcome Sign project I used in two of the entries of North House Lodge locations.
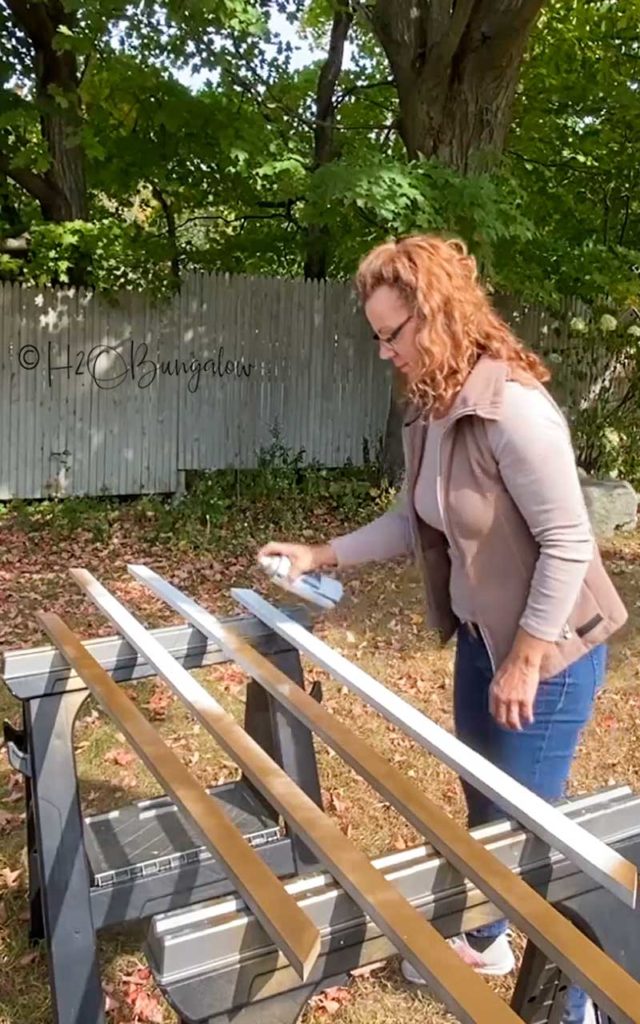
The pvc worked well but had more flex that I would have liked for my large wall art frame. You can easily rip your own frame from 2x4s or purchase 1×2 select lumber.
Cut a 45° miter cut at the end of each piece or just but the square ends together to make a frame. Basically, size it to fit about 1/2″ over the edge of your DIY wall art.
Spray with gold spray paint and let dry.
Attach to the wall with a brad nailer using a level to be sure it’s lined up straight on the wall horizontally and vertically.
Pin this now and share with your friends on Facebook!

You can make easy DIY large wall art like mine for a bedroom, living room or entry in a few hours including the frame!
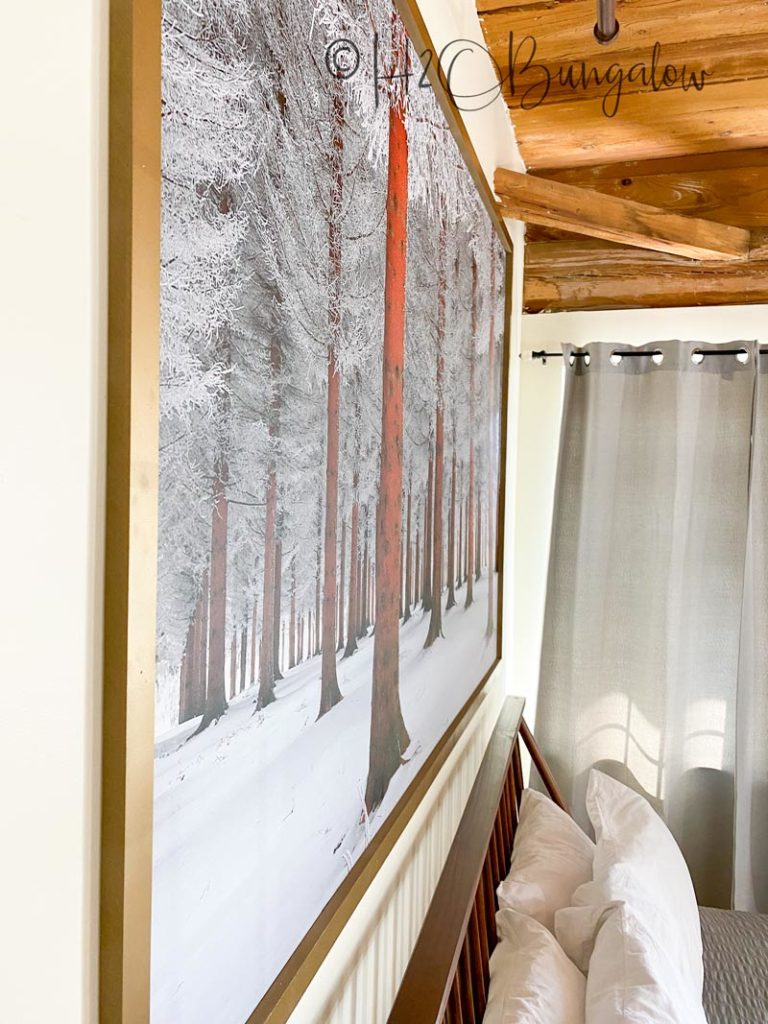
This is great for renters since the peel and stick wall mural is easy to remove and leaves no residue on the wall. If you want to make the entire wall mural removable, including the frame, use double sided removable tape to attach the frame to the wall.
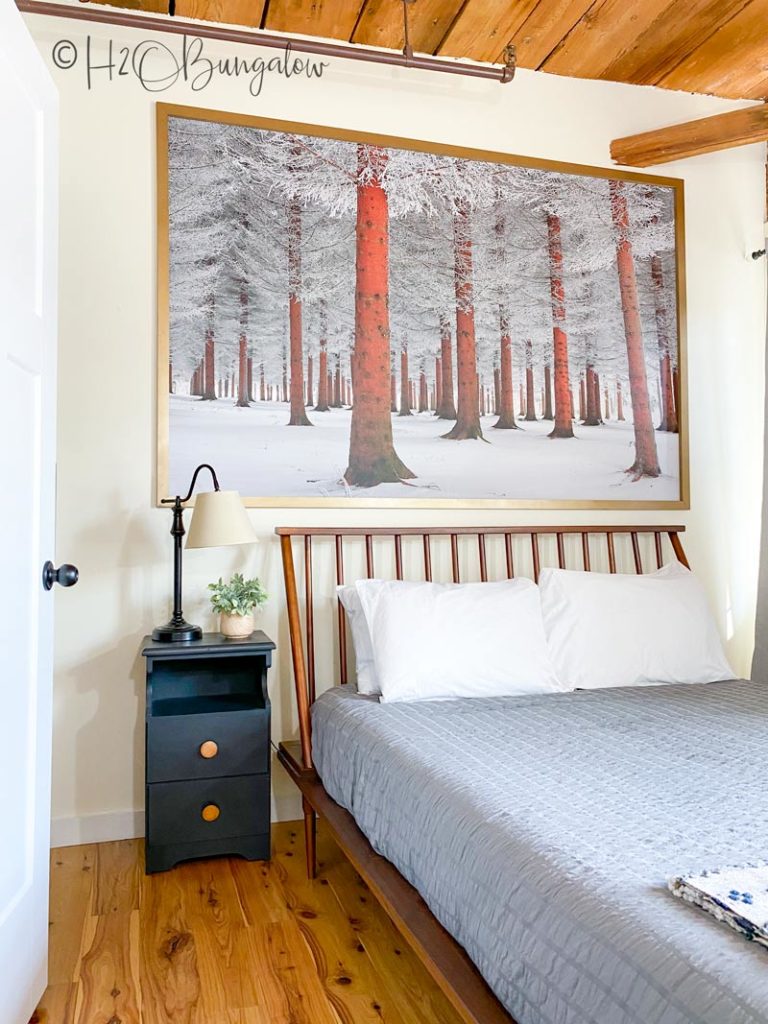
My new framed artwork made a huge difference in this guest room of the Mill Place! Here’s the before.
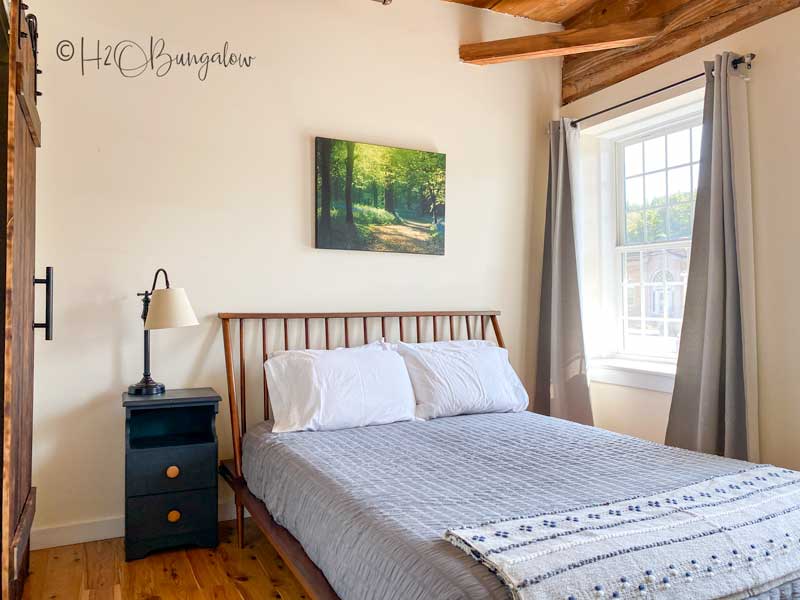
While the before isn’t exactly awful, it just doesn’t have the wow factor or same presence as my big wall mural.
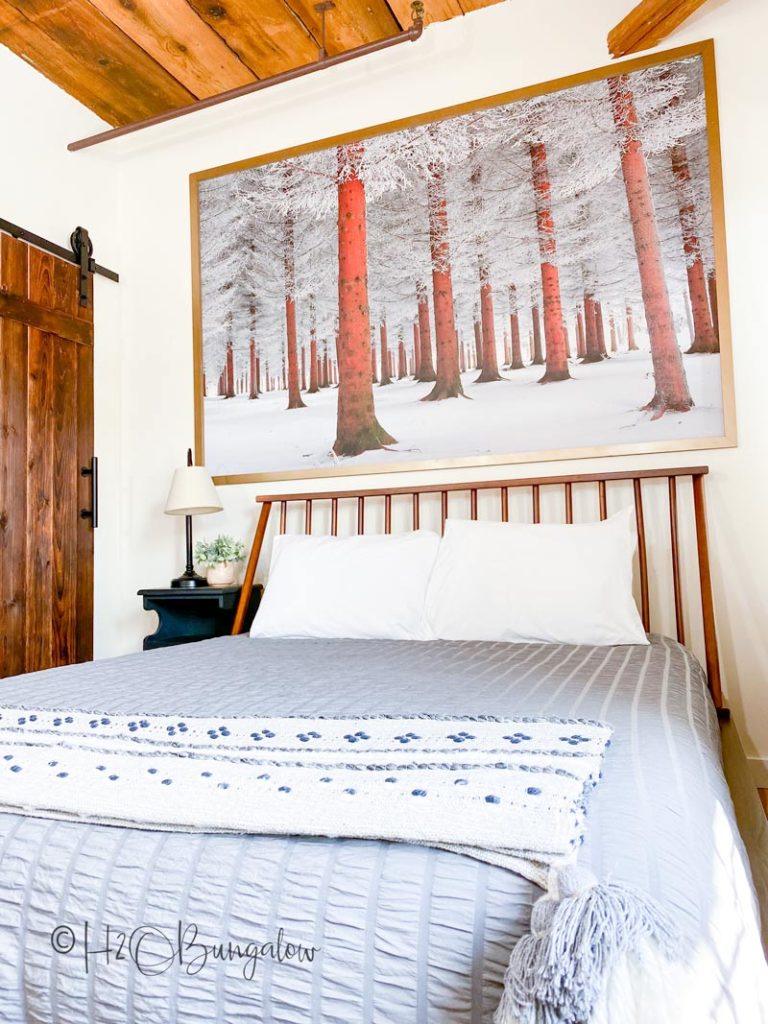
You can easily make your own large easy DIY wall art to fill a big blank wall or even a hallway in your home. Especially that you can use your own photo to make art!
I love this solution for how to decorate a large open space, don’t you?

Need more ways to add budget decor to walls? I’ve got plenty!
kirstin troyer says
I love this idea. Are they reusable? As in can you move them, store them, use them somewhere else? I’m going to check the website as well, but thought I”d ask here.